I tried to put this post up on Saturday but then I accidentally deleted it…so here we are….take two on this fun and super easy hook project and the coolest upper cabinets that we have ever installed.
First – what da hook gonna be? Da hook gonna be on this dope wall….

Preach Jermaine Dupri.
SOooo….it’s a fairly straight forward project……you basically are creating a base for hooks and then capping it with a little extra wood.
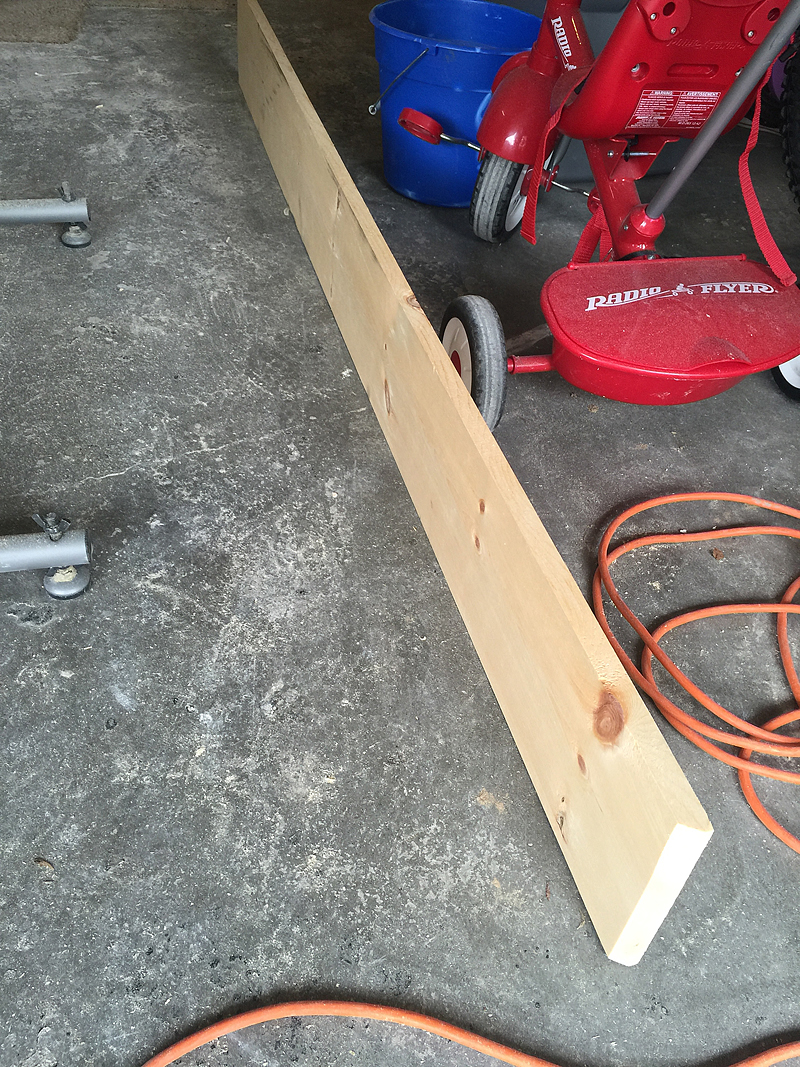
What I did was cut three boards to the length of the wall. I miter cut mine but really I did it all wrong. So forget these photos. Do as I say…not as I do….err…did.
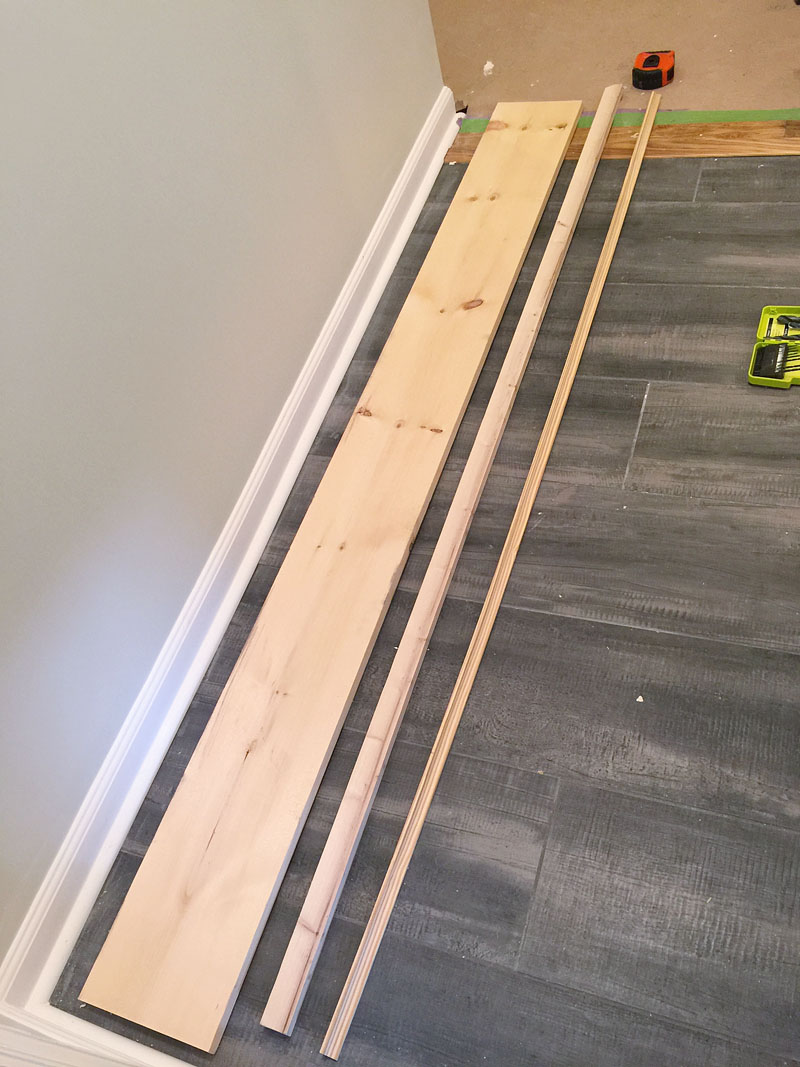
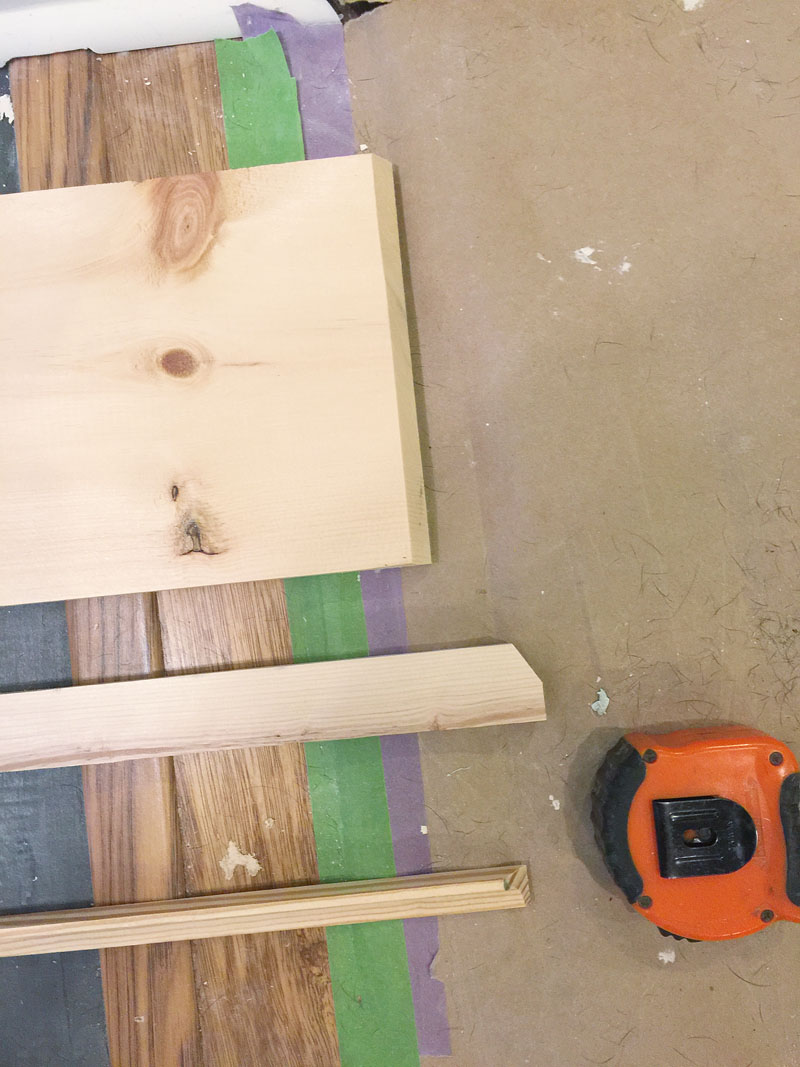
First gather your supplies….three boards….a 1×8, a 1×2 and a little cove molding. Or if your 1×2’s are ridiculously priced (WHY UNIVERSE WHY?!) then just get a 1×3 or 1×4 and rip it with your table saw to be your desired width.
The thickest board is the base. This eventually gets screwed to the wall….when you do that….make sure it’s into the studs and that you sink the holes far enough to cover them with some wood filler.
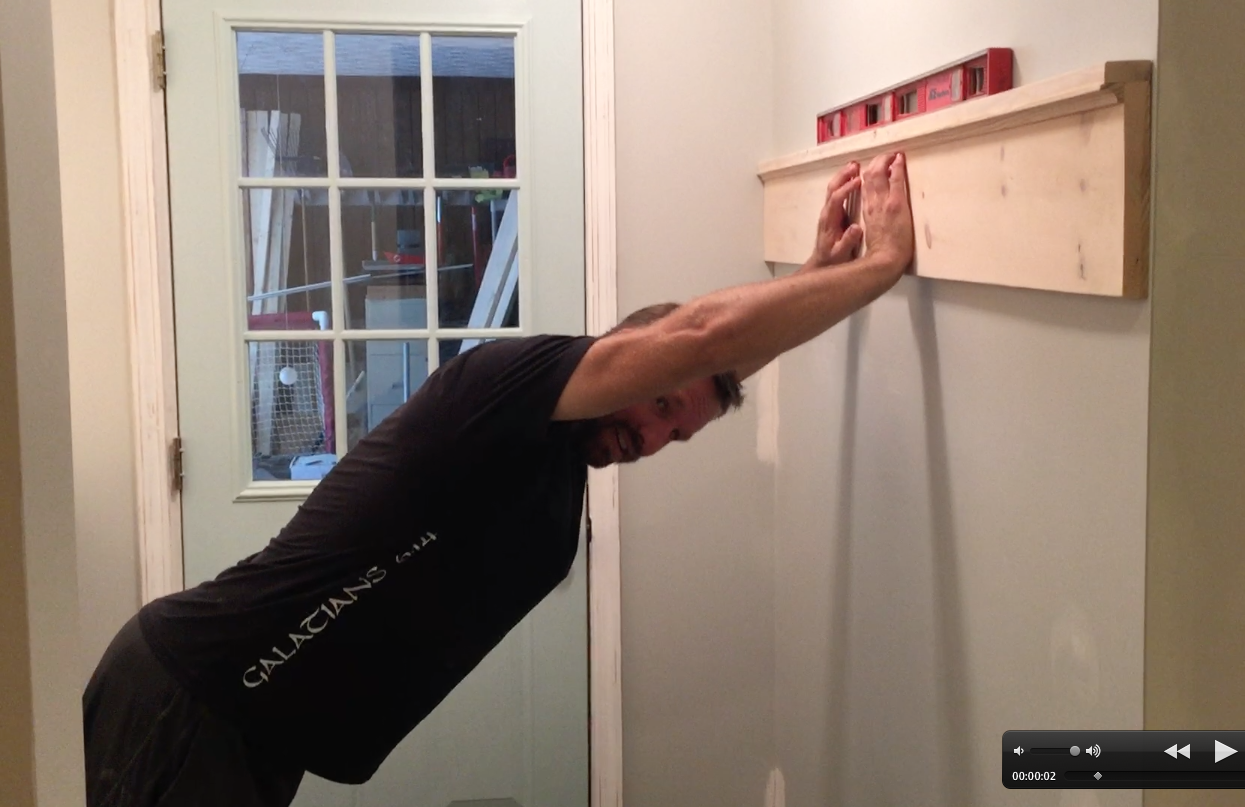
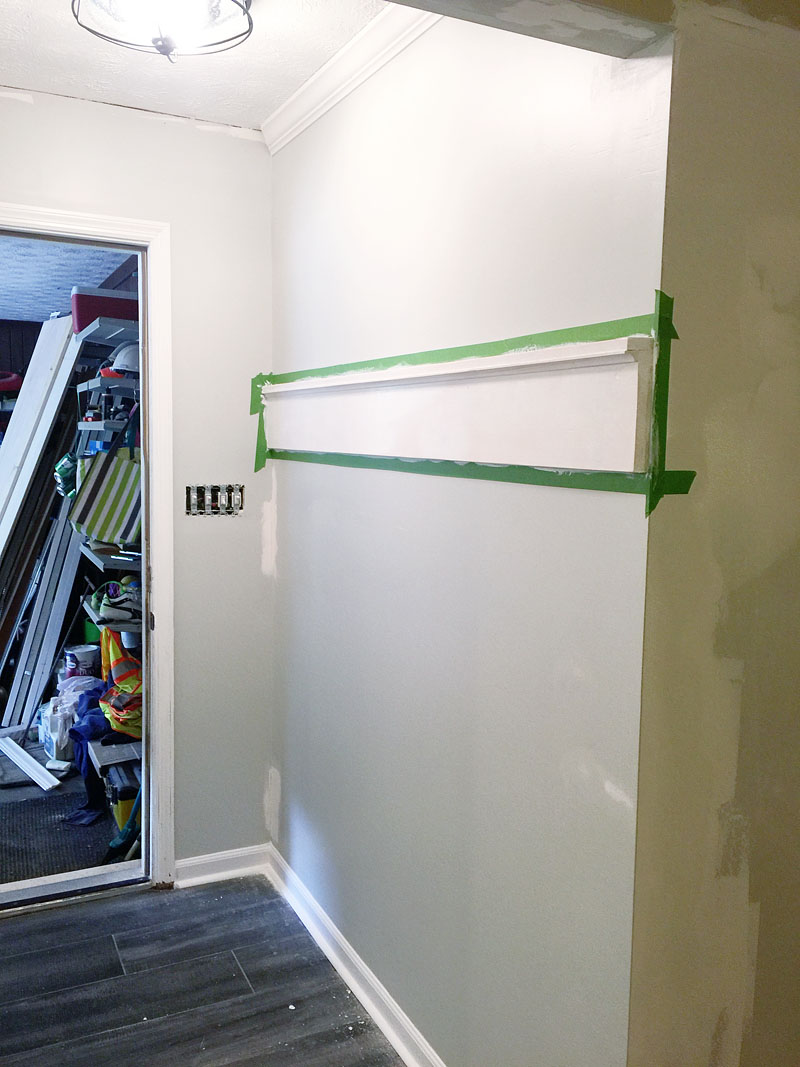
But before you attach it to the wall, you want to assemble the entire shebang. Using a brad nailer, attach the 1×2 to the top of the 1×8 perpendicularly. Then put the cove molding in the seam of those two pieces. That can also be attached with a brad nailer. THEN AFTER IT IS ASSEMBLED, miter cut the end to length. Sand the whole thing.
Then make your husband hold it up on the wall for about twenty minutes while you take a video, drink half a cup of coffee, check the levelness, jam to a little Britney, find a bit that isn’t worn out, get a pedicure, breastfeed, replace the drill battery, cook dinner….I mean, really what you do with the twenty minutes is your prerogative….but it’s really important that you DON’T RUSH A GOOD THING 🙂
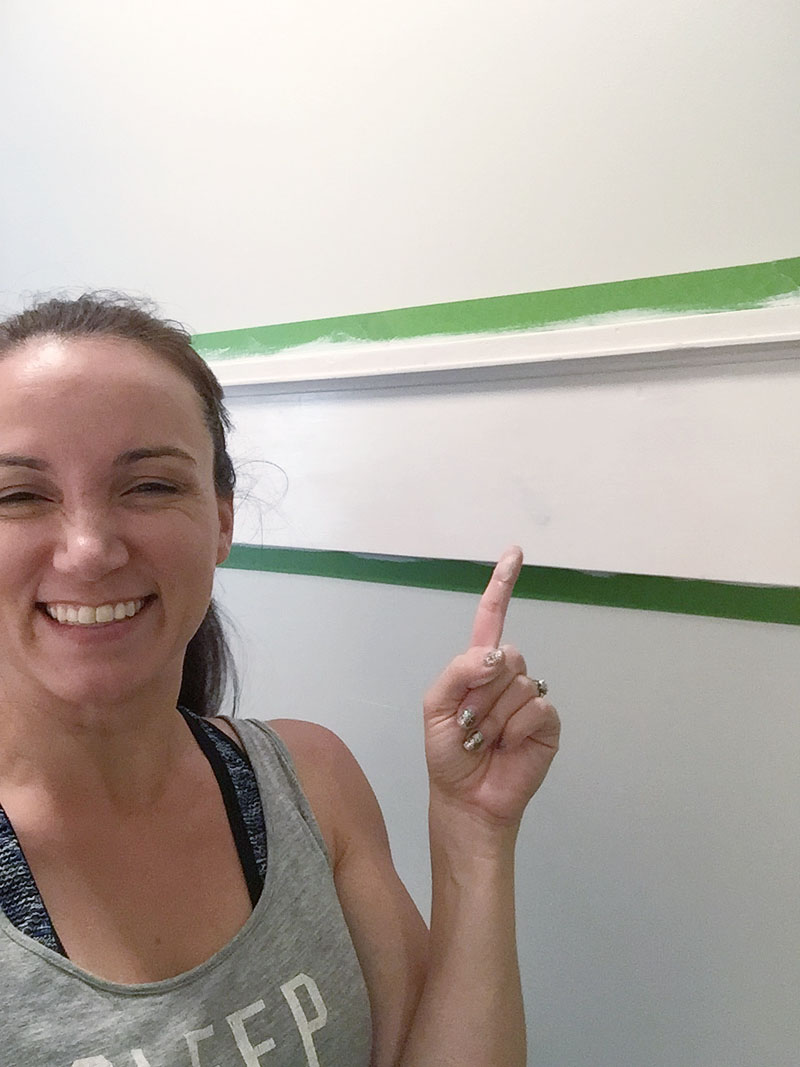
After it is attached to the studs, you can tape it off and paint er up real pretty like.
Make sure to treat knots in the wood….you don’t want those suckers to bleed through your white paint over time. I have dealt with this on some shelves I painted in our living room….it’s a PAIN in the big ole Italian booty!
Here’s my best suggestion. First, use a paintable wood filler over the knots and sand them down. Then use this Zinnser Shellac Primer to seal them up before painting. This usually works great. Or if you hate the idea of all that – just buy wood that has no knots! Ha! It’s really that simple. Some of the wood is a little more expensive but you will never worry about bleed through 🙂
I really wanted to find some cool hooks for this wall….and I found this plaque hook thing at Hobby Lobby and it was broken in the back so I got it on super discount. Each hook basically cost $2 each. Deal of the day right there!
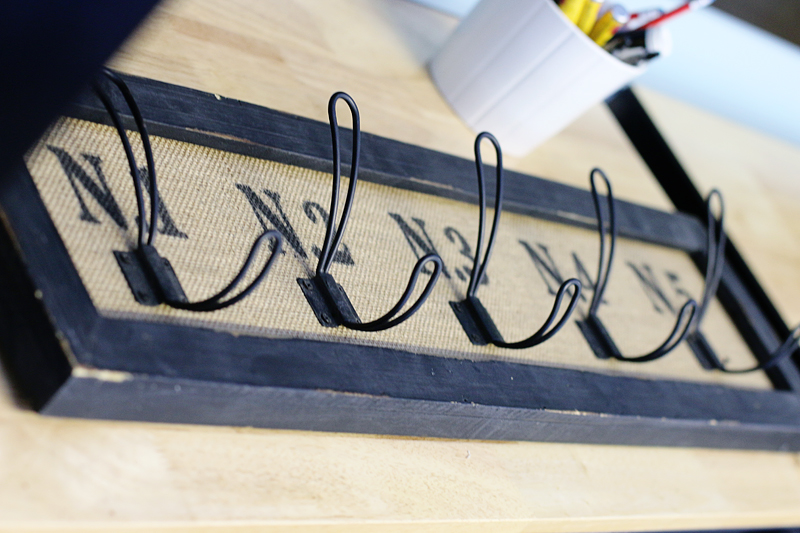
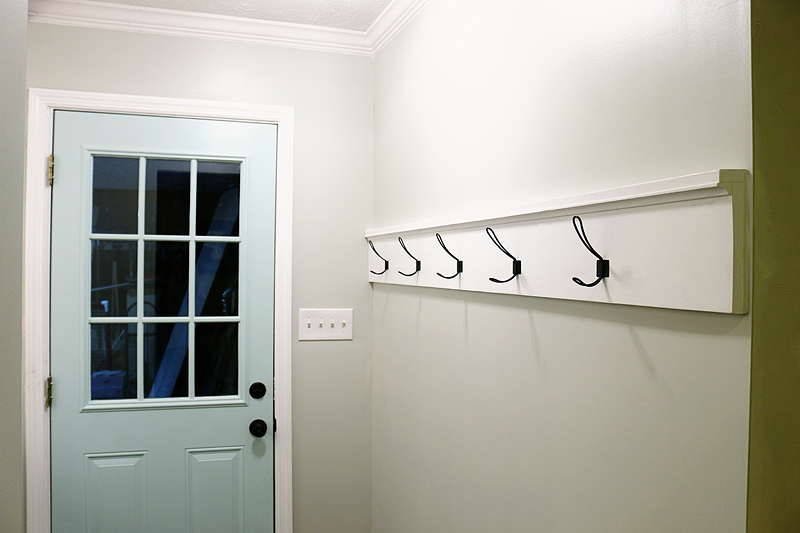
I simply removed them from the frame and centered them evenly on the wall. Boom! Done!
Next came the cabinets….and I gotta tell you….I am super excited that the RTA Store decided to jump on board and provide these cabinets for the Pedraza family. First….these are beautiful and can come assembled or ready to assemble. Jeremy has some experience assembling cabinets so these were knocked out in an hour and a half.
But I have to tell you the coolest feature. The upper cabinets….not just the lower ones….but the upper ones….they are soft close. AHHHHH! I literally spent a solid eight minutes trying to slam them shut. It was a beautiful and silent thing 🙂 It’s a moms dream!
My second favorite feature is that they came exactly as expected. So working with the RTA Store designer was super easy and super fun. We sent off the measurements for this space….
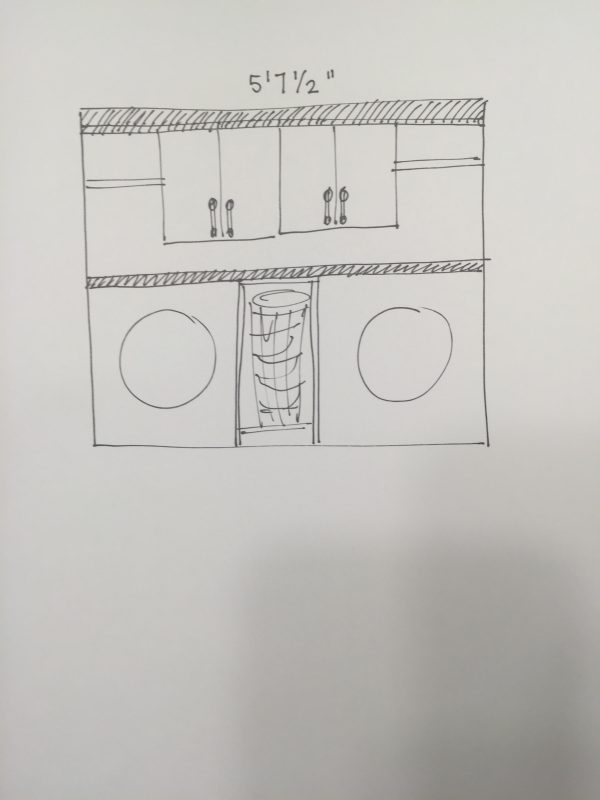
Really technical stuff here people 🙂 That is what I sent in….and a request to see it with two cabinets to the far left…..this is what I got back…
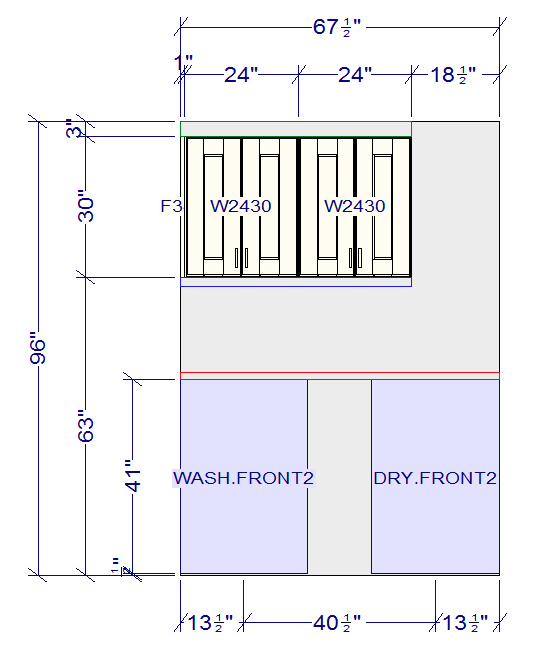
SO EASY.
And the designer (Hi Desiree!) helped us figure out what would fit best, utilize the room the most and what EXACTLY we needed. They even put the order form together for us so that we wouldn’t miss a single part. The customer service aspect was so on point.
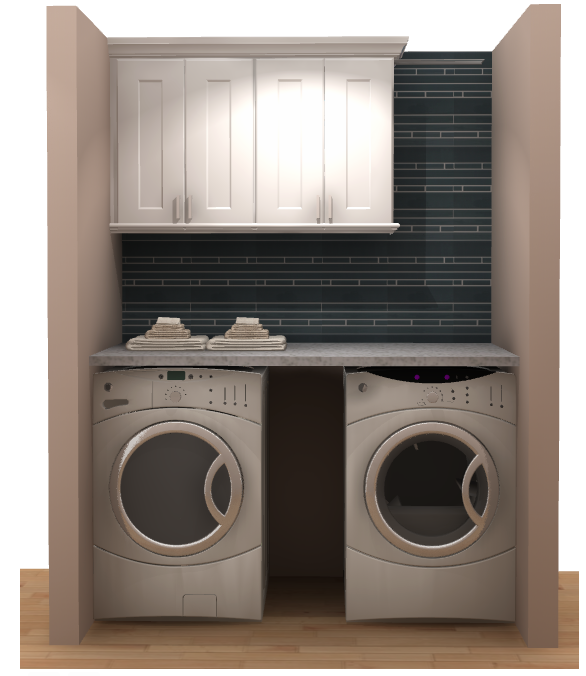
Obviously I can’t tell you how excited the Pedraza’s were….like flipping out that they were gonna finally have closed storage….and that guests wouldn’t have to look at stain treater spray while eating dinner 🙂 It’s the little things people. We got the Aspen white shaker style and seriously, they are just like in the photos. Gorgeous.
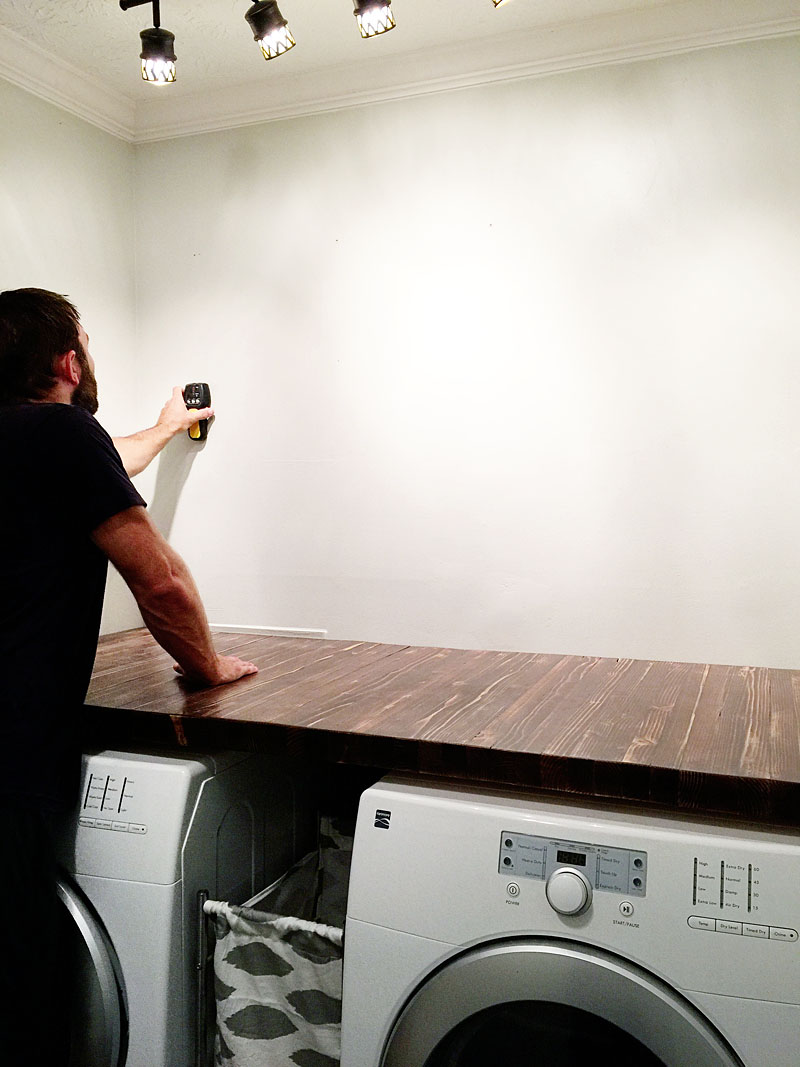
Installation was fairly straightforward. We marked the studs and Jeremy was told very adamantly to not put holes in my walls….so he built a bucket stand to get them to just the right height before attaching them.
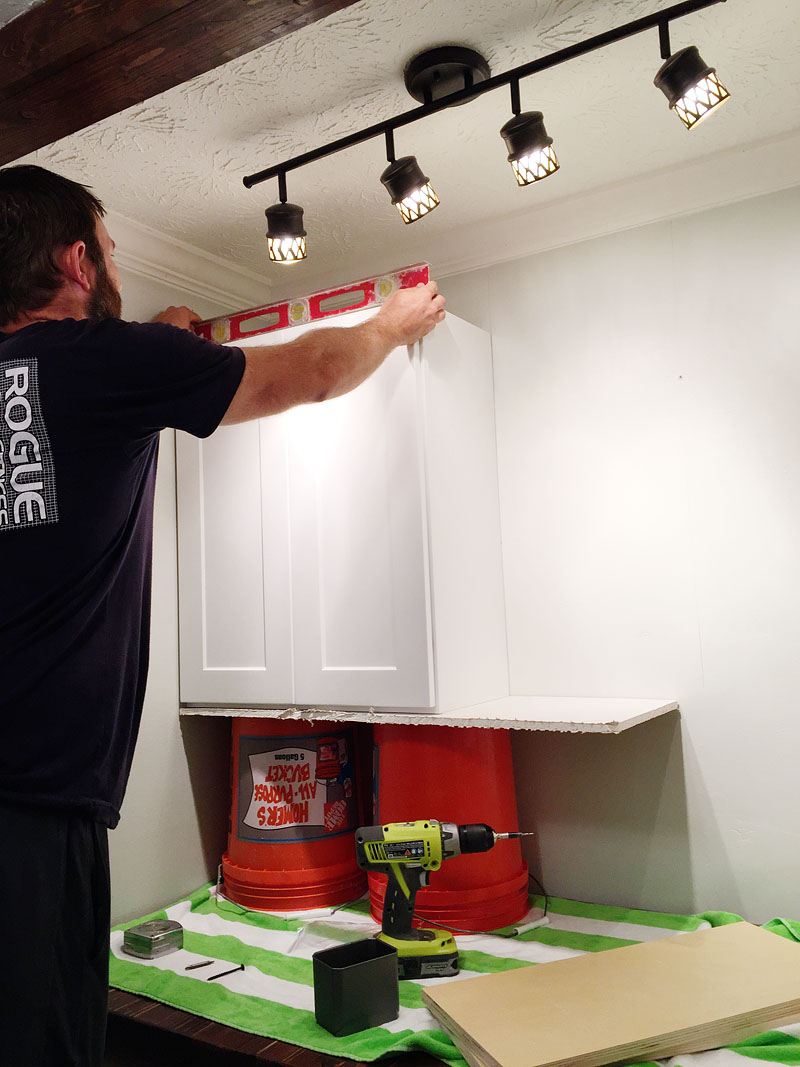
And here they are in all their beautiful white glory!
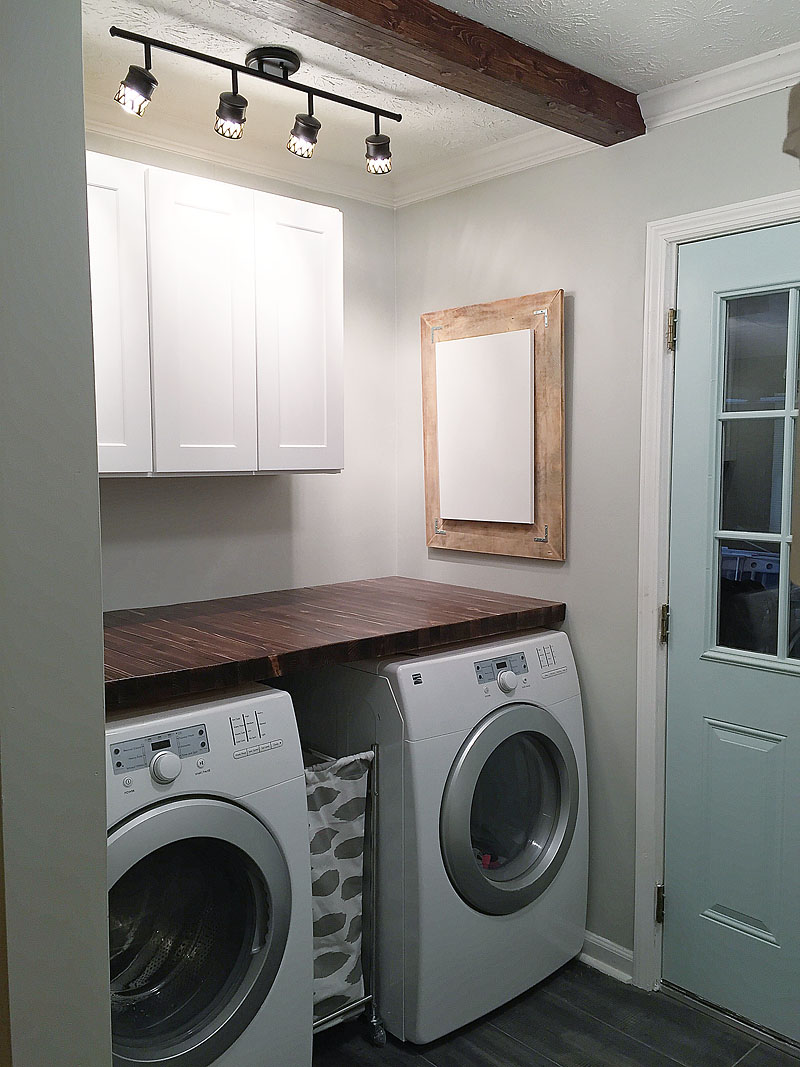
The knobs I found on clearance at Target (they are still available online!) and I got all four for just under $4. Aren’t the bubbles fun?! So perfect for a laundry room!

And here is a little sneak peek while I was putting some final touches on the room….
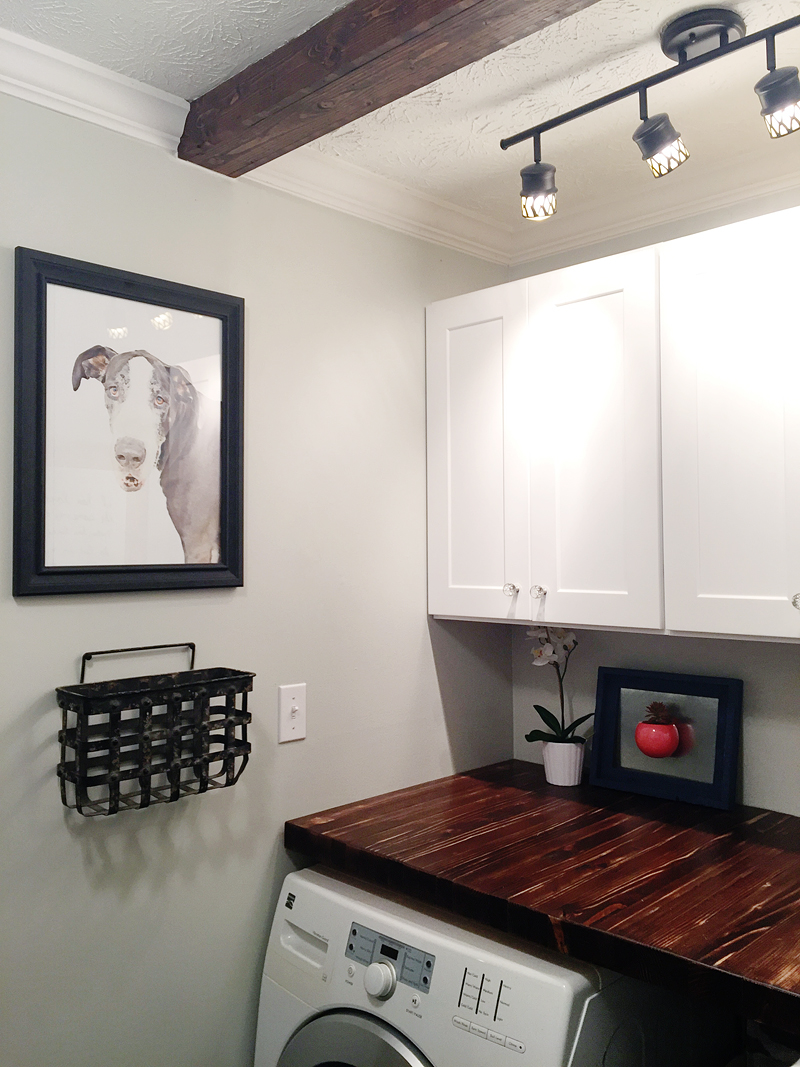
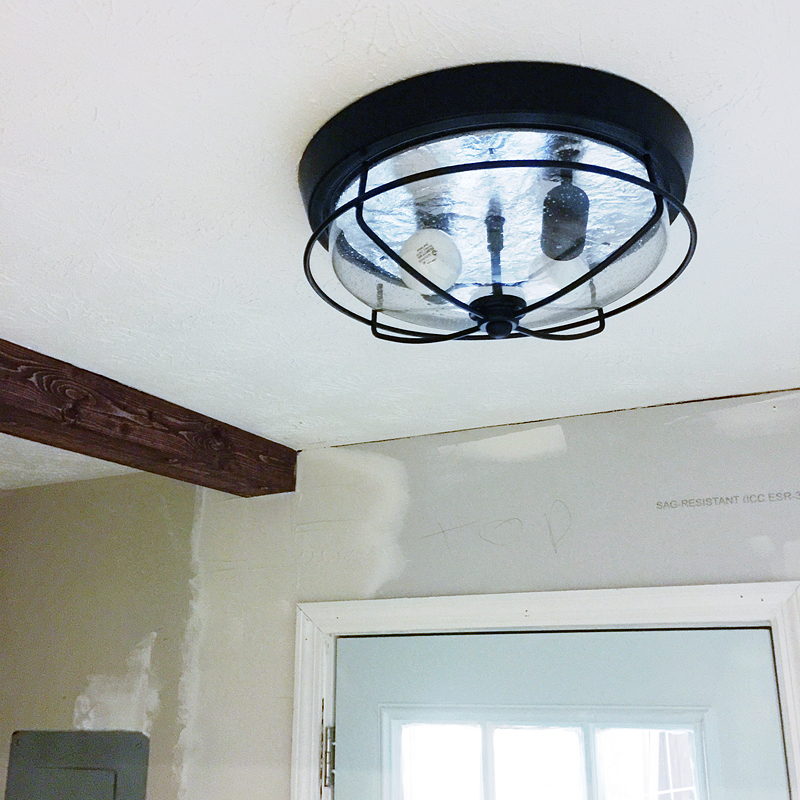
Speaking of final touches, the lights were the biggest expense in this space…but made the most impact because they really brighten it up (function!) and they coordinate without matching exactly.
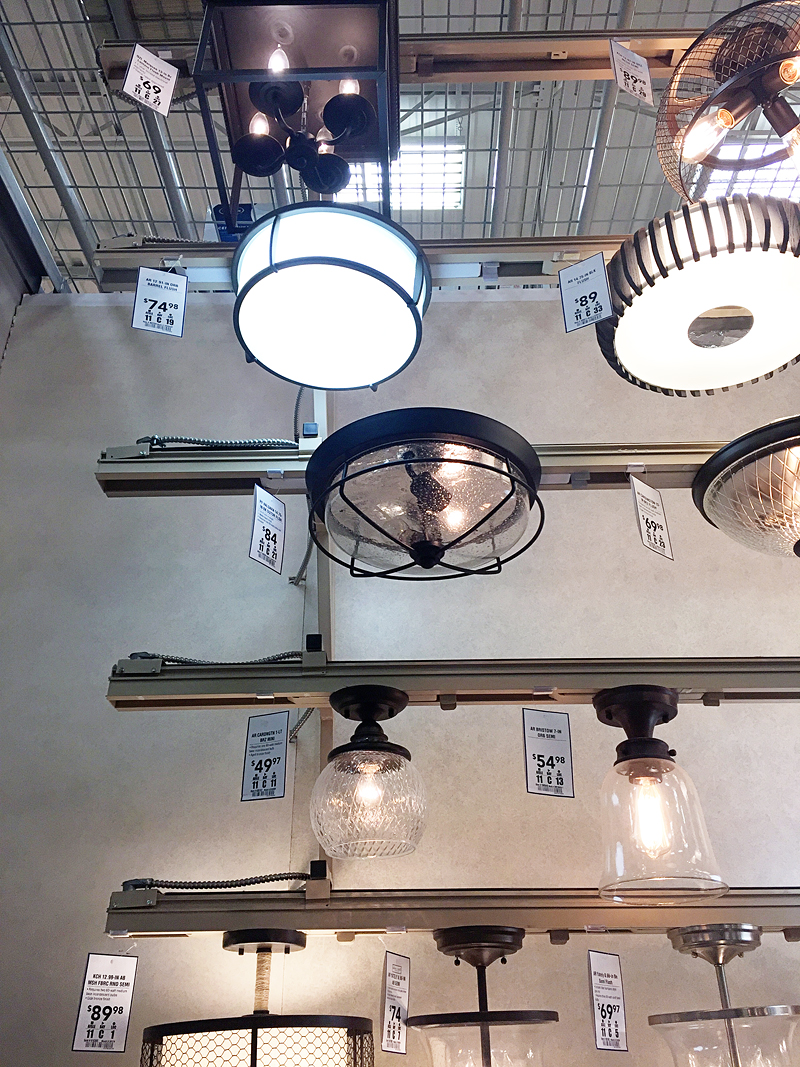
The ceiling mount is this one and then the track lighting is this one (I just saw that this one is on sale!).
Both are very straightforward as far as installation and they both look SO good.
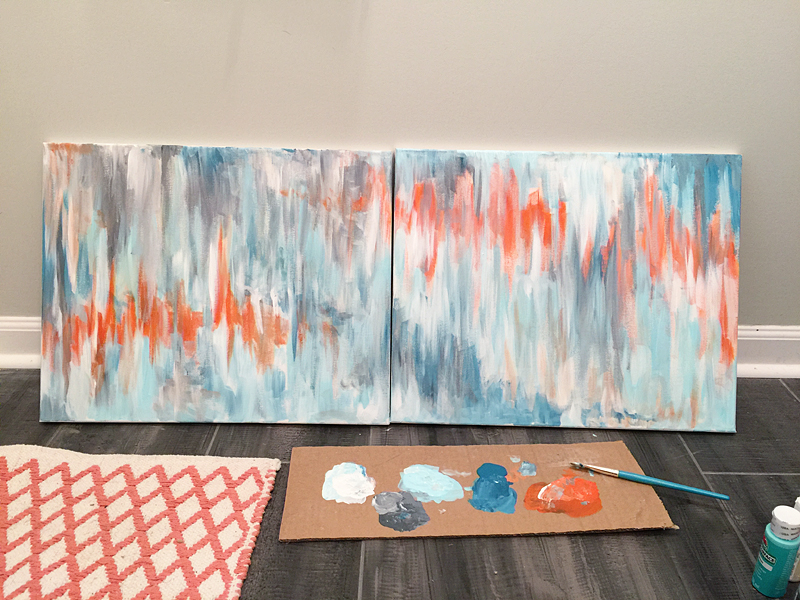
As far as art, we did a little watercolor pet portrait of Bella (you can see that tutorial here) and I also did a couple paintings for over the hooks. I am no professional but I really enjoy painting and these were just done with craft paints and couple cheap canvases. I love how they tie in the colors of the room!
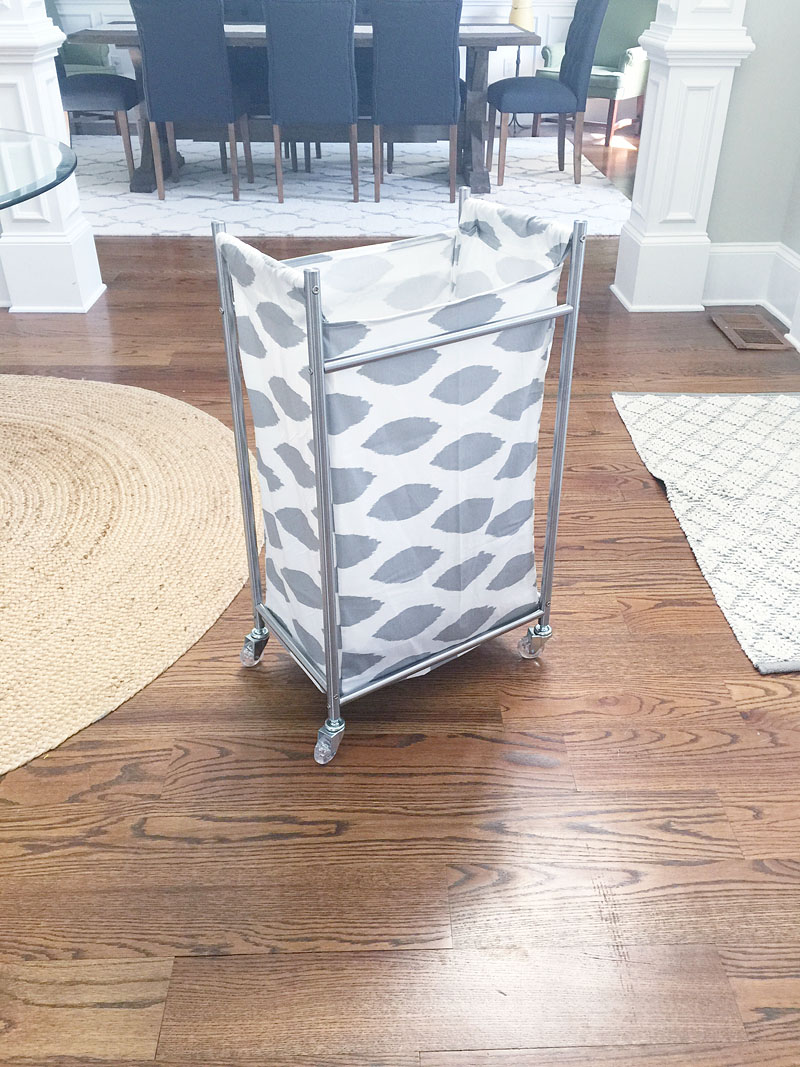
And last but certainly not least I sewed a little laundry caddy for them. The thing is from Ikea but it came with this ugly black liner….so I grabbed a fabric from my stash and came up with a different liner that had way more personality 🙂 Why is it so hard to find narrow laundry baskets that have cuteness?!
So that is it for now. Tomorrow is a big REVEAL. I literally can not WAIT to show you the final product. I even bought a new lens so that the pictures can show you this whole space….it’s so tight but this way, you can actually see it like we do! So exciting!
p.s. Again a special thanks to the team at The RTA Store. Thank you for helping make this home more welcoming for this growing family! To read the story behind this project, check out this post.