Disclaimer – This is a sponsored post by Floor & Decor. All opinions are 100% my own.
Ahhh! We are back to sharing the progress on the Pedraza house! If you are new to this blog, welcome and get ready to be excited for someone you have never met! Read here for the back story on this cool family and their decision to put their kitchen makeover budget toward adoption. And a very special thank you goes out to Floor & Decor for supporting this makeover….we already loved your products….but now we love the fact that your hearts are as big as your warehouse of tile and flooring 🙂
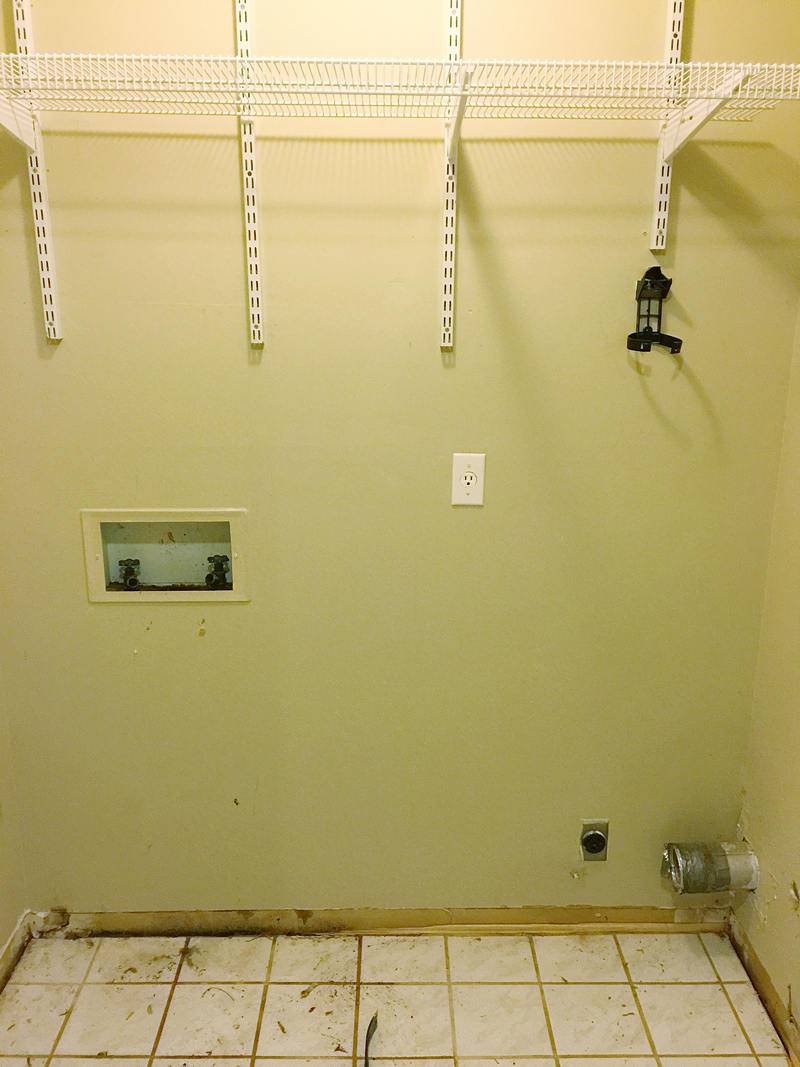
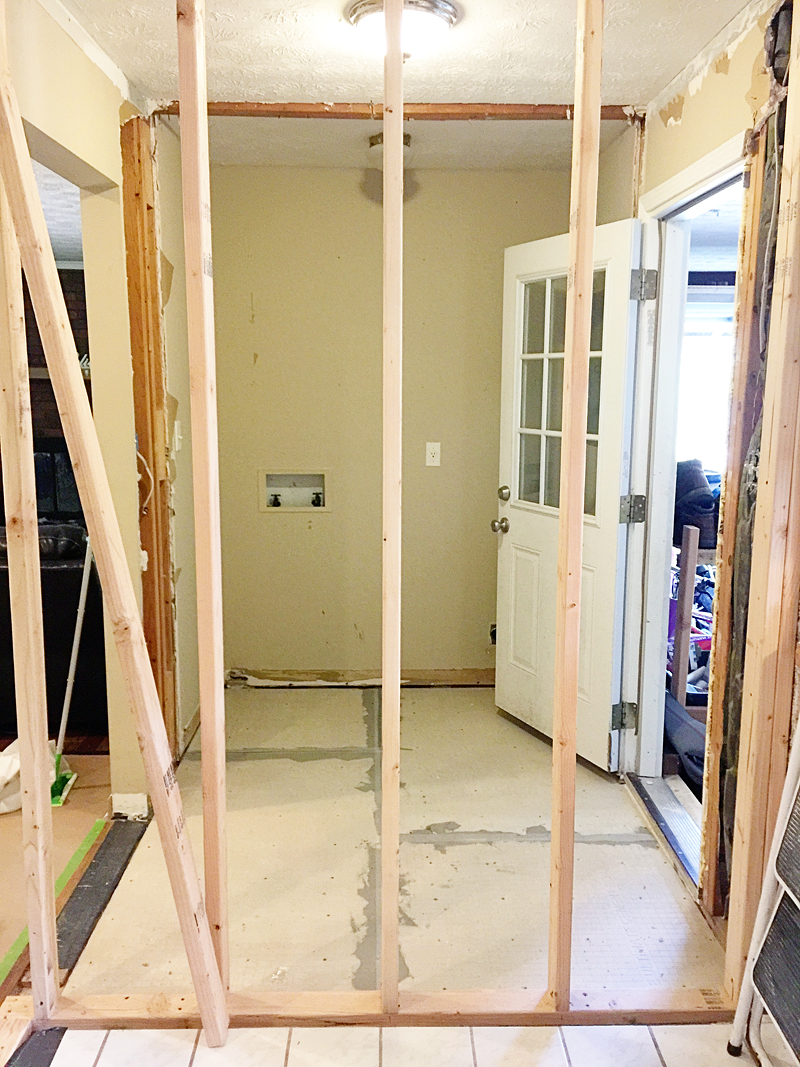
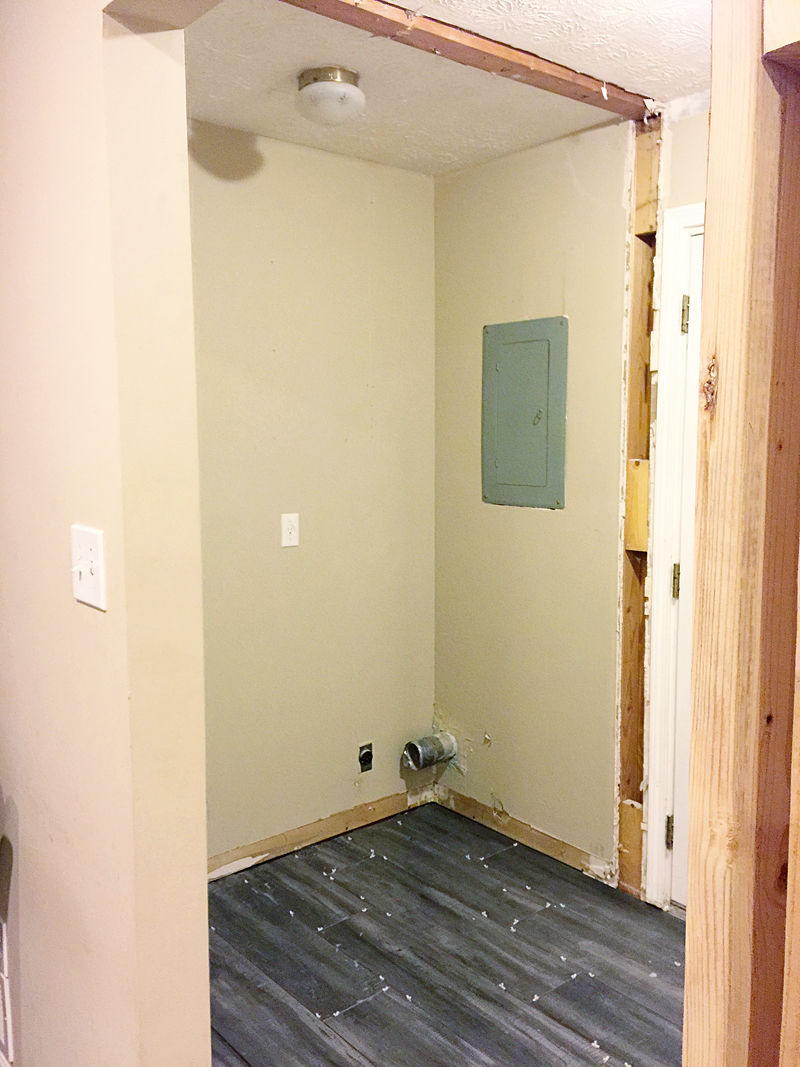
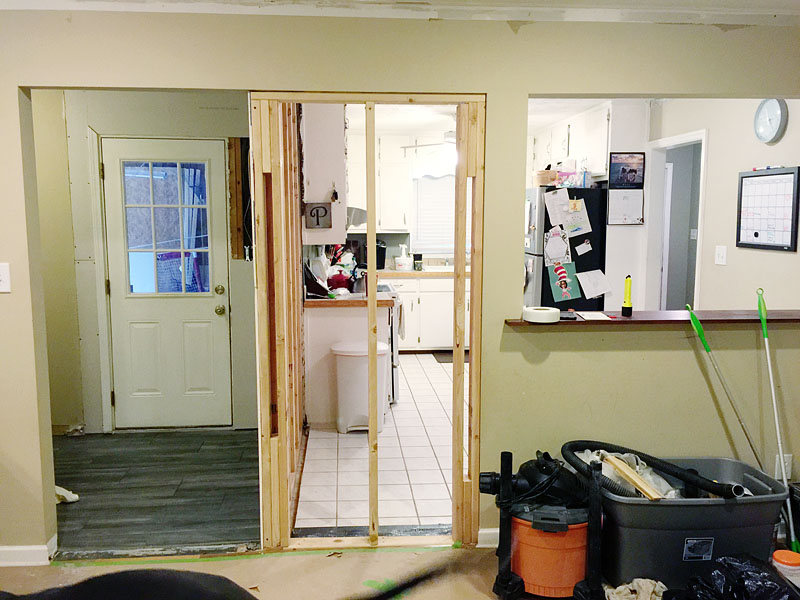
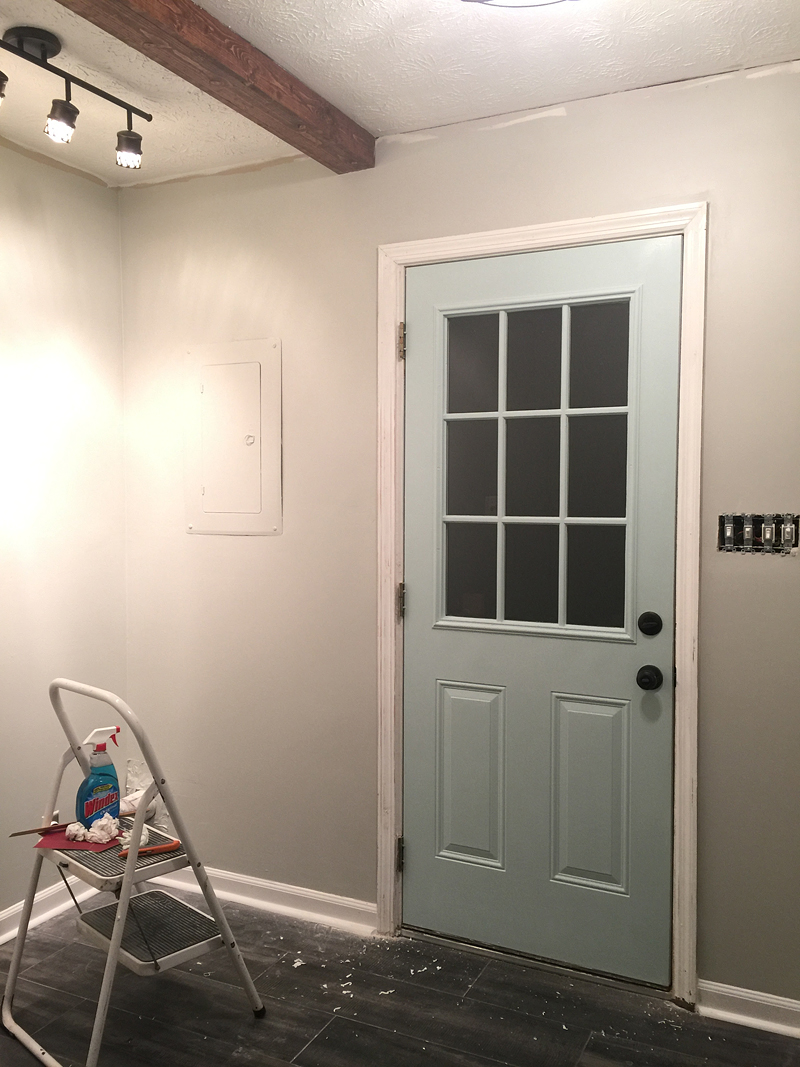
SOooo….here we are….the befores on the Pedraza kitchen slash mudroom slash laundry room…
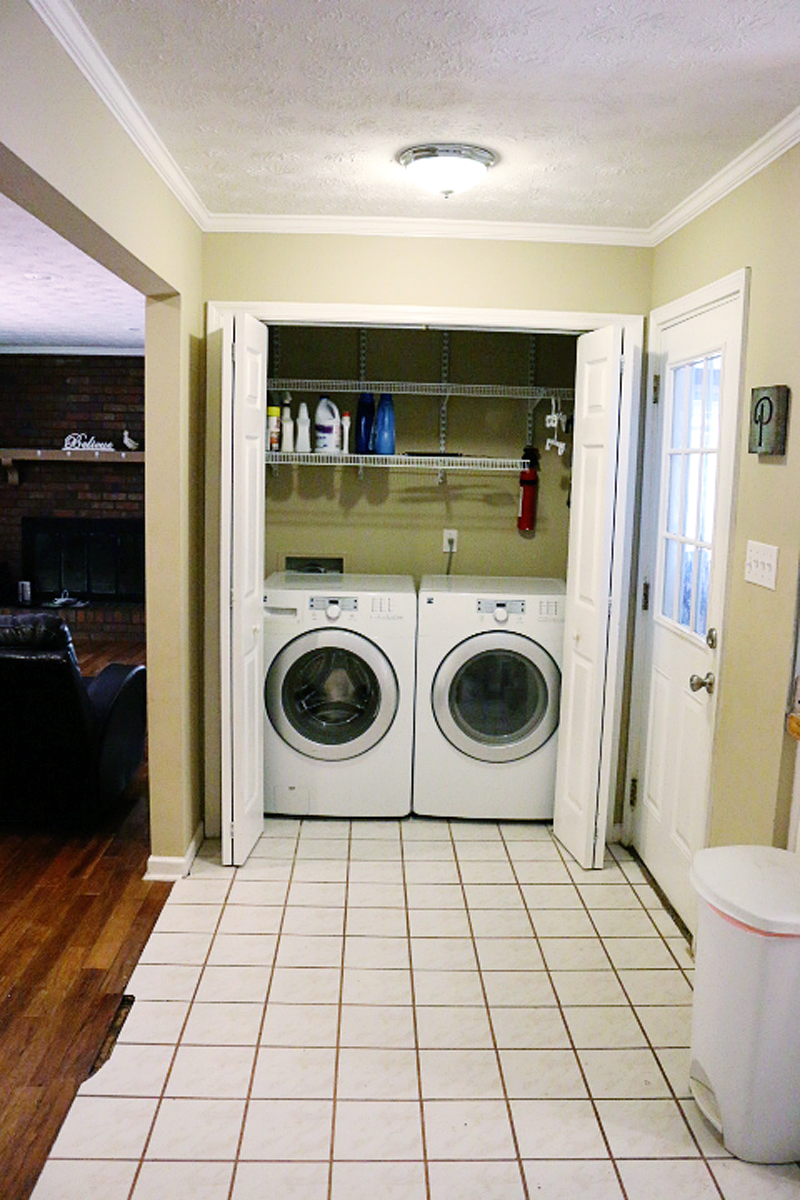
You may recall that it is just one big room and a weird shape and completely lacks storage.
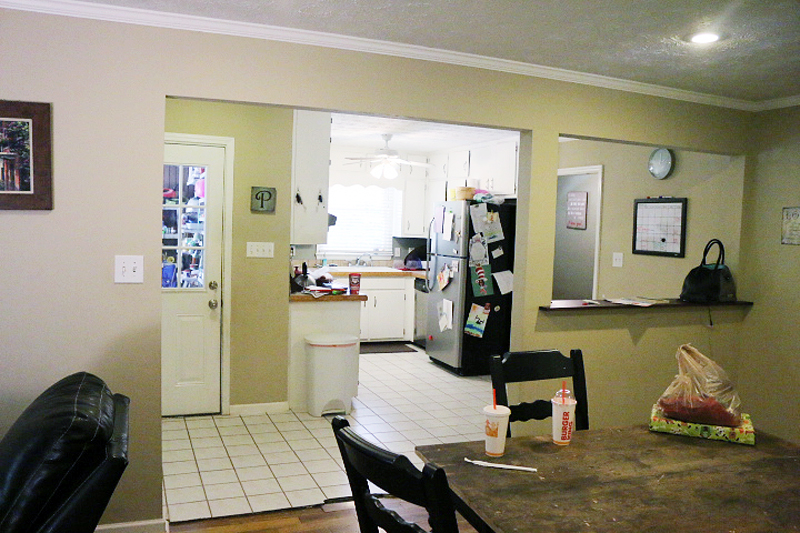
The back door opens to the laundry room/mud room which is open to the kitchen as well.
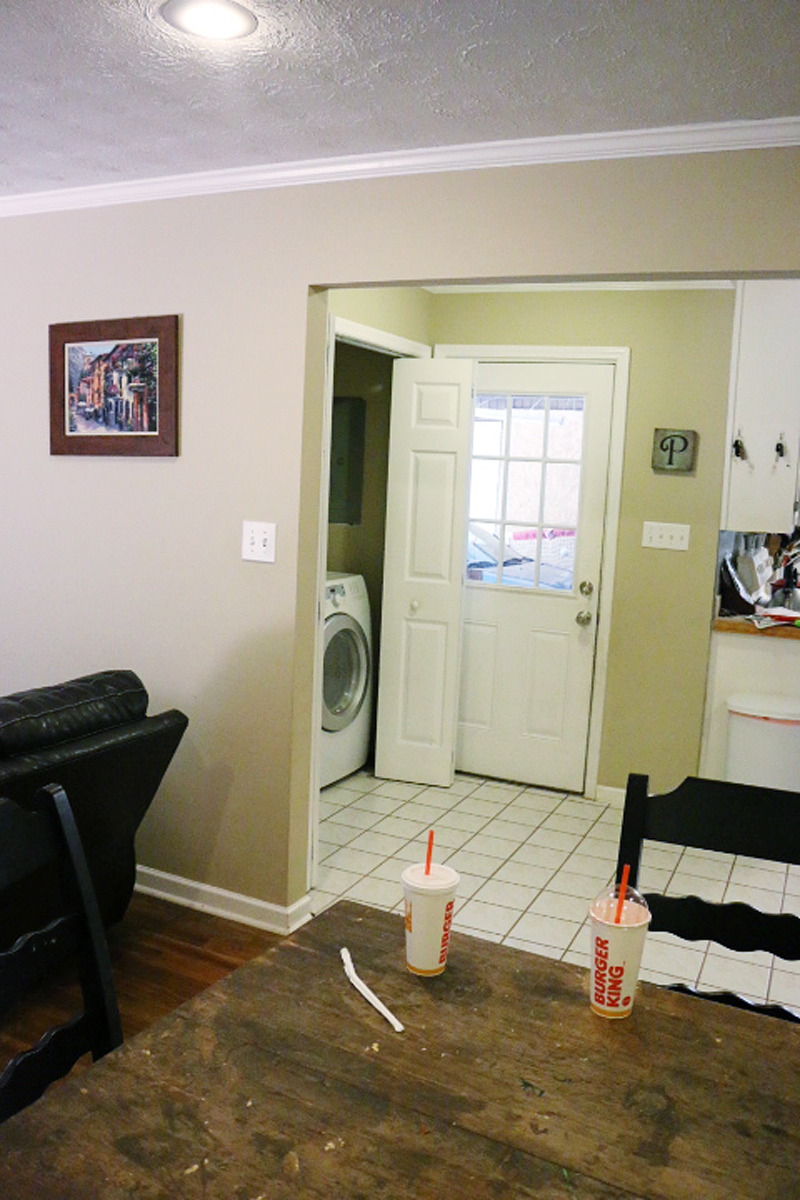
The laundry room was behind some bifold doors but that inhibited it from being used to it’s max.
So we came in with tile saws and paintbrushes blazing! We had a plan and it was so good it made me want to redo my own laundry room! (that’s actually true but I was told that I could only if we ever caught up on laundry! ha! fat chance!)
So today’s post is all about how we got from one layout to a completely new one and building out the basics of this room….flooring, walls, paint and built in details. This is the kinda raw DIY stuff that a lot of design blogs skip right over (not all of them but a lot do!)….probably because they aren’t doing the work and they hire it out. But this is the fun stuff! This is the stuff that seems intimidating but it really isn’t! I just want to put it out there….don’t be afraid of demo. Demo is how you learn how things are put together and can help you understand what goes into the art of drywall and mudding and crown and tiling. Get in there people! Just make sure you talk to your spouse or landlord before you rip a hole in your walls 🙂 And please read our disclaimer page because we are not responsible for your injuries, death or dismemberment. Happy Demoing!

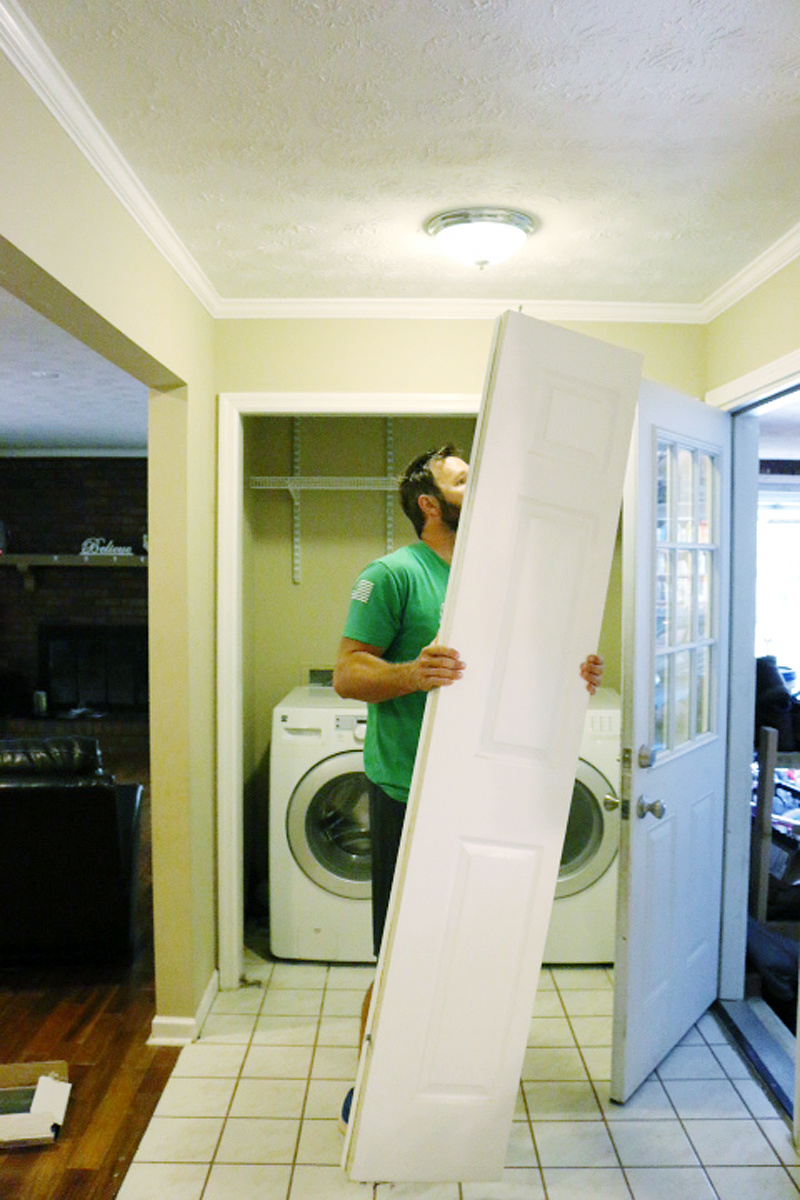
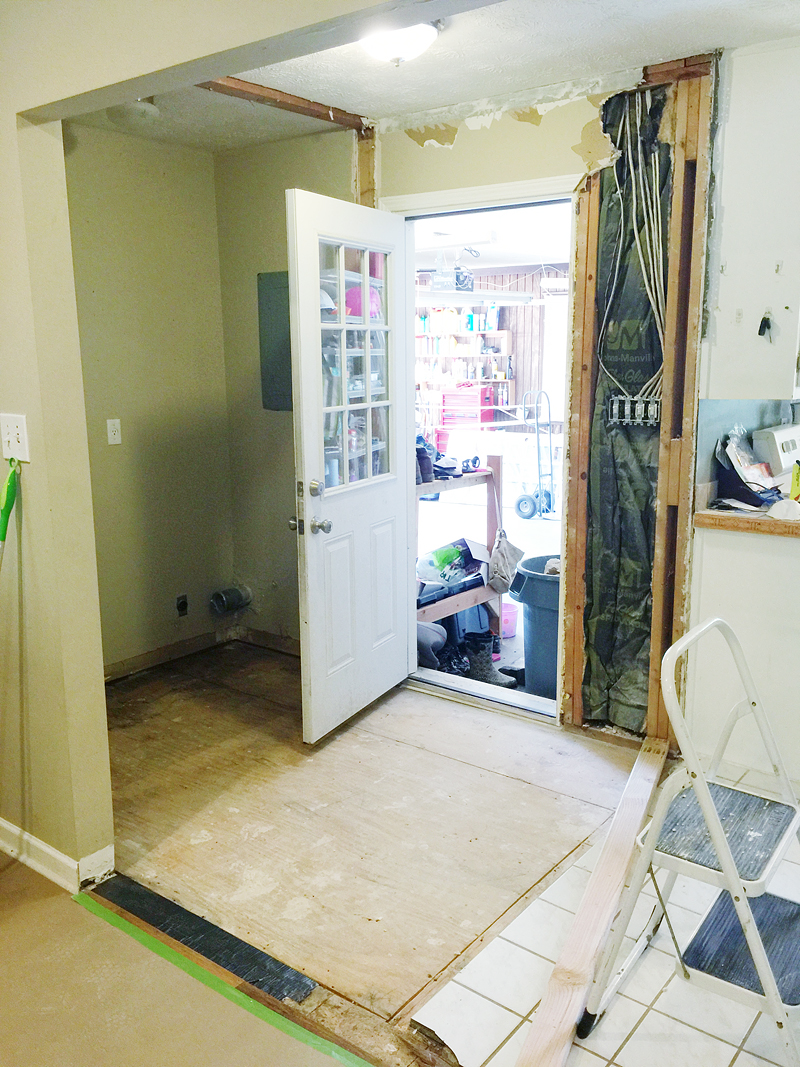
Speaking of demo – the first thing to go were those bifold doors! SO glad to see them out of there.
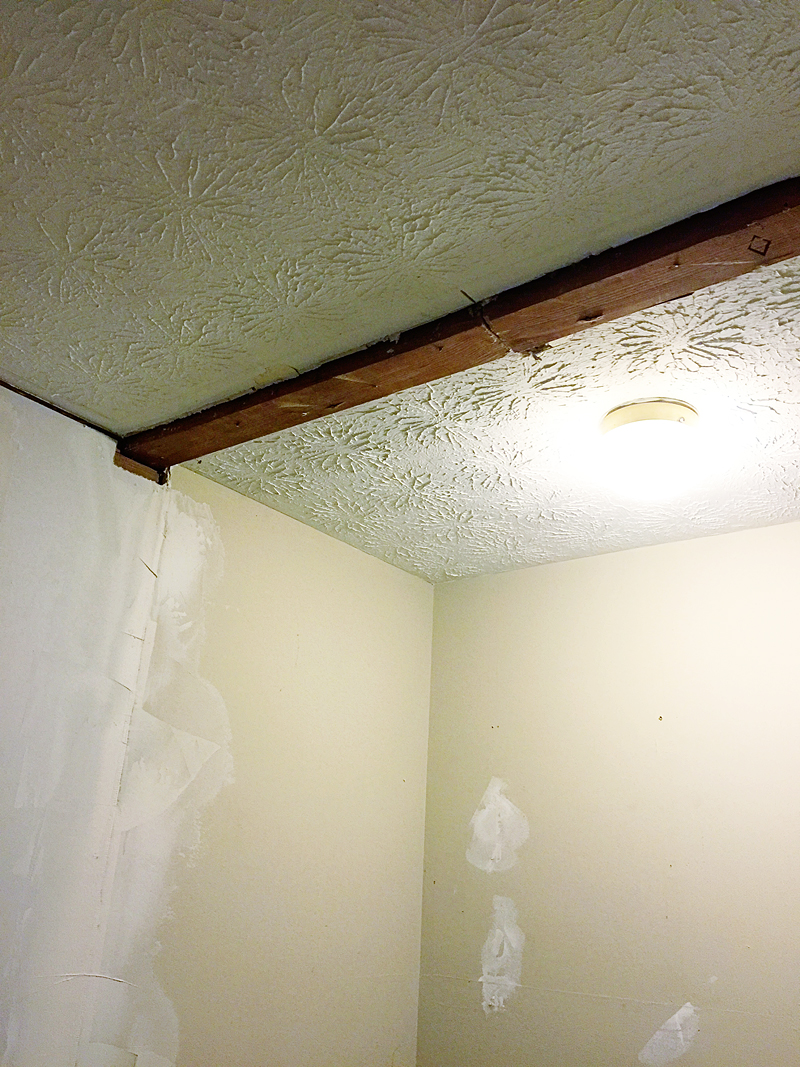
Then it came time to remove the header for the laundry nook. This was not load bearing and actually just attached to a 2×4 that ran between ceiling joists. It actually created a little headache for us later but we figured out a solution that feels really cool and organic. More on that down in the post.
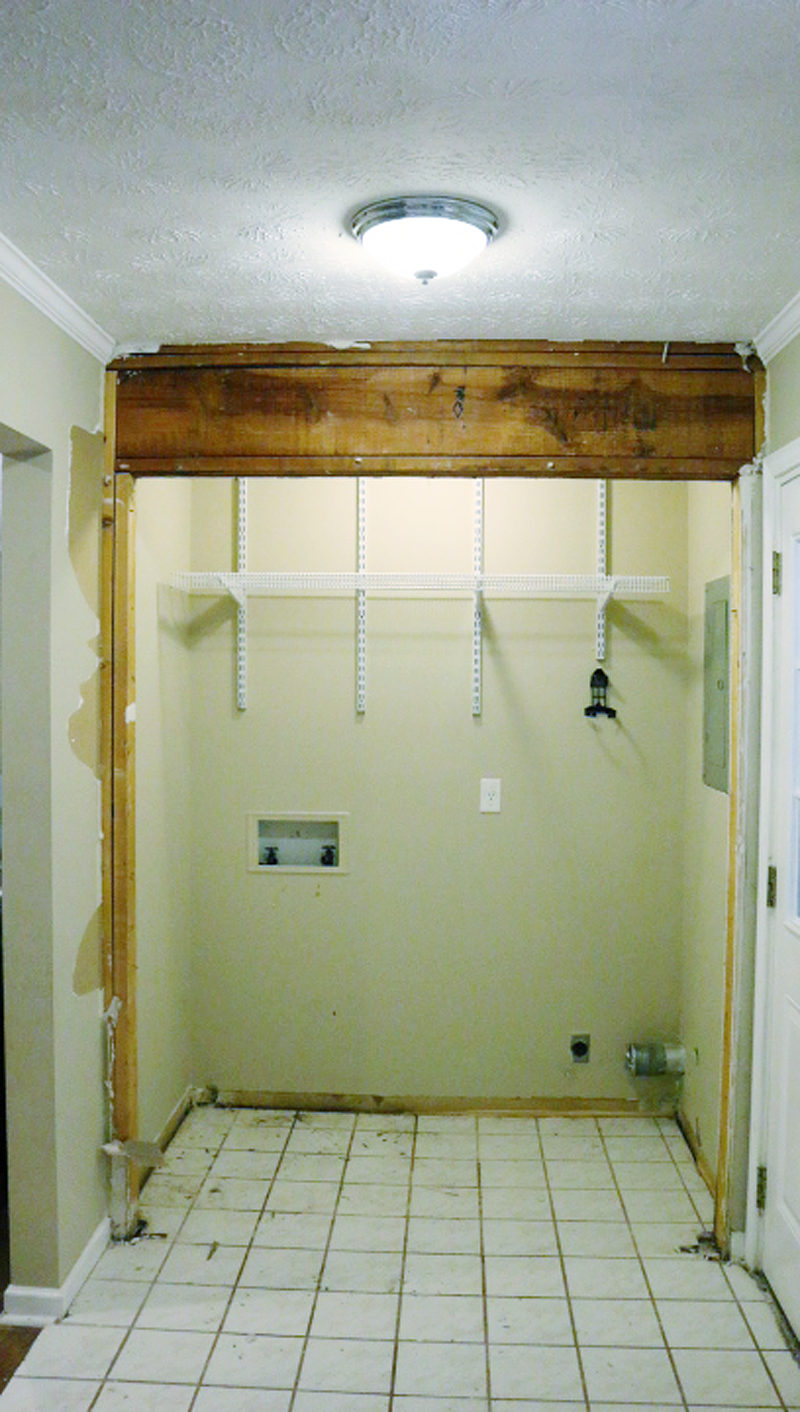
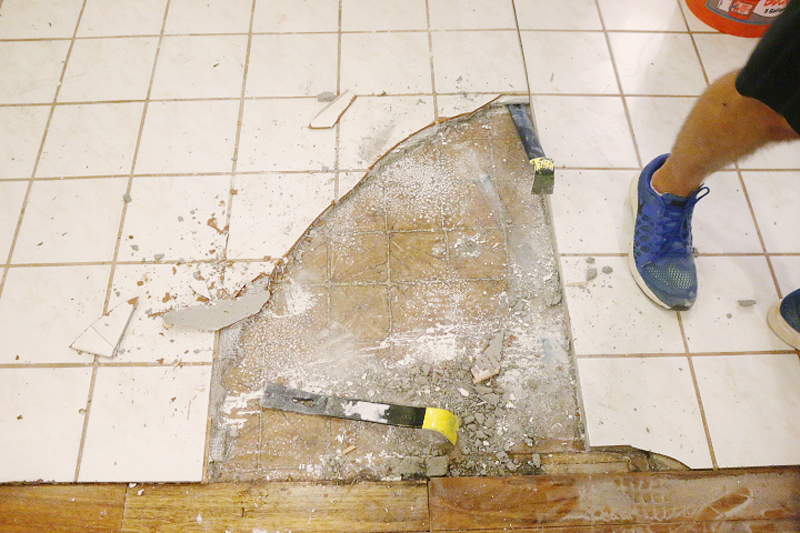
We also had to tear out the old flooring tile….
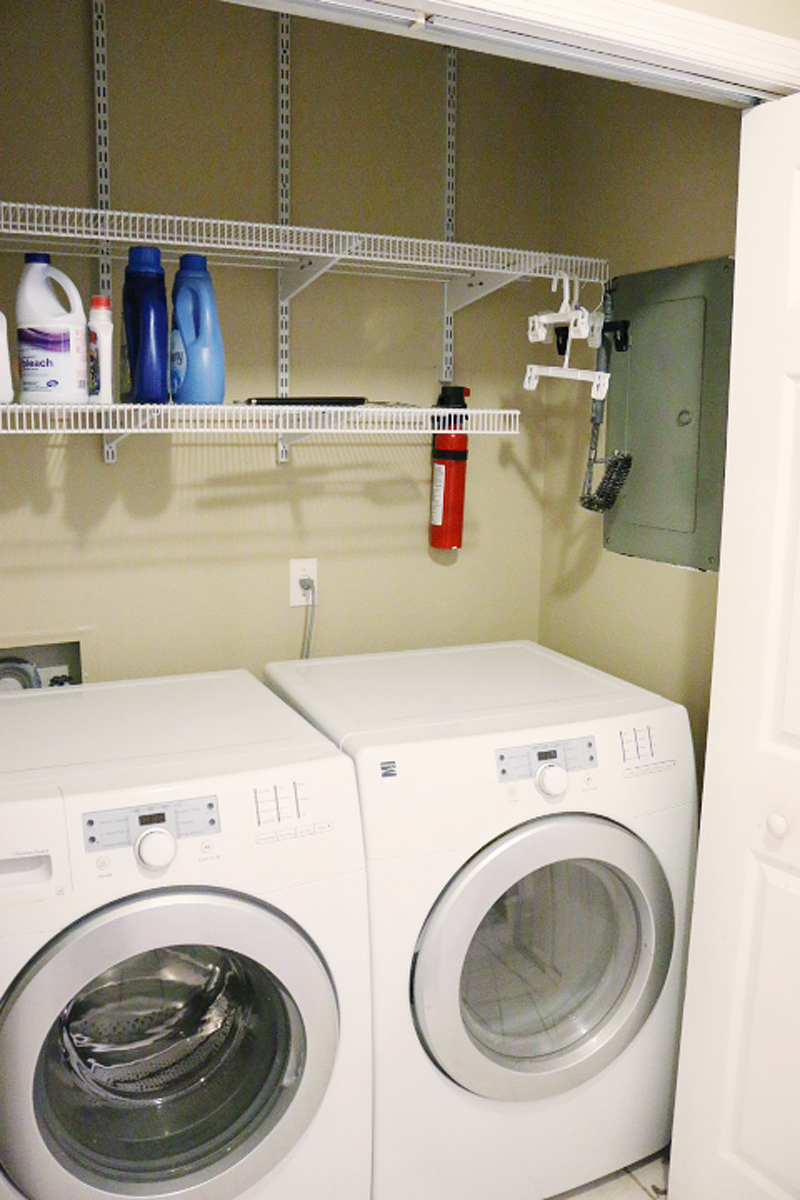
And removed the shelf that lived over the washer and dryer.
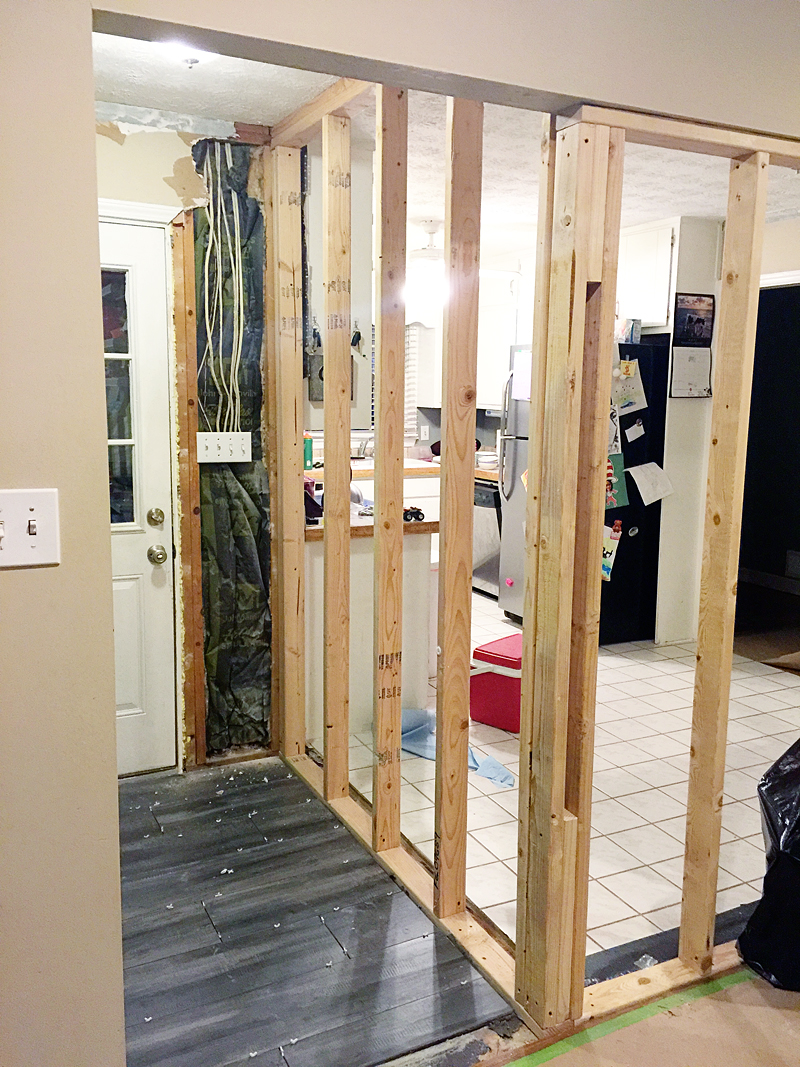
This may seem like ‘oh yeah we tore everything out and it only took six minutes and made zero mess’ but in actuality, we are on super fast forward. This whole process took about a week and when we finally were clean and back to it, our very first step was to construct ‘the great wall’.
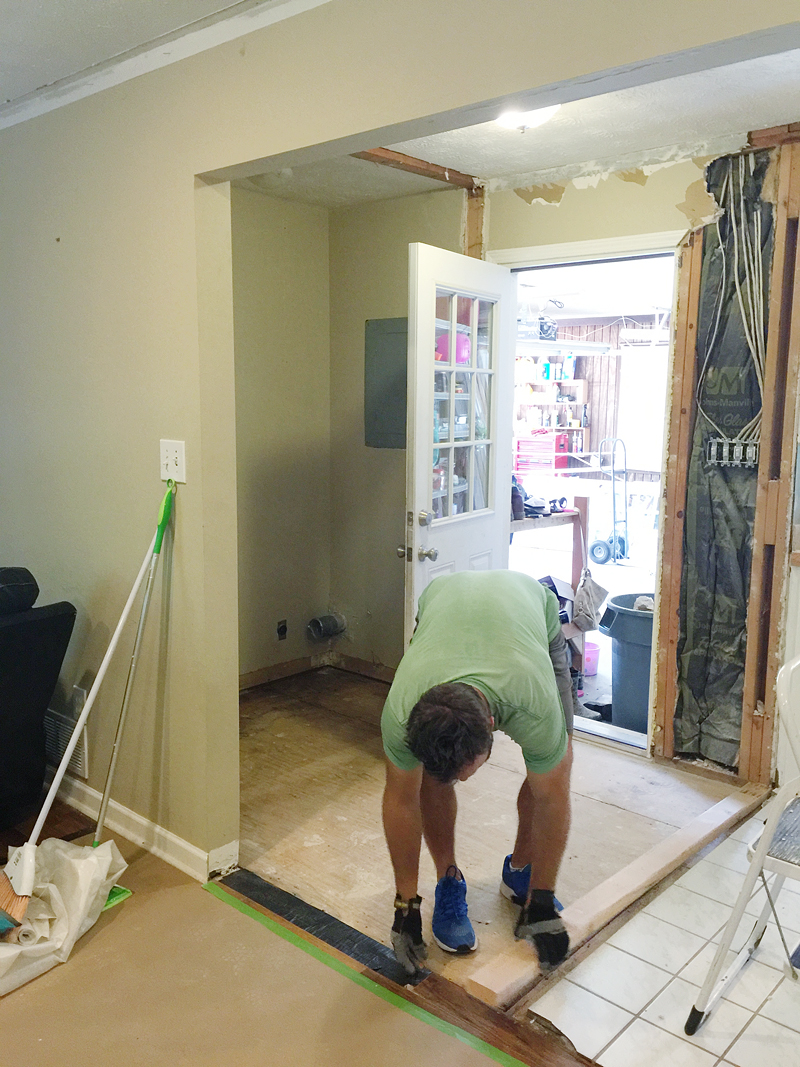
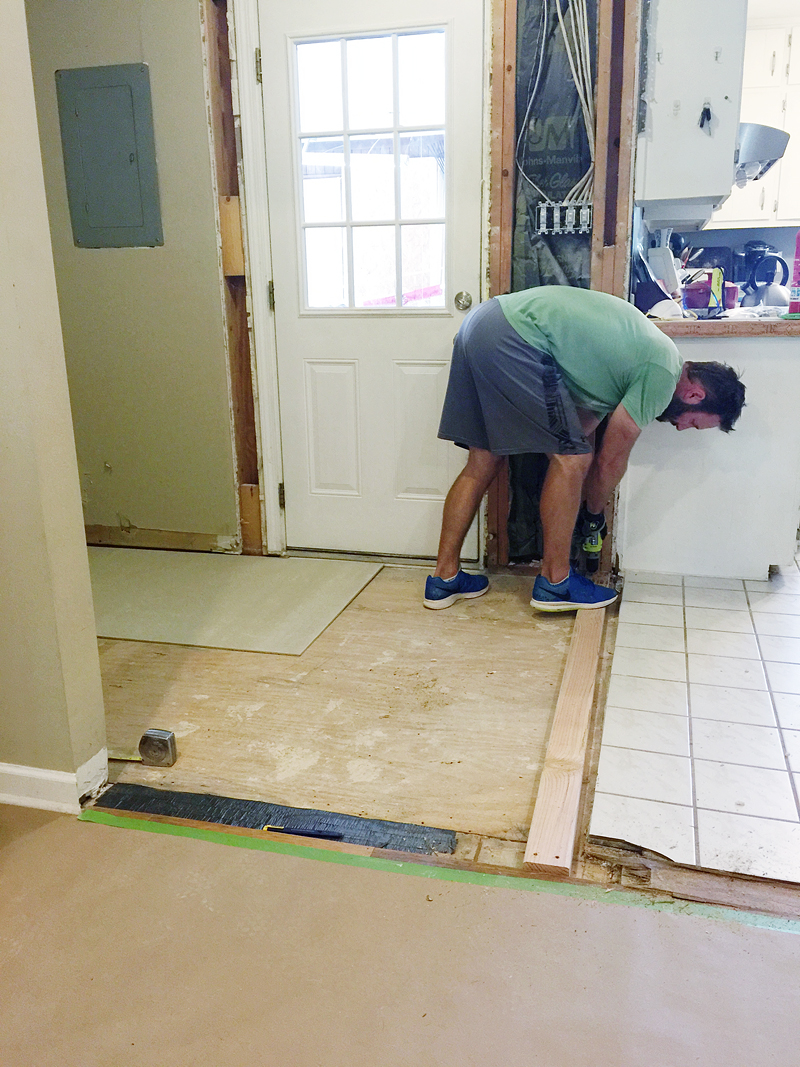
That board that Jeremy is holding is going to be the base for the wall dividing the laundry room from the kitchen. Why are we putting up a wall? Well, go read this post and understand.
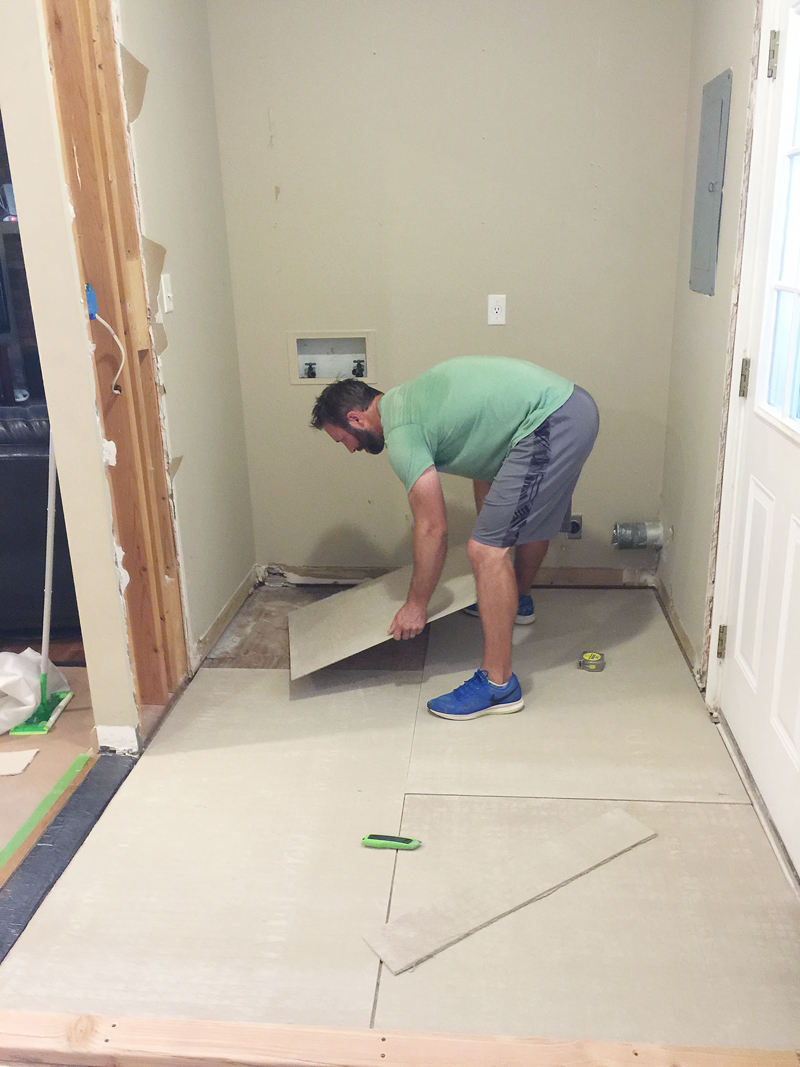
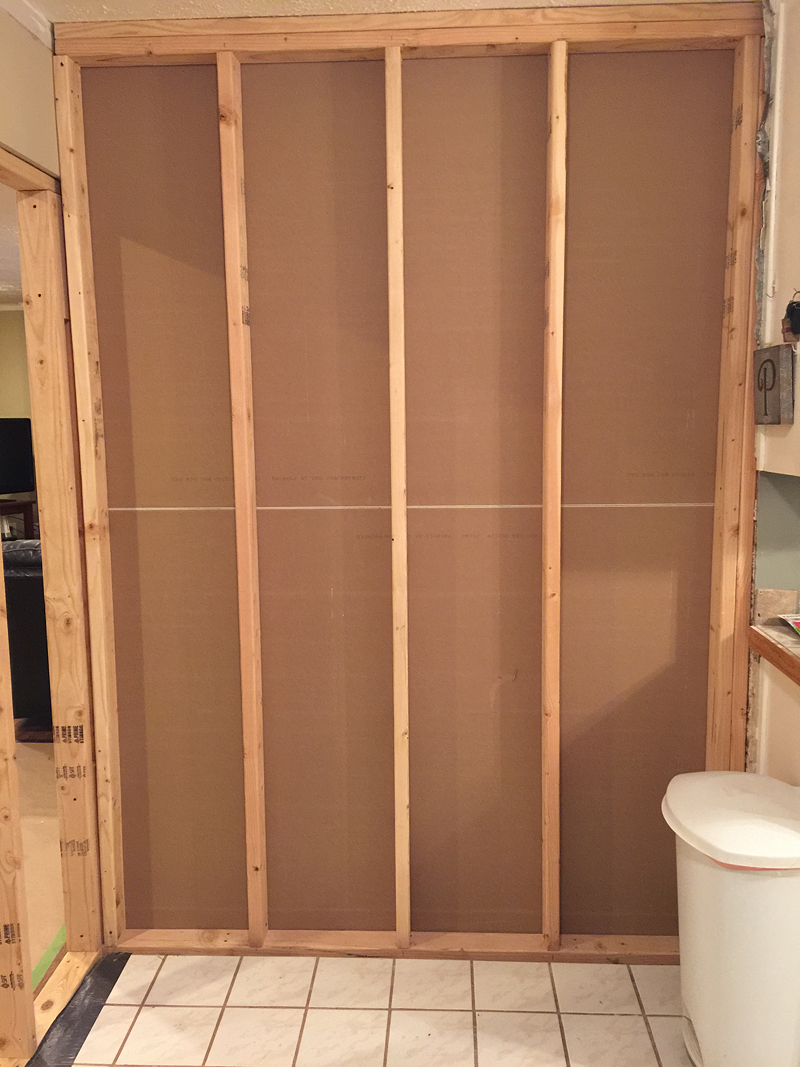
Once we had the footer in place, we could construct the upper portion and lay the backer board on the laundry room floor.
Laying backer board (or cement board or wonder board or whatever you want to call it) is fairly easy. You will want to cut all your pieces to fit and stagger your seams.
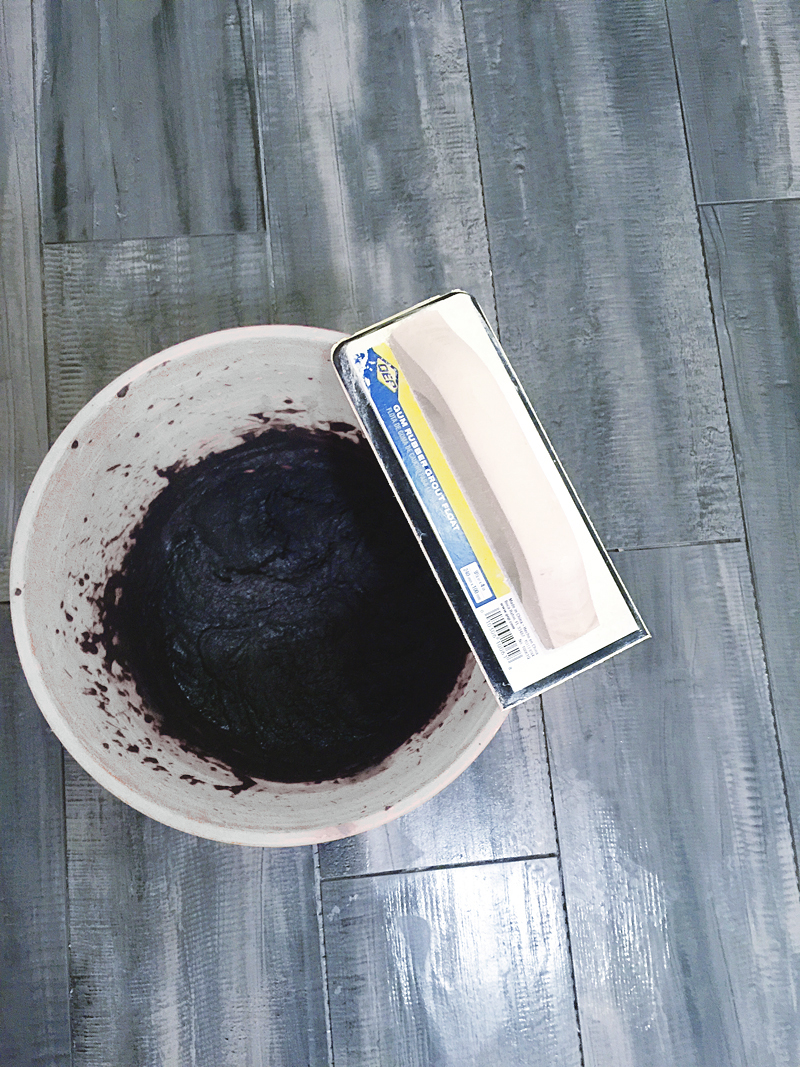
Then mix up some thin set (this is basically like glue for tile and can be white or dark and is really easy to mix with a paddle mixer, a drill and some water).
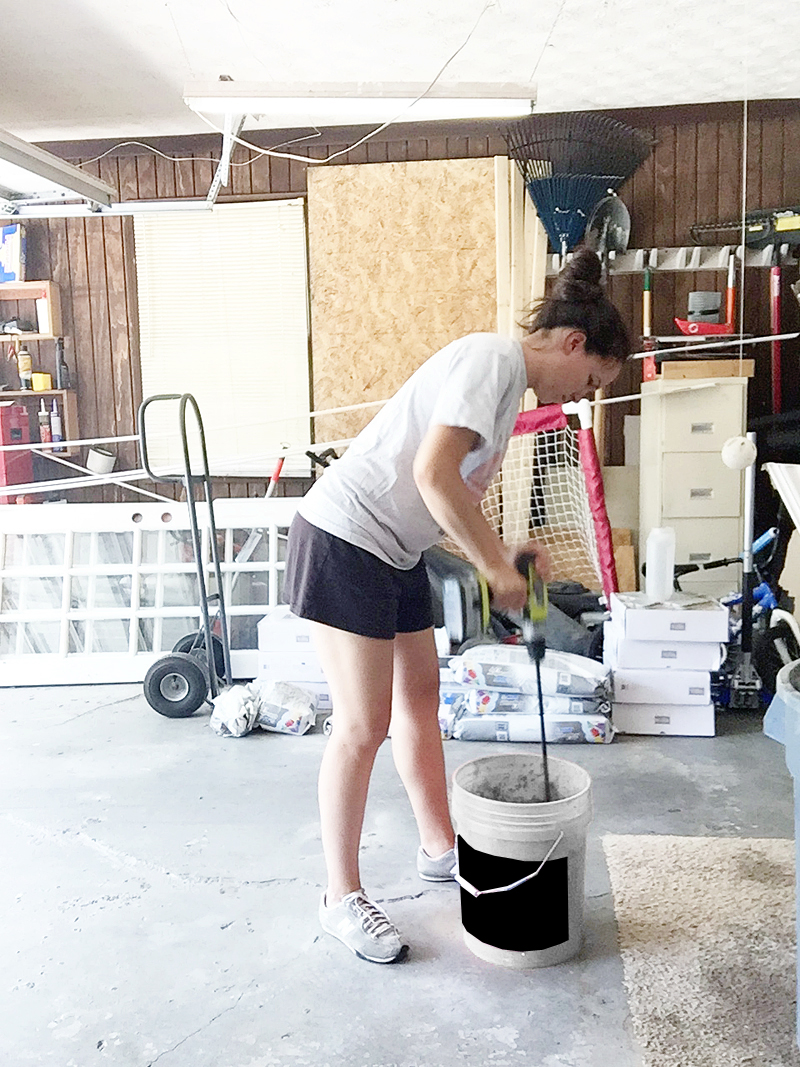
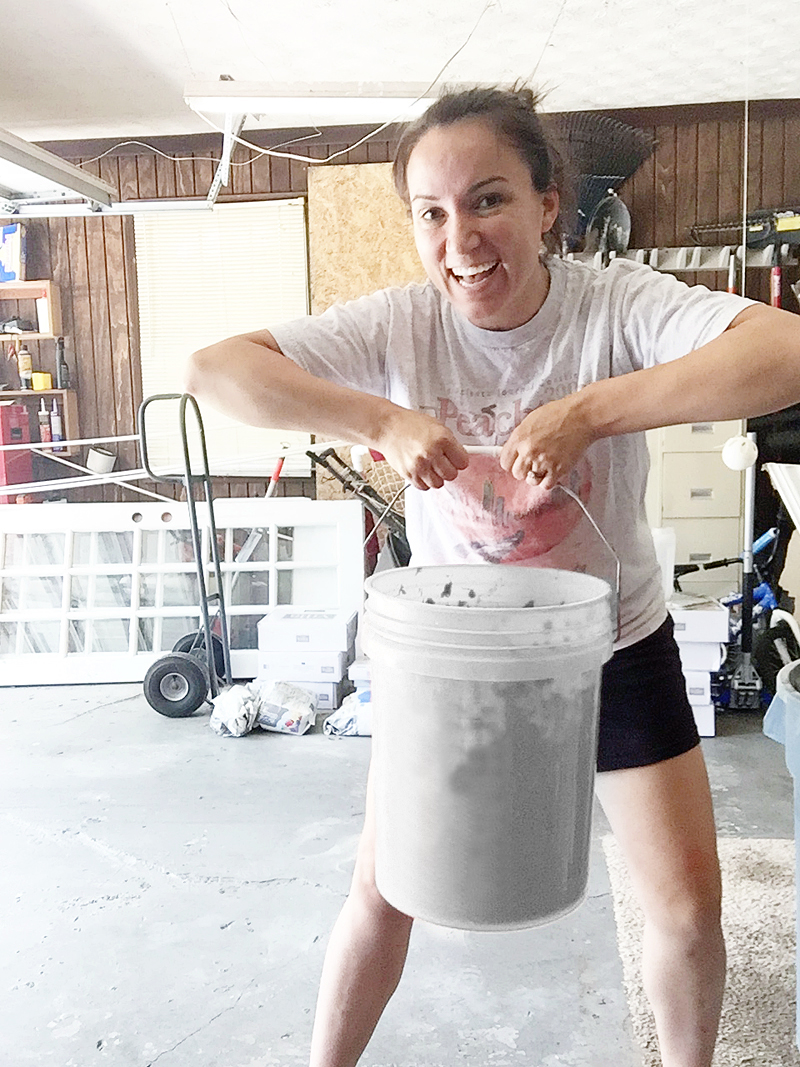
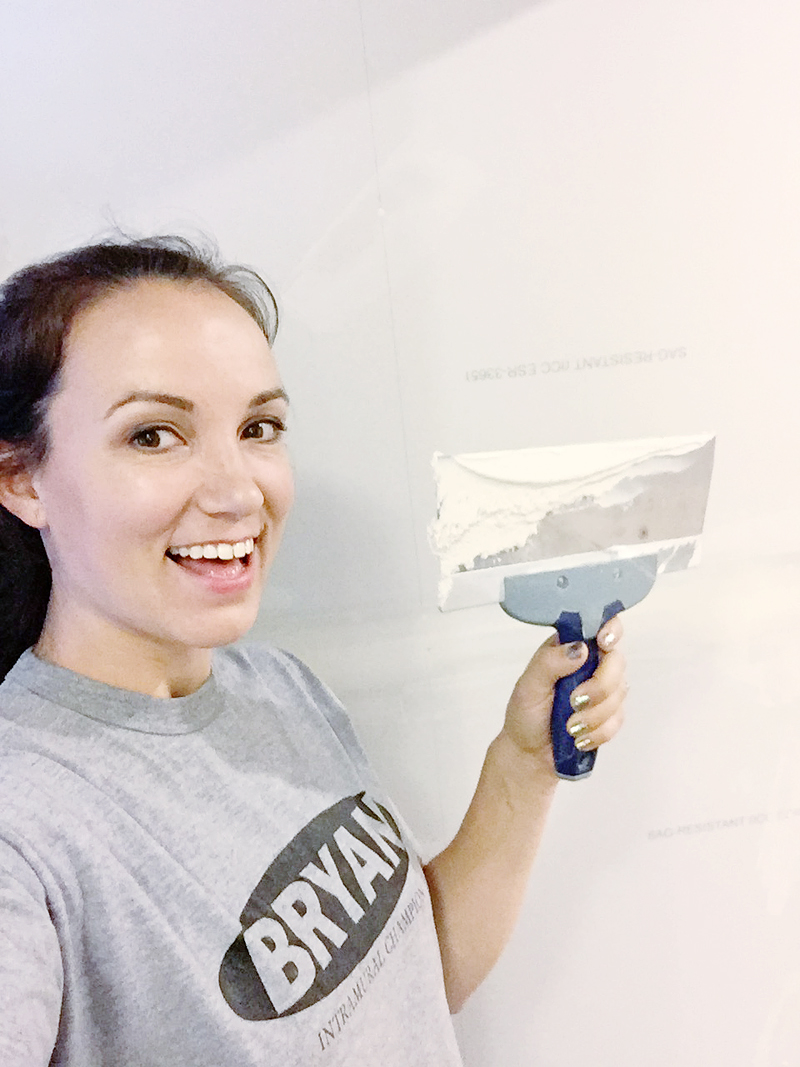
Make sure your consistency is kinda like an easy to spread peanut butter and also make sure you get a super flattering photo of yourself. #yikes #terrifying
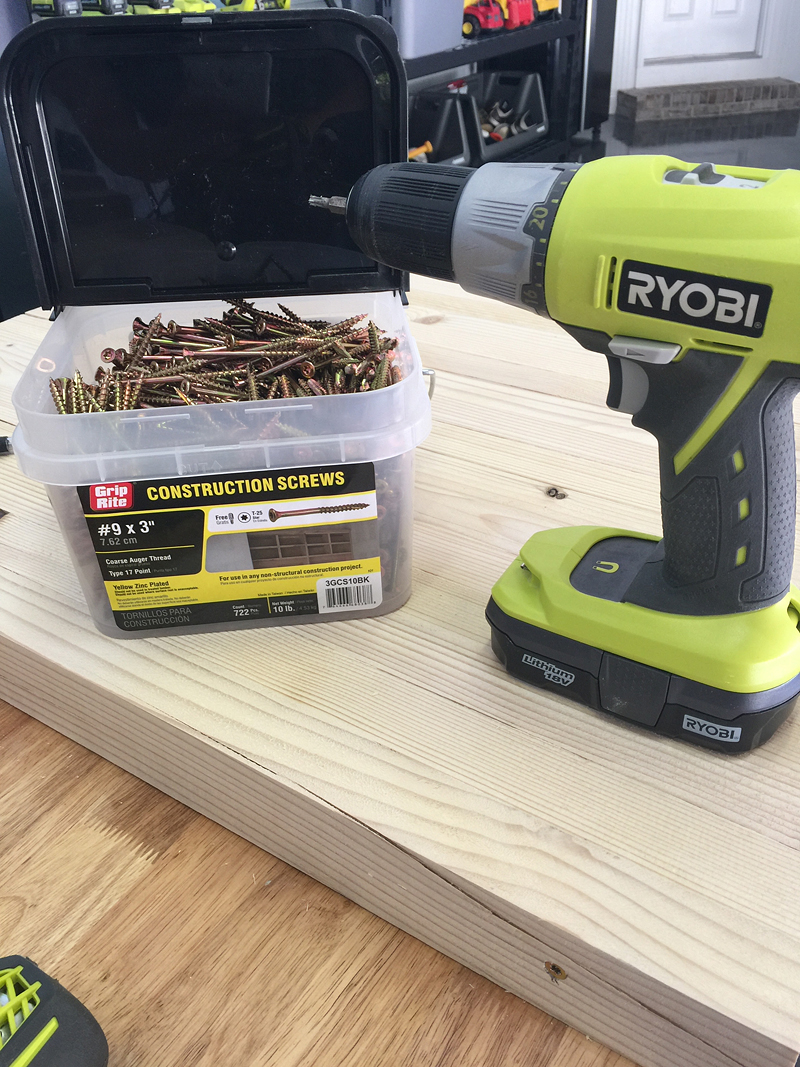
Then you just trough it on your floor before laying your puzzle pieces back down. You will want to drill backer board screws down every 6-8 inches and along the edges too to make sure your board is firmly attached to the subfloor. Anytime you see a crack in a tile floor, it’s probably because of improper installation of your base. Not always but a LOT of times people did not install the backer board properly.
You will also want to use seam tape for the seams to make everything like one big piece of ready-to-tile.
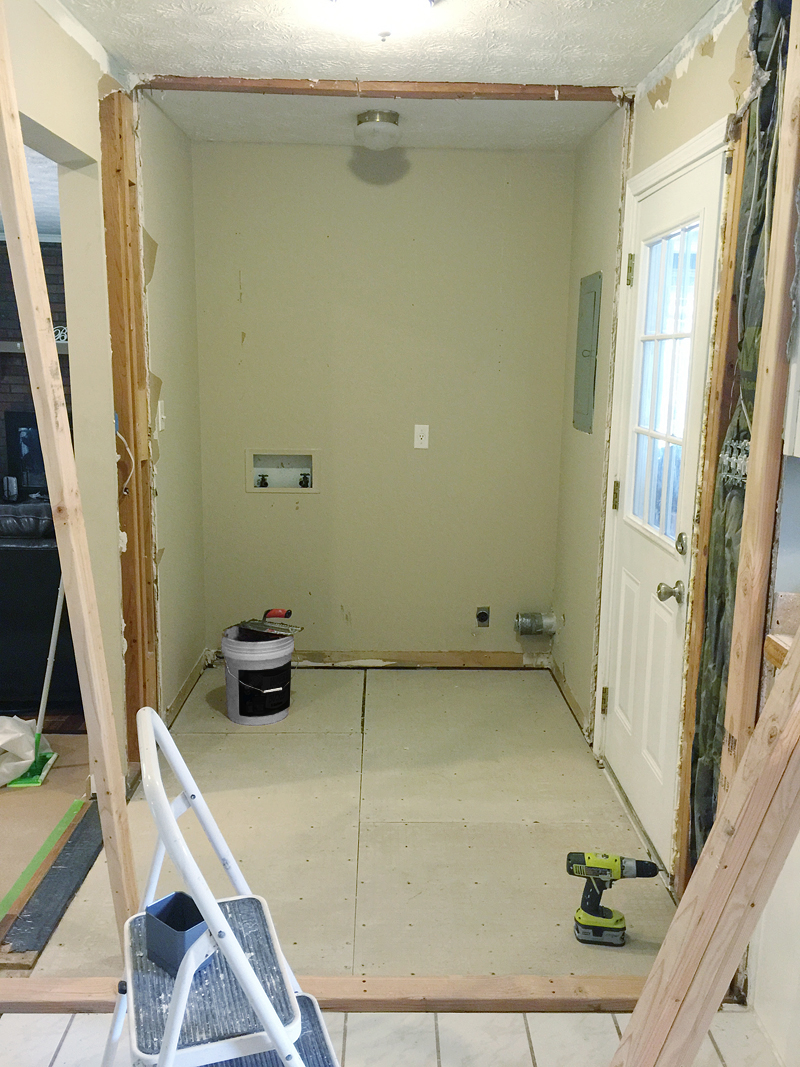
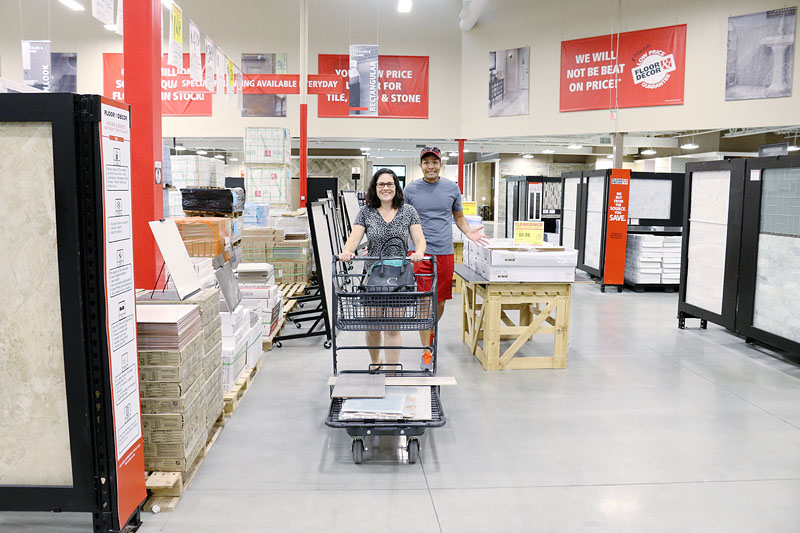
The next step for us was to construct the wall….once we banged that out, it was time to go shopping!
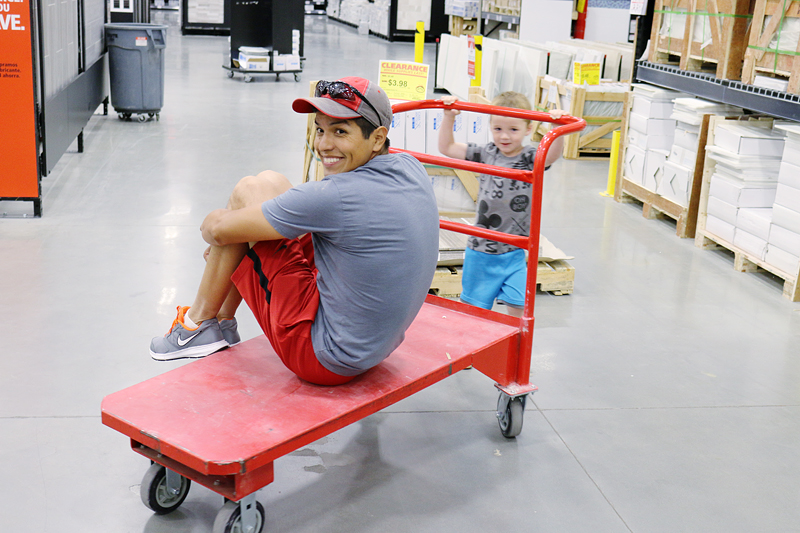
Last year we went shopping at Floor & Decor several times. It doesn’t seem that overwhelming to us but our friends were cracking us up. They were SO shocked by how huge the store was and how it had so many choices. Charity said “I couldn’t do this without you guys! I wouldn’t even know where to start!”. I get it. It’s how I feel about the makeup counter at the department stores 🙂
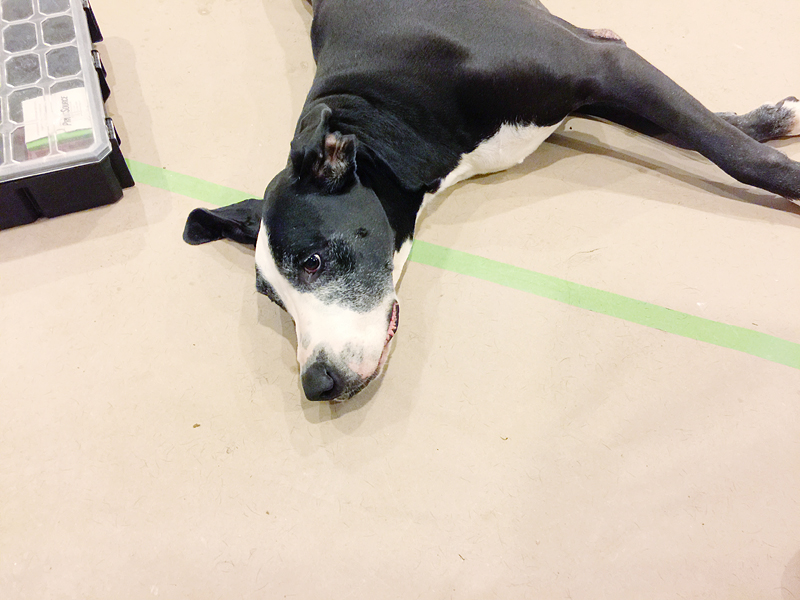
But it really is quite simple. You just list the thing that you need the most in that space. For the Pedraza’s it was DARK FLOOR. They have the sweetest cuddliest great dane who leaves behind a trail of tiny little black hairs. And they have two kids (with one adoption on the way) and a cat and lots of little footprints.
They also need it to be durable because our kids are coming over and you can’t let their sweet faces deceive you….they are mini wrecking balls!
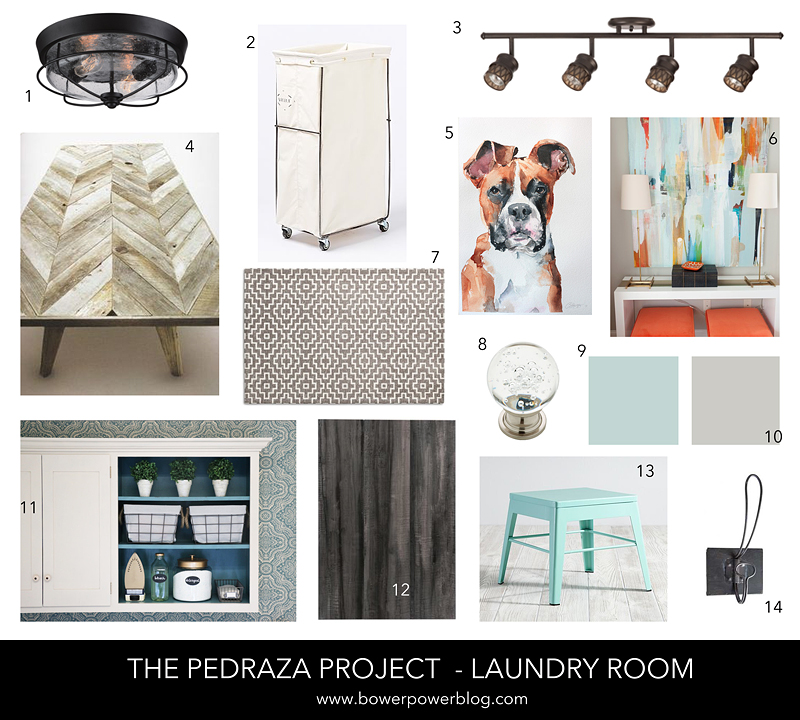
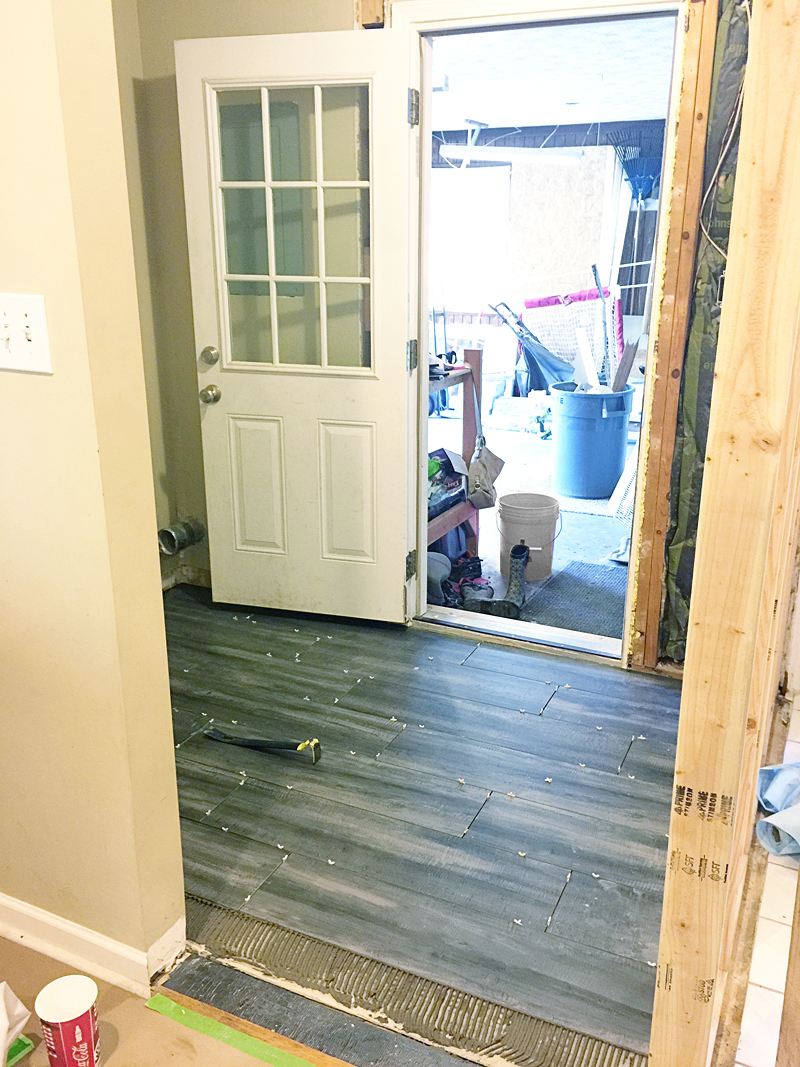
So we headed straight for the tile (durable!) and picked up a sample of all the dark ones that would hide imperfections (something with lots of texture and variations). In the end, Charity also stated that she wanted more grays so we picked a dark gray faux wood plank style tile. It’s called the Riverwood Charcoal Wood Plank Porcelain Tile (and it’s super affordable!).
I can not tell you how obsessed I am with this tile….it’s like a slate from far away due to the color variation but since it is a porcelain, it’s super durable and scrubbable and has so much texture and it’s basically my new love.
Once we finished tiling, the wall needed to be finished.
So Jeremy worked on some other details – moving electrical around, installing a little plumbing so that the fridge could live on the opposite side, and then drywall….
And I finished up the grouting with Danny. We three have been tag teaming with the projects and Charity has been on kid duty. It’s kinda been a nice break to have her help with the little guys and they LOVE her.
Okay but back to the tile. See how pretty it is with the dark gray grout?! I love!
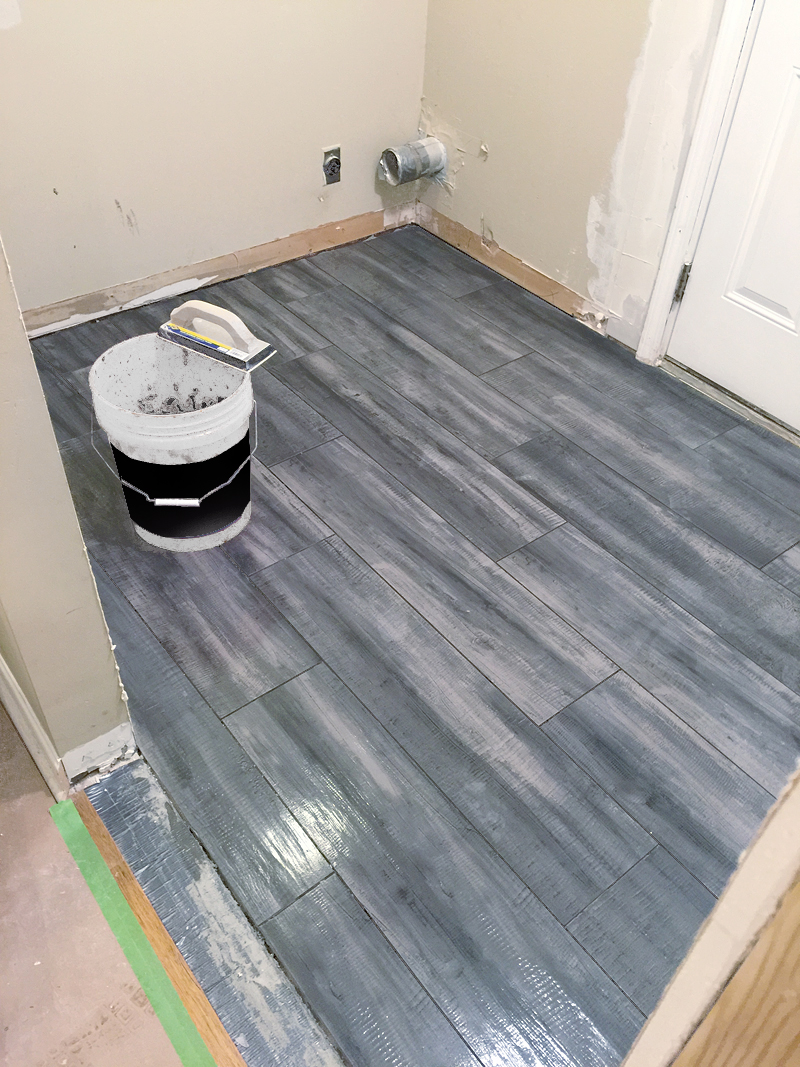
And it looks shiny here but it’s actually got a matte finish that helps it hide dirt too. See all that variation?! I means….my heart eyes are bulging here people!
The progress at this point seemed a little odd….we were working on one room and then we also had to build out the wall for the kitchen. The space between studs is our way to get into the kitchen. But that would be the new wall and then the little countertop pass through area would become our new walkway….we just didn’t want to tear up too many walls because the Pedrazas still had to live here.
Once the drywall went in and the tile was down, the laundry room really started taking shape. It felt like it was becoming a legit room.

Anyone that knows us knows that drywall is our least favorite DIY. Mudding takes FOREVER. And I am such a perfectionist that it takes me FOREVER PLUS ONE.
Oh there’s sweet Bella – enjoying her view.
So while we waited on mud to dry, we started tackling the ceiling situation. Apparently when they installed the laundry closet, they drywalled the ceiling up to the header…so there was a gap where the boards above the header were put in the ceiling. again….not load bearing – just a big headache. After a bunch of brainstorming of ways we could repair the drywall for one big flat ceiling, we decided that the best way to beat it was to join it.
I made a sleeve that looks like a beam and we could slip it over the 2×4 and attach it in place. This way we didn’t have to do more drywall, the laundry nook was separated visually from the ‘mudroom’ and there was a cool architectural detail that looks intentional and ties in our future countertop.
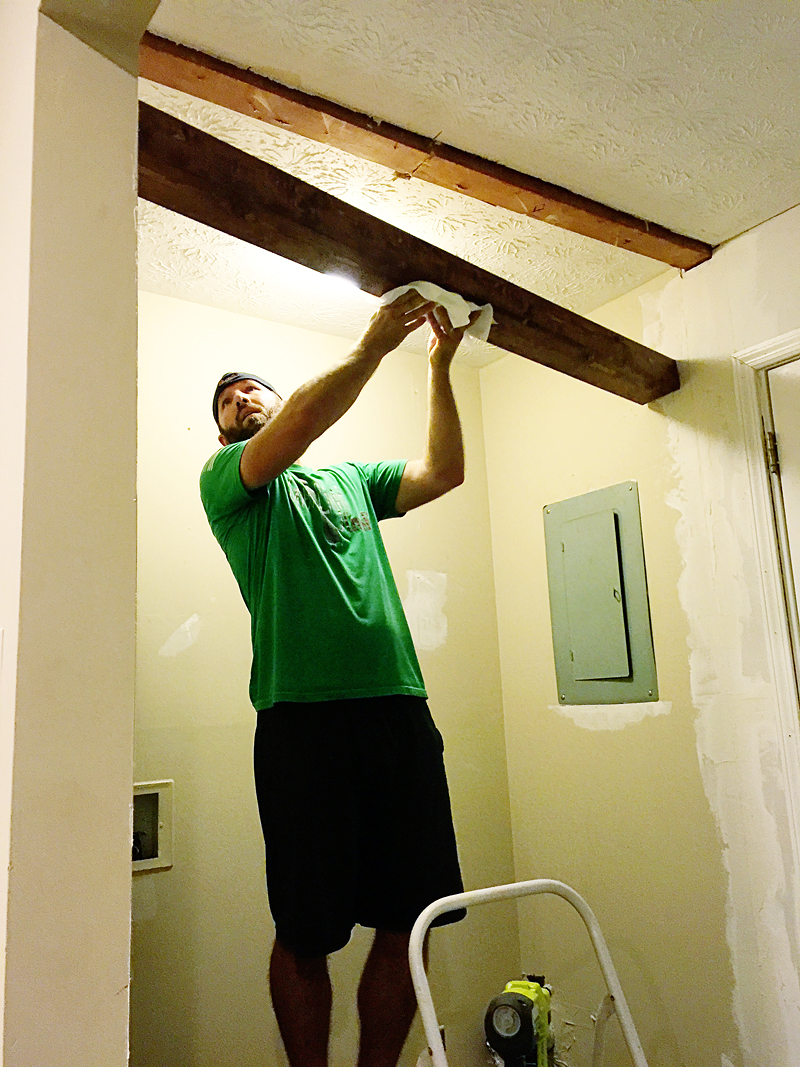
I have a full tutorial on the faux beam coming soon!
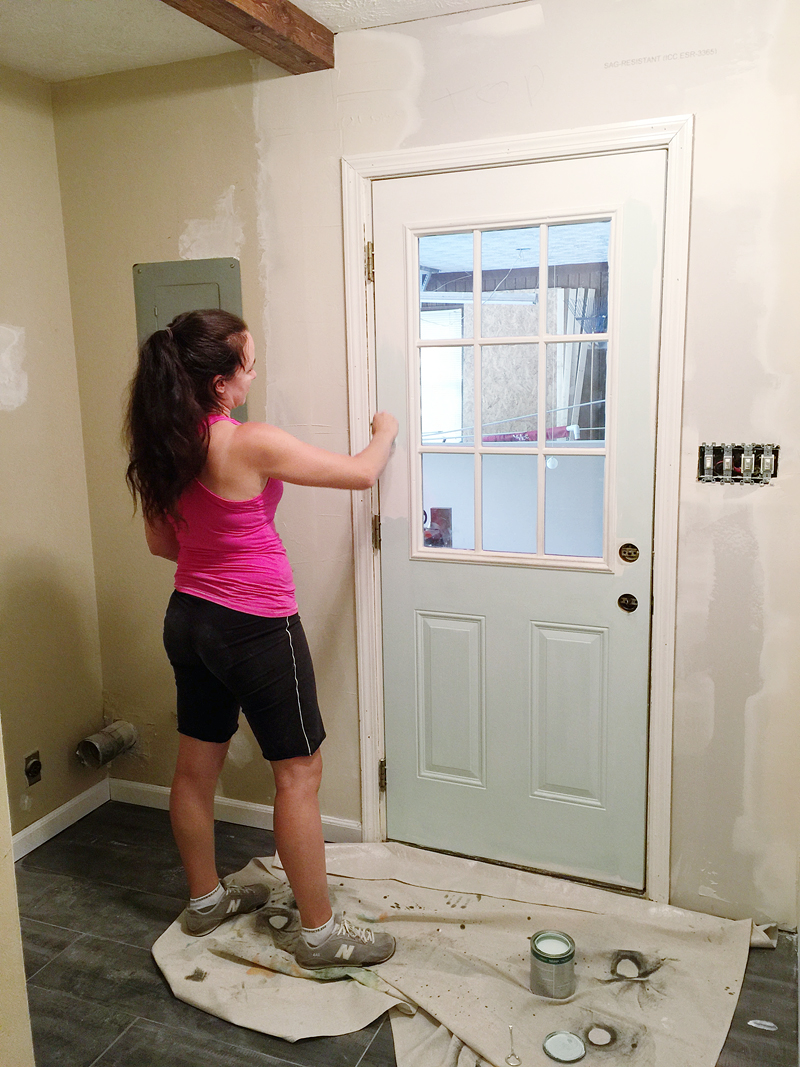
The next step after mudding was PAINT. I suggested to Charity a blue door (what is up with me and blue doors lately!?) and she was totally on board. She already had said she wanted gray walls and I wanted to keep those colors light and fresh feeling.
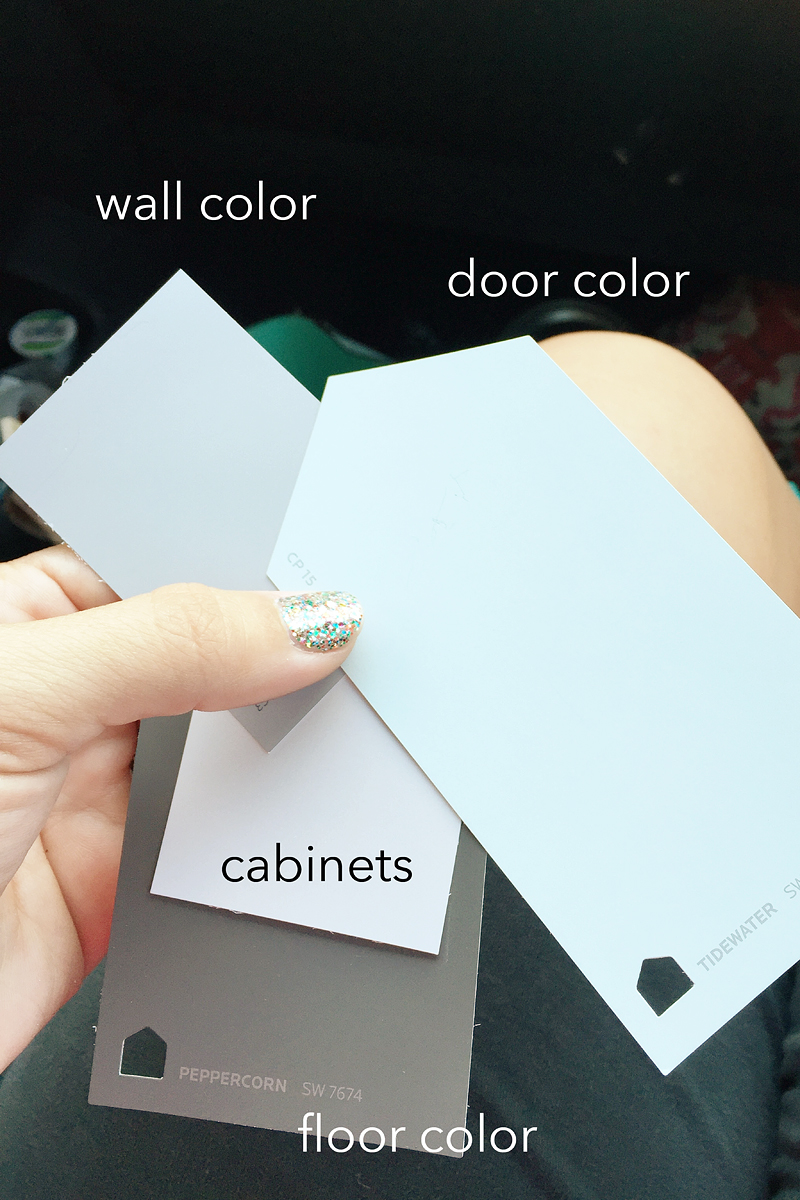
We went with the color Tidewater by Sherwin Williams and it is so crisp it feels like I crunched into an apple. I kinda hope I can find a door of my own to paint this color!
And the walls we did in Front Porch by SW. It’s so pretty together!
I also had to do some molding and quarter round on the floors and a crown on the ceiling. BUT what I really want you to see is the transition from the hardwoods to the tile. Isn’t it pretty! I know. It’s weird to get excited about transitions. I’m weird. I accept it.

Okay….so the room is ready for it to blossom from its caccoon and become a beautiful butterfly! And what does everything butterfly laundry room need? A countertop! Storage! Hooks! Let’s do this!
I saw an amazing countertop bar on Pinterest that showed the rough cut edges and I was like DONE. This is happening. I came up with a plan to make a DIY countertop that felt like the edgier older sister to normal straight A butcher block. It’s what happens when you take a normal butcher block and give it a nose ring and a boyfriend with a motorcycle. See what I’m laying down here? It’s just made out of normal 2×4’s and it’s BEAUTIFUL.

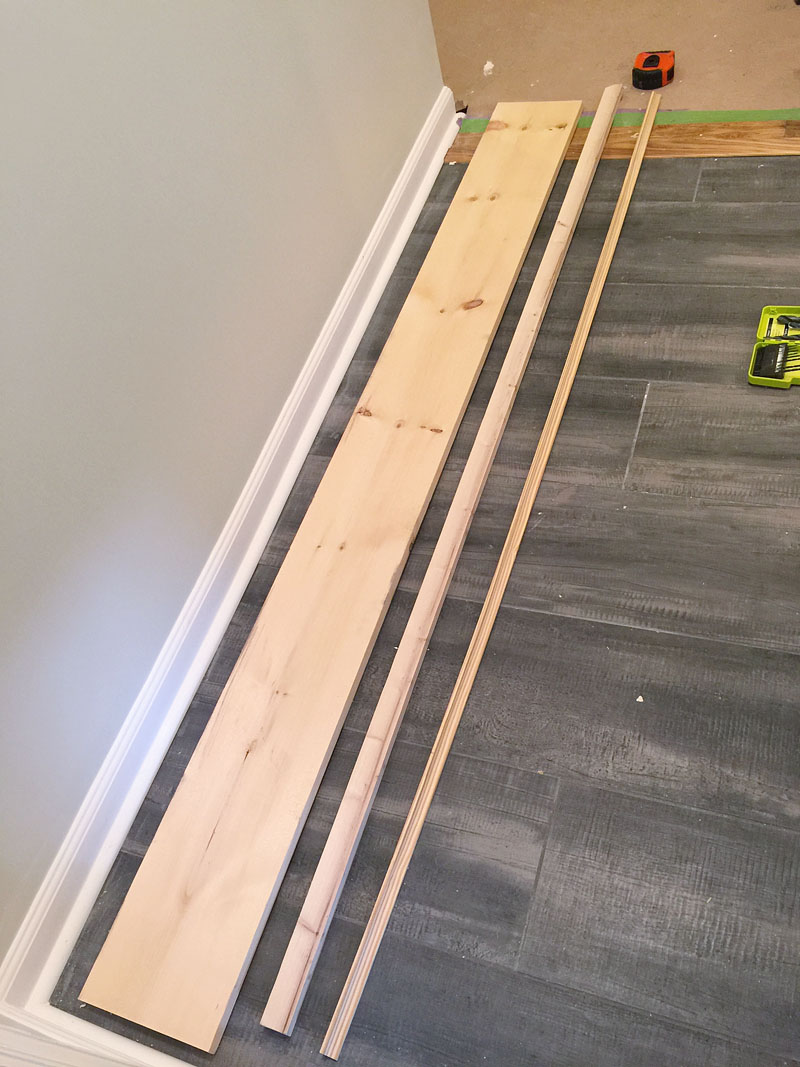
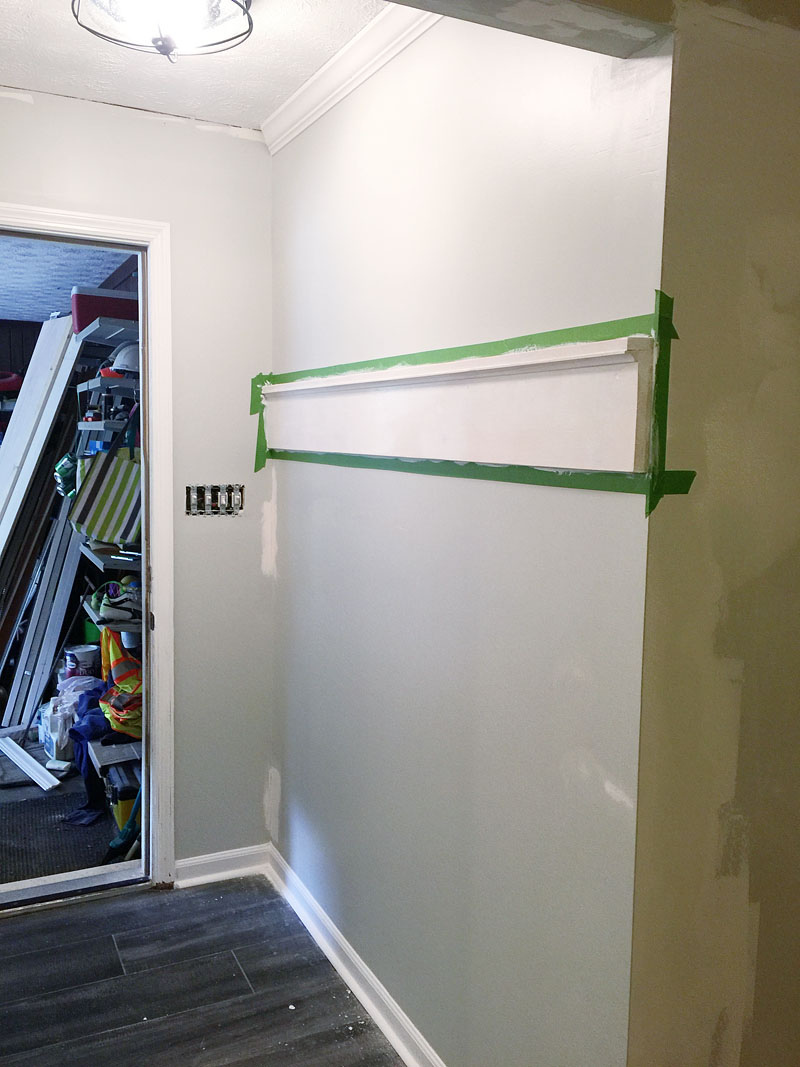
I also had to make a really super narrow ledge with hooks. It required three boards and I can’t wait to share that full tutorial.
Here is what it looks like after it was installed and given a coat of paint.
And here is where I am gonna leave you…..with this shot of this unstyled but fully functional laundry room. Next up in this space is cabinets, art and all the finishing details. It came together so beautifully and even though it is a really tight spot, it functions SO much better for this growing family.

This is totally a side note but I had to tell you! The hardest critic in the family is their 9 year old daughter Natalia. She is one of the sweetest girls but speaks the truth like nobody’s business. She actually said at the beginning right after tearing out the floor and removing some drywall, “WHY DID YOU MAKE OUR HOUSE SO UGLY?!” – I died laughing. So throughout the process, my goal is to always ask her what she thinks. She couldn’t imagine a blue door until we painted it. She couldn’t imagine a hook for her back pack. She just couldn’t get it. But once little pieces started coming together, she got excited and her eyes lit up when we told her that a picture of Bella would be in there and that we would have a board for pictures. She told me this past week that she thinks it is the most beautiful room. And Charity tole me that Natalia even sat in the finished space to do her homework. Yup….she sat in the laundry room to do her homework. And I take that as the BIGGEST compliment.
It’s just the best feeling in the world and I am so excited to be able to pay it forward to this family. And I gotta say it one more time – a big thank you to Floor & Decor for partnering on this project. I love supporting companies that support good in this world!
FOR MORE DETAILS ON THIS ROOM & SOURCES – PLEASE CHECK OUT THIS POST.