I had this hair brained idea for an industrial tripod fan years ago and I just could never figure out how I was gonna do it until two weeks ago and NOW IT IS AMAZING AND BEAUTIFUL AND I WANT ONE IN EVERY ROOM IN MY HOUSE. Sorry for popping a caps lock on y’all….I’m just really really excited.
Okay so this all started when we were hunting down fans for our little guys rooms. We live in Georgia and it is hot. Not like a 104 degree dry heat. That would be nice. practically balmy. I’m talking about humidity and heat. It’s like the middle of the jungle here and you don’t breathe air, you drink it. Fans are an absolute necessity.
But here’s the prob….
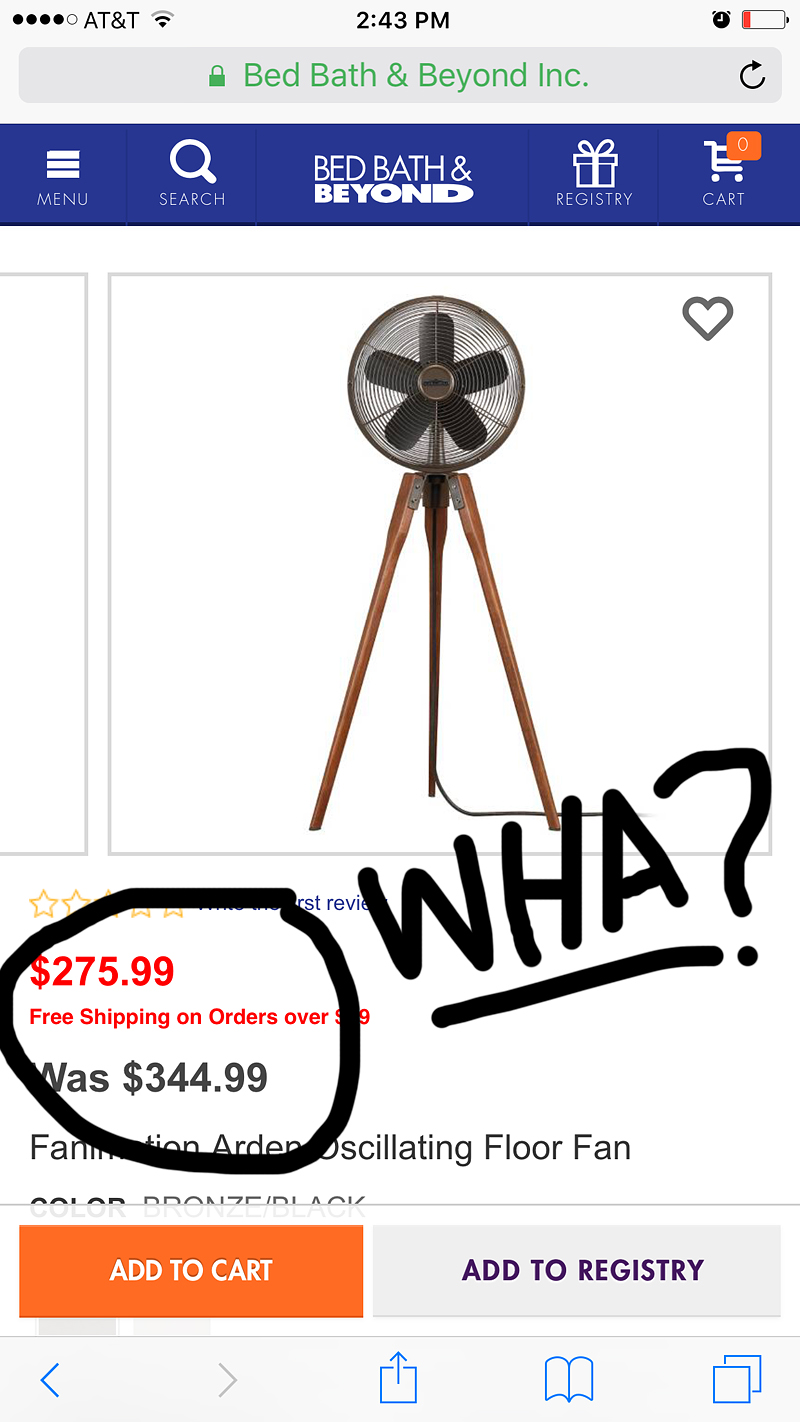
FOR A FAN?!
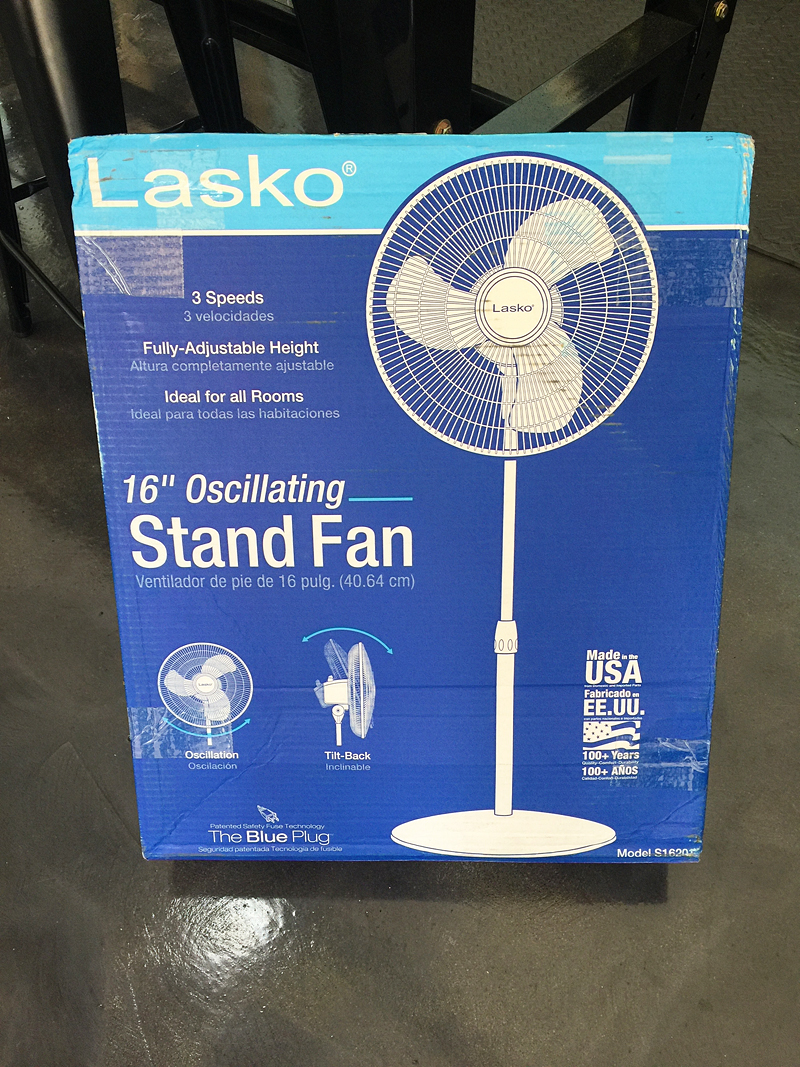
So I had Jeremy order this bad boy off Amazon. Here is the link to the exact one we bought. You can probably do this with other fans – just make sure that the fan controls aren’t part of the stem – they need to be part of the fan head.
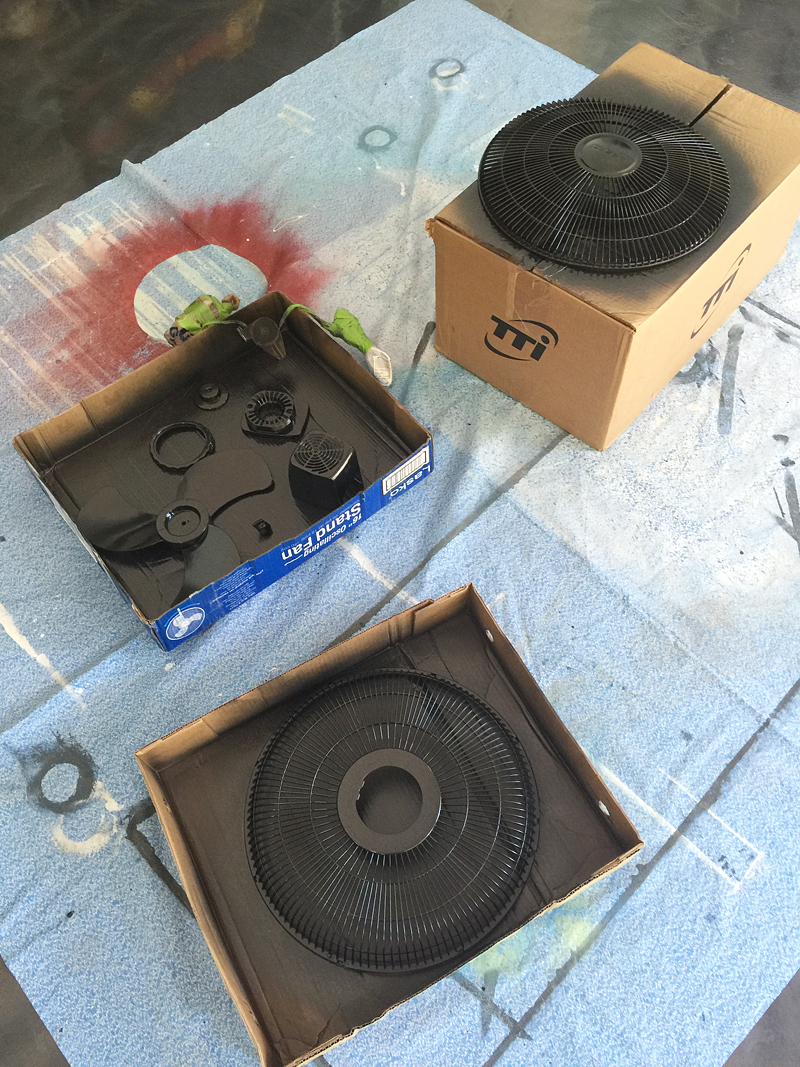
So the first step that I did was just take everything out of the box and assess what I needed to do to spray paint.
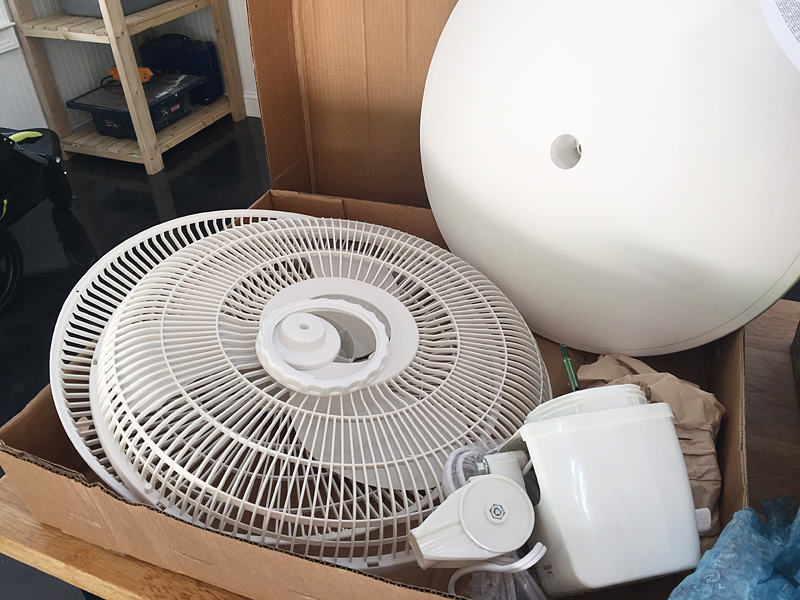
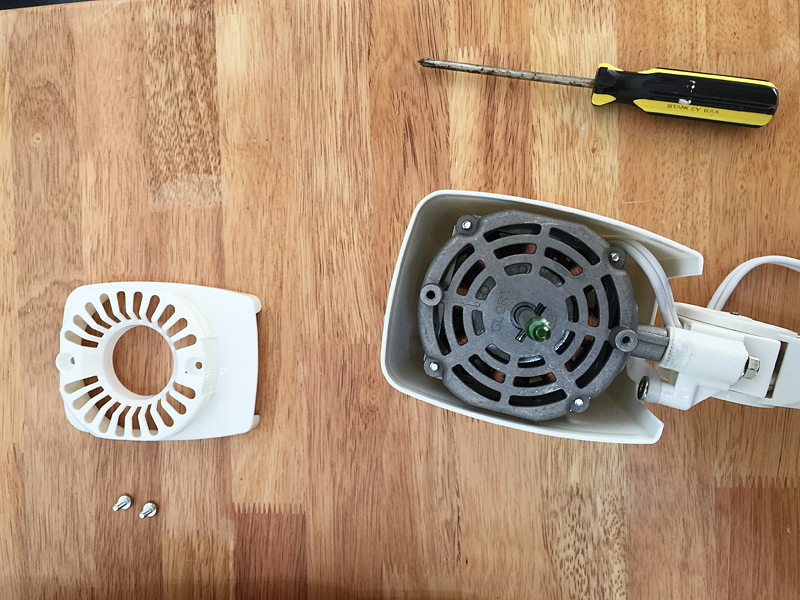
This is the fan head and you don’t want to spray the mechanical parts – just the plastic housing. You will take the screws out of the front….

remove the front cover and then don’t lose your screws 🙂
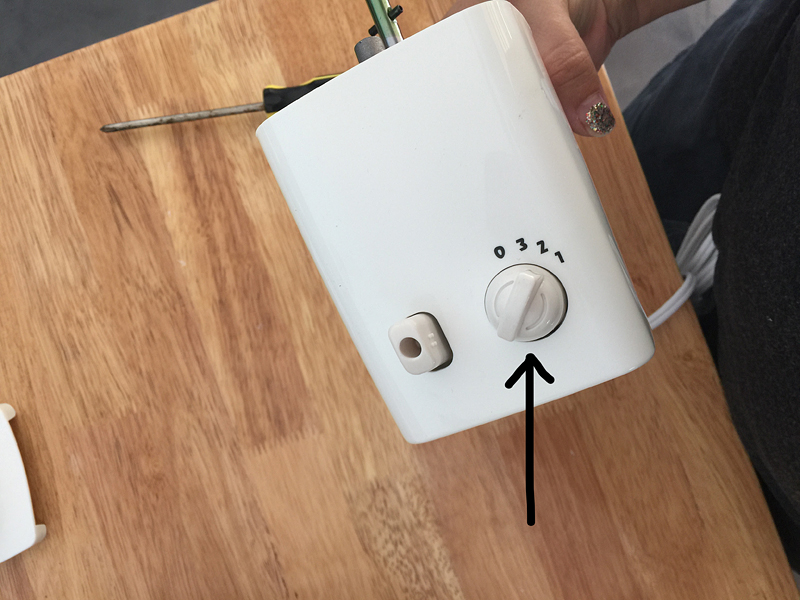
You can also remove the speed knob on the back.
Remove the other screw on the backside of the cover…
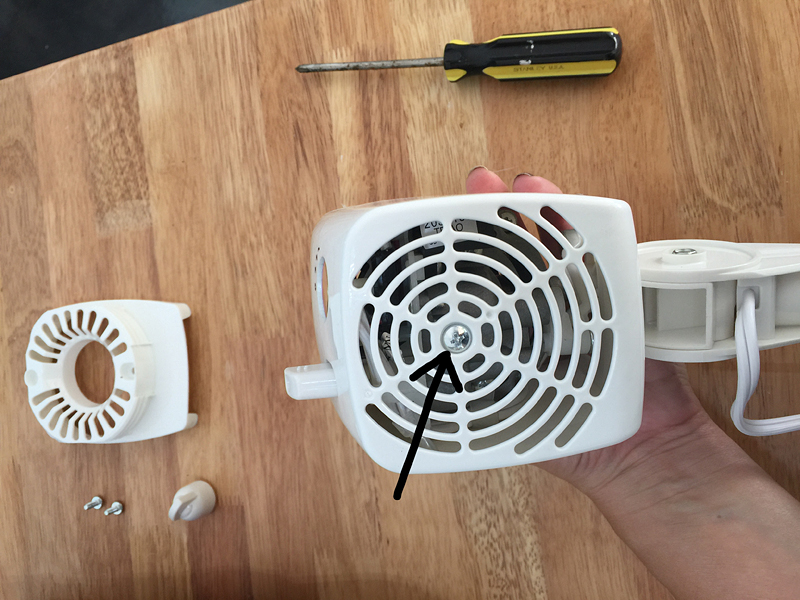
And you are almost ready….
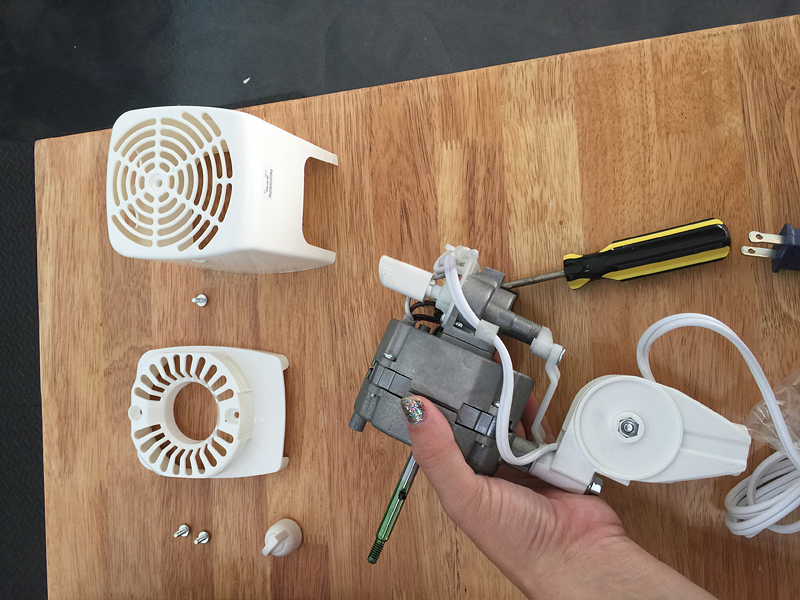
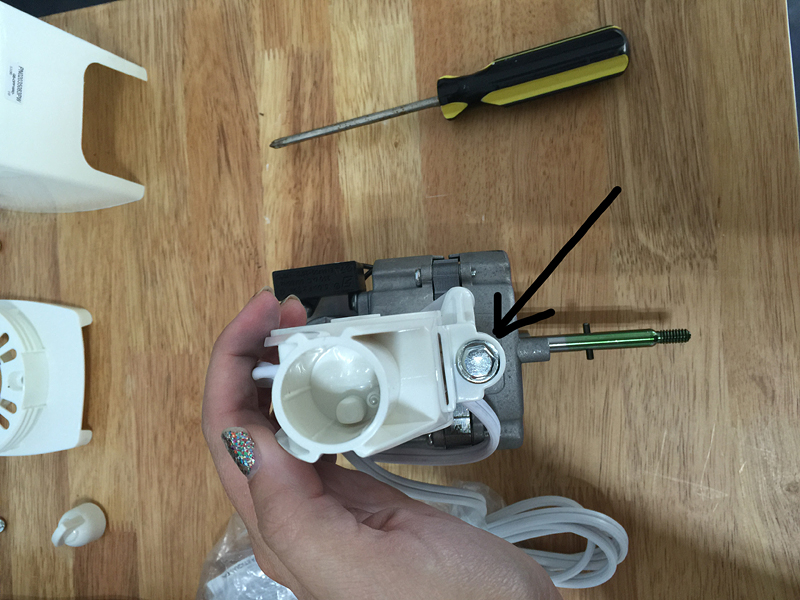
Then you will want to remove this bolt so that you can spray the support bracket easily.
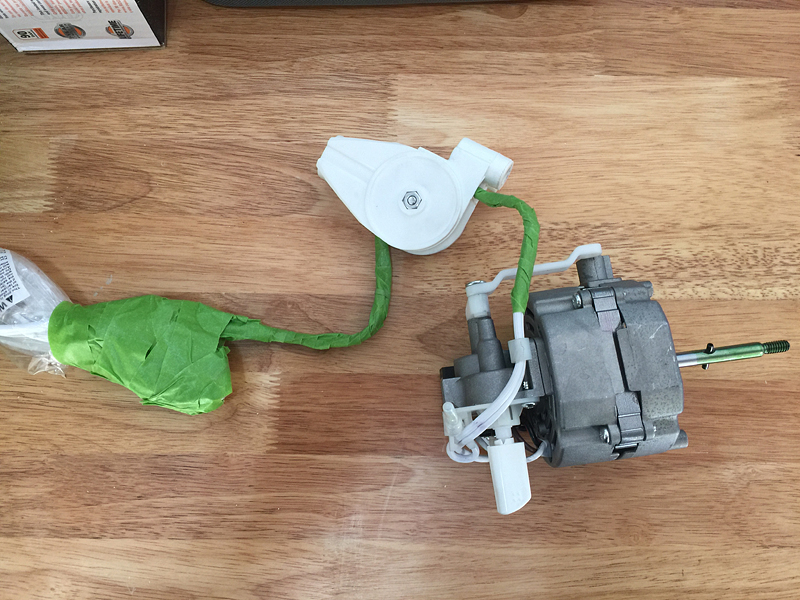
Now tape the cords and place your metal parts in a plastic baggie….
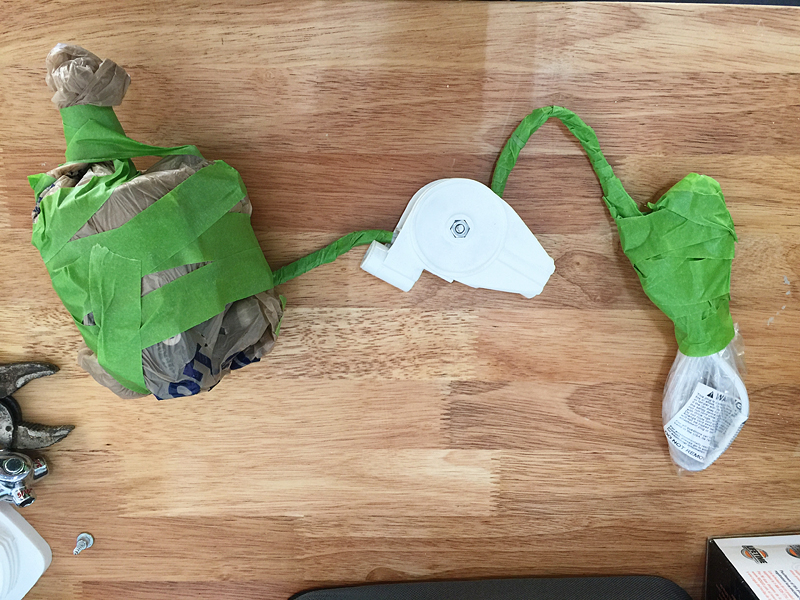
When you are done protecting everything except the support bracket – it will look like this….
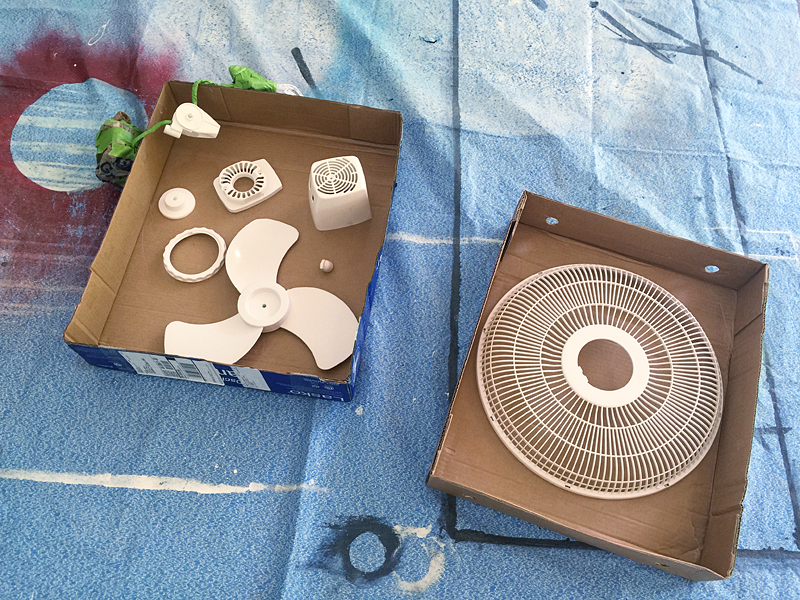
Here is everything I sprayed in phase one….I did have to spray some other things later so make sure you save some of your paint 🙂
I sprayed both sides in Rust-Oleum’s Oil Rubbed Bronze and made sure it was all nice and covered.
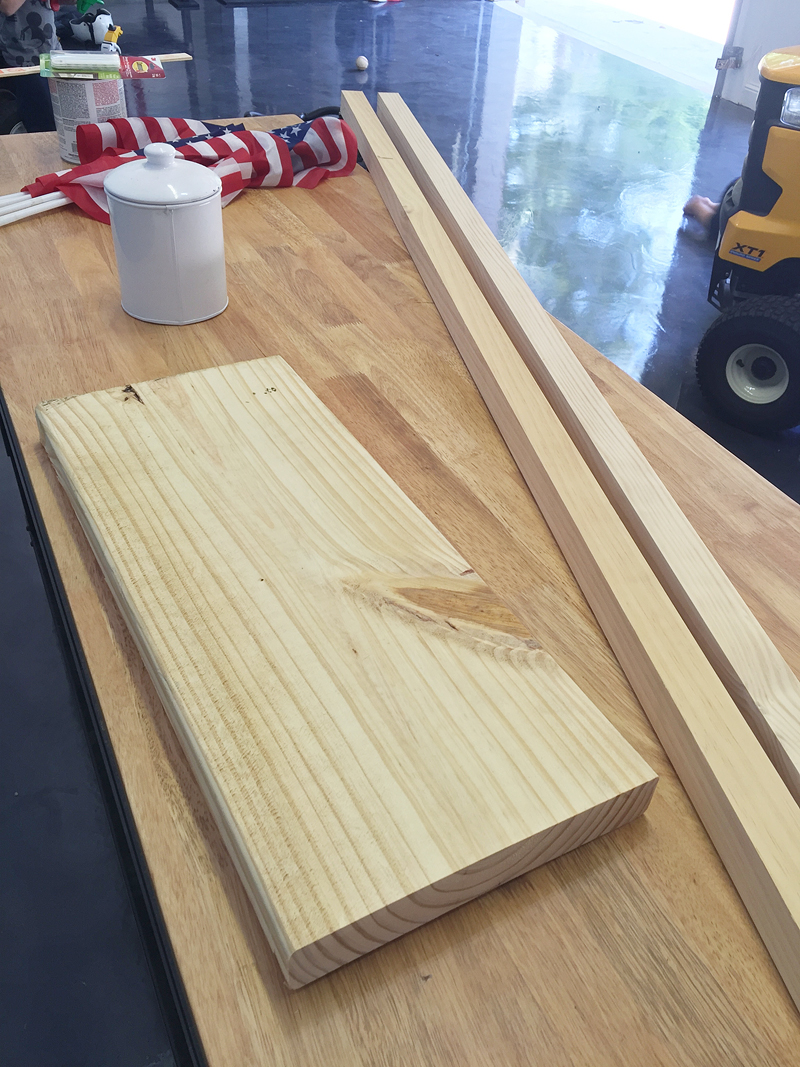
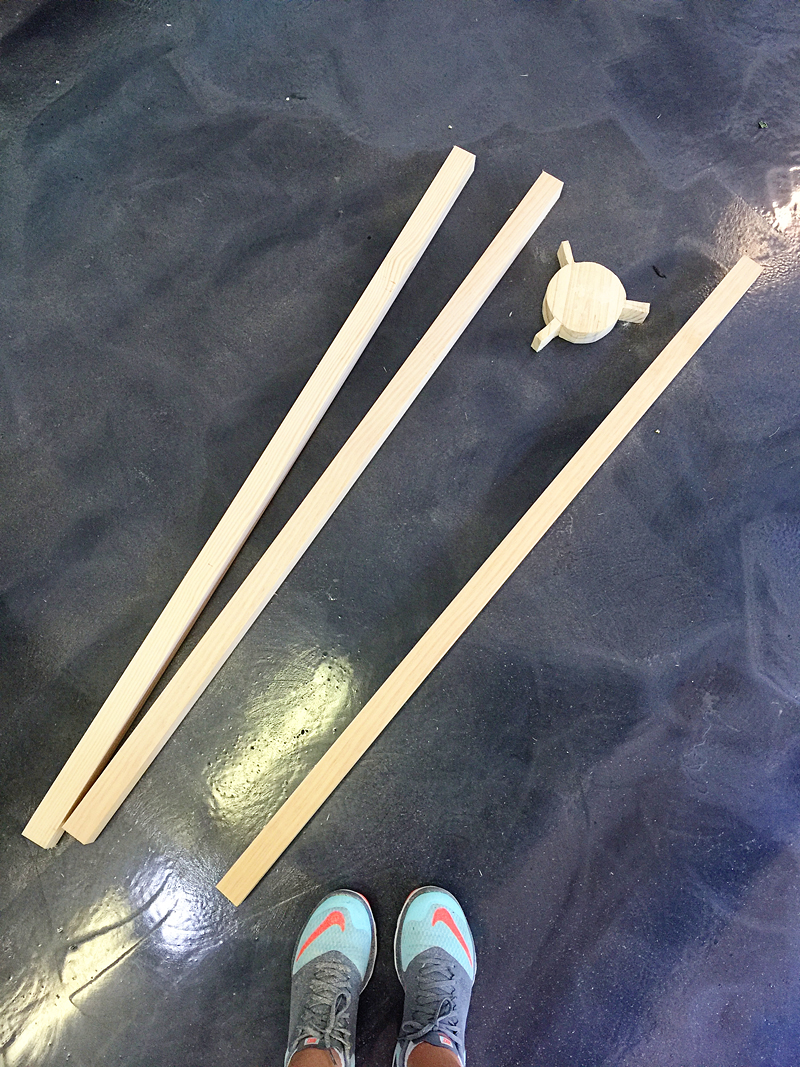
Then comes the tricky part…the tripod base…I used a scrap piece of 2×10 (a 2×8 scrap would also work) and some 2×2’s (2- 8 ft lengths) for the legs. Go ahead and chop the 8 foot legs into three 4 foot sections.
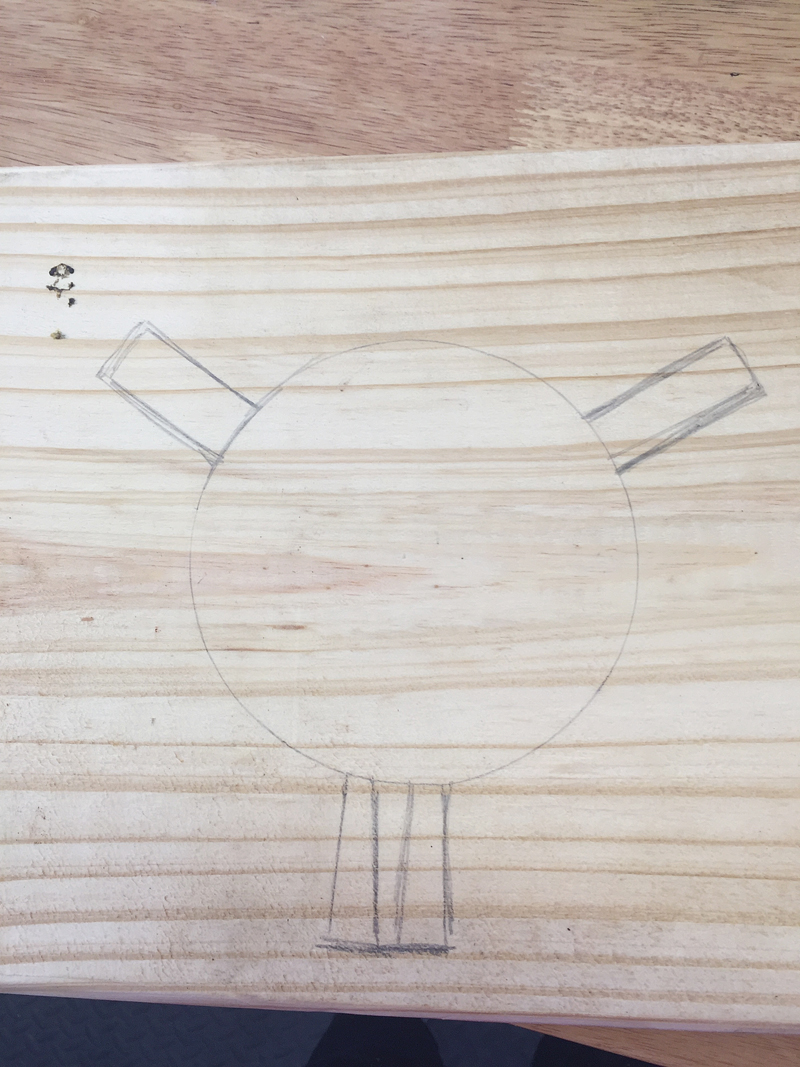
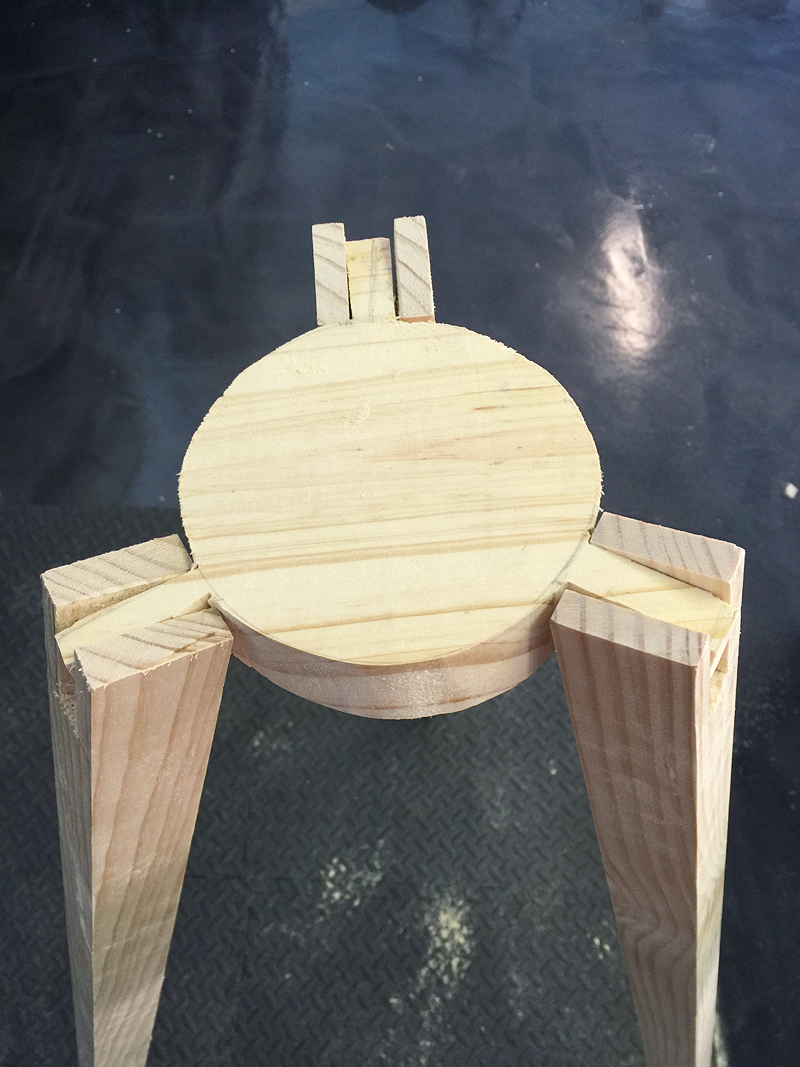
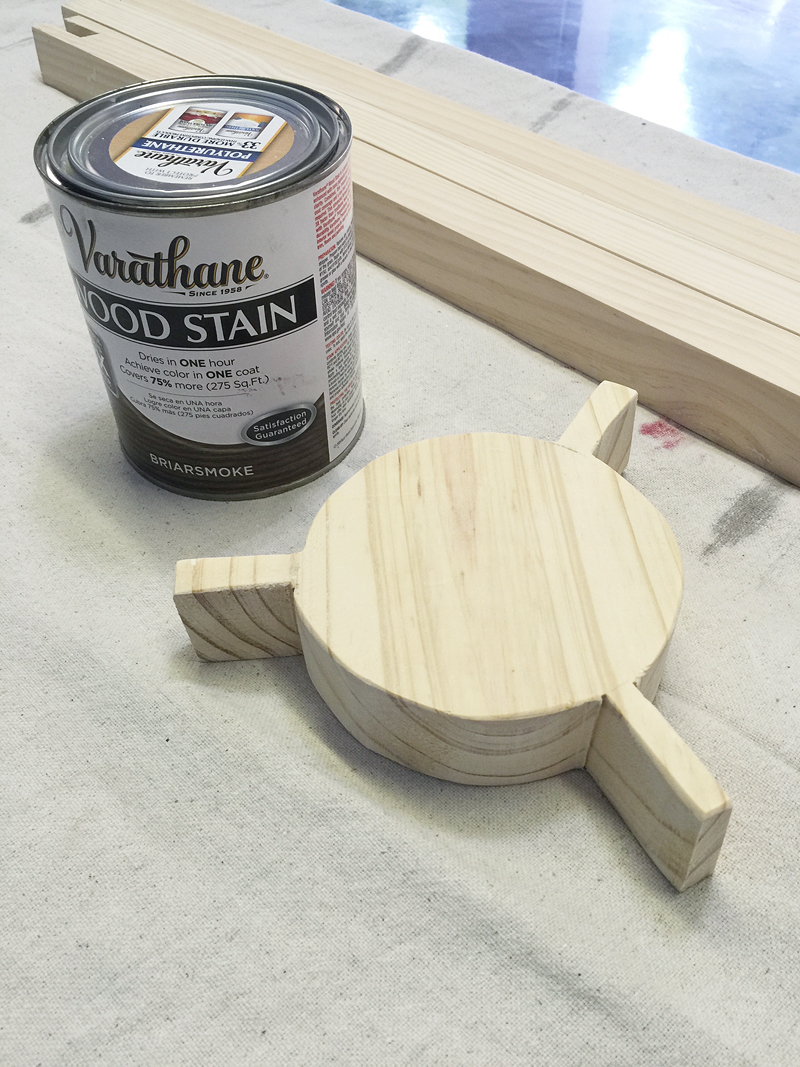
Then let’s make the tripod centerpiece. Basically what I did was trace a bowl that was roughly larger than a quart paint can. Then I made three little arms that come out about 1.5 inches. These are roughly the width of a carpenters pencil (1/2″).
I used a jigsaw to cut it out. It wasn’t perfect. It didn’t really need to be exactly perfect – just close enough.
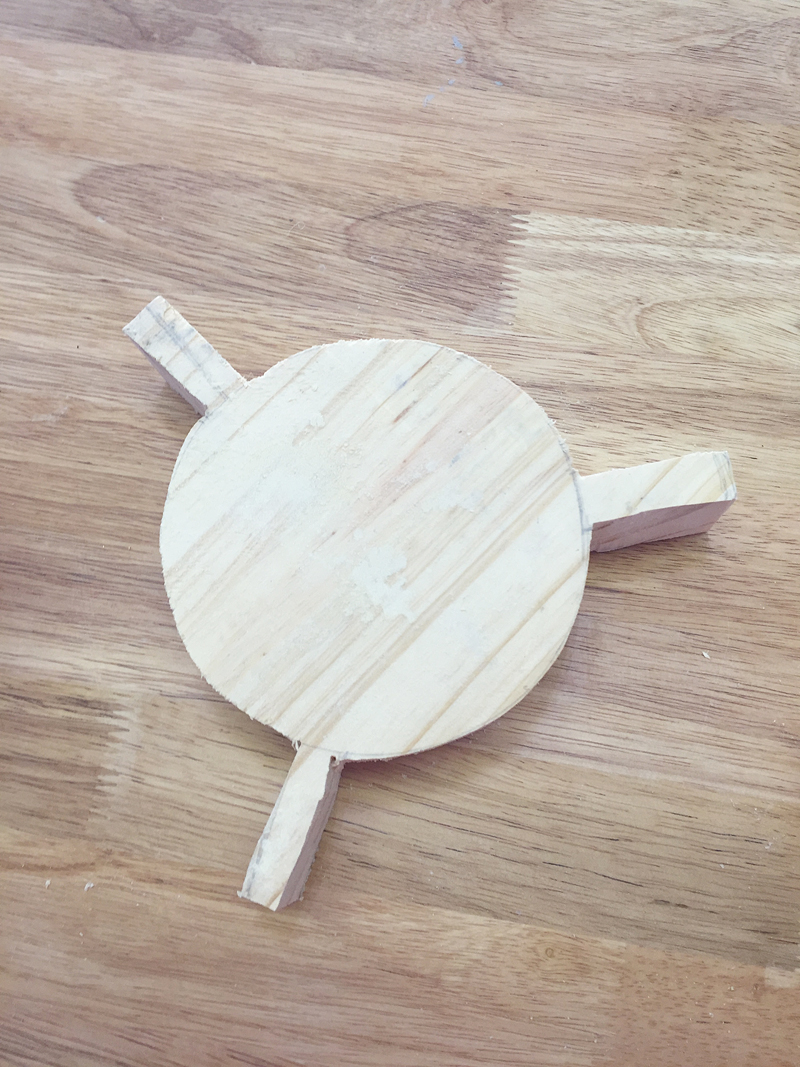
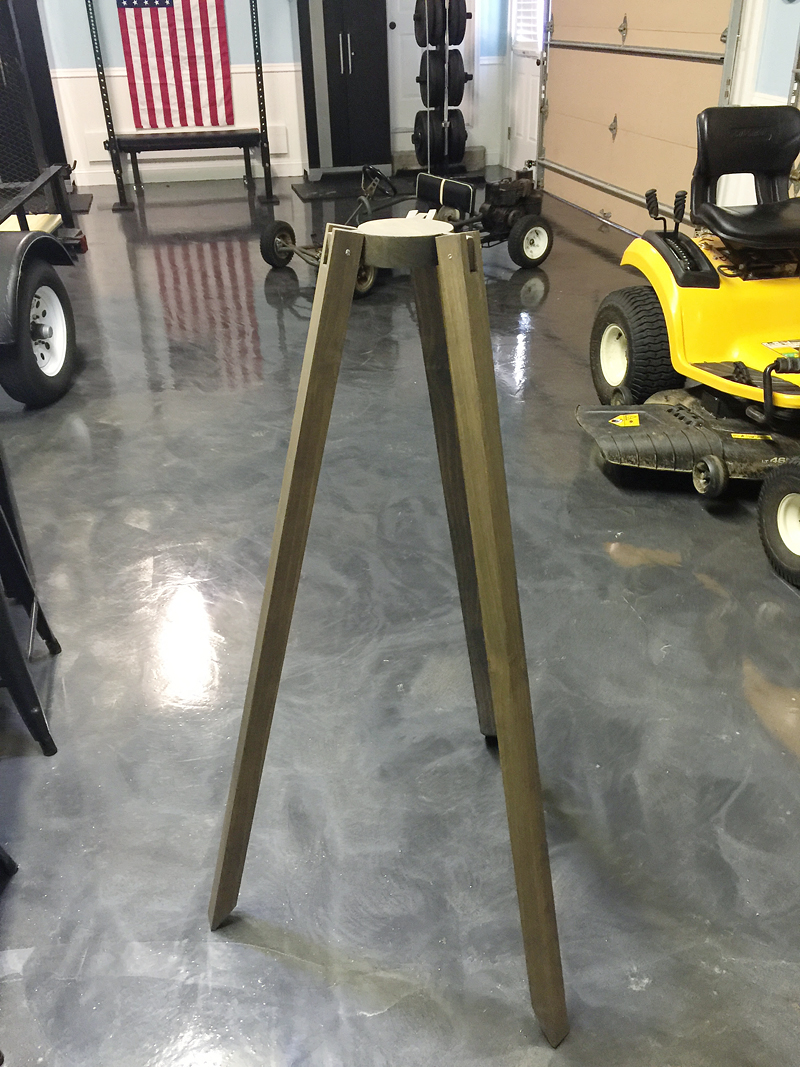
So now you have a centerpiece and three legs.
Notch the bottom of the legs so that you give it a more polished look. I used my miter saw for this.
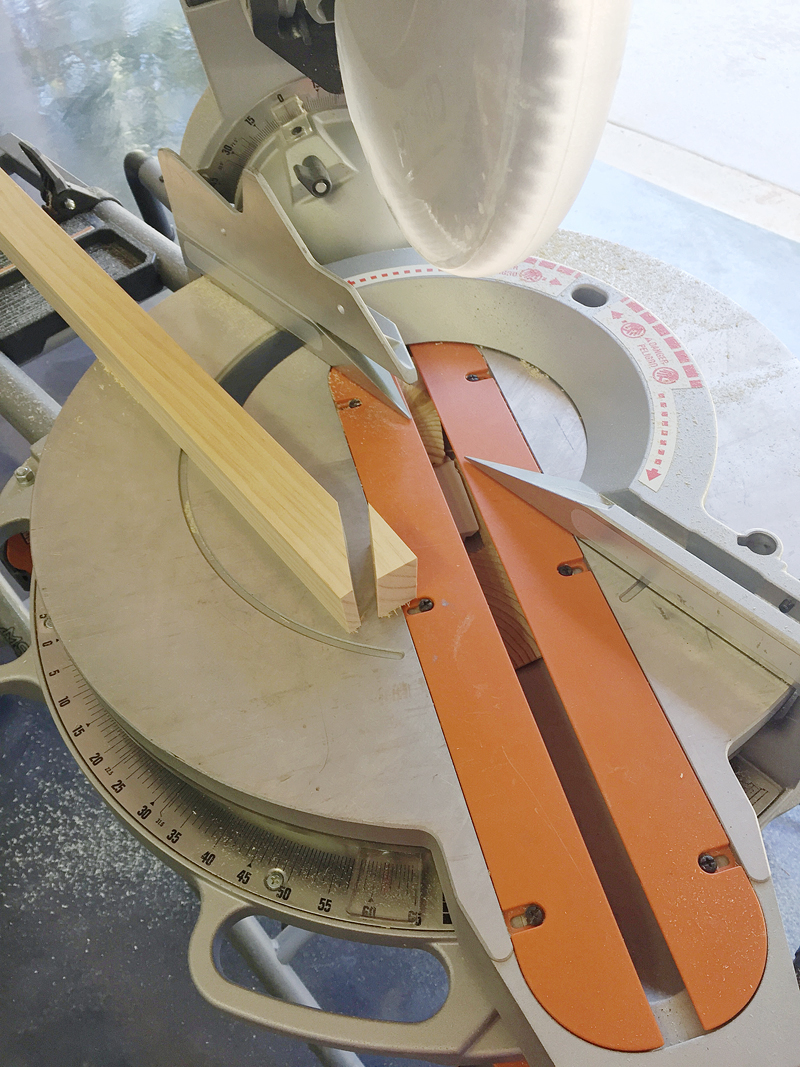
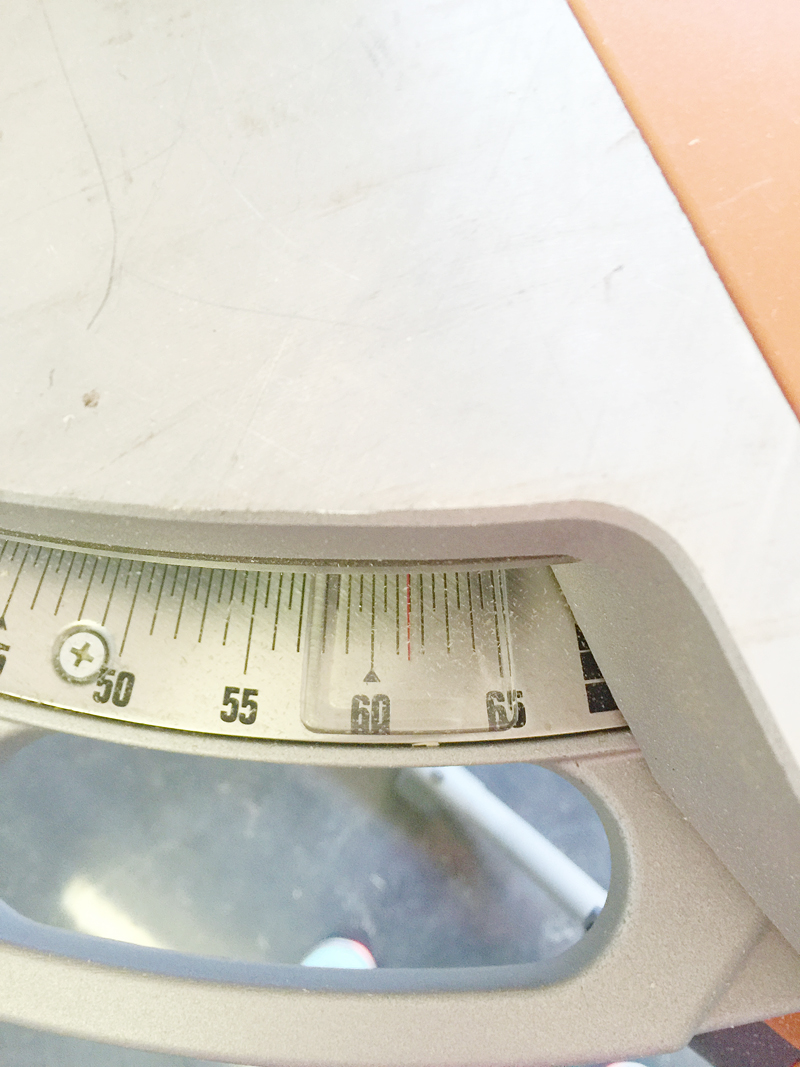
It was set to the furthest it would go – 61.5 degrees….
And I lined up the bottom corner of my leg with the guide on the saw. You can do whatever angle you like – just be consistent.
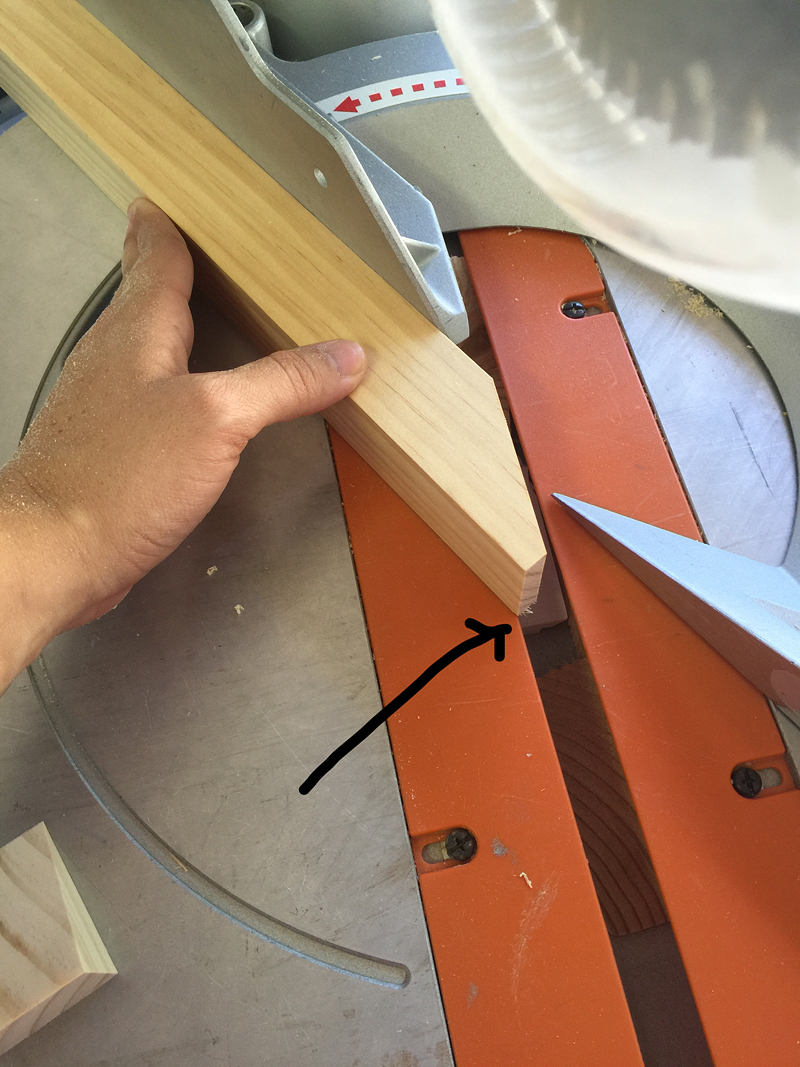
Then you will want to cut out the center notch of the TOP of the leg. So the bottom of the leg has the angle facing DOWN and then you notch out a 2″ center of the leg.
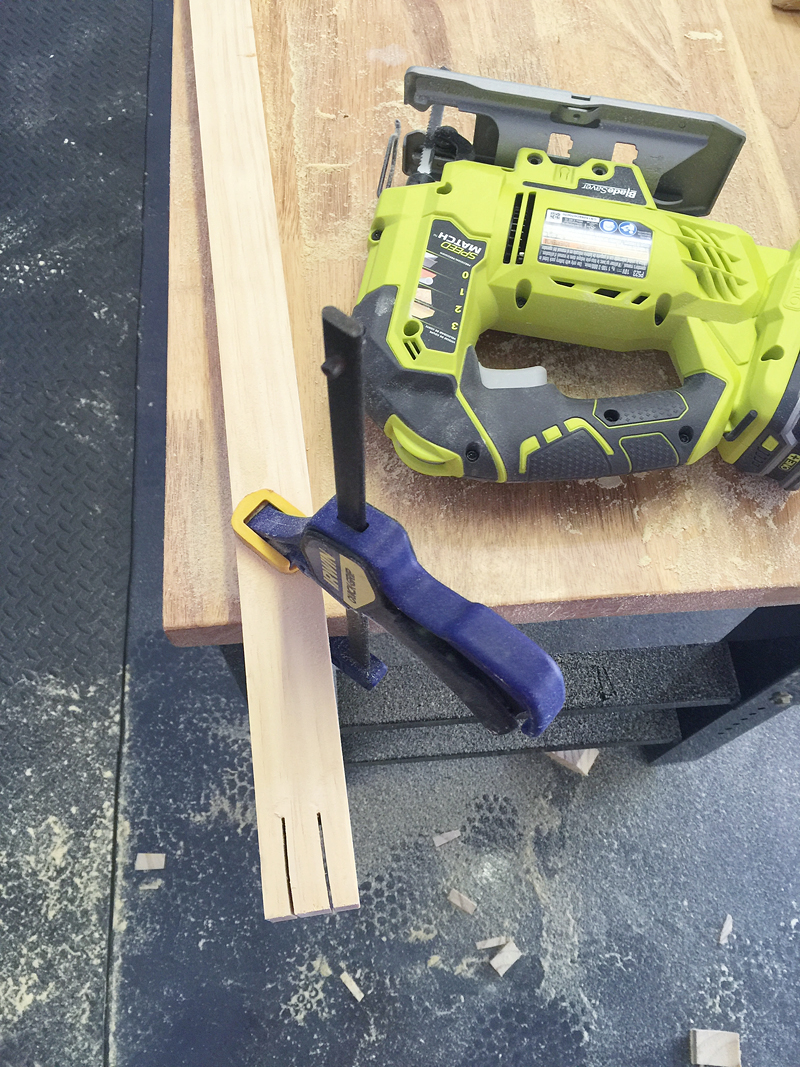
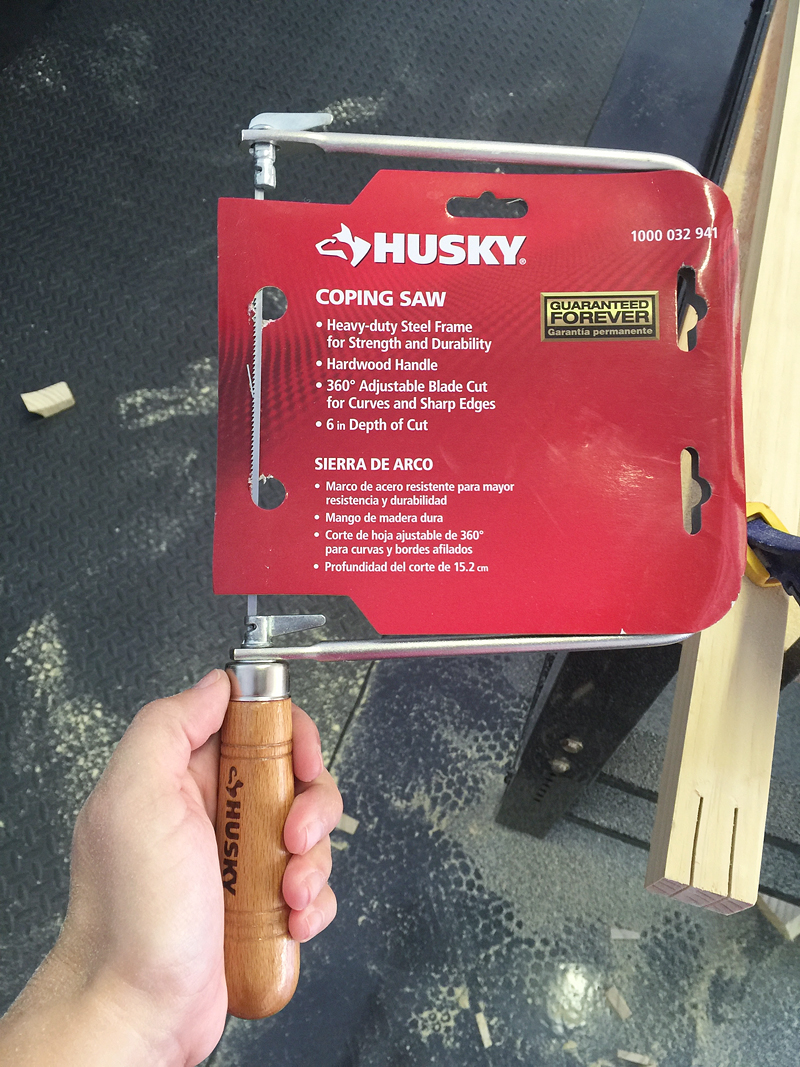
I used a coping saw to get it clean.
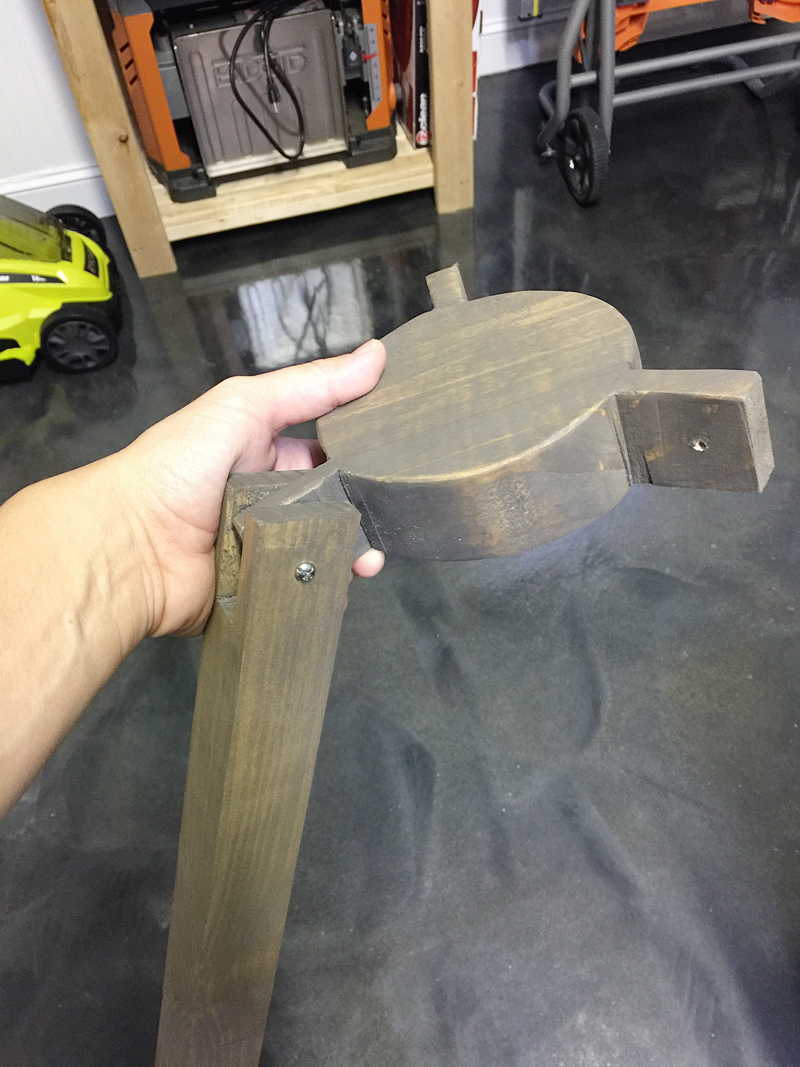
Make sure you do a dry fit to make sure that the legs fit with the centerpiece. Also note our neighbors awesome go-cart in the background. Yeah baby!
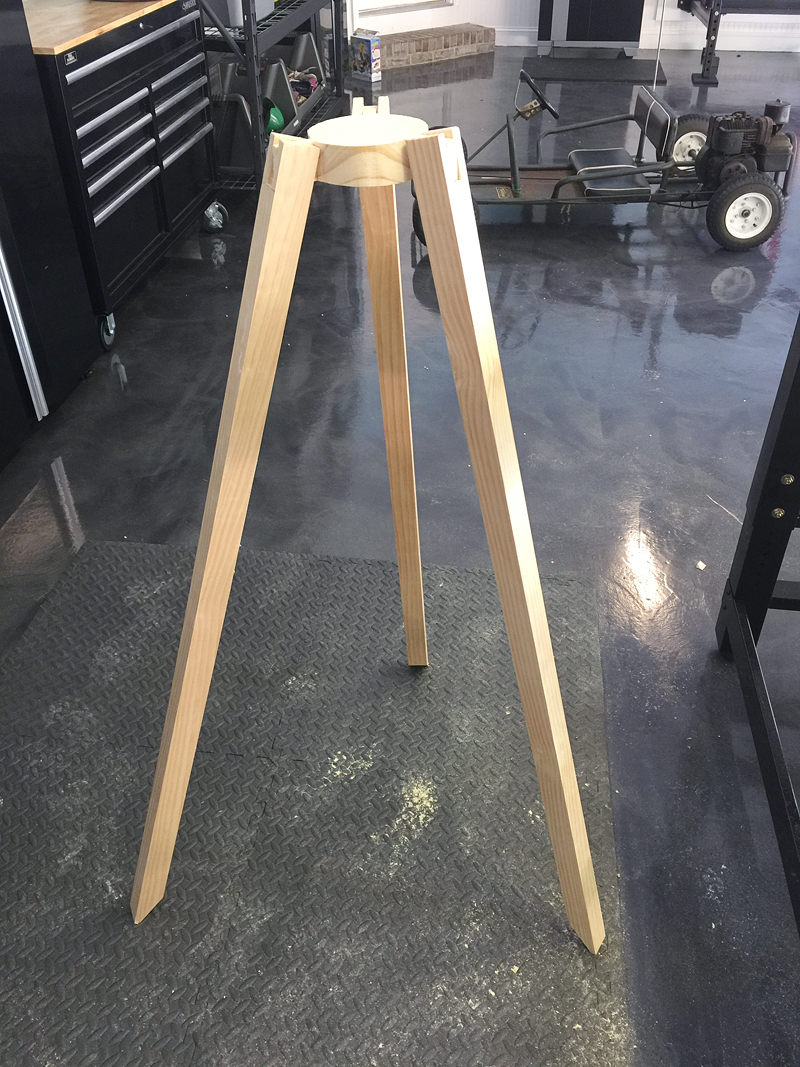
The TOP of the legs should come up slightly higher than the top of the centerpiece. If they don’t – notch further down on the legs.
Once you have the legs and centerpiece in place and you think everything lines up – try the brackets to see if they slip on easily and fit correctly.
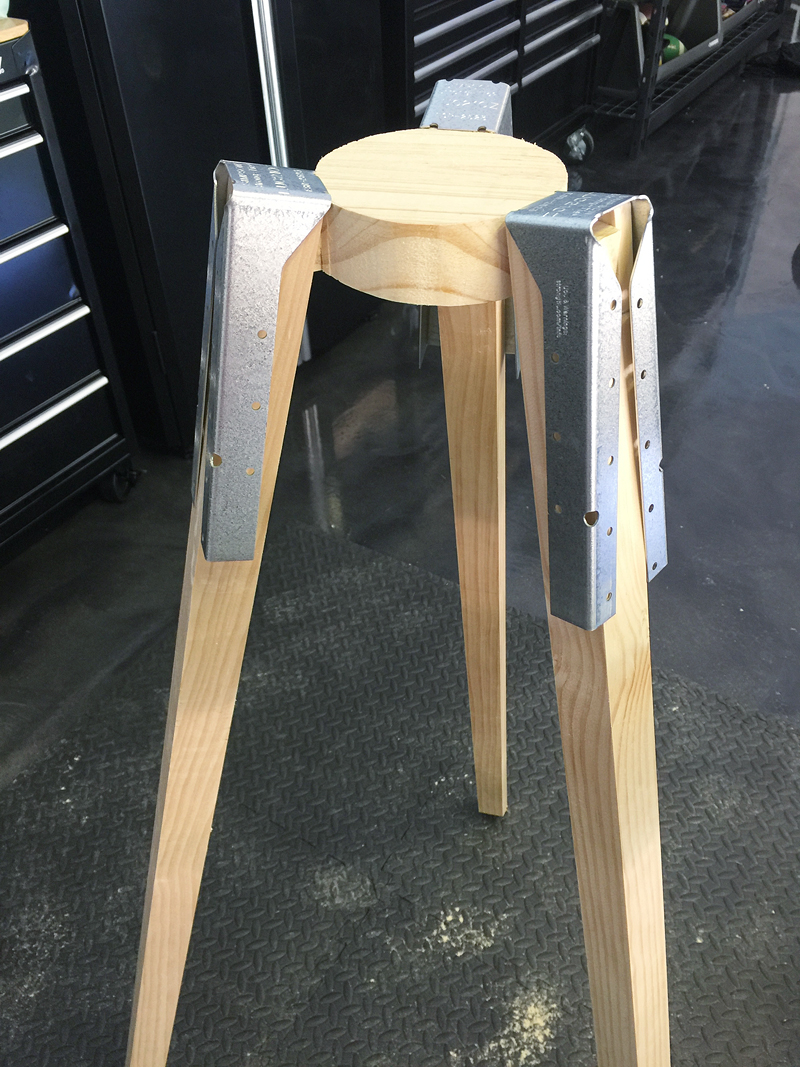
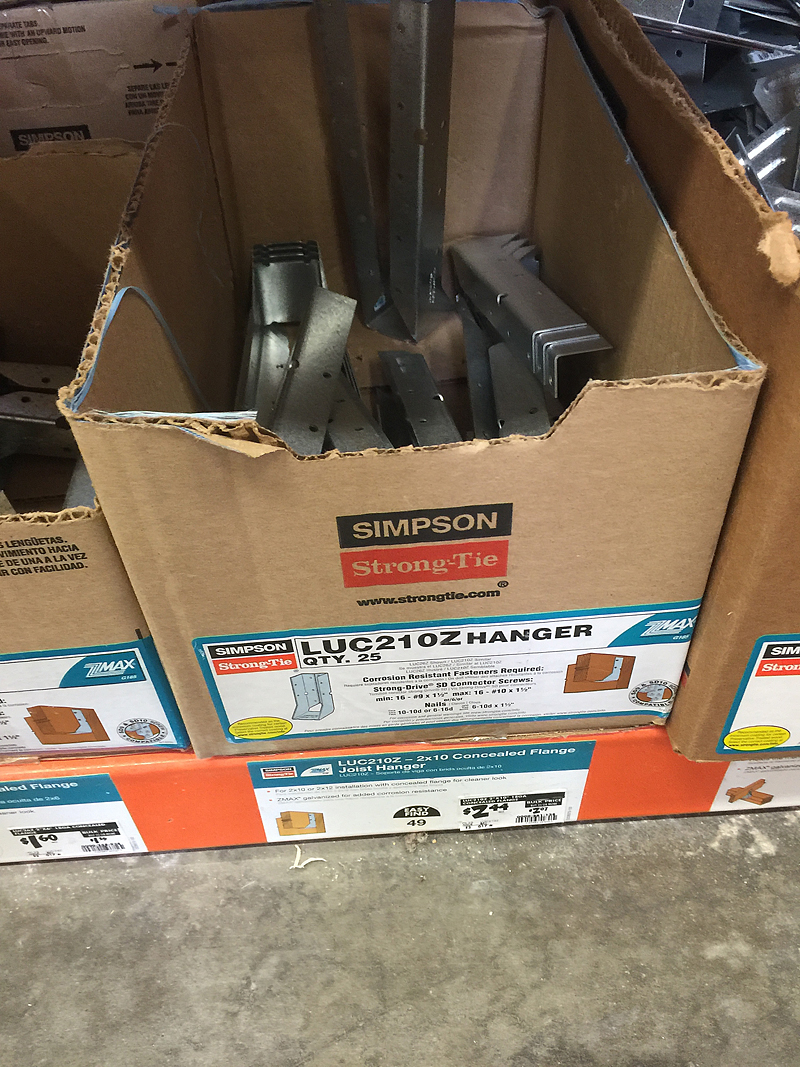
What brackets you say? These ones from Home Depot. They are called Simpson StrongTie LUC21OZ Hangers. They cost about $2.50 a piece but really make this fan look industrial. You are gonna turn them upside down and they should line up with your centerpiece when resting on the legs.
Time for stain! Sand everything down with 120 grit and then 220 grit and then I used Briarsmoke by Rust-Oleum to give it a nice old wood look.
Let that dry.

Then it’s time to drill your holes to attach everything. I drilled the holes in the legs about an inch from the end.
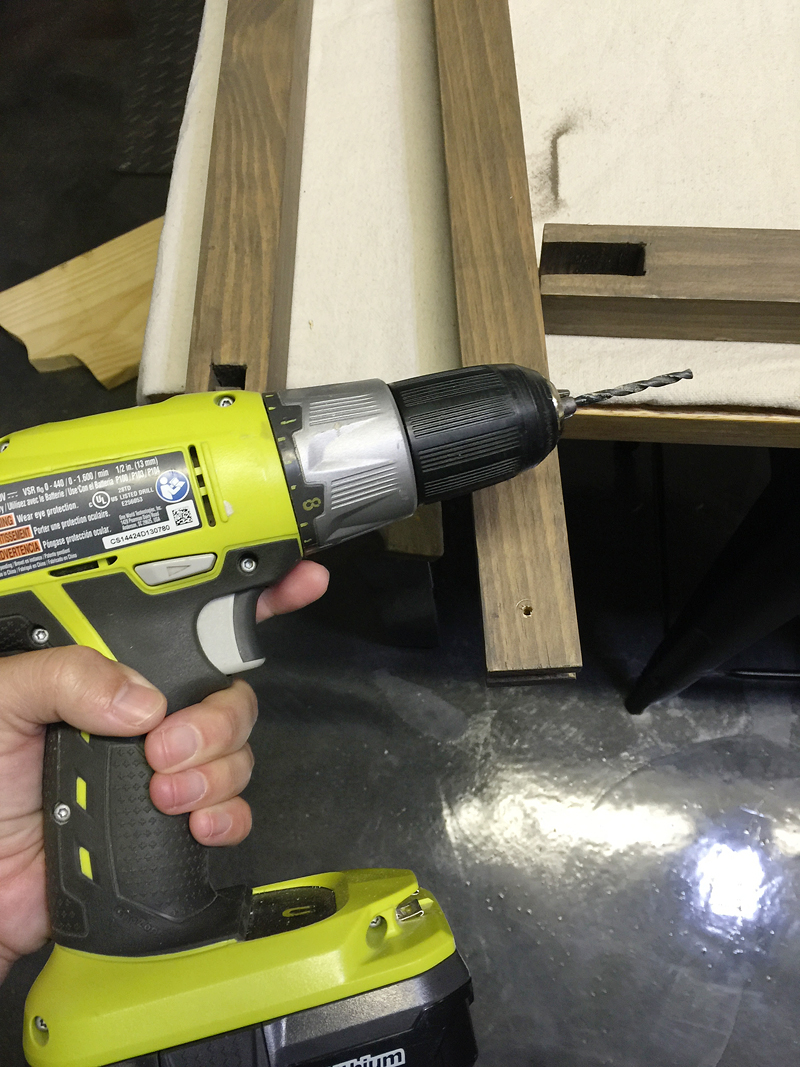
The holes in the centerpiece are about 3/4″ from the end of each arm and centered from top to bottom.
Then I used 1.5″ flat end screws to go through the legs and the arms to hold them together. That sounded kinda like yoga.
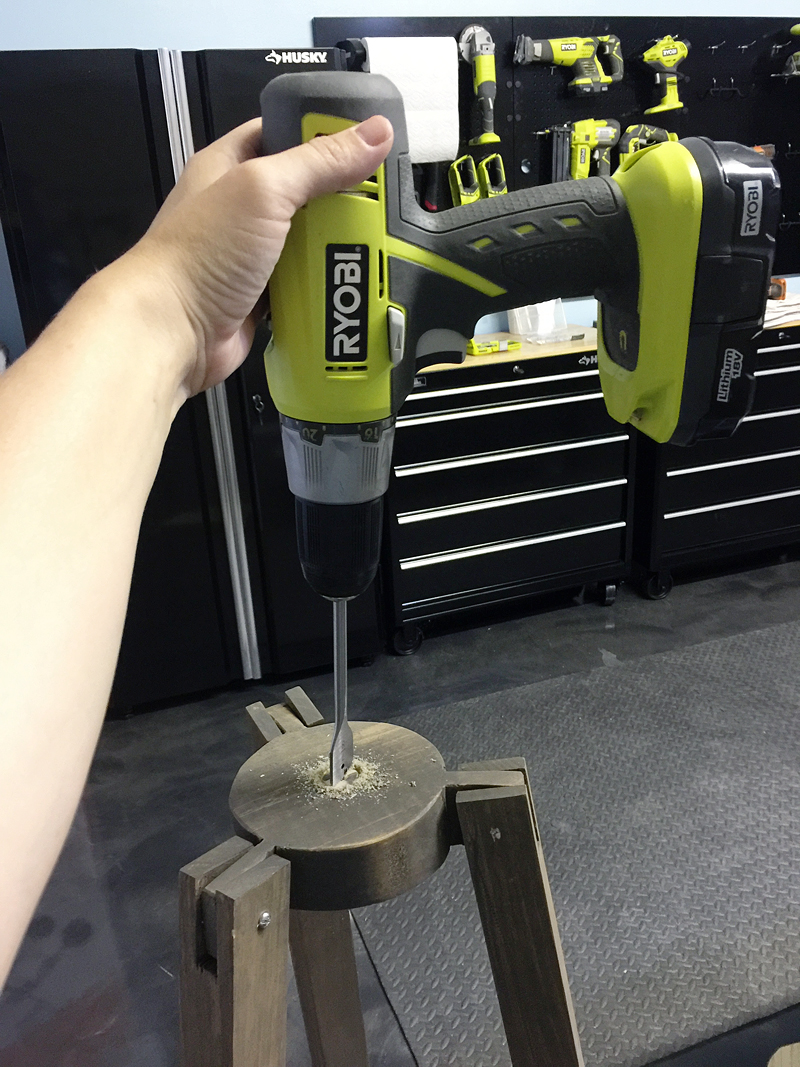
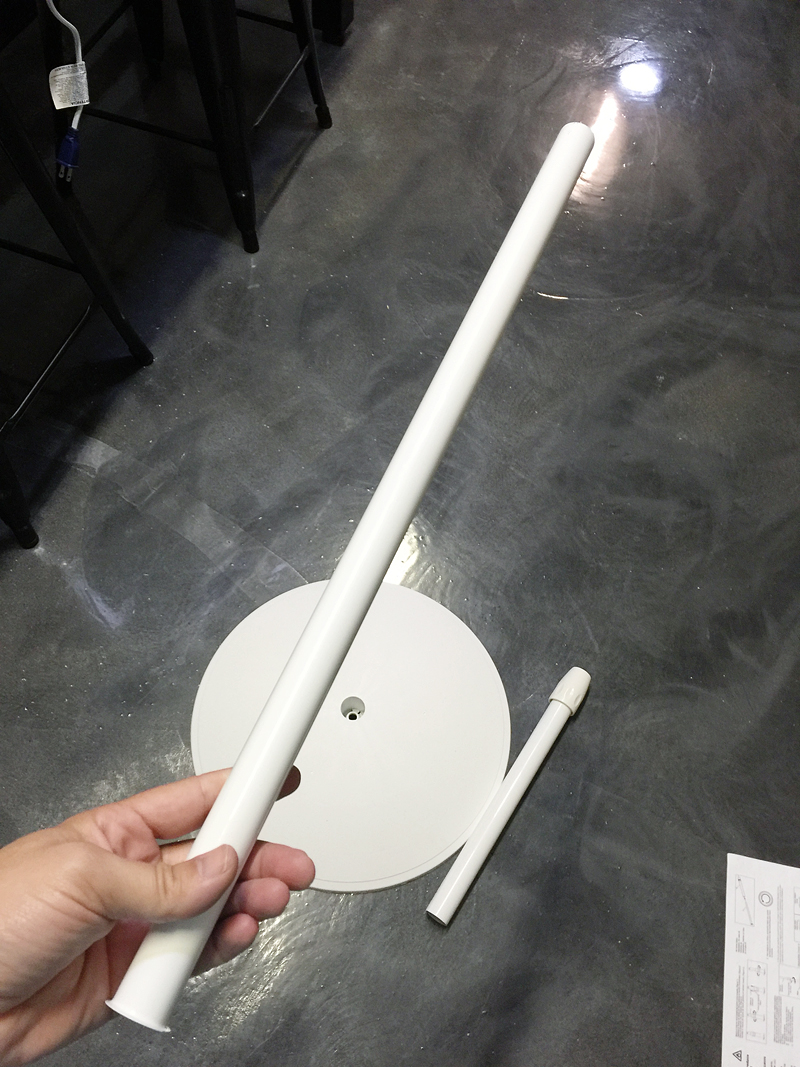
Time to attach the head. In the center of the centerpiece, you will want to make a little home for the support pole. This pole comes with the fan and just needs to be disassembled from the extension pole. It is what supports the head of the fan.
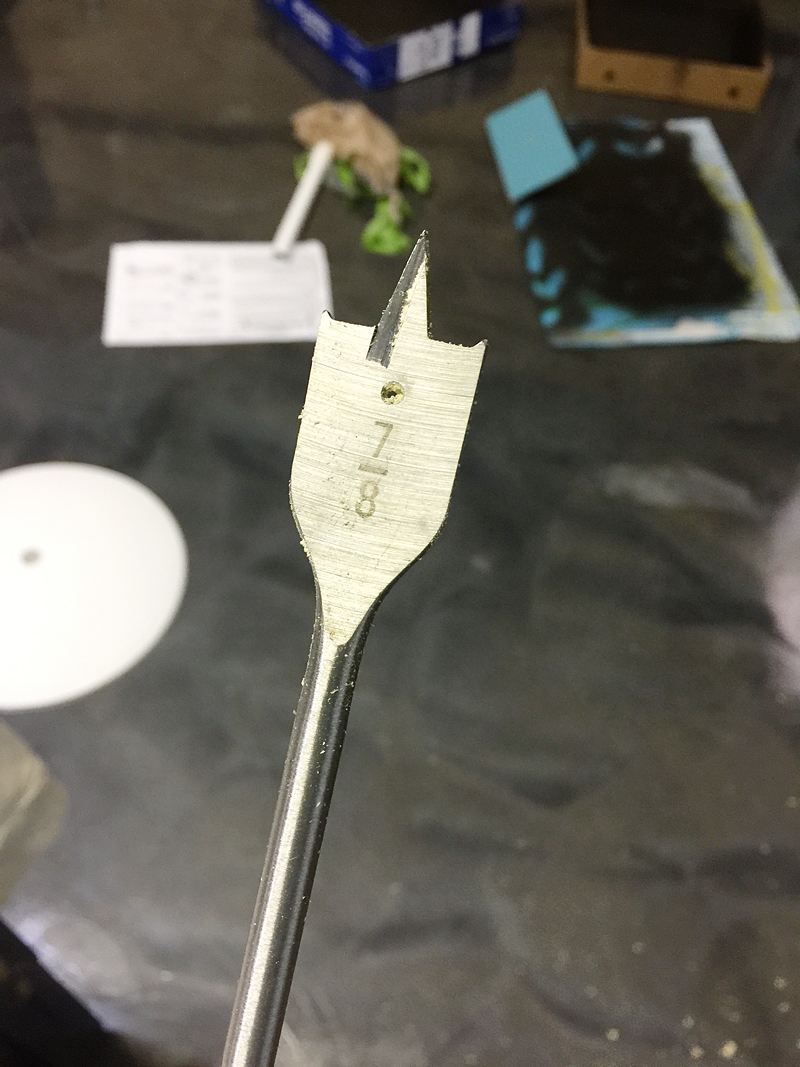
Using a 7/8″ bit, create a hole in the centerpiece about 3/4 of the way through. DO NOT MAKE THE HOLE GO ALL THE WAY THROUGH YOUR 2″ BOARD.
Okay – so this is the support pole that I was talking about. You will want to chop this down with a hack saw to 8″-10″ depending on your preference.
Once you chop it down – slip it into your tripod. Does it fit?! CELEBRATE! And then go spray it ORB to match 🙂 Include the brackets in your spray paint party. Nobody likes feeling excluded.

Time to reassemble your fan. Follow all of your steps backwards and put the housing back on the fan head.

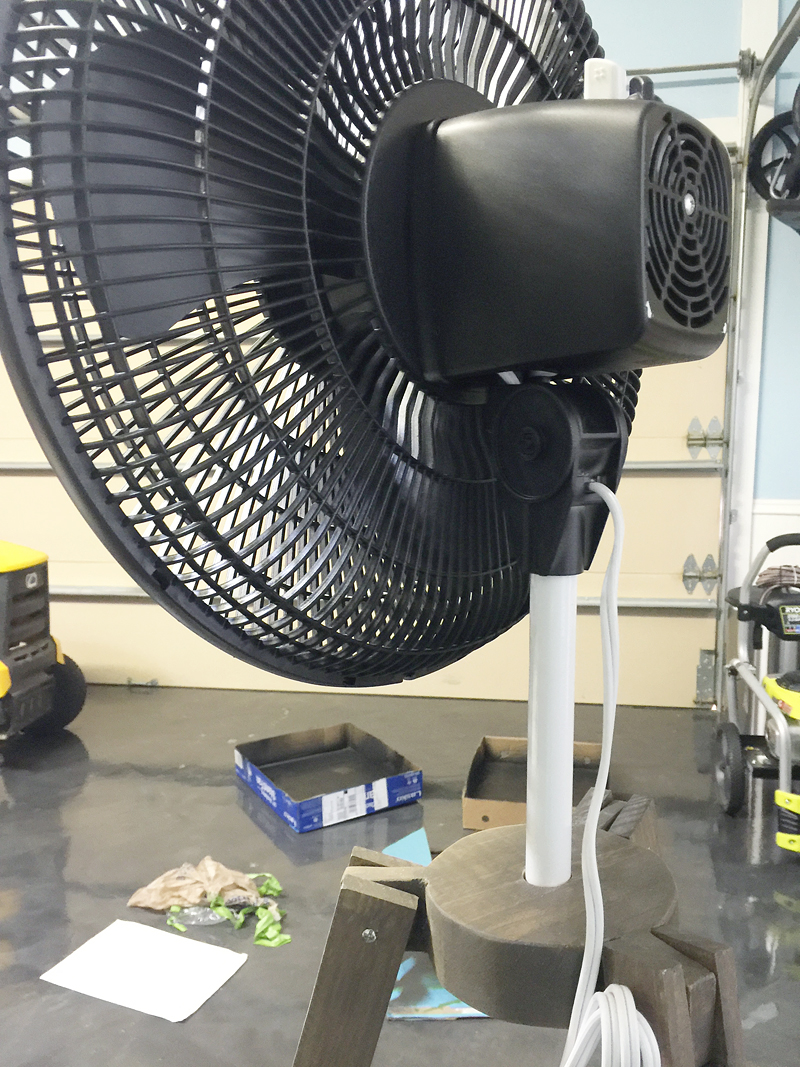
This is what it will look like once it’s on the tripod.
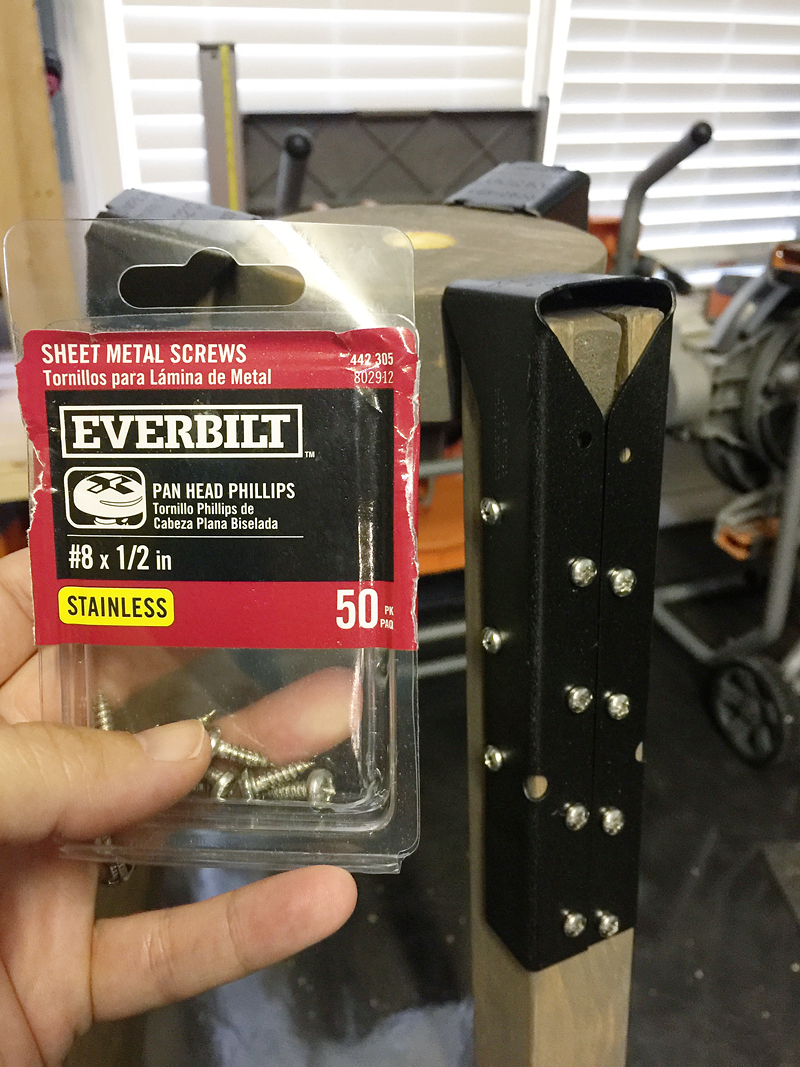
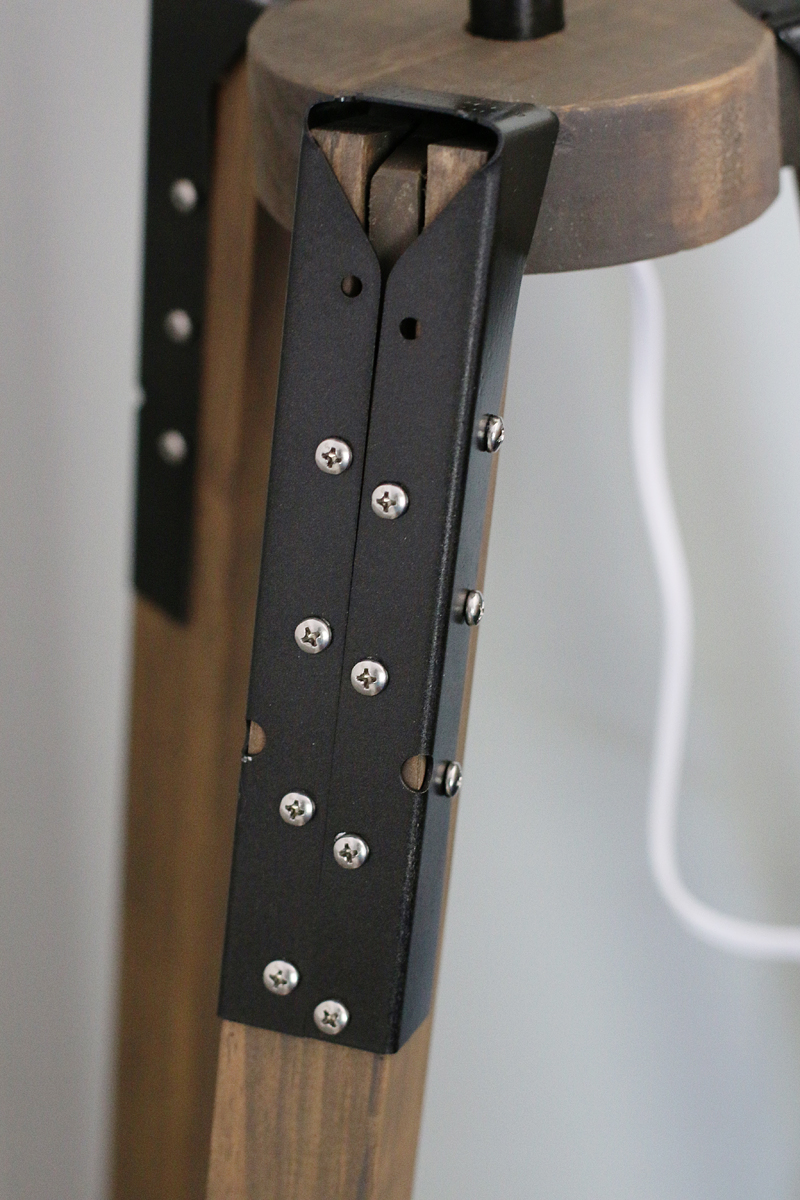
Once everything is dry – it’s time to attach the brackets. I used these sheet metal screws because I liked the rounded heads. I kept them stainless because I liked the contrast with the ORB. It’s like bling on a little black dress.
See how pretty?
Now slip the support pole in place, attach the motor head with the assembled fan and BOOM….

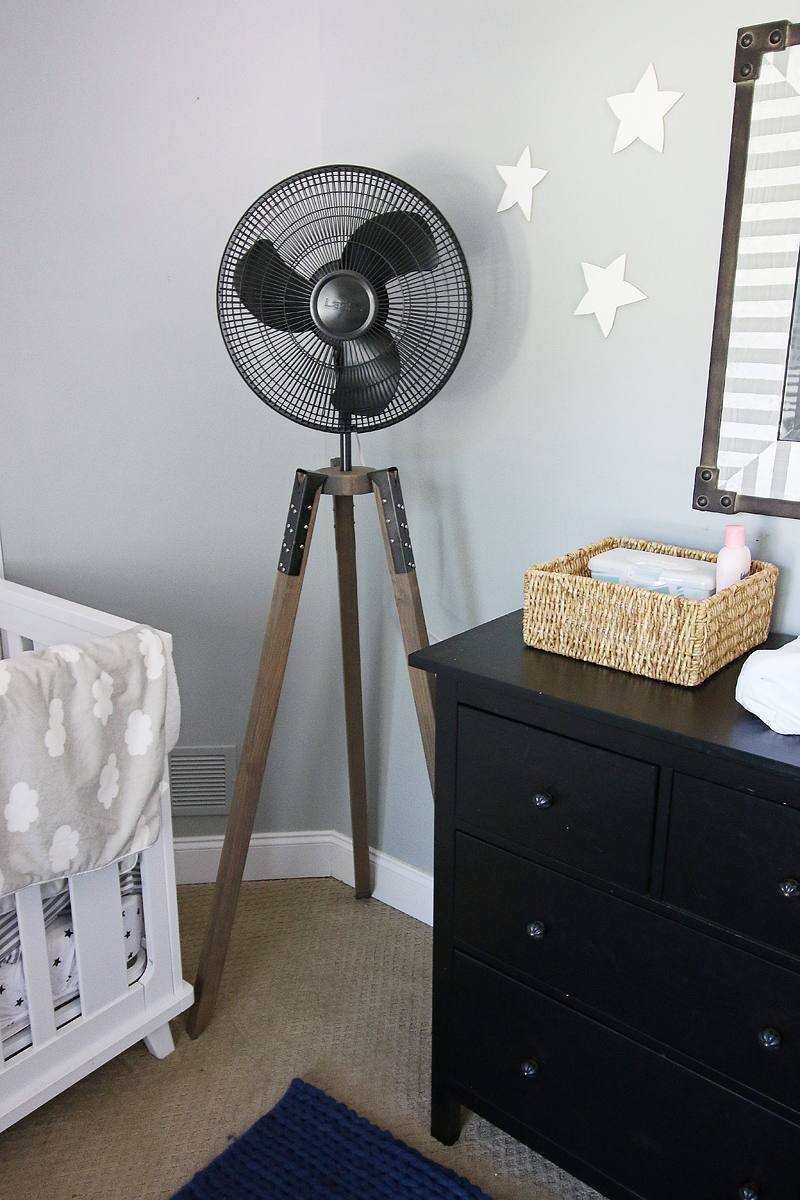
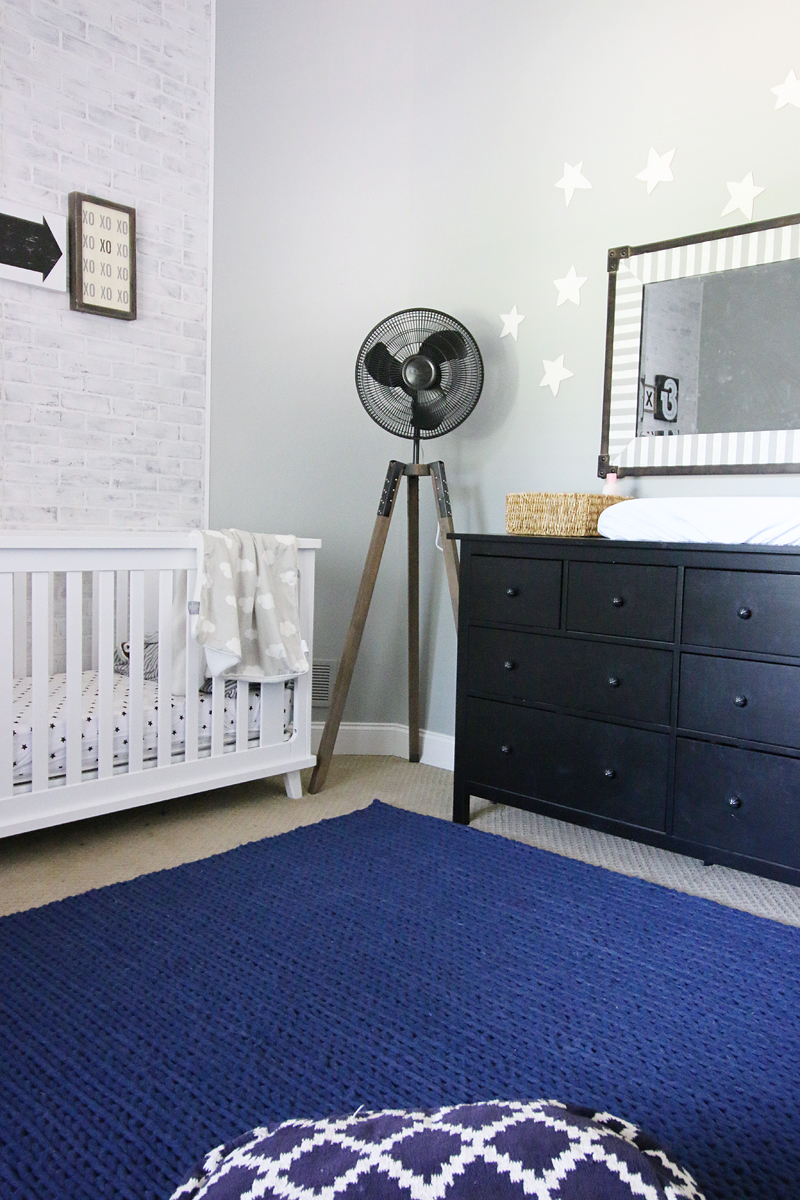
Instantly (ahem four hours later) you have an industrial fan that is pretty enough to leave out all year long.
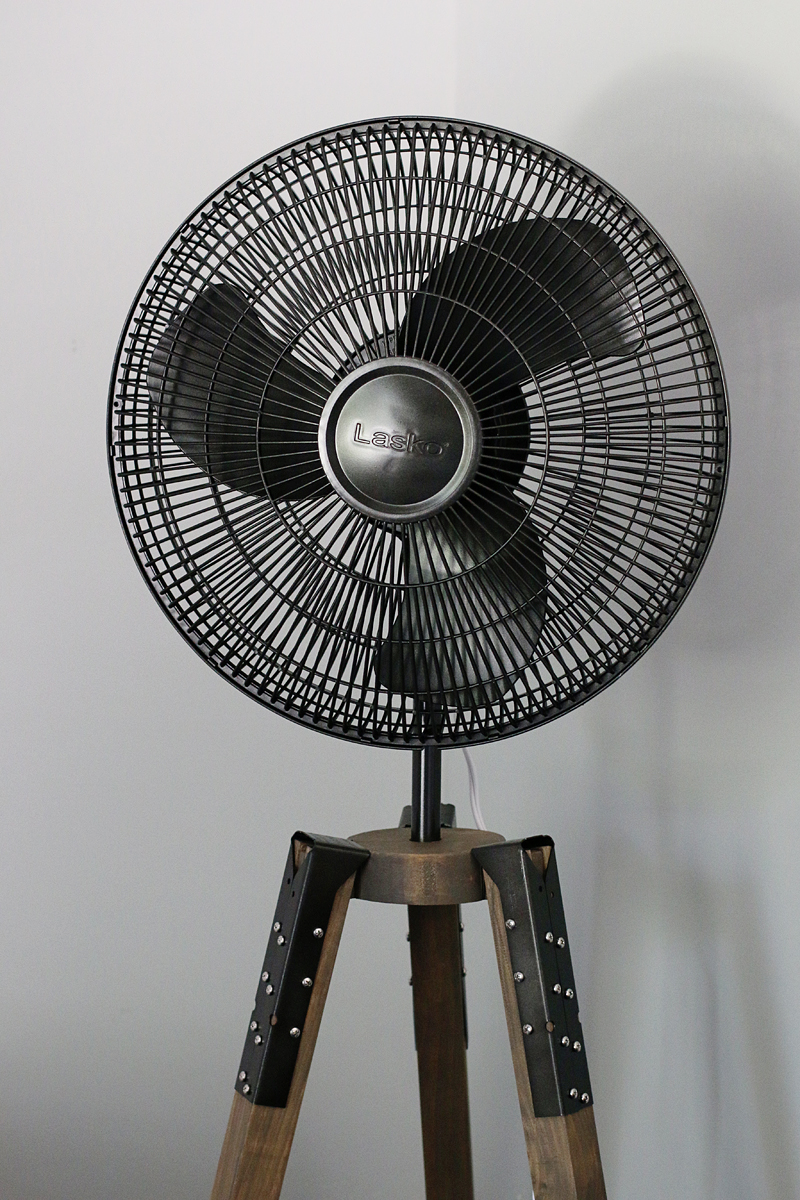
I love ours. It still oscillates and the head still can tilt up or down and pivot.
Isn’t it gorgeous? And it was a much better price than the other $275 one…..here’s the breakdown
Fan – $35
Wood – $11
Brackets – $7.50
Spraypaint – $6
Hardware – $4
Coping saw – $5
(already owned stain, sandpaper, tools, and scrap wood)
Total of $69
Not too shabby! But it really does feel like the main even in the room and it plays very nicely off the faux card catalog in the opposite corner.
It definitely took some time to figure out and it wasn’t the easiest DIY with the jigsaw (I don’t own a band saw so maybe that would have been easier or more precise?) but it was totally worth it in the end because it functions and looks great. And saved me $200 so now I can go buy some thing more fun….like chocolate 🙂