Disclaimer – This is a sponsored post brought to you by Canon. All opinions are 100% my own.
All you professional scrapbookers may want to avert your eyes. This could burn a little.
So for me, scrapbooking is probably one of the most intimidating crafting adventures that exists. I MEAN….have you seen the aisles dedicated to scrapbooking supplies in Hobby Lobby? It would be enough to make grown men cry. in the fetal position. while patterned foiled paper and 3D flamingo stickers and wavy scissors start falling around him like confetti.
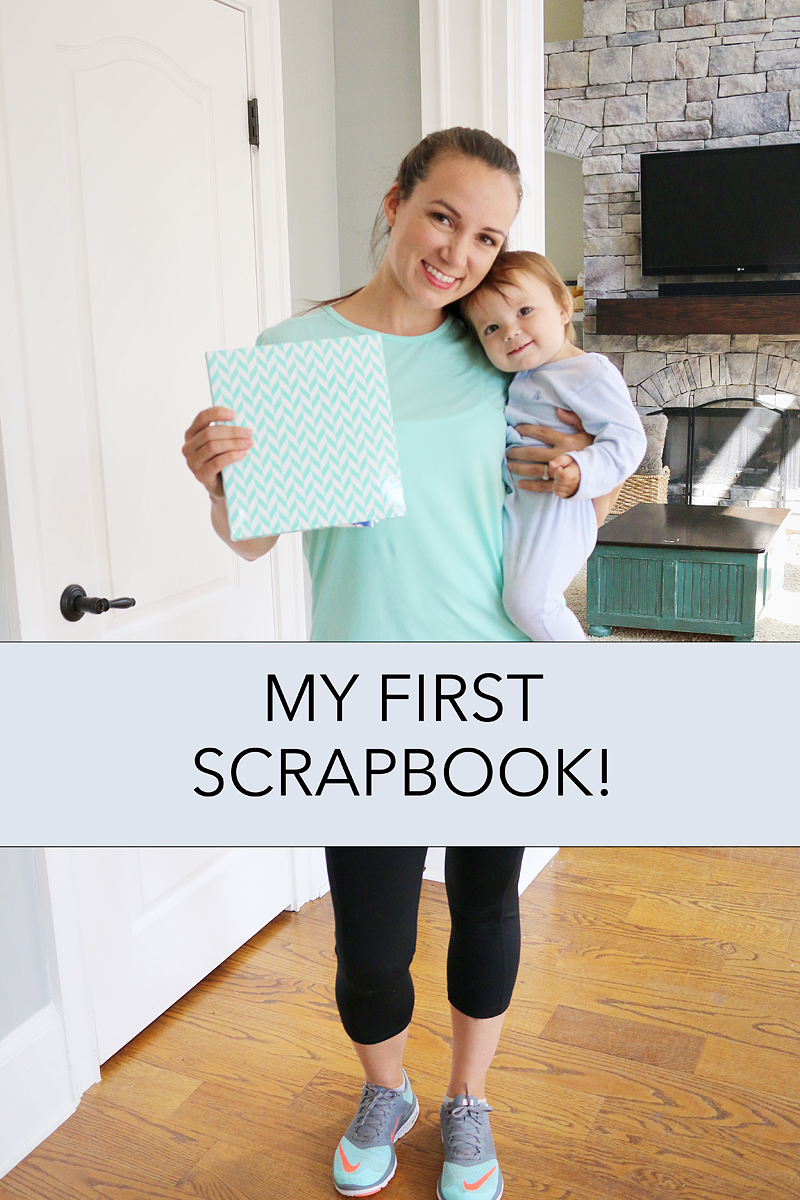
Maybe because my mom was a great scrapbooker or maybe because it’s considered an olympic sport to so many, but it is overwhelming and scary to me. I didn’t know where to begin. But I am happy to say that I tackled this scary beast and figured out the world’s easiest way to make a scrapbook. Seriously…anyone could do it. It’s basically error proof. child proof. If you can wield a pair of scissors, you can do this project. Let’s begin.
So the first thing you need to do is grab a Project Life binder, some pocket pages and their little cards. The binders come in different sizes – from 6×6 up to 12×12 and range in price. The pocket pages correspond to each binder and sometimes these are the things that are harder to find. I went with the 8×8 binder (because it was the smallest size that was still easy to purchase pocket pages for) and found these cute pink and gold and turquoise cards to go with it. Everything I bought was at Michael’s and they have sales and coupons….so make sure you get on that to save money.
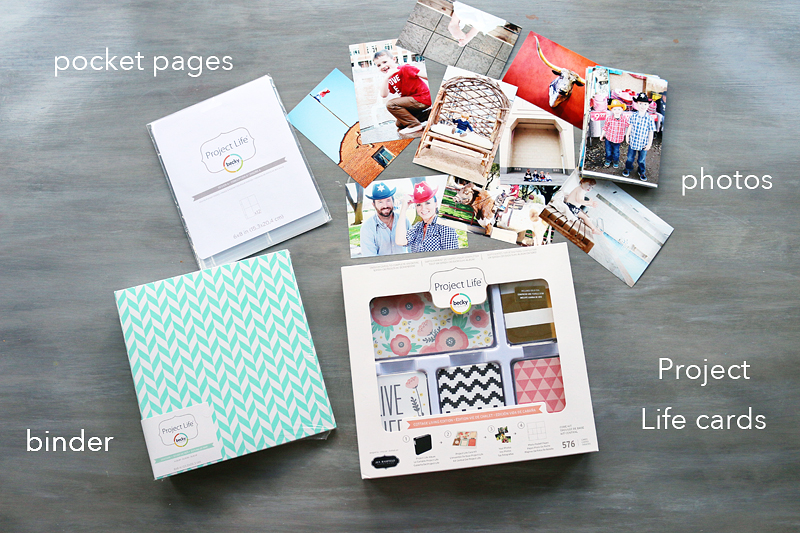
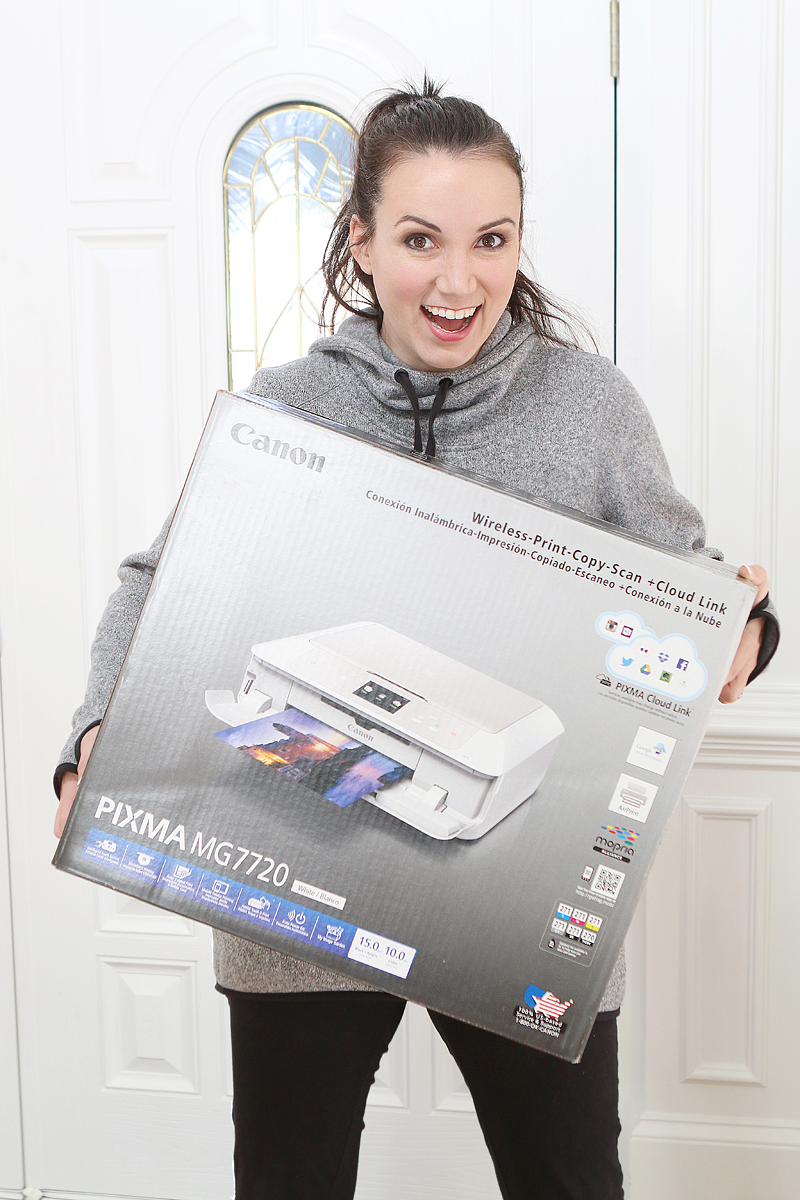
You will also need your photos. For this project I printed 4×6’s on my Canon PIXMA MG7720. That’s it. That all-in-one printer can bang out 4×6’s in a heartbeat. And it comes in white. a white printer. enough said.
Lastly you will need regular ole scissors. That’s it. Not a single sticker or embellishment or punch or floral lace trim needed. Like I said – this is the world’s easiest scrapbook.
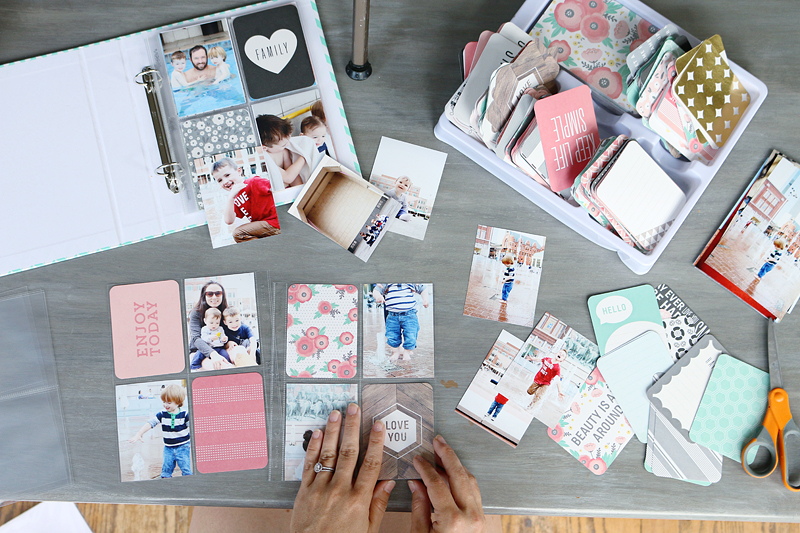
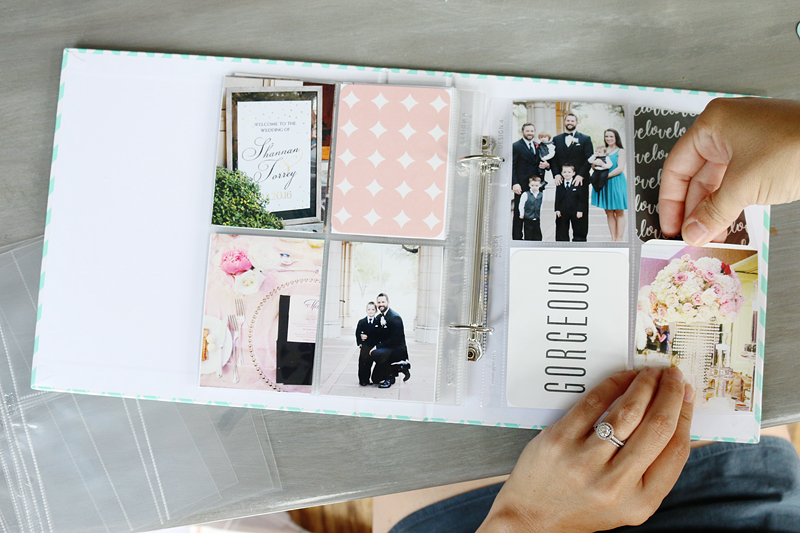
I wanted this to be a scrapbook about our Texas adventures so I would sort the photos according to event (pool time, the stockyards, the wedding, Magnolia Market and the water gardens) and then pick out colors of cards that I thought looked good with those photos.
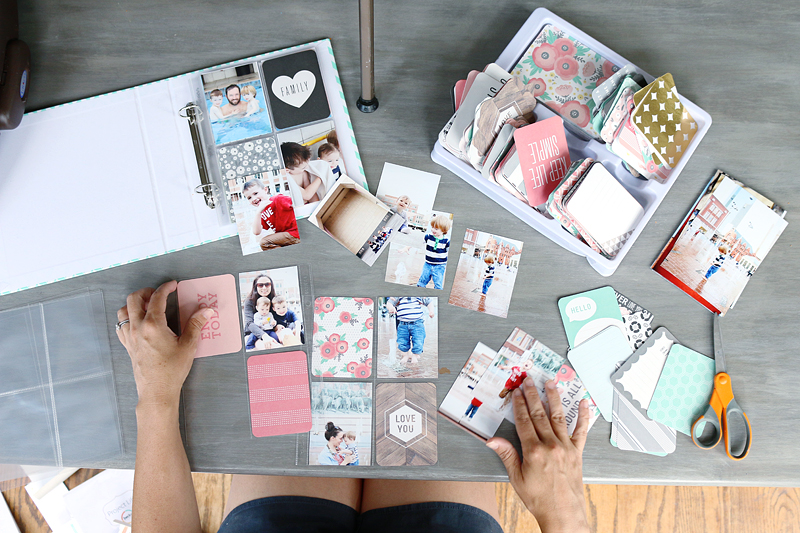
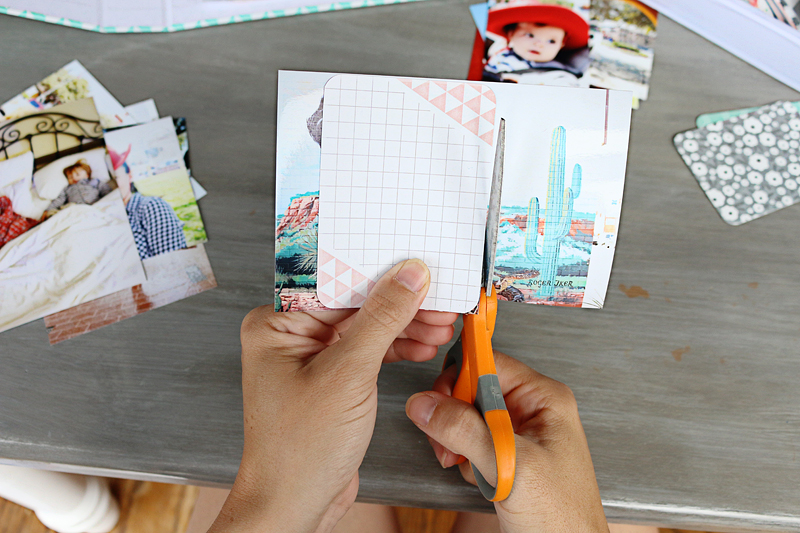
Since the 4×6 photos do not fit into the pocket pages, I had to trim them down. Using another card as a template made this really easy.

I would just lay it on top of the photo and cut away any excess.
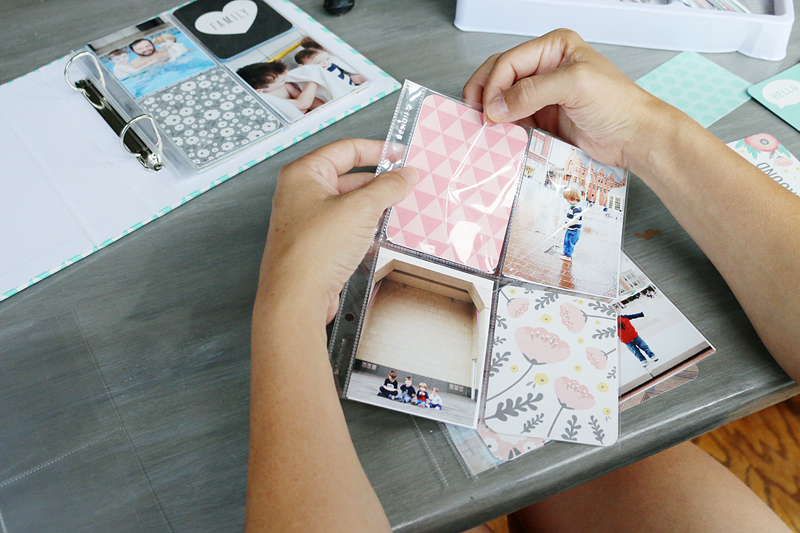
Then I would just slide it into the pocket. The pretty cards have such fun patterns and I chose ones that were most complimentary to the theme of the photo. And they went great with the colors of our prints. My Canon printer never disappoints and seeing all these vibrant prints just confirms that I do indeed have an amazing photo printer.
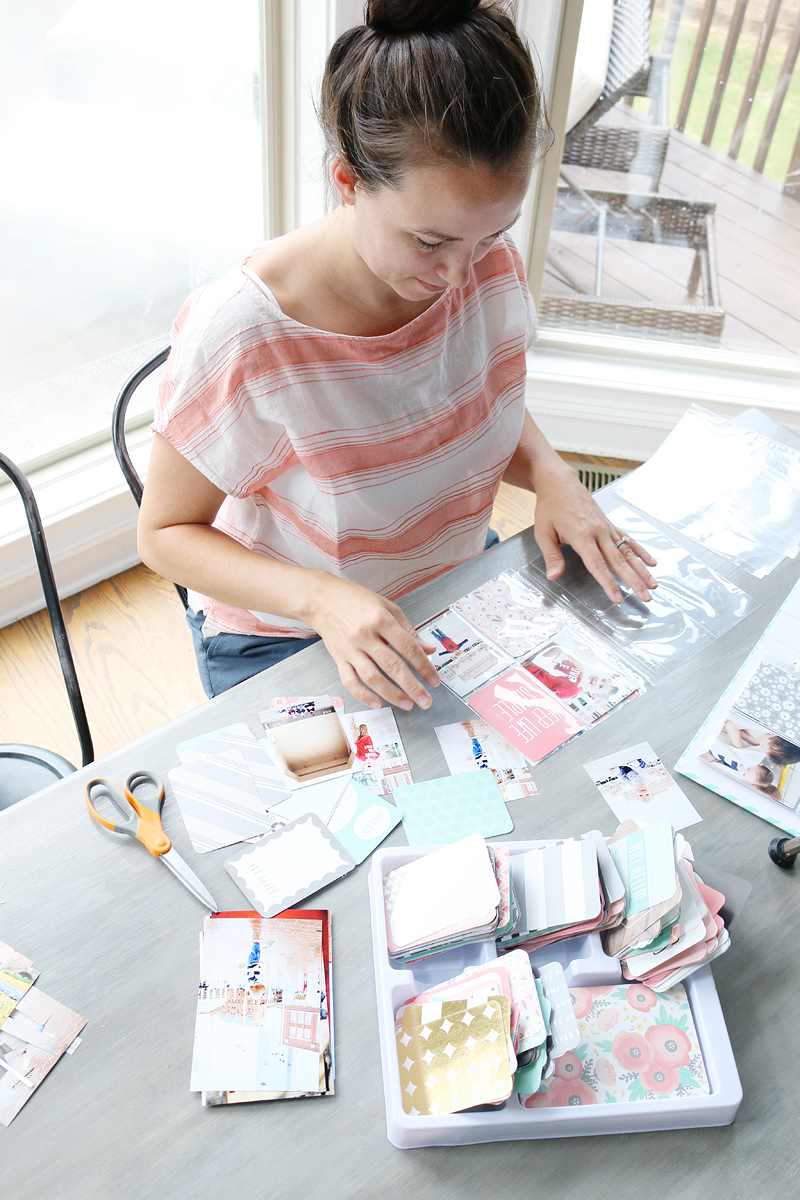
I also realized that laying everything out was very helpful. I can’t imagine doing all that work with endless supplies on the table.
Having those pocket pages laid out the way they would be seen in the book allowed me to plan everything accordingly.
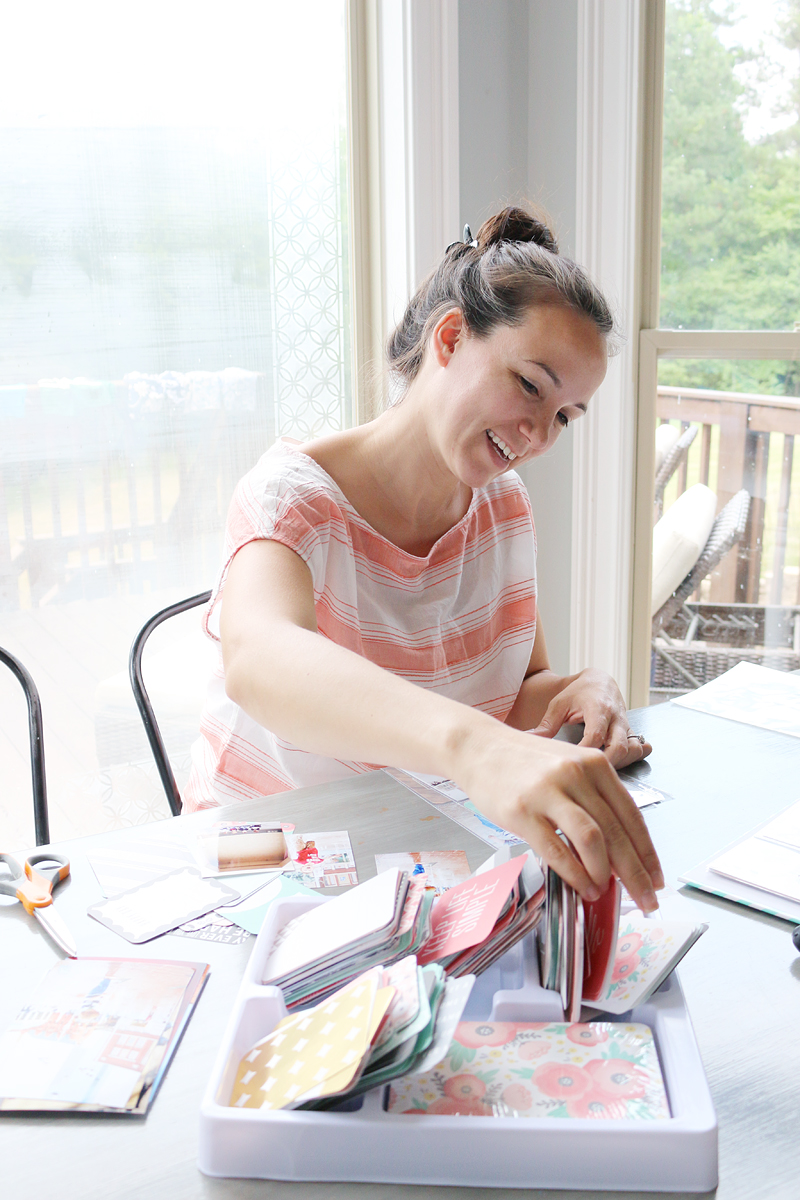
Real life here people. Scrapbooking during nap time with no makeup and a random bun while my six year old took my picture 🙂
For the most part I liked to switch back and forth between patterned card and photo. I also liked the fact that I could correspond the cards with sayings (like “I LOVE YOU”) to photos that showed an action (like the one of me hugging Maxi Knight).
When I would finish a page, I would simply load it into the book and BOOM….more done than a Golden Corral shrimp bite.
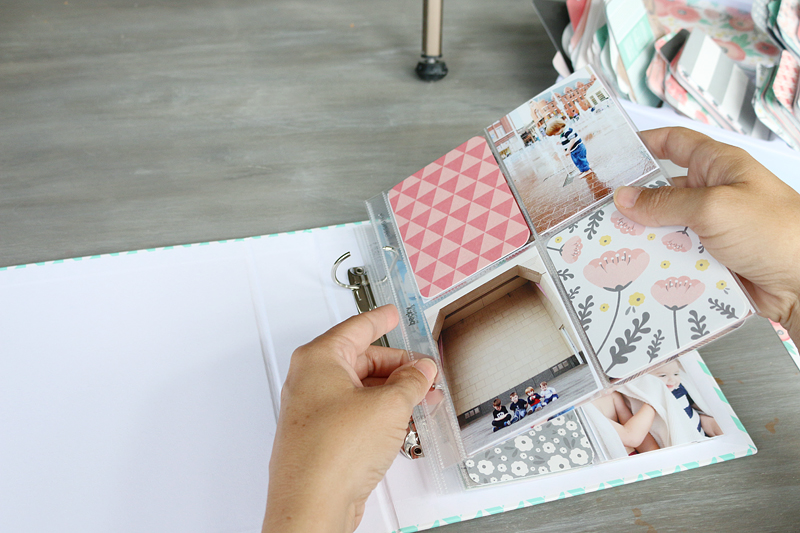
The backs of the patterned cards are also patterned….but sometimes they looked terrible with the next pages photos…so I would simply slip another card in there to make things look more cohesive.
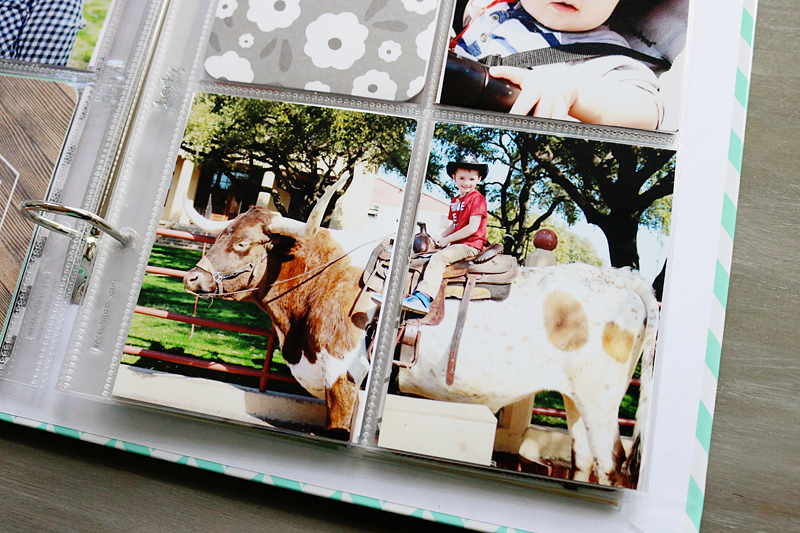
And my biggest tip is that if you have a 4×6 in the landscape orientation and you simply would loose the photo’s impact by trimming…just cut it in half and put the halves side by side!

It works really well for photos that fill up that space and then you get this double bang for your buck!
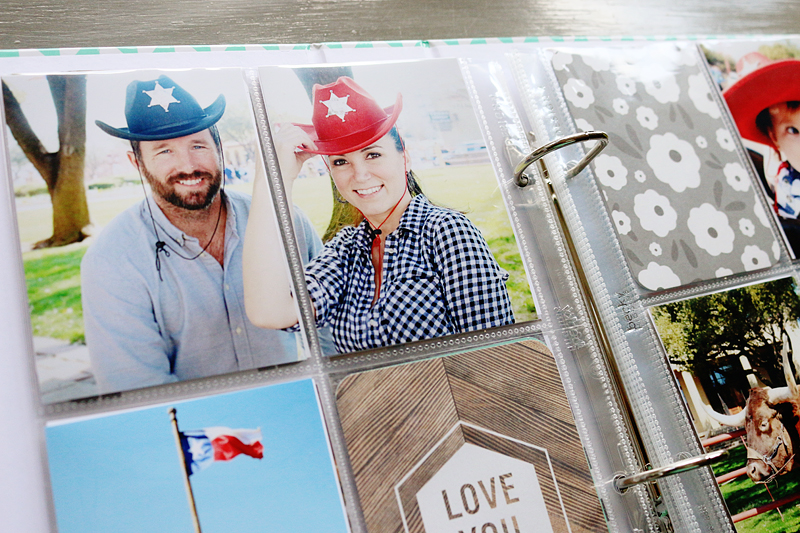
Like this one of Will on the longhorn just wouldn’t be the same trimmed down.
You ready to see the finished product….like I said, this is my first time so be gentle…..
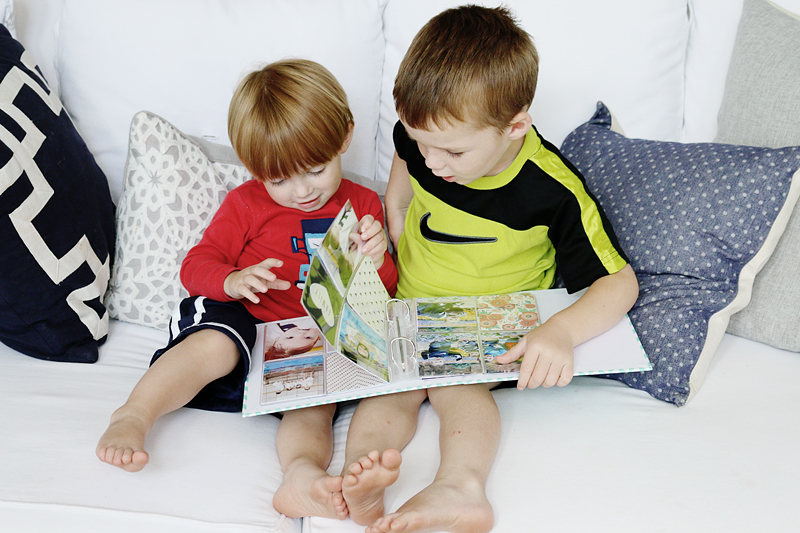
When I loaded all the photos, I was amazing how excited the kids were to see it. They were like flies on potato salad. They laughed and pointed and I loved that they couldn’t get the photos all dirty.
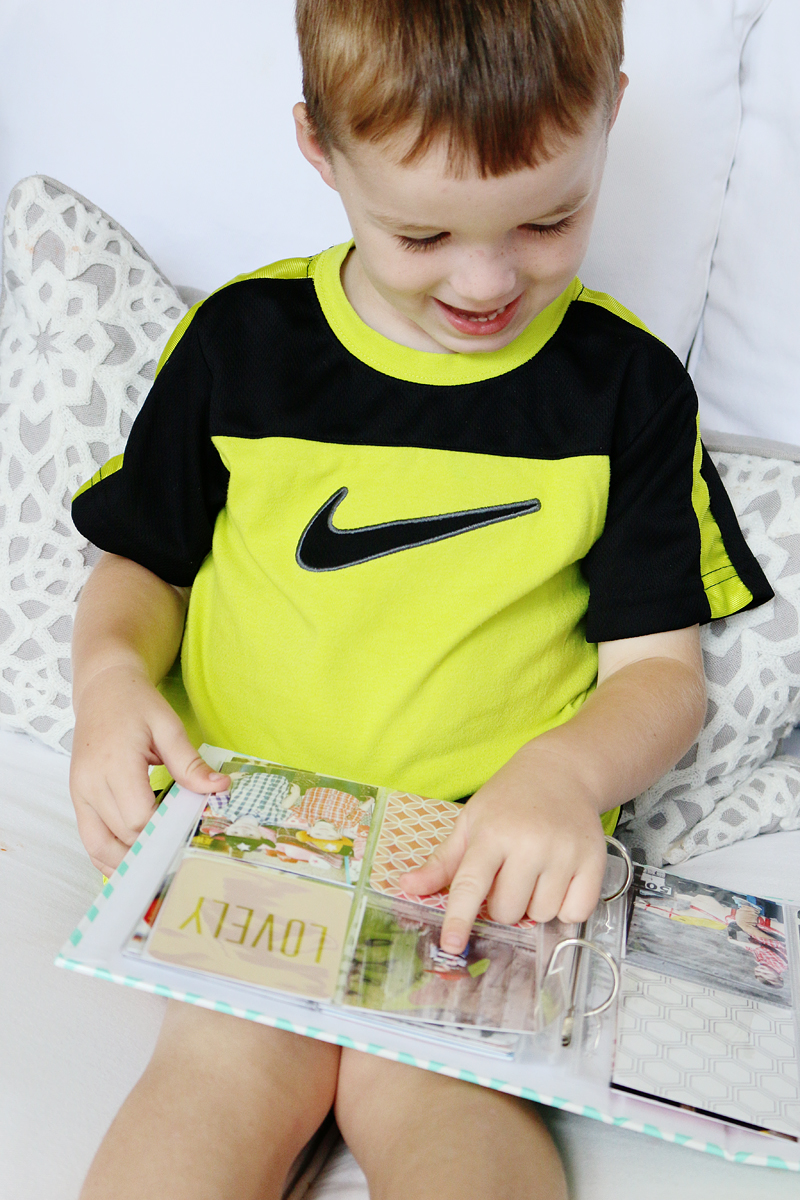
I love our family year books but I tend to be a little protective of them…but these are seriously hard to damage since they are just 4×6’s protected by plastic. Take that you little grubby handed dirt monsters 🙂 #loveyoumeanit
The whole thing took me about an hour and a half (perfect nap project) and here is the cost breakdown…
- Project Life cards (@Michaels with coupon) – $15
- Project Life pocket pages (@Michaels with coupon) – $2.50
- Project Life Binder (@Michaels with coupon) – $7.00
- photos – next to nothing (printed at home on my PIXMA MG7720!)
TOTAL – $24.50
And I still have a TON of cards left over….so I can definitely make another one 🙂 And I think this is just the start to my scrapbooking adventures. Who knows….maybe next time I’ll get wild and crazy and use STICKERS. Calm down Katie. No need for panic! 🙂

Canon