Previously, I had mentioned that we tackled a few projects this month and I was practically busting at my babybellyseams to share them with you. One of them was our stairway railing makeover. Before that we weatherized our house for winter and we switched out our door hardware to get them to match. And you can’t forget how Jeremy scrubbed off the paint from our exterior brick for a whole new house.
Well, I am back to show you one final project for 2009. It had a little something to do with #3 on our DIY To-Do List – “Out with Katie’s Desk, In with Cheap Storage”. Maybe this photo will spark your memory:
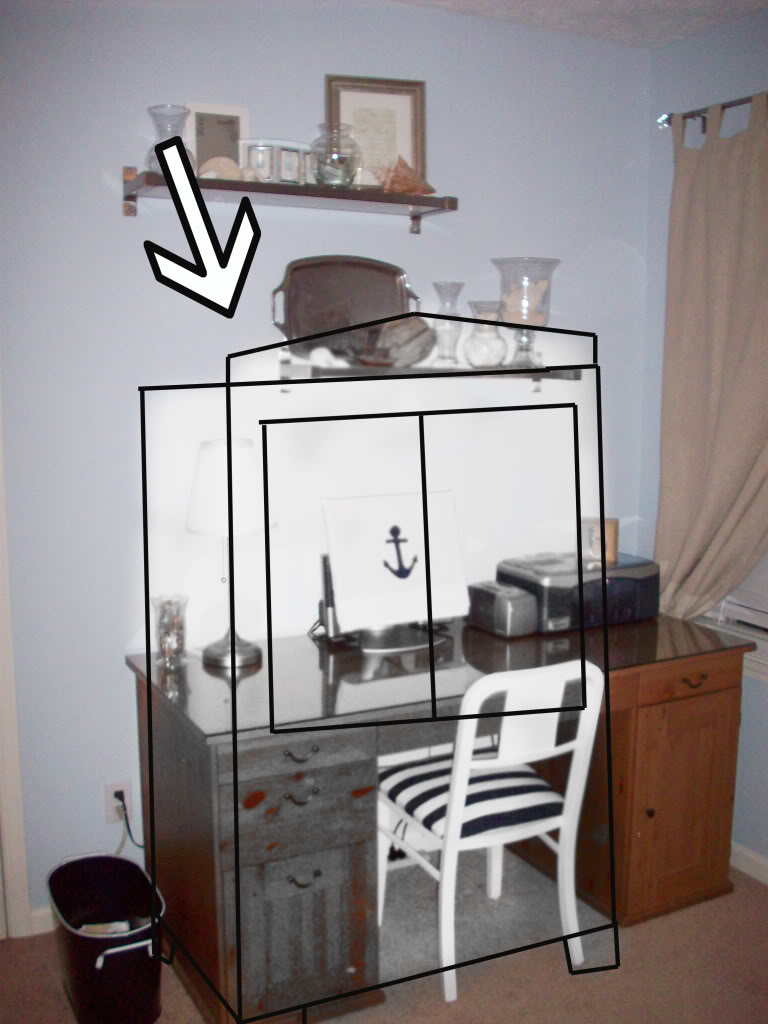
The plan was to sell my desk. That hasn’t happened yet. Mostly because it is hidden under a pile of paperwork and christmas wrapping paper. But that didn’t stop us from moving forward. My mom had given us a cabinet.
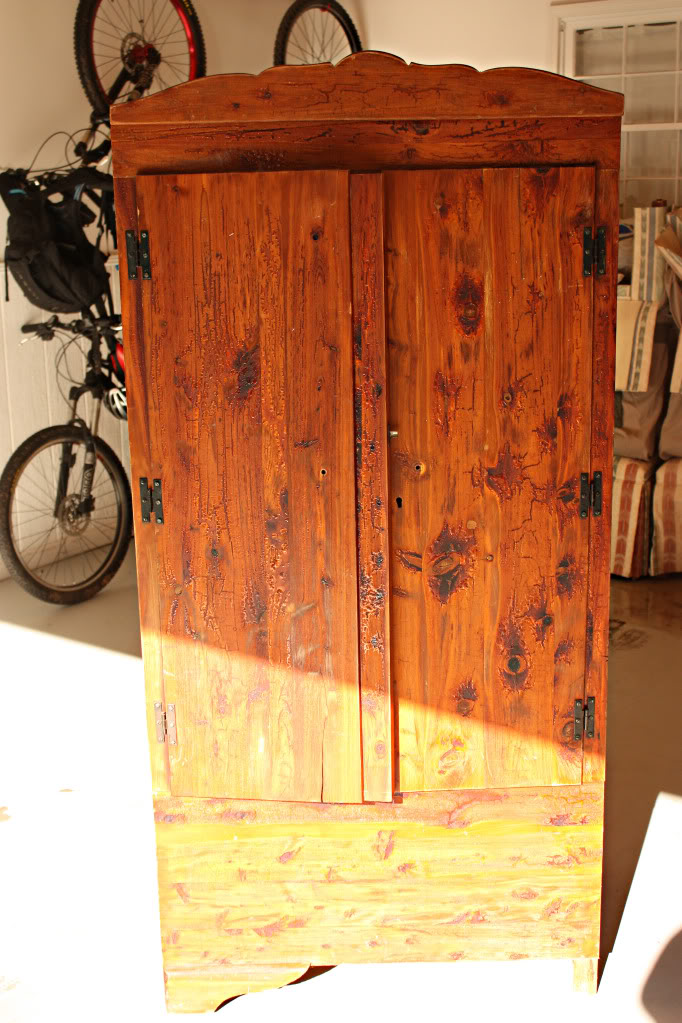
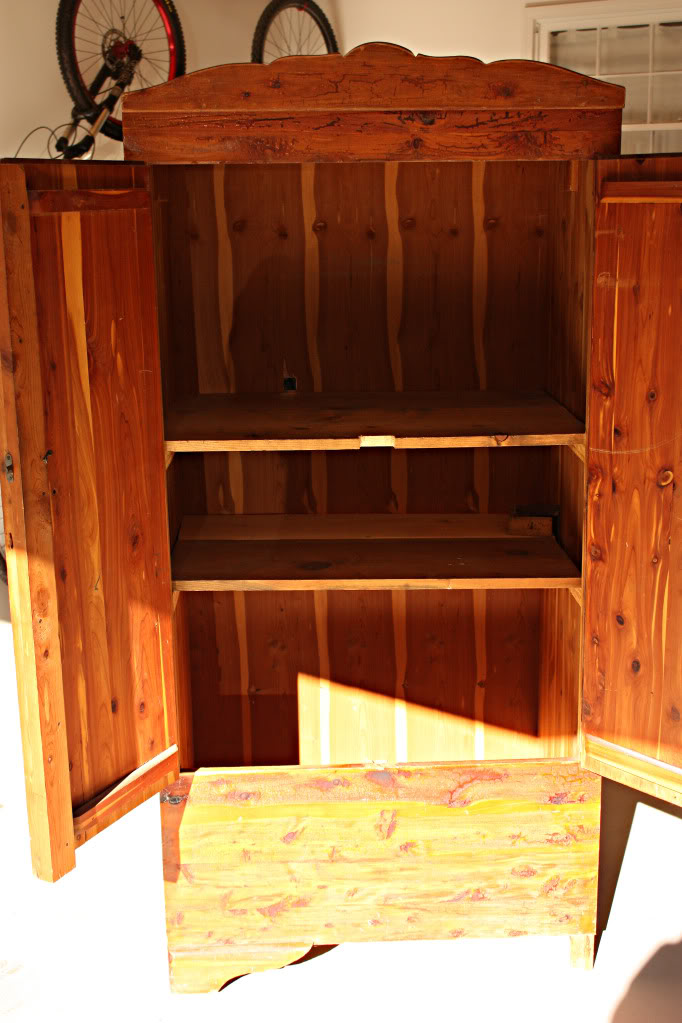
She had picked it outta a neighbors trashpile about 15 years ago. So needless to say it was suckier than Kelly Clarkson’s life withouuuuut yooooouuuu! 🙂
But since it was freer than Kanye’s tongue at award shoes, it was a storage offer than I couldn’t refuse. Especially since it had a couple shelves and a hanging rod that would be the perfect height for baby Bower clothing.
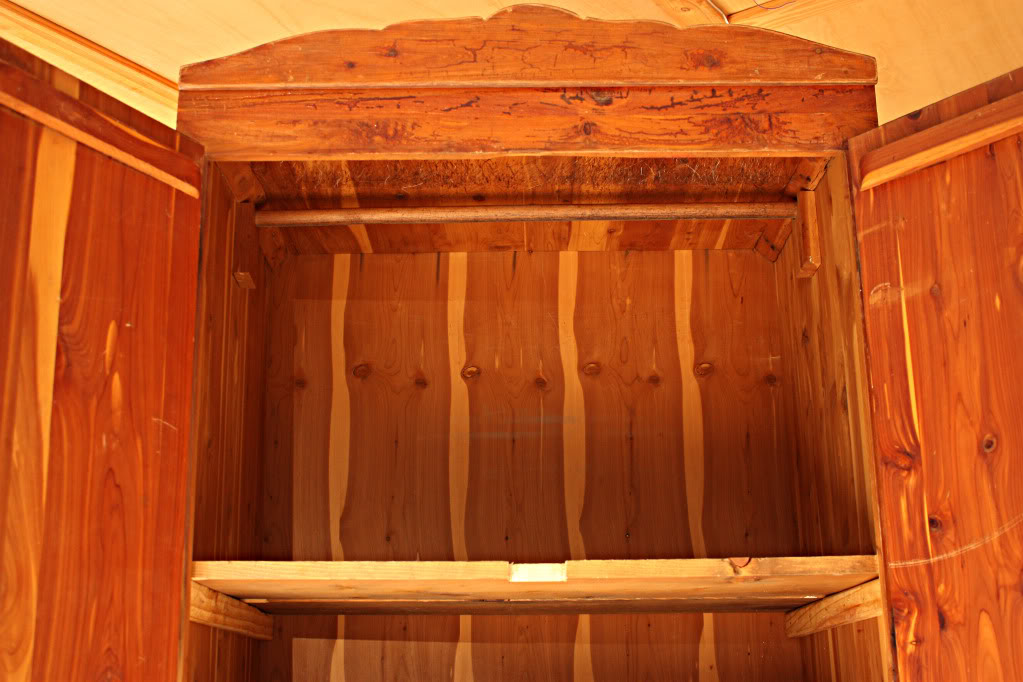
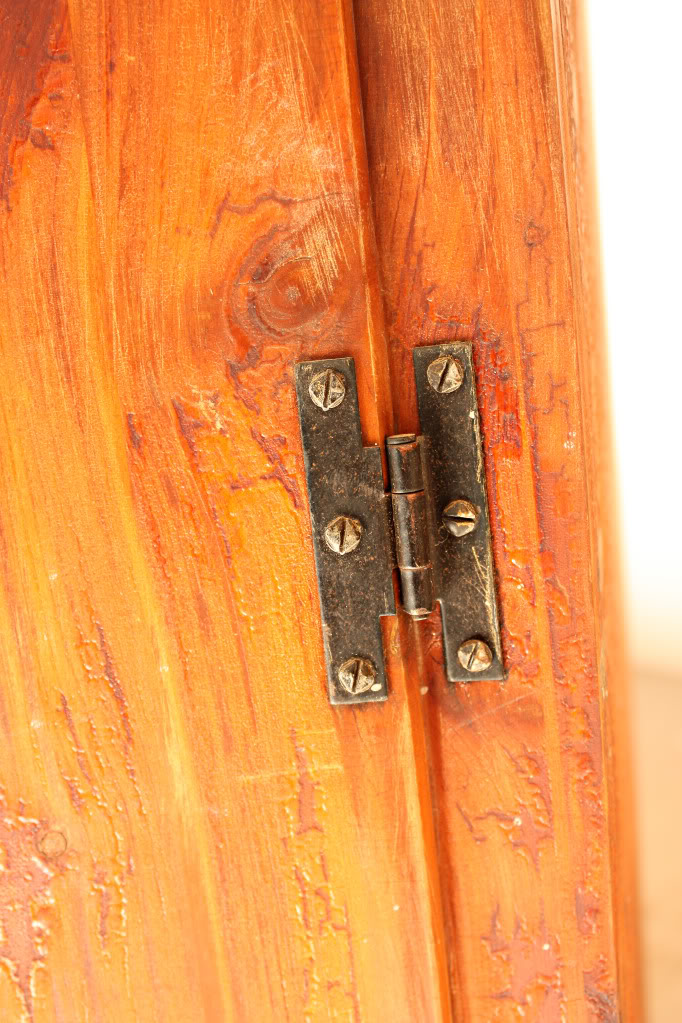
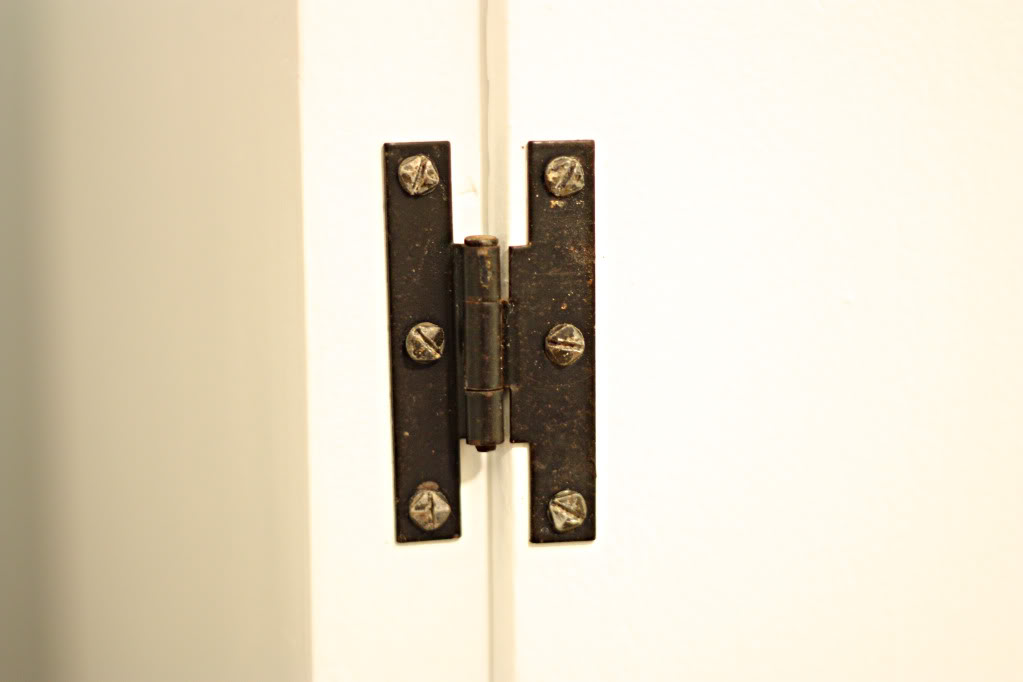
And actually the coolest thing about this piece was the old style hardware that survived many moons in my mother’s basement. It’s simple, rustic, and masculine (with a nod toward clean modern lines) – just like I want the nursery to look.
So I invited a friend over to help with the process.
Meet Emily.
She’s in the youth group that Jeremy & I help lead.
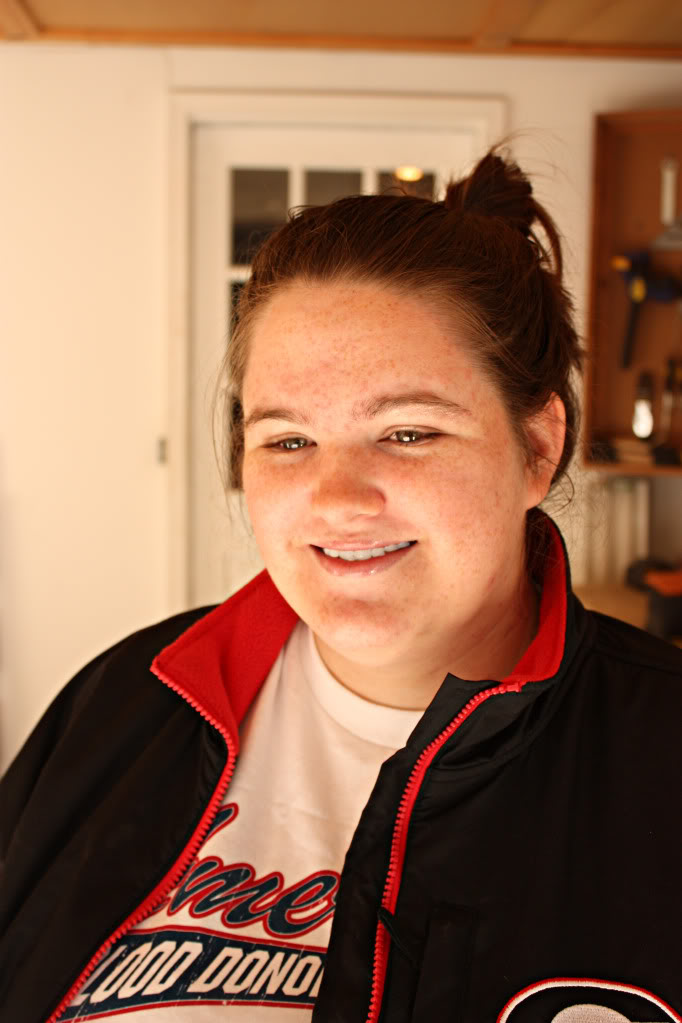
Not to quote Brit-brit, but she’s not a girl yet not quite a woman. She’s still in that awkward learning-how-I-fit-here-on-planet-earth phase. Wait. That’s me. Emily’s just fine….and she was a super big help. And I loved having her with me so that the DIY attitude could be passed on to the next generation.
So my helper Emily and I whipped out the right tools (curtesy of True Value and used on prior DIY projects),
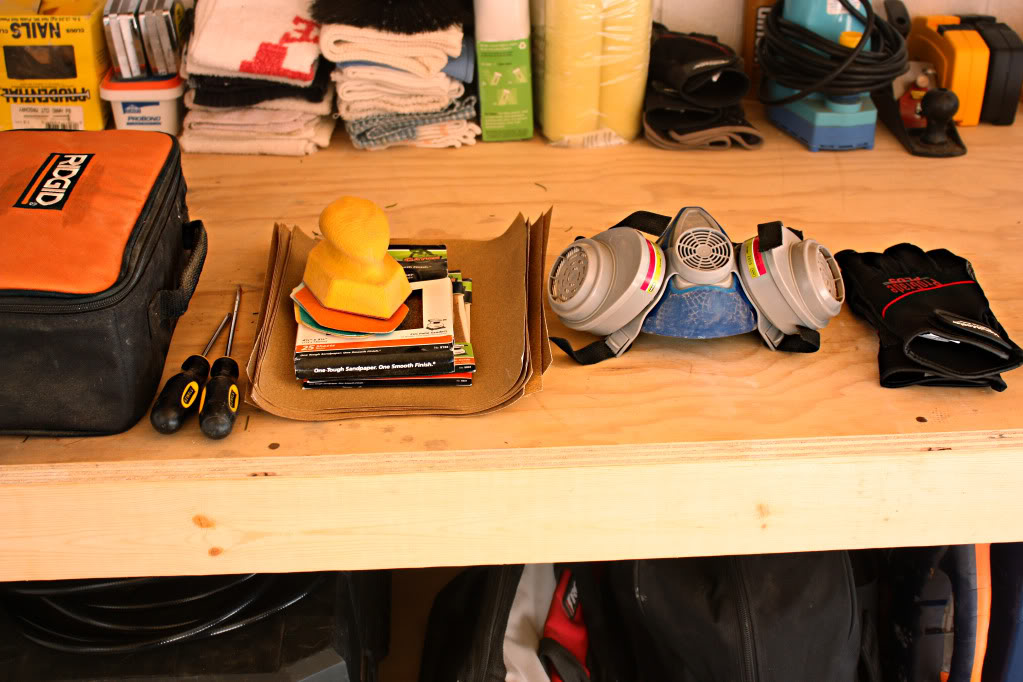
and got down to the nitty gritty. That’s right. Sanding.
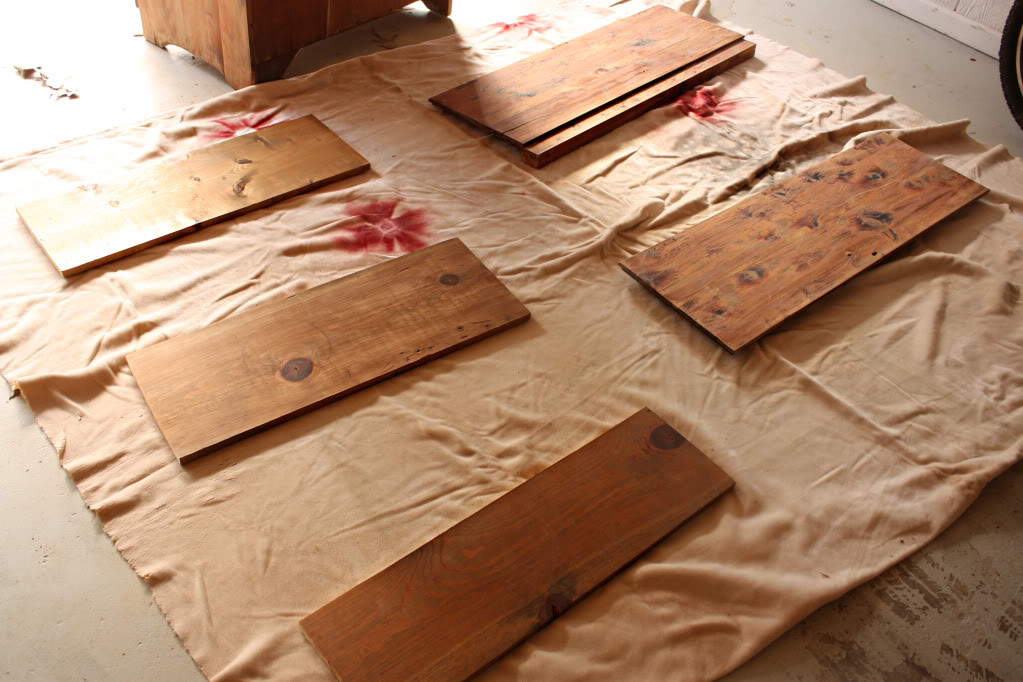
Just a side note – sanding this kinda wood was extremely different than anything else I have ever done. We first tackled it with the electric sander…but the sap in the wood would get ridiculously hot and become this oozing gel that ruined the sandpaper. So with four sheets of sandpaper rendered useless, we figured out that the best way to tackle sappy wood was to do a quick rundown with the electric sander, then hand sand any spots that looked especially ooozy. Then after manually sanding those areas, go back to the electric tool for a finished run over.
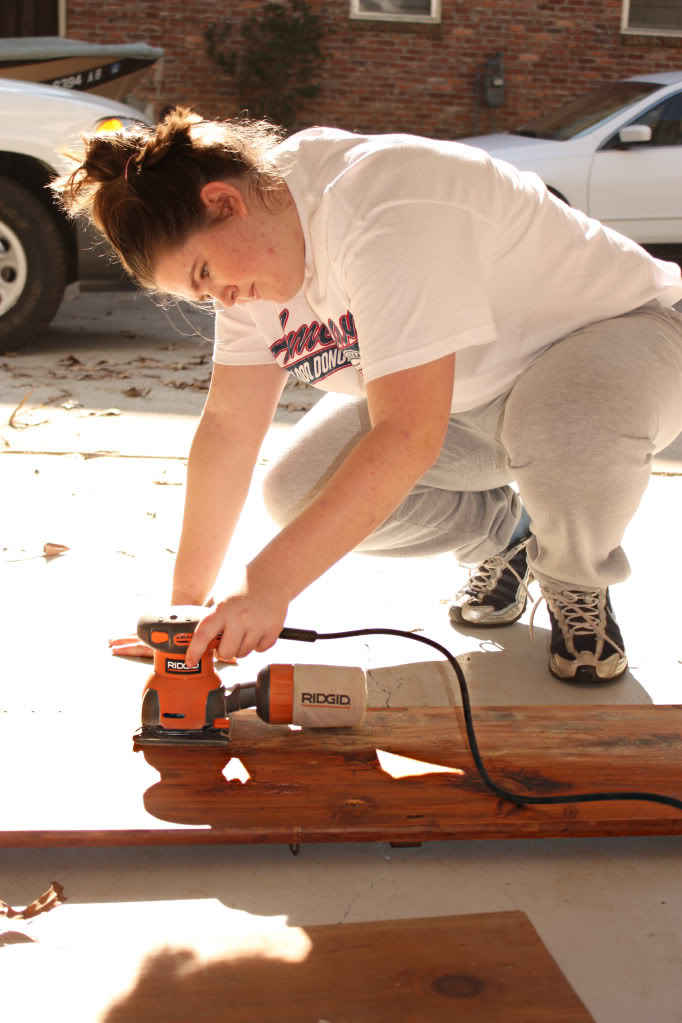
The knots were the ooziest.
They oozed sap worse than Serendipity reruns on Valentines day. (Call me John Cusack. Please. I own every one of your movies. We can be BFFs. My boyfriend says its okay because you aren’t my type. He is very understanding of my obsessions.)
Anyhoo.
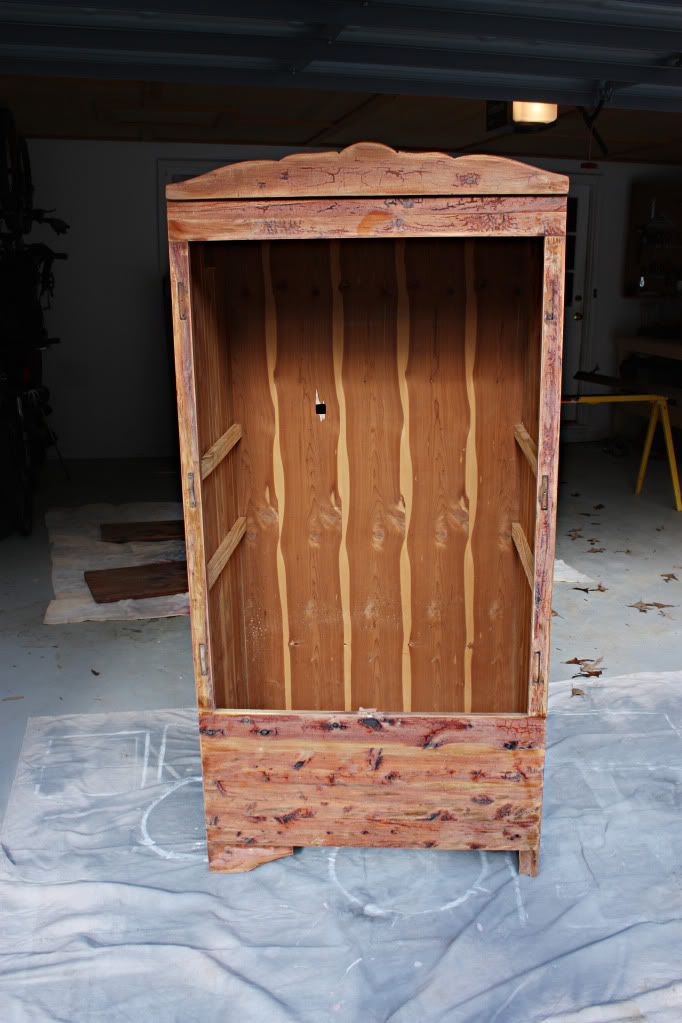
After we removed the doors and hardware and gave the entire piece a good sanding, it looked a little better.
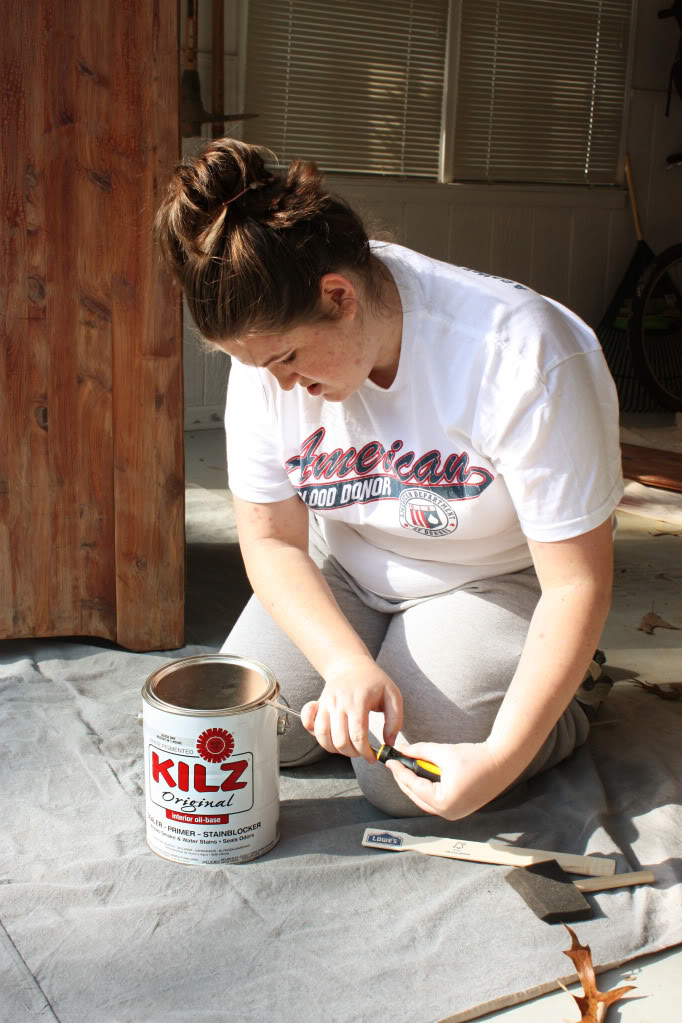
So we started with Kilz oil based primer and gave the entire wardrober a solid coat to seal in any stains, smells (did I mention it was in the trash?) and leaky oozers.
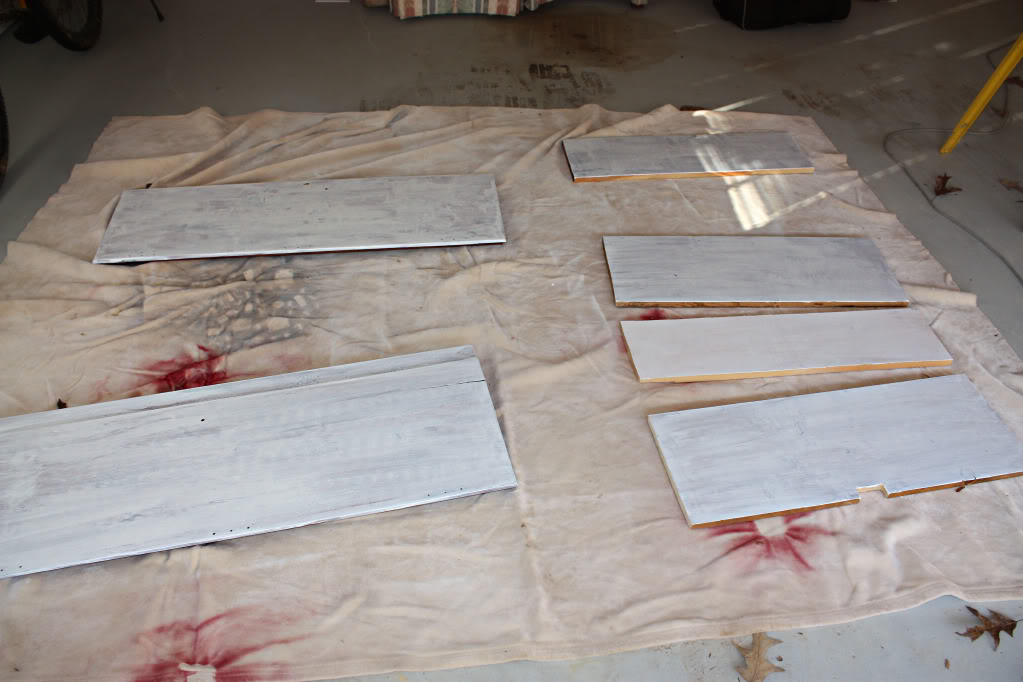
Since it was especially rainy here, everything got done in the garage. Which actually worked out for the best because we could make sure no debris got in our drying primer or paint.
I will say that it was rather uncomfortable trying to prime the inside of the piece while bending over my giant belly.
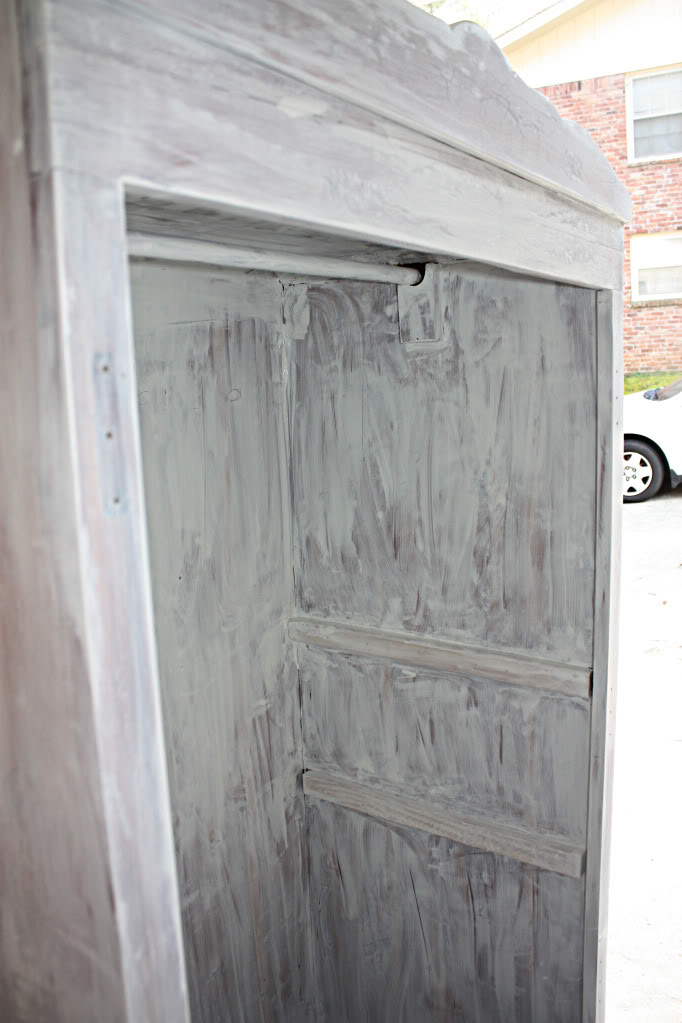
And so in the end, I recruited my boyfriend to do all the painting. Both Will and I thanked him.
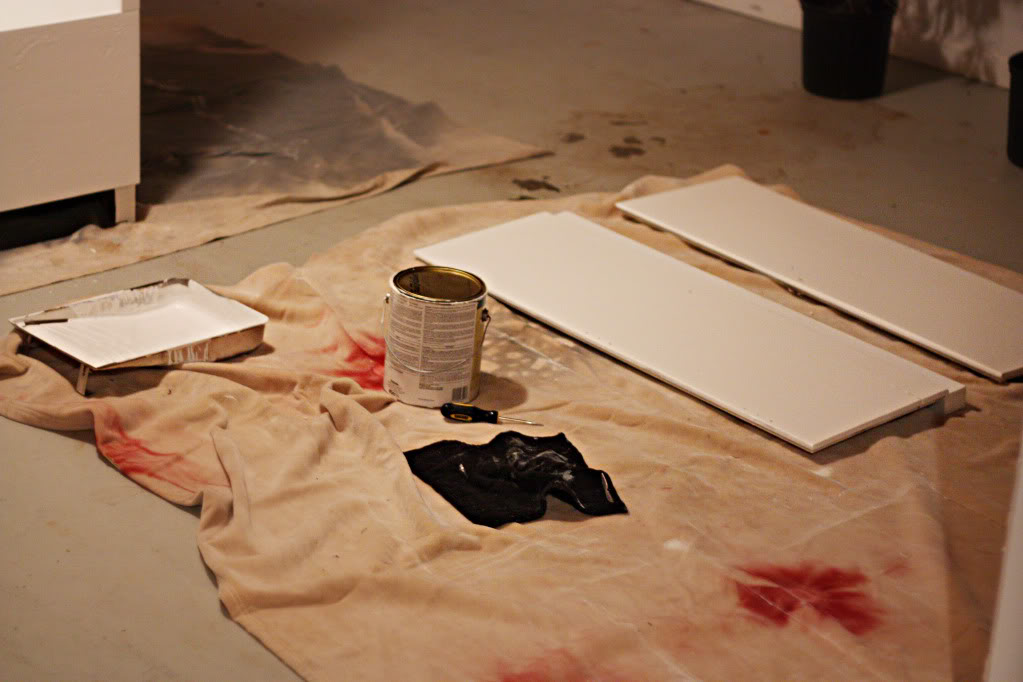
And after four coats of semi-gloss paint, it was exactly what I hoped it would look like. All except for the bottom legs. We are still contemplating a design for Jeremy to cut out with a jigsaw to cover the mismatching feet. I’ll give you the update after we come to a decision.
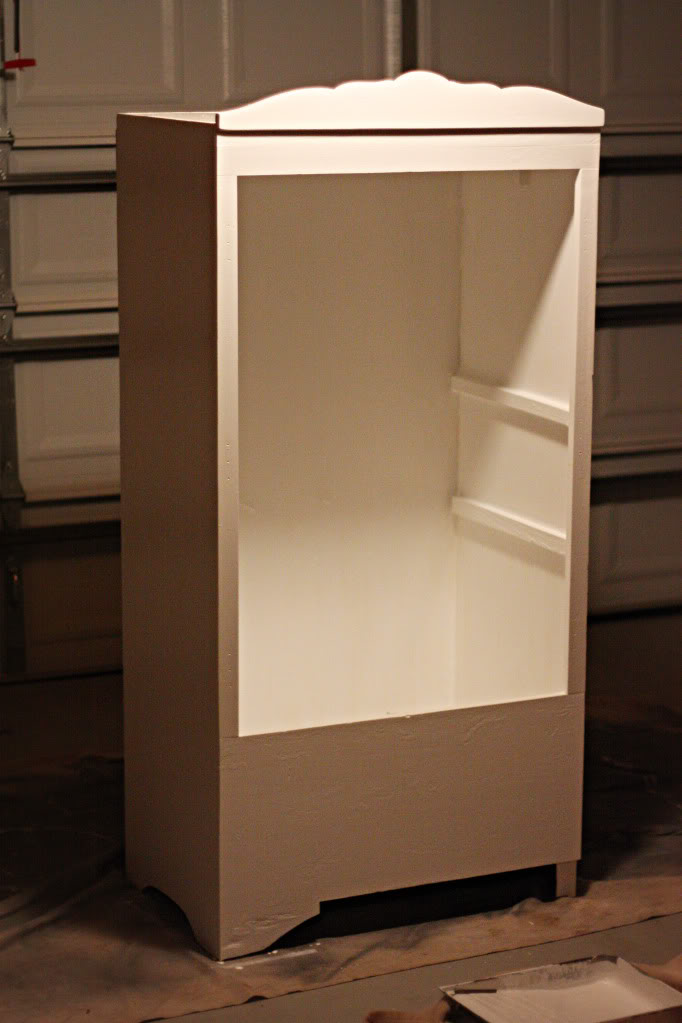
But the dissimilar feet didn’t hold us back. We moved forward (mostly because I can’t imagine helping Jeremy lift this unit up our stairs in two months). My studmuffin reattached the hardware,
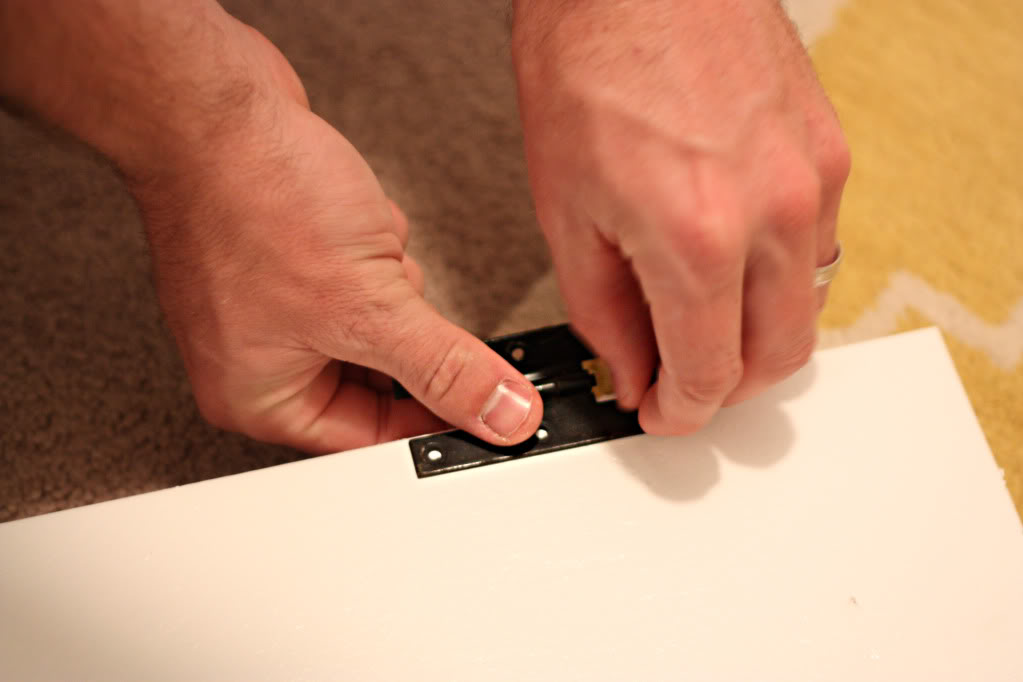
which looked fantastic against the newly painted doors.
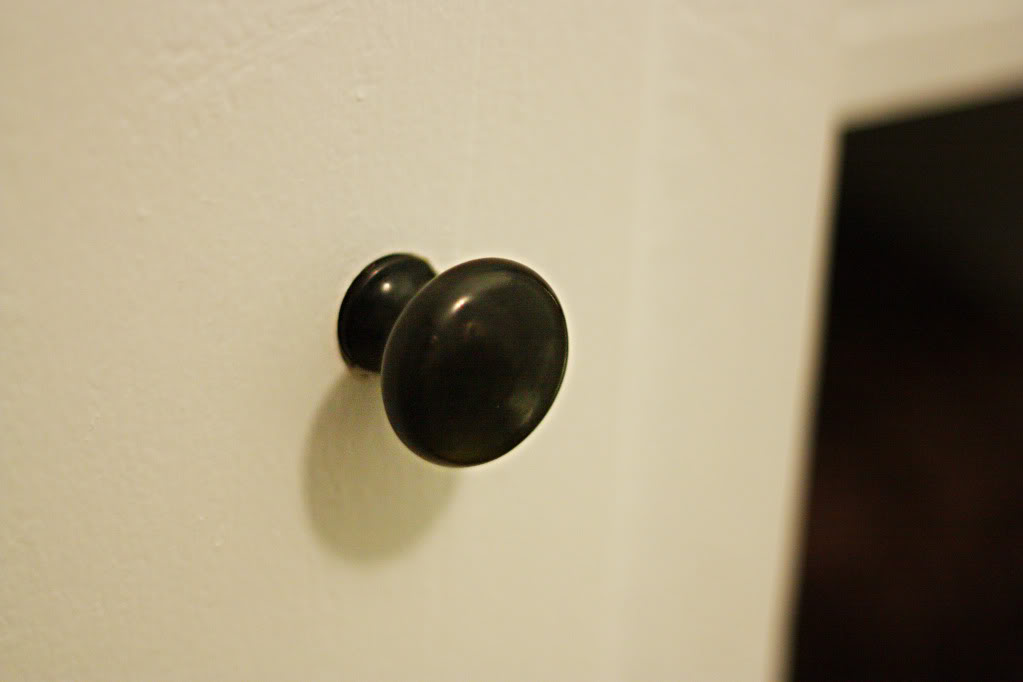
And I scored some matching oil-rubbed bronze knobs from the Pottery Barn outlet for the doors.
Now – are you ready for this?
Are you on the edge of your seat?
I’m talking about seeing the finished cabinet – not watching the ball drop.
3
2
1
Happy Wardrober!
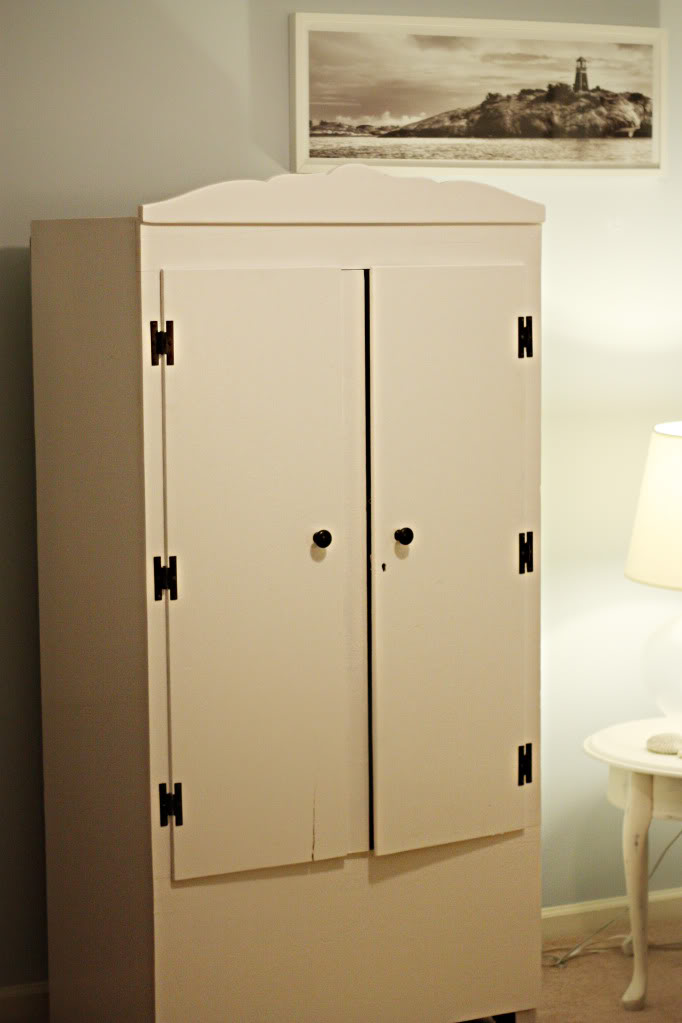
Looks great, right?
And for FREE!!!!
The best part about it – and I know you can’t really see it in these photos – is that the texture of the wood is still there. It still looks like that cedar-y grain is coming through…and I even love the giant crack in the door.
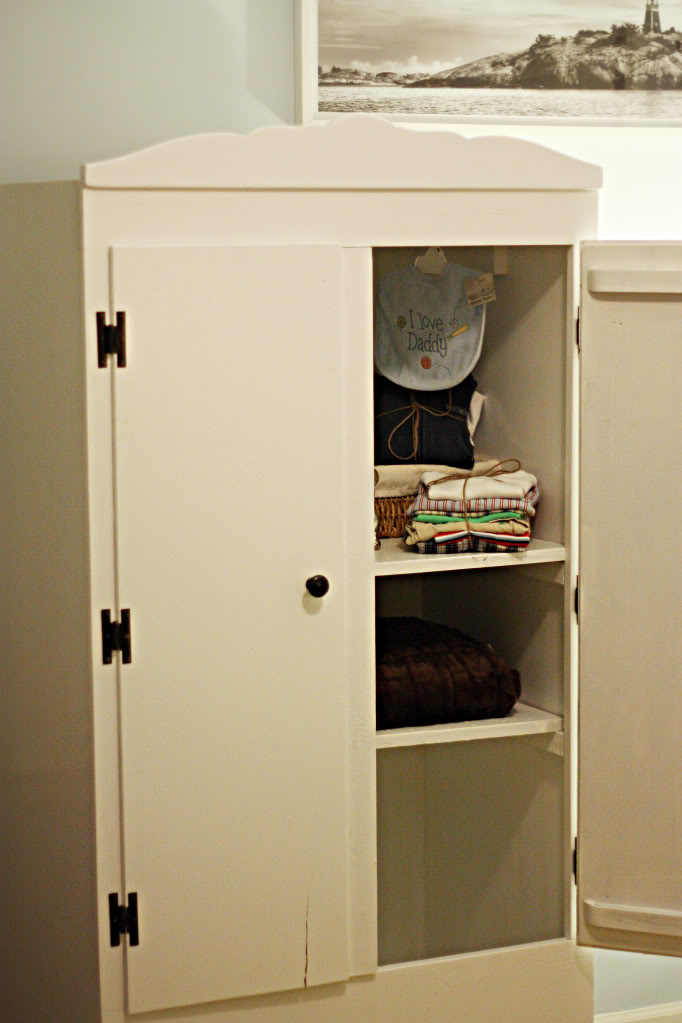
It totally goes with what we are looking to accomplish in the nursery. And did I mention that it was free? Yeah. It was. And it is great storage for a room that has little to none. And it was free. So now I am permanently tattooed in thanksgiving to True Value. Afterall – they made this project possible with their generousity and their DIY-lovin spirit. We can’t say thank you enough, you masters of all things hardwarian.

“I was one of five bloggers selected by True Value to work on the DIY Squad. I have been compensated for my time commitment to the program and my DIY project as well as my posts about my experience. I have also been compensated for the materials needed for my DIY project. However, my opinions are entirely my own and I have not been paid to publish positive comments.”