The end of the year is oh-so-close and I couldn’t wait to share with you some of the projects that we have tackled in the recent month. One of them was #4 on our DIY To-Do list:
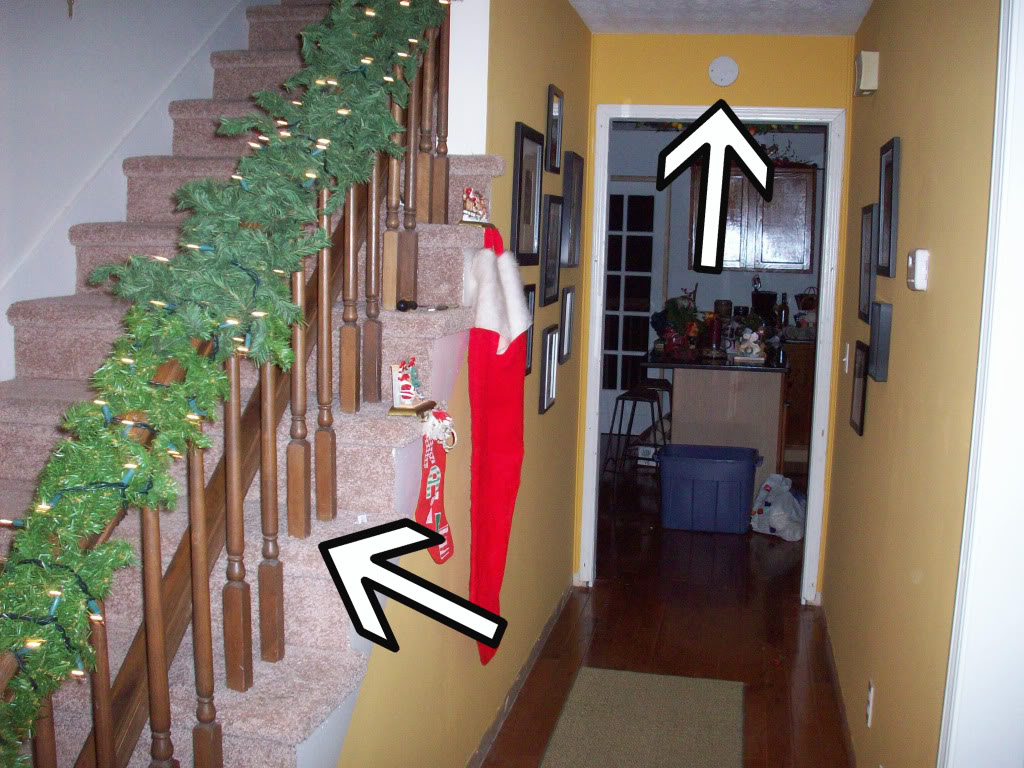
The stairway railing.
And we were able to tackle this monstrosity of a task with the massive help from True Value. For those of you who forgot with the Christmas chaos (or just now joined us here at ABP), we were one of the lucky folks chosen to participate on the DIY Blog Squad. This group of home-improvement-lovers tackles and blogs about real-life projects and True Value foots the bill by providing the supplies.
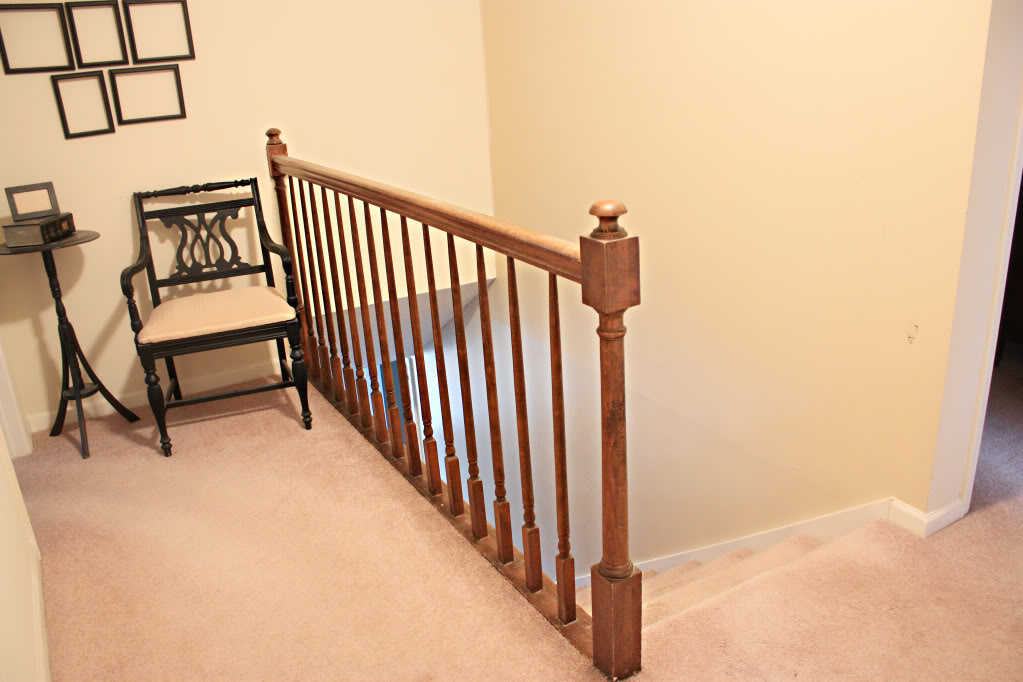
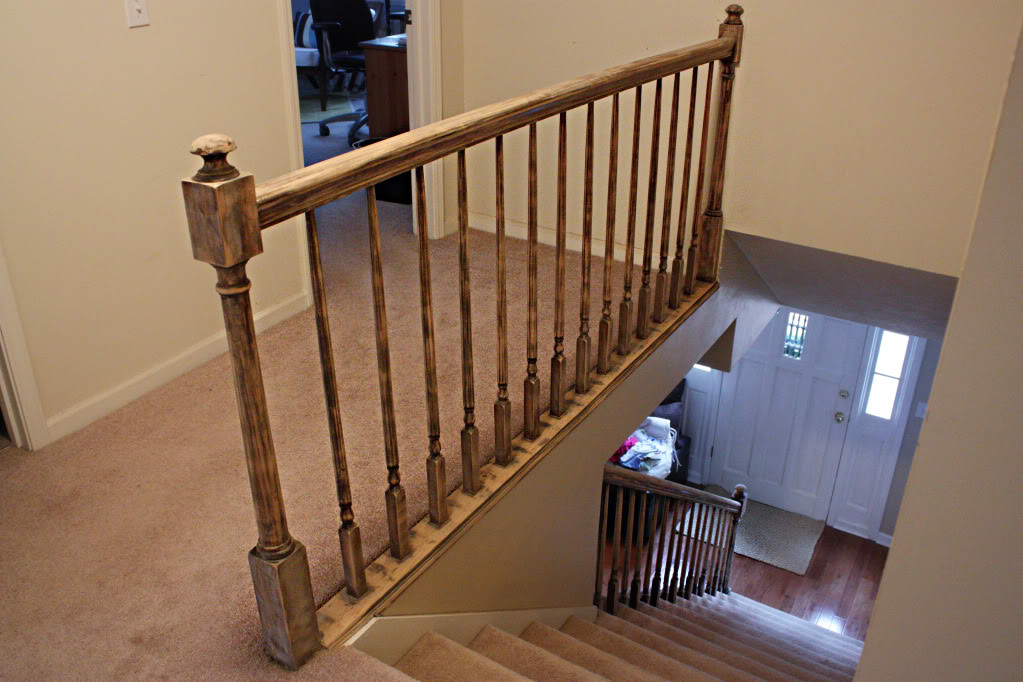
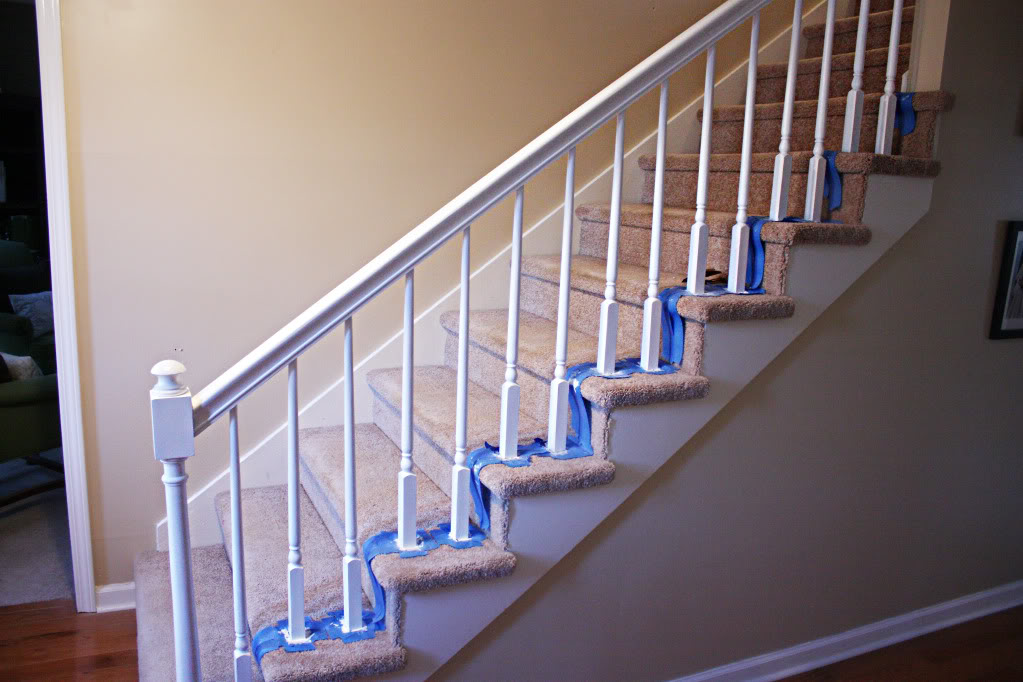
One of our chosen projects lives in the foyer of our house. It was this worn out brown railing that needed a little color CPR.
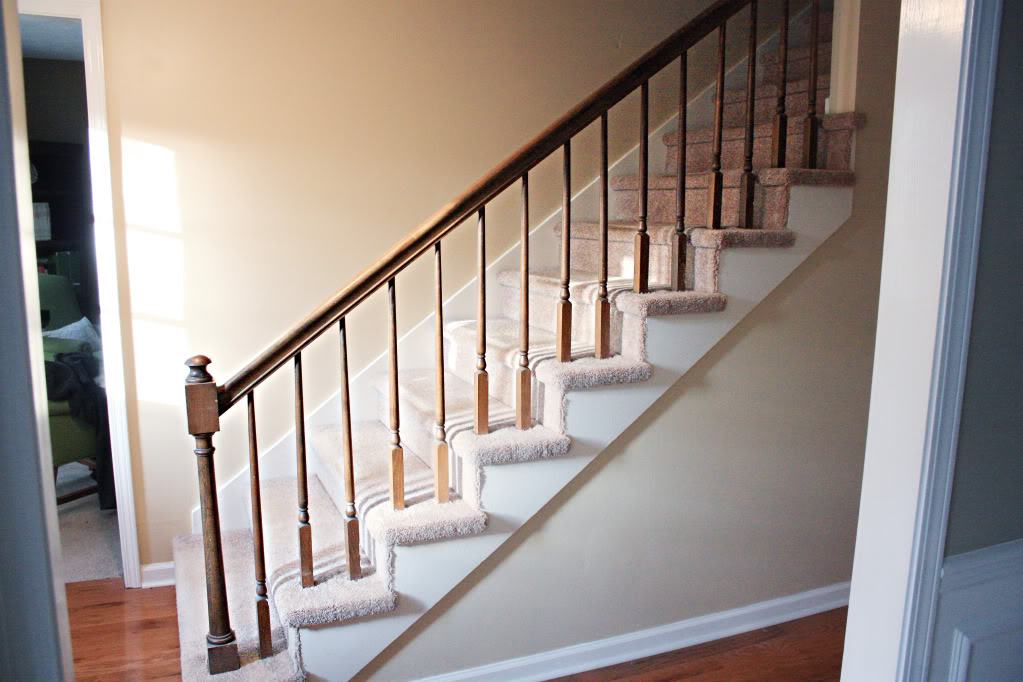
As you can see, the railing goes up to the wall on the bottom half and the top half separates the little landing next to the office & guest bathroom from the stairs.
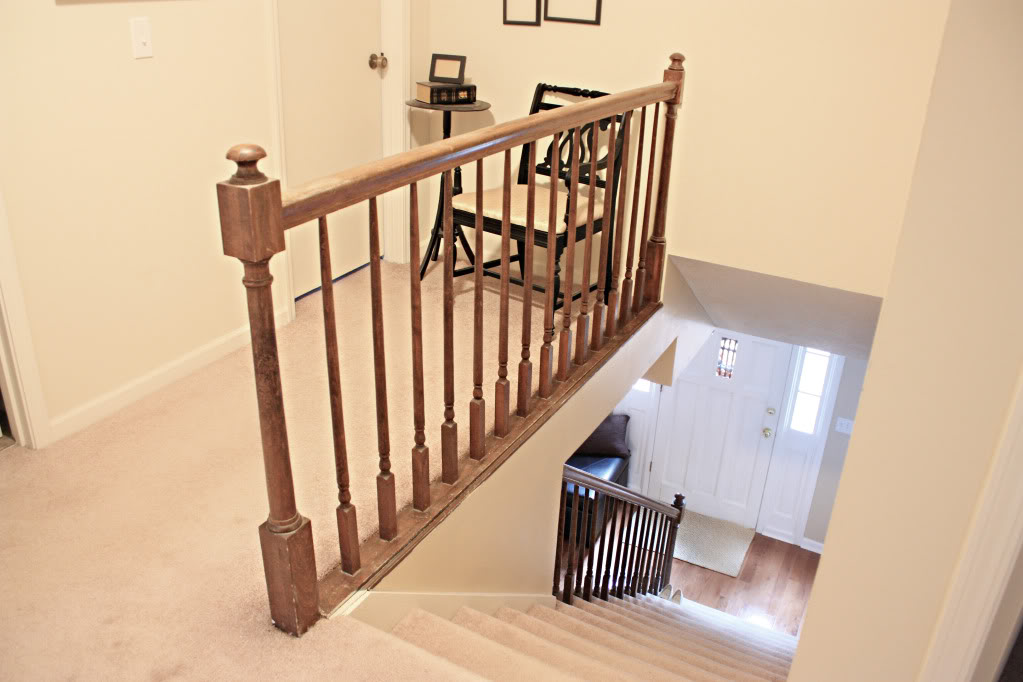
The handrail on the other side was removed and we have been trapsing up and down the steps without guidance for the two years we have lived here. As my pregnant belly grows, I have noticed that a handrail really would come in handy (heehee…hand-y!). Especially for top hip head heavy peeps like me.
But now that we have finished this project, we are here to share the How-To with all you home improvers. So if you are in the mood to change your own stairway railings, just follow these easy peasy steps to get a whole new look for your stairway.
1. BUY SUPPLIES
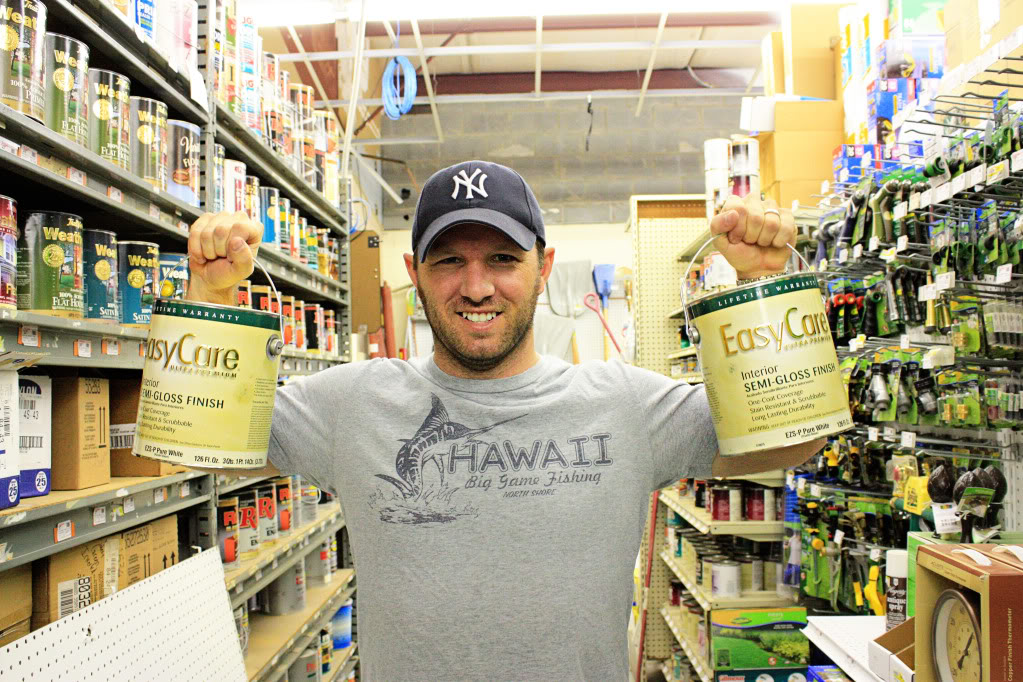
Typically, we buy Benjamin Moore paint for our trimwork. But since True Value carries paint – we decided to pick up a few gallons of their Easy Care Pastel White semi-gloss instead. And actually, it worked just as well. The coverage was good and we didn’t have any problems with drips or inconsistencies. We also decided to purchase a gallon of the Kilz oil-based white primer too.
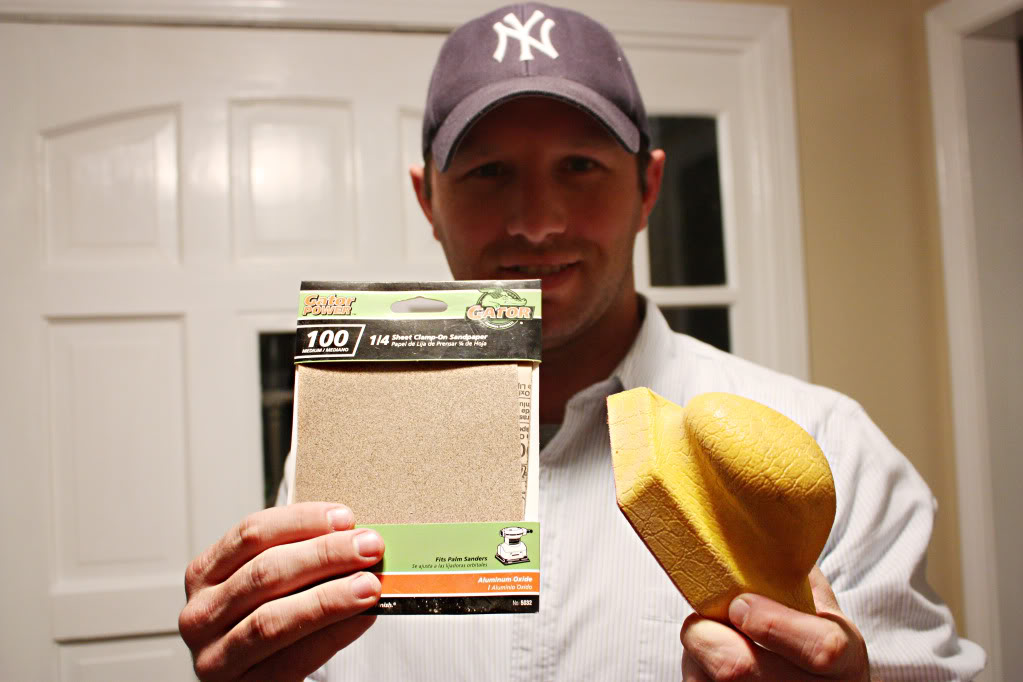
Also on our shopping list was sanding equipment. We have an electric sander so we just needed some refill sanding papers and my boyfriend snagged some loose full-sheet sandpaper and this nifty squishy sanding tool that can fit in the small nooks and crannies of the railing (where the bulky sander won’t fit!).
2. SAND YOUR RAILING
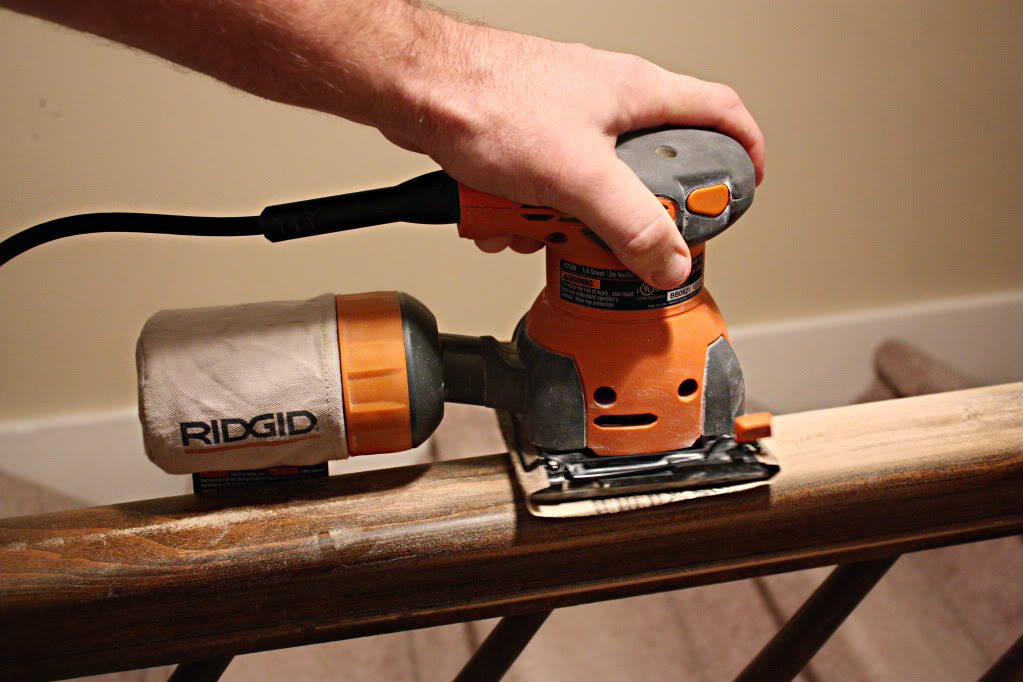
Using our electric sander, we tackled the railing to rough up the surface and give the old finish a run for its money. On the spindles, we used the sander where we could and then wrapped the entire pole with a piece of loose sandpaper to really finish the job. And the squishy sander came in handy on the little parts (like the underside of the railing and the rounded areas of the newel and spindles).
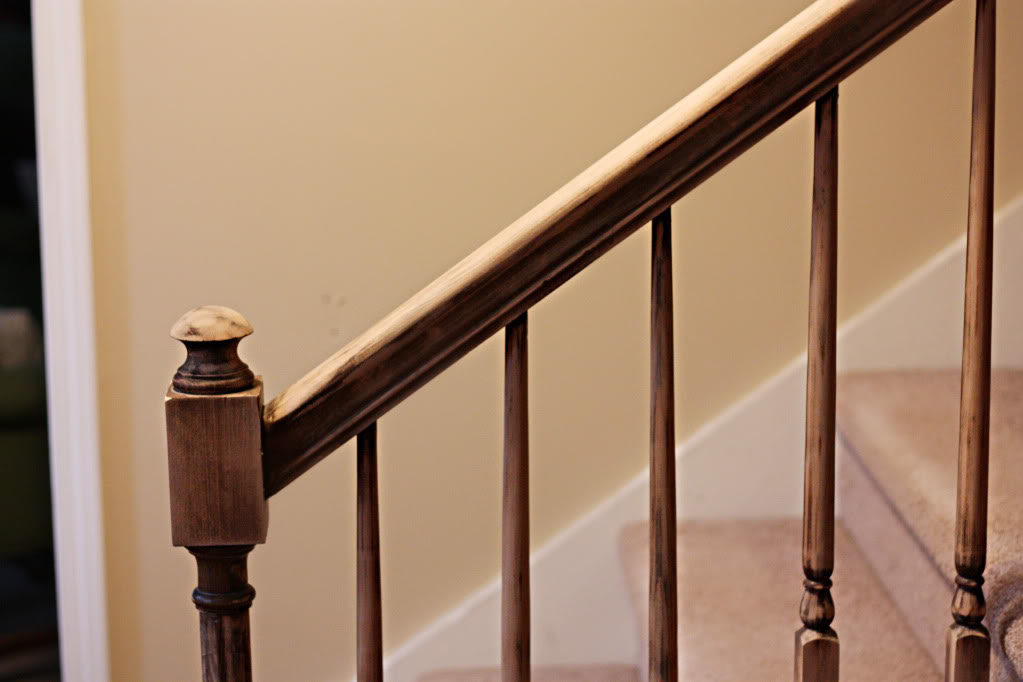
You want to sand the entire railing until the finish is no longer shiny (if you are planning on painting) or until the previous stain color is gone and the raw wood color is the only evident hue (if you are planning on restaining).
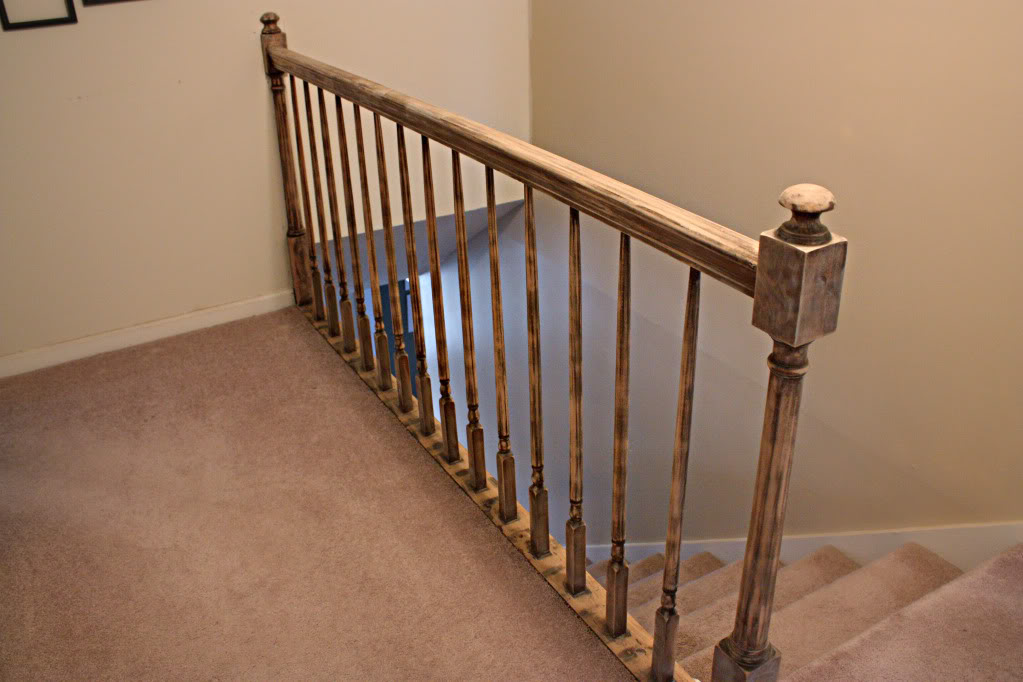
Also, start with a heavier grit sandpaper and then go to a medium grit to get your wood surface ready for primer.
3. PREP & PROTECT
It’s time to prep your surface. After sanding, you will want to make sure you thoroughly wipe down the surfaces that you just roughed up. That means getting a damp rag and removing all dust, dirt, and debris. We like to wipe it down with a rag and then vacuum around the area, then wipe it down with a tackcloth (a sticky rag you can purchase at any home improvement store) and then lastly do a wipe down with a different none-fluffy rag. The numerous wipe-downs ensure that no dust particles get under your primer or paint which can cause a grainy surface instead of a smooth finish.
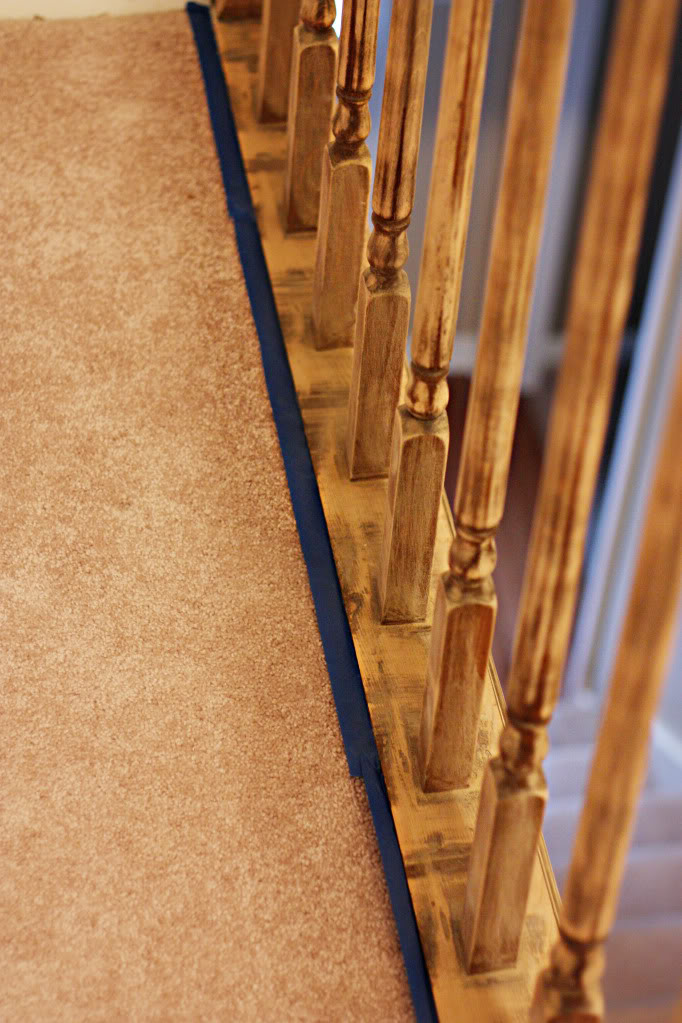
Then we tape off the surrounding areas including carpet, walls and other trimwork that has already been painted.
4. PRIME TIME
Prime your wood surface with a coat of oil-based primer. We used Kilz brand for this project just making sure that we had no drips or spots left bare.
5. PAINT & SAND & WIPE
Using an angled bristle brush, we applied a thin coat of our semi-gloss pastel white paint to our fully dried & primed surface. Then we allowed the coat of paint at least 24 hours to dry. Using a superfine-grit sandpaper, we lightly sanded the surfaces that would be touched…like the handrail itself, the top and sides of the newel and the spindles. This is the time to sand out any drips if you have them.
After sanding, wipe down completely using a damp rag and allow your surface to dry. We noticed that the areas that we sanded were MUCH smoother to the touch and actually looked glossier too.

6. REPEAT STEP 5 UP TO 3X
We decided to NOT polyeurathane this project. Poly can be applied to painted projects to protect the finish and to prevent peeling or cracking and to allow easy cleaning. But, and this is a big but…like JLO sized…wait, does she even have a butt anymore?!….poly can also yellow. And since we knew that it would probably happen on our handrail, we figured that painting an additional coat of semi-gloss down the road would be easier than sanding poly and applying a new finish.
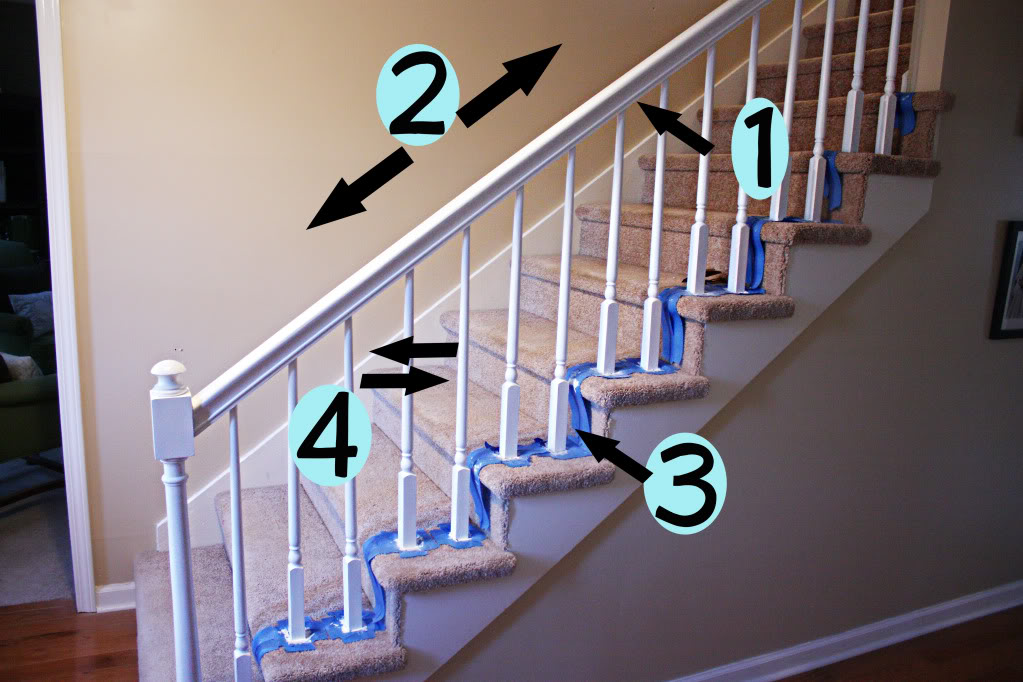
TIPS FOR PAINTING STAIRWAY RAILINGS
-
Paint the underside of the handrail first.
-
Paint the top of the handrail second. Make sure to check for any drips.
-
For square bottomed spindles, paint the bottom of the spindle with vertical strokes third.
-
For round spindles, paint the entire spindle with horizontal strokes using a VERY small amount on your brush. (It works best and quickest if you use a whipping motion).
-
CHECK FOR DRIPS and wipe any immediately
7. CELEBRATE YOUR SUCCESS
I recommend dark chocolate or bacon biscuits but really any chocolate will work and anything with bacon is cause for celebration. Just make sure to show off your new railings to all your friends and family. Prepare for massive amounts of ooohing and awwing.
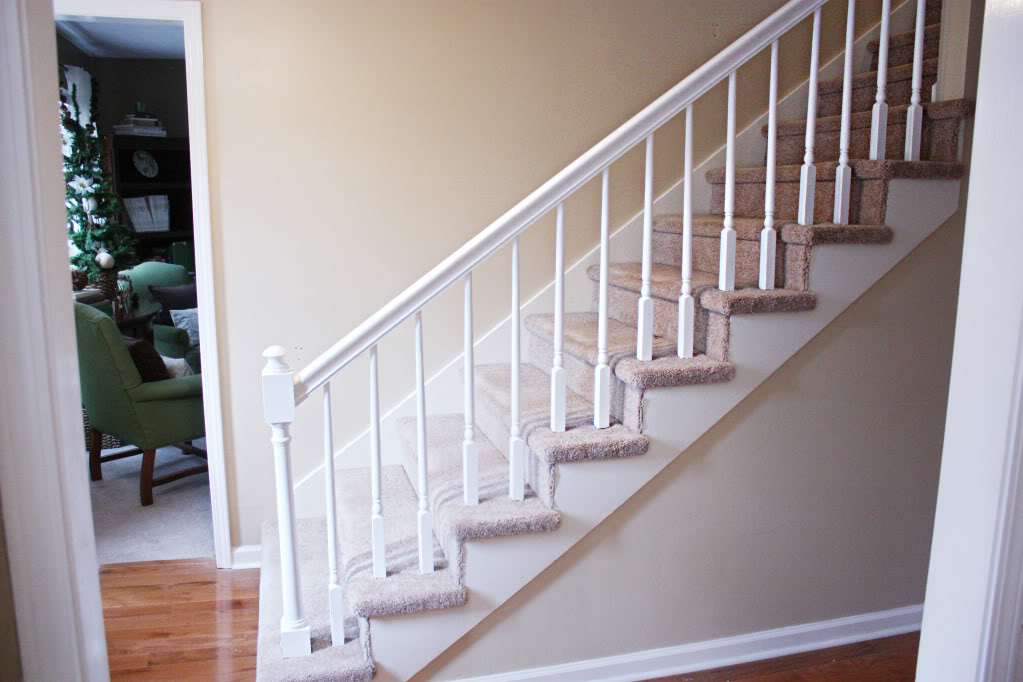
We actually love the new look. It looks 100% more crisp and clean and the new handrail is great for preggos like me.
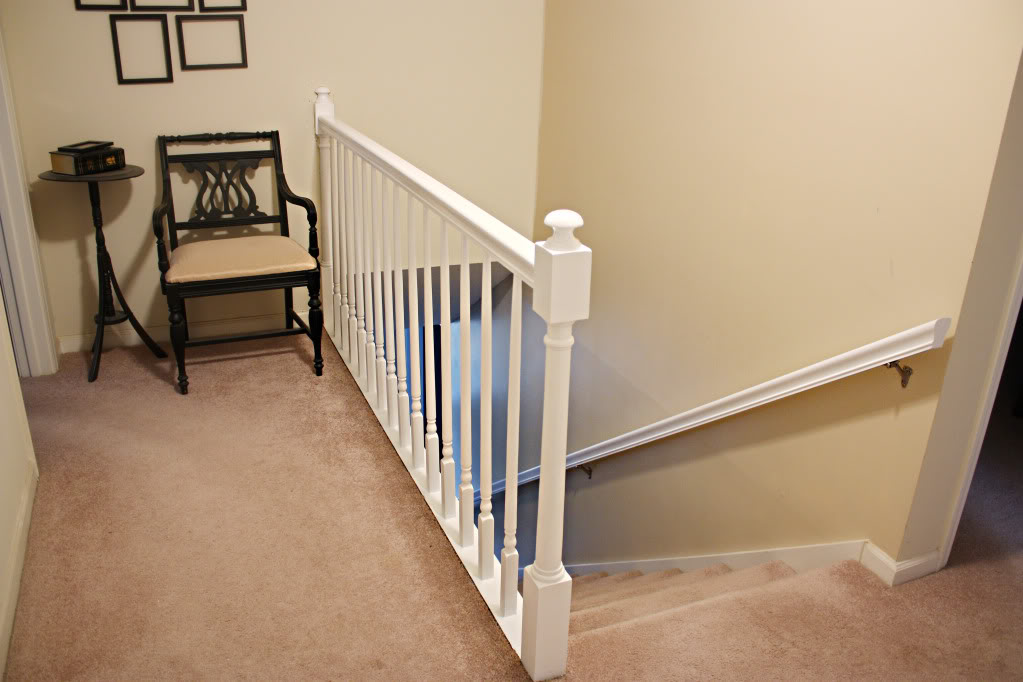
It makes me wonder how I ever tried to go downstairs before. Oh right. It was on my tush. Seven year old style 🙂
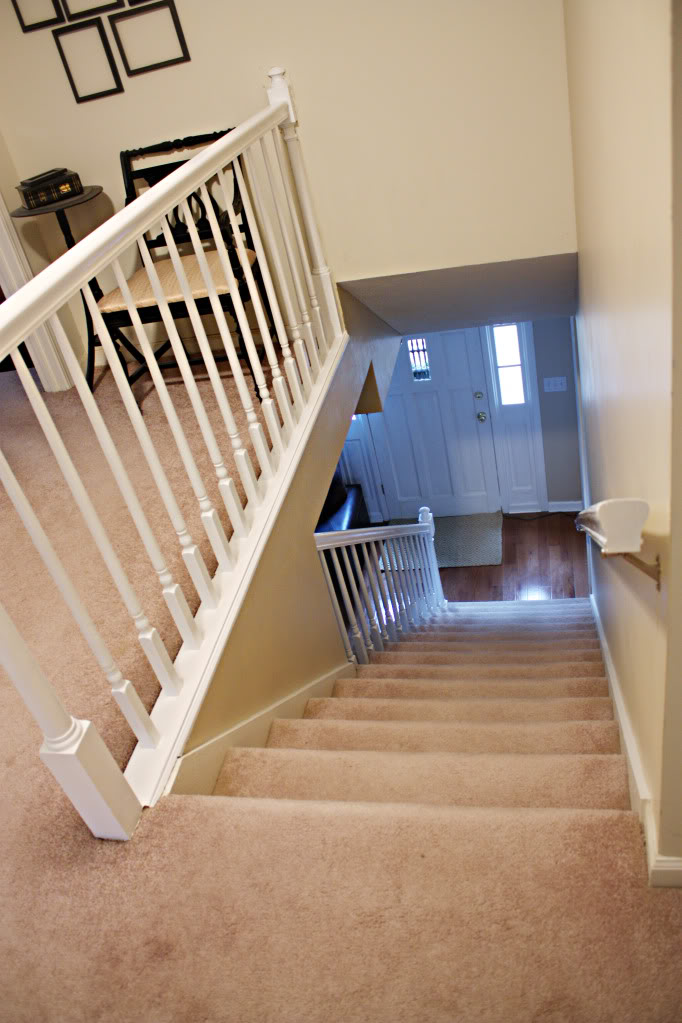
So what do you think? Was it a worthy transformation or just a so-so change? Anyone else out there giving your old handrail the heave-ho? Well, consider just a color switch…it really does breathe new life into a worn-out stairway. And it makes me realize that I need to clean my baseboards more often – eeks! Lastly, I would be remiss to not to thank True Value once again for suppling the paint and sandpaper…this project would had to wait till 2010 or 2011 without you! MUCHOS KISS-OS!
For more Bower Power projects that were made possible by the fine folks over at True Value – click here, or here, or here, or here, or here. WHEW!
“I was one of five bloggers selected by True Value to work on the DIY Squad. I have been compensated for my time commitment to the program and my DIY project as well as my posts about my experience. I have also been compensated for the materials needed for my DIY project. However, my opinions are entirely my own and I have not been paid to publish positive comments.”