I know this is gonna burst your bubble.
But our front door:
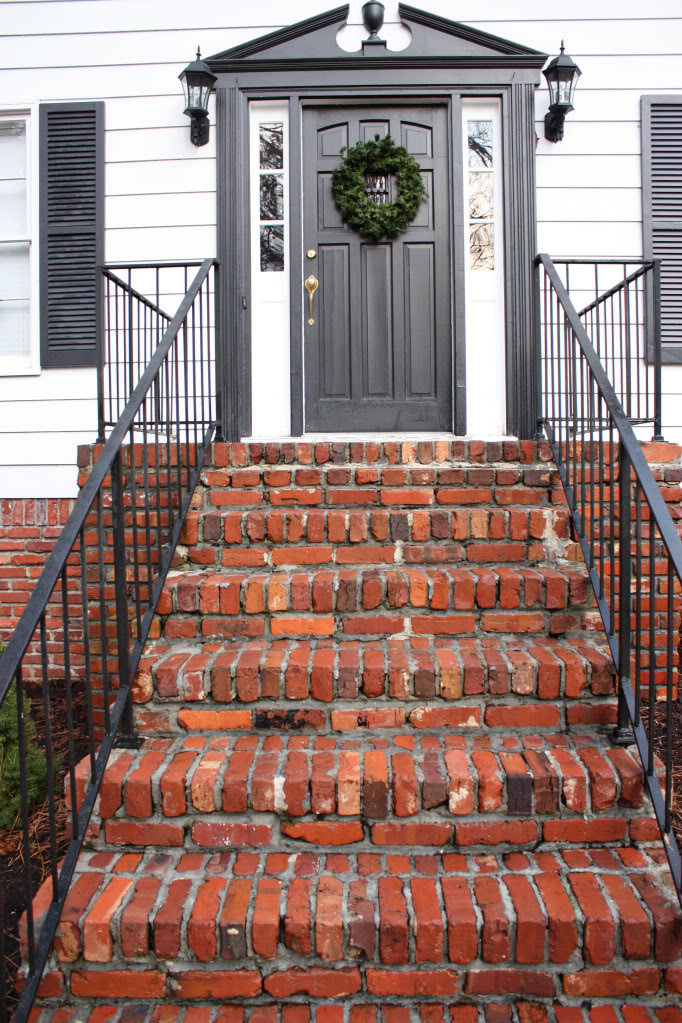
ya know, the one that I wanted to replace the hardware on:
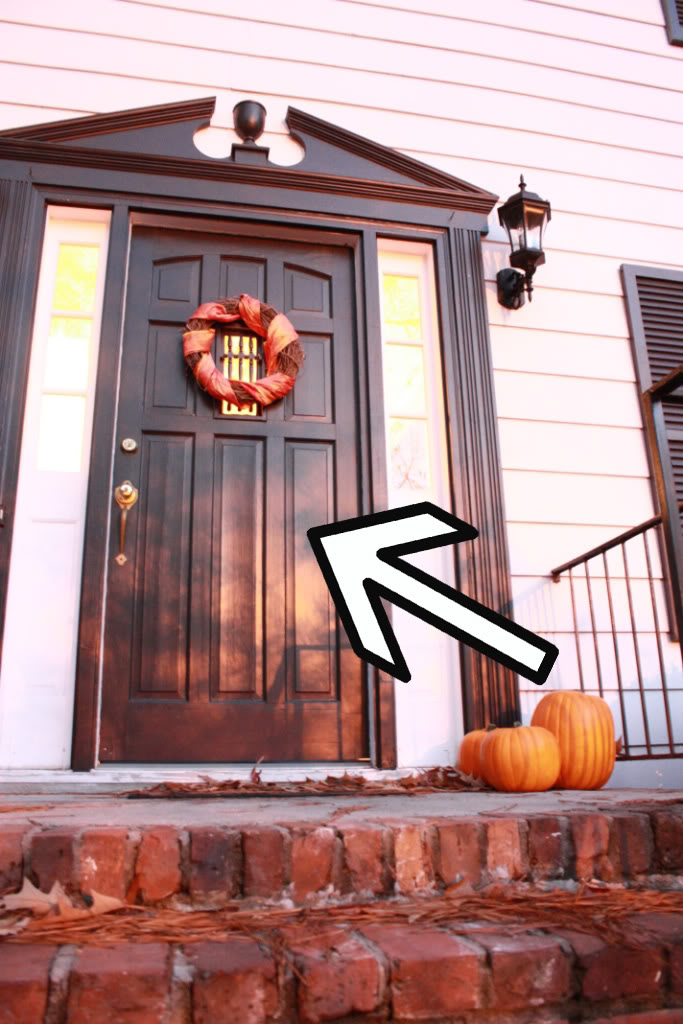
Yeah. That one. It’s gonna need a full-blown door replacement.
The inside panels are coming apart. Basically it is a crumbly mess and it’s leaking worse than pregnant girls when they sneeze. It has to be doing a number on our gas bill.
I assumed that if you put enough coats of paint on the sucker, it would act like a fusible bonding agent…but now the layers are starting to crack. And crack is whack. I just can’t say that enough 🙂
Anyhoo. So when it came to our DIY Blog Squad projects – team Bower was one project short. We no longer could replace the exterior hardware without a full-blown door reno which would be a little out of our 2009 budget. And just putting on new hardware would be like putting lipstick on Tiger Woods…enter scandalous and inappropriate jokes here.

But with that DIY moolah curtesy of those kissable folks over at True Value that would have gone towards a shmancy new doorhandle and deadbolt, we knew that we had a slot to fill on our TO-DO list and an allowance to help us get there. So we walked around the house jotting down all the projects that would fit the bill. And with hardware on the brain, both my boyfriend and I were 100% sure what to tackle when we saw this:
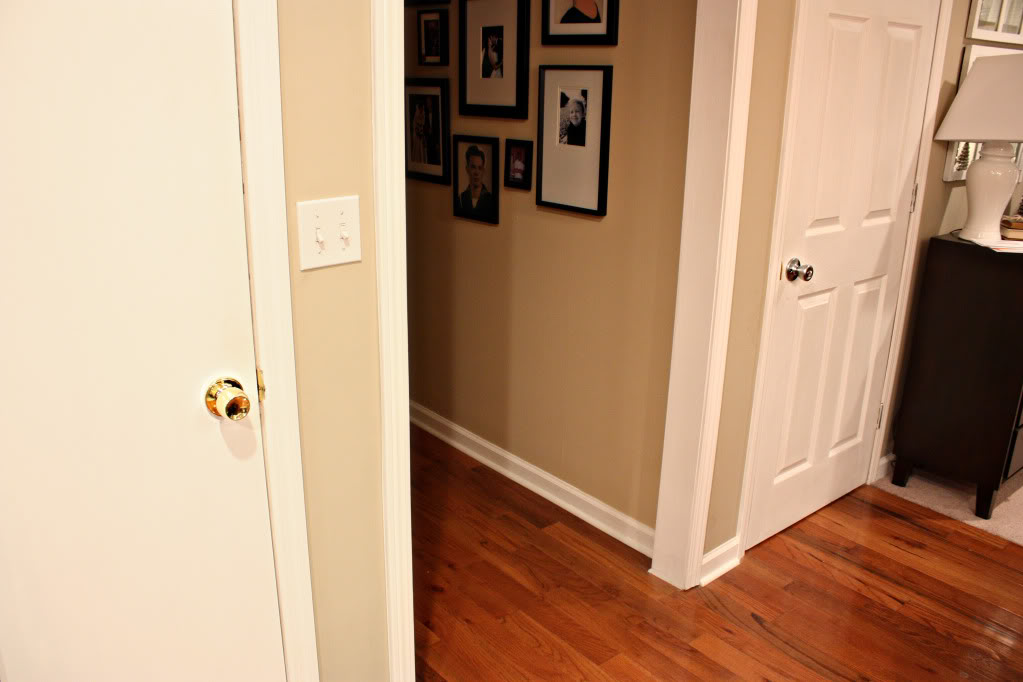
What is it? Well, it’s the hallway opening up to our kitchen. But the thing that got our attention was the complete and utter mismatchiness of the doorknobs. And when we payed a little closer attention, we noticed that on the first floor, we had only three doors….with three different types of doorknobs. And if you sit at the kitchen counter, you can see them all at the same time. It’s ghastly.
Especially this one:
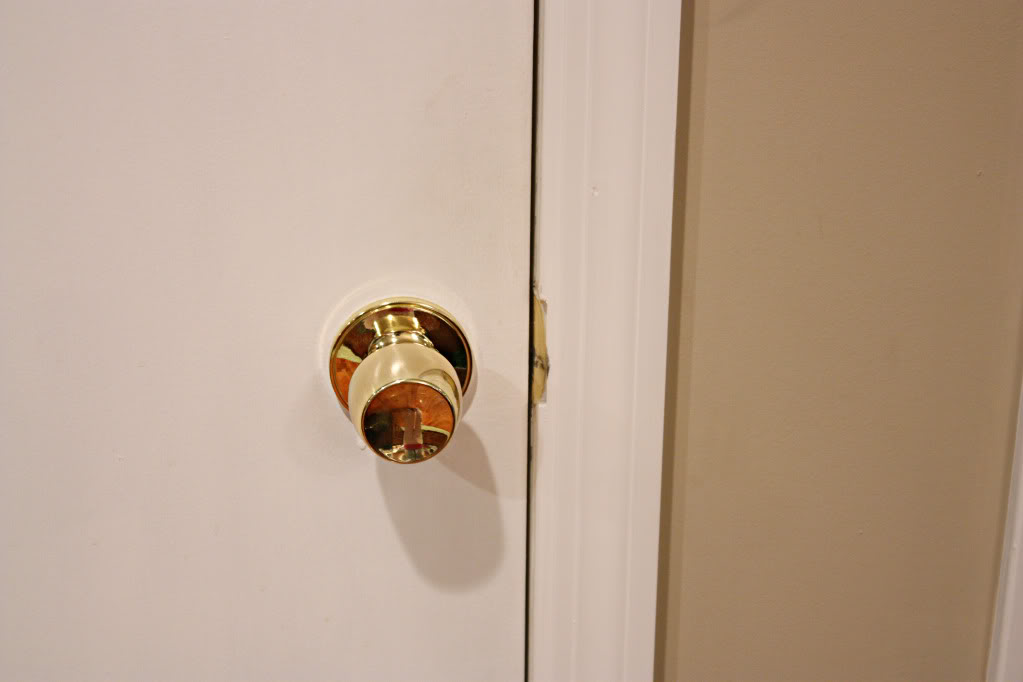
That’s the redheaded stepchild of the bunch. Or should I say goldheaded?
Either way – it needed to go away. and fast.
So we quickly hopped in the car and made our way to our local True Value store to pick up three packages of matching doorhandles.
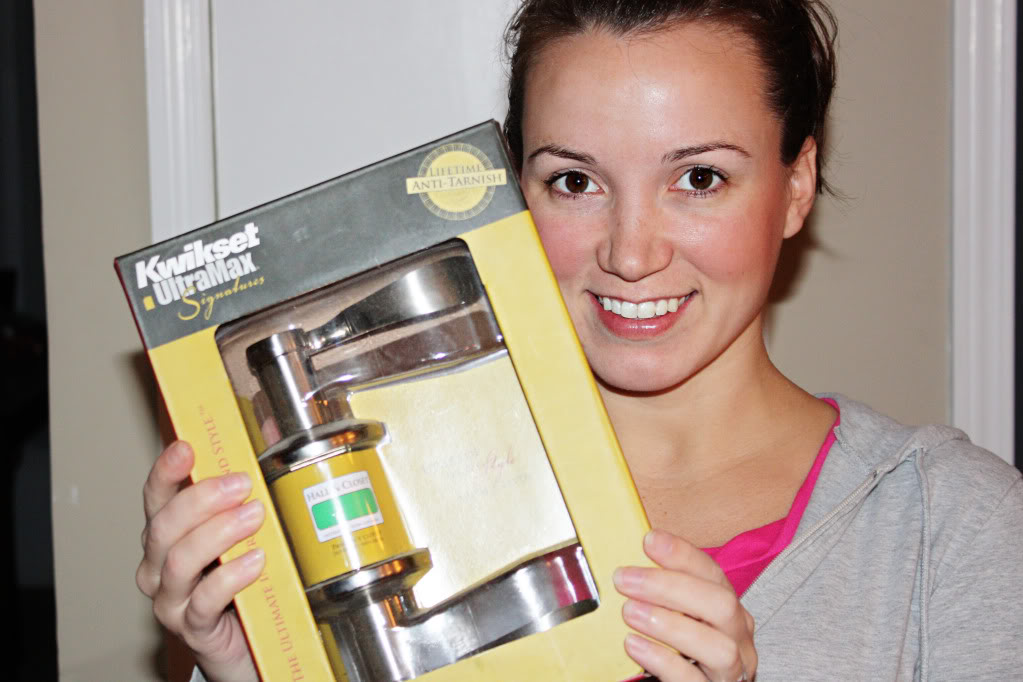
And now we are back with a little doorhandle switcheroo how-to.
1. REMOVE YOUR OLD DOORKNOB
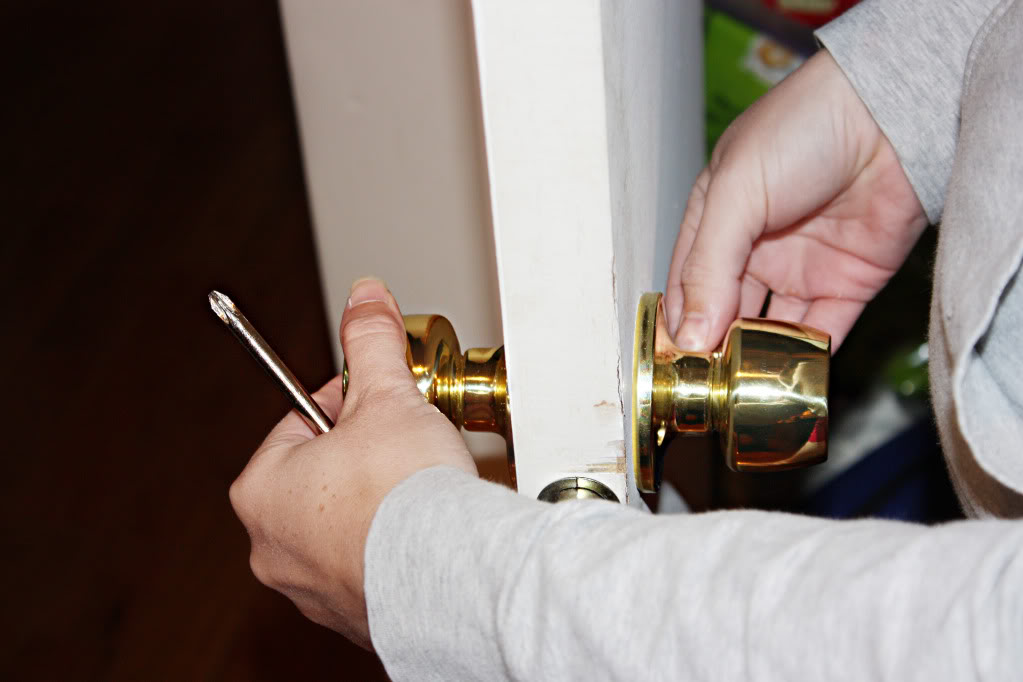
Most doorknobs are three different parts – two handles and an inner latch mechanism. There are two different types of handles – male & female. One has a couple prongs (male) and one has a couple holes (female). I know you all are expecting an anatomy joke now but seriously. I am way too mature for that. Now back to the unscrewing 🙂
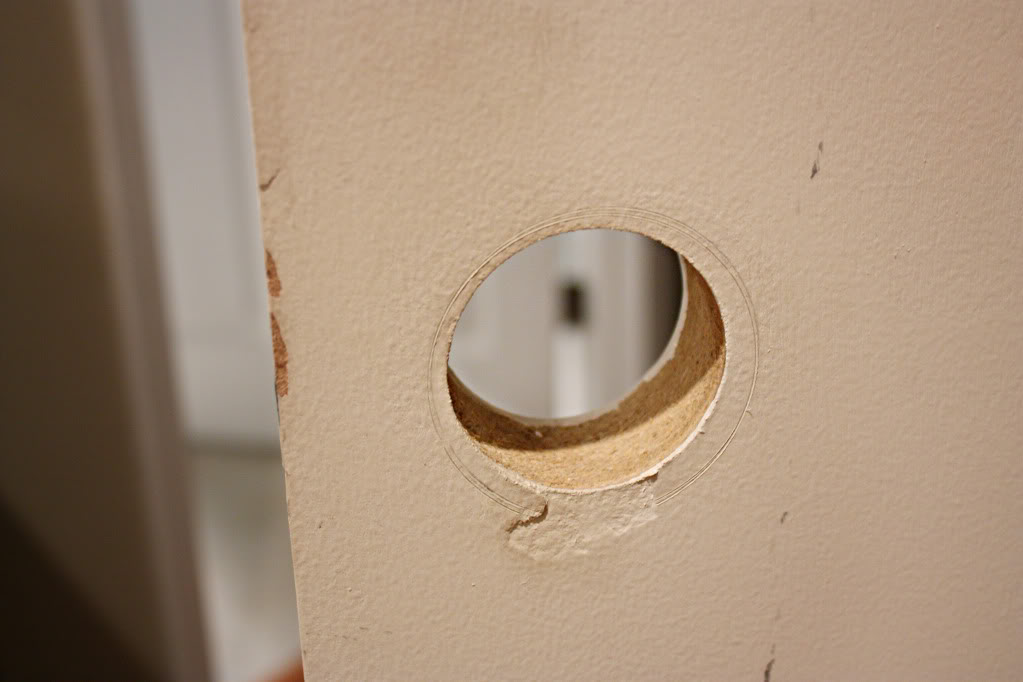
Using a screwdriver, remove all the pieces of the existing door handle and the inner latch. It should look a little somethin’ like this:
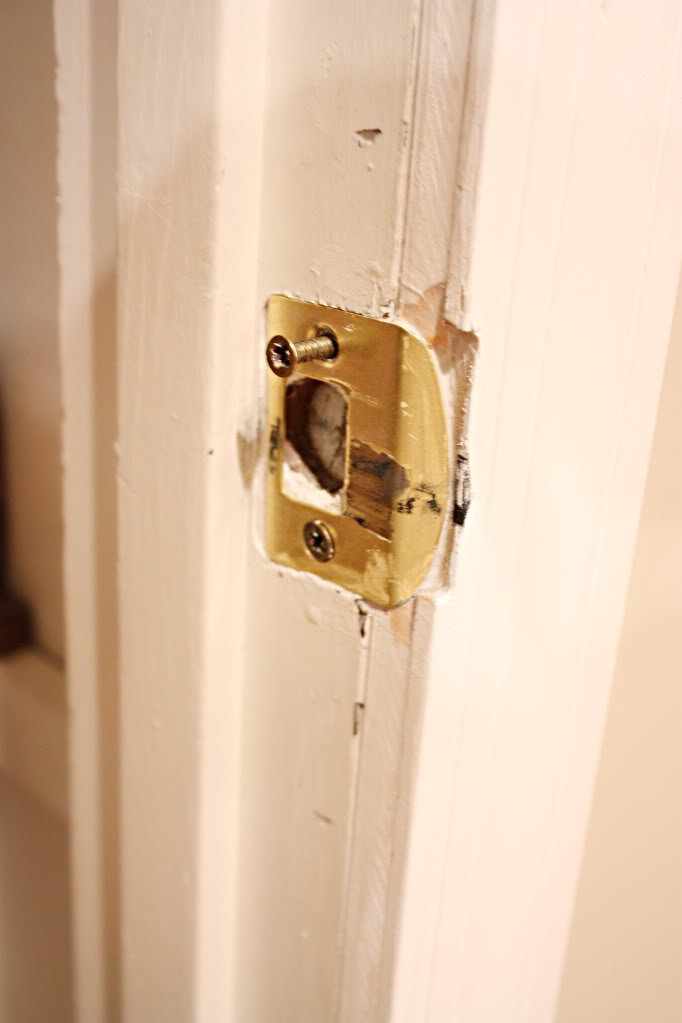
Don’t forget to remove the lock plate that is located on your doorjam. It usually comes right off after removing the two little screws.
2. SCREW IN THE NEW STUFF
In the package, the easist thing to recognize is the new latch plate. I went ahead and put mine on first. I had to make sure that it lined up correctly with where the old latch plate was because sometimes the new is slightly different in size or the hole is a little different. Just remember that if your new doorhandle doesn’t latch correctly, you might want to readjust this plate.
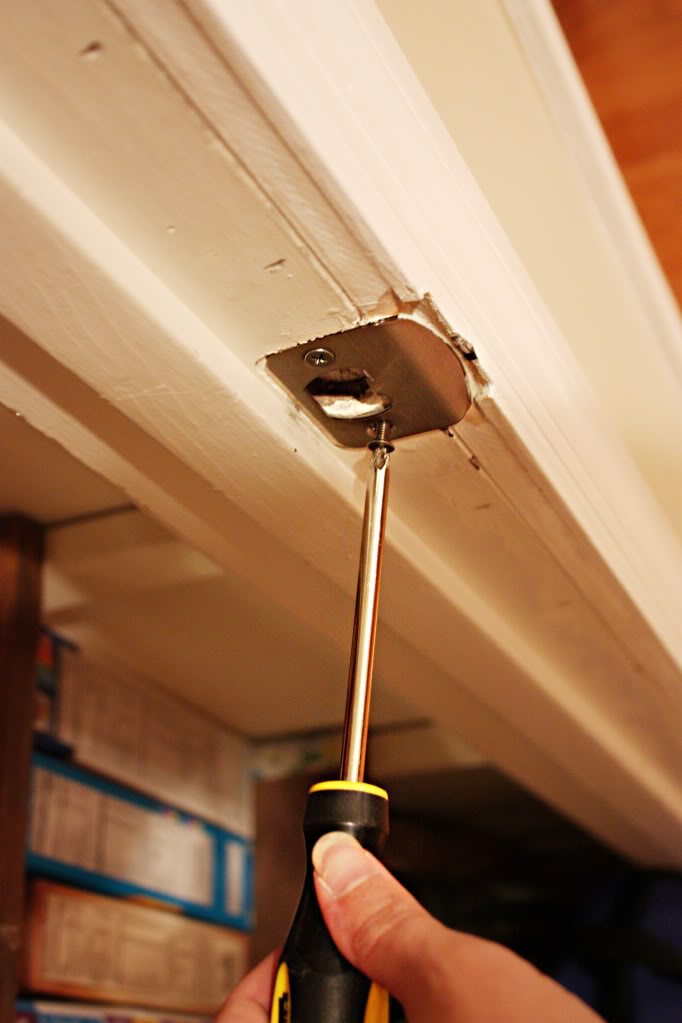
Secondly, you want to slide the latch mechanism into the door.
The latch can have a circular head:
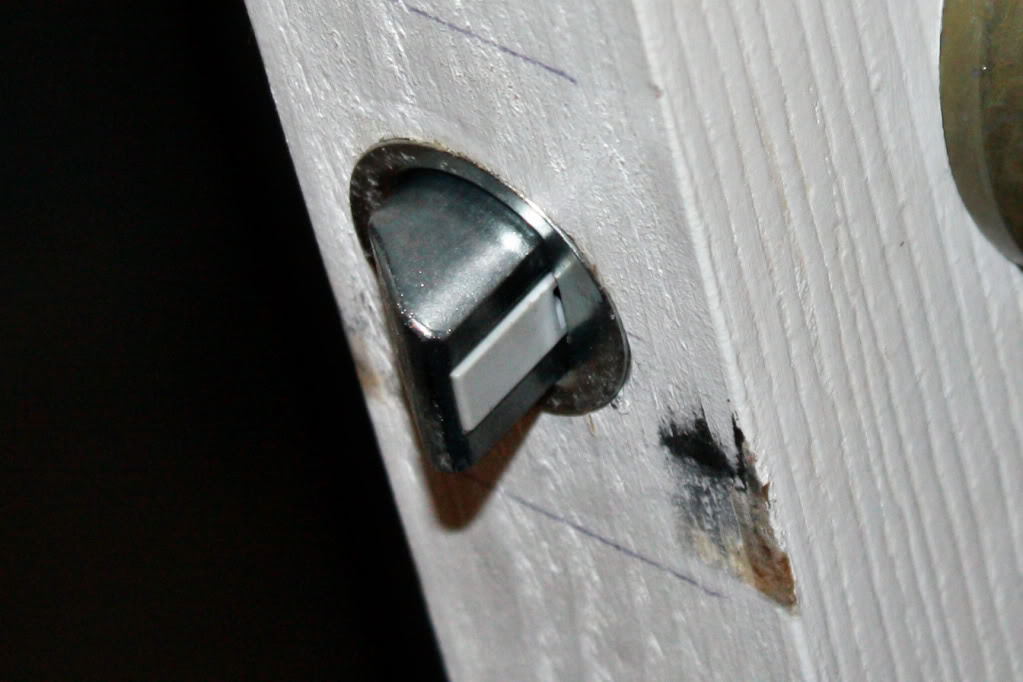
Or a square one:
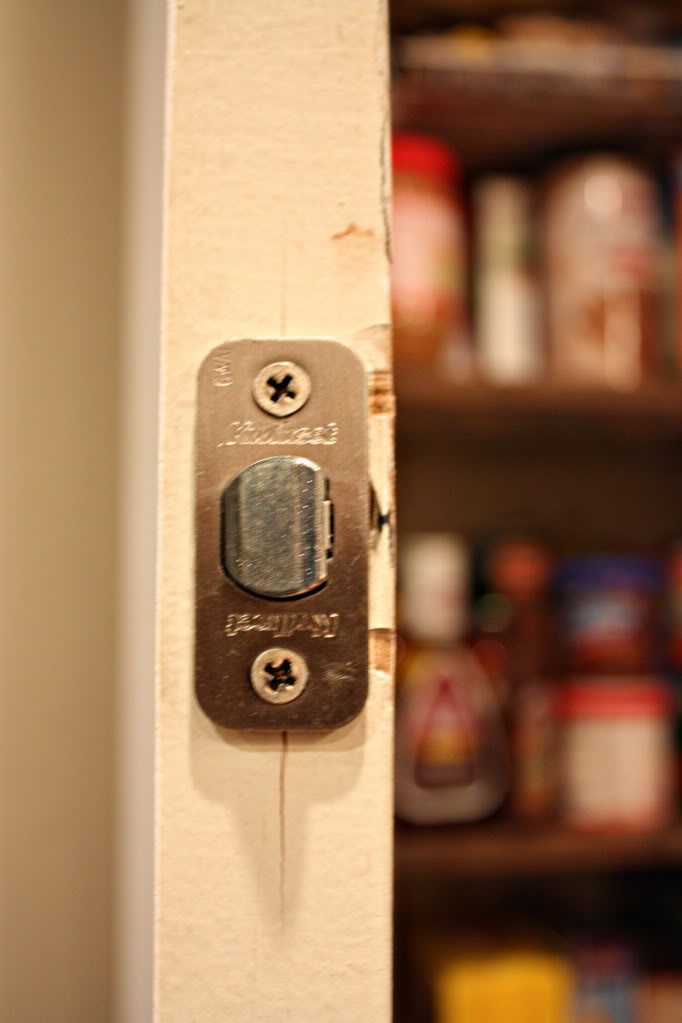
The package should contain both variations so be sure to snag the replacement one that is like the existing version.
Then you are gonna slide the ‘male’ handle through the latch mechanism. The prongs should easily slide through and be visible on the other side. Then holding the male handle in place, slide the female handle so that the holes line up with the prongs. Insert the provided screws through the face of the female plate and into the male prongs. You can snicker if you want 🙂
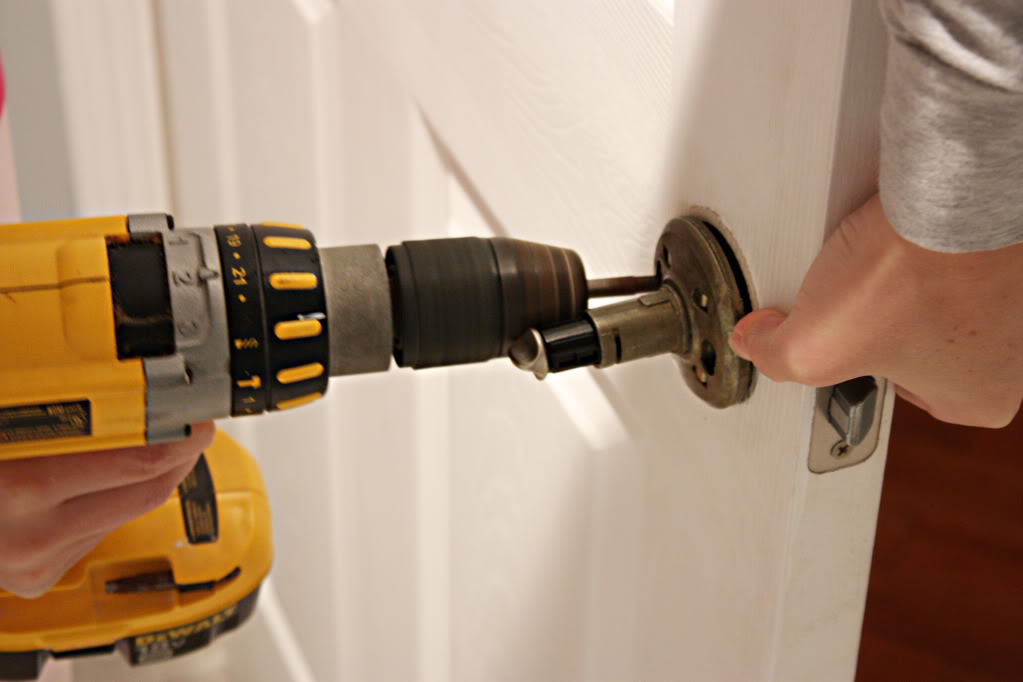
I also used a screw driver to make sure that the screws were nice and tight.
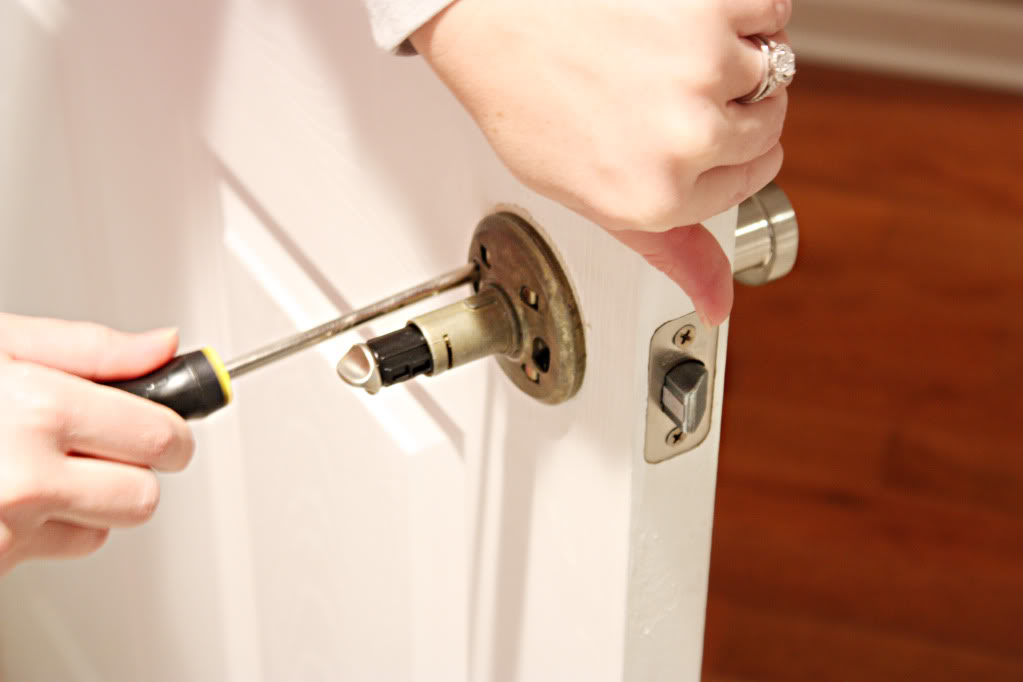
3. SLIDE ON THE DECORATIVE PLATE
Every doorknob kit is different. So yours might not have a decorative plate. But ours did. It covers up the screwheads. And it just popped into place.
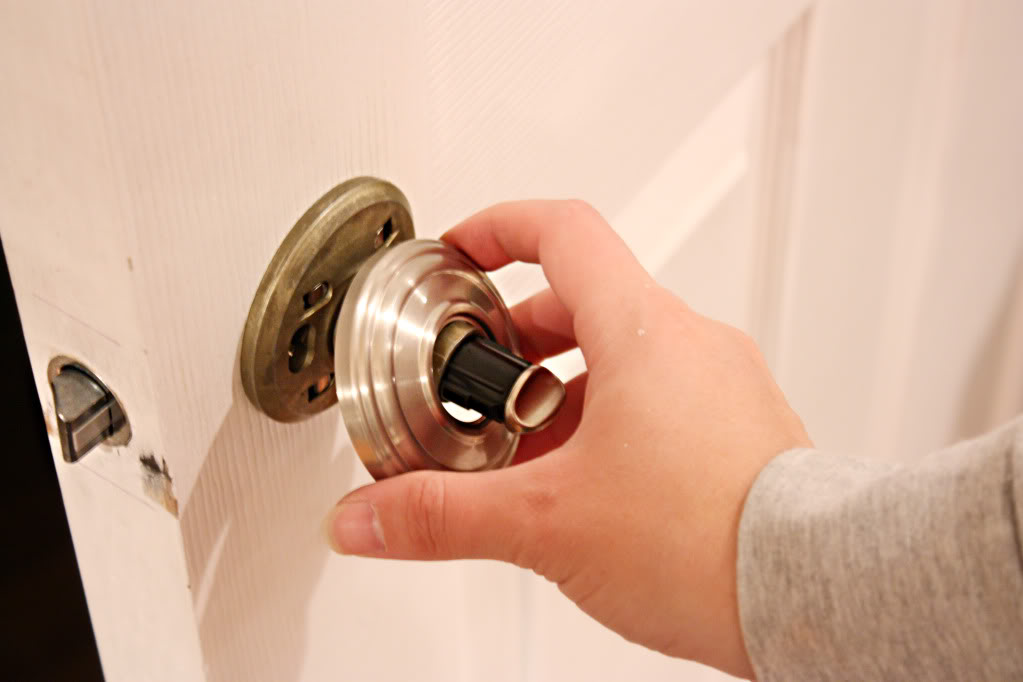
4. FASTEN THE DECORATIVE DOORHANDLE
The kits that have decorative plates can also have decorative handles. They slide over the basic lock ‘stem’ of the female lever and have a small little twisty tool to fasten it into place.
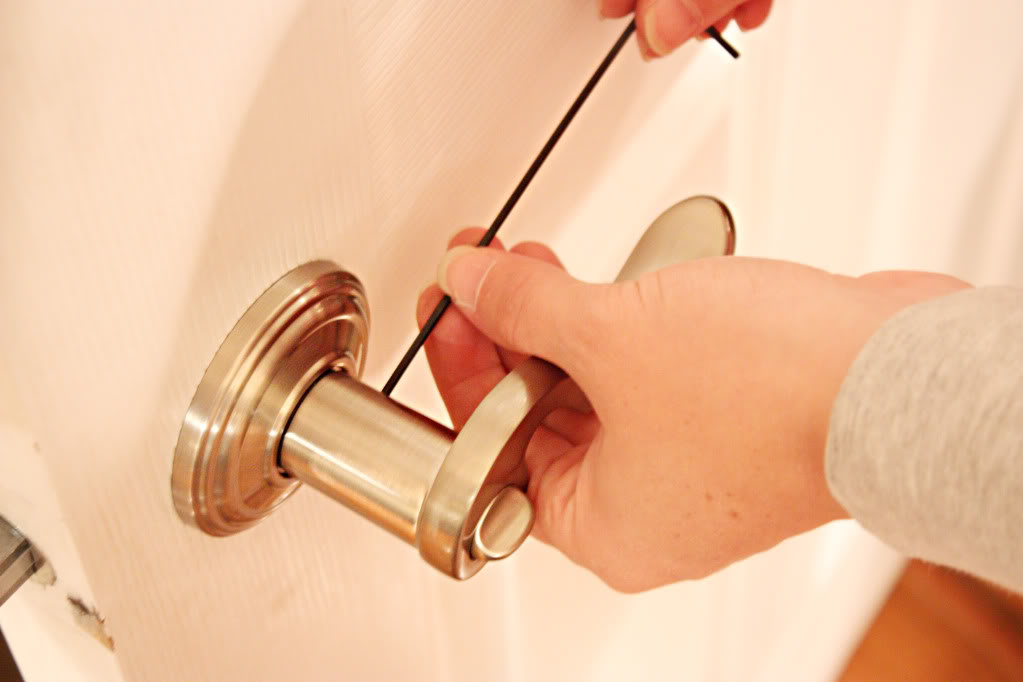
5. CELEBRATE YOUR SUCCESS
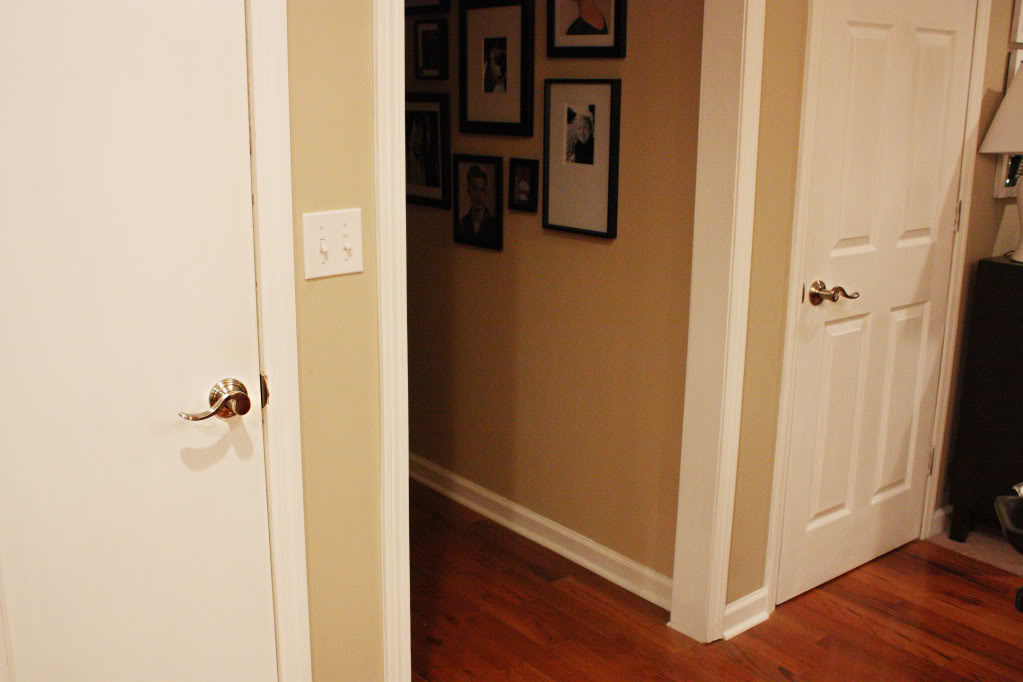
Time to celebrate your fancy new doorhandles (or just giggle at all the innuendos). Either way, changing hardware is one ridiculously easy project and oh-so-effective at making any door look a heck of a lot better as well as getting that cohesive appearance (even if your doors are totally different). Plus, it is a switcheroo that anyone can do with the help of a screwdriver. One hundred points for easy to-do projects!
So now it’s your turn to talk for a bit – tell me….have you switched hardware lately? Wasn’t it the easiest fix ever? Did you go for the curvy lever style like me or the traditional round knob style? Or how bout color? We installed the brushed nickel version but I drooled all over the oil-rubbed bronze finish. Or maybe you like the goldheaded stepchild….they need love too 🙂 Go ahead and tell me your door hardware story…just remember to end it with ‘happily ever after’!
“I was one of five bloggers selected by True Value to work on the DIY Squad. I have been compensated for my time commitment to the program and my DIY project as well as my posts about my experience. I have also been compensated for the materials needed for my DIY project. However, my opinions are entirely my own and I have not been paid to publish positive comments.”