Bower Household News Flash: THE NUMBERS ARE IN.
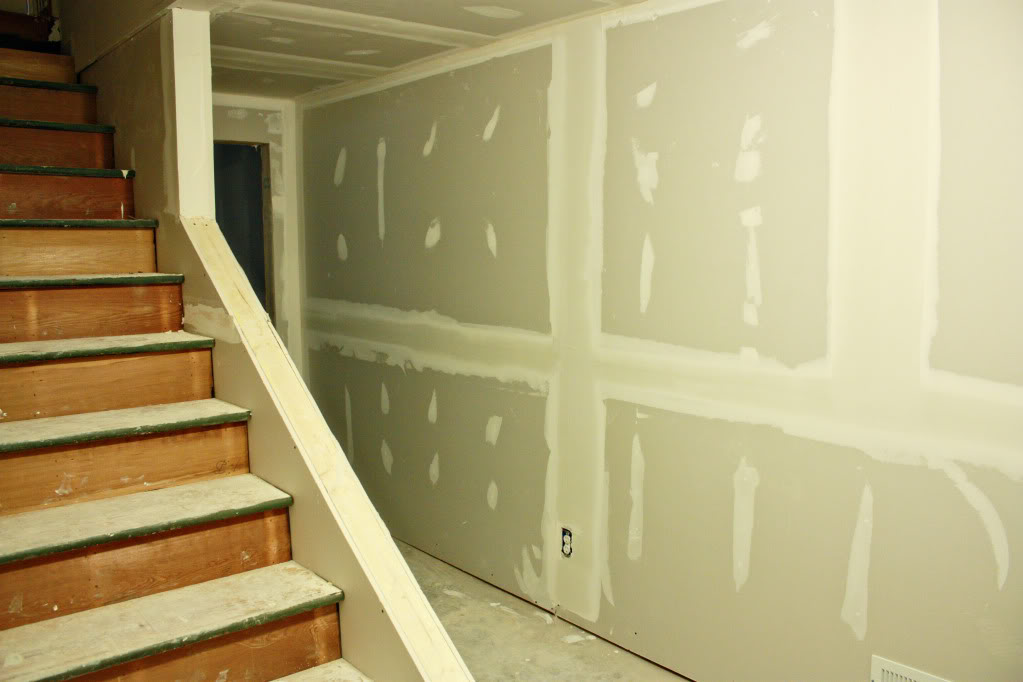
We got the quote to get the basement laundry room drywalled & mudded…and Wayne The Mudman, is our new best friend. forever. for all of time. for infinity and beyond. name that toy for one hundred and four points.
Wayne was the one that mudded our basement. We hate mudding. We always end up almost dead. So obviously Wayne is our hero. Our lungs hero, our fingers hero, and our bank account hero. And seeing as how I am the one that would do most of the laundry room joint compound, and I am all crazy with an inhabited uterus….my sweet boyfriend voted that I stay outta the dust and we hire Wayne one more time. Sometime in the next month I should have the play-by-play 🙂
And due to mud on the brain – I thought I would share with you some of the other work Wayne did for us a while back. When he was here finishing up the basement, he also helped us with some mudding issues we had in our kitchen and our living room….FOR FREE. And he was super-nice when I drilled him with questions about the how-tos of professional mudding.
Here’s how it went:
Our kitchen originally had this wall of cabinets that separated it from the den.
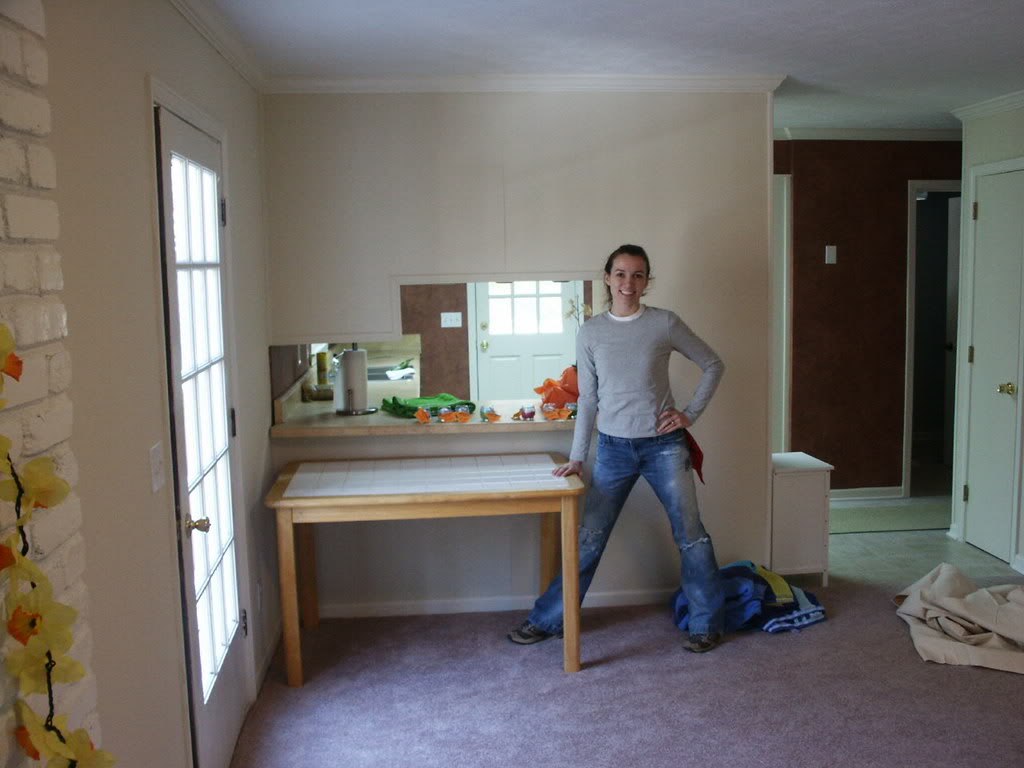
So we ripped it out.
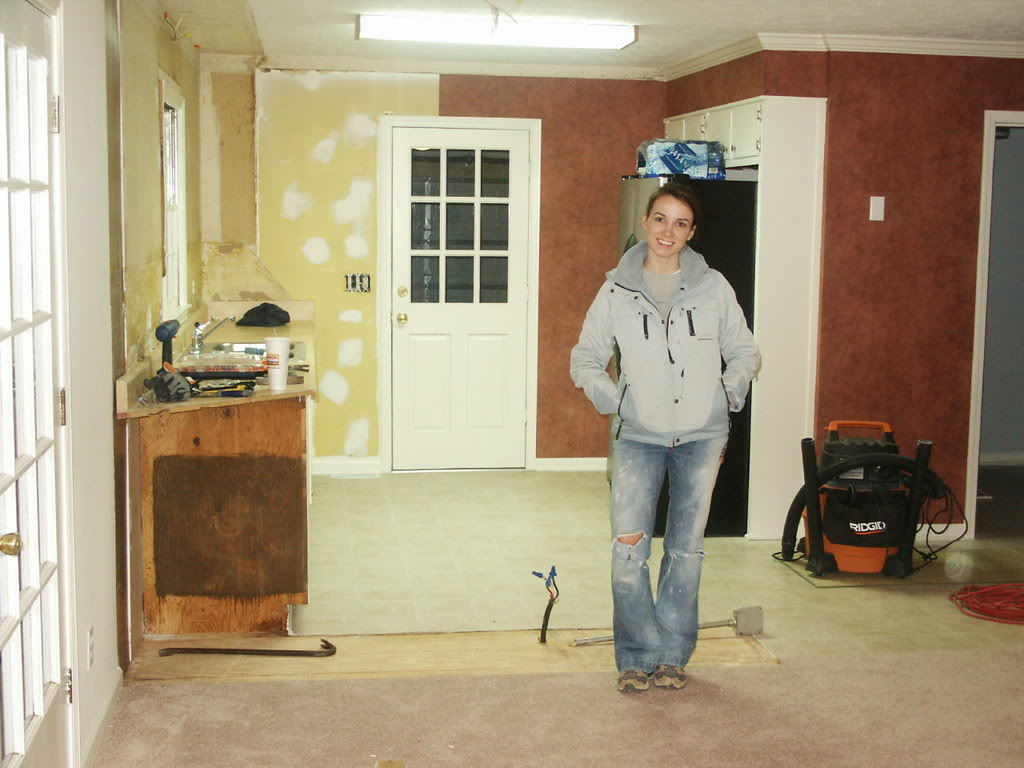
But when the cabinets came down – so did part of the ceiling.
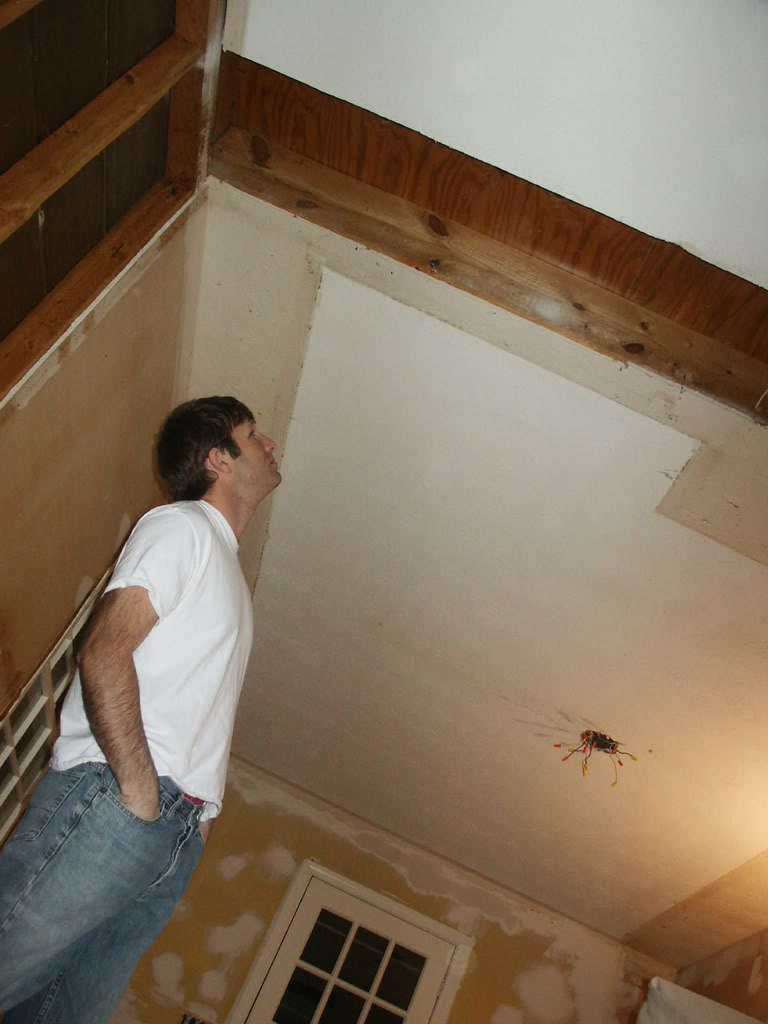
So my handy hunky boyfriend attached a new piece of drywall and I attempted to mud over it.
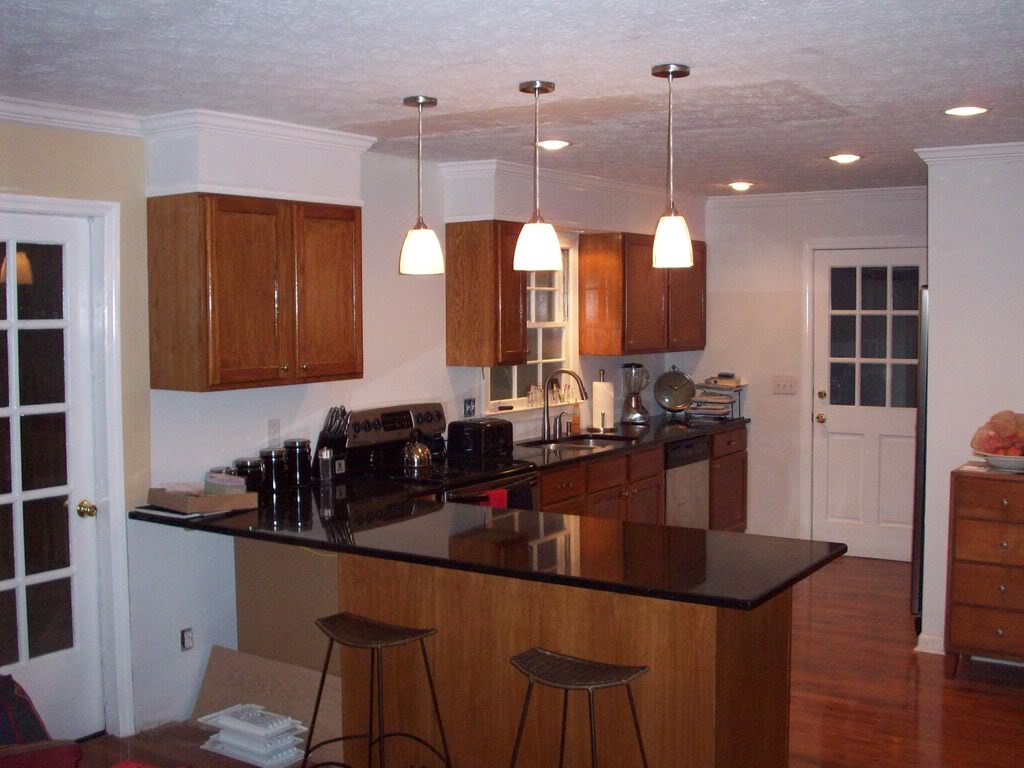
But I could never get the texture of the stippled ceiling just right.
ENTER WAYNE THE MUDMAN.
So Wayne fixed it by first sanding it down,
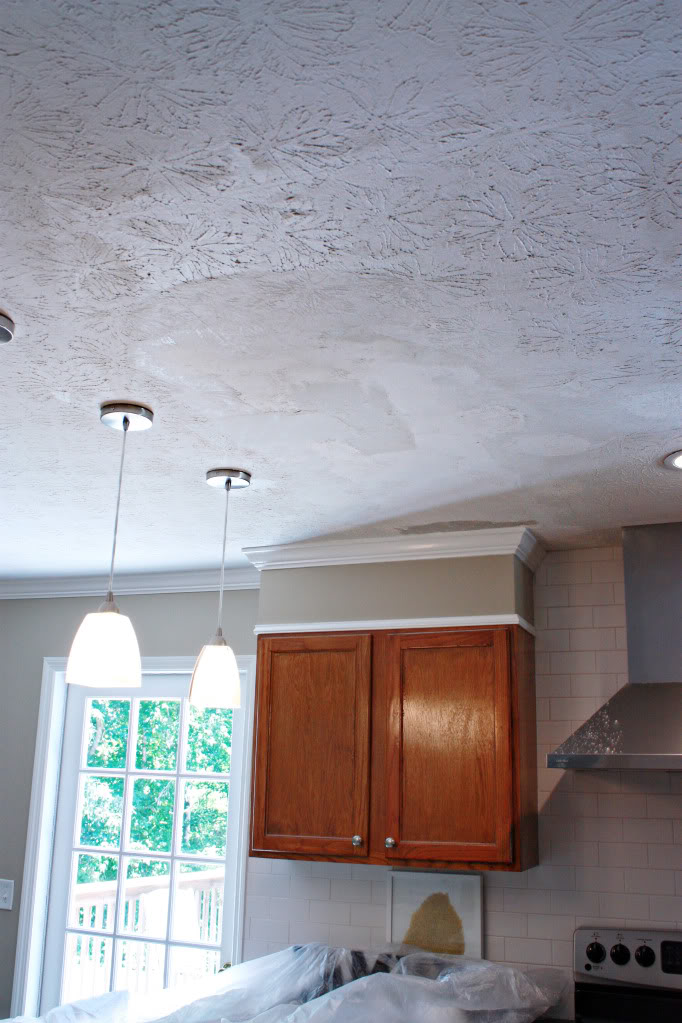
And then used a stipple brush to create the little ‘stars’ texture that was all over our ceiling.
He told me it takes months to make these stipple brushes. That you have to soak a round brush and then clamp it down to a piece of wood. Then you have to redo that over and over. And sometimes, you have to put the joint compound on the brush and then clamp it. A well-done stipple brush can run over $100. My question is “why am I not in the stipple brush business?”
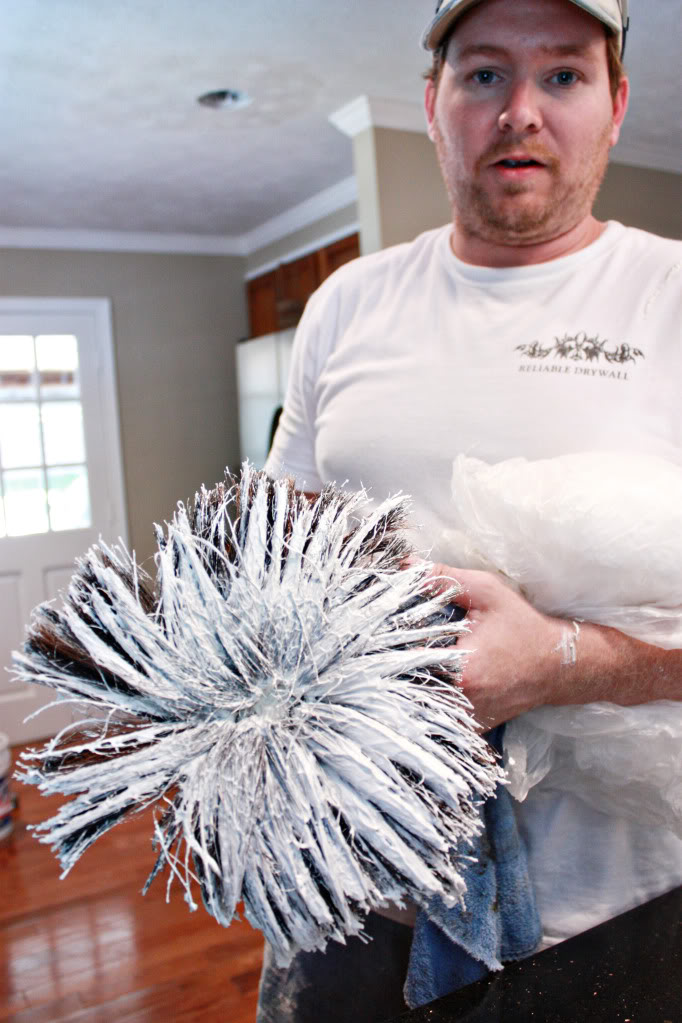
Anyhoo – after he applies a thin layer of mud, he taps the brush on the ceiling to get the ‘stars’ to appear (no free gift totes or paparazzi needed).
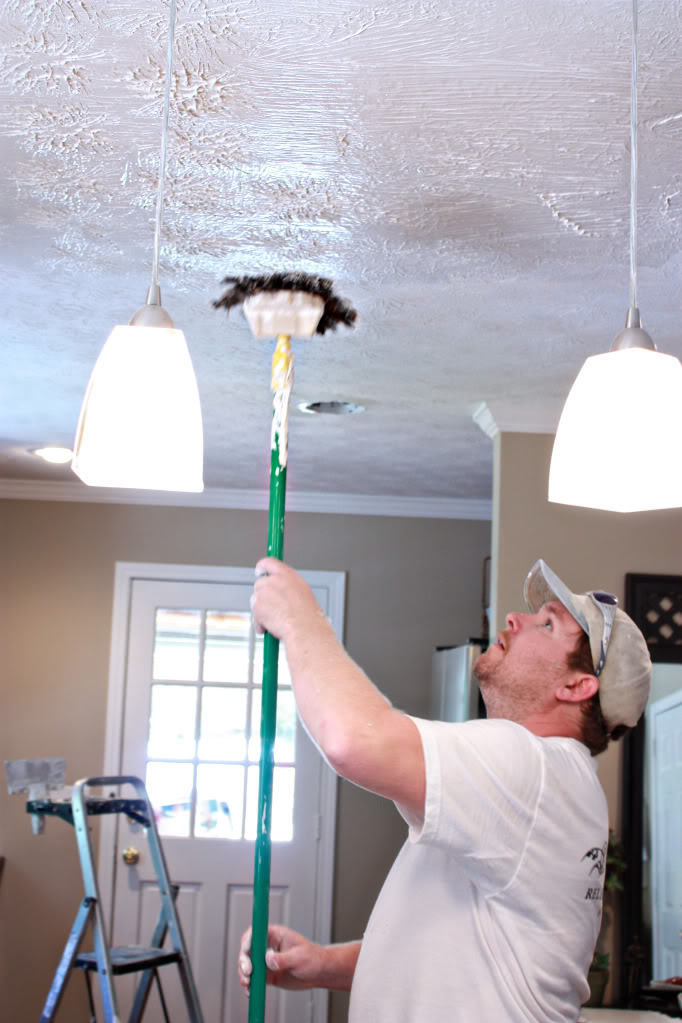
Our living room was a little different. We had some imperfections along the joint of where the wall met the ceiling.
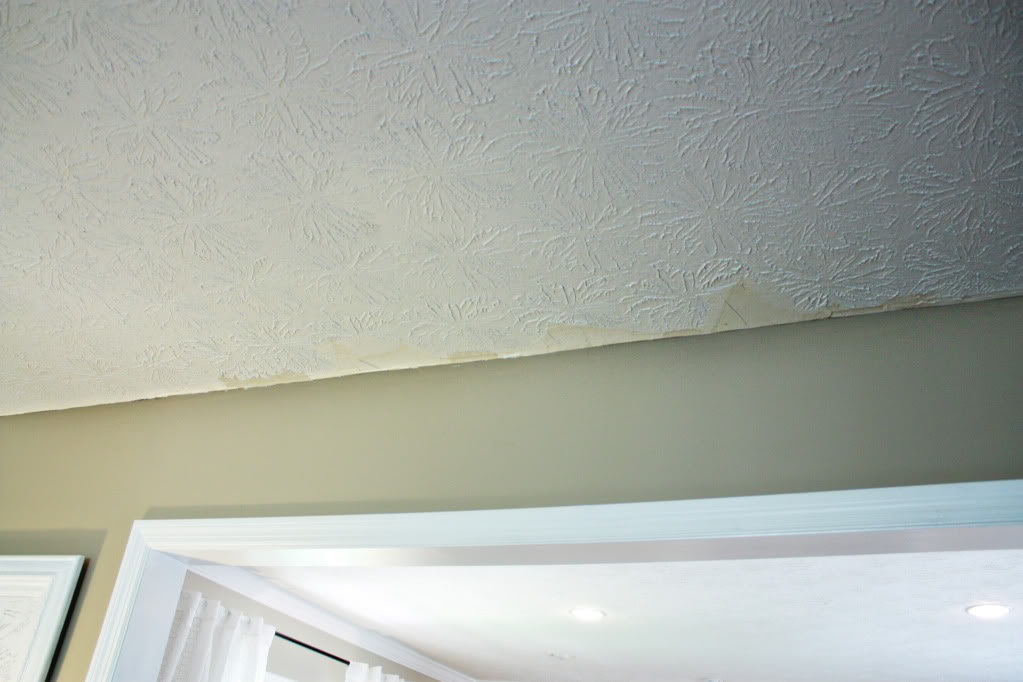
So he used a small knife to cut in some quick-dry compound.
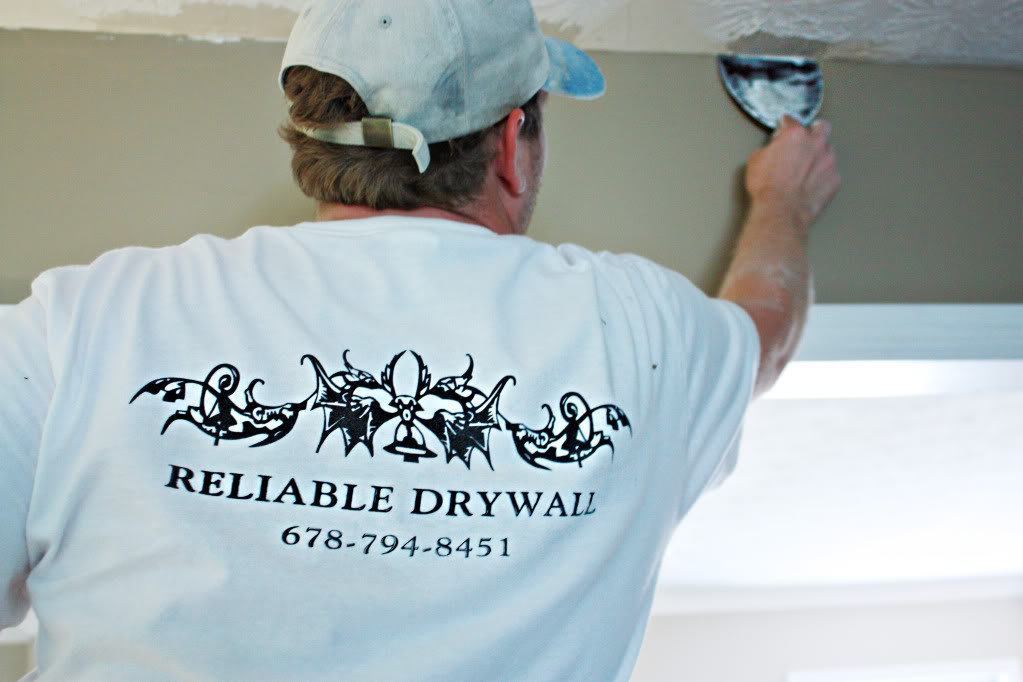
Ten minutes later, he used a roller to apply a very thin layer of mud to the ceiling.
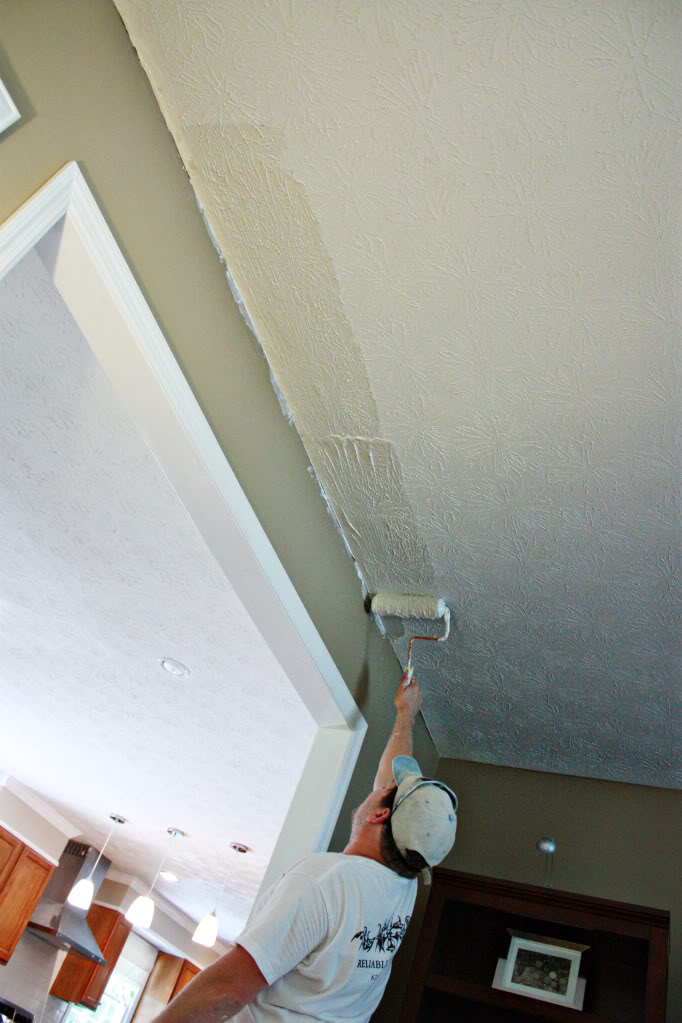
And then he used that stipple brush again to create the correct texture.
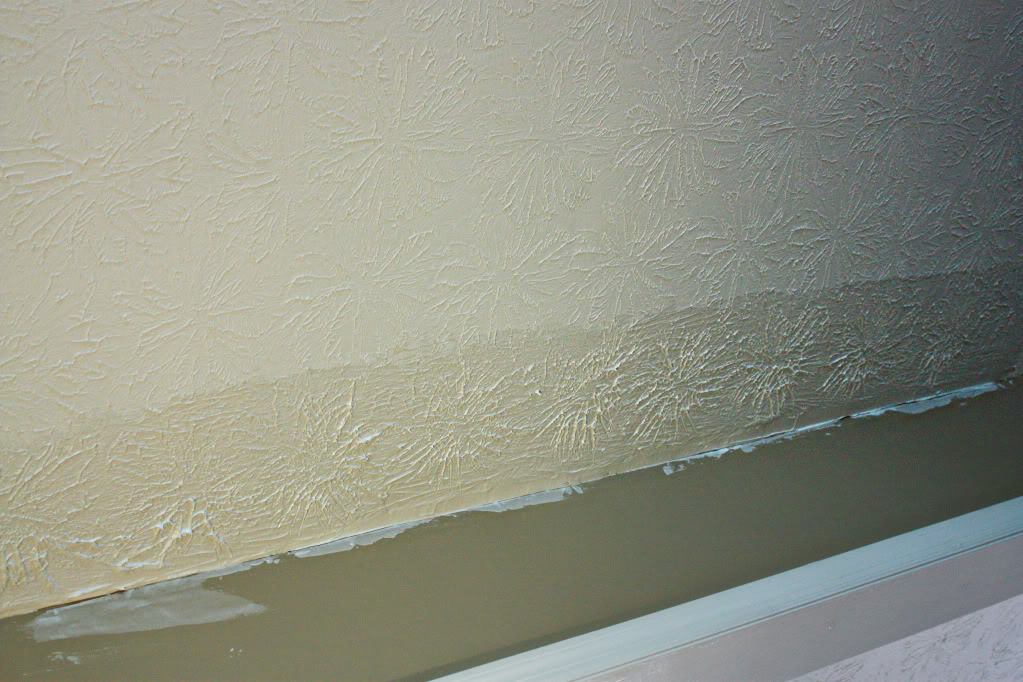
Overall, I was pleased as punch when he finished. Fruit punch to be exact.
And after picking apart his mud-lovin brain, I learned a thing or two about how the pros do crack and holes. (Confession: I just thought that was dirty and it ‘cracked’ me up to type that…Jesus, please forgive me). So here is what I gleaned from the master:
1. THIN YOUR JOINT COMPOUND
The first layer on any seam or hole should be a joint compound that has been thinned with water to the point of being the consistency of a thin mayo. A quick-dry joint compound is preferable. And apply it with a small to medium knife.
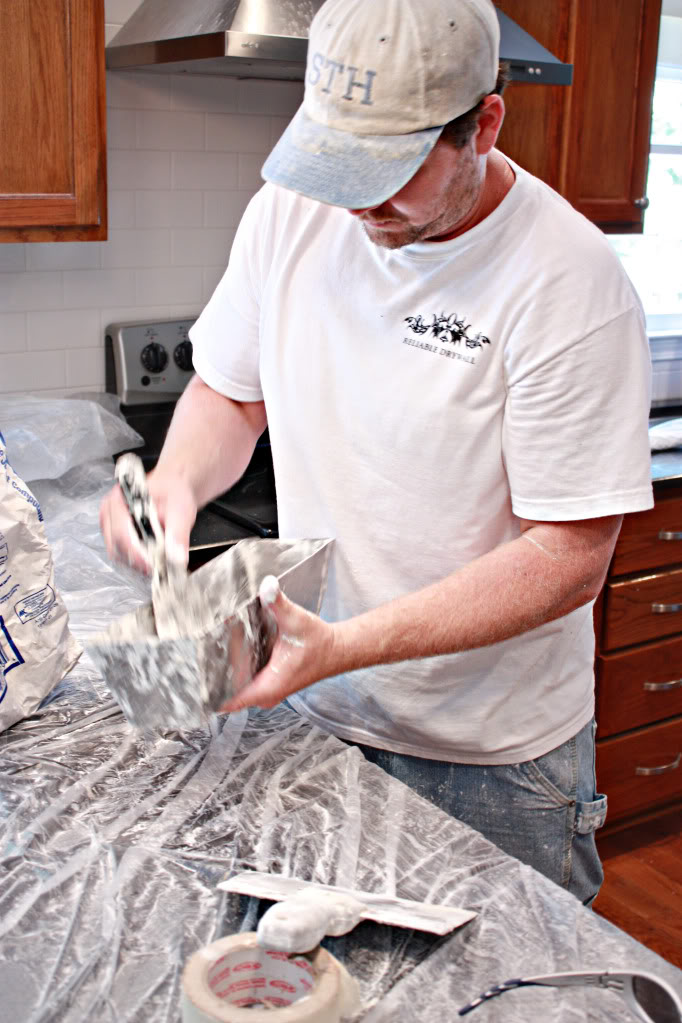
2. TAPE WITH PAPER AND SHMEAR AGAIN
After you swipe on the mayo..err…mayo-like-mud, use paper tape on the big seams. Then do another layer of mayo-mud on top. The pros use a tape-gun…but you can buy a roll of paper for drywall at your local hardware store and just cut it to length. After gently pushing the tape on the wet seam, use your small to medium knife to do another swipe of mud on top.
3. SAND
Using a fine sandpaper, smooth out the edges of your joint compound.
4. MUD LIKE BUTTAH
The final layer of mud should be a little thicker than the first two – more like a shmear of softened butter. Using a large joint compound knife, apply that last layer and attempt to feather the edges. If you have issues with consistency, add a little more water and blend well.
5. REPEAT STEP #3
Pretty easy, huh? Yeah. Just be aware that if you are working on a large surface, the sanding can get rather invasive. As in your lungs can shut down because they hate you. But if you are working on a small area – let’s say, filling holes from picture frames or fixing a wall where your kid rams their toy trucks or you just extended a wall, these tips will help you finish the task quickly and easily.
Anyone else out there with a quick tip on drywall? Do drop that sucka in the comments. Anyone hate sanding drywall as much as I do? Or how bout anyone excited for me that I will soon have a laundry room with walls? ME ME ME! (waving hand frantically.)