Remember how we had that list of DIY TO-DO tasks? And remember how we were oh-so-grateful-thanking-our-lucky-stars for being chosen to be on the True Value DIY Blog Squad? Yeah. We still can’t believe it either.

Well, do you happen to remember the very first thing on our list?
No cheating.
Okay. You can cheat.
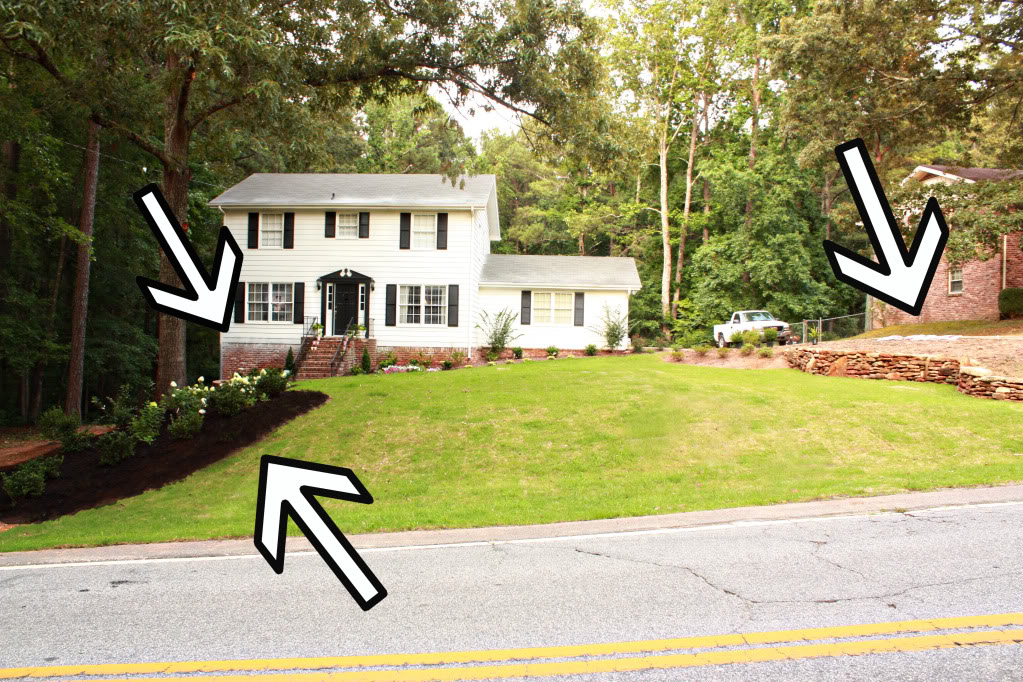
It was exterior clean up. Well cheaters cheaters Tiger beaters, we began with finishing our yard renovation but there were more things to do. One major project was paint removal.
You see, when we bought our house, it had these giant bushes that blocked the view of where the brick met our siding.
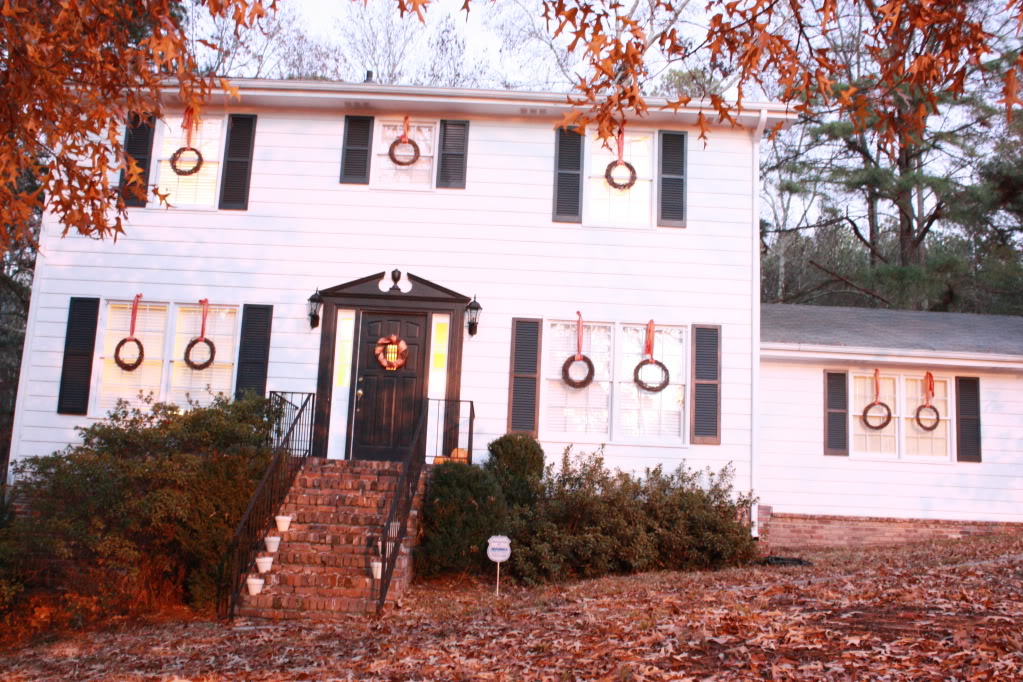
And being rookie first-time home buyers, we only had stars in our eyes about the fact that the previous owners recently painted the house. It didn’t come to our attention that they oversprayed the exterior paint all over the roof, gutters, and brick foundation. That is, until we ripped out all the plants – MAJOR BUMMER DUDE.
So for a while now, the house has sat like this…
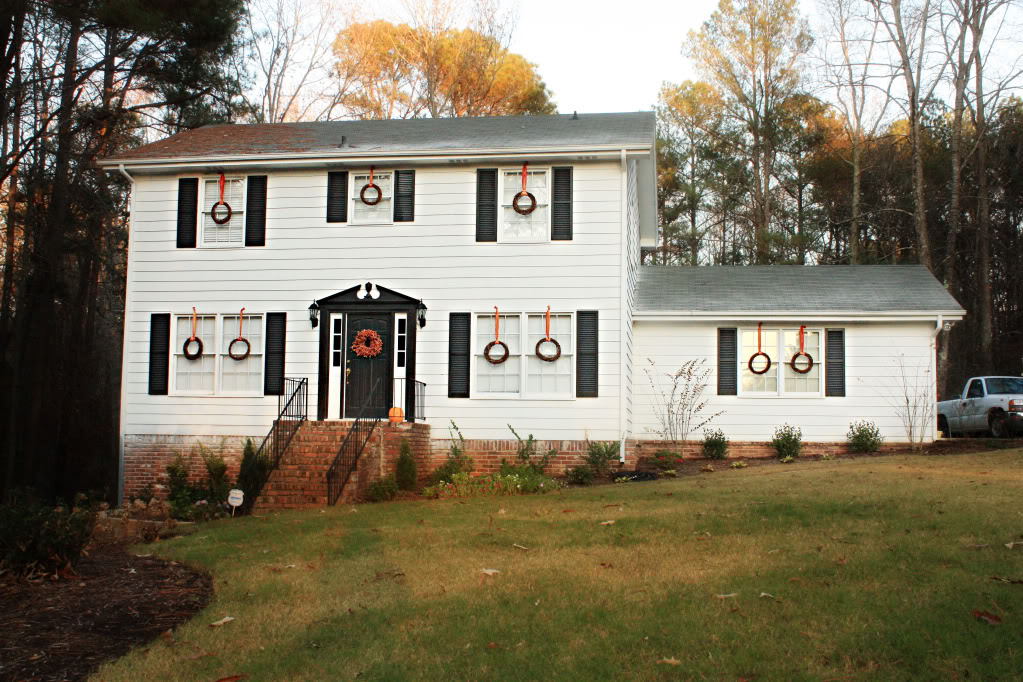
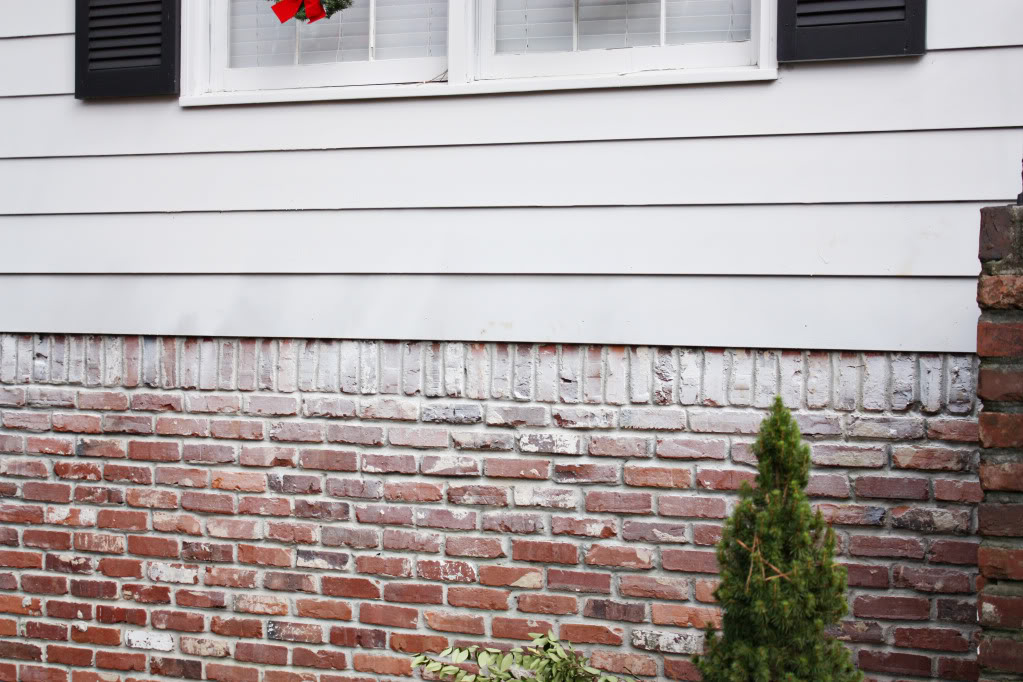
…with gray/white faux finished brick.
It’s like the 80’s are back with their sponge-painting and their crazy bangles and crimped hair.
(Confession: I still like to crimp my hair.)
Anyhoo, so when it came to removing the paint from the brick we did a little research and came up with a plan. And here is the play by play just in case you wanna do it at home (or you just want to celebrate our success with us…which is totally cool by the way because nobody likes to party alone).
1. BUY SUPPLIES AT TRUE VALUE
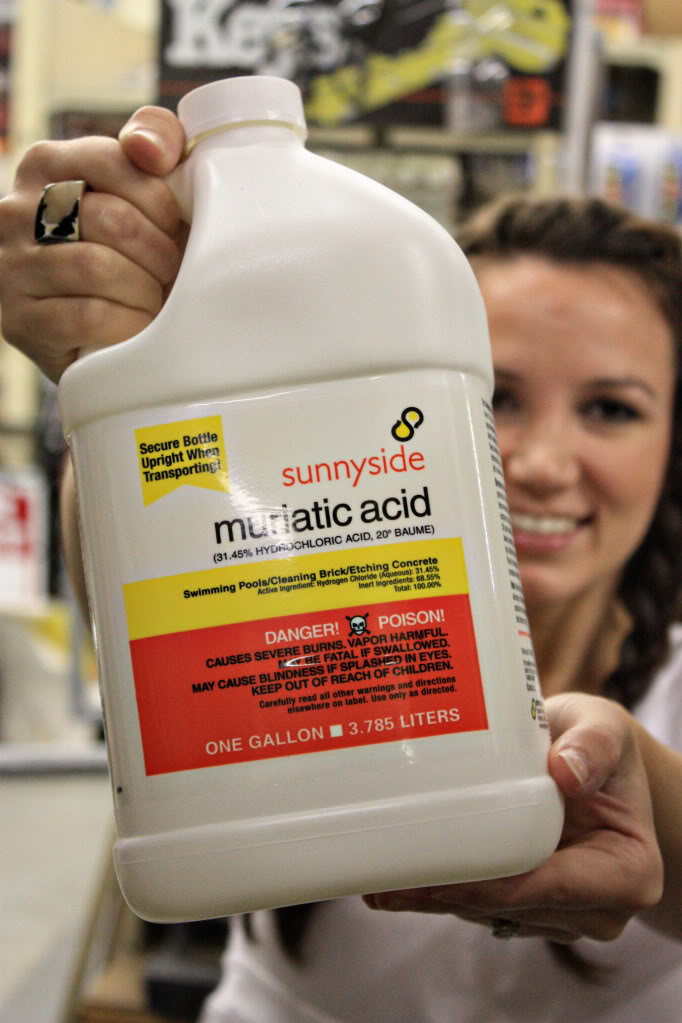
First thing we bought was a bunch of muriatic acid. DANGER WILL SMITH…THIS STUFF IS CAUSTIC.
And we bought a garden sprayer. You know the type. With the pump handle and the little sprayer rod thingie.
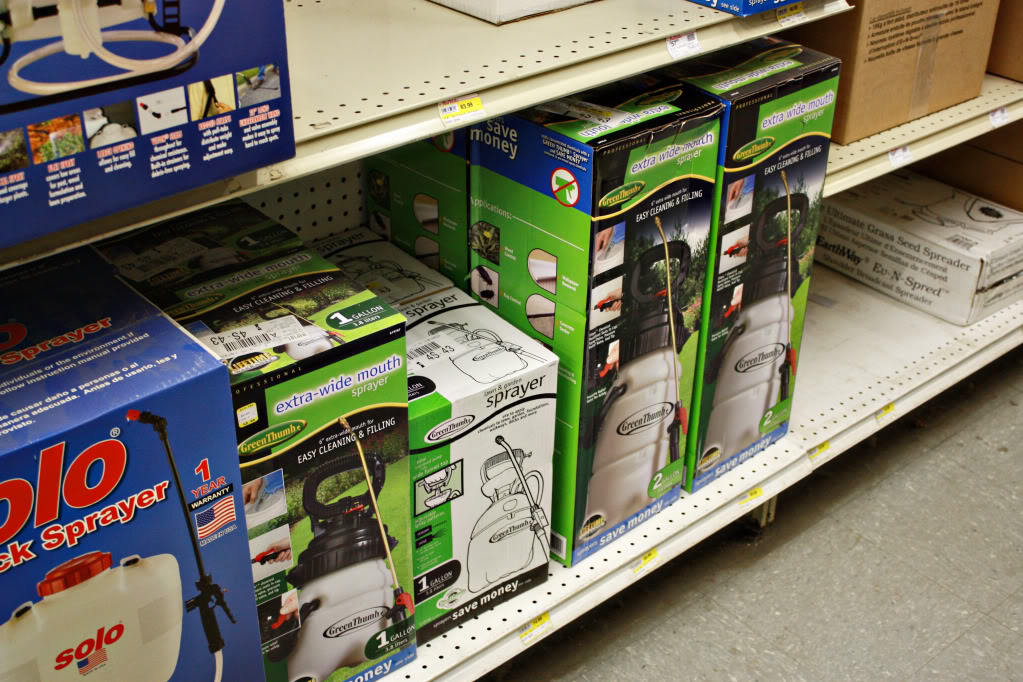
And we also looked into renting a pressure washer. We didn’t know this prior to walking in the doors but some True Value’s rent tools…really cool tools like log splitters and pressure washers and chainsaws. Boy toys. At really reasonable prices too. Although we ended up borrowing a family member’s pressure washer, this would have been our next place to stop to get the right thing for the job.
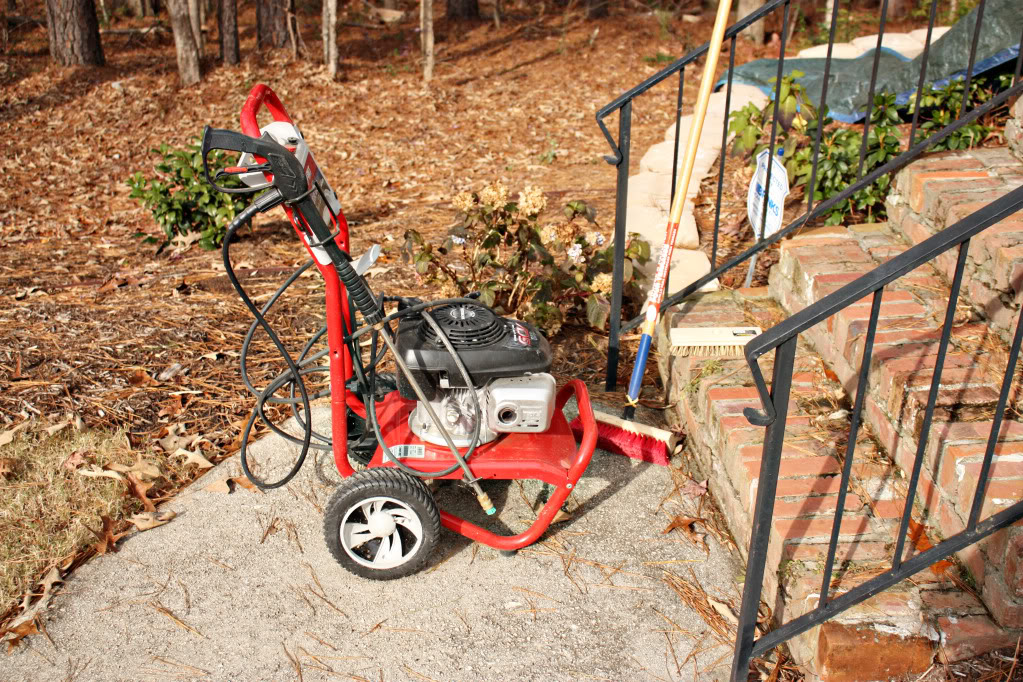
Lastly we picked up a stiff bristle scrub brush and some safety gloves and goggles. You will also need a mask for this job and some rubber boots…and a water source with a hose to hook up your pressure washer.
2. PREP THE AREA
We only had to drape a few tarps over our newly planted bushes to prep our area. We heard that sometimes the muriatic acid can splash up onto the plants so if you care about your leafy friends, this step takes two seconds.
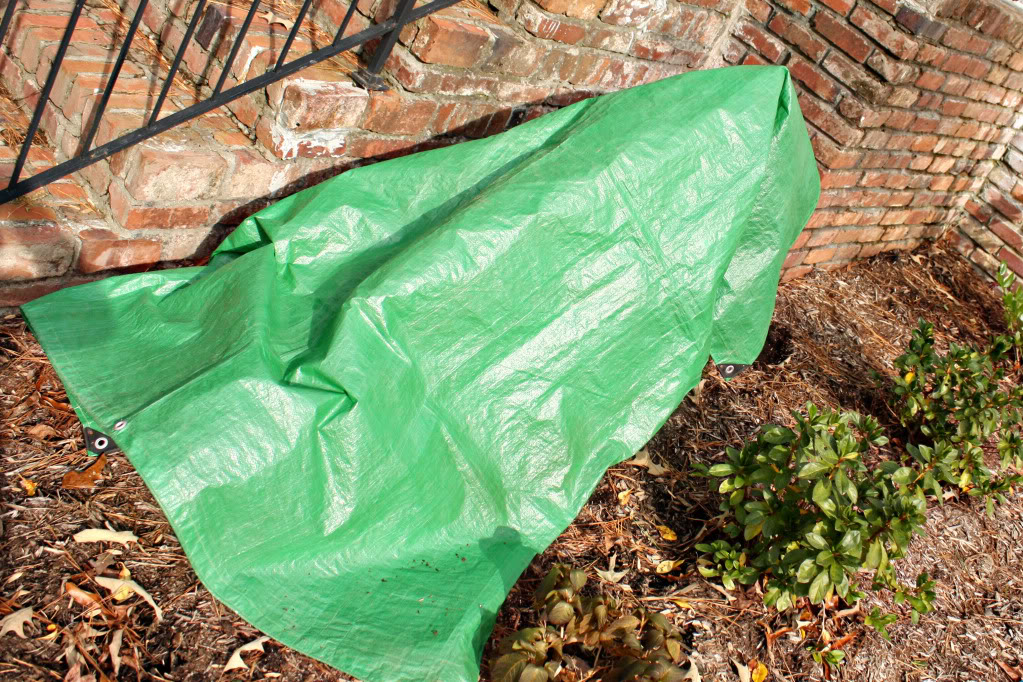
Don’t be a fool, coverings are cool 🙂
3. POUR YOUR ACID INTO THE GARDEN SPRAYER
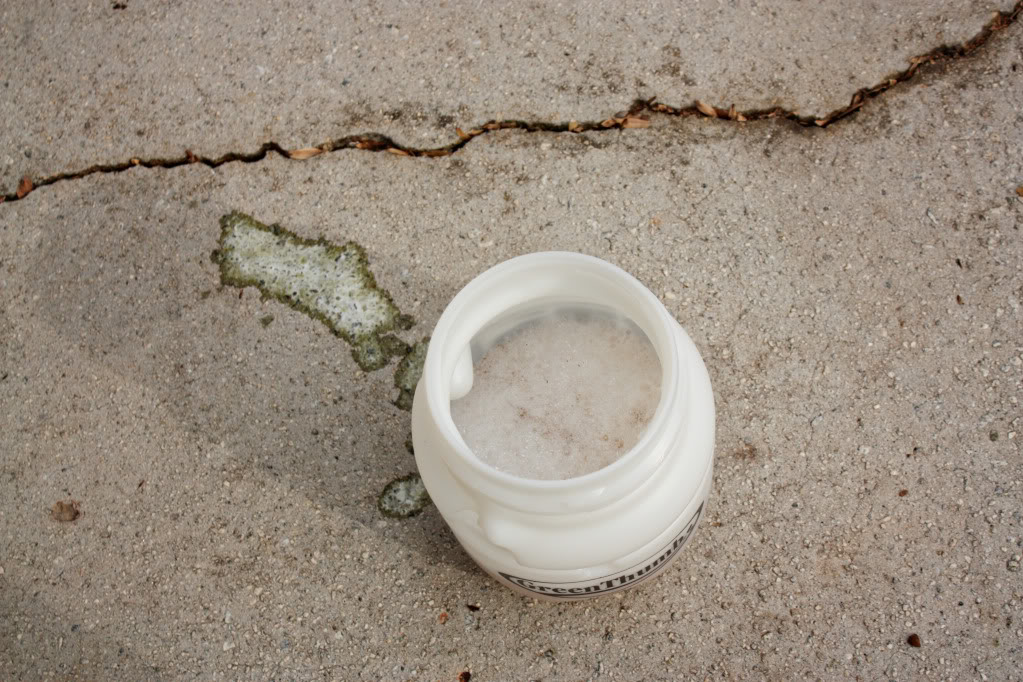
We made sure that Jeremy was wearing a mask, rubber gloves, splash googles and was fully clothed before attempting to do this step. He poured the muriatic acid into the garden sprayer and diluted it 3 to 1. On the back of the container, it stated to do 4 to 1 but we are rebels.
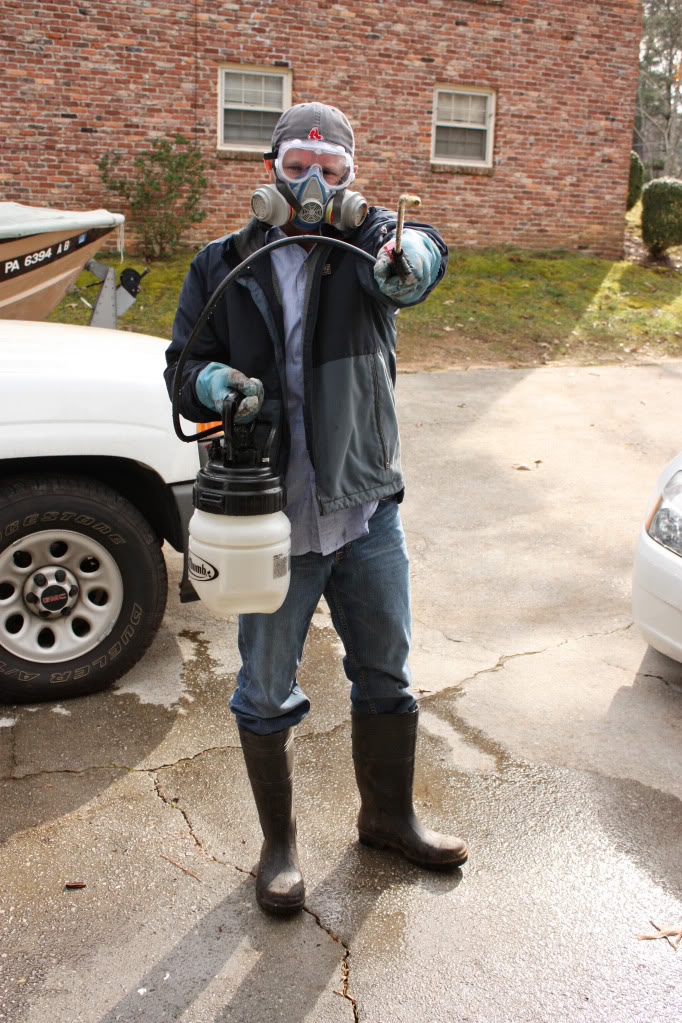
4. SPRAY A SELECT FEW BRICKS WITH MURIATIC ACID SOLUTION
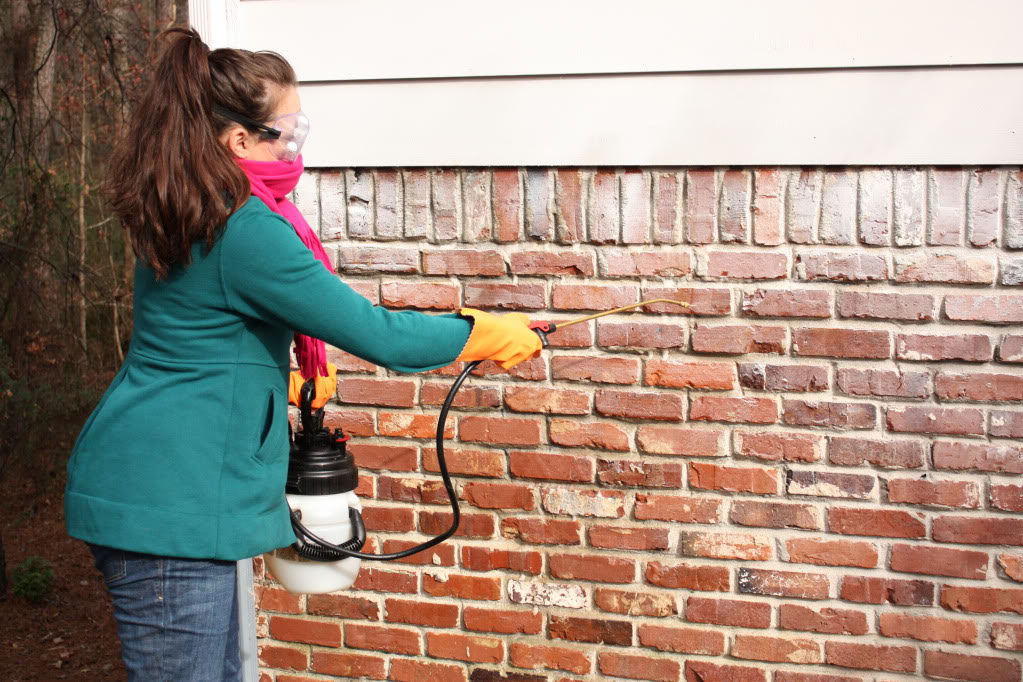
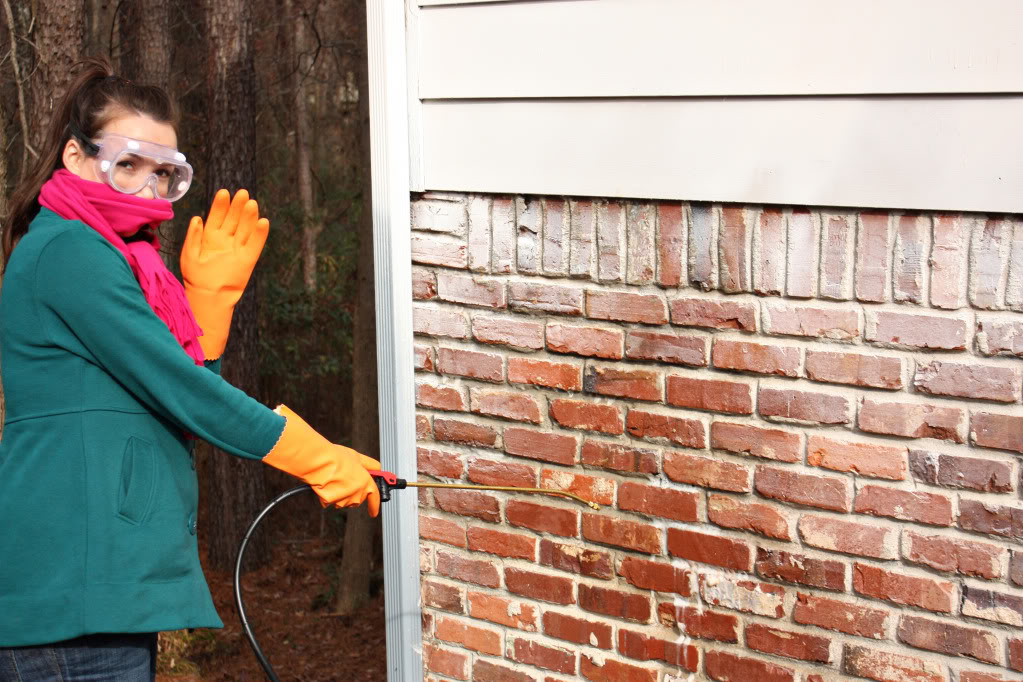
Using the garden sprayer, apply the muriatic acid solution to a small section of the bricks. The first time we attempted to spray the bricks, I sprayed a huge section with only a small amount of solution. It would dry almost before we could go on. So we decided that less bricks-more acid would be the better route. We were right.
You can see that when we focused on a smaller zone, that the solution would actually bubble and drip some of the paint right off. Plus it gave us more time for the next step.
5. SCRUB THE BRICK WITH A STIFF BRISTLE BRUSH
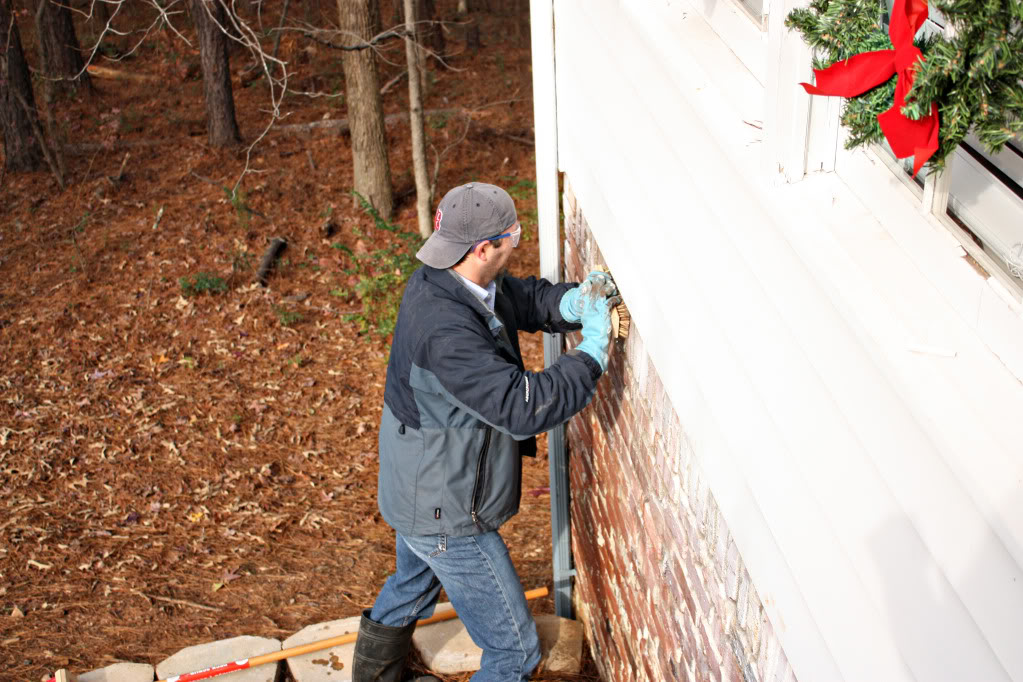
This is the part that I was glad I had a strong man in my life. After I sprayed the brick with the solution, Jeremy went to town scrubbing the bricks one by one until the paint started breaking up.
He said that his key to success was to brush the brick longways – extending the stroke over both ends with a lot of elbow grease.
6. PRESSURE WASH THE BRICK
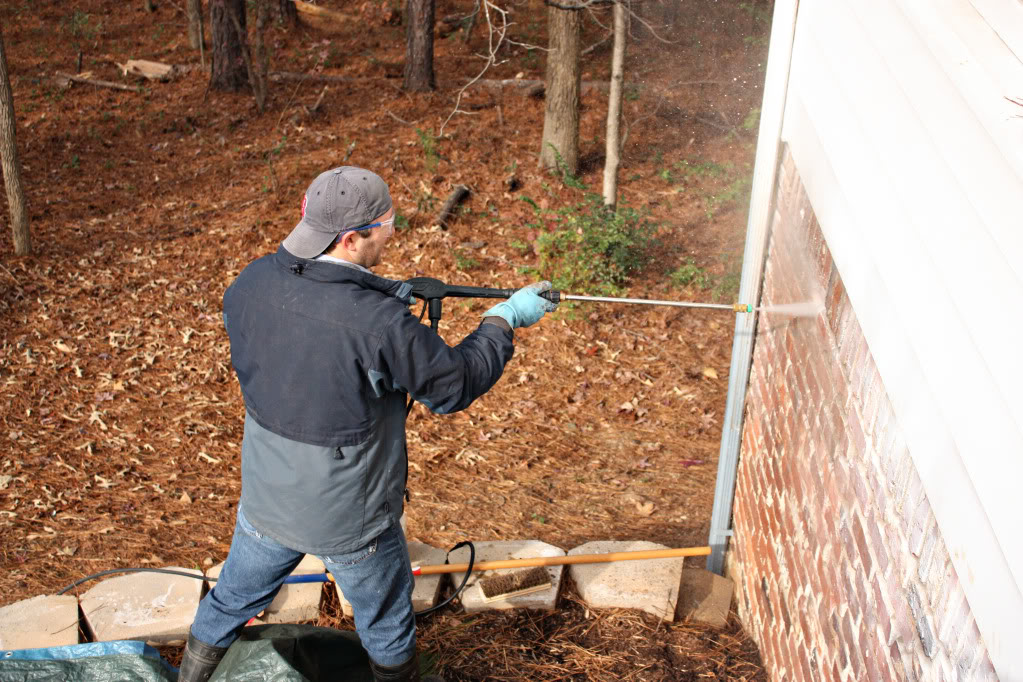
Using the maximum pressure setting, Jeremy used the pressure washer to remove any leftover paint and residue. If there was paint that was still not loosened enough to come off, then we would go back and repeat steps 4, 5 and 6.
Basically that’s how it is done.
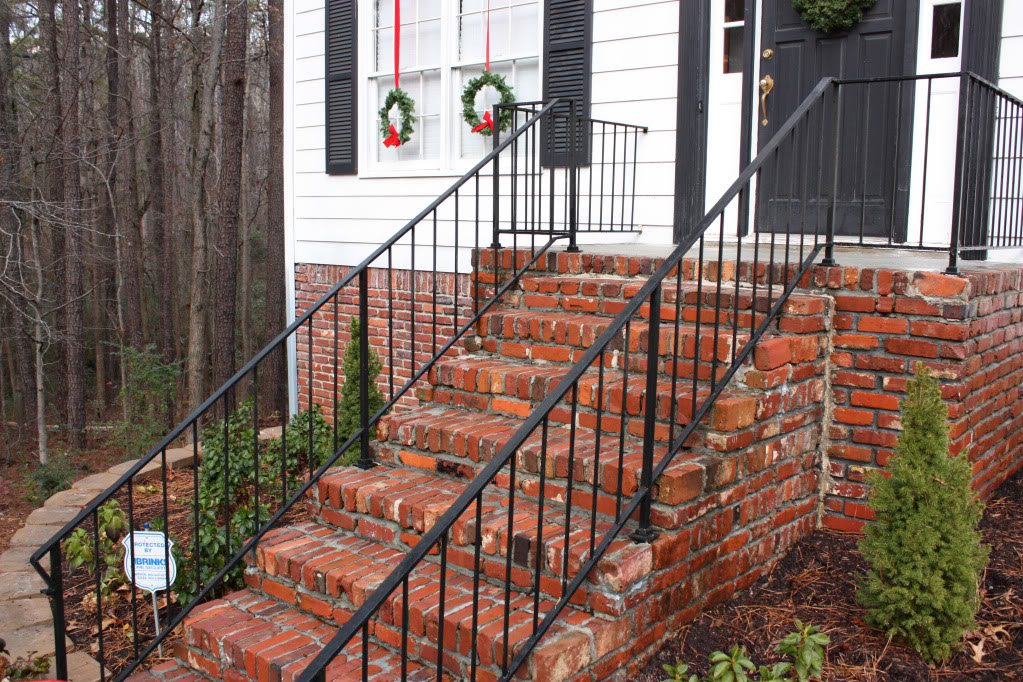
And since we had the borrowed pressure washer, we decided that it was high time to clean our front porch and steps.
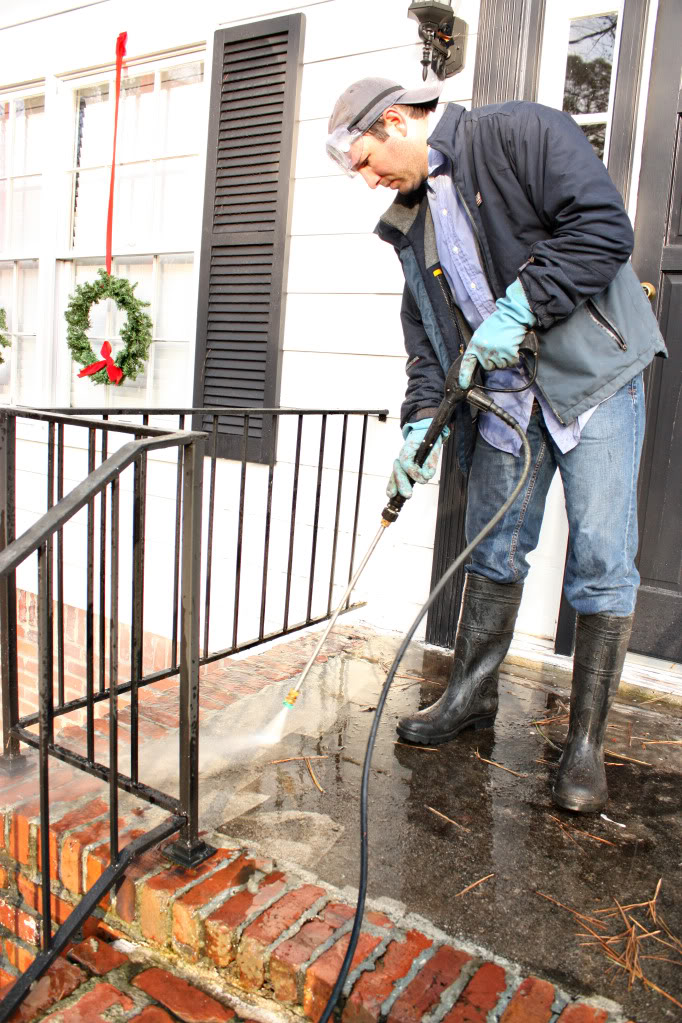
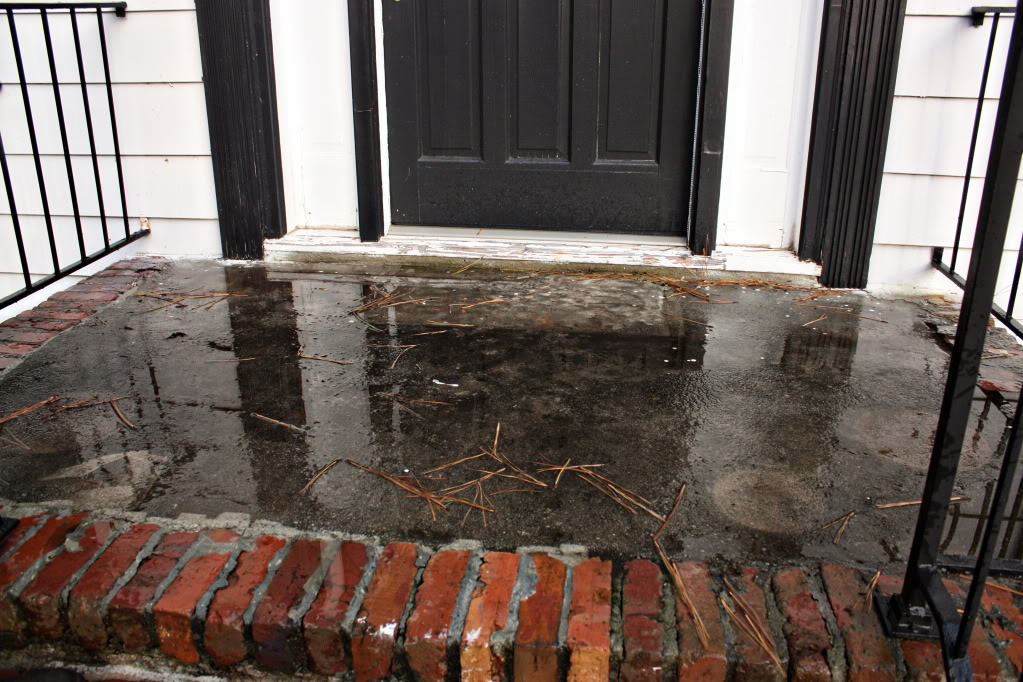
We honestly didn’t realize how gross they were until after they were cleaned. It was like a cow-patty porch. in a dumpster. on Planet Disgusting.
BEFORE:
AFTER:
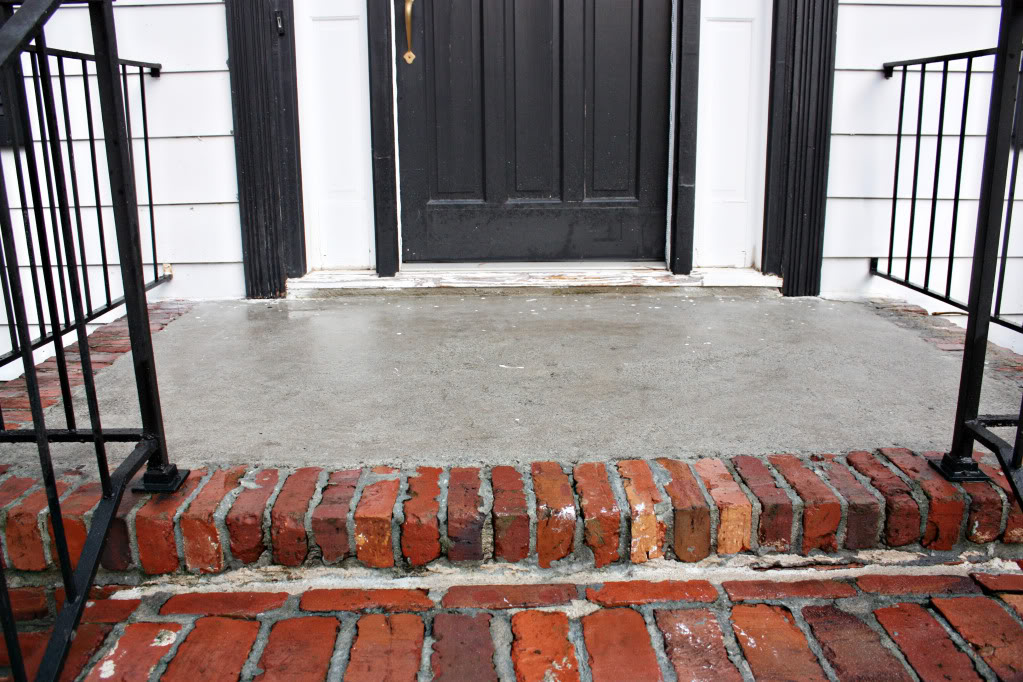
So now that I got you in the before & after mood…do you wanna see some more?
Specifically brick that looks shiny and new?
Minus the shiny?
Well, ok. You don’t have to beg like Rosie O does for work.
Here’s the white-washed before:
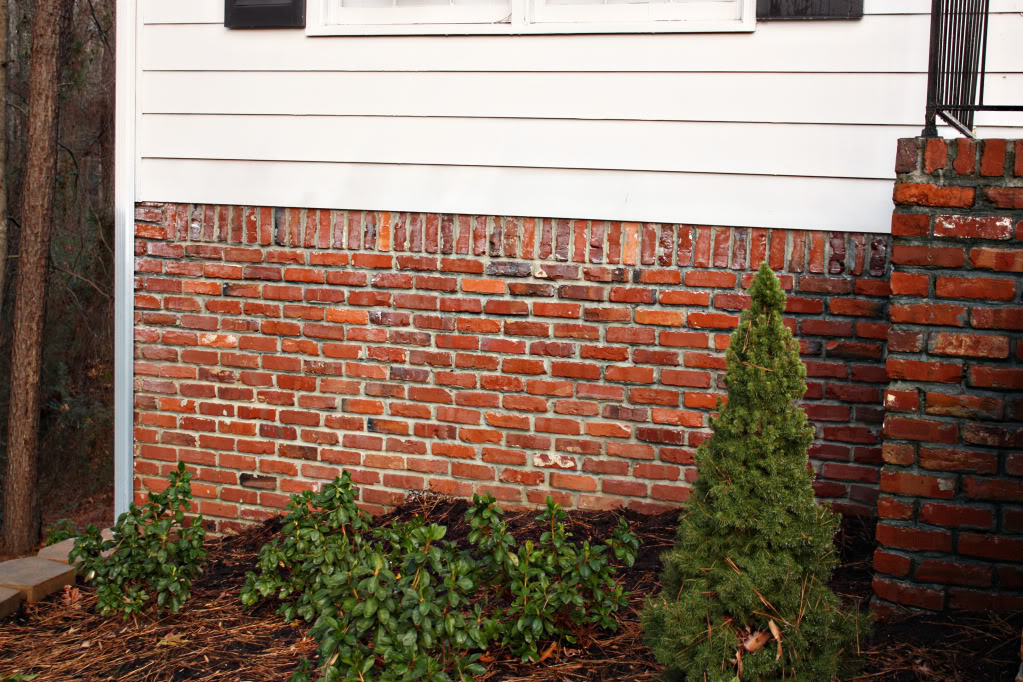
And the fabulous after:
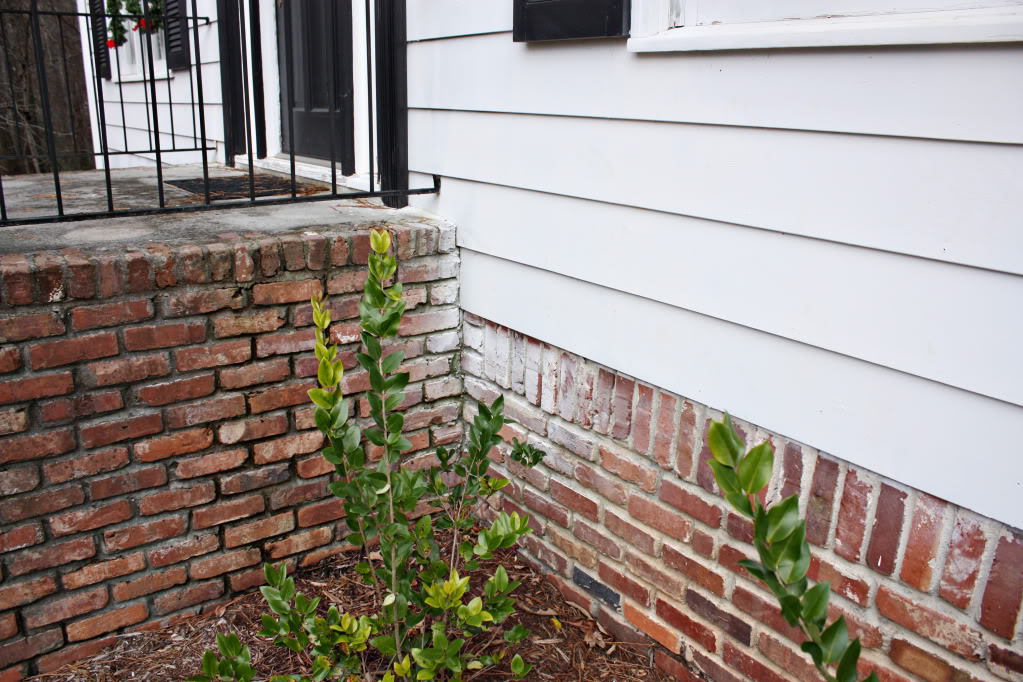
And one little corner before:
And one little corner AFTER:
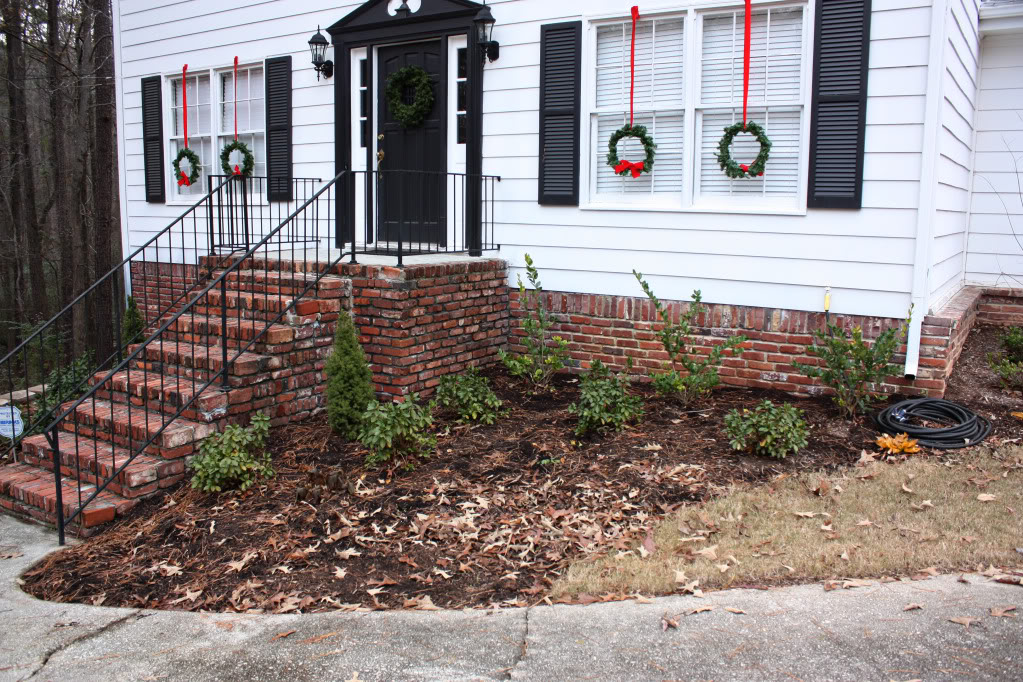
In the end, the paint removal on our brick was well worth the effort. Now we just need to pray for hail damage to our roof 🙂 Kidding. Sortof.
So what about you guys? Do you have one of these strange brick foundations/siding all around kinda houses too? Have you ever had overspray issues? Or ever attempt to remove paint from brick before? I have heard good things about different methods of removal…never tried them though. Any “Peel Away” product users out there? Or how bout anyone try the cooking oil method? I have heard the way we chose was the most dangerous…which scared us a bit…but then we felt like it was good to go straight for the gold. We also loved, LOVED with a capital L, the pressure washer. It was so instantaneously gratituitous. If only I could use it on the bathrooms 🙂
“I was one of five bloggers selected by True Value to work on the DIY Squad. I have been compensated for my time commitment to the program and my DIY project as well as my posts about my experience. I have also been compensated for the materials needed for my DIY project. However, my opinions are entirely my own and I have not been paid to publish positive comments.”