About two months ago, we were up to our elbows in water. actually it was ankles. I don’t think our basement would have survived elbow-height flooding. The overall damage from our impromptu ankle-cooling swimming pool was minimal. (sigh of relief) But the stress? The stress of knowing that we had a leaky basement had us quaking in our New Balances every time we saw a gray cloud.
Our leaky basement needed a hero.
and fast!
Dooo-da-Dooooo! (that is heroic theme music for all you who are confused.)
Enter True Value.
We are ever so thankful to True Value for allowing us to squeeze into the DIY BlogSquad…and that opportunity not only helped us save our new basement from future flooding, but it also cleared up my skin (less stress) and reduced the number of cusswords that were tossed at any local Weatherman bearing bad news.

So let’s review how bad our basement really was, shall we?
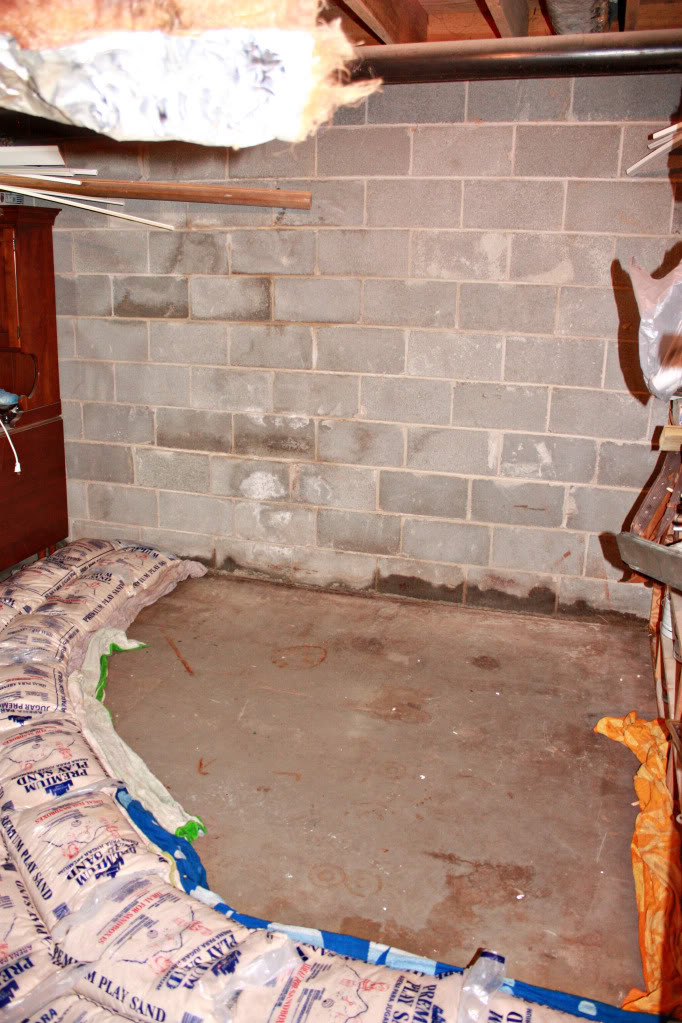
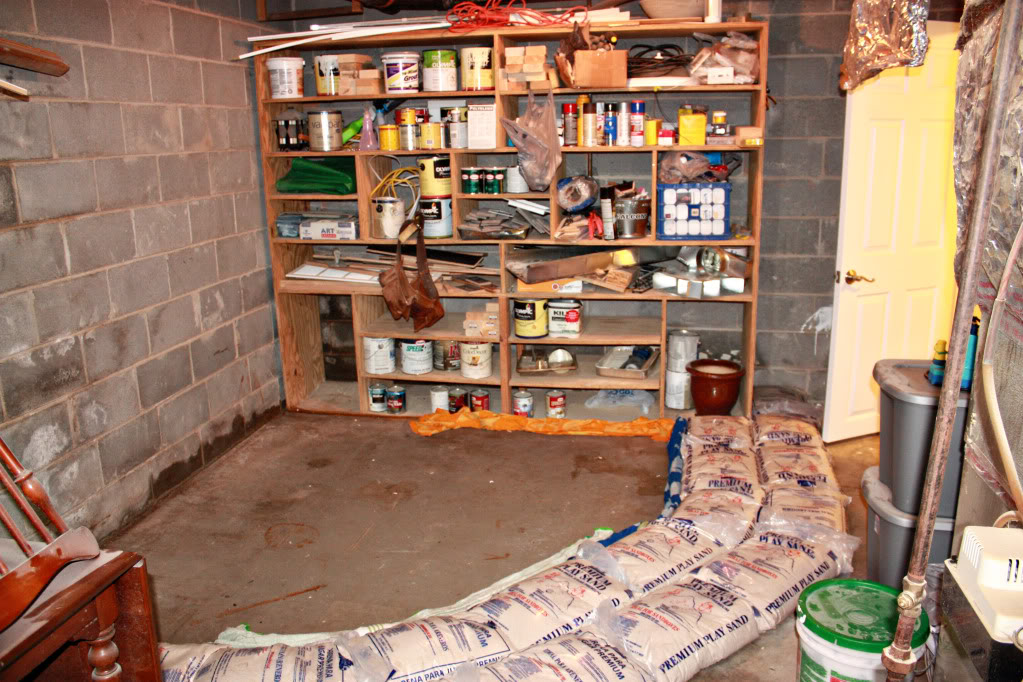
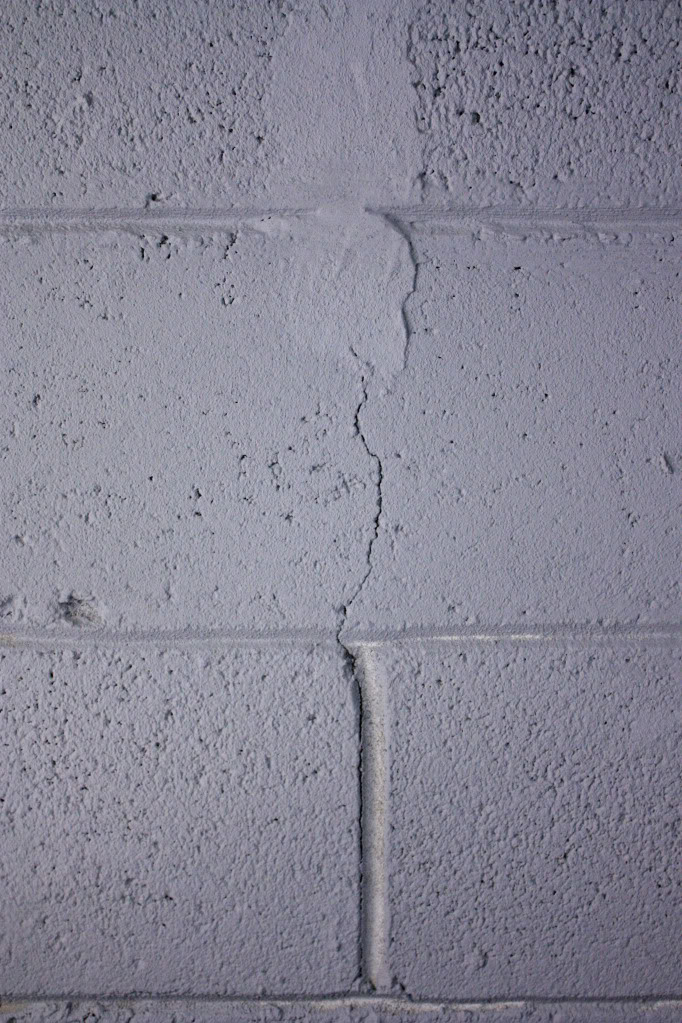
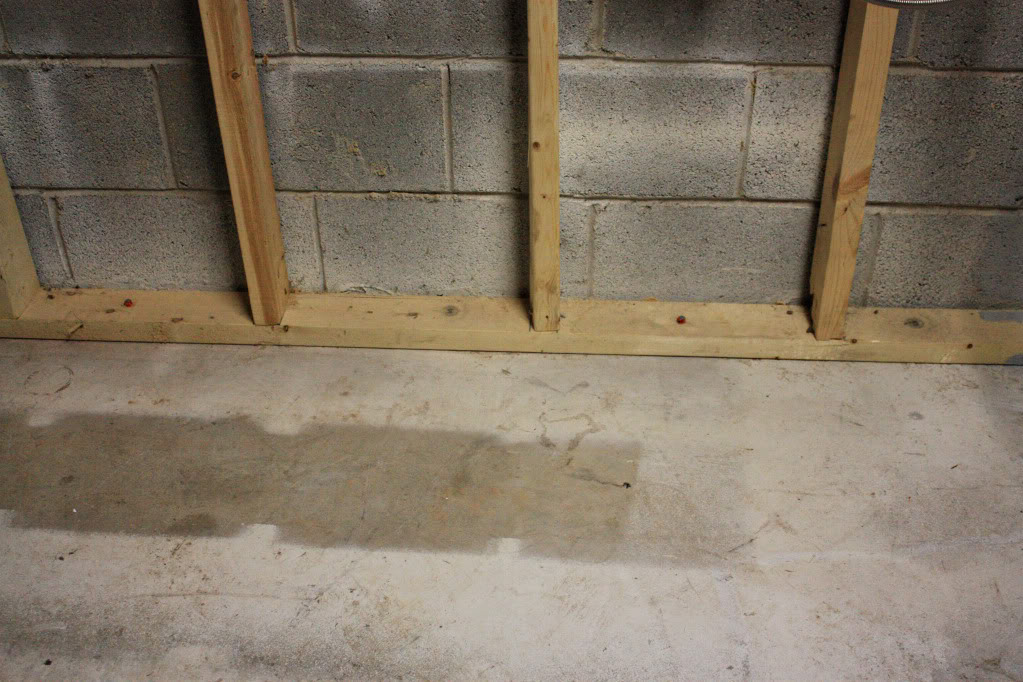
You can see where our slab-and-wall joint had sprung a leak. eww.
So in order to keep this from never happening again, we consulted Mr. True Value Helpfulman and Mr. Google. Both were in agreement. What we needed was to patch the leak with hydraulic cement and then Drylock the entire area to create a moisture barrier. Off we went to get supplies.
STEP 1 – BUY SUPPLIES
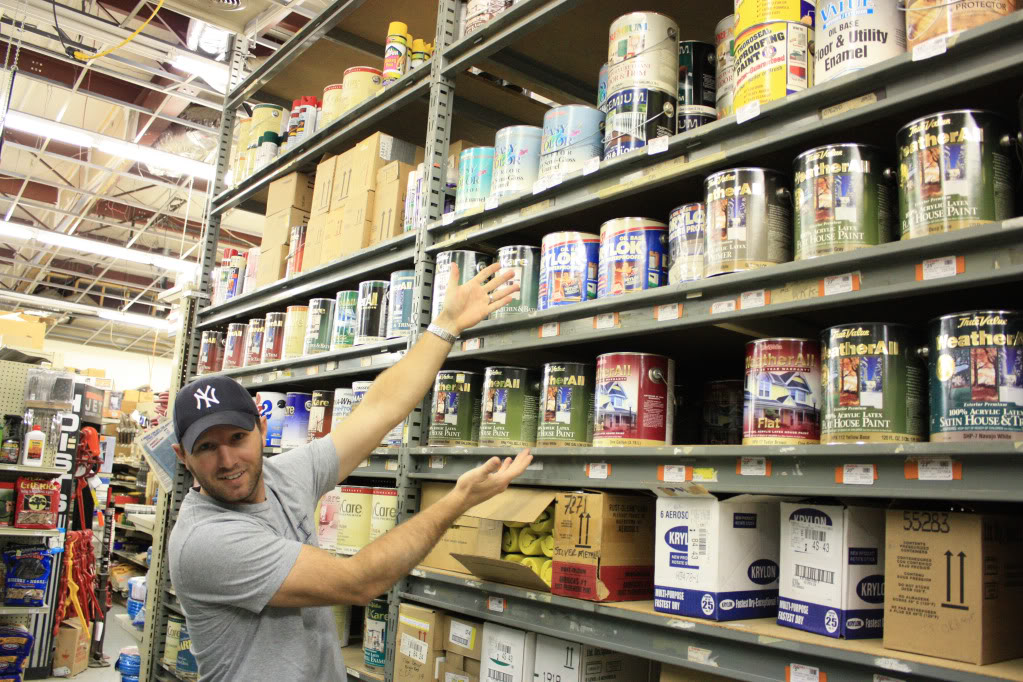
Drylock was our number one purchase for this project. We calculated that we needed about 10 cans of the OIL-BASED Drylock in order to waterproof the entire floor and the cinder block wall that ran the entire width of our foundation. Since this area was going to get finished over – we didn’t care what color (it comes in white, gray and beige). And we knew from prior experience that in order to apply the waterproofing, we needed several CHEAP brushes (you’ll want to toss them afterwards) and a roller with a heavy nap.
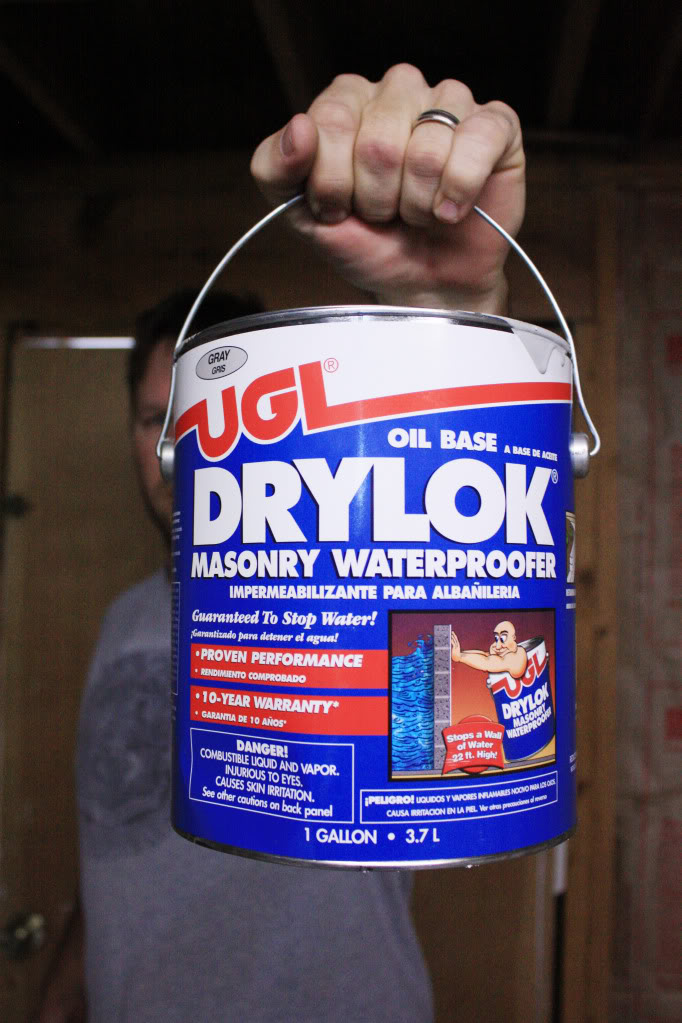
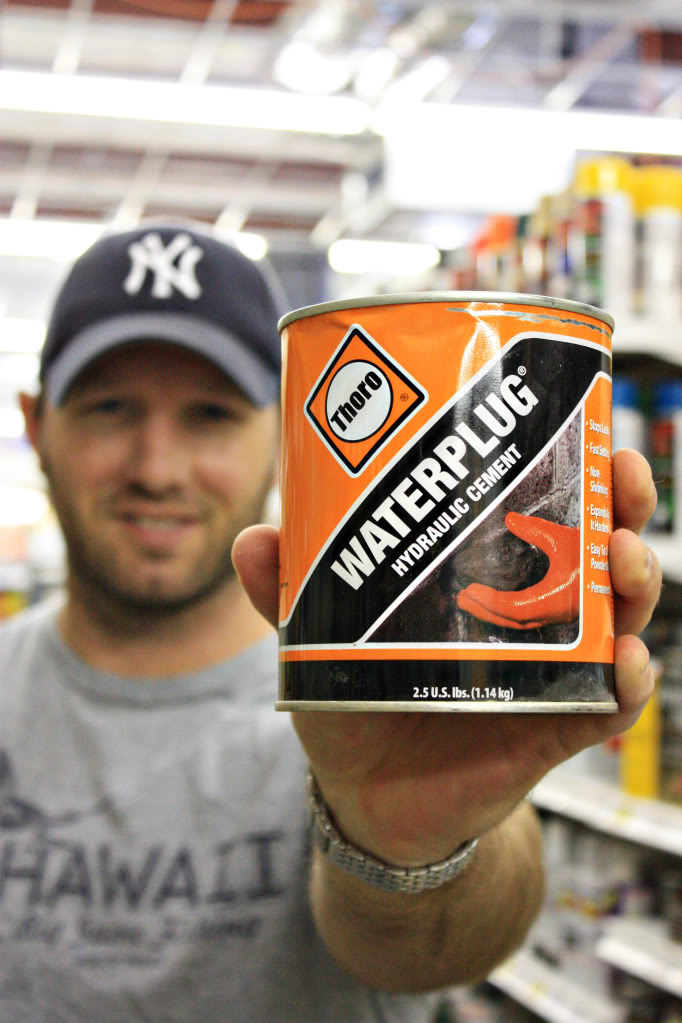
Number two on our TO-BUY list was the hydraulic cement.
I found out from my research that most cement actually shrinks ever-so-slightly as it dries. This can be bad if that cement is your slab (like ours). It can actually shrink away just a hair from the cinder walls and as time goes by, water can erode at that crack till you are surfing the muddy waters. Also, hydrostatic pressure can cause minor cracks in your cinder walls – which if left up to H2O – can cause MAJOR problems. So it is important to fill those cracks.
Hydraulic cement does the opposite of ordinary Portland cement – it expands. So if you stuff this filler into your cracks – it should increase slightly in size, filling the hole and preventing any future leakage (heehee…c’mon. Who doesn’t laugh at ‘leakage’?!?!)
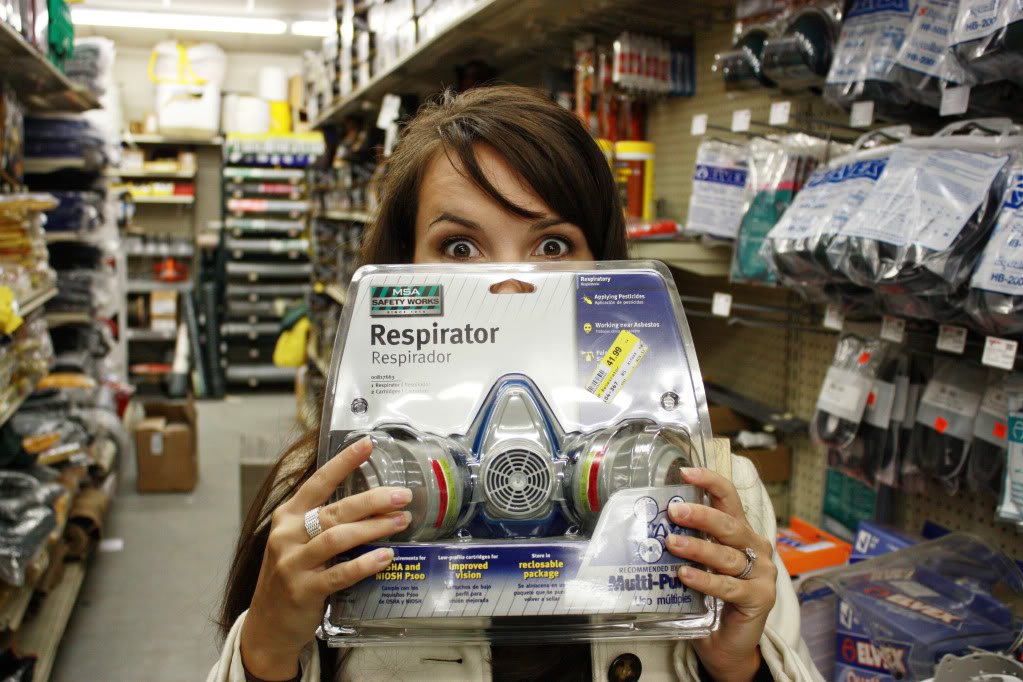
Last item on our TO-BUY list was this mask – which would come in handy blocking those 10 cans of Drylock fumes. Plus, it looks like the next hot accessory to me. Like the bangles, pearls & crucifix necklaces were to Madonna, I get credit for the respirator look.
STEP 2 – FILL THOSE CRACKS
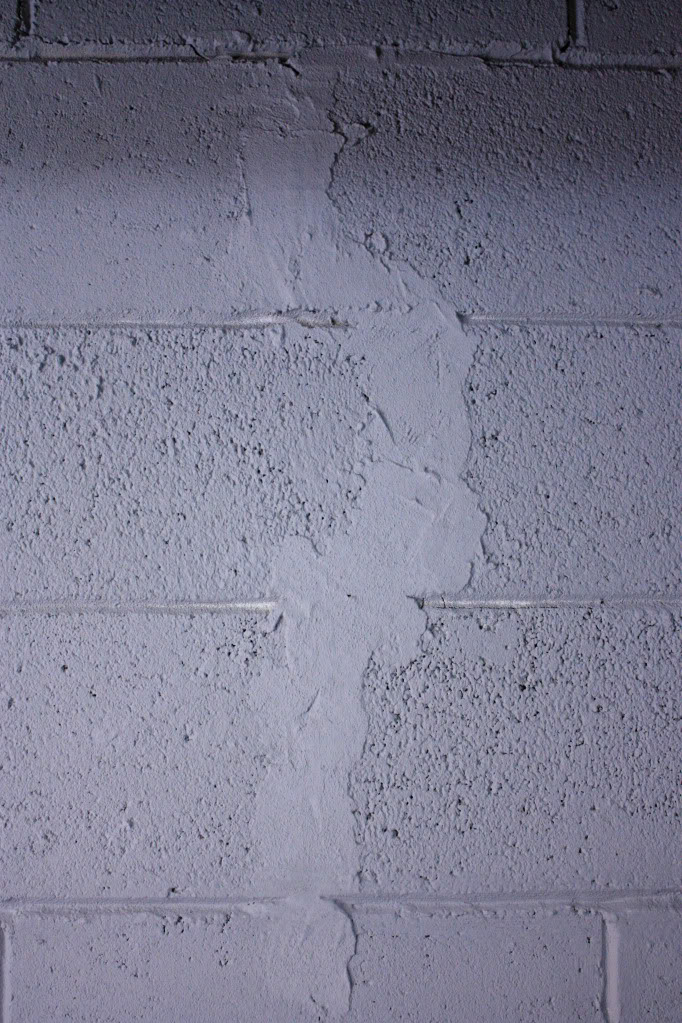
Hydraulic cement is super easy to use. First clean your surface and remove any loose dirt or dust. Then just mix the material with enough water to create a mixture between a putty and a heavy batter. Then you are going to ‘ice your cake’ so to speak. Using a trowel (or your hands or a putty knife) work the hydraulic cement into all the cracks and allow to set. Drylock can be applied directly over the dried area.
STEP 3 – PREPARE TO DRYLOCK
The space that we were preparing was really large and we use part of it as a storage space for very important stuff. It’s a bunch of junk (let’s not mince words, kay?) – so we split it into two sections. The section that had the most leaking was the first space we tackled (and when I say we, I mean Jeremy & Torrey – dude, I am pregnant and have strict doctor’s orders not to lift anything over 25 lbs and to not get high on Drylock.) The space that I helped with was over here:
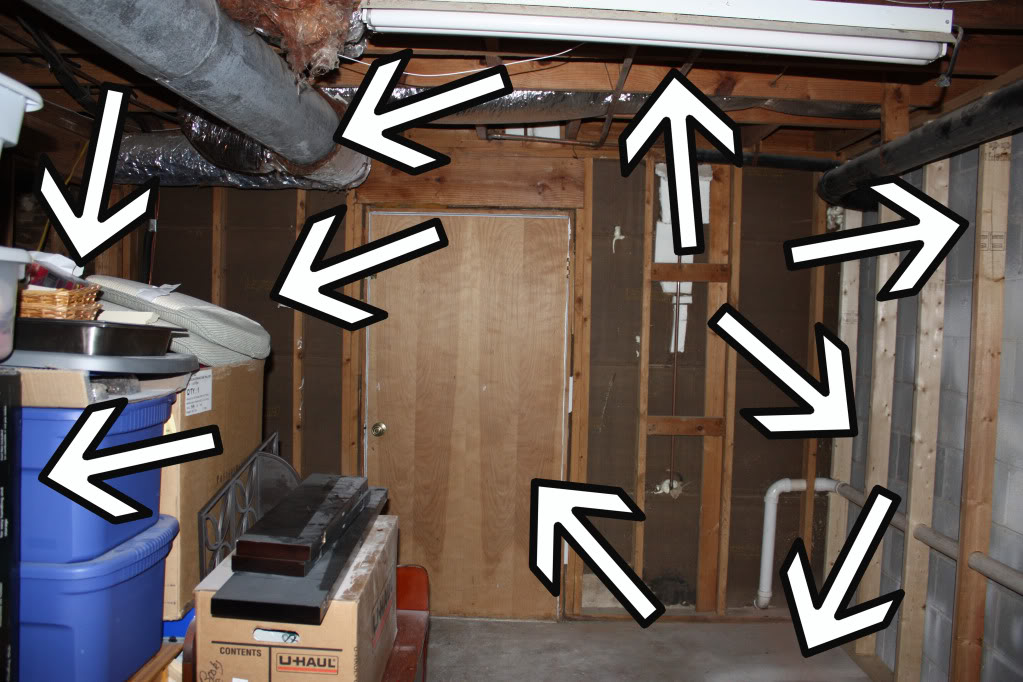
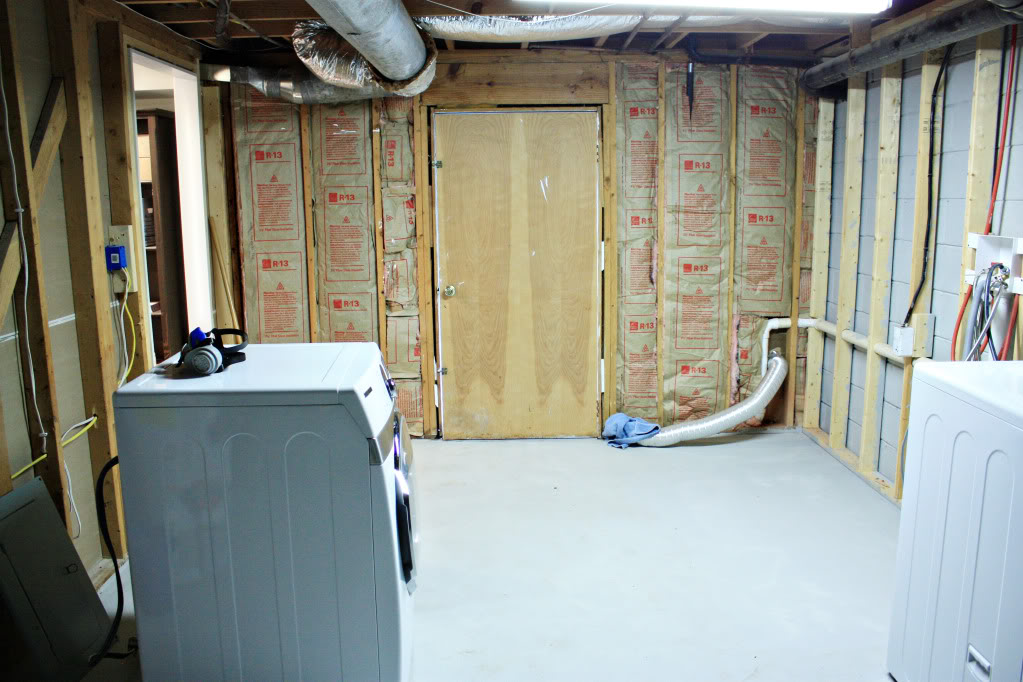
Yes – the other end of the basement – where the future laundry room will go.
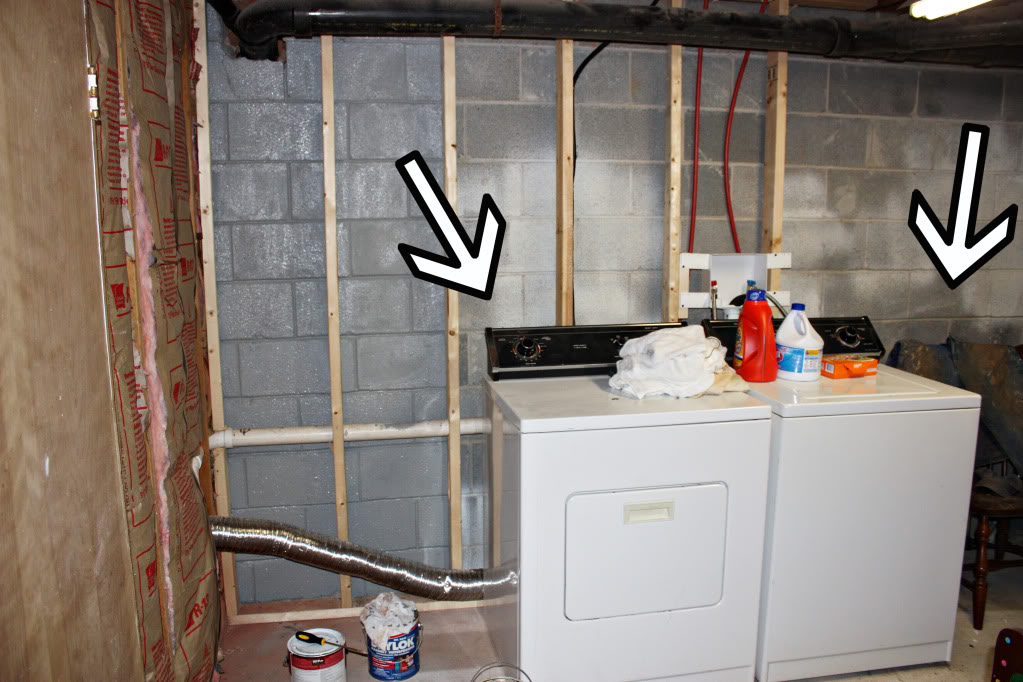
First we cleared the area of all the highly important stuff (aka junk) and swept the walls and floor. Then we gathered our supplies and opened the door for ventilation. Even if you have a mask on, any additional ventilation will help with the fumes. (clarification: the Drylock fumes. Any other fumes will be at your own risk!)
STEP 4 – BRUSH IT IN
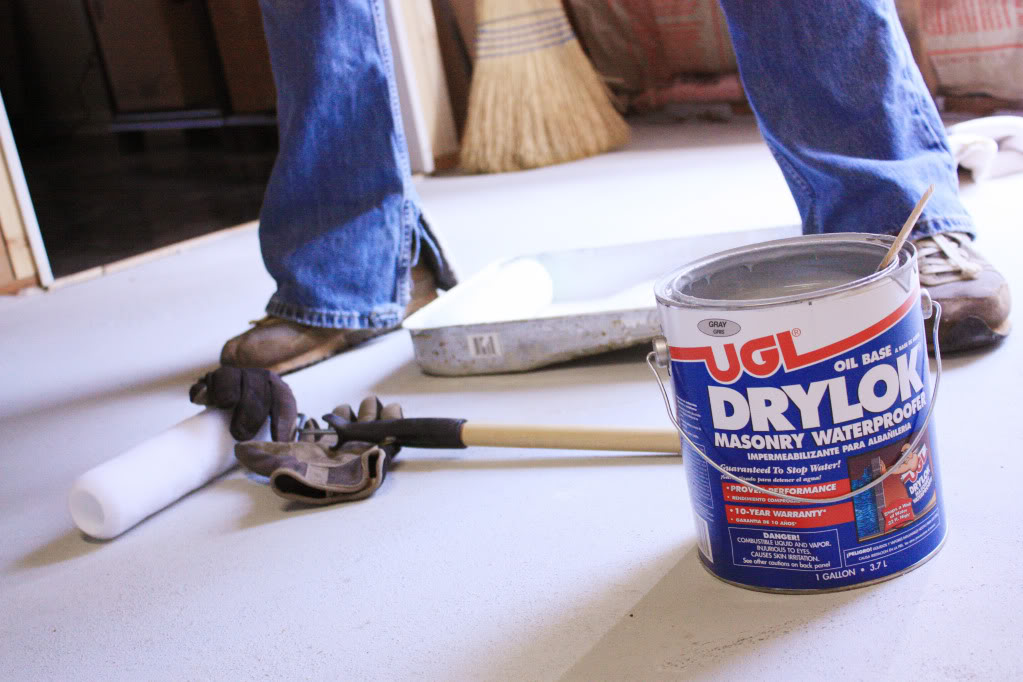
According to the Drylock instructions, you will need to apply the watersealant with a brush. In our experience, we prefer a different twist on the recommended method to get best results. First we brush the Drylock into the cracks. Points for us for following instructions 🙂 But then we go that extra mile: Go on to Step 5.
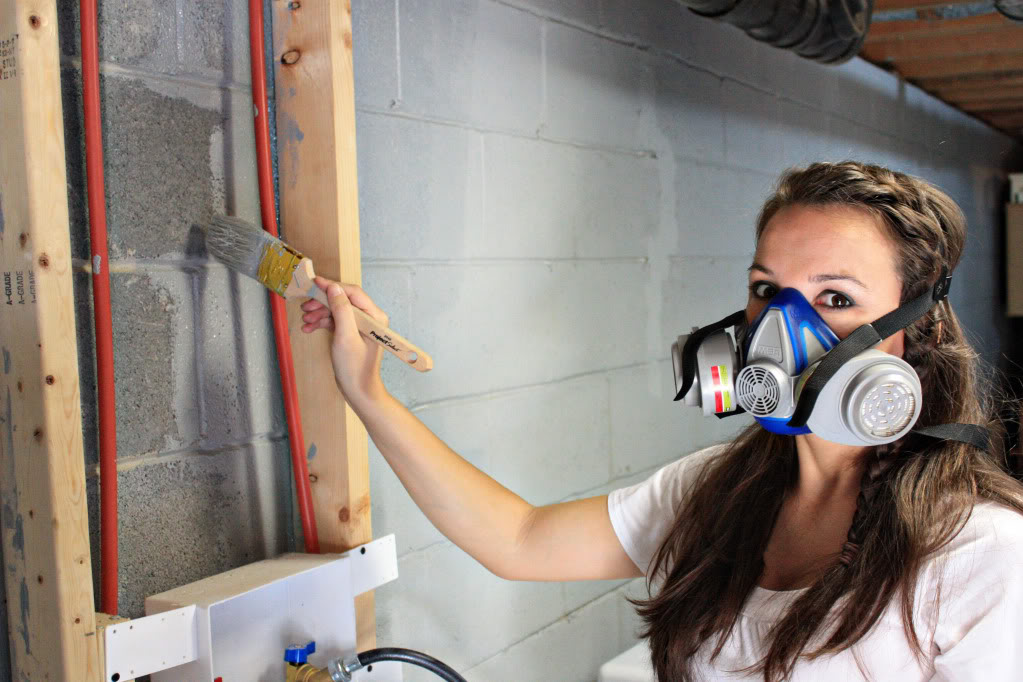
STEP 5: KEEP IT ROLLIN’
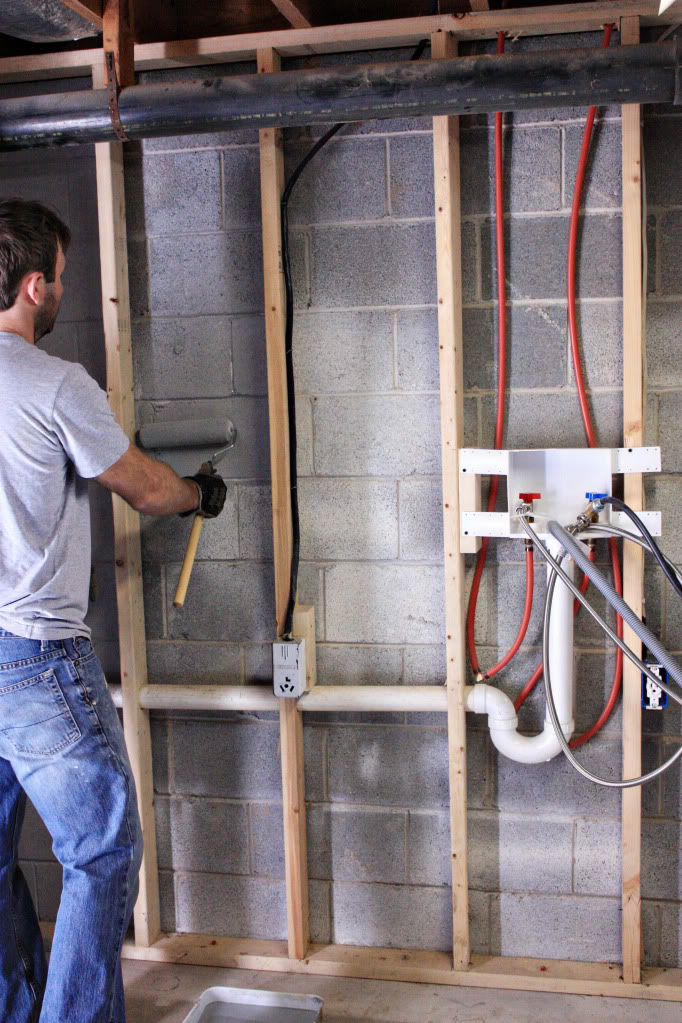
We go the extra mile by pouring more Drylock into a painting pan and using a roller for a primer coat on the walls.
Since the first coat must be ridiculously thick (think mayo on a ham&cheese sandwich), the roller helps get ALOT of the necessary Drylock up onto the walls. It’s sortof like makeup – first we spotcheck, then we apply foundation. Foundation doesn’t hide the blemishes, it just evens things out a bit. Same here.
STEP 6 – BRUSH YOUR SHOULDERS OFF
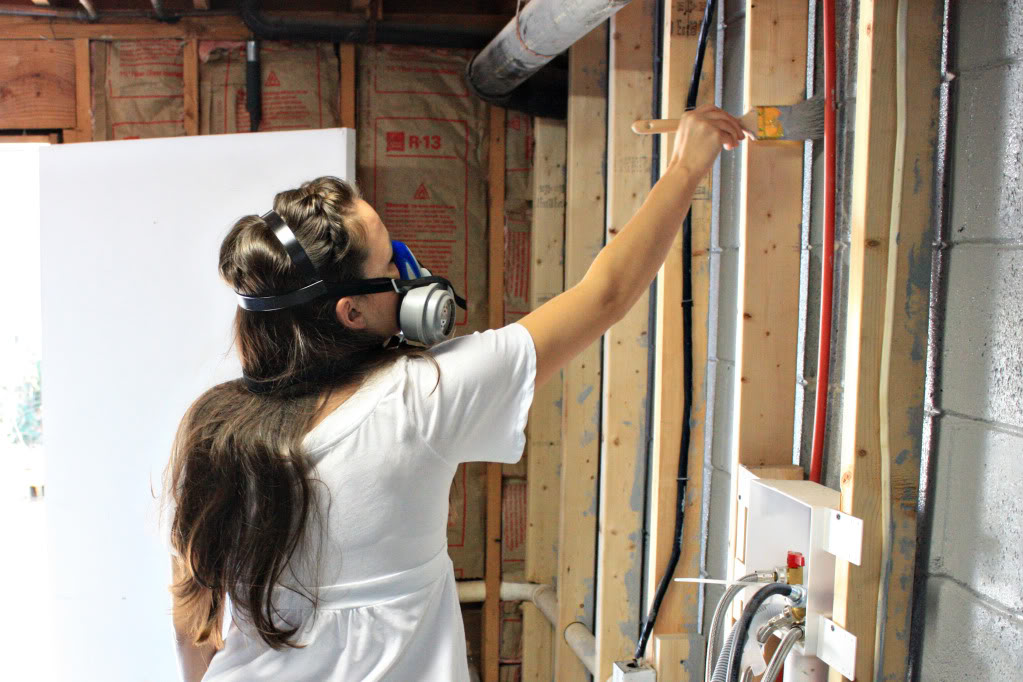
After the base coat is up – IMMEDIATELY apply the drylock VERY THICKLY onto the cinder block walls with a brush. Again. Be certain to get behind studs, into the mortar lines and fill any small pin-holes with a healthy dosage of Drylock. This is not Black Friday….it’s not time to be frugal. This first coat needs to be thick (thus the three step process) because it is going to be the first line of defense against the moisture terrorist.
STEP 7 – SEAL THE SLAB
Using a roller, apply the drylock to the floor as well. Remember, this isn’t your waistline – THICK is your friend.
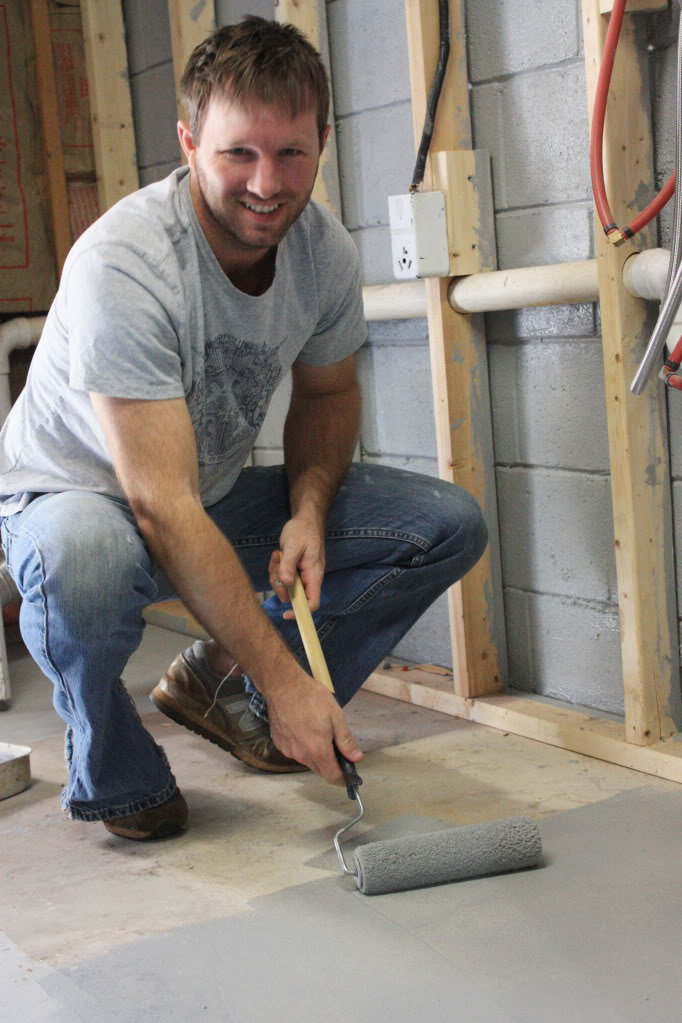
Any odd areas (like corners or along 2×4’s) that the roller won’t cover properly can be sealed by applying the Drylock with a brush.
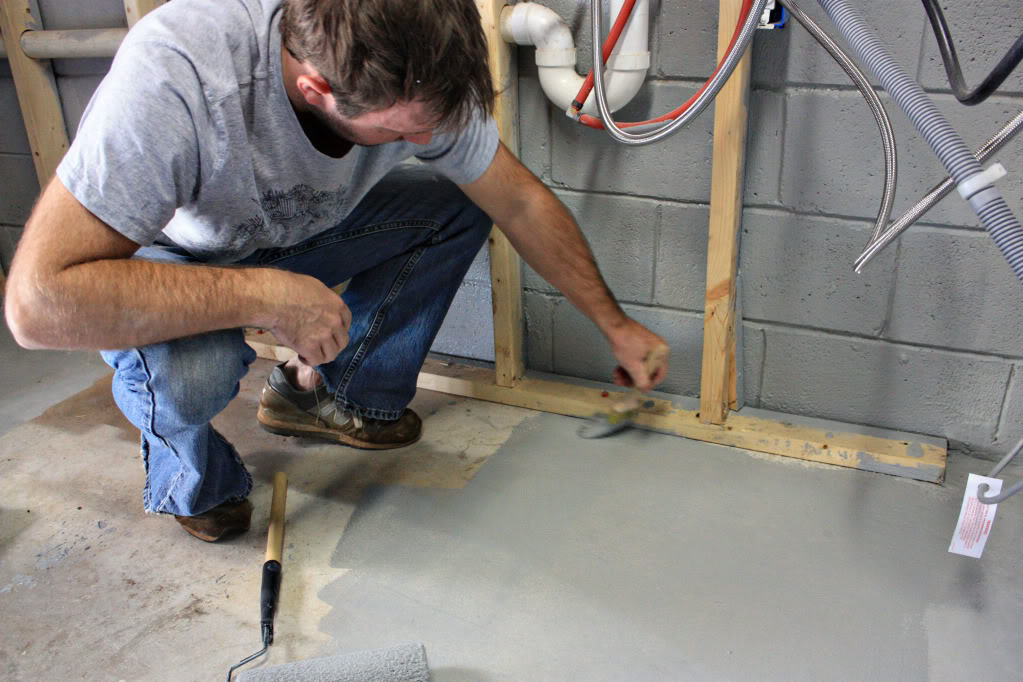
STEP 8 – REPEAT STEPS 4-7
After ample drying time (it differs according to temperature and moisture in the air), repeat the steps 4-7 (BRUSH, ROLL, BRUSH, ROLL, BRUSH) for best results. Since the fumes were so strong in our house, we opted to take that opportunity to eat out a bunch (yay for Taco Bell & Jr. Bacon Cheeseburgers!) and spend a little more time at friends houses while the basement dried. And when we were home – all we had to do was open the basement door to air out any pesky fumes.
STEP 9 – CELEBRATE YOUR VERY DRY(locked) BASEMENT
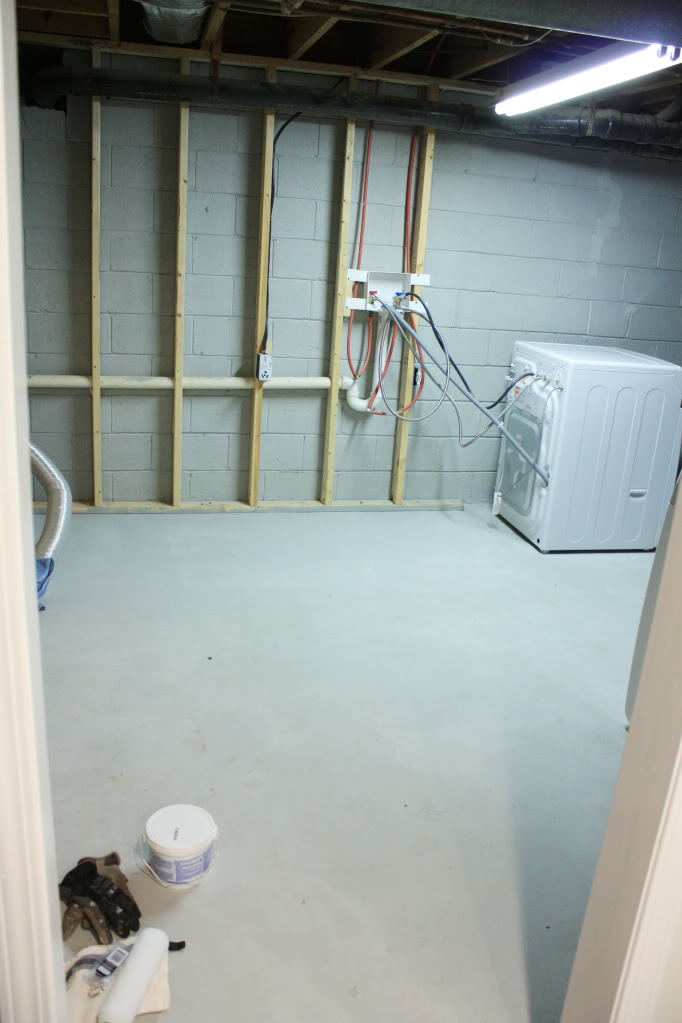
Break out the radio. Turn up the Britney. or the Lady Gaga. Or the Soundtrack to Titanic. Whatever floats your boat…get it? heehee…and….
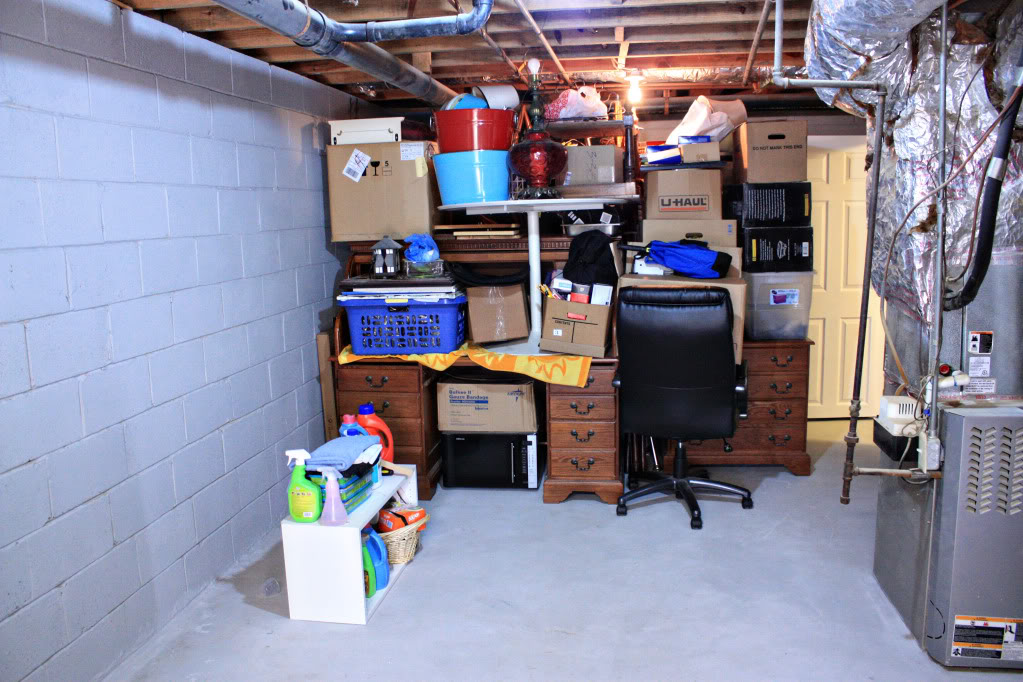
….start the bootie shakin. Heck, throw a little robot and hand jive in while you are at it because….
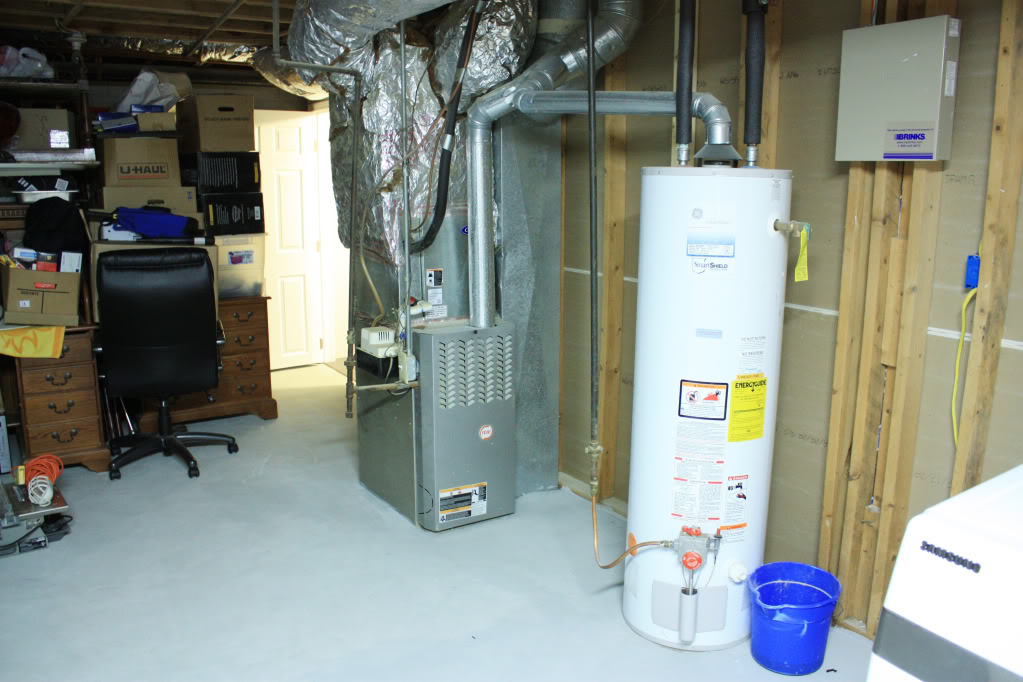
….you have a very dry & sealed basement. And nothing (not even the thick rain cloud outside), NOTHING will get your spirits down (or your basement wet, moldy or mildewy).
So there you have it – all the steps you need to waterseal your basement. This is especially important if you ever plan on finishing the spaces down there or installing insulation or if you don’t like spending three days wading in water as it soaks your storage boxes. Whatever your cup of tea (or should I say cup of murky water?), I would definitely recommend taking the time and money to invest in sealing up those cracks…listen to the voice of experience here. It can help save you a huge headache, not to mention wrinkly fingers.
Any questions? I’ll do my best to answer them. But really I would like to hear about your experience with flooding…any flood victims out there? Anyone already drylock? Any tips for future drylockers of America? Do share.
Next up – planning a moodboard for the laundry room (YAY!)
FOR MORE DRYLOCKING FROM A FELLOW DIY SQUADER – CHECK OUT HOW JOHN & SHERRY WORKED THROUGH THEIR MILDEW ISSUES TO GET A NEWLY FINISHED SPACE.
“I was one of five bloggers selected by True Value to work on the DIY Squad. I have been compensated for my time commitment to the program and my DIY project as well as my posts about my experience. I have also been compensated for the materials needed for my DIY project. However, my opinions are entirely my own and I have not been paid to publish positive comments.”