…about Fire Safety!
Since October was Fire Prevention Month, I thought there was no better time to tackle our fire safety situation than with our first DIY Blog Squad project (and it was #4 on our DIY To-Do List). And during my research to make our home a little safer for future Baby Bower, I found that according to the U.S. Fire Administration that fires killed more Americans than all natural disasters combined. WHOA.
And kids? Yeah, they have almost a doubled risk of death or getting injured.
Plus, with the upcoming Christmas season (it’s here people…it’s creeping up on us like weirdos at a club), the chances of household fires is even greater. Especially if you cook like I do. That is with a lot of smoke. Add that to the risk of a tree with 3200 lights, candles to light the way of neighborhood christmas carolers, and kids running around those gas logs…well, you can imagine my alarm (pun intended).
First, we researched what we needed to protect our house and our lungs. We already had a new fire alarm in the upstairs (right outside our bedroom door)
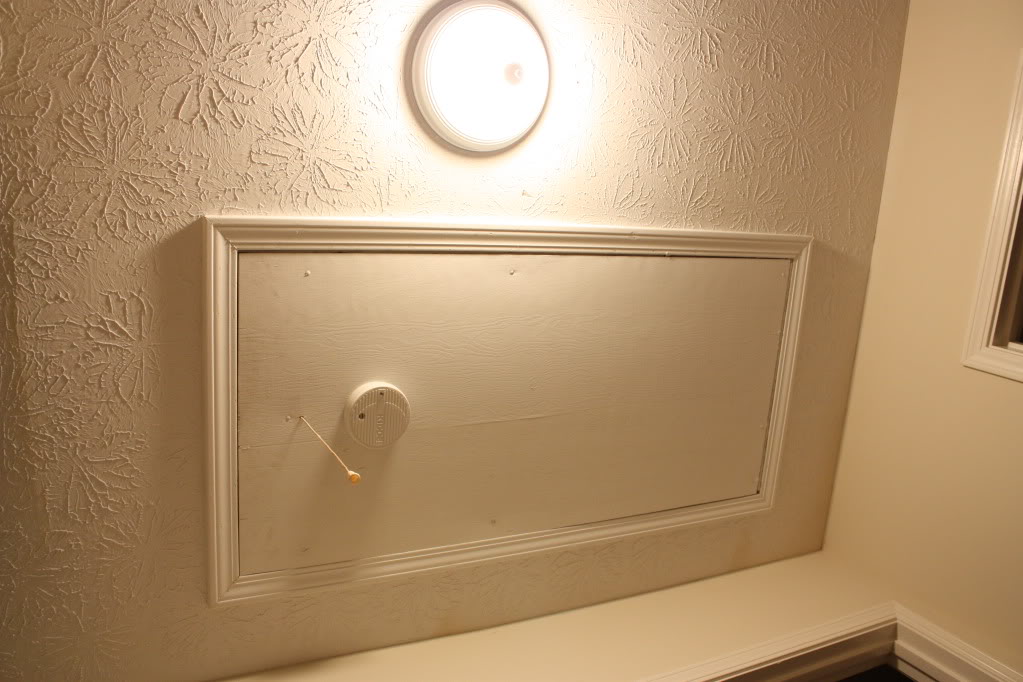
So we double checked the batteries and pushed the test button to ensure that our top floor was A-Ok. In the future nursery, we decided to wait to install a fire alarm when we finally get the furniture and baby stuff.
Then we assessed our current needs. We still needed the following:
BASEMENT – 1 fire alarm, 1 carbon monoxide detector
FIRST FLOOR – 1 fire alarm, 1 carbon monoxide detector
SECOND FLOOR – 1 carbon monoxide detector
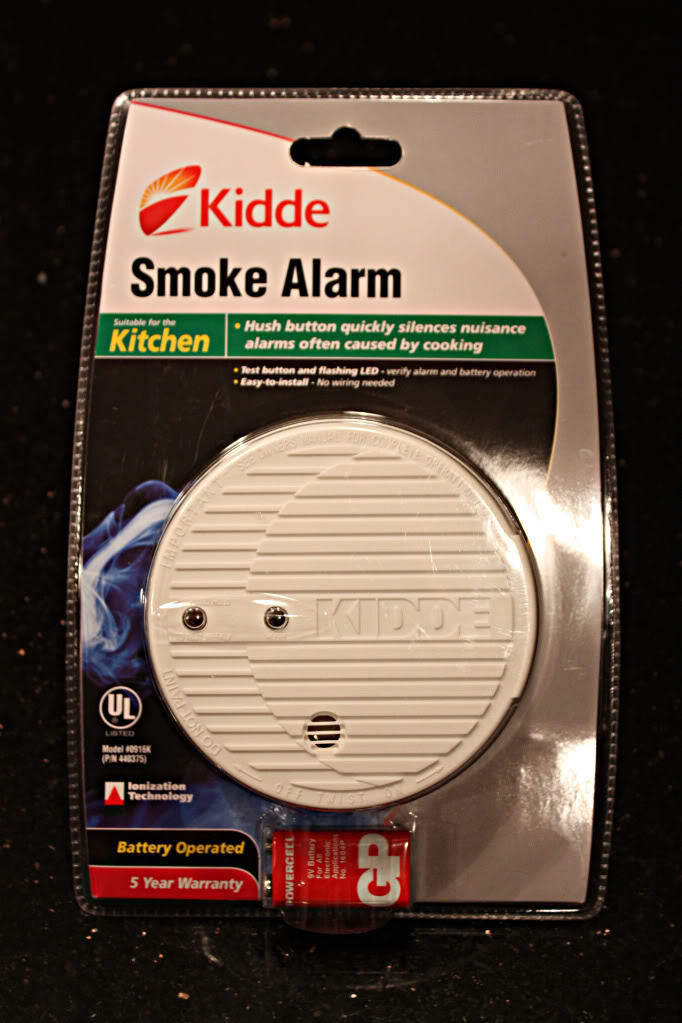
So we headed to True Value. And saw a couple different brands. We are weird about keeping with all one brand, so we ended up with Kidde (I chose it because, well, we are gonna have a Kidde of our own…heehee. Jeremy chose it because it was affordable and had the biggest selection).
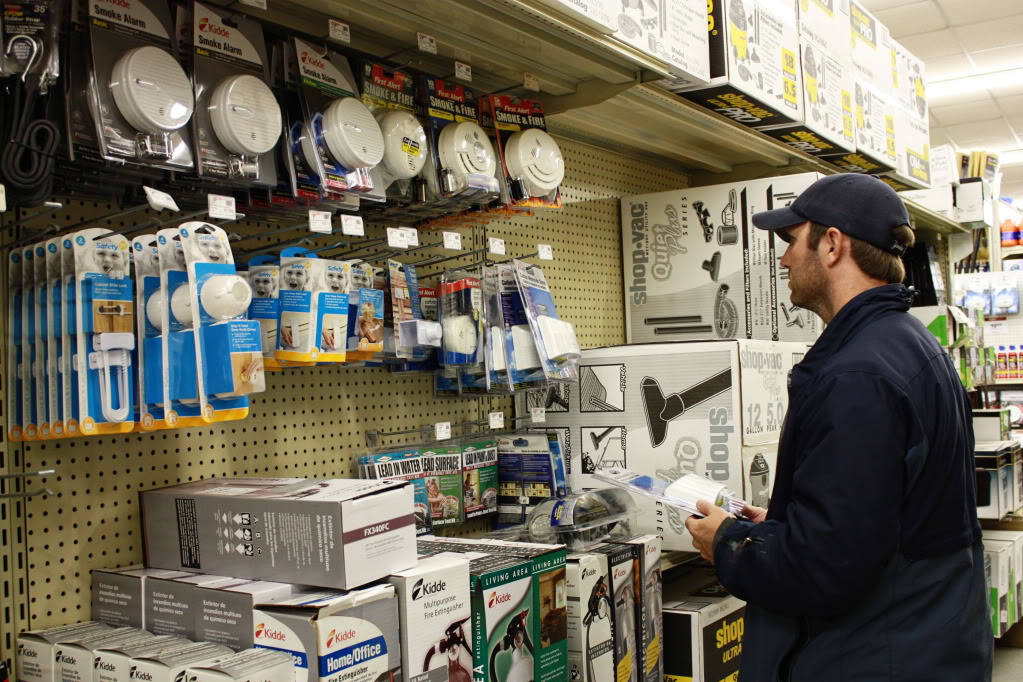
Here’s what we got:
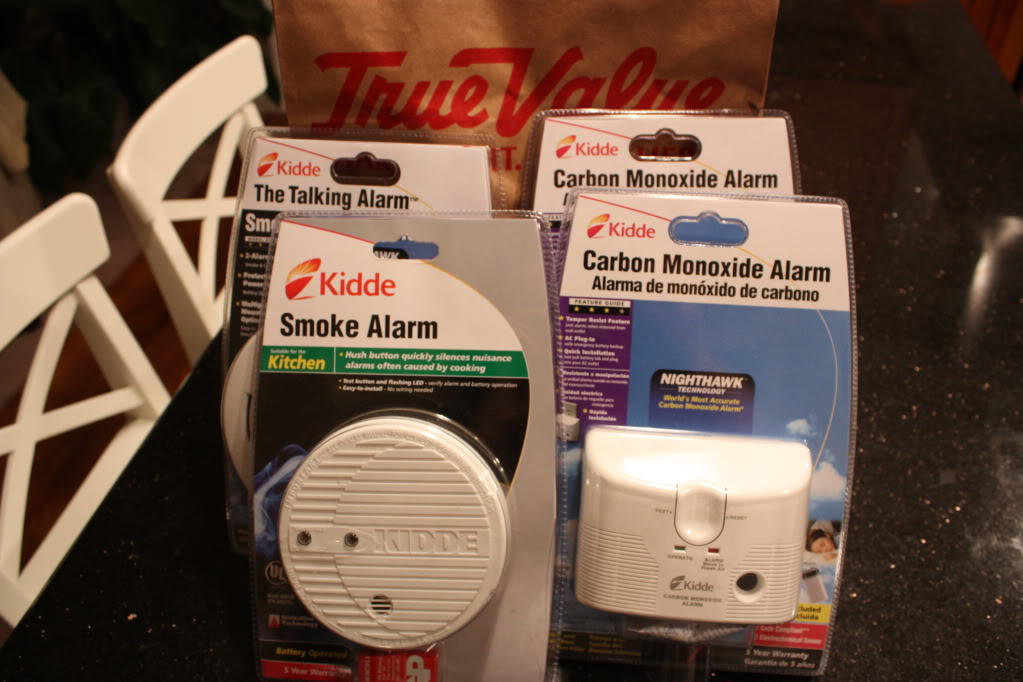
And because I am really good at plugging things in (ya know…like my electric eyelash curler), I tackled this one first:
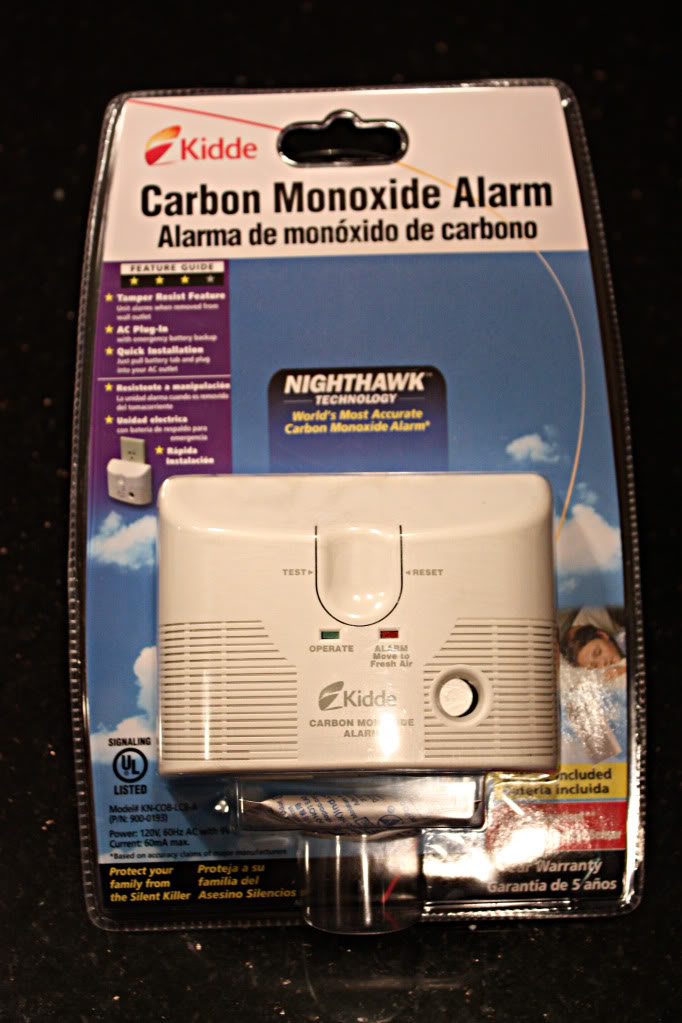
And this one little thing was so easy that a preggo can do it. No brain cells required.
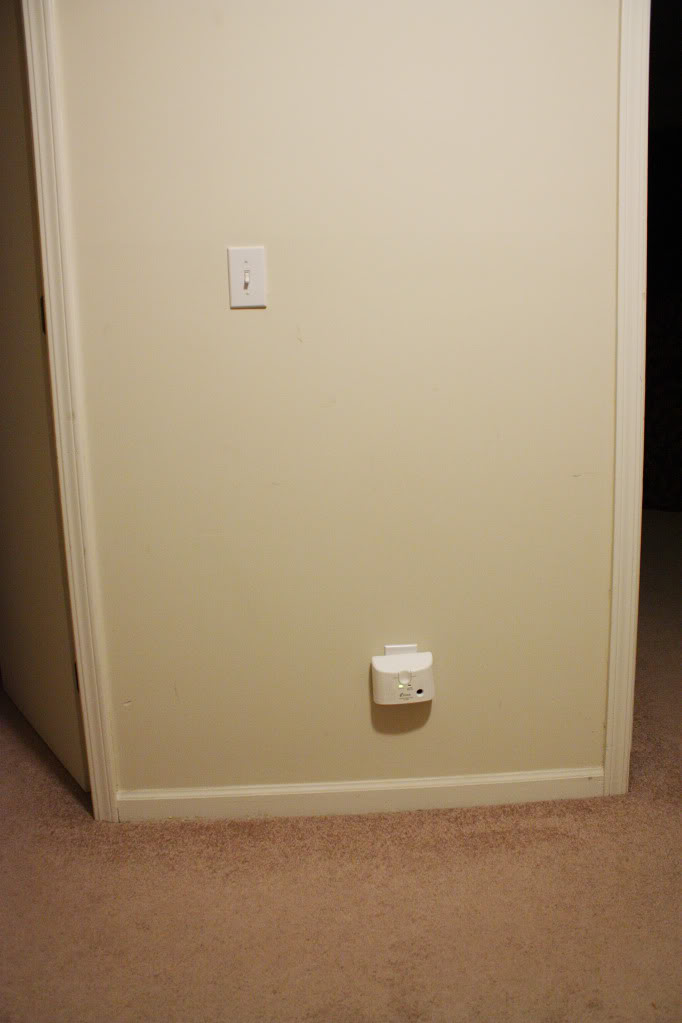
It looks good, right?
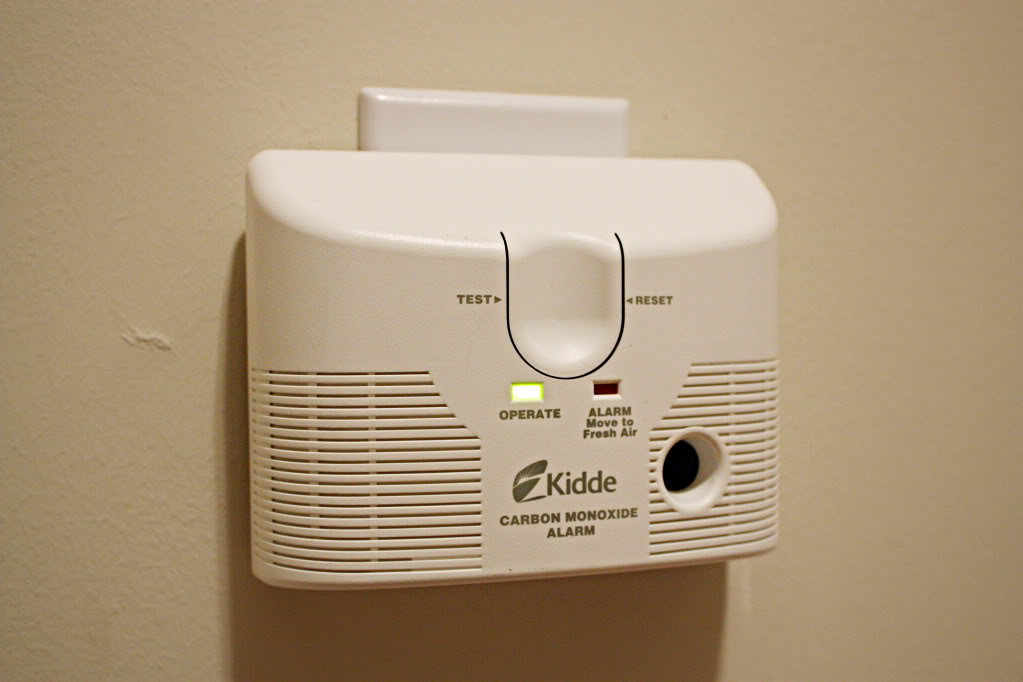
Carbon Monoxide – you don’t have to go home, but you can’t stay here!
Next up – Out with the old, in with the new!
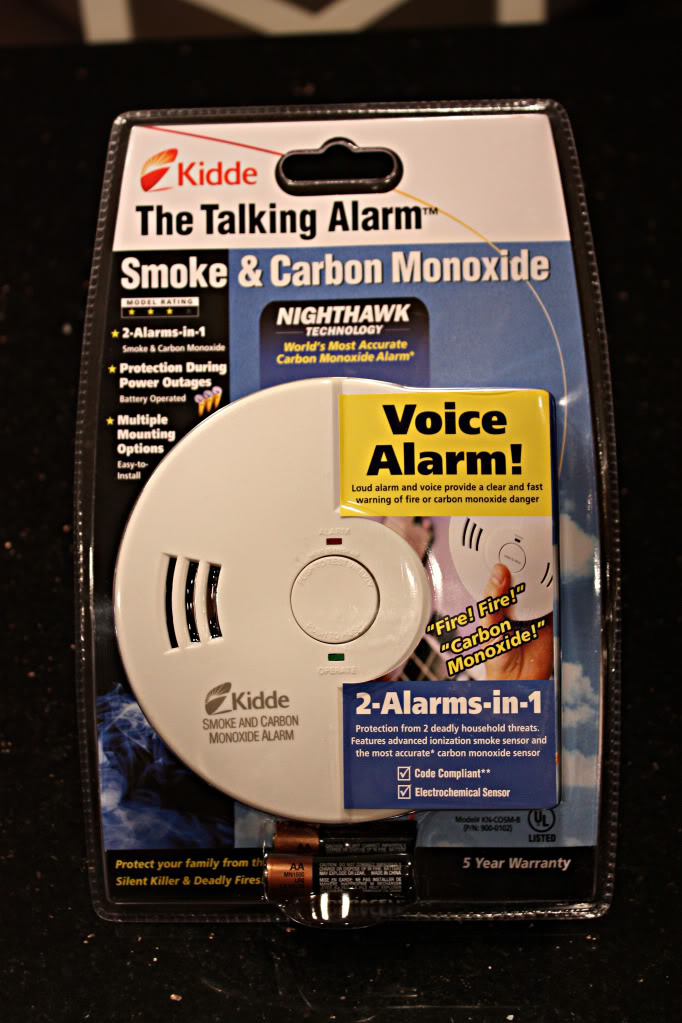
That’s right – it talks. When it senses smoke – it says FIRE FIRE. I looked for the one that said PULL THE COOKIES OUTTA THE OVEN. They don’t make that one available to the public yet. So this pup will have to do.
We decided to replace the old one because it didn’t have a hush button. And greeting dinner guests for dinner in the hall while the fire alarm is draped with an old wet dishrag did not exactly say Eat our Food 🙂
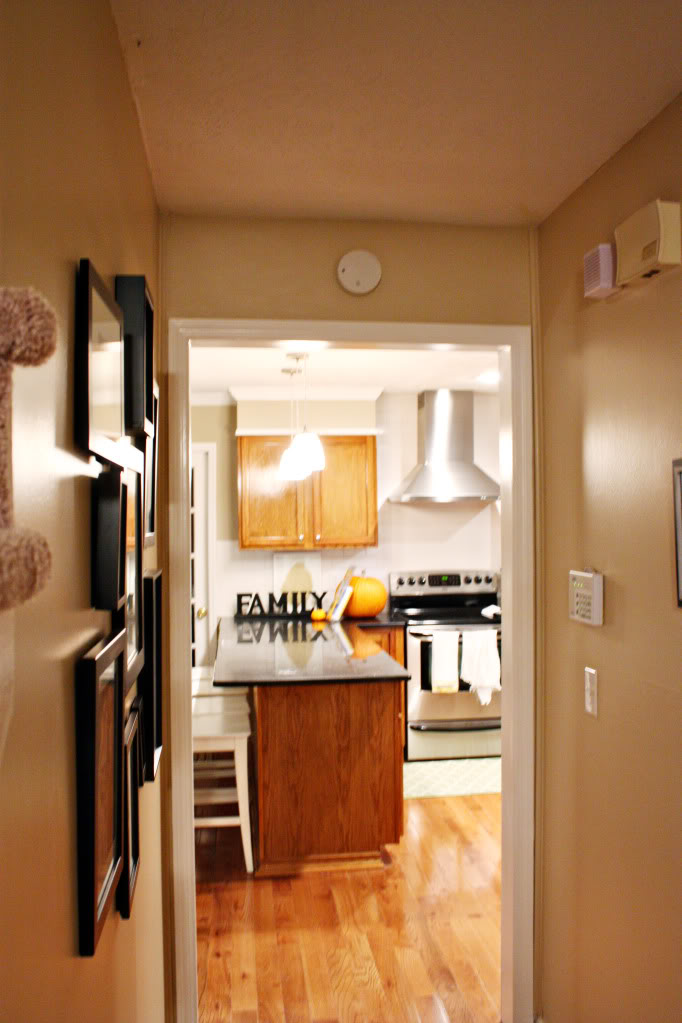
Plus, it was over 10 years old (which is the recommended lifespan of a fire alarm). So we opened the package to our new shmancy alarm and read the directions. It would be helpful to have a screwdriver and a box cutter on hand for this project by the way.
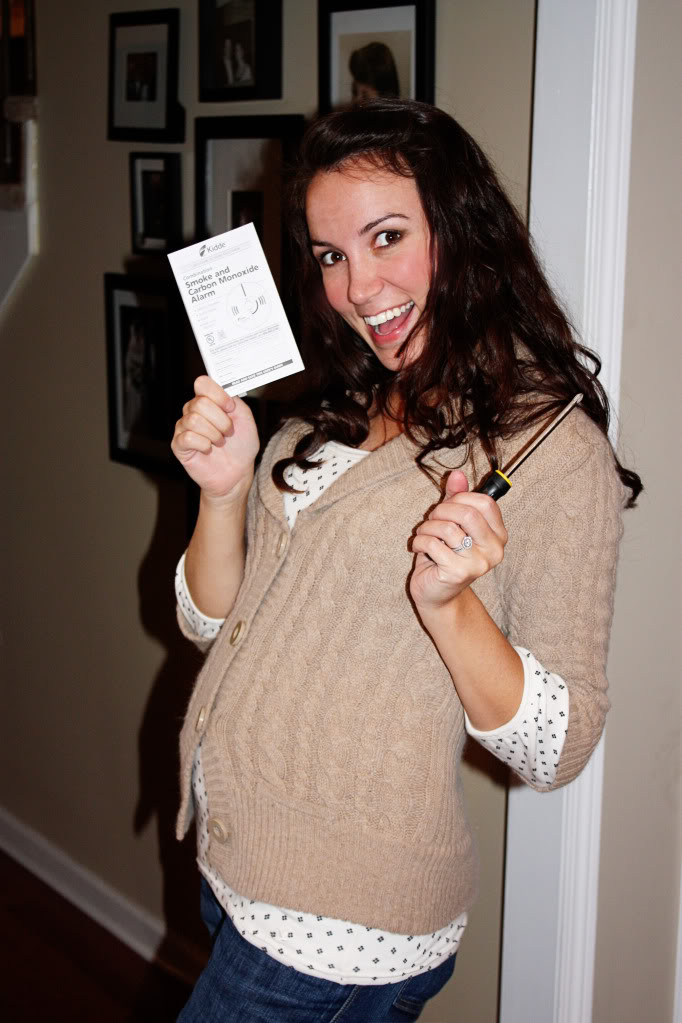
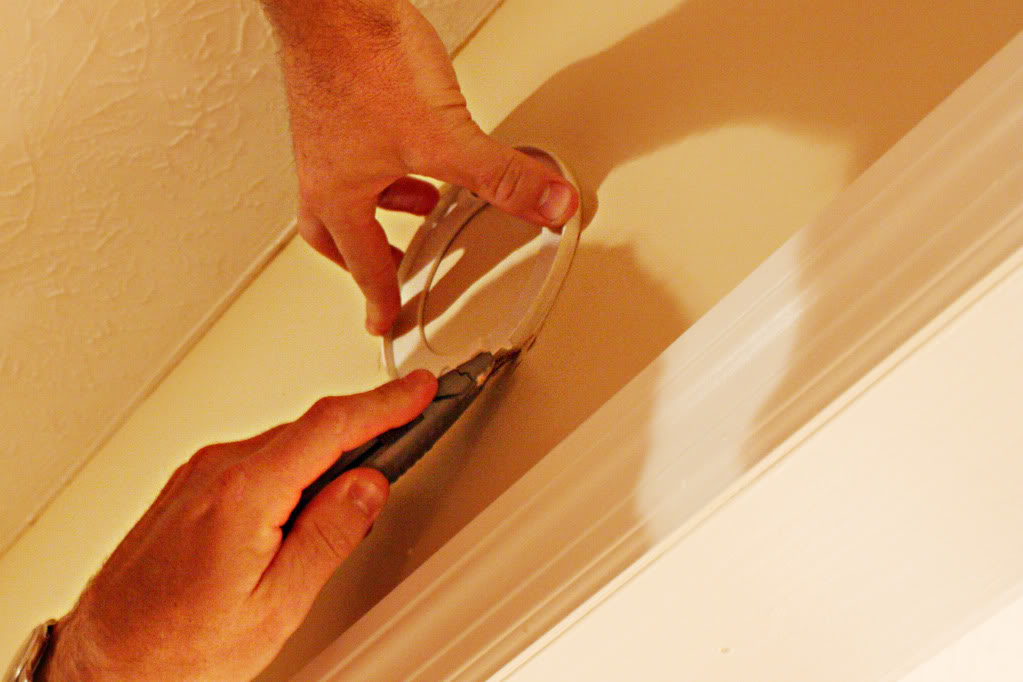
After you are done taking cheesy posed photos of you with a screwdriver, you can twist off the front of the old fire alarm. Then using your trusty tool, unscrew the screws that are holding the fire alarm base in place. Ours was painted on, so my handy boyfriend cut around the edge to dislodge the base from the wall.
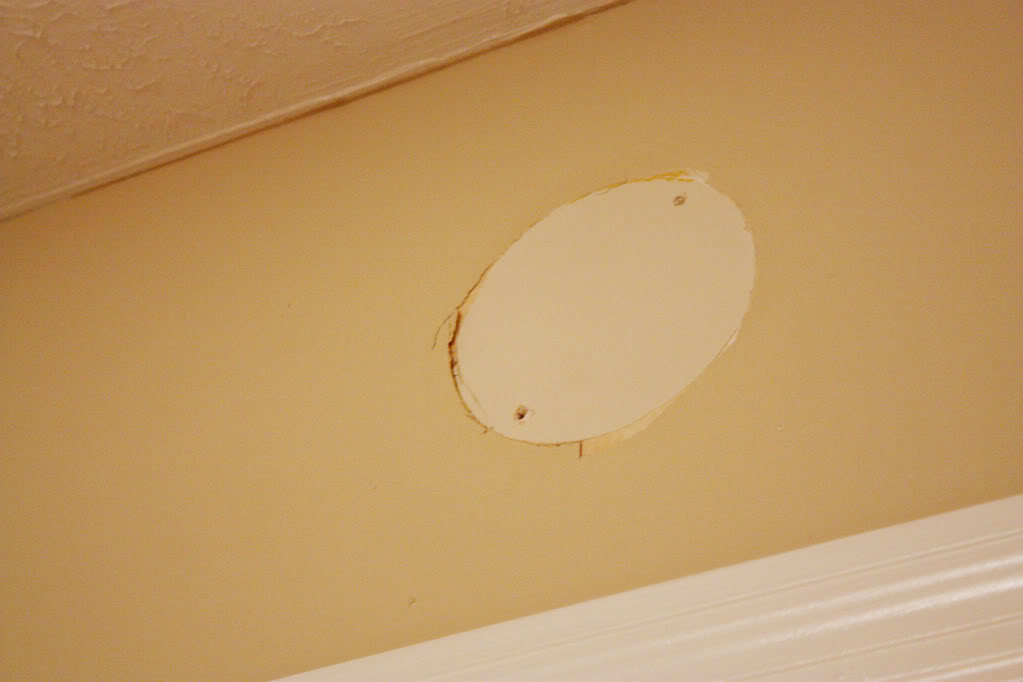
After the old alarm was off, we measured the distance of the previous alarm to the ceiling. It was exactly four inches (which is the recommended distance to leave a gap if you are wall-mounting). So we didn’t need to redo the location, just reinstall the new where the old used to live.
As Jeremy screwed in the new base,
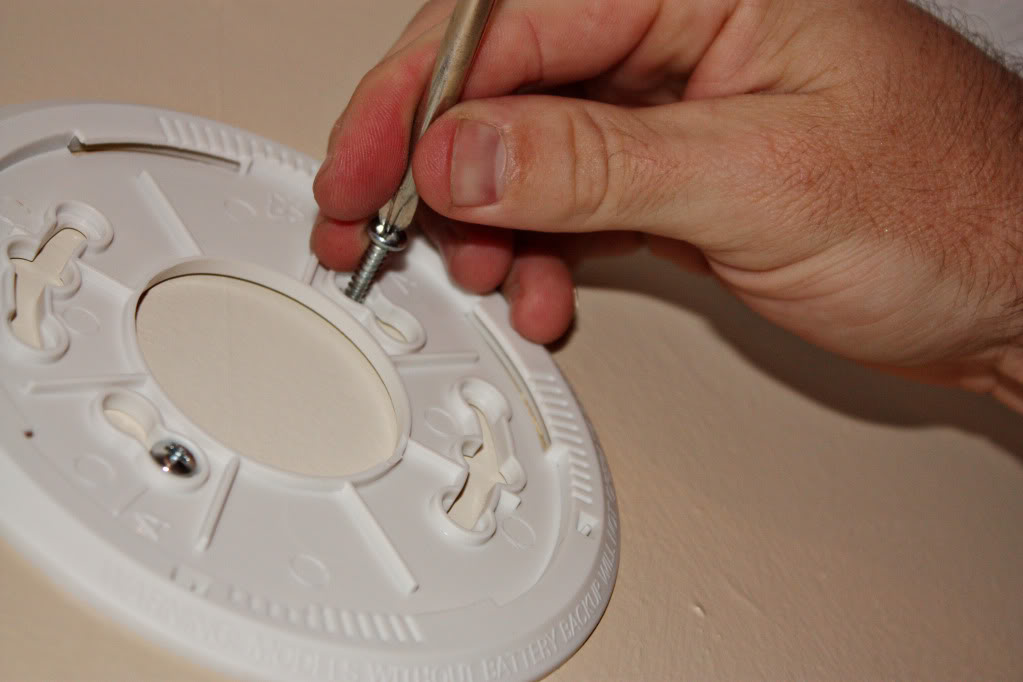
…I installed the batteries into the back of the new Carbon Monoxide Detector/Fire Alarm. Is it just me or did they make this for pregnant women? I mean, they told me what battery to put in first. I don’t know whether to feel judged or just thank my lucky stars 🙂
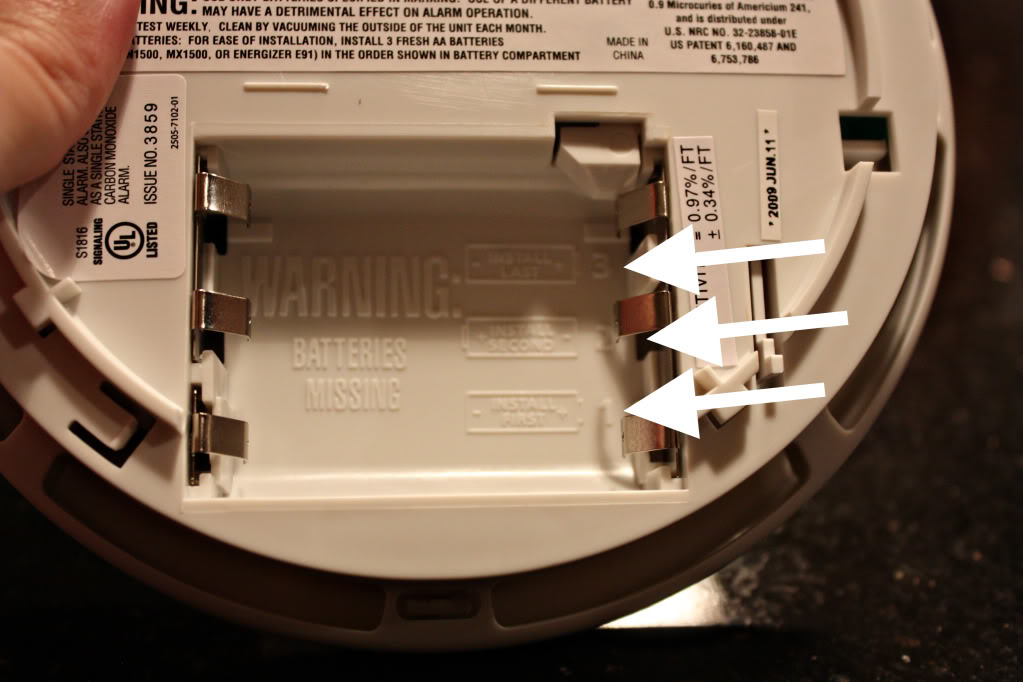
Anyhoo.
Then we labeled the sticker with the expiration date. Ya know…for the next homeowners or for our future children to change them 🙂
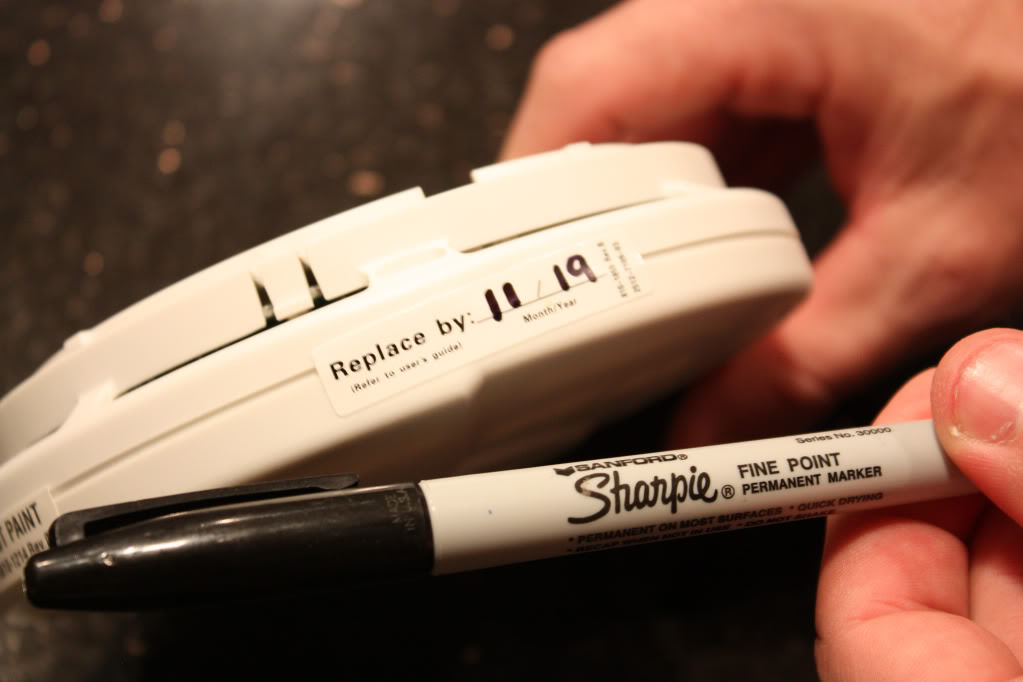
Jeremy popped the fire alarm in place (while I obsessed over the crookedness of the words) and we tested the sucker out.
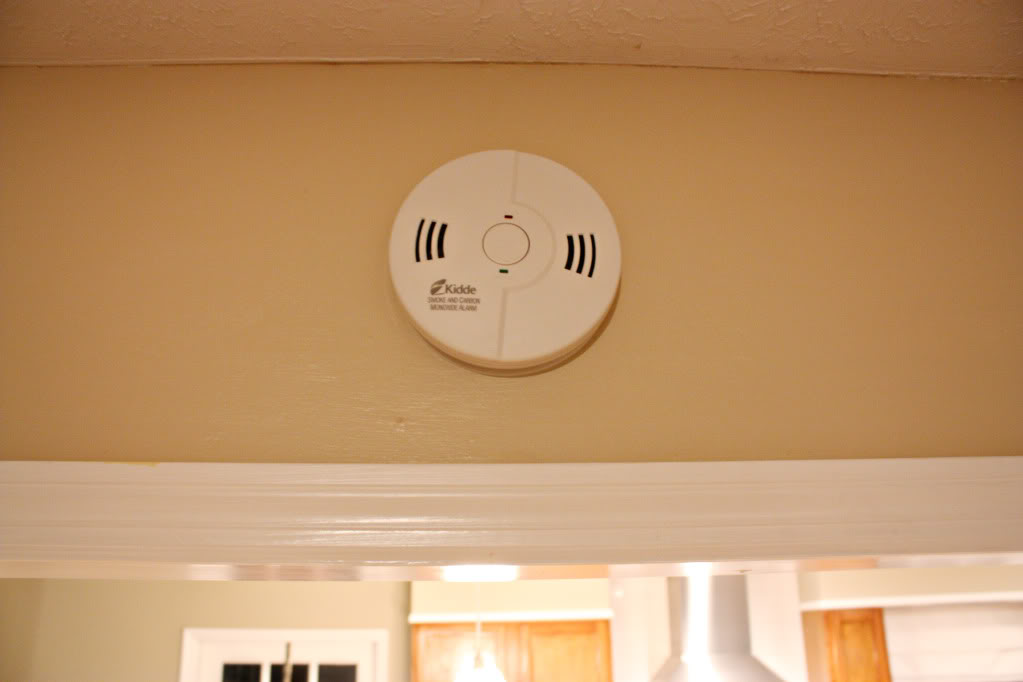
Boy, it was loud. Thank goodness for that hush button. And we loved the fact that the hush button would shut the thing up…BUT if there was an increase in smoke, (which would happen if a real fire decides to break out two minutes after I burn the bruschetta) then it goes off again.
AND we have no need to plug in a carbon monoxide detector on this floor because this fire alarm has one built right in. Smokey the Bear just smiled 🙂
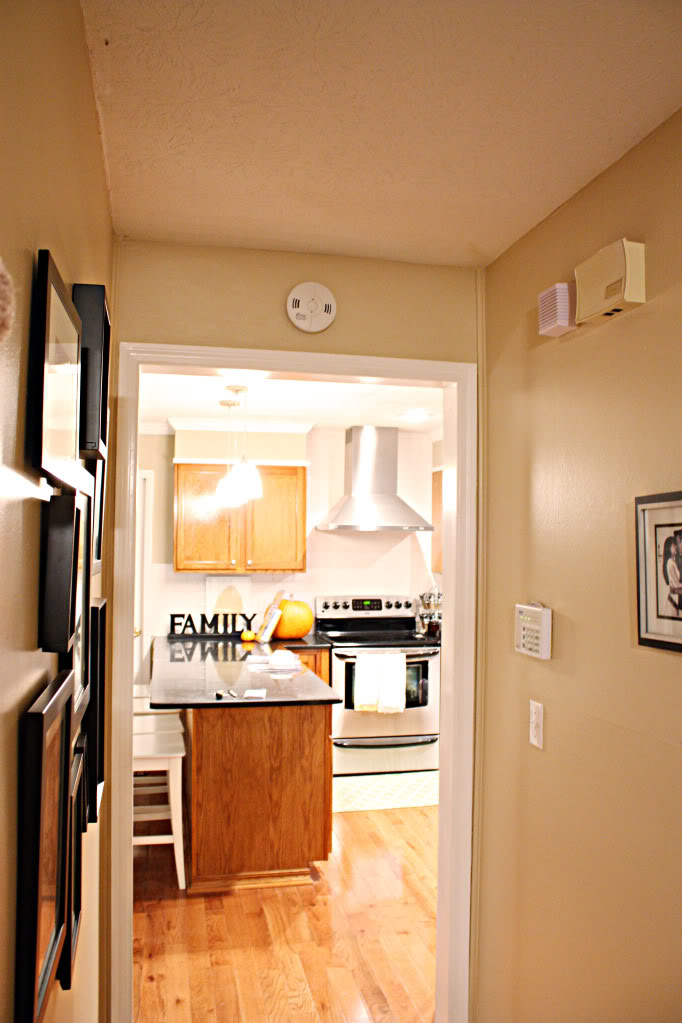
Last but not least, we tackled the basement fire safety situation.

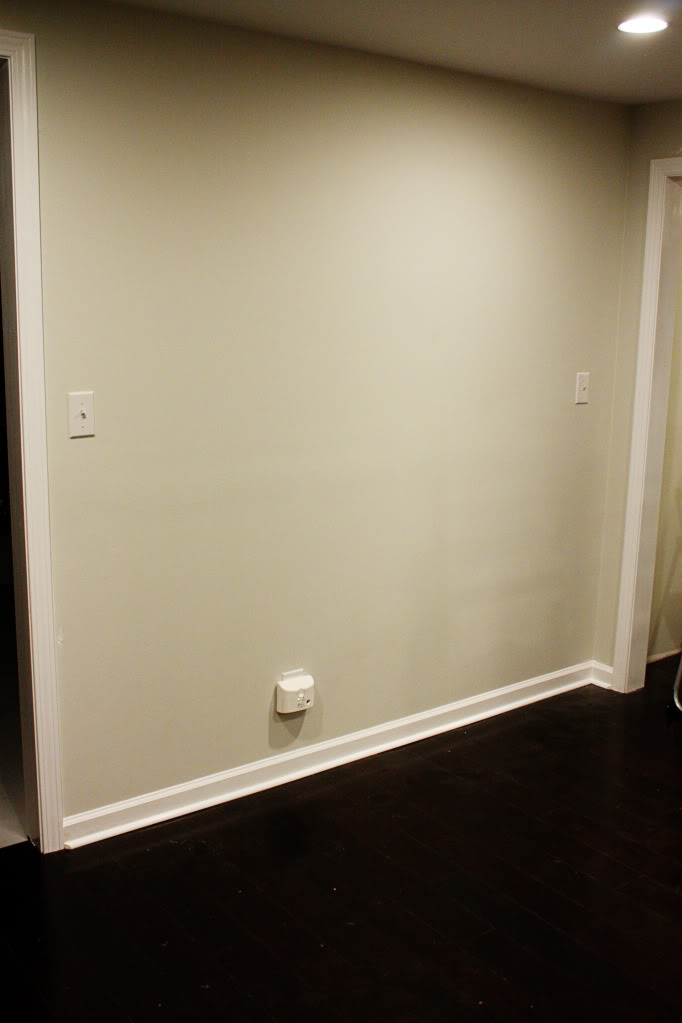
A little plug-in action made this space CO safe.
(SIDE NOTE – if your heating unit and gas water heater is in the basement, like ours, DANGER WILL ROBINSON DANGER! Carbon Monoxide is tasteless, odorless and cplorless…basically the perfect killer. And that headache, nausea and fatigue you are experiencing could be giving you brain damage…or you could be pregnant…but that is why you need one of these suckers.)
And my sweet boyfriend installed the basement fire alarm just like the first.
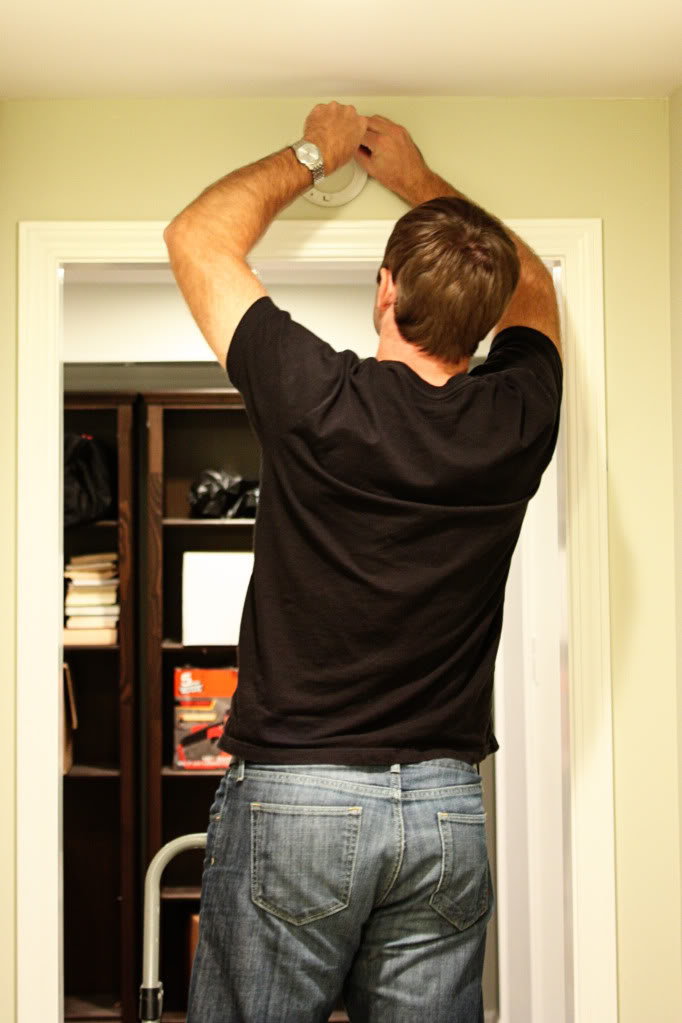
Is it getting smokey in here?
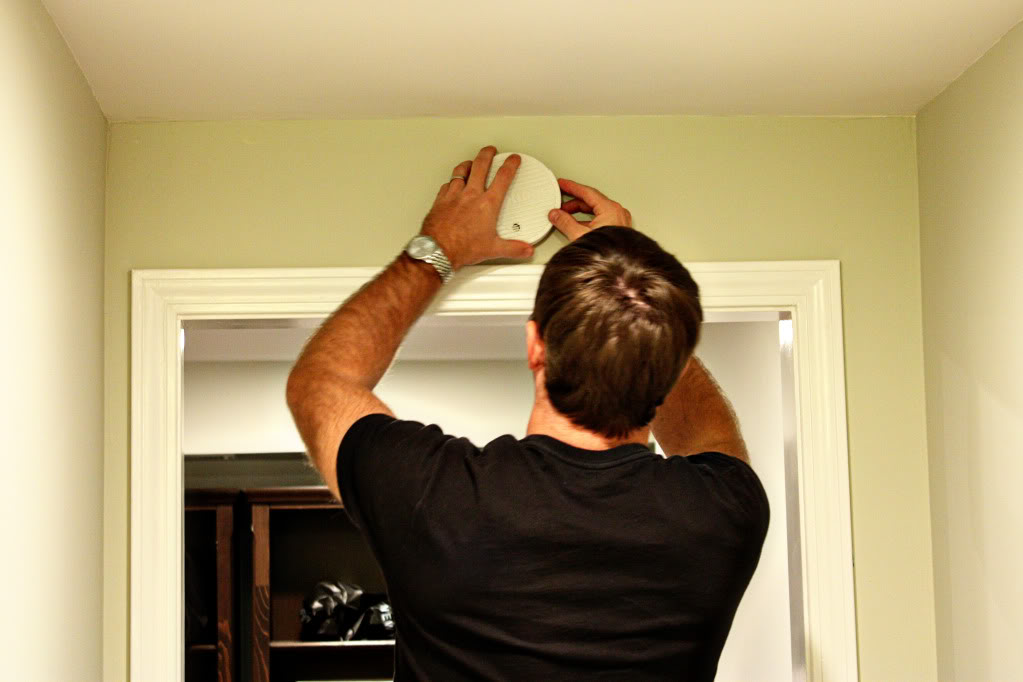
Why yes. Yes it is.
Fire my alarm baby. Whew.
Sorry for the interuption. Back to the post –
We installed the basement alarm to align with the hallway lights – because I am OCD about that kinda thing.
Pressed test and we are officially fire safe.
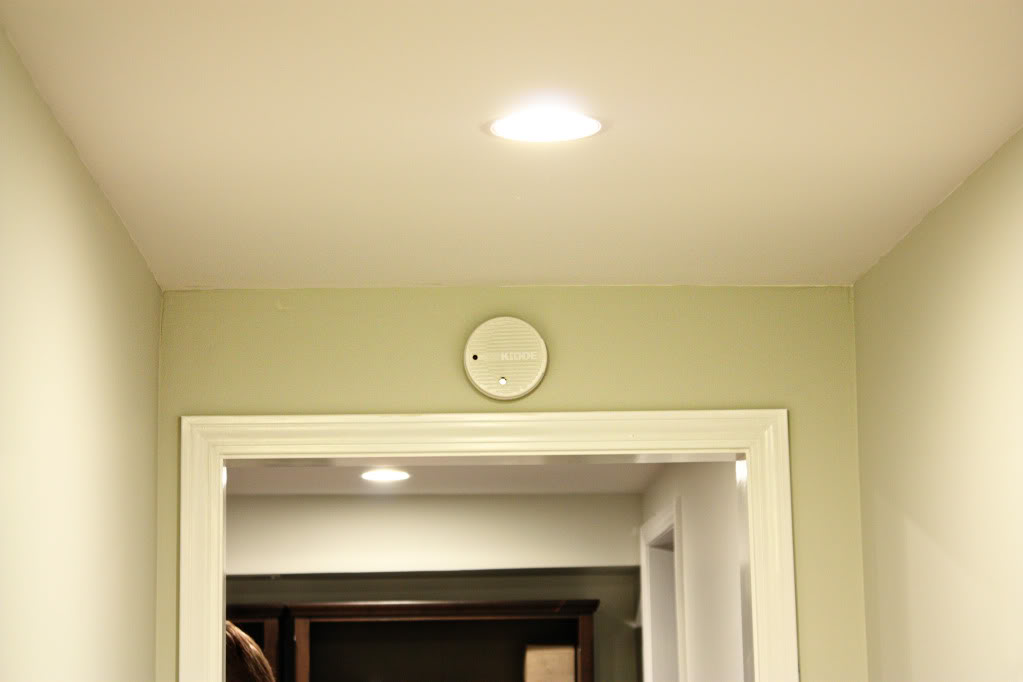
So there you have it – a five minute task that had us breathin’ easy. And for all you other soon-to-be mom’s or current lung-users, this is one project that could save you BIG money in the end. Plus, I can’t afford to lose any readers due to smoke inhalation or carbon monoxide poisoning….so go ahead and do it for me, kay? Love ya. And….if you have already been there, done that, with your fire alarms and carbon monoxide detectors, remember that it is highly recommended to test them once a week (maybe that would be a fun job for the kiddos in your life!).
As for additional fire safety tips – put em right there in the comments. I would love to hear how you stock your cupboard with a fire extinguisher or how you plan to meet at your neighborhood street sign if a fire breaks out. Heck, feel free to share your evacuation plan…I know that we sorted ours out with no real rhyme or reason….it went like this…..RUN!!!!
“I was one of five bloggers selected by True Value to work on the DIY Squad. I have been compensated for my time commitment to the program and my DIY project as well as my posts about my experience. I have also been compensated for the materials needed for my DIY project. However, my opinions are entirely my own and I have not been paid to publish positive comments.”
