As promised, I am back to show you the play by play of our newly finished dining room faux paneling. And I am sooo excited that this project is being considered by so many of you as one of the potential ‘Honey-do’ items for your own home. You must share your ridiculously sick results people. MUST. And they will be sick. Sicker than the swine flu victims.
Anyhoo…first let’s see that fun before & after again so that we can see what we are getting into.
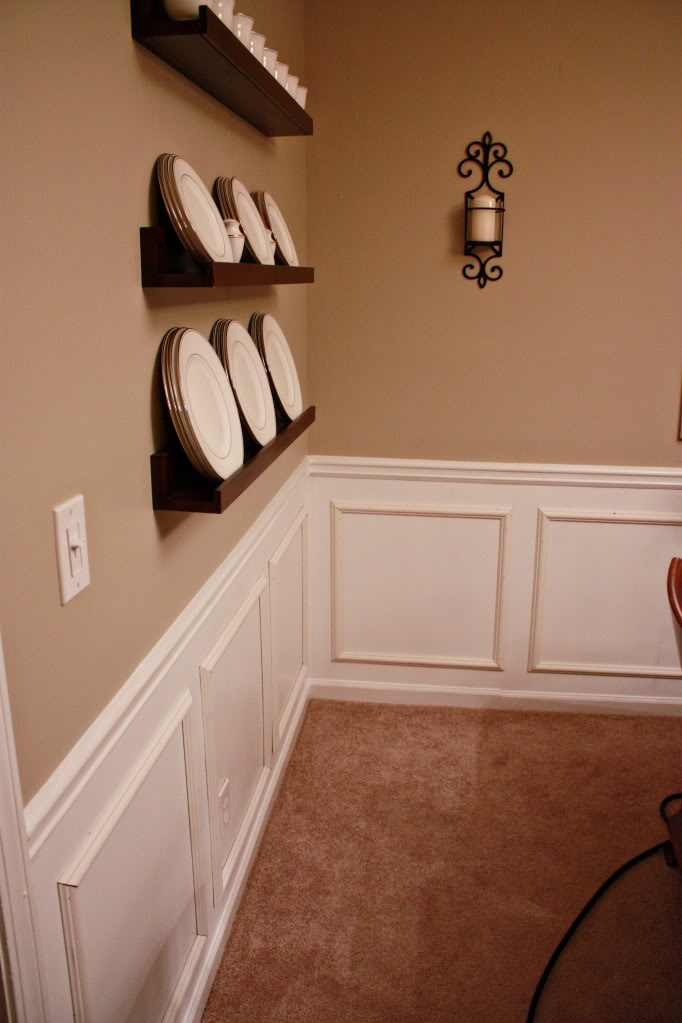
Before our dining room was simply a neutral room with a chair rail separating the upper part and lower part of our room. The upper part is painted Olympic’s Dusty Trail and below the chair rail, Stony Creek takes center stage.
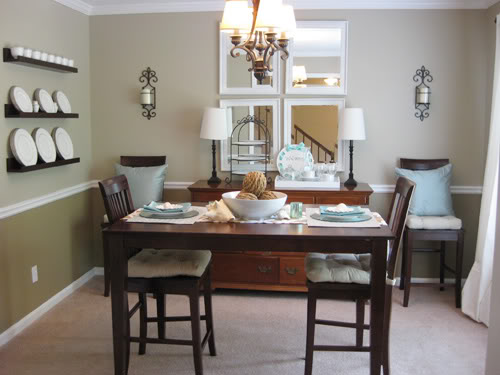
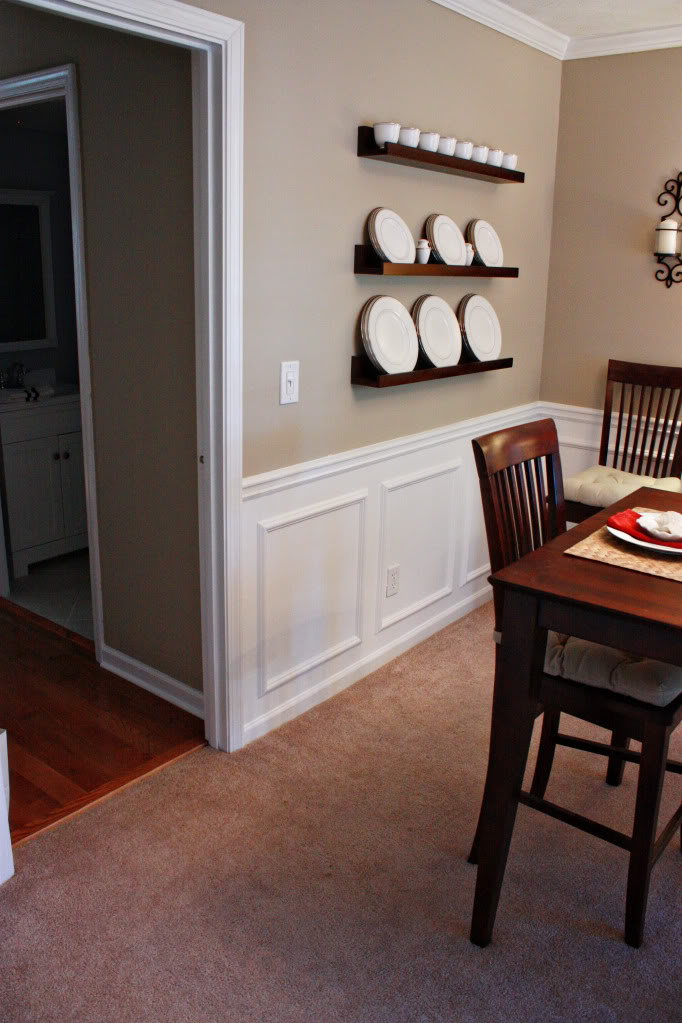
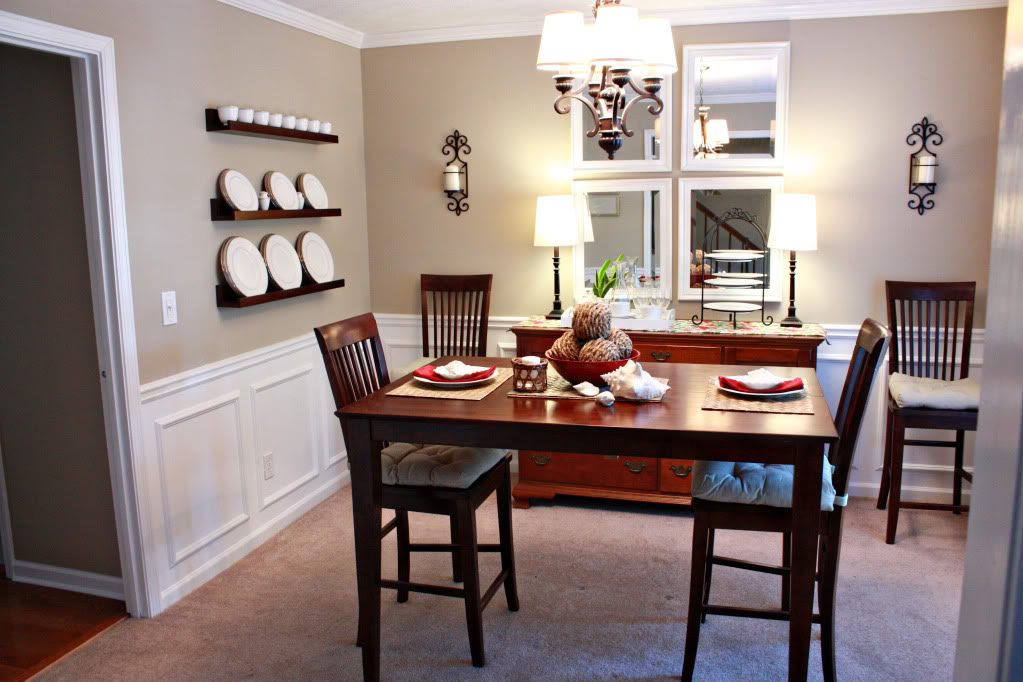
After 2 hours of measuring & remeasuring, 2 hours of installation and 2 total hours of painting, our newly spiff-ified room is lighter and brighter with new architectural interest and a bottom layer that is the same color as our trim.
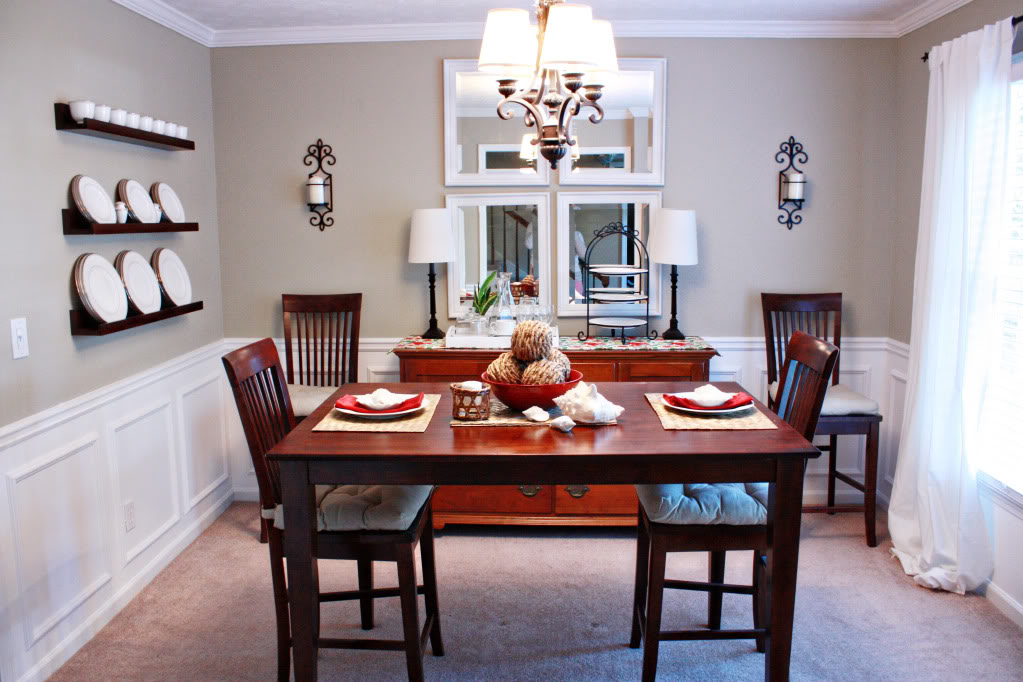
So how did we do it?
I am really glad that you asked.
First – we measured.
Then – we remeasured.
We know that each wall would require a different size box according to differing factors. We took into consideration the following :
- placement of the outlets or vents,
- the number of boxes that we thought would look right on each wall,
- and some general i-like-it-it-looks-good aesthetics.
I finally came to the conclusion that I prefer the look of five boxes per full wall. The rough part is that there was only one full wall (with no windows or doorways). Wall #1 reflects the wall that has the mirrors hanging on it. I decided that a 3″ allowance would give me enough visual space between each box and between the box and the wall, chairrail, and floor moldings. So then I measured my full wall – it was 135.5″ long. After subtracting out the space I needed for my allowances (total 18″), and dividing by 5 (the number of boxes I wanted), my result was the width of each box (23.5″). After double checking to make sure that this didn’t run box #4 into my outlet, I wrote down my lengths and moved to wall #2.
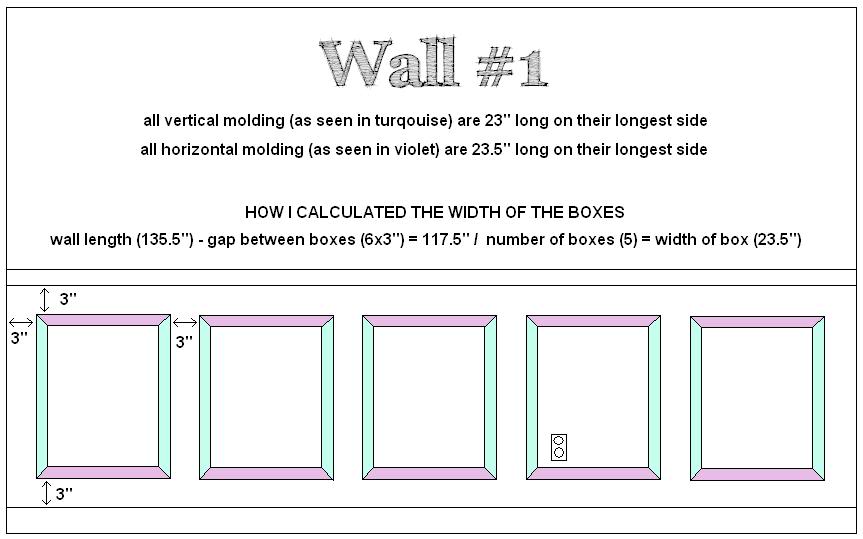
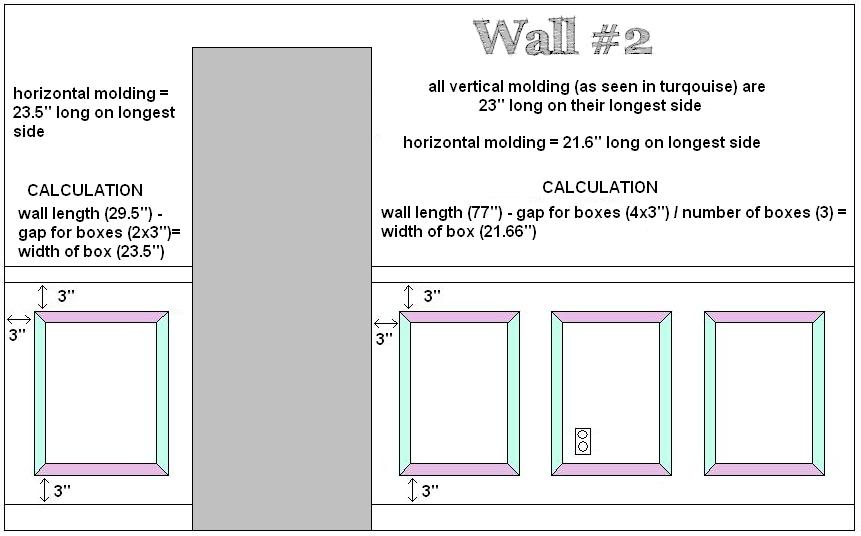
Wall #2 (it has the shelves holding my china) pretty much happened the same way – except for now I had to take into account the doorway. This door would eliminate the need for one of my 5 boxes. And it also registered with me that the box on the left hand side of the door would need a separate calculation than the three boxes on the right hand side.
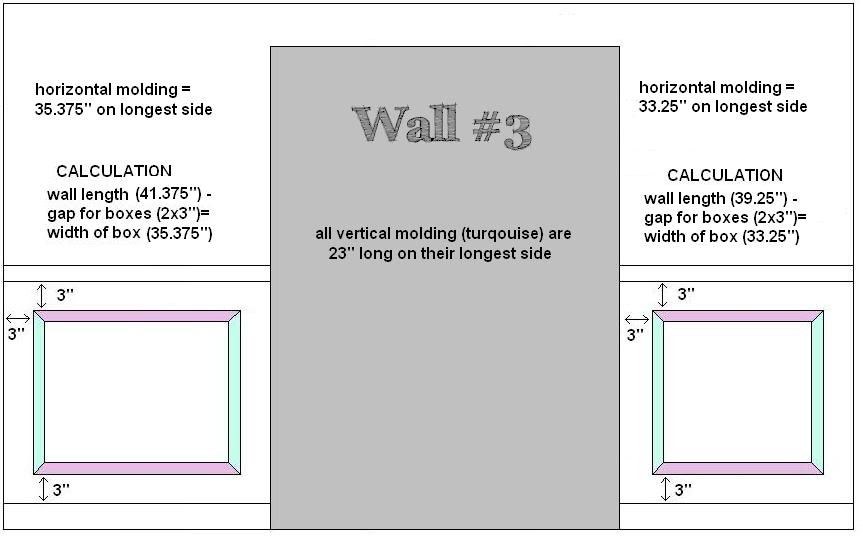
Wall #3 had just enough space to put some doubt in my mind. Do I try to fit four boxes or three or just go with two!?!? In the end, one box on each side of the extra wide doorway was just enough to look kinda like Jennifer Garner – structural and streamlined.
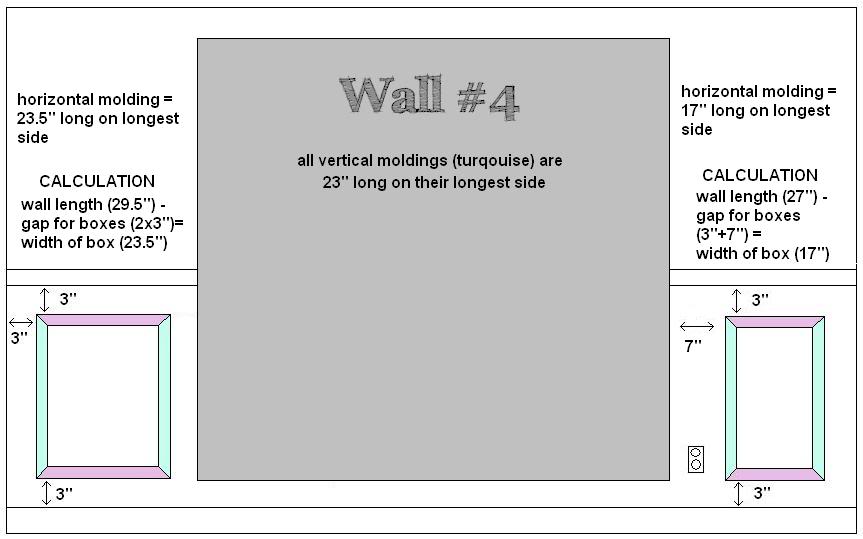
Finally wall #4 I ran into an issue with my boxes. On the right hand side of the window there was an outlet that was fairly close to the window trim…inhibiting me from having only a 3″ allowance. I decided that since there would be curtains that would cover this area, that the way to make it look best would be to scootch my box out a bit with a 7″ allowance and call it a day. In the end – it worked better than Ryan Seacrest at all 14 of his full time jobs.
After all the visual planning, it was time to get to work.
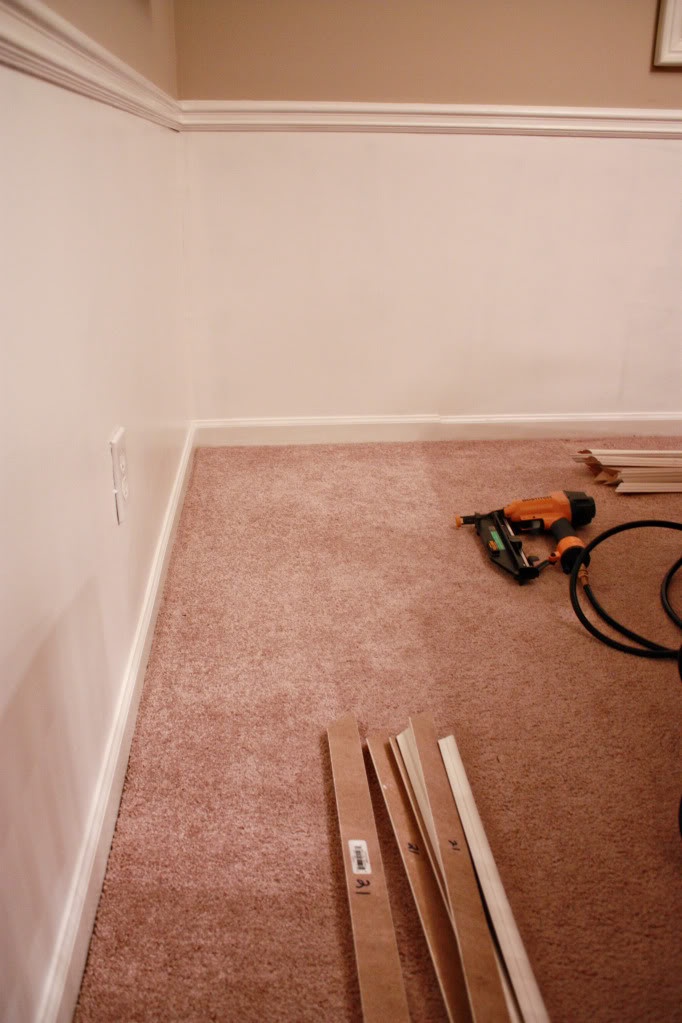
First I primed and painted the space below the chair rail to match the rest of the trim.
My dear boyfriend cut all the pieces we needed outta the basic 1.5″ flat-backed chair rail. In order to keep them all straight – he just wrote on the back the measurement of that piece.
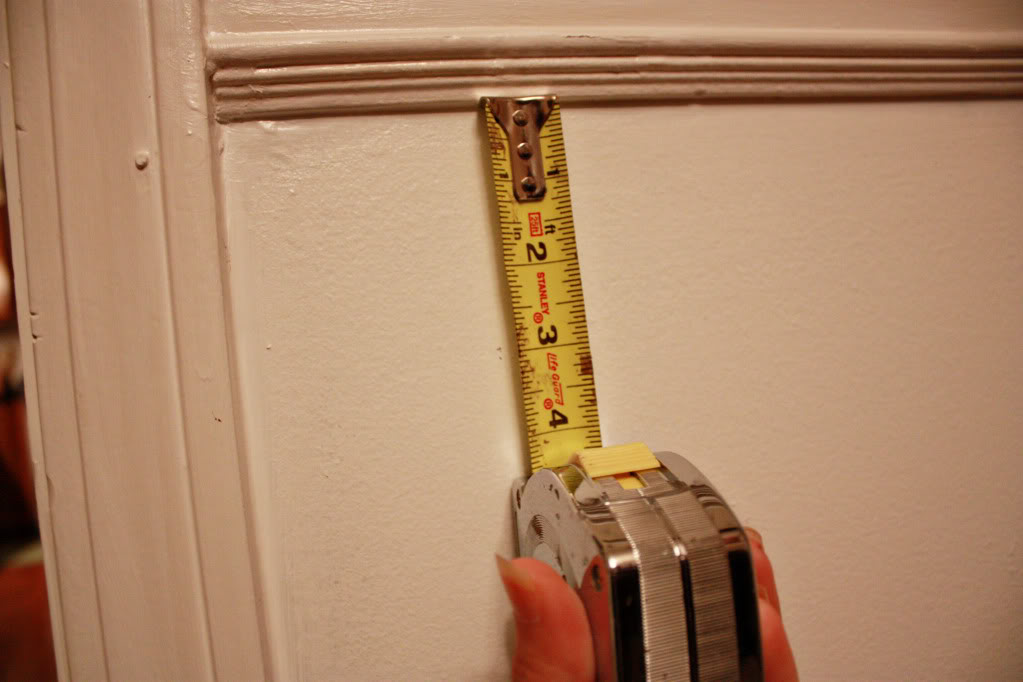
I then measured the allowance – 3″ for each wall, doorway, trim, floor moldings and chair railing – and marked it with a pen.
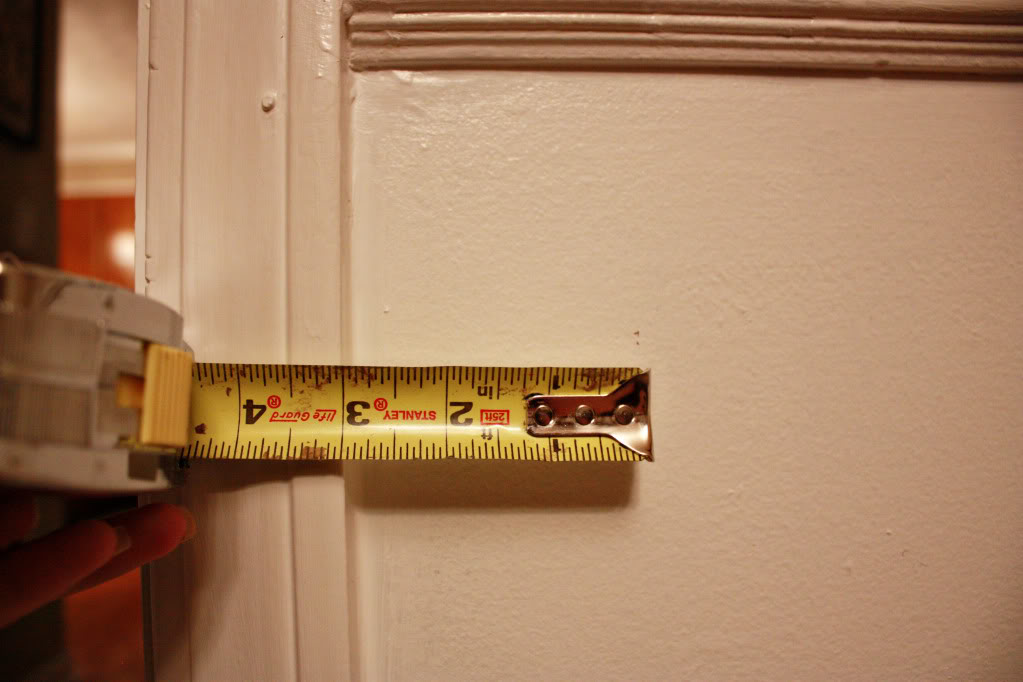
Making sure that my three inch mark was in just the right spot horizontally & vertically is important.
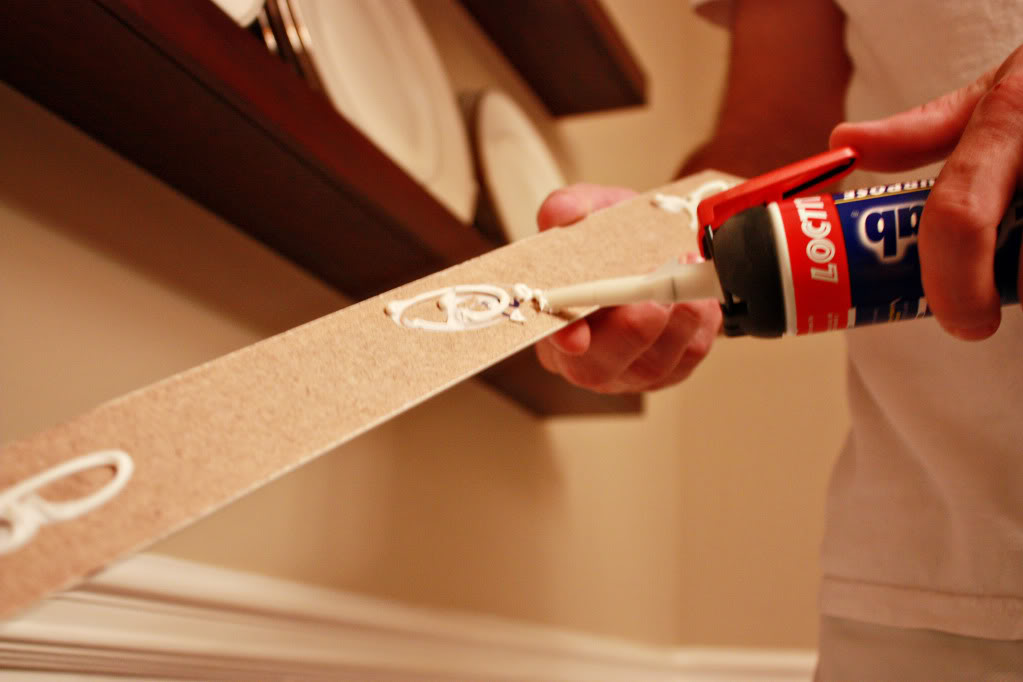
We then used some basic construction adhesive to the back of each piece.
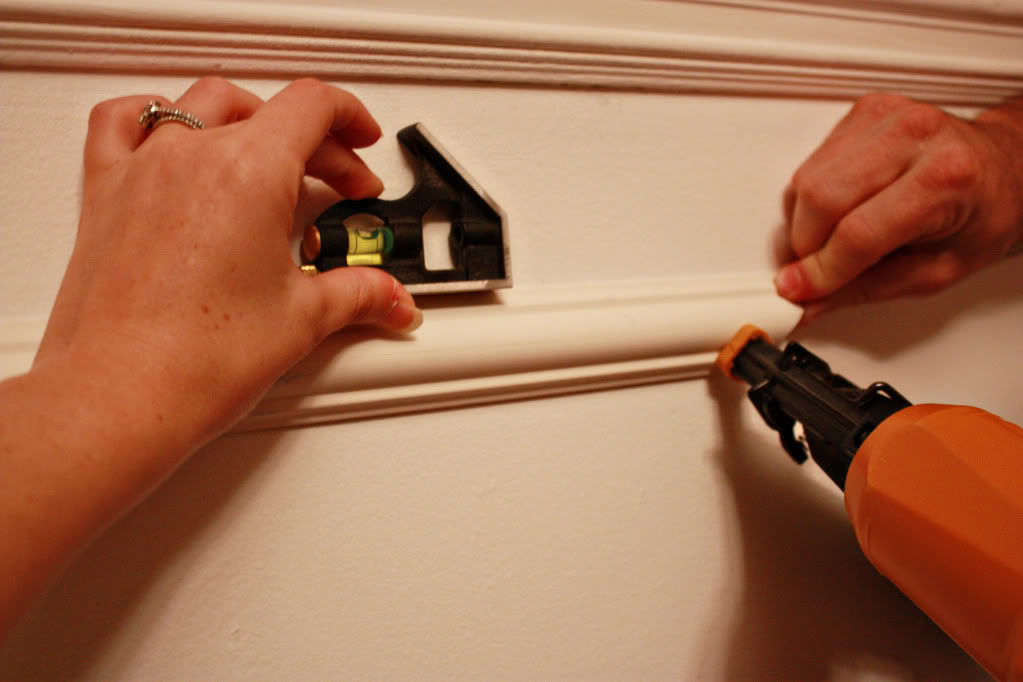
We first installed the top piece by ensuring that it was level, making adjustments with the naked eye and then nailing it into place with a couple finish nails. The side pieces and bottom piece were then installed the same way.
After all the boxes were installed, we were able to sit back and relax.
SIKE.
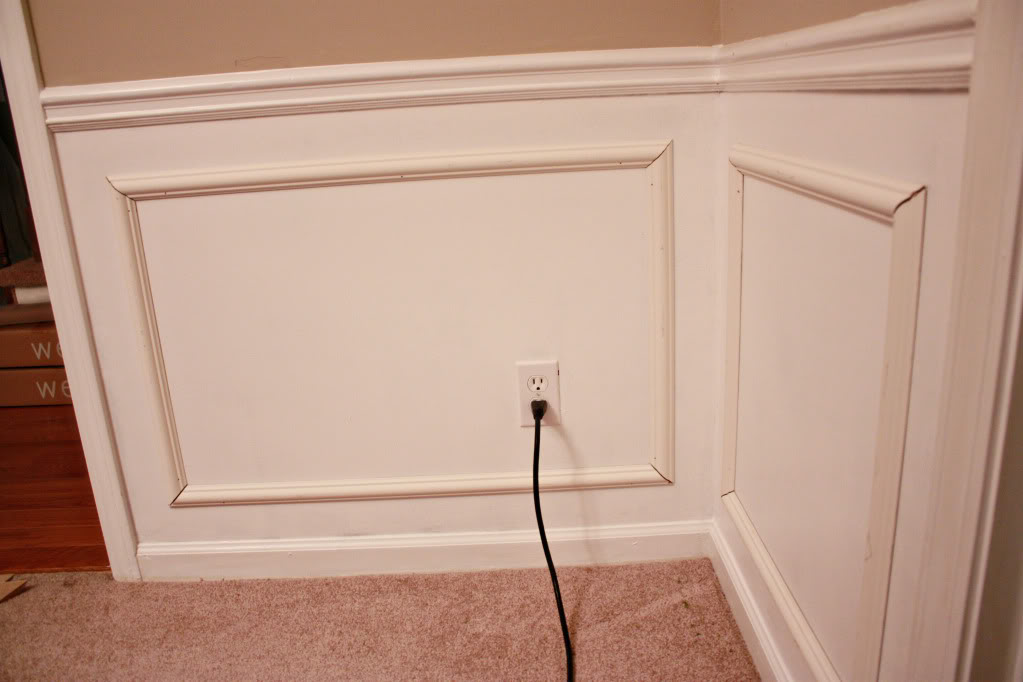
We…errugh…Jeremy then caulked the entire room. Filling in all the cracks and the seams really helps hide a multitude of sins. Wanna hear another sin? How my boyfriend pronounces ‘caulking’. go ahead and say it with a southern accent and no “L”….I dare you in front of your in-laws. and your pastor. Let the good times roll.
After the caulllllking dries, it is finally time to do your topcoat of paint.
And boy does it help make a difference.
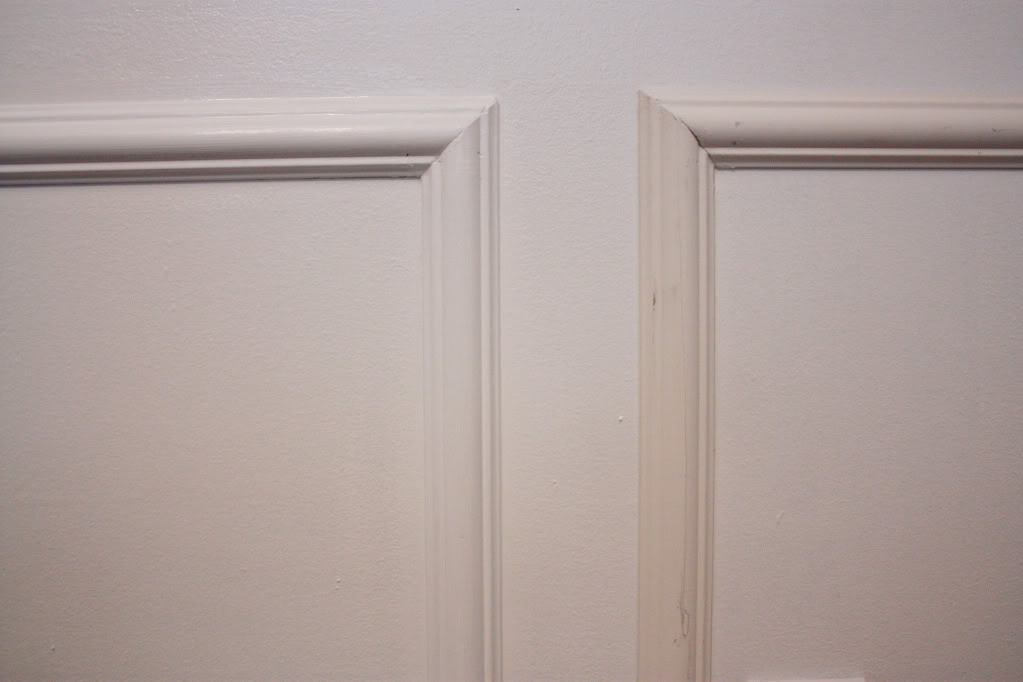
Just check out how that first painted box looks like an interesting and classy addition next to all those other boxes. It’s like Jackie O at a Kardashian family reunion.
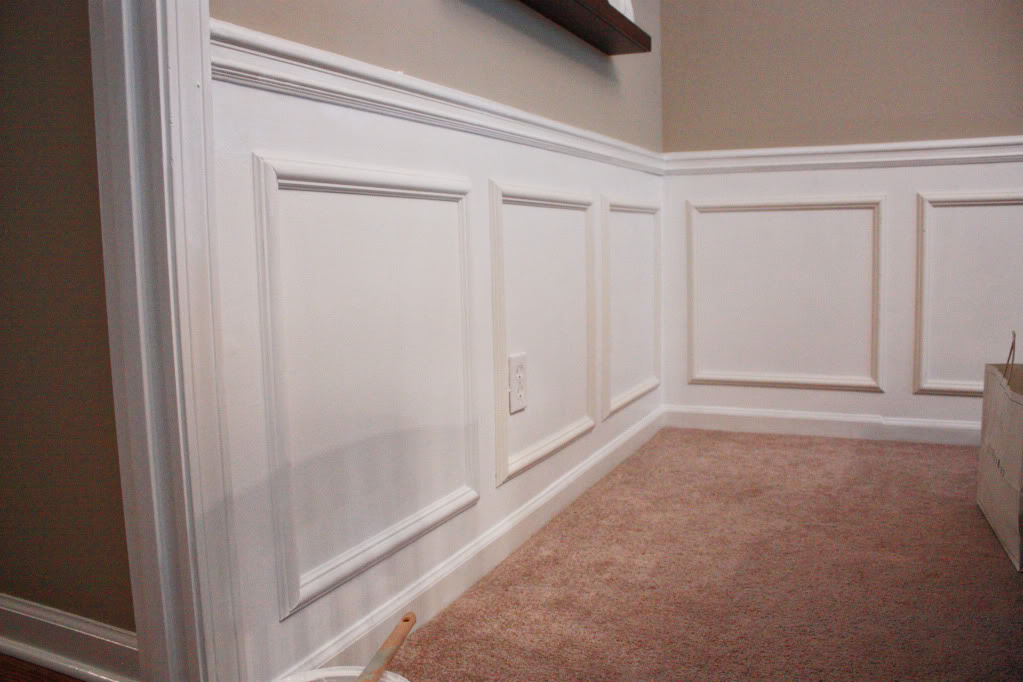
And now – you can see how well the finished product looks with a crisp coat of paint.
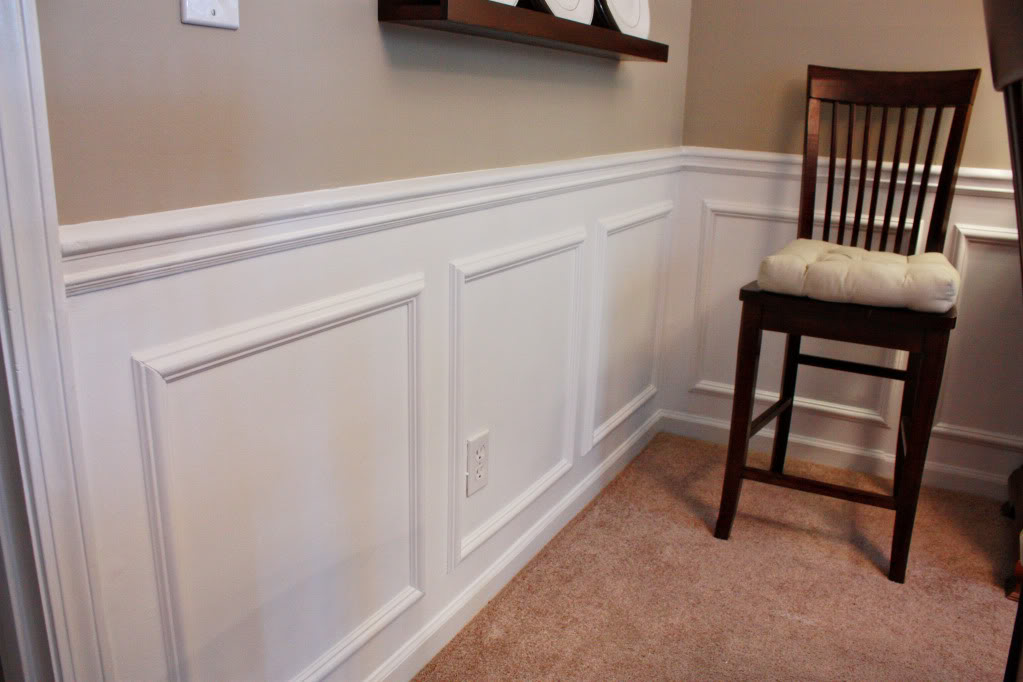
Even from afar, it looks much better than just a plain painted wall. I think that the boxes actually help balance out the room. If the bottom were white and the upper was that sandy brown, then I think it would look a little off…but with the help of those architectural boxes – it really beefs up the bottom to hold its own.
In the end, it was a relatively easy process. Although I do recommend some basic math skills and tools to get-er-done. Some of the tools and products that we used were –
- a miter saw (or you could use a miter box and a hand saw)
- a level
- an air compressor and finish nailer
- construction adhesive
- two tubes of caulk
- primer
- paint
- paint brush
- screwdriver (to remove your outlet plates)
- 144 feet of trim
And our final cost was just under $80 for the entire project.
So there you have it – a play by play of how we added faux paneling to our dining room. Hope this helps any of you DIYers out there and make sure you send me those photos when the Honey-did this in your own home.
XO – K to the Bower Power
p.s. For more paneling action – check out what Sara did over at Russet Street Reno.