Recently some friends asked us how our fireplace project was coming.
I just started laughing because this update was old news. really old. Like Ellen is a Lesby kinda old.
But just to revisit this little ditty of a project, here is the play-by-play (as best as I can recall) of how we changed our brick fireplace to an updated slate surround & hearth complete with mantle.
Looking through that giant hole in the wall, you can see where our fireplace is located in the den.
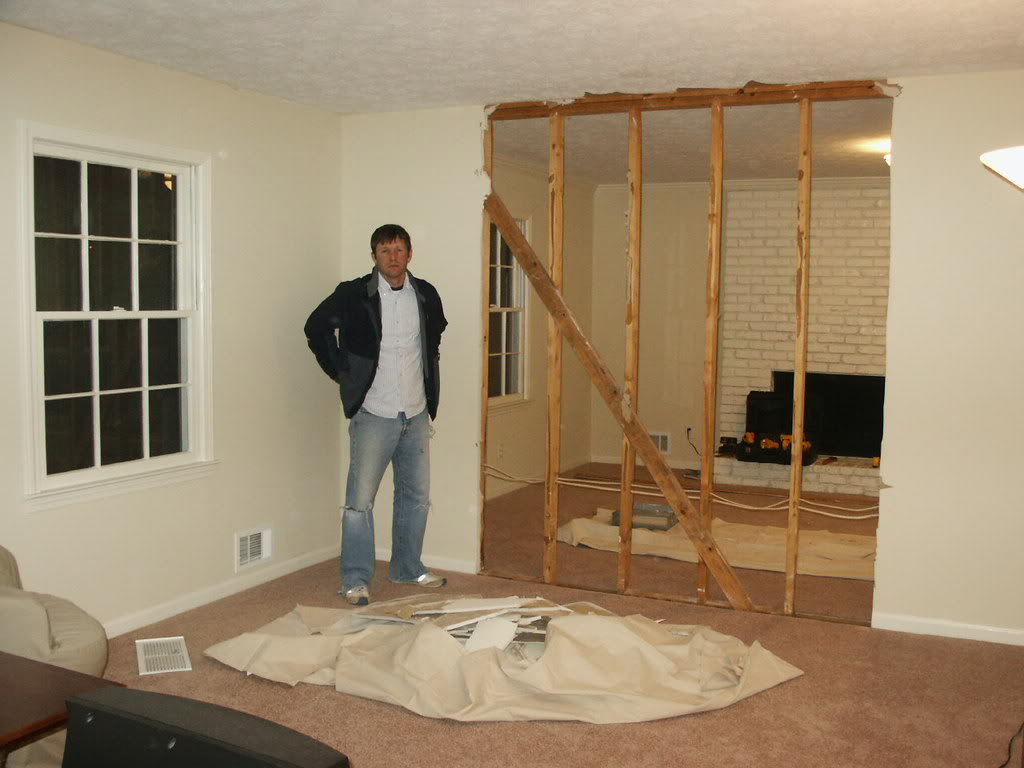
We tore out the hole to connect the den to the living room and create more flow between the two rooms. We also decided to tear out the 1970’s paneling (that the previous owners failed to paint correctly) and install new insulation and new drywall. But the fireplace was still a confusing mess.
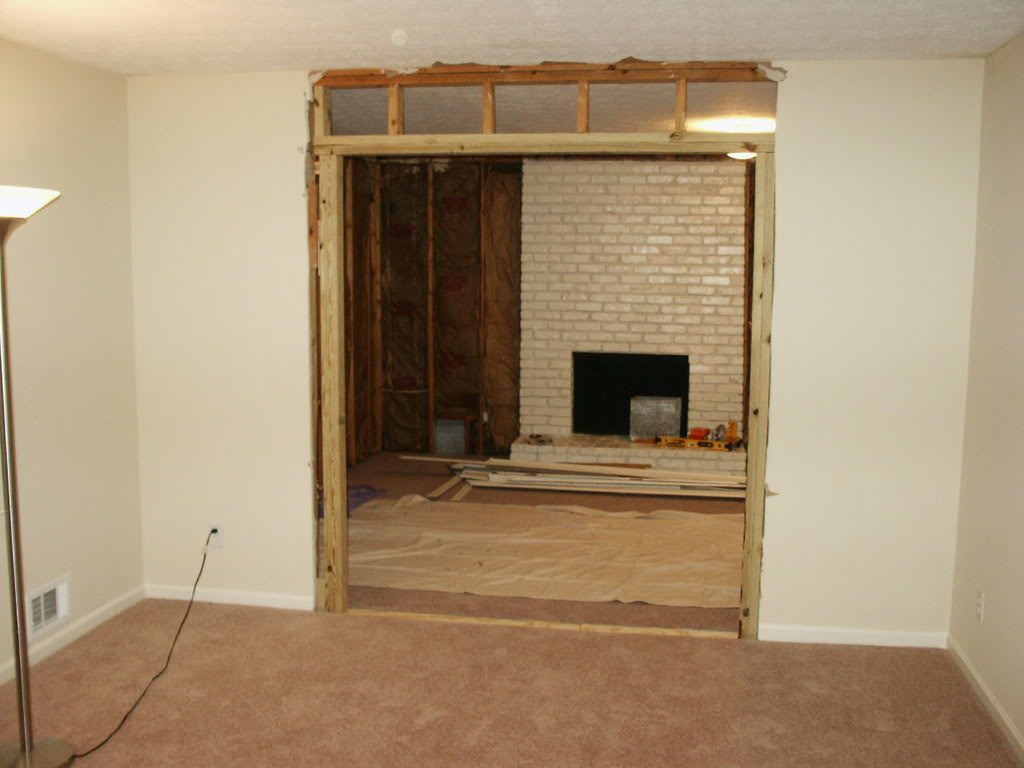
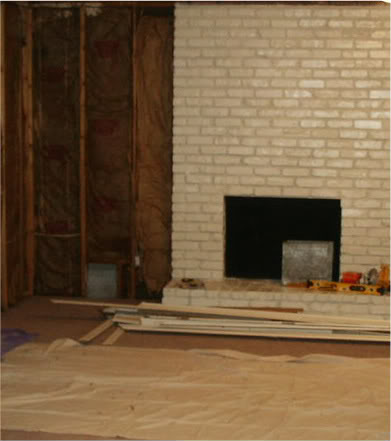
The bricks were in poor condition, many cracked and crumbling – making the installation of a mantle directly ontop of the brick impossible. And instead of mending the broken bricks & mortar correctly, the patchwork was done with solid concrete that was rock hard. Also, the previous owners had applied one coat of latex paint without bothering with such details as cleaning the bricks first. It was a mess and both Jeremy & I wanted something that would appeal to a more traditional asthetic.
So we went to the task of attaching furring strips to the upper part of the fireplace as well as the sides. Basically anywhere that drywall would go, we placed some vertical furring strips (which are basically just pieces of wood that are long and thin). We attempted to attach the strips with a hammer drill but the brick and the mortar was too hard to penetrate, so Jeremy ended up using a PAT (powder-actuated tool) that looks like a gun with a trigger and utilizes gunpowder and drive pins (similar to nails but with a little plastic piece on the head that makes it compatible with the gun).
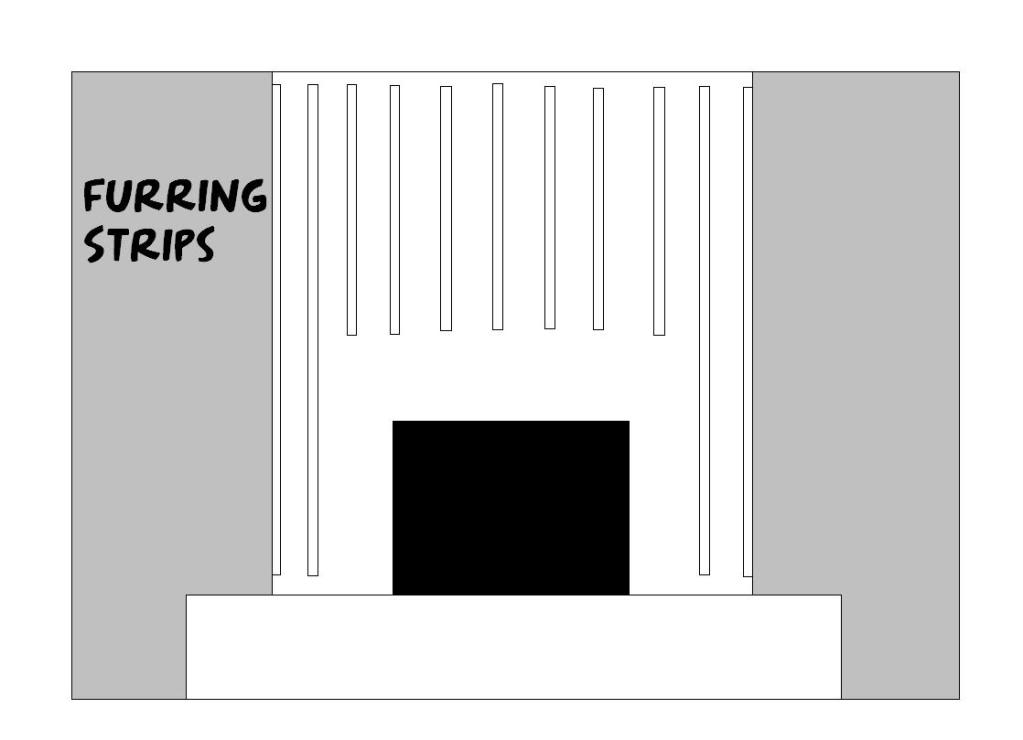
Attaching drywall to the furring strips is similar to regular installation. The only issue with attaching the drywall to furring strips is that we had to mark the location of the strips prior to screwing in the drywall. After we attached the drywall, we mudded the holes and made the fireplace look seamless with the rest of the wall.
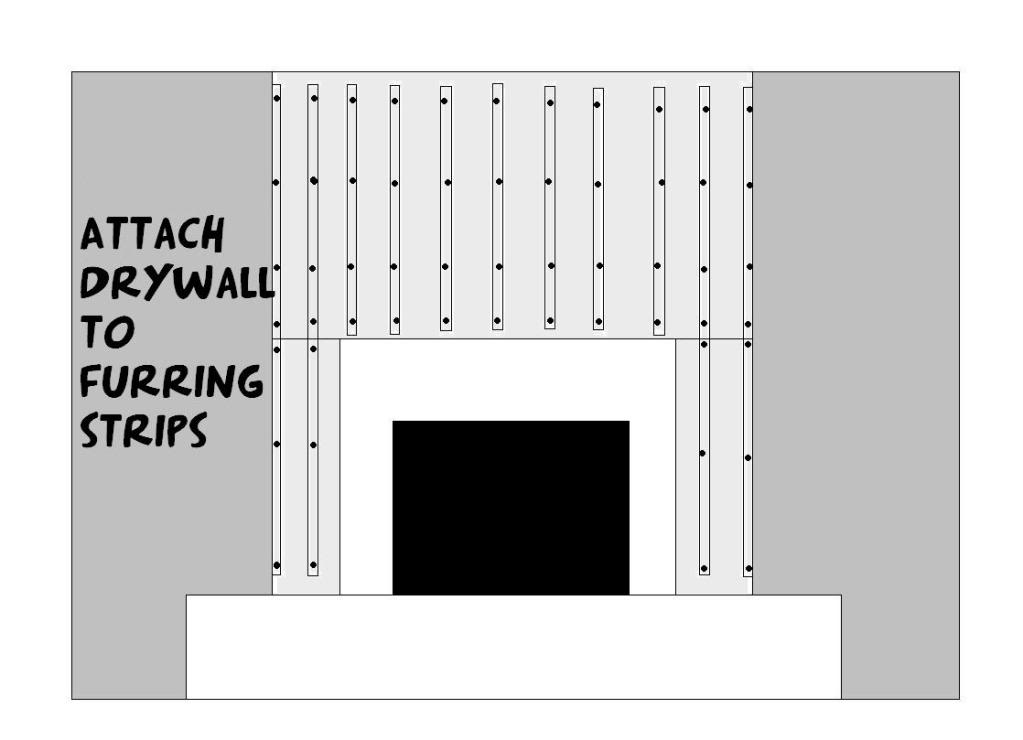
Then we attached the backer board to the hearth and the surround. Again, Jeremy used the PAT for a few spots and then also was able to use the hammer drill on some softer mortar spots.
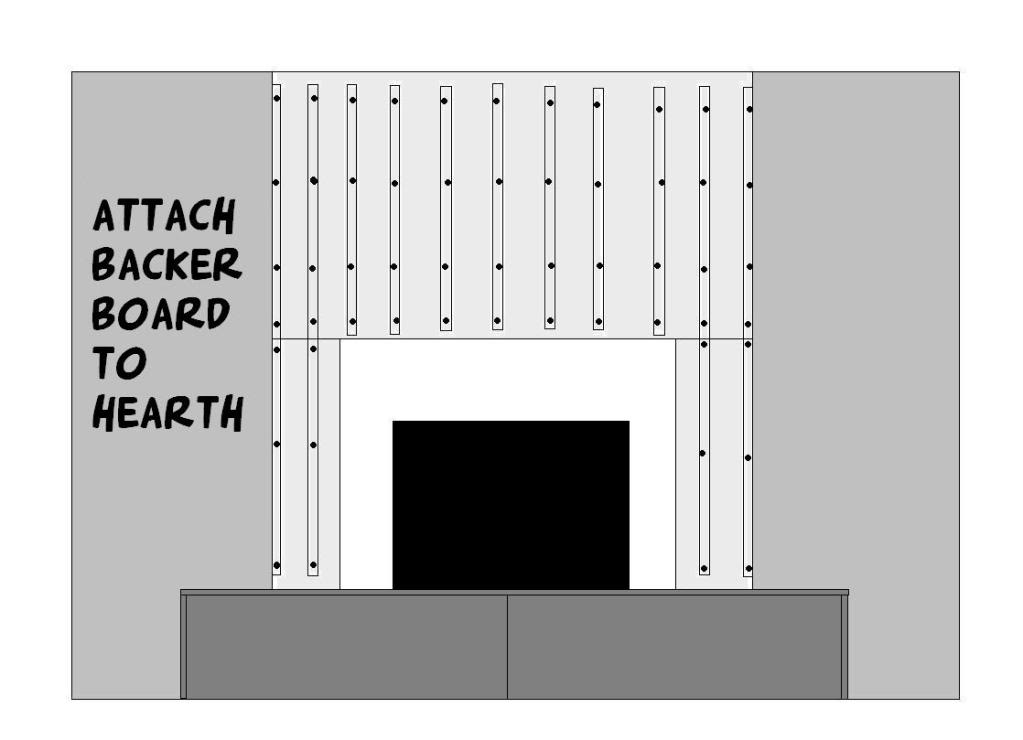
Then we attached support boards to the surround. Since we had already purchased the mantle, it took us a few moments to calculate how wide and tall the location of the support boards needed to be. I believe we used 2×4’s and again, my boyfriend got to pretend he was bad bad Leroy Brown (with the concrete gun).
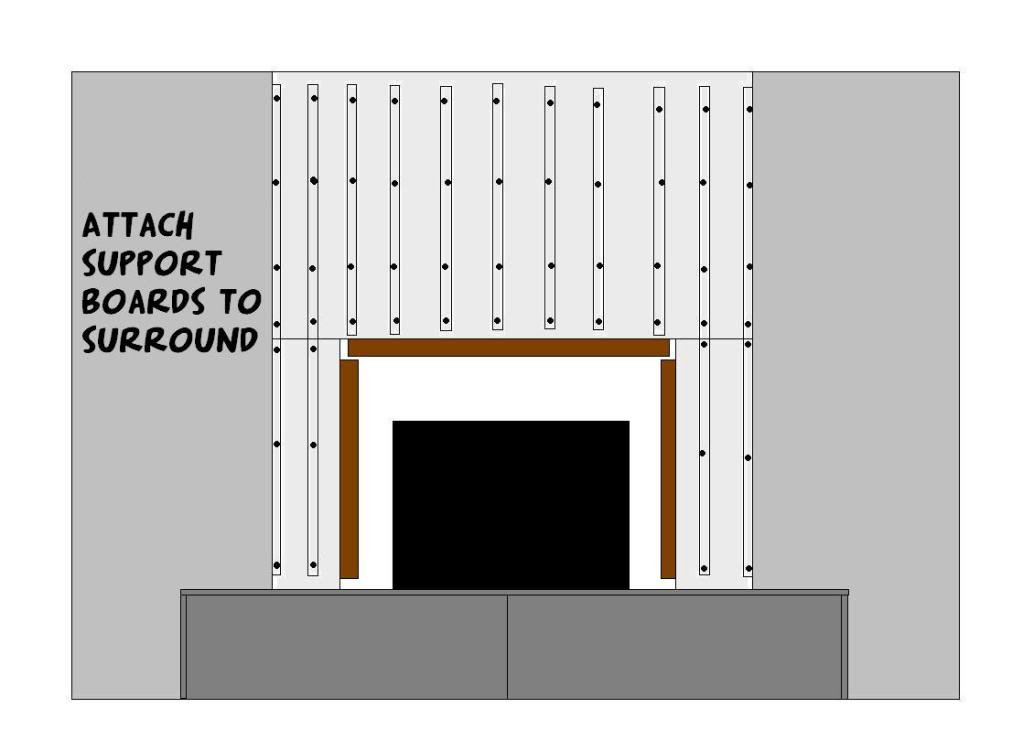
Soon it was time for tiling. We chose the cheapest slate tile we could find – it was on sale at Home Depot and I got to attaching the stone to the hearth. First I did the vertical sides and then the top so that the horizontal tiles would cap off the sides of the little stoop.
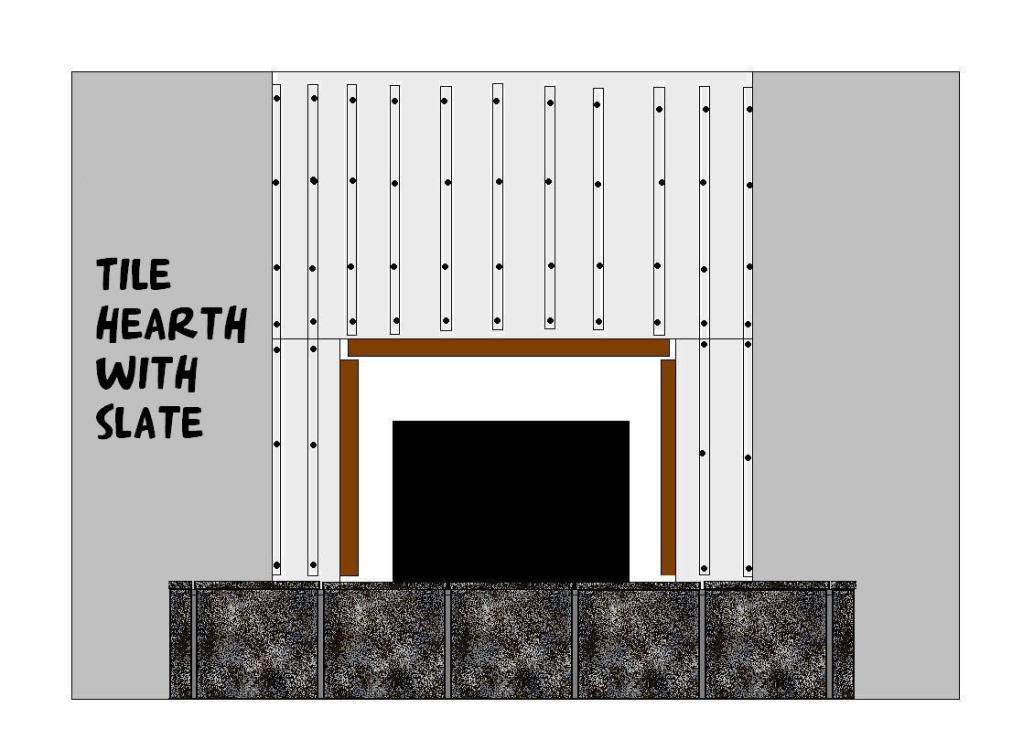
I also tiled the surround with the slate. Applying the tile right up to the support beams and cutting the tiles down to a size that would look even and balanced was the hardest part. But with the help from my trusty pocket calculator (also known as my cell phone) it was calculated in a jiffy and Jeremy cut me the tiles to size.
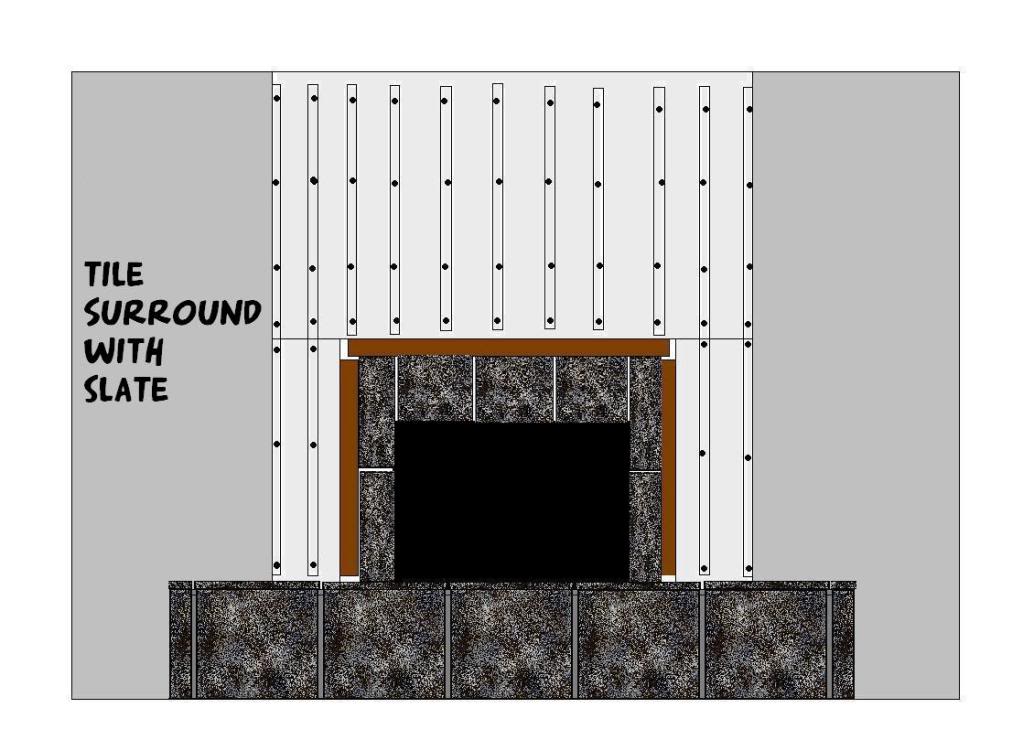
After the grout was left to dry on the surround and the hearth, we were finally able to attach the mantle and legs. Since we already did the math to make sure the wood supports would fit perfectly underneath the newly fabricated mantle and legs, it was really easy to attach with wood screws and then finish it out with some trim and wood putty.
My boyfriend found a place that sold custom solid wood mantles and their warehouse was needing some inventory to be cleared out. So Jeremy went in armed with the correct measurements up front (and $50) and got a brand new mantle of his choice. This was really scary for a control freak like me – but I think my boyfriend picked out a pretty classic style.
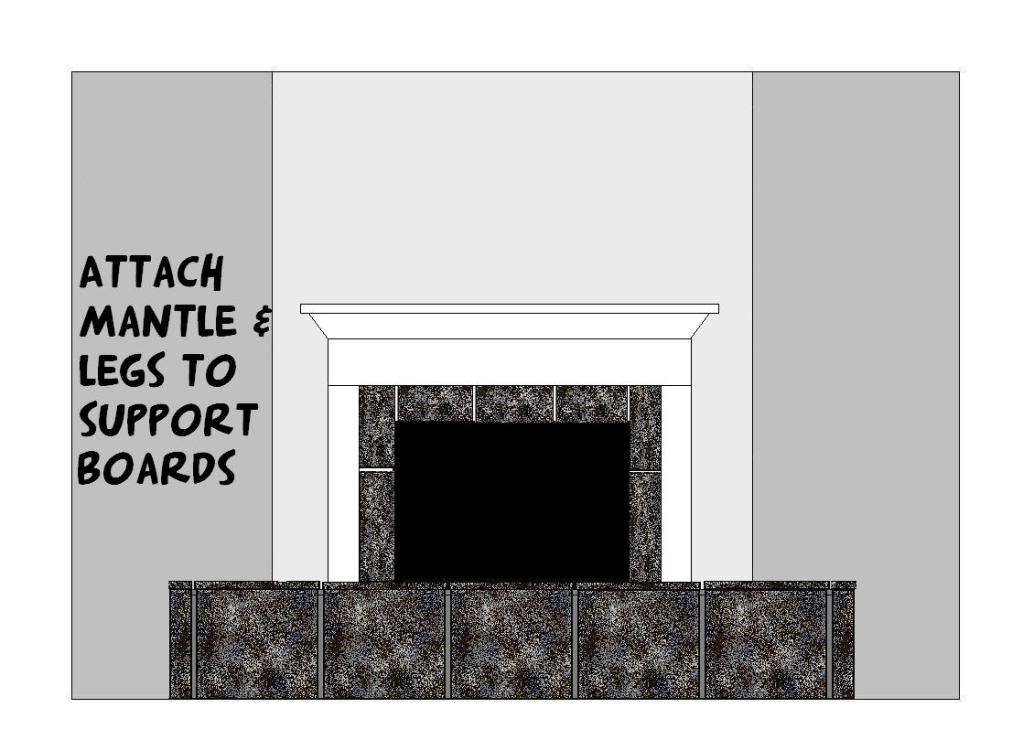
Our last step was to paint the entire thing.
So there you have it – a little recap of how we turned our fireplace from drab to fab.
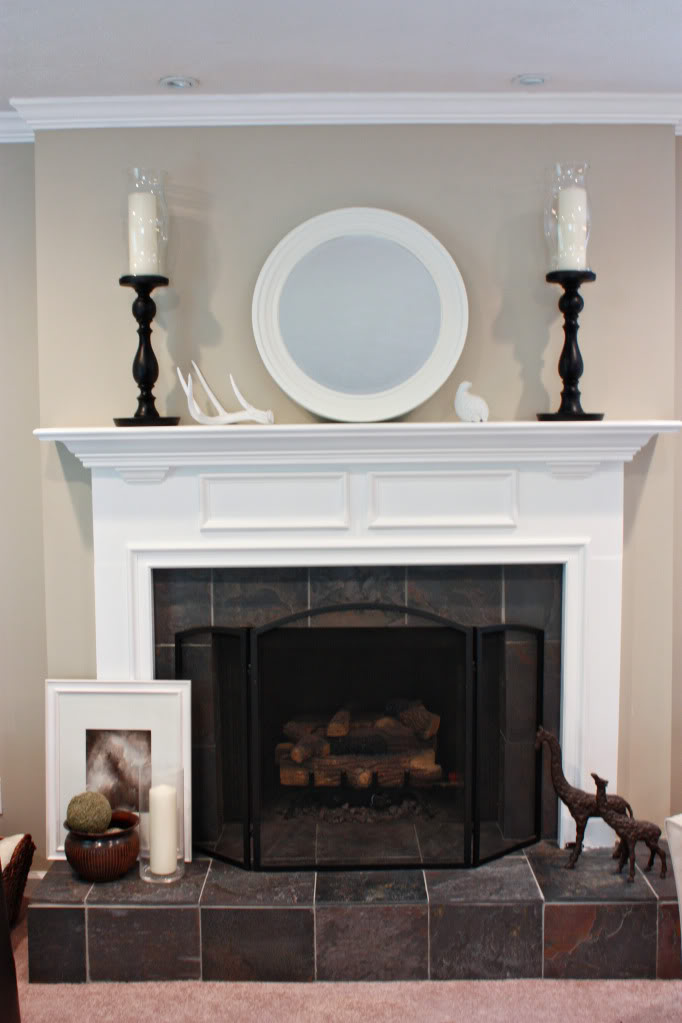
So what do you think? Have you ever refurbed a fireplace before? How bout tiling with slate – any issues like me with the uneven sides? Maybe you liked the brick better before and now this is just too traditional for your style? Whatever the burning thoughts, please do share – you know your comments light my fire 🙂