That’s what the basement flooring is doing.
But how did we get there?
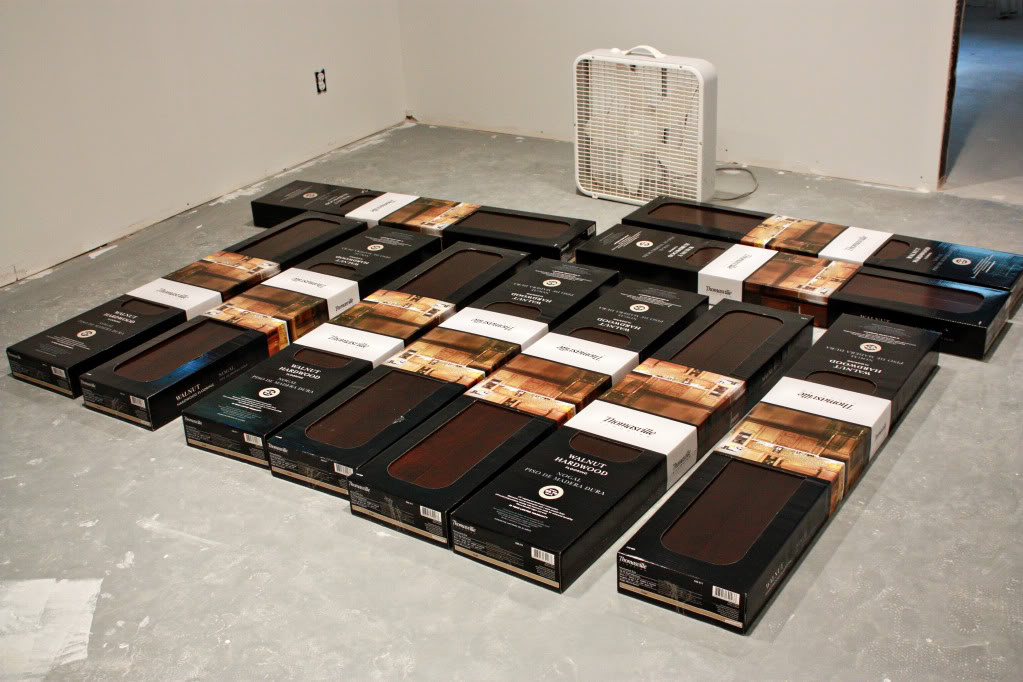
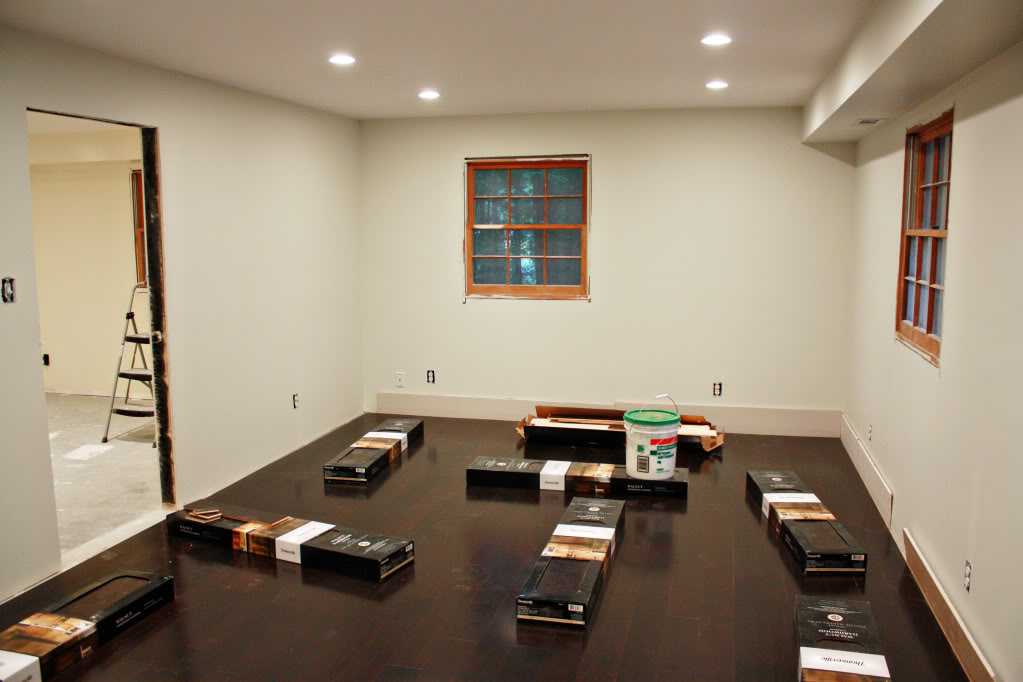
Well, first we laid out the boxes of hardwood flooring in the basment. This helps the wood acclimate to the humidity and temperature down there. This can prevent the wood from expanding or shrinking if it was new to the basement climate.
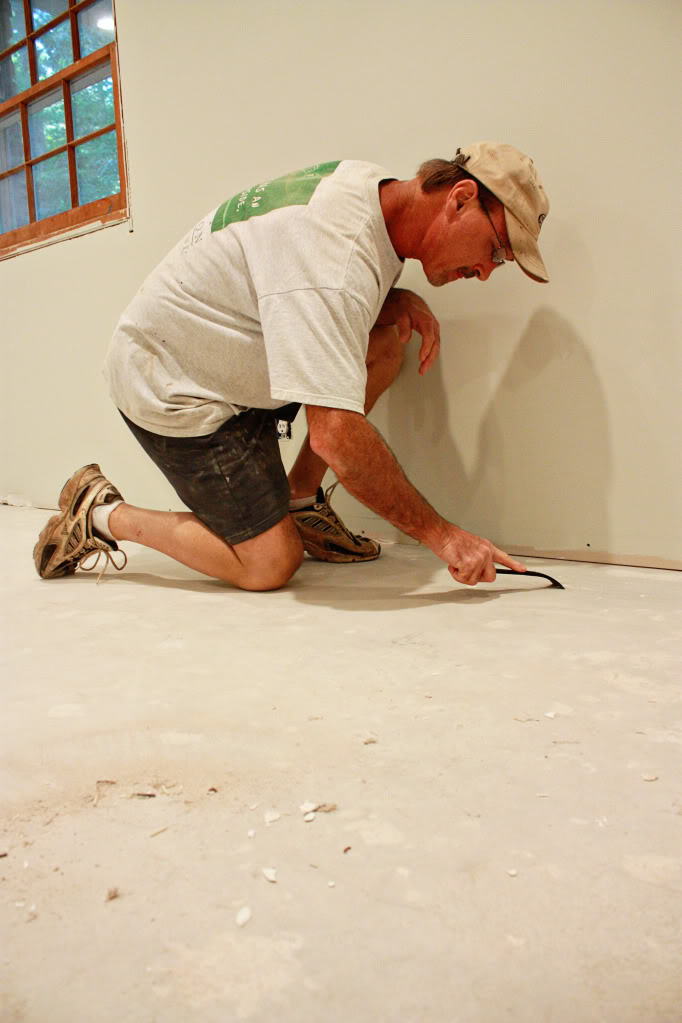
Then we prepped the floor. Pastor Dad is scraping up anything that the broom didn’t get.
Several people asked if we applied a self-leveling compound to the concrete slab first. No. We did not.
The reason we didn’t was because we have never used it before and because we had a relatively level slab. This would have cost extra and meant an extra four to five days of work (and we literally had no time to spare!). So we decided that the concrete would have to work – however, if you are planning on doing this project, you might want to check with your local home improvement store to get all the info first.
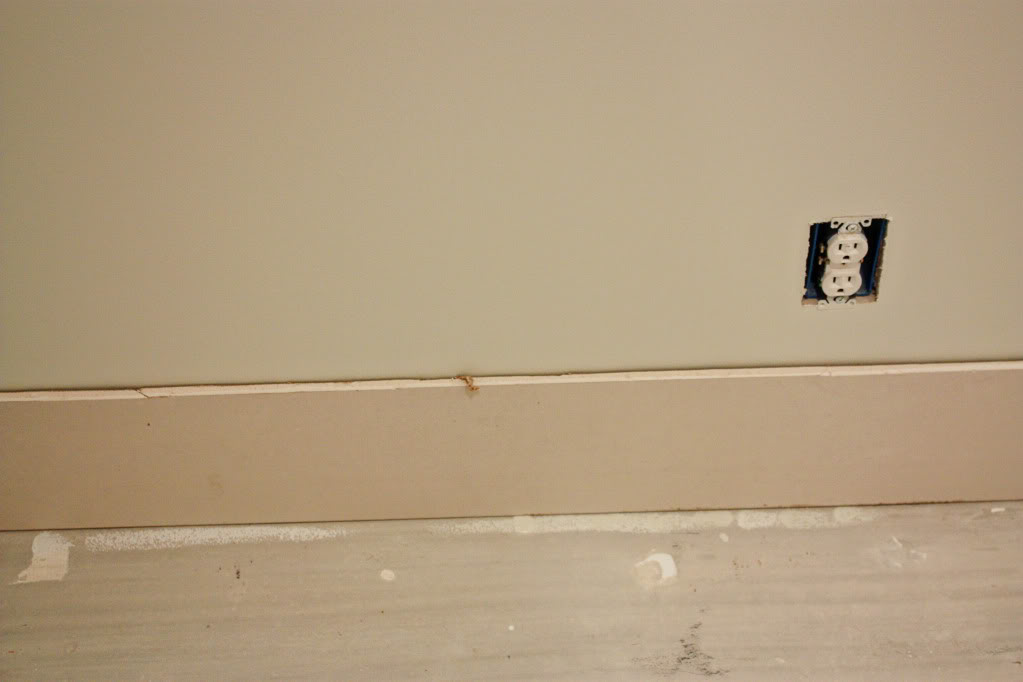
As spacers, we went with what we had on hand. A couple strips of 1/4 inch drywall was left over from the ceiling project and was the perfect size for making sure we had some lee-way for the flooring – just in case any future expansion space was needed.
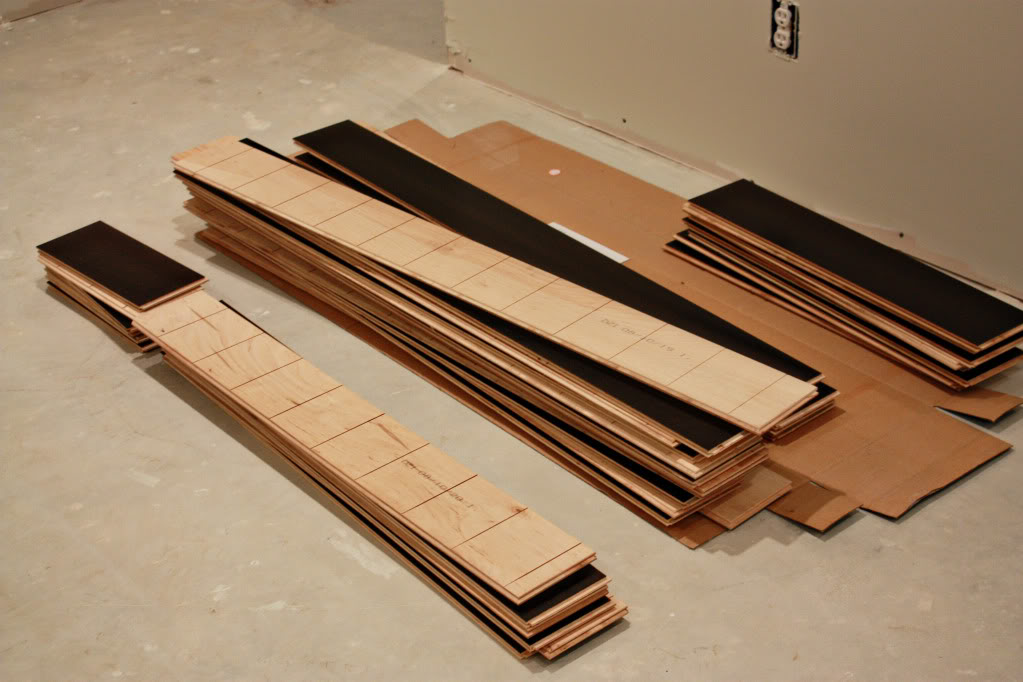
The flooring planks were laid out so that we could easily identify which size was needed next. It was quite an effort to make sure the pattern looked random (but not too random) and that all the seams did not line up.
Our flooring adhesive was not exactly fun stuff. Everything we read said that we should avoid getting it on the flooring surface and that we should wipe it up immediately if it did happen to smear. It really helped to have a whole roll of paper towels and a bucket of water nearby for quick clean up.
We ended up using the flooring adhesive trowel (in yellow) but the metal trowel would have worked the same if we just needed a little more glue.
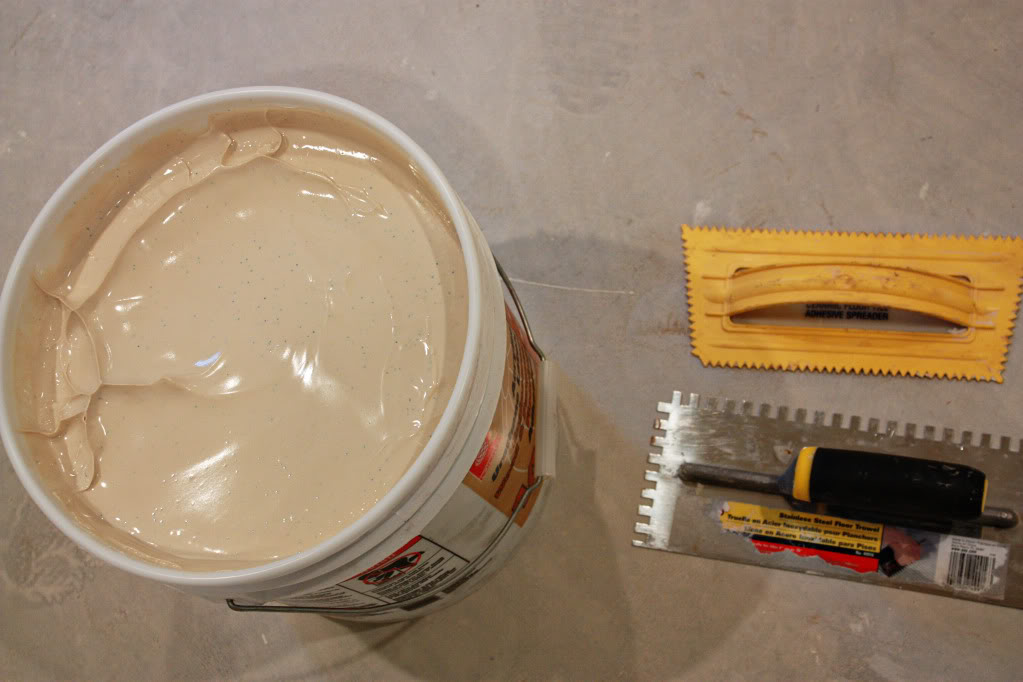
We attempted to spread the glue as thick as mayo on bread. The hardest part was getting it down and then pushing in the floor boards (they were tongue and groove) before the glue dried on the thinnest parts.
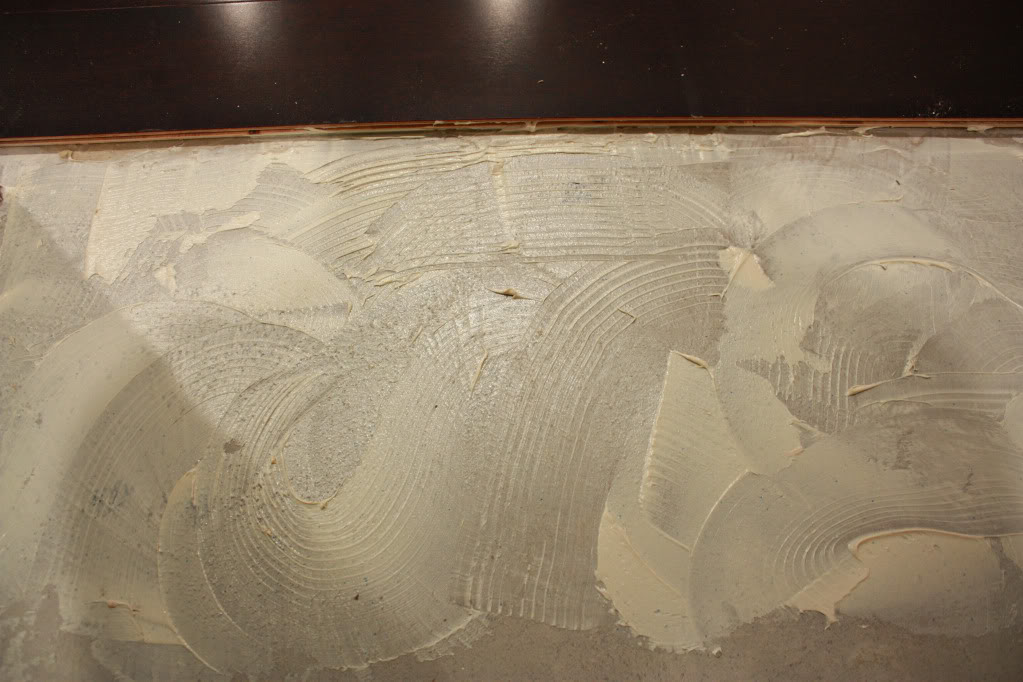
Once the glue was on the slab, the boards needed to be pushed into the adjoining plank and then over towards your ‘start wall’ as far as possible. Note that the ‘start wall’ has the spacer so that expansion can still happen if needed.
When you get to the end of your row, then just measure the distance left and cut the last piece to fit in. We used a chopsaw to cut them (and then used the scrap end to start the next row). It is really important to make sure you cut off the correct end of the last piece…otherwise you will have two tongues and no groove. And we all now how bad that can turn out 🙂
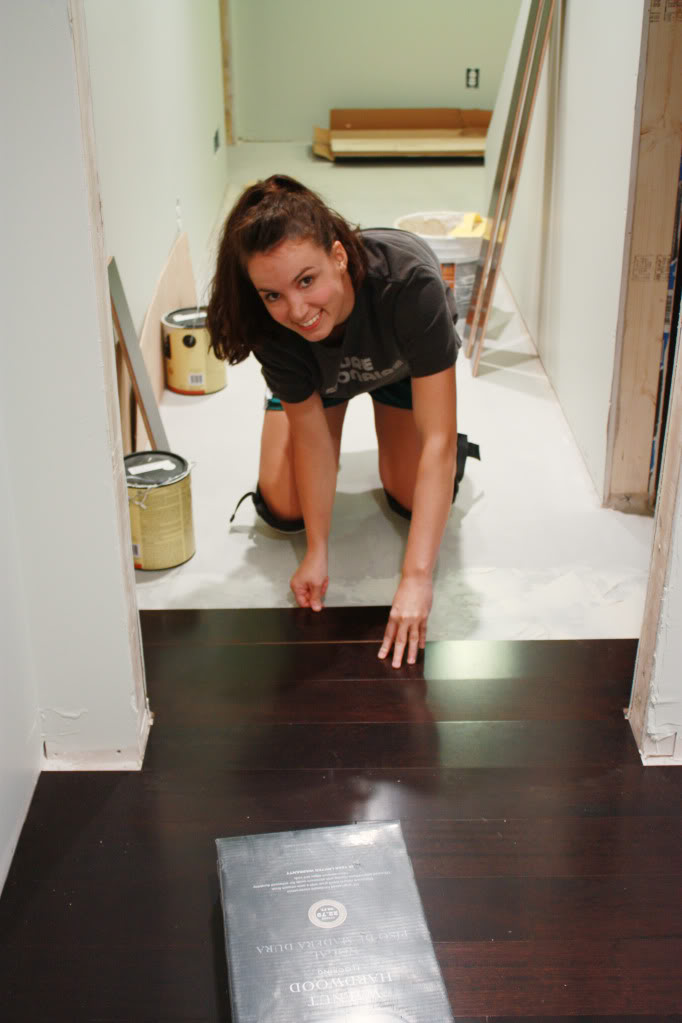
It really helped to have multiple hands on deck for laying this flooring. For the living space, we recruited our friend Luke and Pastor Dad to help. And boy, were they! In the end we found our groove and ended up finishing the space in about 4 hours.
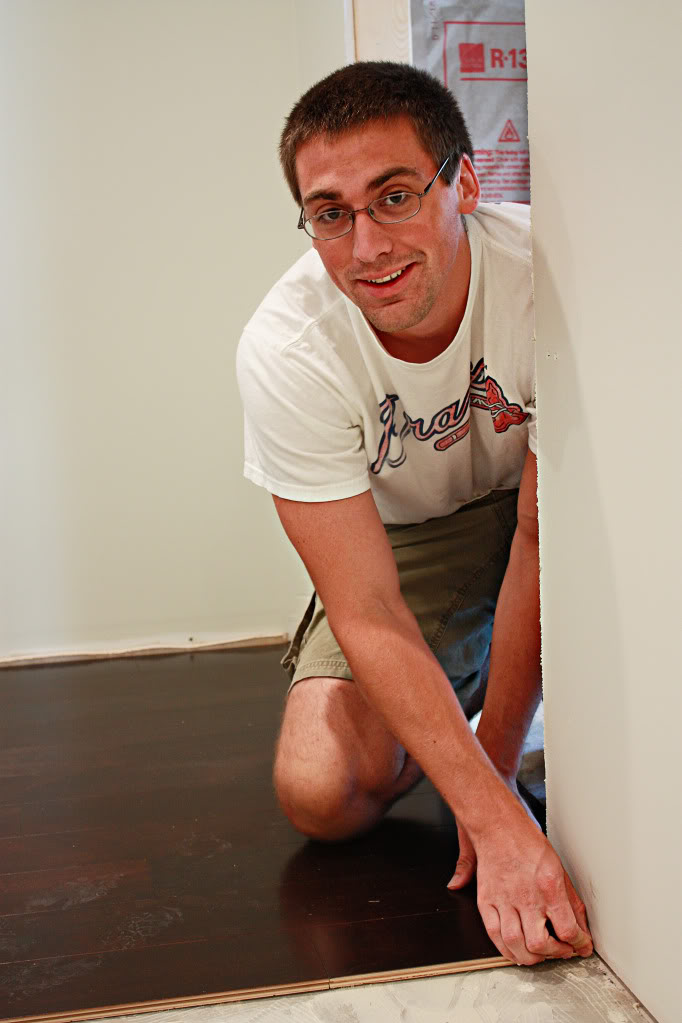
The final step for laying the flooring is to get a heavy object to put on top. The compression of the flooring to the glue helps form a solid bond and prevents future warping.
There it is – a wrap up of how we installed the beautiful Thomasville engineered hardwoods. We absolutely love the Walnut color and the bit of dark red undertones that help warm up the space and make the walls pop.
Oh and for more flooring fun – here is a little video of our progress:
[vimeo vimeo.com/6036787]
Happy viewing!