Ya’ll remember how I was uber-excited about starting a little landscaping project this spring? Well, you are about to find out why. That’s right…you are gonna see the ridiculous exterior landscaping of our house.
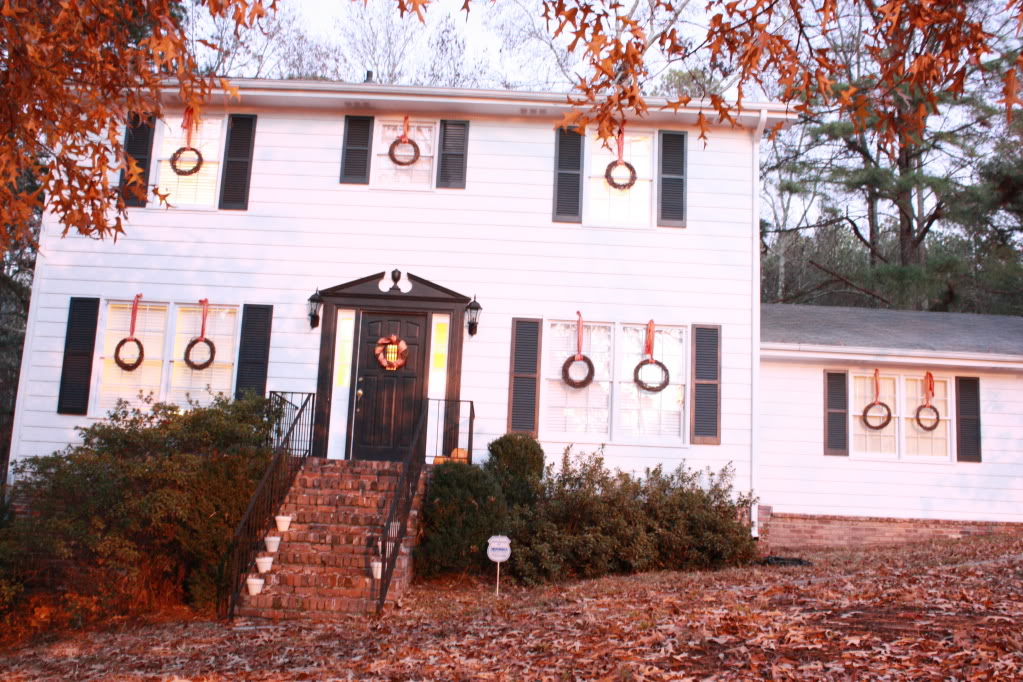
Before our house was majorly lacking. Our lawn and our shrubs were like Lindsey Lohan…a little bit pathetic, a little wild, and although fully developed, they didn’t reach their full potential (sorry you LezLo fans!). So we got to work quicker than you can say “Samantha Ronson”.
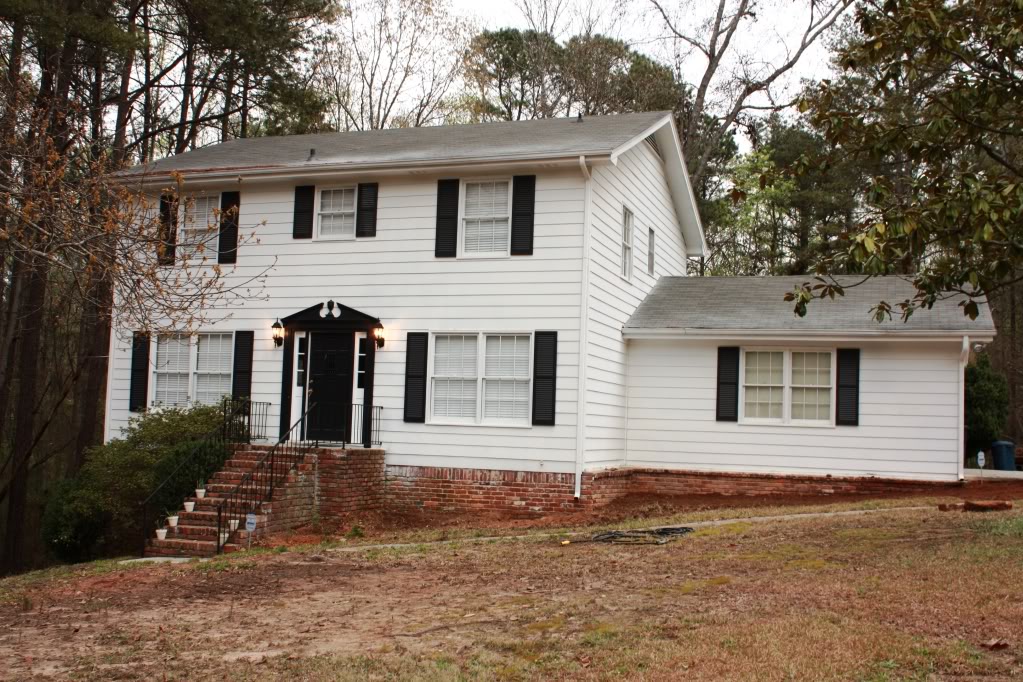
Armed with our trusty garden plan, we went to work marking the area of where the bed will border the future sod. (You can do this with a garden hose and a bit of flour!) We decided to work on only one area at a time so that we can maintain focus. So for the time being, the right side of the steps is it. With a hoe, shovels, rake, and some trusty gloves, we removed all the bushes, roots, and rocks from the space.
During this phase, all you can do is pick out the unwanted stuff in the top 8 inches of your soil. Basically dig, hoe, pick out nasties, repeat. It’s not fun but it’s free. If you got cash to burn, a tiller can be rented for around $50 a day. But make sure you remove all your bushes first…so digging is still required.
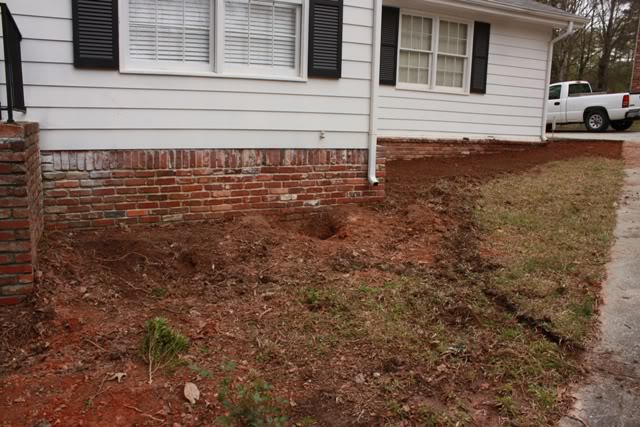
Although we tried our darnedest to transplant our little shrubs, only the boxwoods would release their kungfoo grip on the earth beneath. The azalea ‘bushes’ actually turned out to be trees that were cut down by previous owners! The low-growing branches were so fully and bushy that we assumed that these ‘shrubs’ would be easy to transplant as well. We were more wrong than George Hamilton’s perma-tan. You can see the hole after we chopped the suckers down and pulled the main root out.
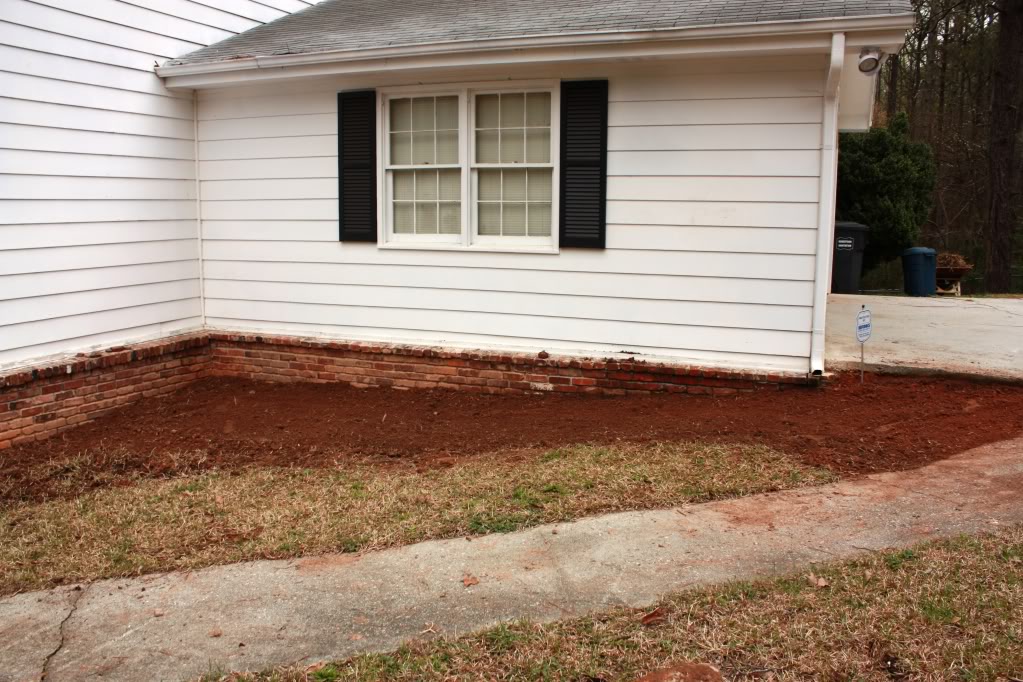
After the first day our bed looked like this. This is my favorite side – yummy! And this is after only 1 day! The other side looked half-baked.
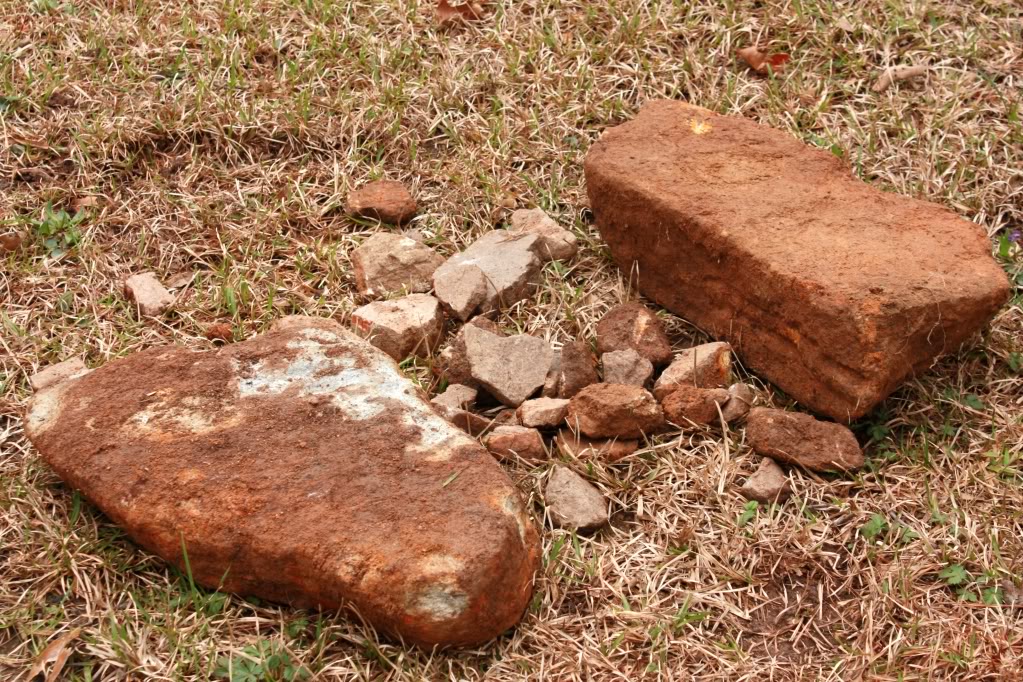
And these are some of the rocks we pulled out. The small ones are the size of grapefruits. So you can imagine that those biggies are ridiculous.

In part 2 of Making a Garden Bed, I’ll show ya how we mixed our new root/rock/shrub free soil with some compost-fortified stuff. And how we hand-tilled the area and created a more even and balanced looking bed.
And part 3 is going over shrub placement and planting as well as ways to help the new little botanical babies get established. That is the fun part so stay tuned 🙂