Who knew that your knuckles swell after tiling for 8 hours?
I didn’t.
Why didn’t you bloggies tell me?
It would have been helpful info…any time someone posts about engorged body parts, I am interested. Don’t make that dirty, girls 🙂 I am talking about fingers, ankles, knees, even my thighs look bigger…and that is never good.
Ok – start over…
My goal is to get the kitchen/den area done for the upcoming Christmas party parties…this includes installing the ventilation hood (raise the roof!) and the tile backsplash.
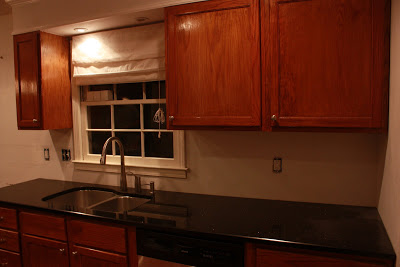
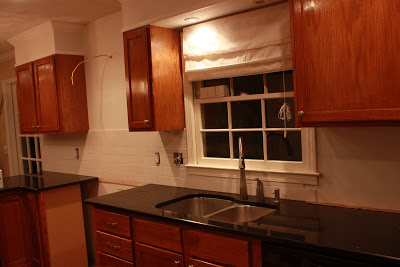
Introducing our wee kitchen – hoodless and tileless:
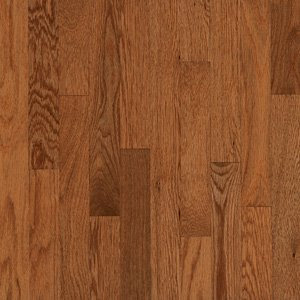
 The cabinets were stock cabinets at Lowe’s that we stained to match our wood floor (Bruce hardwood in gunstock).
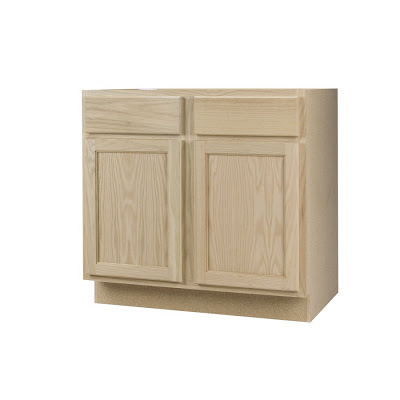
The hardware is cut-out knobs and sleek handles from Lowe’s (sorry don’t know the name) but I do know that they passed Jeremy’s comfort test. Apparently, knobs should be smooth to the touch, easy to hold, and have a solid, sturdy feel to them (or so the boyfriend said). And these got the go-ahead.
 Back to the backsplash project…and here is our kitchen after day one that included 7.5 hours of tiling:
and after day 2 – running total of 16.5 hours of tile work:
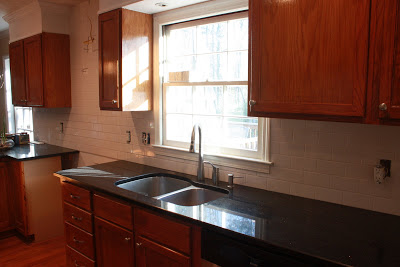
Fortunately for us, when we centered the tile work on the range, the tiles also centered on the sink – funny, it worked out for us…this might be the first time ever! I was pumped.
- tile on opposite side of kitchen behind microwave
- scrape any remaining thinset (or icing as Jeremy calls it) from the cracks.
- clean the entire backsplash
- grout
- seal grout
- install breaker so hood can get some juice
- install hood
- reattach any molding
- paint window and trim
- replace light above sink
- sand kitchen wall
- paint kitchen
If you are about to start any type of backsplash installation, here are some Bower Power tips to make your life a little easier:
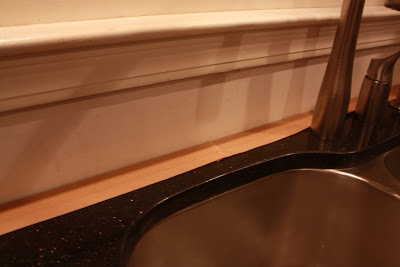
Tape off the tops of countertops
Not all countertops are perfectly cut. Not all walls are perfectly straight. Therefore, not all countertops are perfectly flush with the walls. We had some minor cracks between the wall and the granite – and because I hate scraping thinset outta cracks, the tape gave us a barrier for any excess that squished out. It also made clean up a snap!
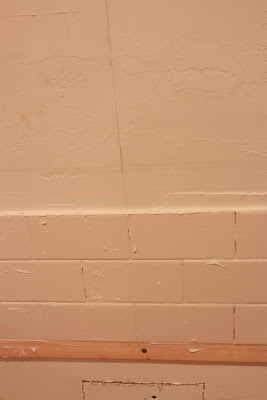
Add some support
We decided to begin the first tile by centering it on the range. After drawing our guideline on the wall, we added a supportive piece of wood to help keep the entire project straight and even. And every girl knows that gravity is not your friend when it comes to droopage.
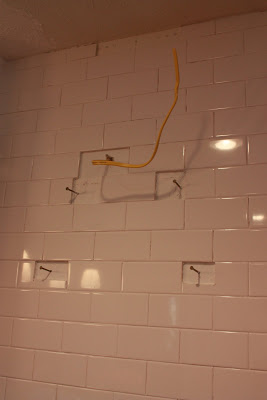
Mark your cutouts with nails