Progress was made in the dining room. I know…I know…it seems like I have been working on this same room for eternity…don’t worry though…I tend to decorate rooms only 85% of the way – so we should be coming to an end here soon.
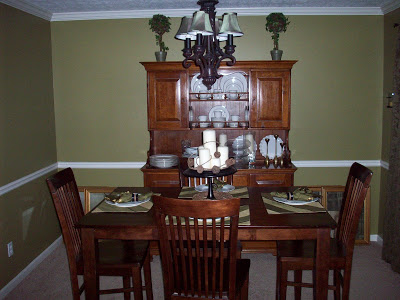
Ok – here was the WAY before shot:
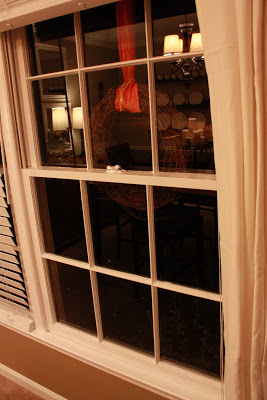
And the updated view:
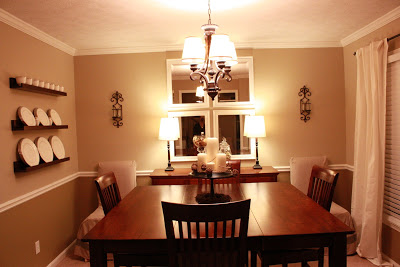
Notice any changes from my last update? Yup – the curtains got the big swap. And the sconces are up.
I also did a little art substitution. My fab frame before was feelin the love with scrapbook paper but it seemed a little too monochromatic.
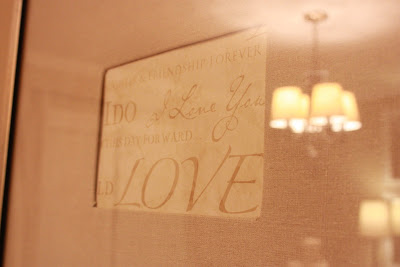
So I did a little pah-rusin’ of my Pottery Barn catalog and loved the black-n-white sketches of the tower-de-eiffel. I can sketch…I hope. So I whipped up a little art of my own in the theme of DINING! Add a little scribble of a signature (doesn’t matter if it is actually your name) to validate your own masterpiece.

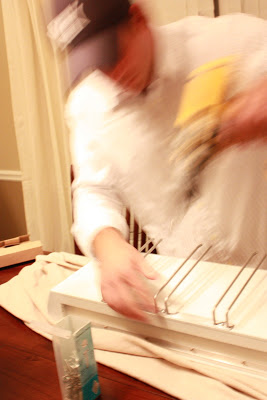
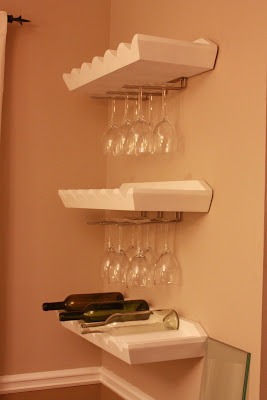
After authenticating my own art, the beautiful boyfriend hung the wine glass racks on the the bottom of the wine bottle racks. He moves very fast 🙂
Now all I need is a few bottles of bubbly cause our stash is kinda merlow 🙂
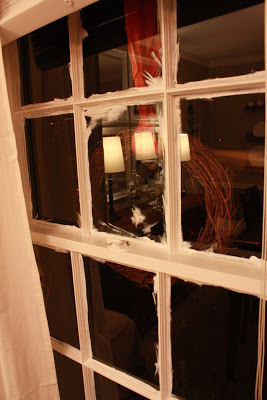
I decided to tackle the task of scraping the paint from the window panes. I neglected them earlier when I was painting the trim and just hid it behind the blinds. Outta sight, outta mind. That is until I walked outside. YIKES!
And because Bower Power is a place of laughs, love and learning, I thought this might be a good time to share with you how I minimize the work of window pane paint
THE SLACKER’s SOLUTION TO PAINT SCRAPIN’
Buy and hang white curtains
Scrape paint off window panes (oops!)
Hang sconces
1. Do Not Avoid Painting the Pane
When painting your sashes, the window and the sill, make sure you have a good smooth stroke with plenty of paint. Do NOT (and I repeat – NEVER) avoid painting the cracks between the pane and the wood. Do NOT clean the paint off the pane immediately. Actually this paint can help seal up your windows and help provide an ounce of insulation around the drafty glass. So remember – crack kills (your gas bill) so paint em good. It will be panefull not to!
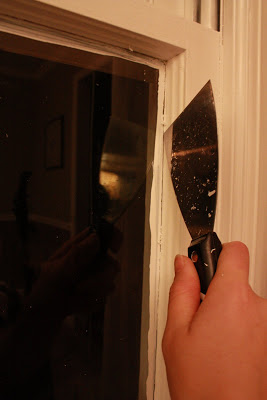
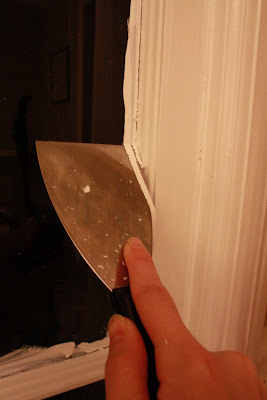
2. Cut The Edges With Your Weapon of Choice
I like to use a joint compound knife. Since I am clumsy and tend to induce injuries upon myself (particularly my digits), razor blades are out. You wouldn’t put another puppy in the path of Paris Hilton, would you? Well, same applies here – neglect and stupidity equals one less little sucker. Make sure when you cut the edges, you run the edge of your weapon along the edge until you see the darkness of the glass beneath the paint.
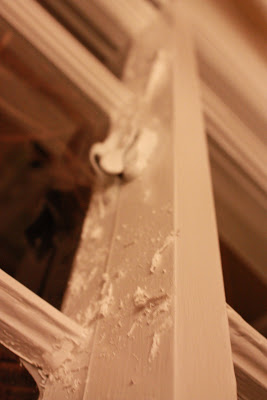
3. Scrape Like You Have Never Scraped Before
This is why I like the muddin’ knife – its wider tip allows for greater scraping space and the possibility of scratching the window is minimal. Also, because it is longer than your typical razor blade, the leverage you have to get under the paint drips is better.
4. Clean Up The Crumbs
Personally I pull out the vacuum. But you may have another solution – do I hear bucket of soapy suds? After a quick suck – then comes the windex….easy peasy pumpkin squeesy!
And there you have it – the slacker’s solution to scrapin’ paint. Don’t they look so sparkly and clean?!?
To Do:
Sand and gel stain buffet to match table
Switch out buffet hardware
Buy bar height chairs for beside buffet
Paint curio cabinet
CELEBRATE FINISHED DINING ROOM