Guys if I can do this DIY while in my third trimester with four little boys – anybody can. TRUST ME. It’s super simple, makes a huge impact and is completely removable if you are renting, prone to changing your decor or simply hate anything permanent. My kids have seriously convinced me that Sharpies are the devil’s work…so I understand.
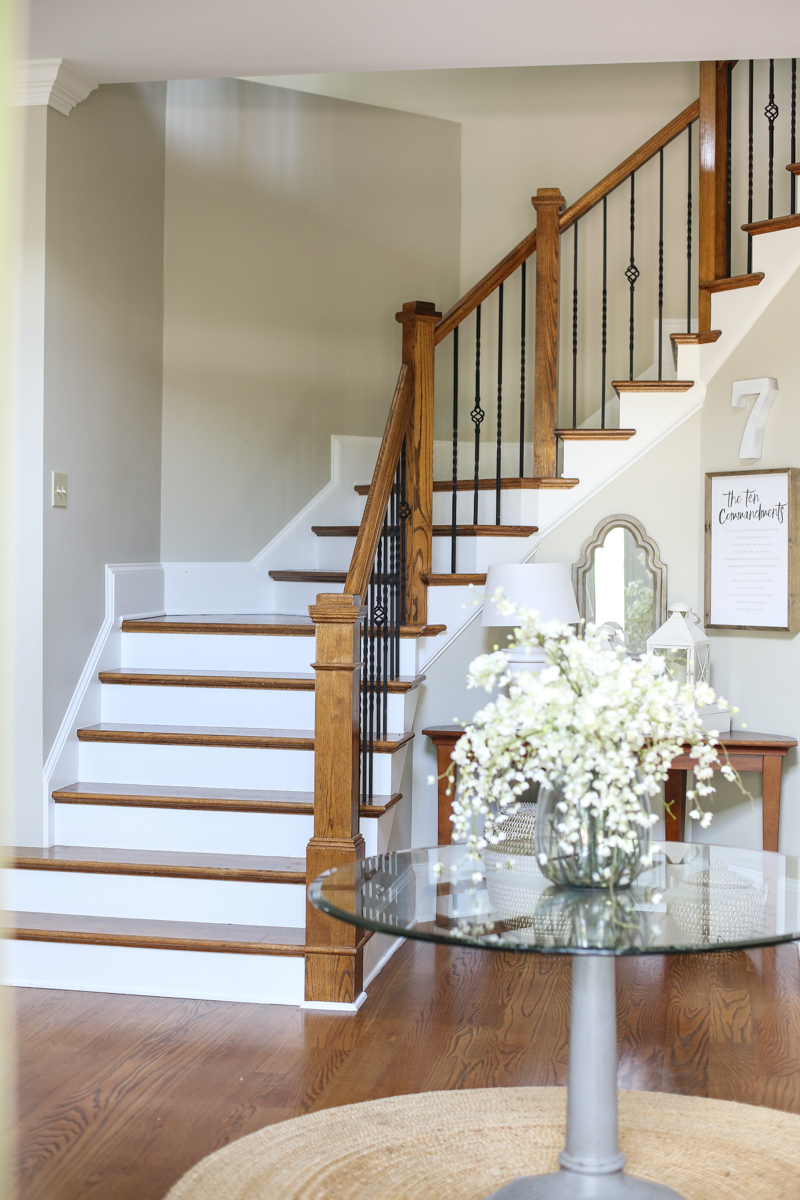
Okay…so How to Wallpaper stairs! It is all the rage….everyone and their neighbor, sister and cousin have done this and I am slow to jump on the wallpaper train…but I LOVE the end result. Before my stairs were painted white, we had done a huge gallery wall stairway and all that. But once we had it painted, it was fairly minimal with white risers…
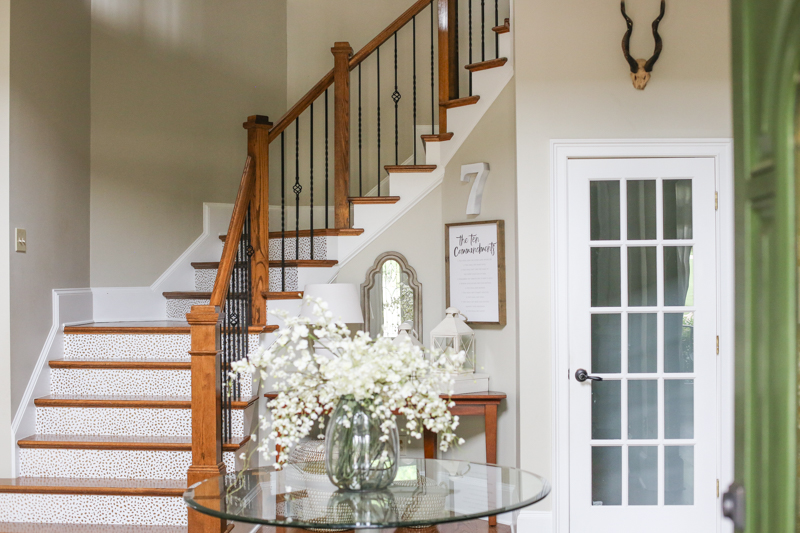
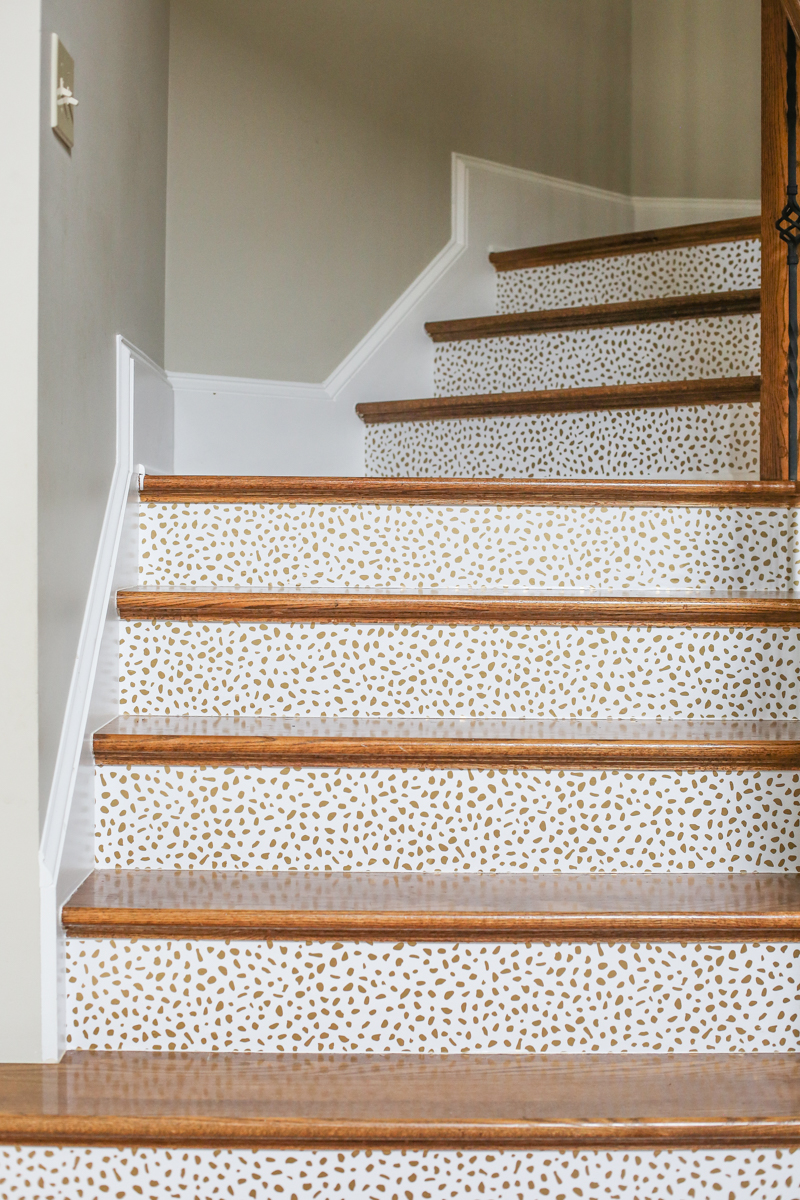
I have one of those curved staircases that is really weird to decorate around…with a half wall and a little alcove in the middle….
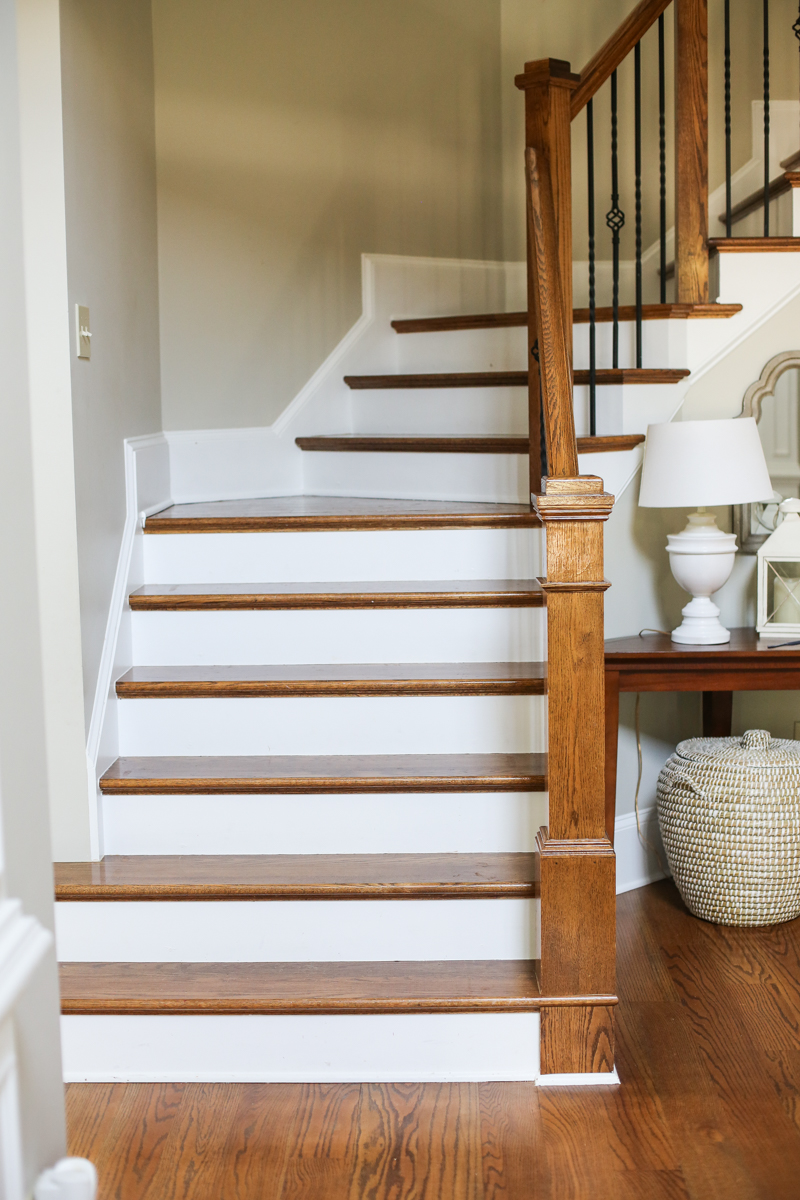
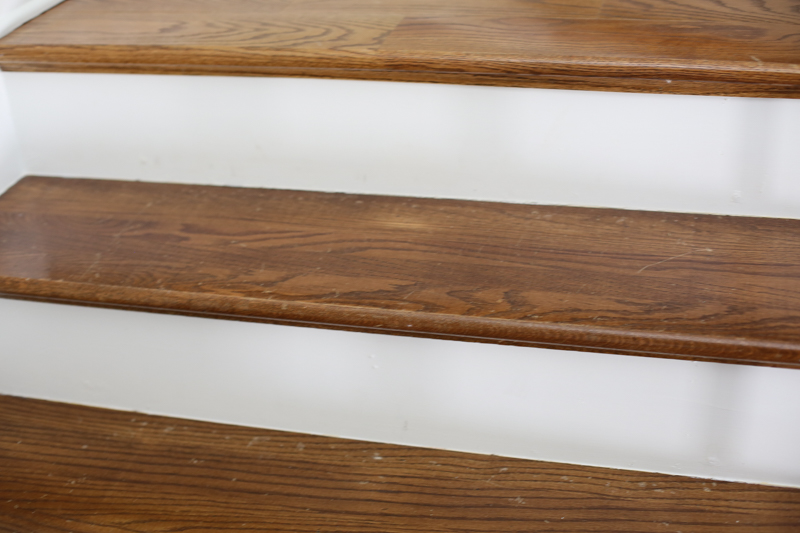
Like I said – once it was painted, we took all the stuff off the walls (honestly the kids didn’t mess with the photos but as we add to the family, we realized that there is a certain level of temptation there and it’s better to not tempt fate with toddler level picture frames). The risers are white and they did show marks occasionally but I can’t blame the kids…they rarely wear shoes inside and never up the stairs….so that is all on me and Jer. But the space felt sparse and like it needed a little attention.
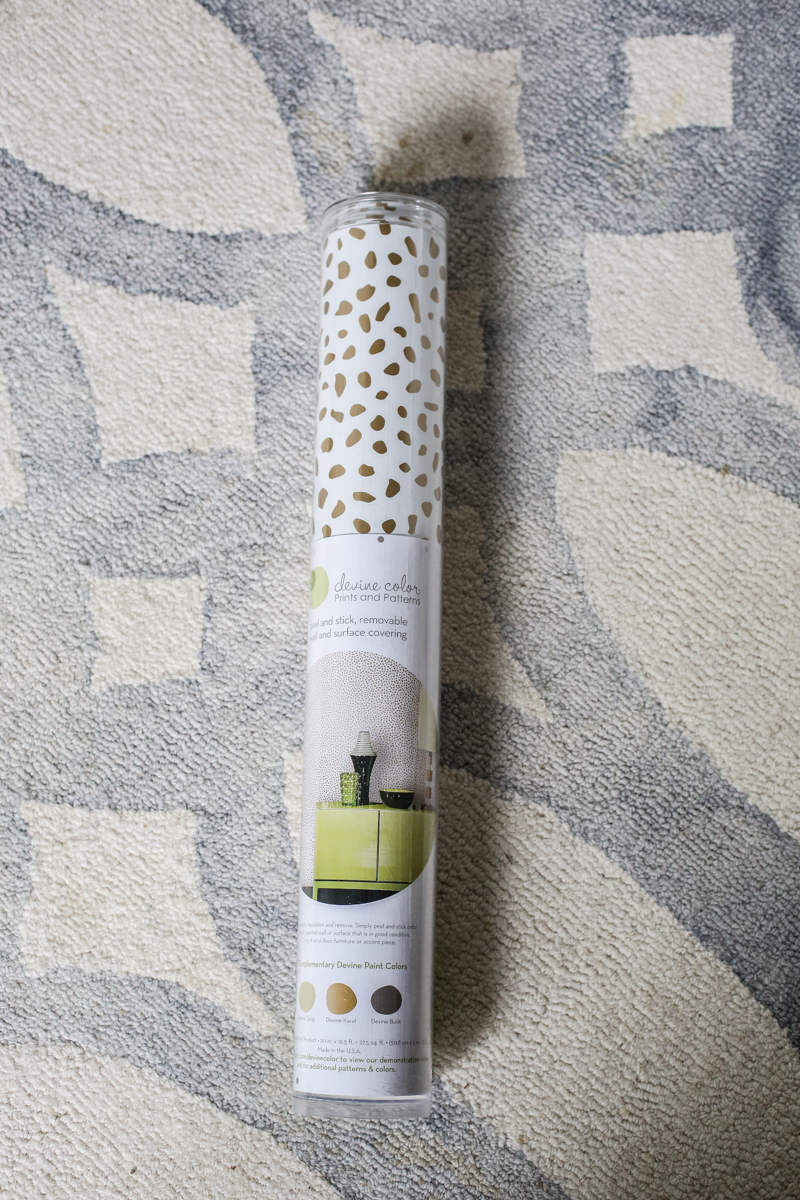
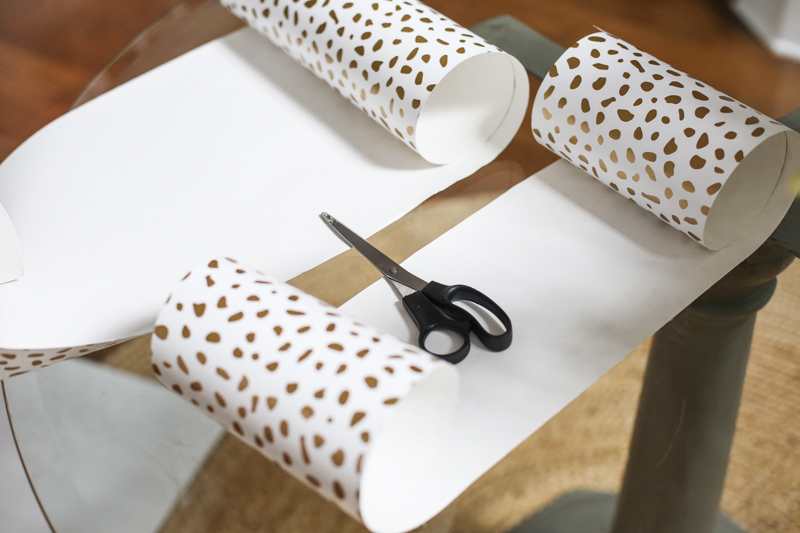
I ordered three rolls of this gold and white wallpaper (it’s completely removable and wipeable with a damp paper towel)…only used two but didn’t know how far it would go (aka how many mistakes I would make)….
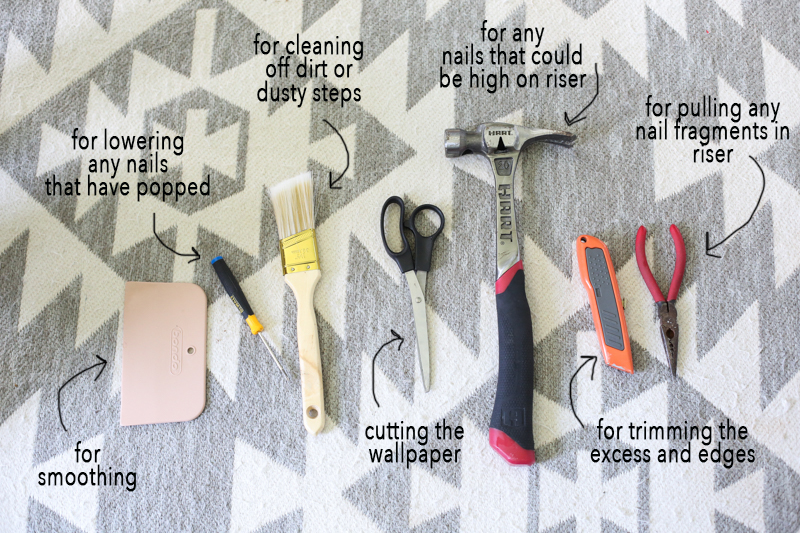
And gathered my tools. I learned a lot from our first wallpaper adventure (here is the video to how we did it!)…
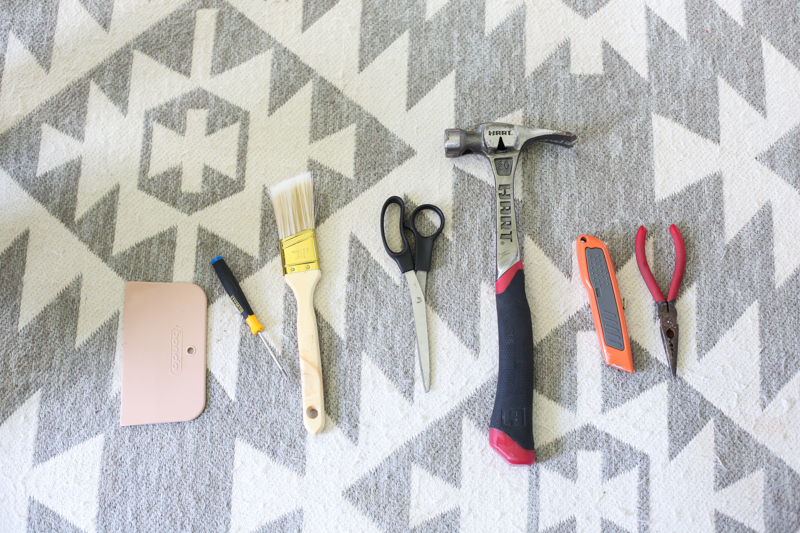
And even if you don’t need all of these, they were helpful for me so I listed them.
The first thing I did was measure the riser in length and added about three inches. Then I measured the height of the riser (above the quarter round and to the underside of the step) and added one inch.
Then I would do a dry fit….meaning I would leave the backside on the wallpaper to make sure the piece would fit. My steps sometimes had different sizes (like if they ran into a column or had no quarter round) so I made sure that each one fit before exposing the sticky backside.
This wallpaper is like a giant sticker. If a wallpaper is described as ‘unpasted’ then it is NOT sticky. This wallpaper is ‘self-adhesive’ meaning it IS sticky – the back will have a thin liner that is removed to make it sticky. Not all self-adhesive wallpaper is created equally….if it doesn’t say ‘removable’ or ‘repositionable’ then you get one chance to stick it….and you can’t peel it back up and try again. I go for removable because I’m not confident in my wallpaper skills….I need second and third (and sometimes four) chances to get it just right. Also some wallpaper is made from different materials. I definitely like this vinyl version because it has a little give to it.
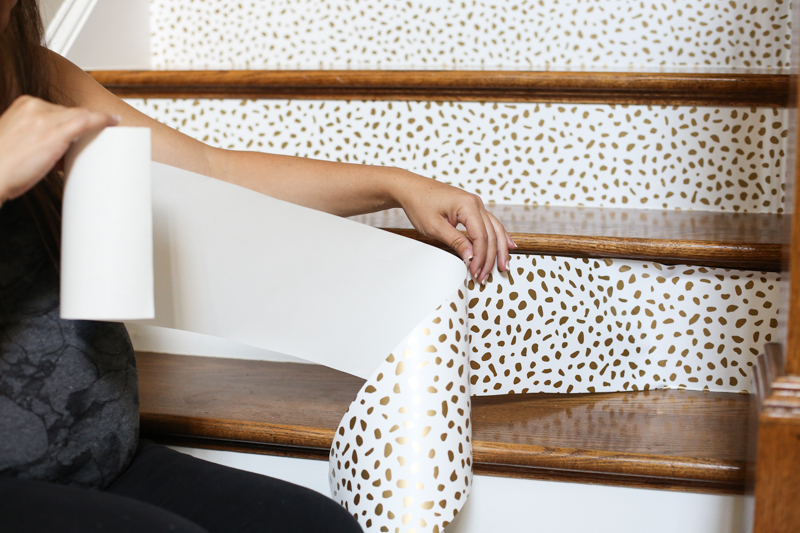
Once you peel the back off one end, apply the wallpaper to the right spot and then smooth slightly with your hand in the center. Then peel off the rest of the liner, being careful to press and smooth toward the end.
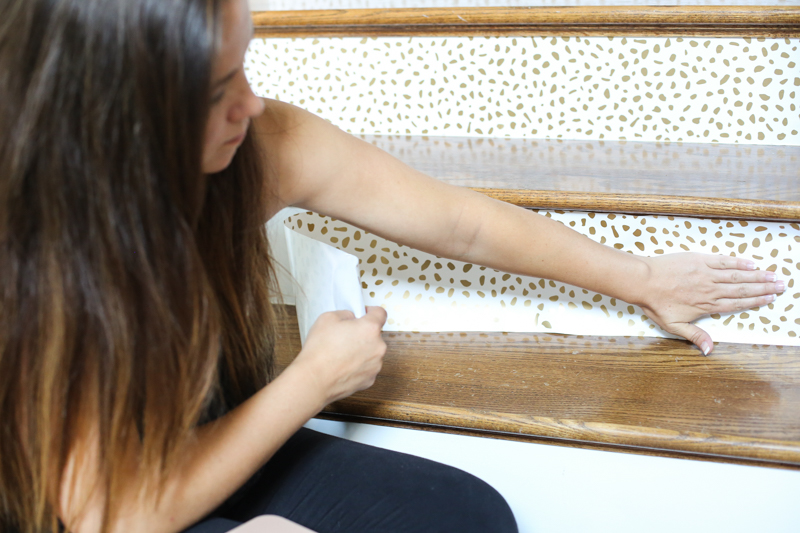
I liked to use a squeegee to smooth it out as I go. I would press from center UP first….

then from center DOWN. Then I would do the next section, pressing with my hand first, squeegee UP, then squeegee DOWN.
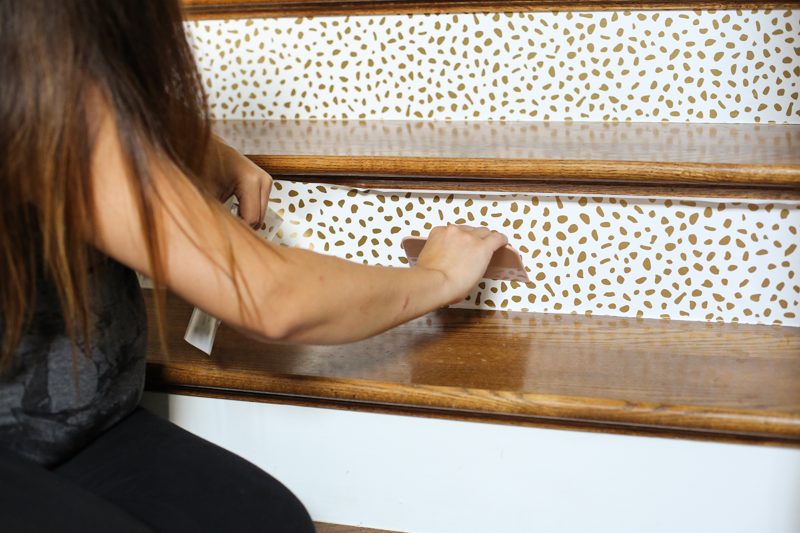
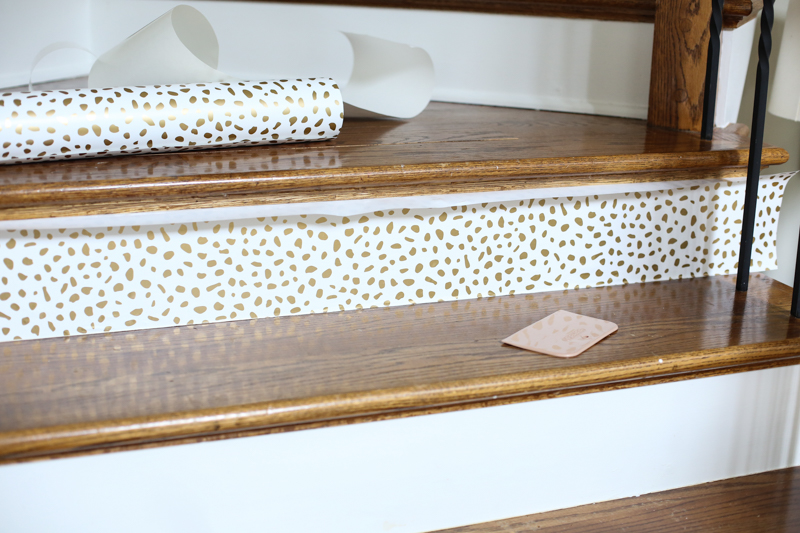
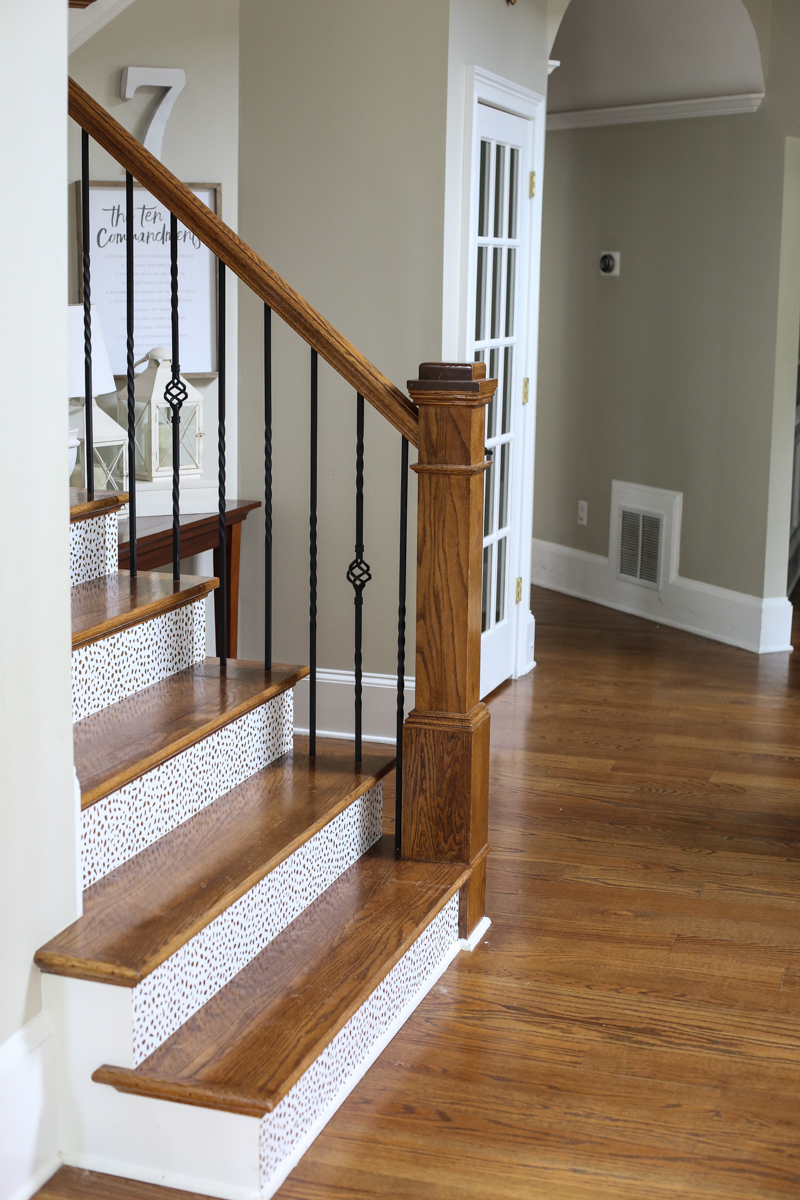
At the end, I would be left with something like this. The piece would completely cover the riser plus leave excess that could be trimmed with the knife (do you call it a box cutter? that’s what we call it.)
I’m not gonna lie…this takes some time. It took me a couple days of naps….but it immediately made such a great impact.

Now I love how it hides any little marks from Jeremy and me….and it adds JUST ENOUGH pattern and interest in an otherwise boring space.
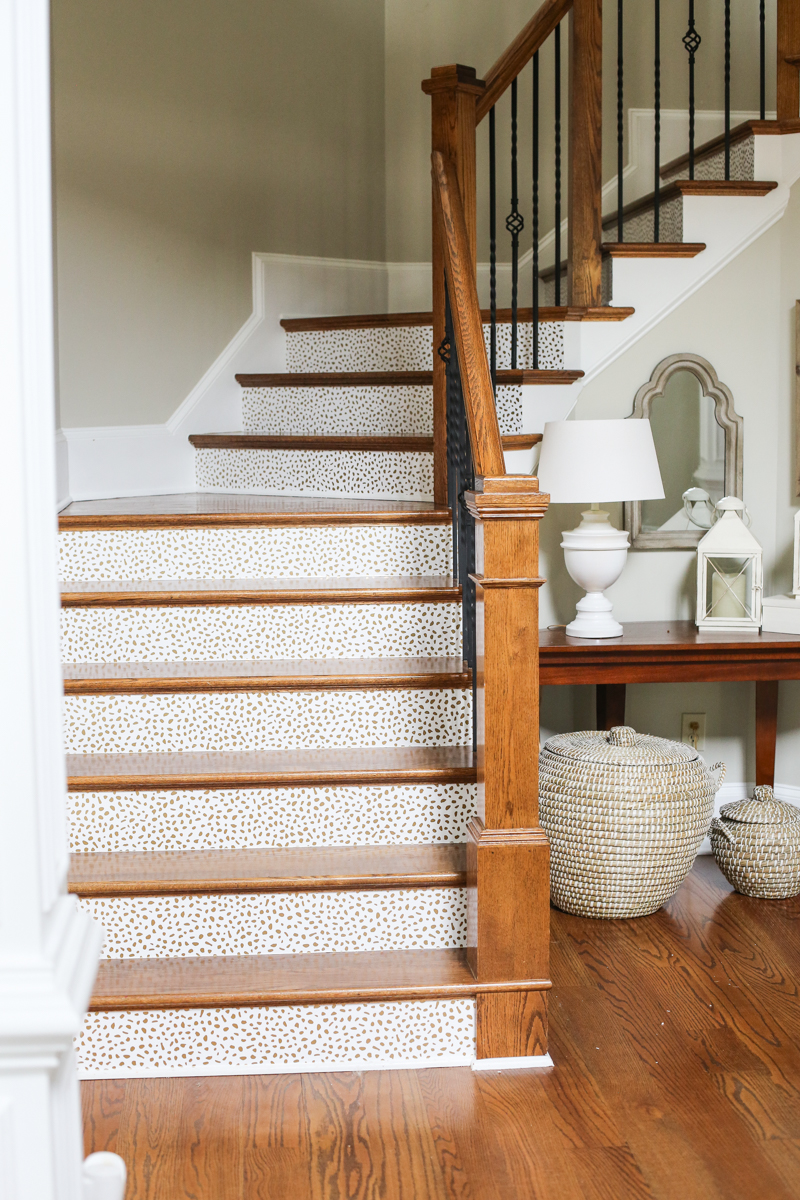
And it’s still subtle…like it doesn’t scream “I’m a crazy steps lady”….so thats good. Nothing worse than being a crazy steps lady 🙂
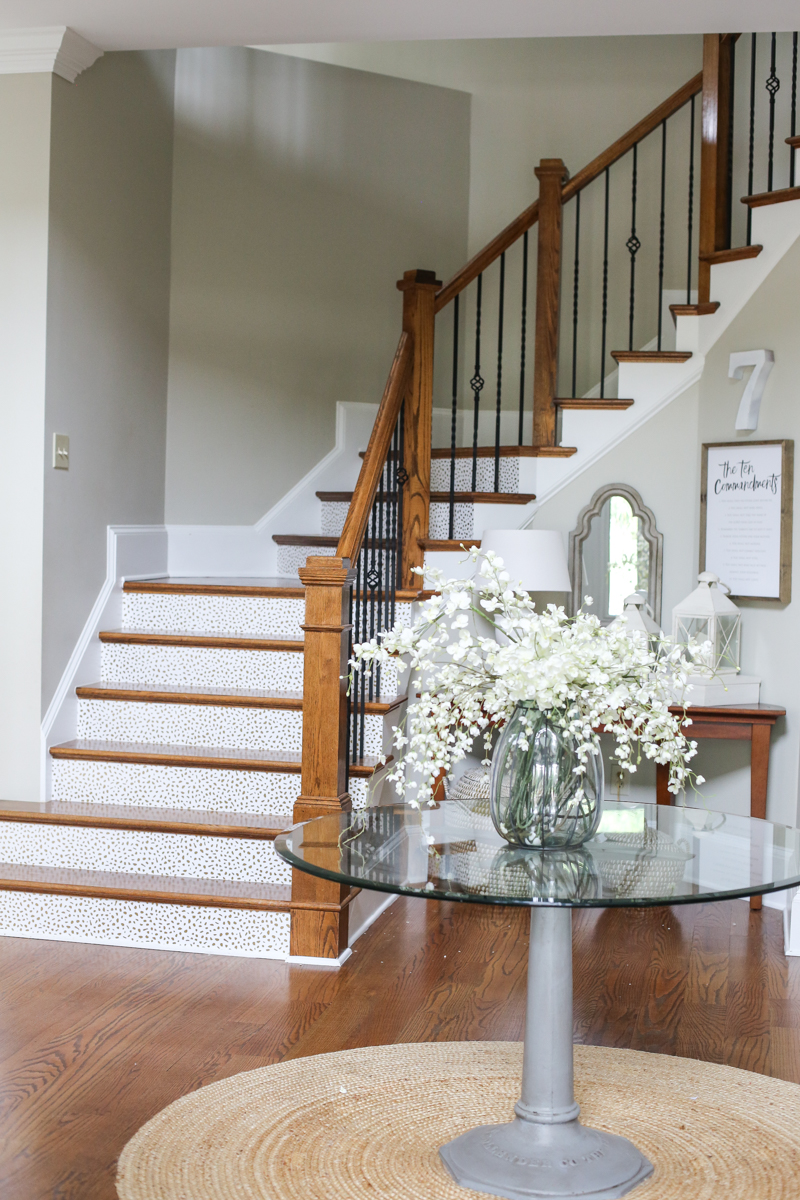
But I have to admit…it makes me want to redo a few things in this area….like for one, I hate our hardwoods color. It’s very orange. But we had it priced out and it is a big expense so that will be one of those things that we should save for…especially since we are saving for a pool right now. In the meantime, I’m thinking I could do other little things…like building a cabinet for that alcove area…one that fits into all those crazy angles. And maybe do a different rug and maybe paint that door to the basement.
But for now, I am celebrating my little stair update because it is so happy!
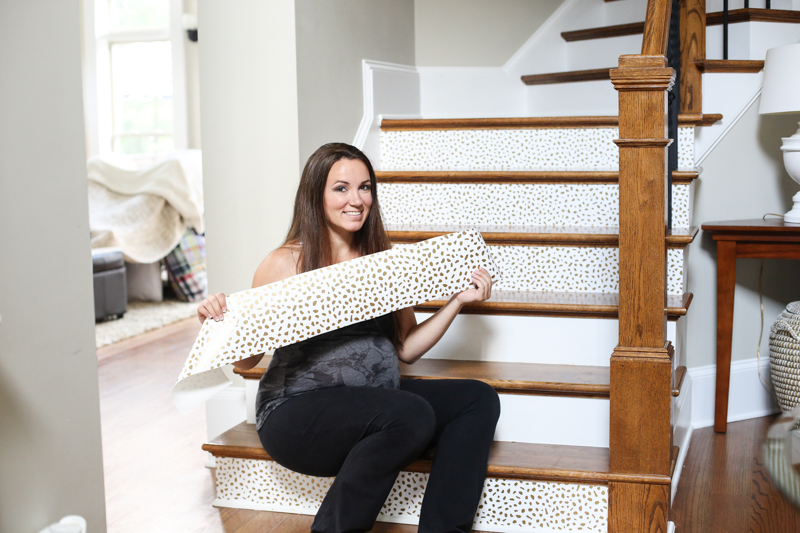
The very last thing is…it took 2 rolls to do this whole stairway. I have 18 steps and I have about a half of a roll left over in case we ever get a Sharpie accident 🙂
And if you are interested – here are some of my favorite wallpapers! Happy DIYing y’all!


