I went to the doctor and you won’t believe what he said!
How’s that for some click bait 🙂
I did go to the doctor. Everything is normal. I need to get a second opinion because we all know that’s not true 🙂 But I’m glad to see how concerned you are. You are very kind. The point is – now that you are here….let’s talk about our first floor bathroom.
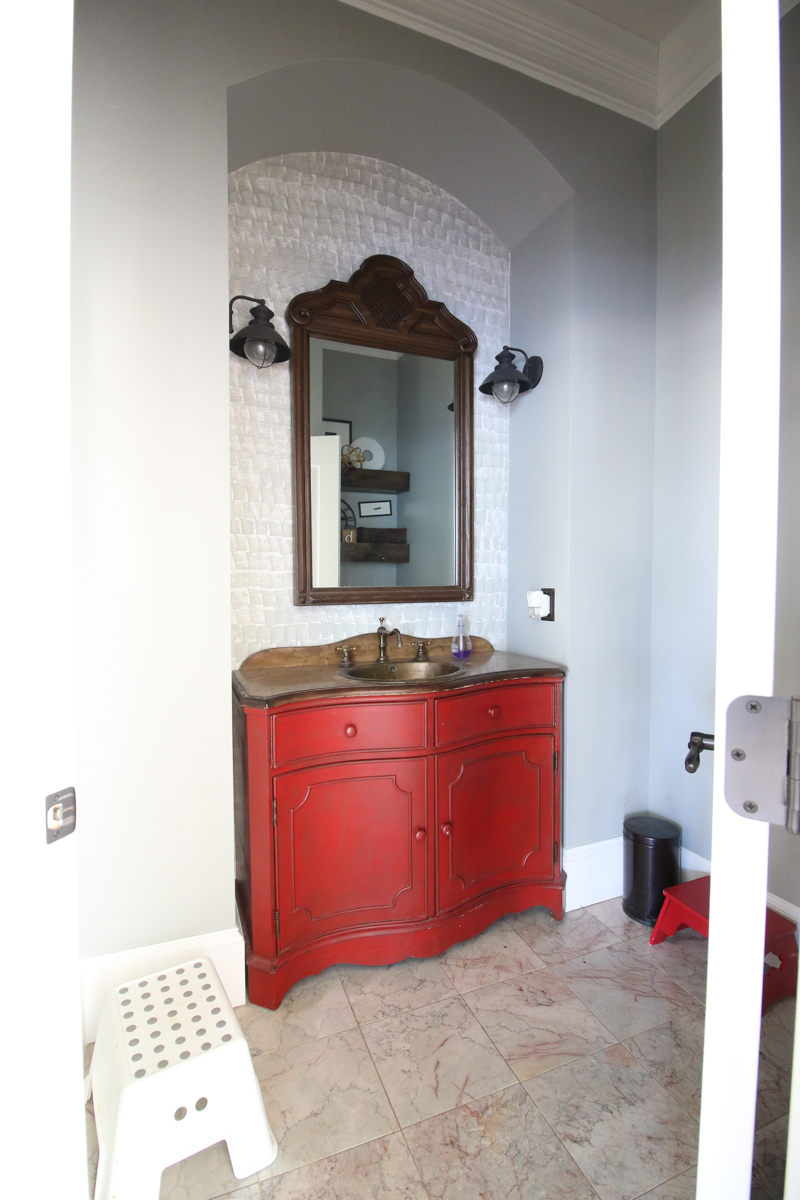
It was red and weird and just a bit of thrown together. It was kinda like me. And that tile….seriously…red streaks….it’s like the floor was even saying ‘attack me!’.
After we replaced the flooring with dark large format porcelain tile (read that post here) and we installed the new ‘backsplash’ in that nook (it is this tile right here), I kinda left you guys hanging. But we have made great progress and I wanted to share the details because the reveal will be this week! We decided to keep the vanity (it’s a Hooker piece and you just don’t get rid of Hooker furniture…it’s a law somewhere) and just gave it a little mini makeover.
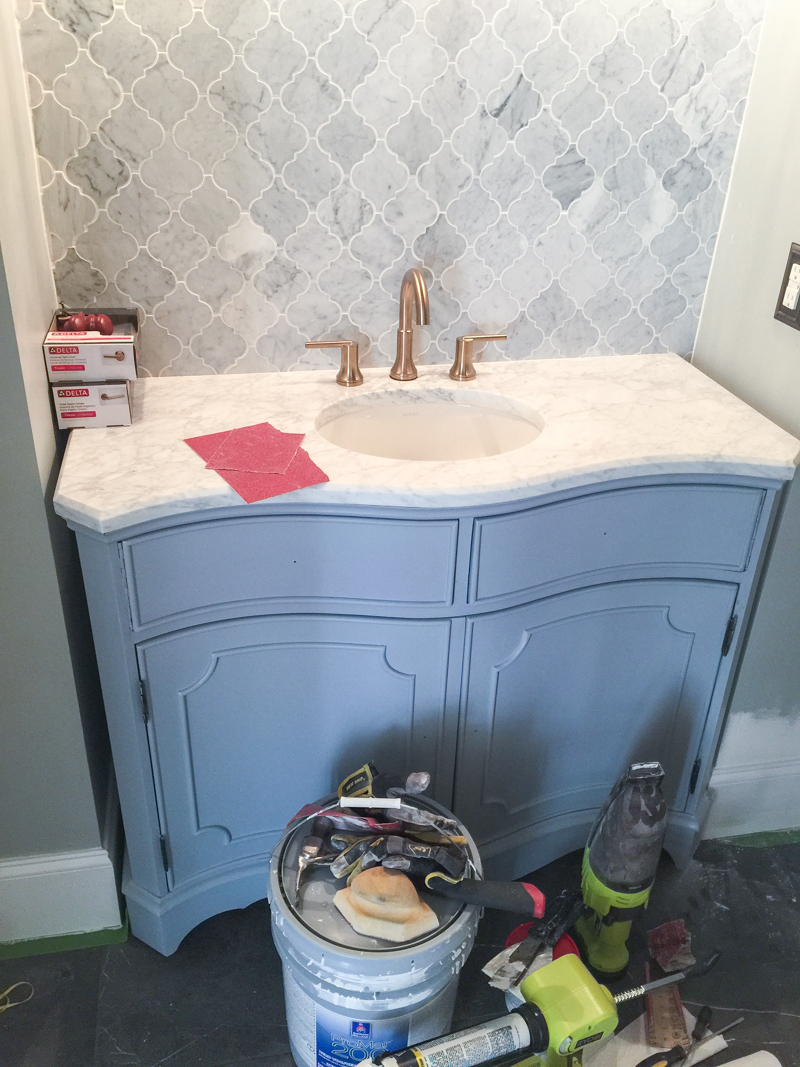
The vanity itself got a new coat of blue and we sourced a remnant for the top. Our friends at a local stone company (here is the company for all you locals!) cut and installed the marble top and I love it like a fifth son. It’s BEYOND beautiful and it makes me want new counters in our kitchen something FIERCE.
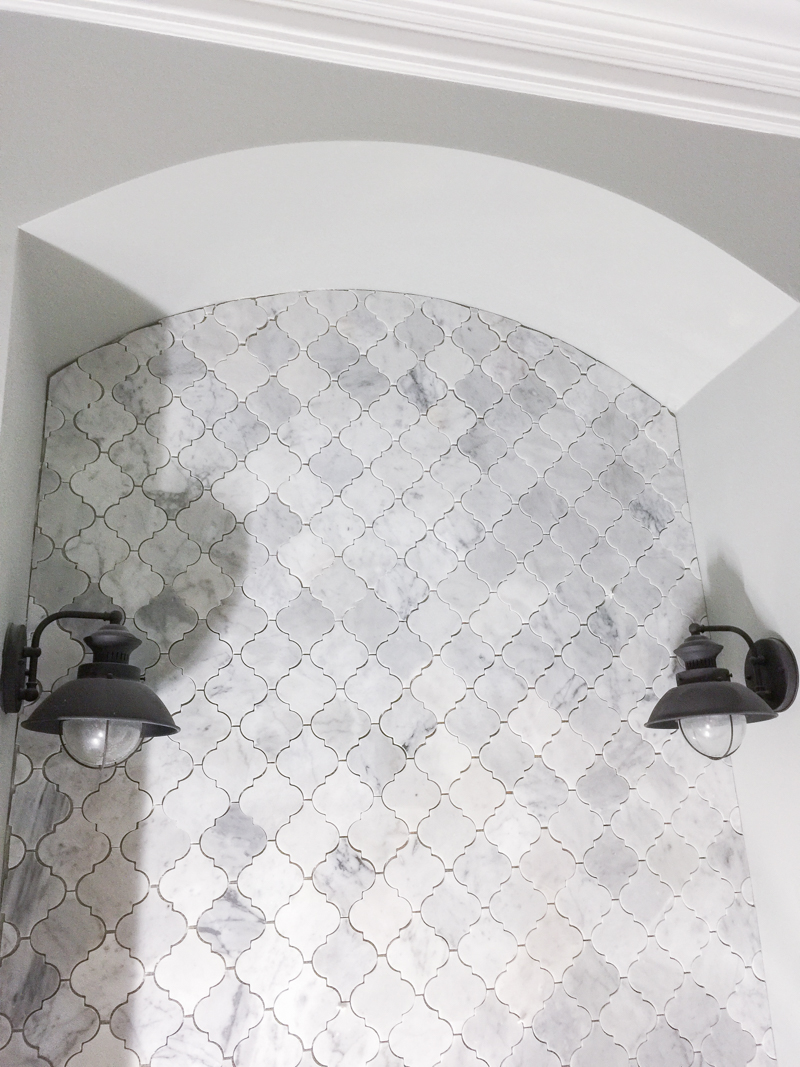
After that was all in, we decided the light fixtures just would not work. The room definitely needed a new look. One of the things we did not like about these particular lights was that it only shared its light in a specific downward direction.
So I ordered three different options to see if I could find a sconce that 1. was not directional and 2. was gold and 3. would compliment the drama of the marble.
The first option was a short-tailed vertical sconce with a glass shade. I loved the lines of this one but the color was all off. It didn’t compliment the faucet at all. It was more of a yellow matte gold. But the glass shade was very modern and dramatic and I really did love the bottom part of the sconce.
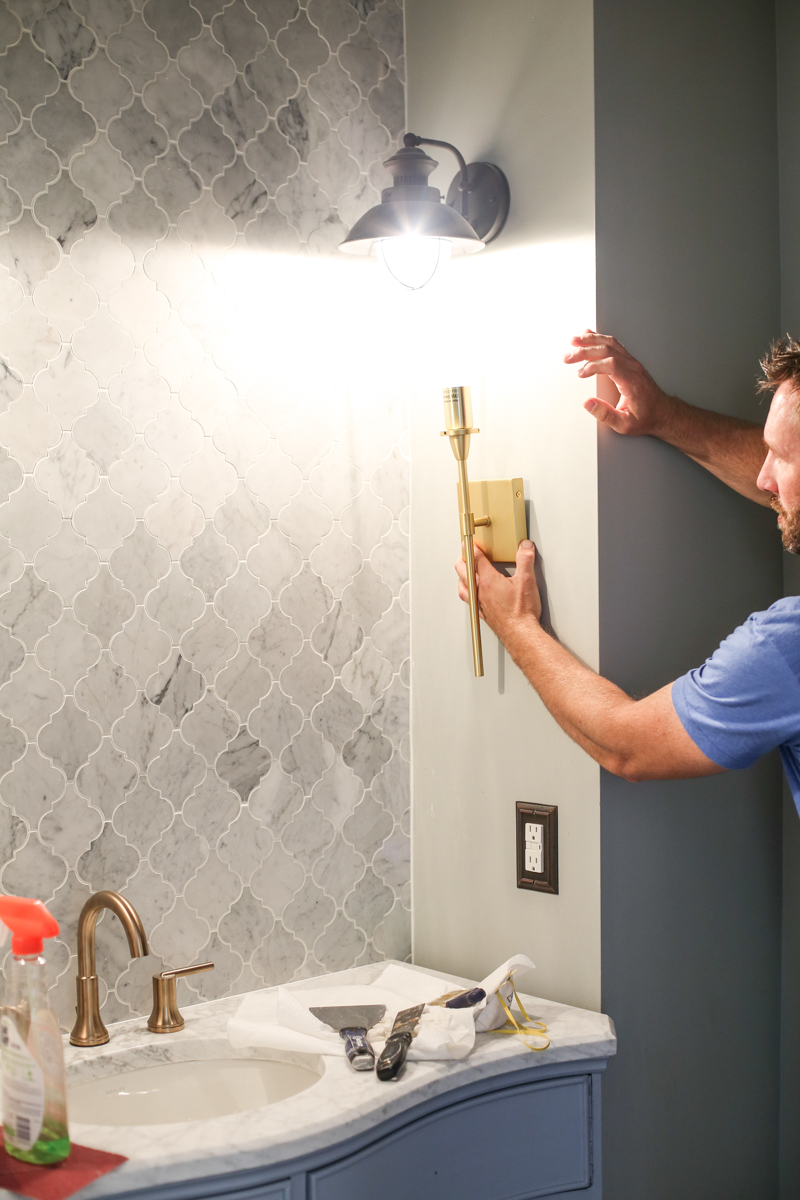
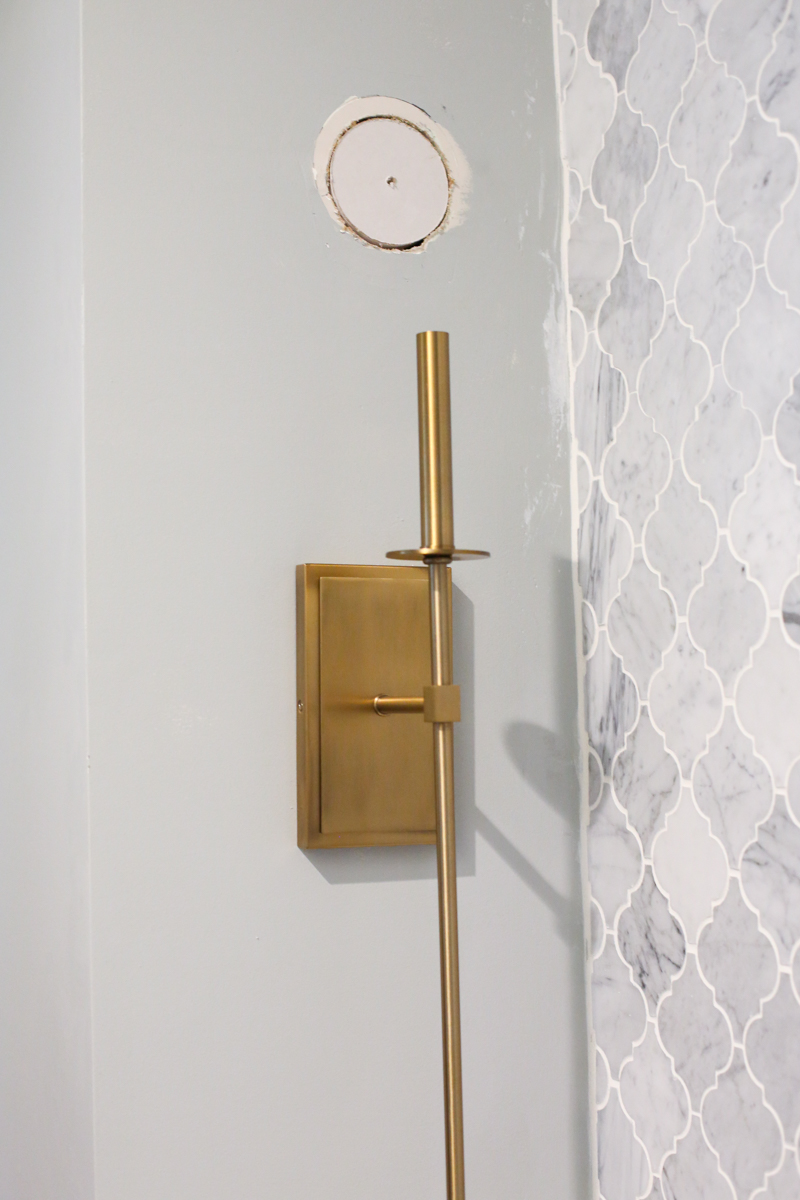
The second option was a long tailed vertical sconce with a shade. It had a much richer gold color that did compliment the faucet but it was super tall and would require us to move the outlet box down because it was so long.

The third option was a simple glass globe sconce option with a more industrial vibe. The color was good but the overall vibe seemed a little less dramatic, less traditional and more like a supportive player than a staring role.
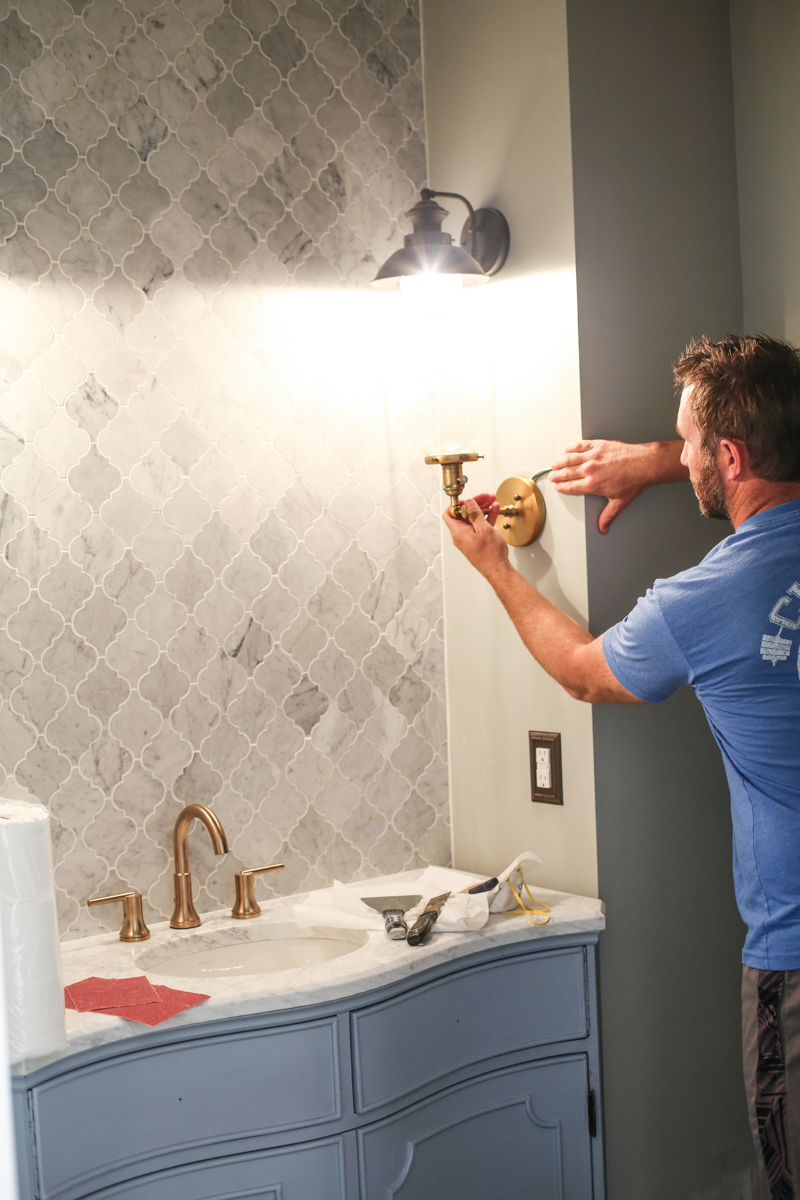
In the end, we went with the shaded long tail version. And since we were getting a wire fixed to our garage door, we asked the electrician to also quote us on moving the first outlet box down and rerunning a line for a lower outlet box. He also did an additional recessed light over the toilet. Well worth the money! The drywall work we could patch ourselves and now the room is so much brighter!
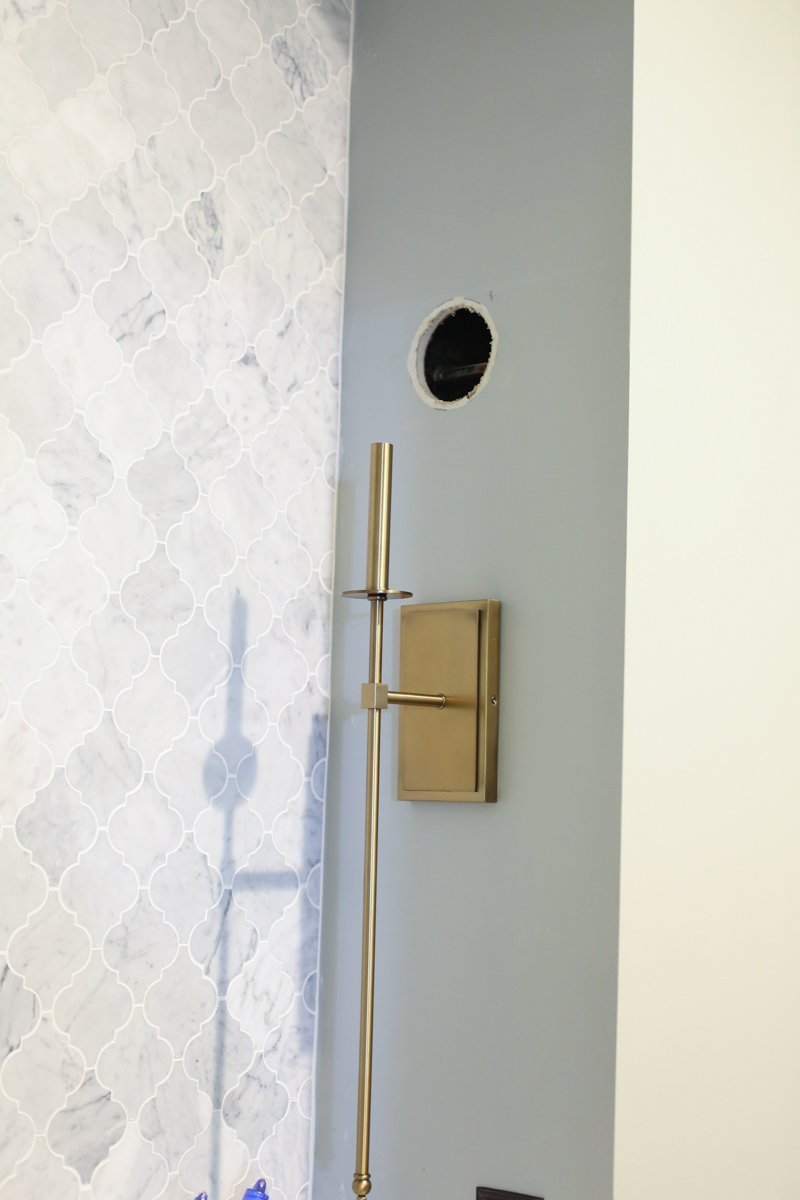
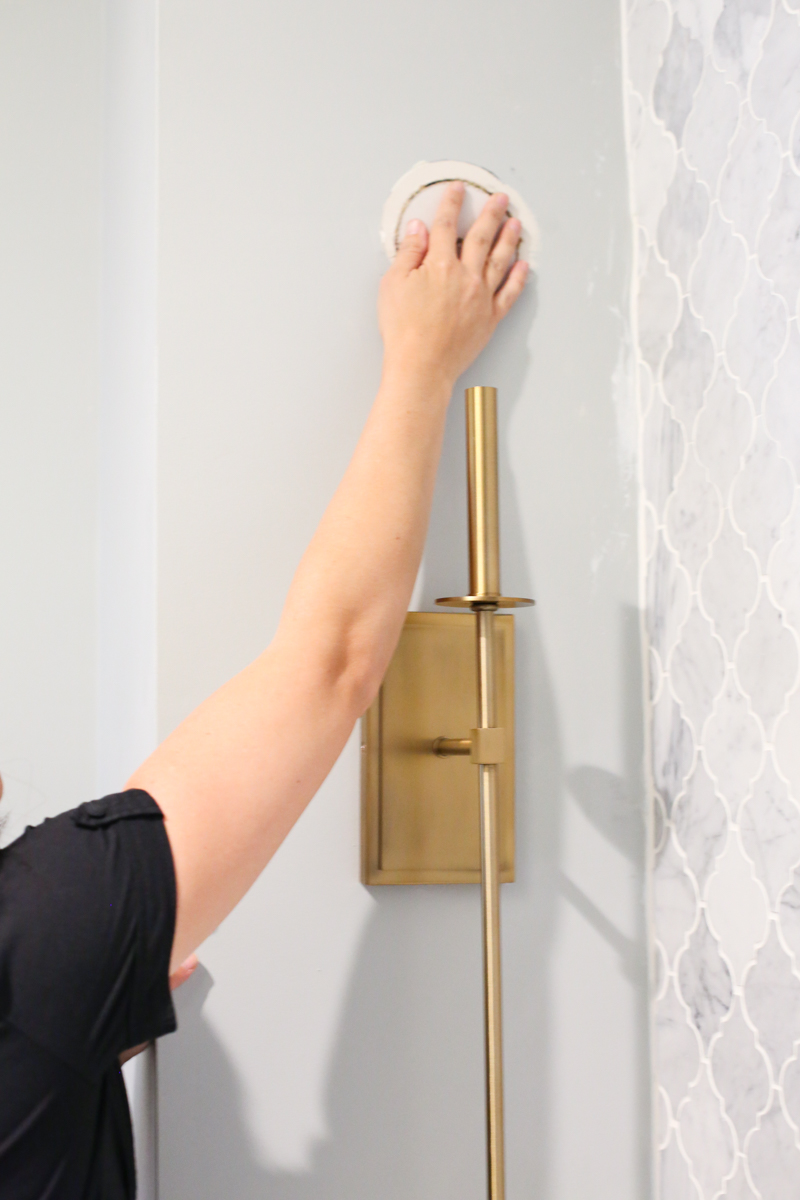
Because the drywall was going to be partially hidden behind the shade, I decided to do a drywall hack to fix the holes. Jeremy used a hole saw to cut pieces of drywall out that were exactly the right size circle and I grabbed a stir stick and my Ryobi glue gun.
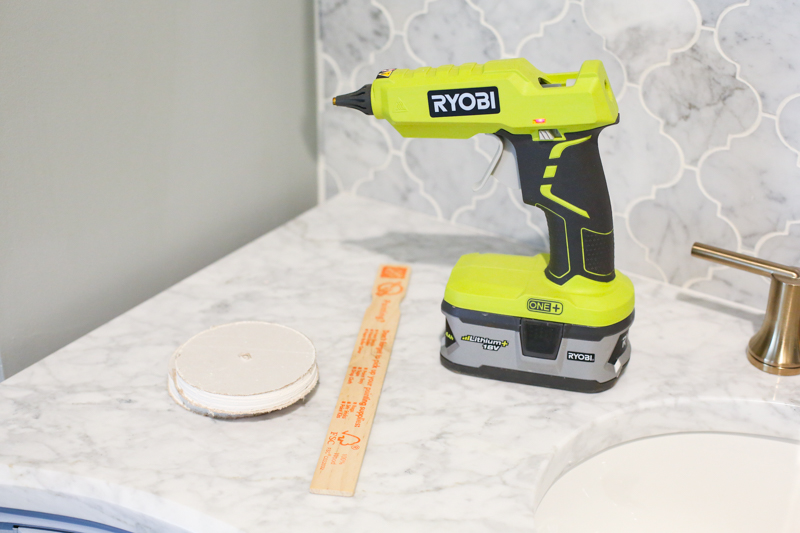
The old outlet box had no existing connections so we could shove the entire thing into the wall cavity and not worry about pulling all the stapled wires. Then we hot glued the stir stick on the inside of the wall to create a temporary support.

Then I applied the hot glue on the back side of the drywall circle in a vertical line so it would attach to the stir stick….
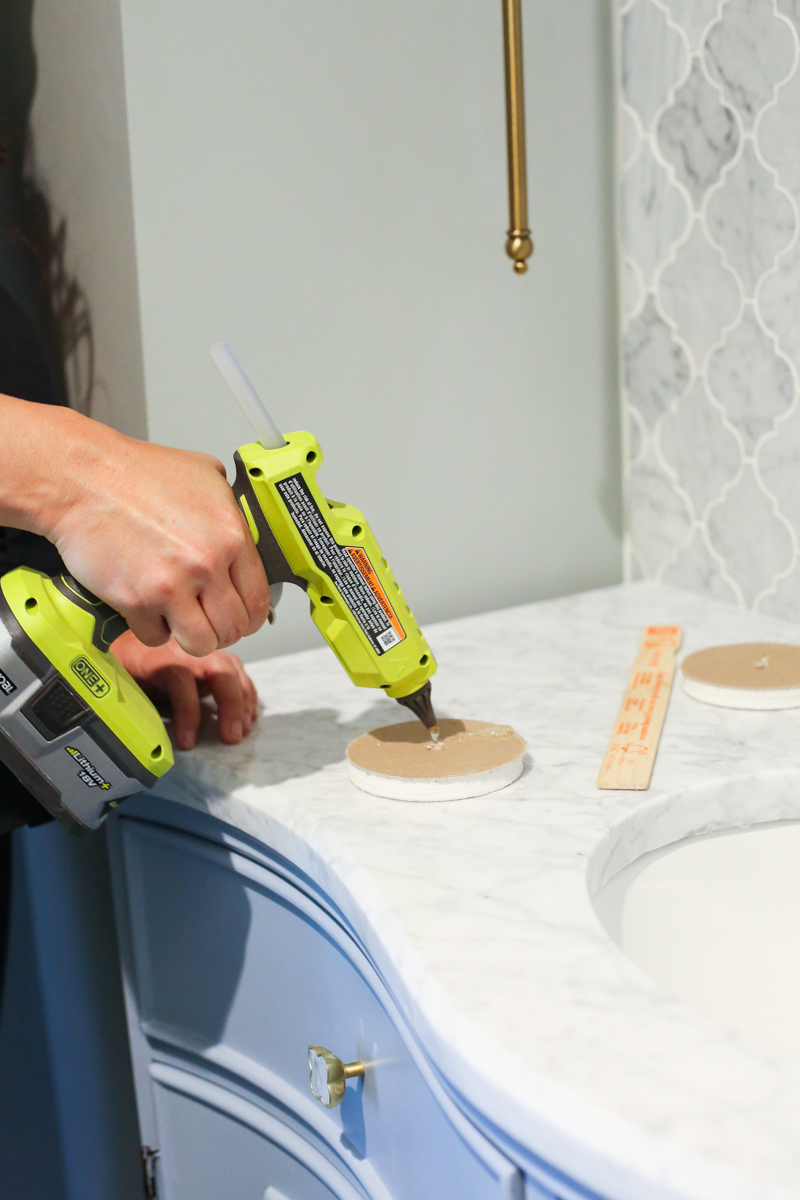
And put it in place. It did take a couple seconds for the glue to set up but it didn’t require any screws or mesh which often times creates a bump. Then you just mud as normal. Mudding is awful and nobody should willingly do it….except the first time because #learning. But this hack is great if it is patching a hole in a random area that nobody will try to attach things later.
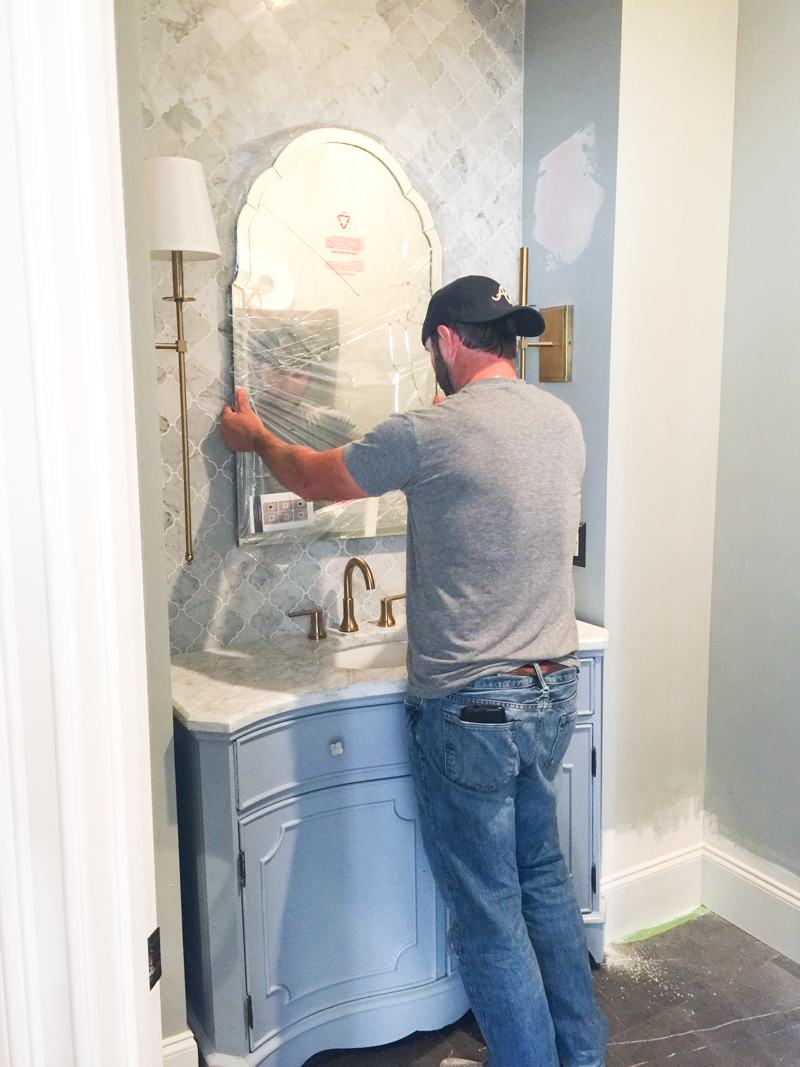
Once the sconces were up and the wall was patched, we hunted for a mirror. I found two great options and decided to splurge since the mirror was the centerpiece of the bathroom and I saved on the sconces. I asked y’all on Instagram which one you preferred (I love having so much feedback so thank you guys because you are awesome!)….and it was such a close call. You guys verbalized everything that I was thinking.
The first option was this gold moroccan beauty which really did draw out more gold details and it mimicked the vibe of the backsplash tile.
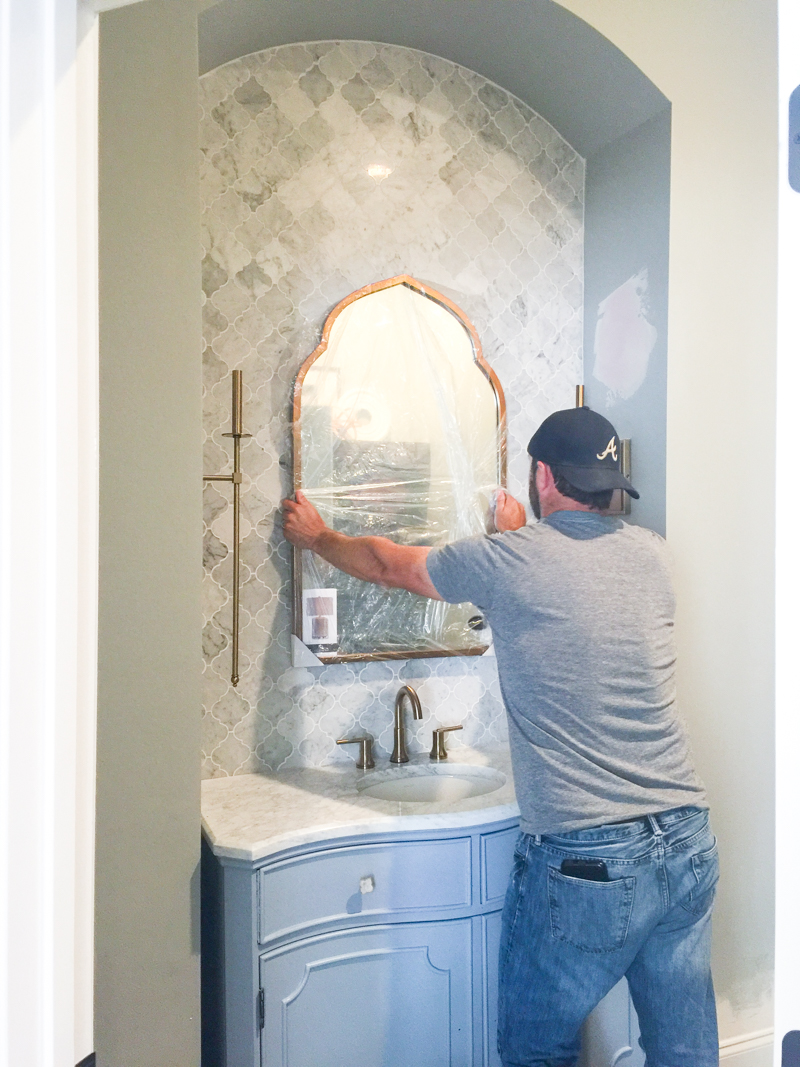
The second option was this mirrored edge arched version. I honestly love both of them….and when it came down to it, the deciding factor was that the mirrored edge one arrived broken (see that sad crack?). I know. That shouldn’t ever be the factor. But that shows how much they both were loved. Seriously close call.
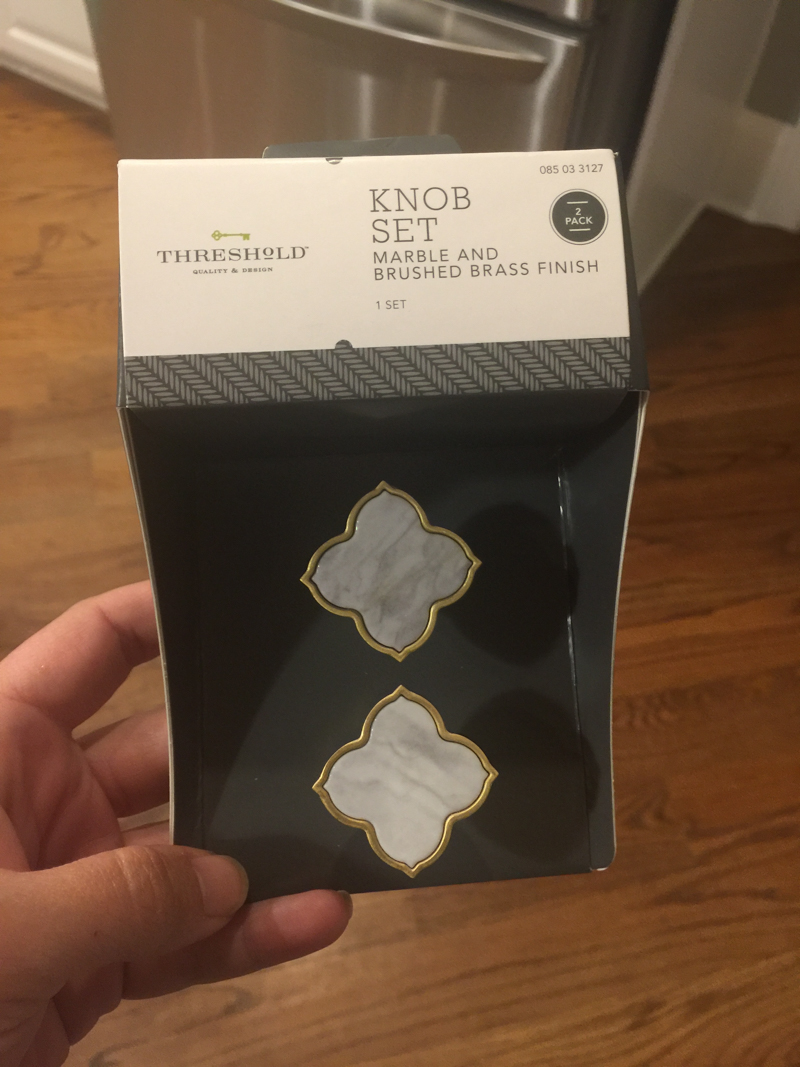
As for the knobs on the cabinet, I could have just painted the existing wooden ones the same blue as the rest of the cabinet but I wanted them to pop and so I picked up this marble and brushed brass set from Target. They are SO cute and now I want them everywhere….like all my dressers, my kitchen cabinets, my workshop cabinets 🙂
I had to do a ton of painting, spackling, shopping and styling but officially the space is done and I love how fresh it feels. It’s really like an entirely different bathroom. And you will have to stay tuned to see it! And I’d love to hear if you have ever done a bit of drywall work….since really that is the most painful of any room makeover. Did you love it? Hate it? Want to collapse into a deep depression over it?! That’s me….I need a whole dozen of Krispy Kreme afterward!
p.s. I know this will be a question – the vanity color is Ovation by Behr and the wall color is Metropolitan by Benjamin Moore 🙂 Happy DIYing!