Disclaimer – This post is sponsored by The Bouqs Co. All opinions are 100% my own.
Love is in the air! February is one of my favorite months…it has my Mummum’s birthday, my own birthday and Valentines day! Plus, every aisle in the grocery store has hearts and balloons and sentimental phrases about loving each other….which is my version of home cooked soul food. And the other thing that screams February is flowers. OH THE FLOWERS. And Bouqs is willing to share with you guys a pretty stellar discount code. Use the code “BOWERPOWER” for 20% off your Valentines day purchases.
As you know, we have always loved partnering with The Bouqs Company – the flower company that grows gorgeous blooms on the side of a volcano and delivers them directly from their farms to your home – allowing those beautiful bouquets to last longer and produce less waste. I can speak from experience that all of the flowers we received are ridiculous. I probably would believed they were fake because they are so pretty. And it’s my yearly tradition to share some DIY vases so that you can display, deliver and split these bundles to spread the love and still get your crafty fix.
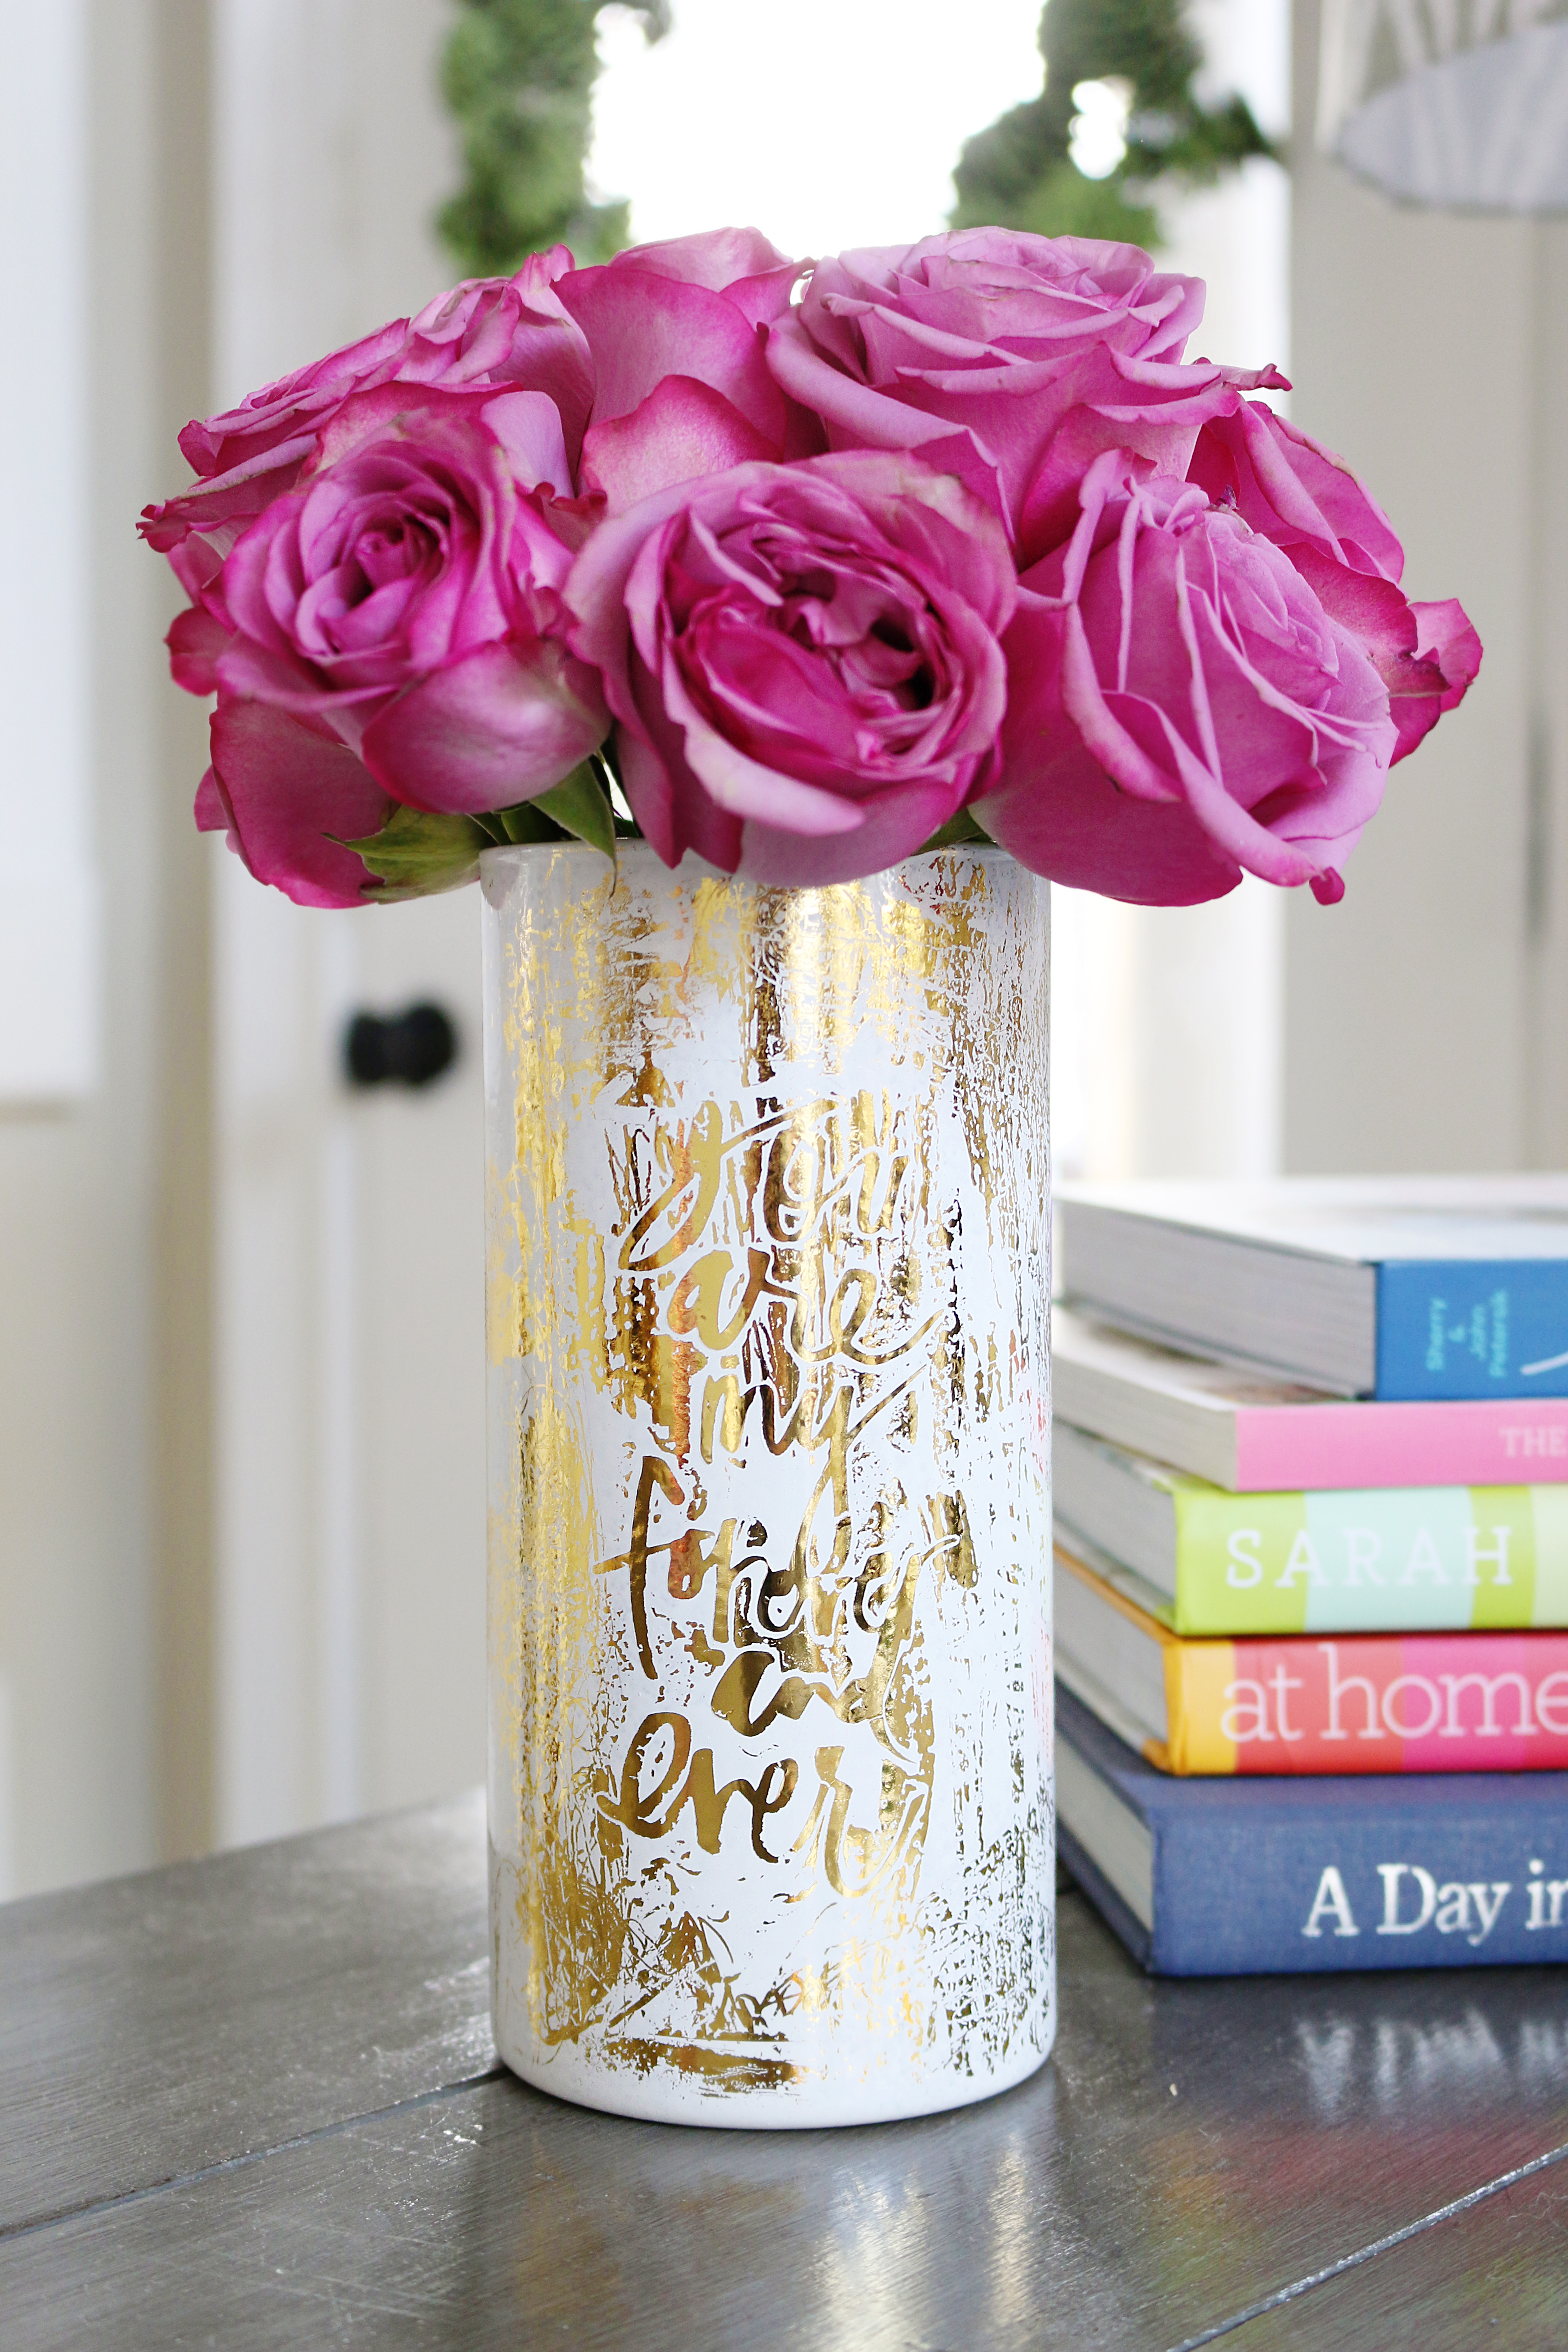
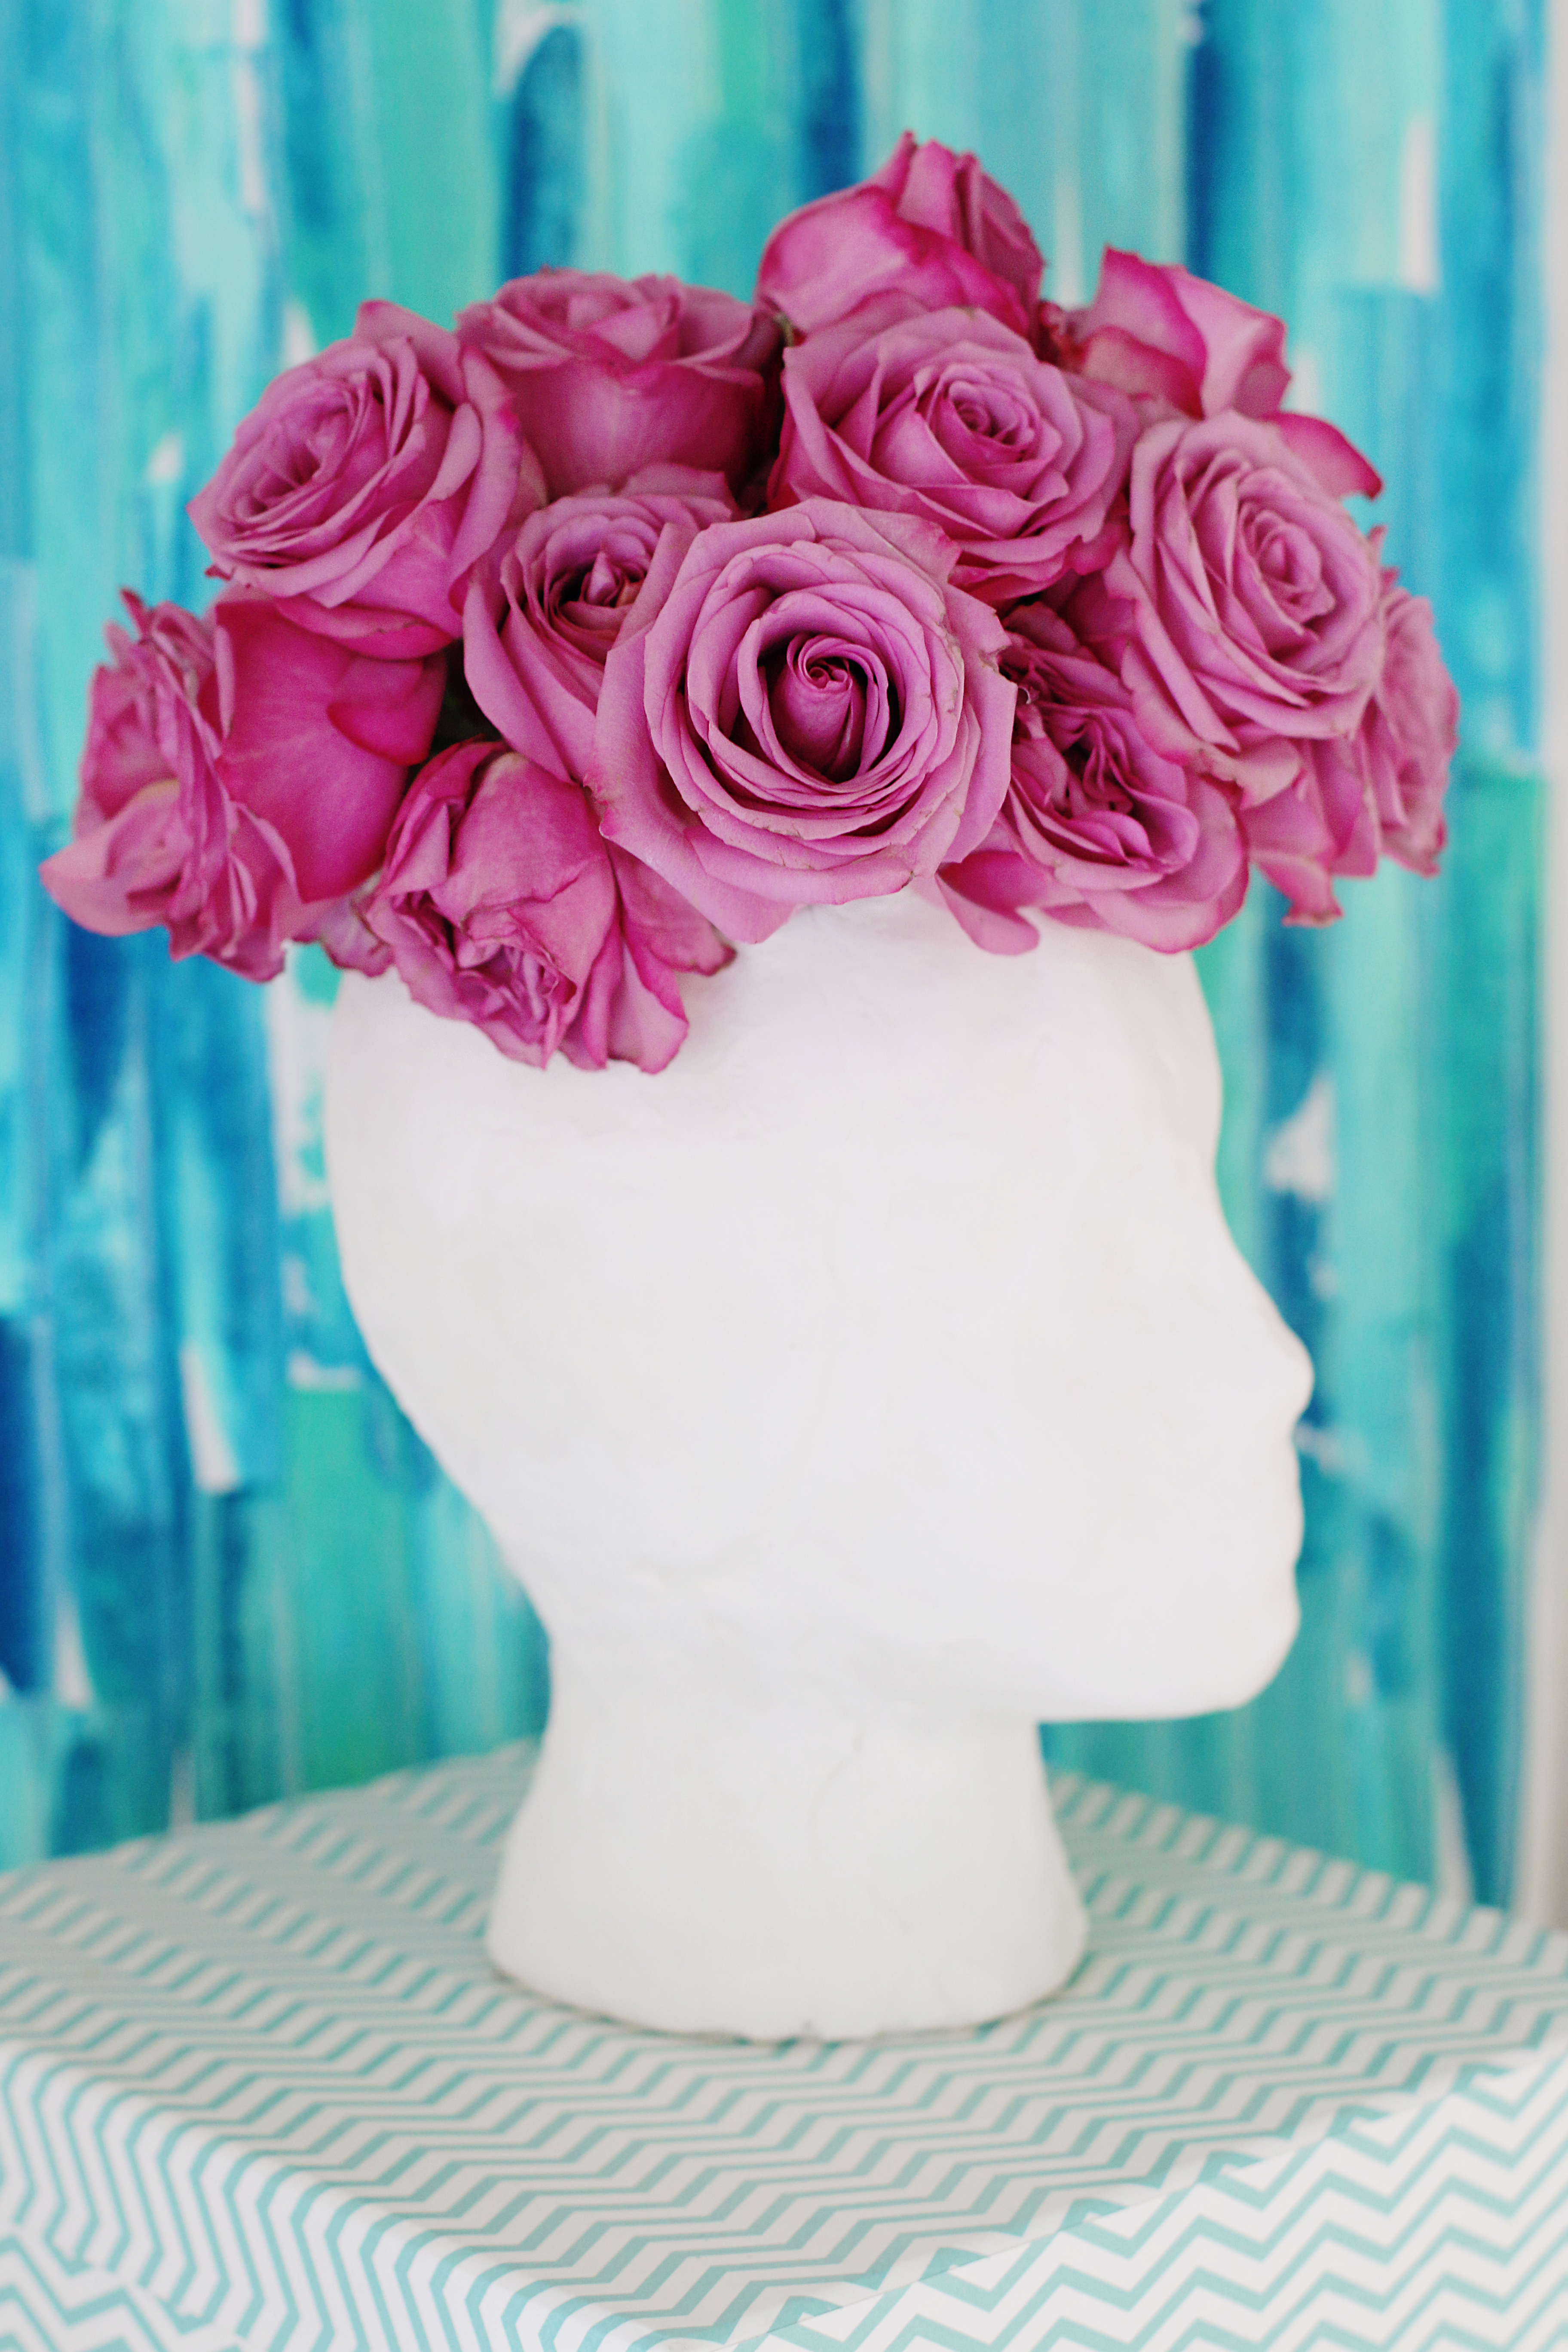
Last year we shared the a sweet gold phrase vase, an polka-dot Anthro knock-off, a striped sweater vase and a DIY face vase.

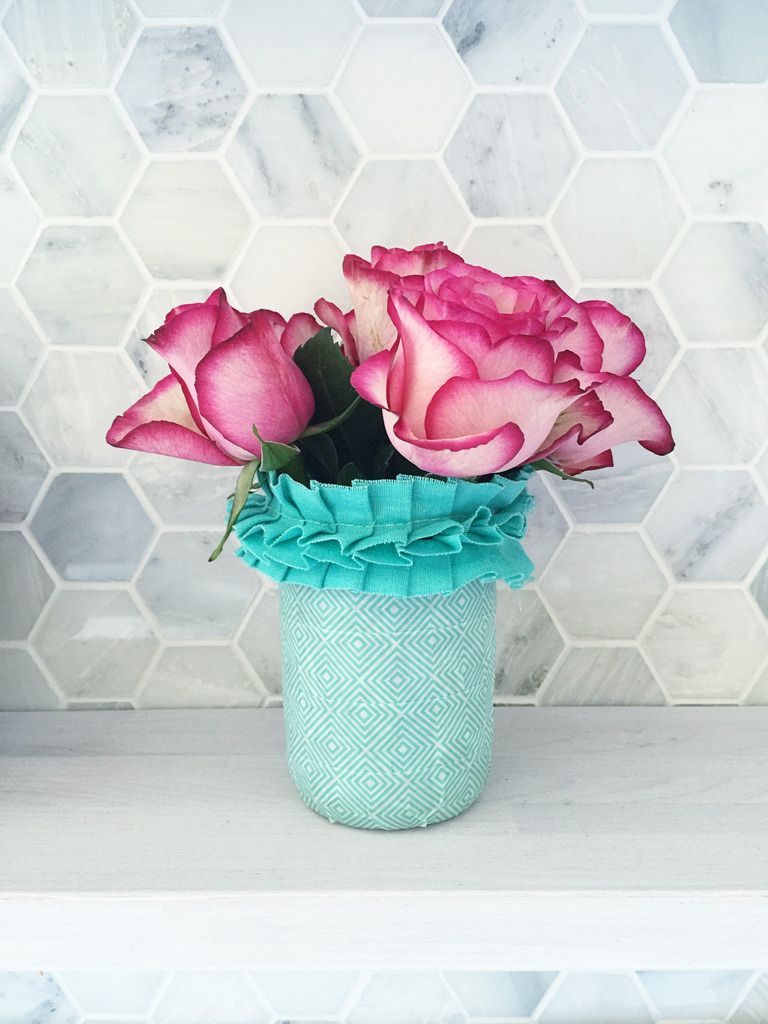
And the year before that we decorated mason jars – which turned out really fun and perfect for getting kiddos involved. I love being able to do these smaller groupings because they are the perfect size for nightstands, kitchen corners, and low centerpieces.
And this year I wanted to share with you a few more DIY vases that you can put together yourself to show off your bouquets. The challenge this year was coming up with a variety of options…a vase for those of you that aren’t crafty, a vase that works day and night, a way to jazz up a hand delivered bouquet, a super-simple-anyone-can-do-it vase, and a vase for those that want to deliver more.
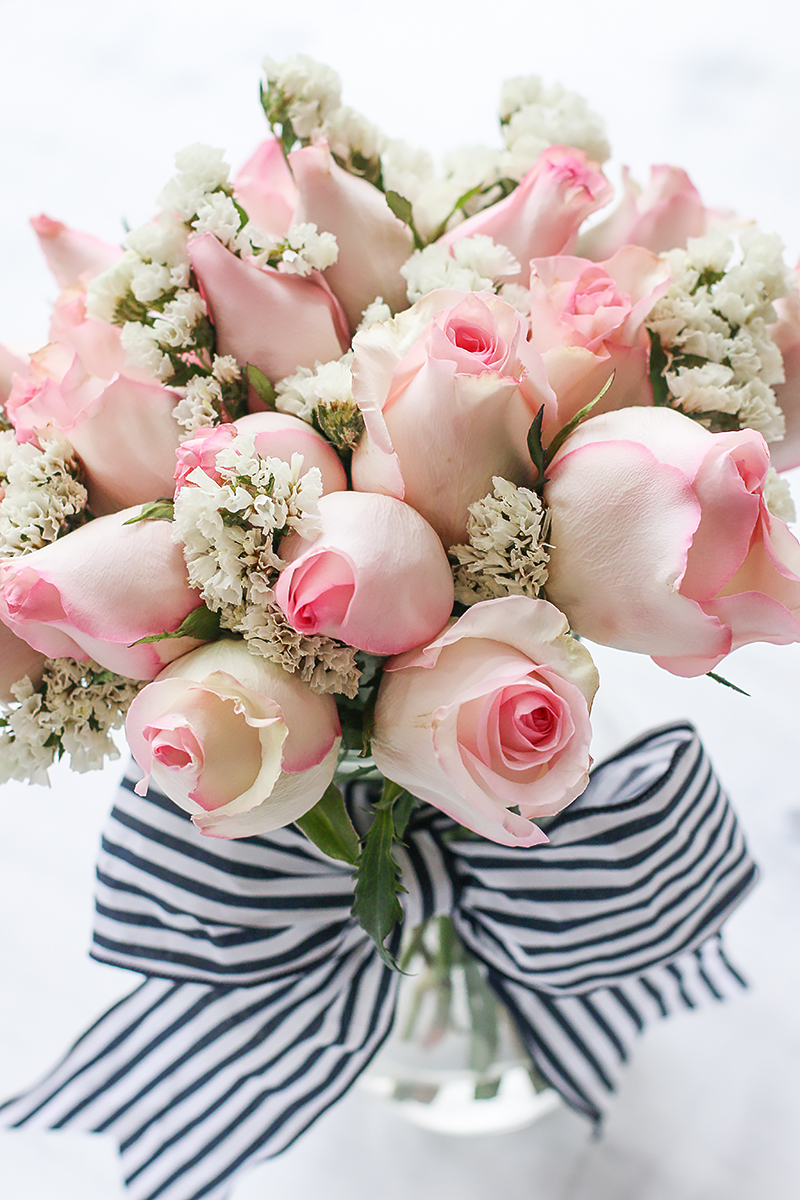
First is the easiest of them all…it literally requires two things…a cheap vase and a wire ribbon. And your valentines flowers. I mean…just look at these beauties…
Those are called the Above and Beyond.
Tying a ribbon onto the front of the vase sounds like a duh-moment but it actually can be your fastest fix to making a bunch of flowers look more like a present. Every gift has a bow, right?!
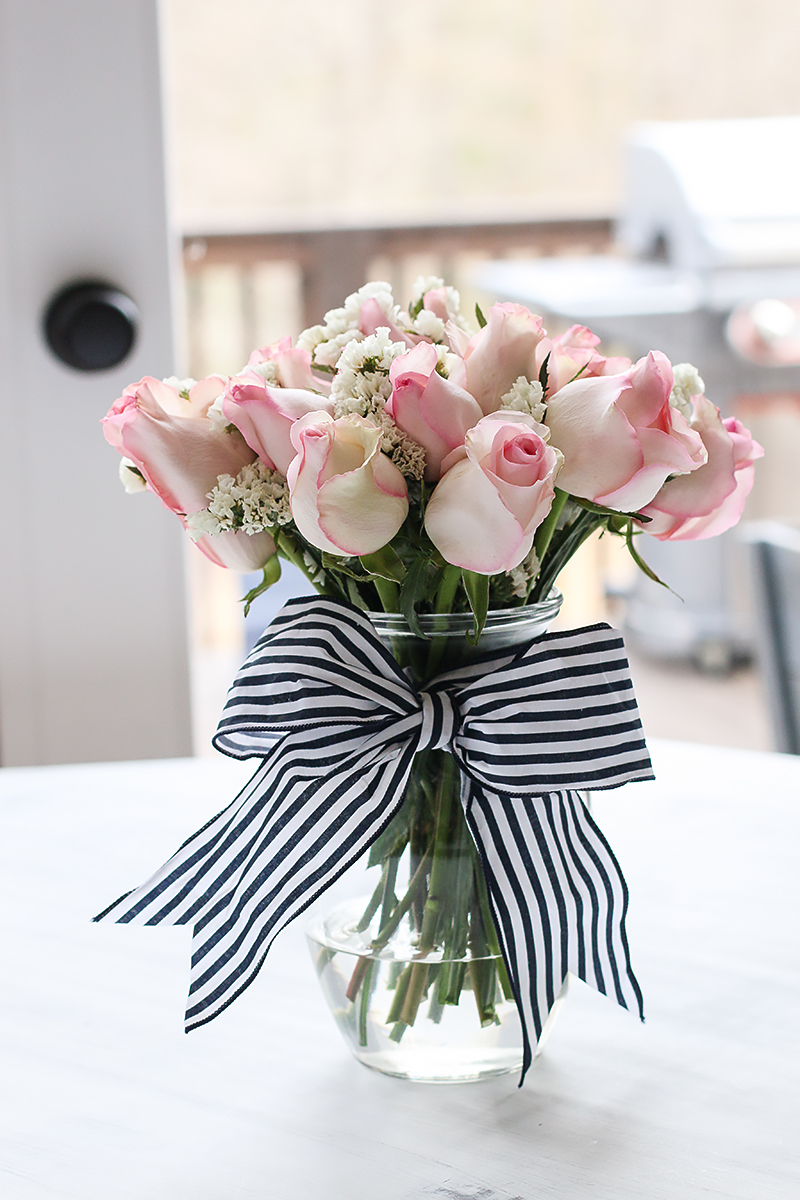
This striped wire edge ribbon in black & white gives it a great Kate Spade look that pops.
The next idea is also an assembly-only DIY…you will need just four things…the bouquet, a large glass vase, a smaller glass vase (or in my case a mercury glass look candle holder) and some wire mini lights with a battery pack.
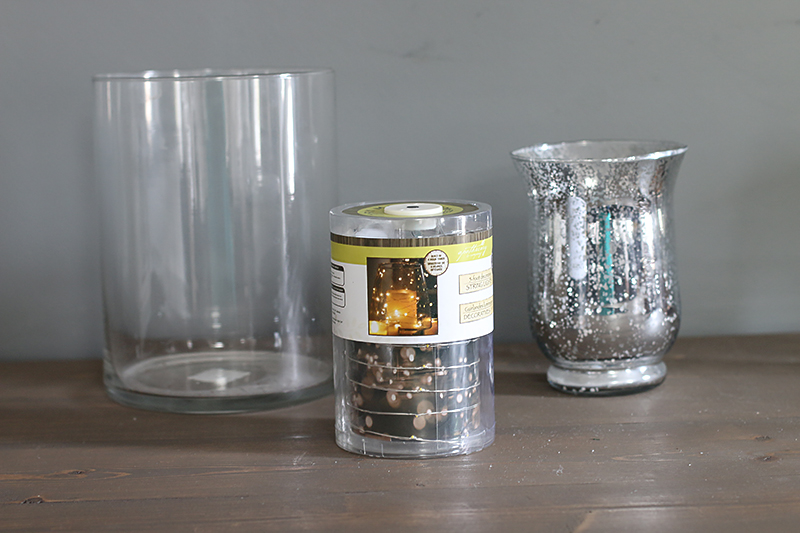
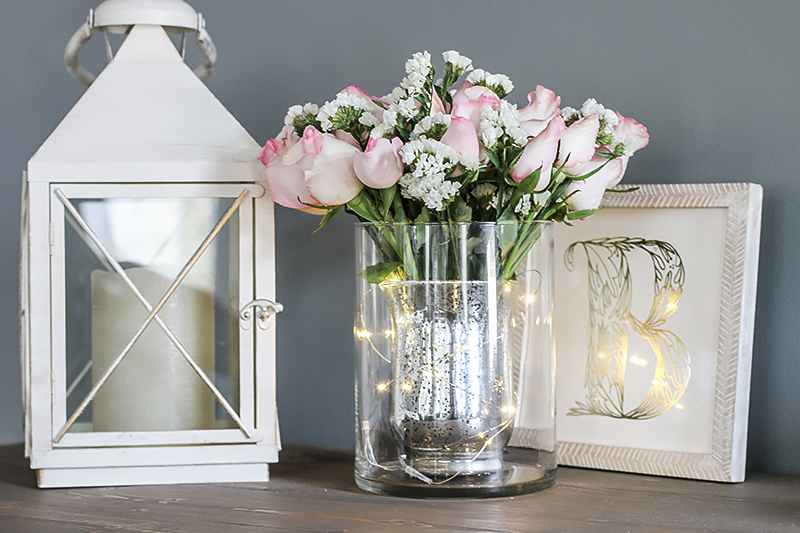
I simply popped the smaller candle holder inside the larger vase and loosely wrapped the lights around the smaller vase. The effect is stunning both day and night.
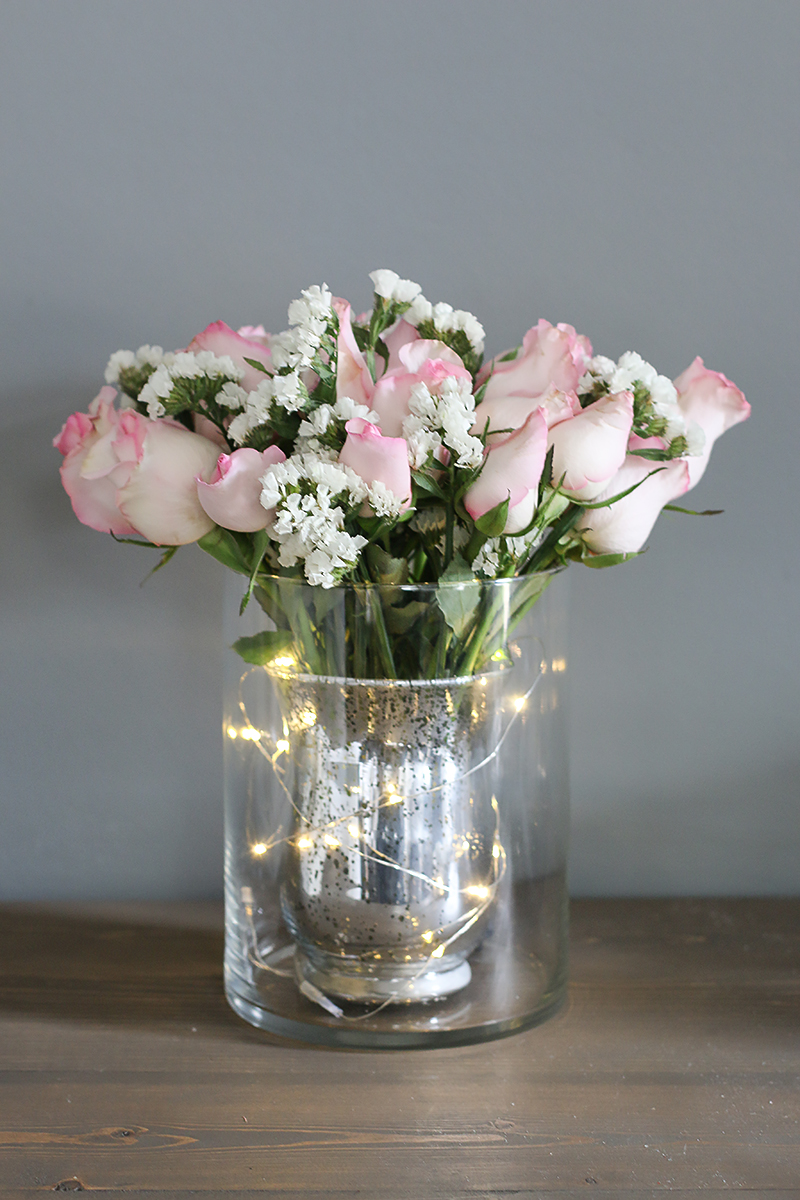
It twinkles and sparkles in a way that feels oh-so-romantic. I think this is the perfect centerpiece if you are throwing a valentines dinner for your loved one.
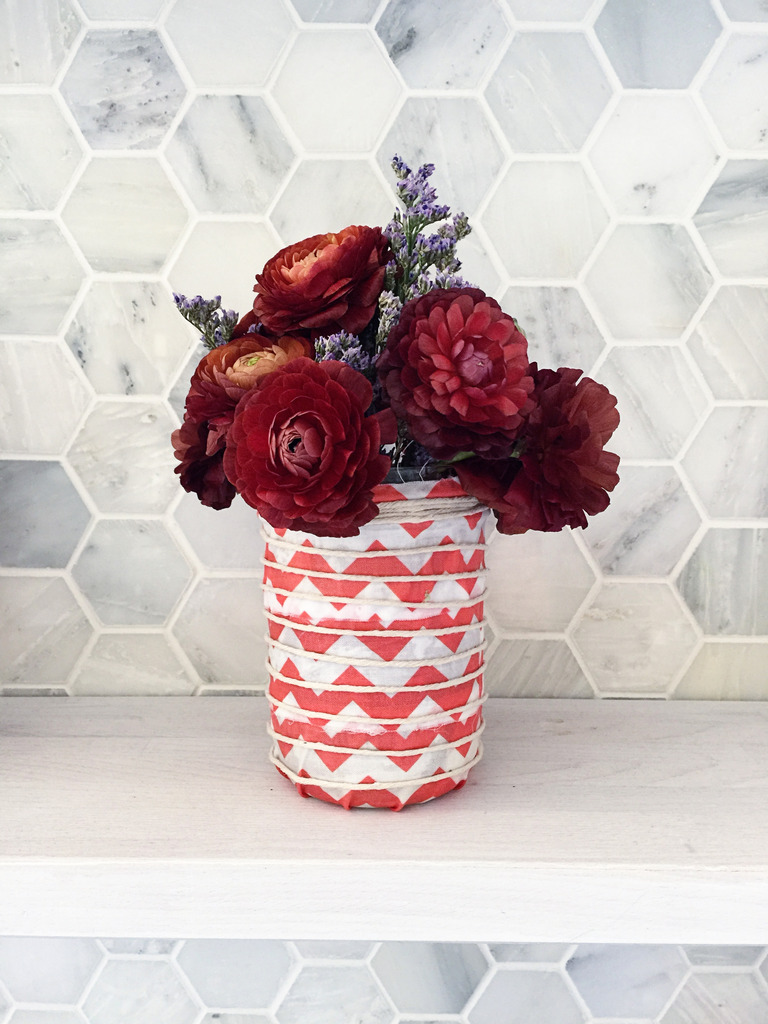
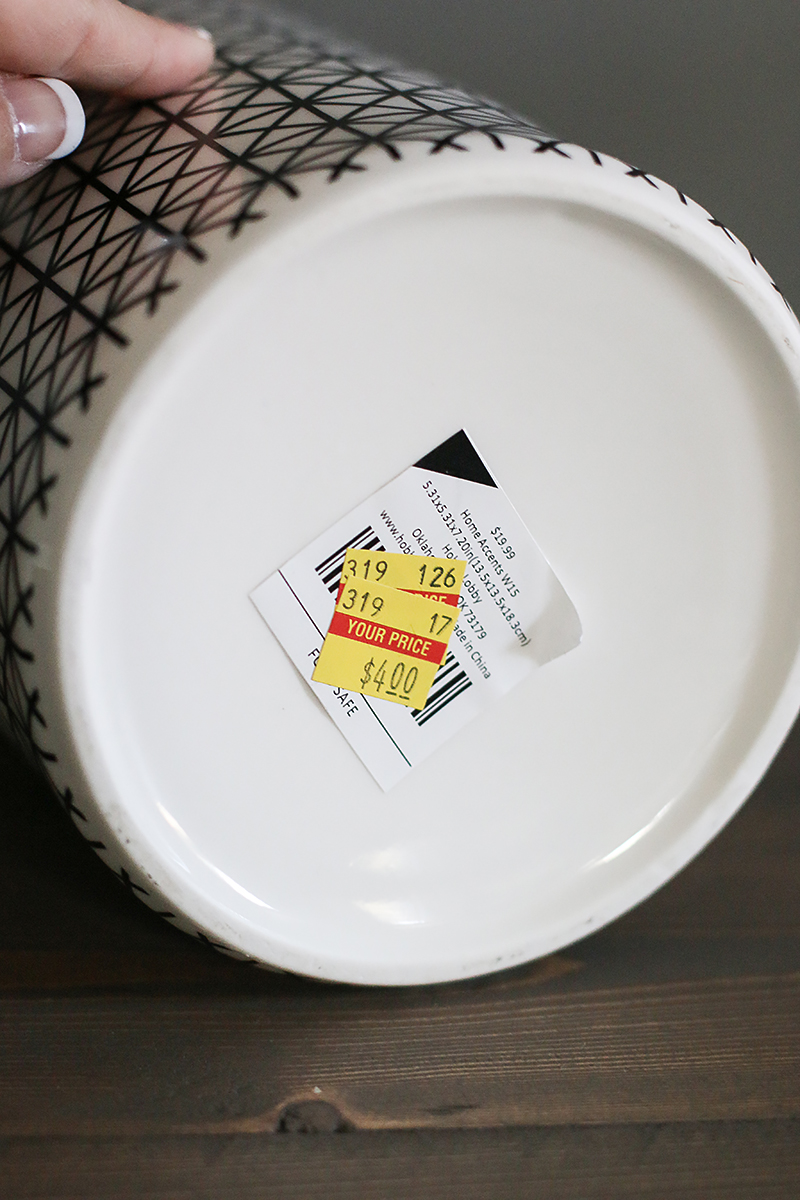
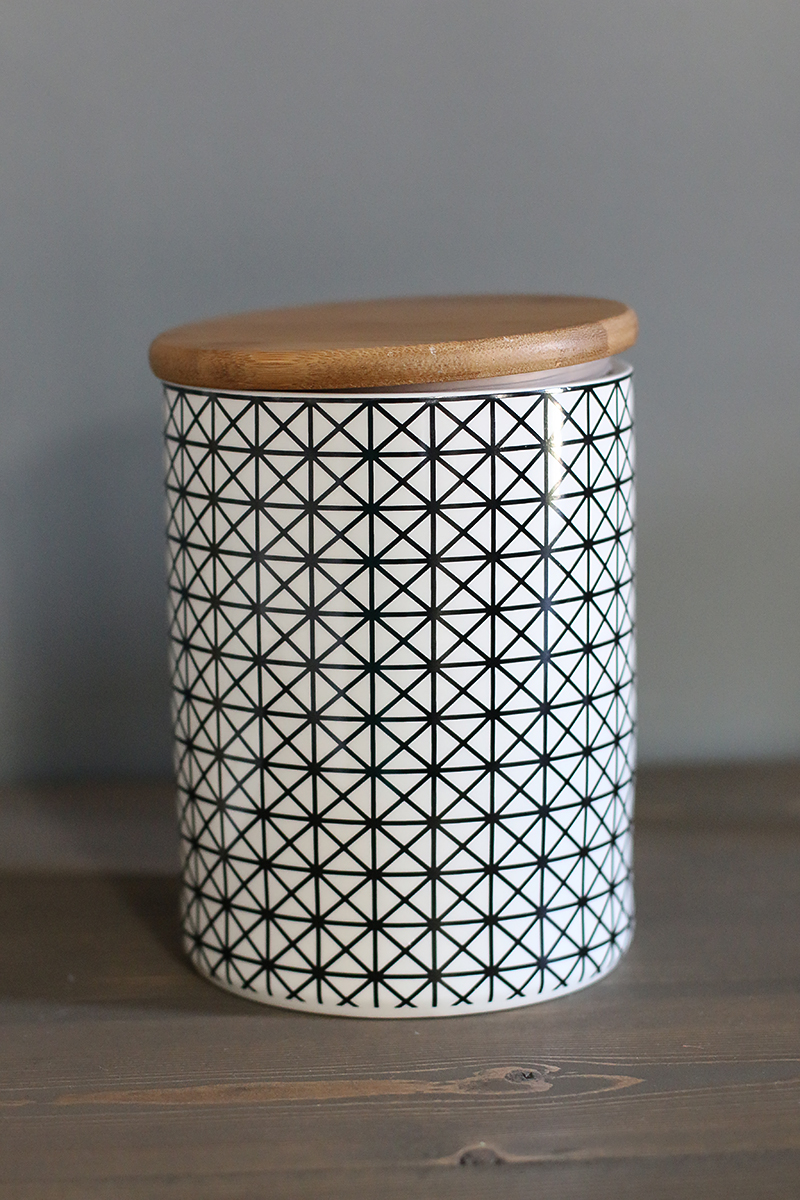
Since Bouqs doesn’t try to up-sell customers with cheesy teddy bears or chocolates to pair with their flowers…the flowers are delivered in boxes and are ‘fresh-from-the-farm’. This means that you don’t get a vase option either. It would slow down the direct selling option and honestly…I hate all the options normally given. So when your flowers arrive, think outside the box when looking for a vase. You can actually use a teapot, a ceramic container, even a basket with a small bowl inside. I found this ceramic lidded kitchen container at Hobby Lobby for only a few dollars and I figured it would be the perfect ‘vase’.
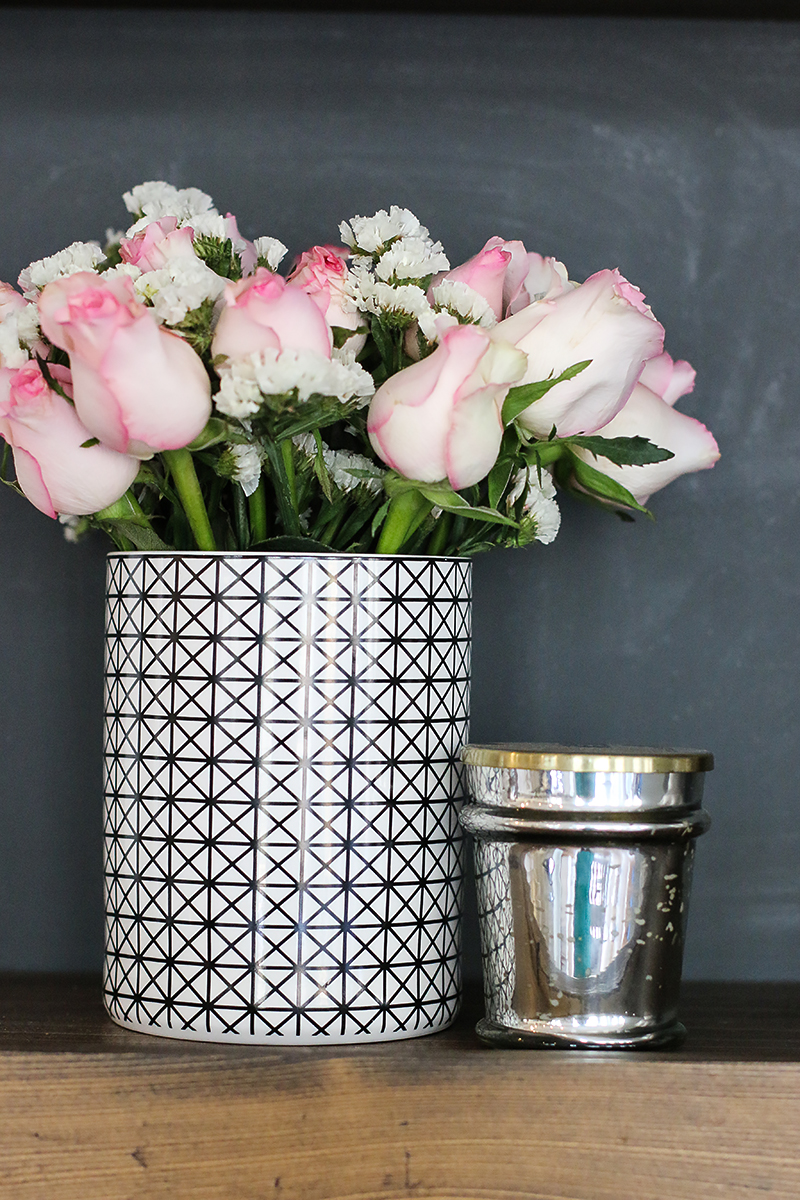
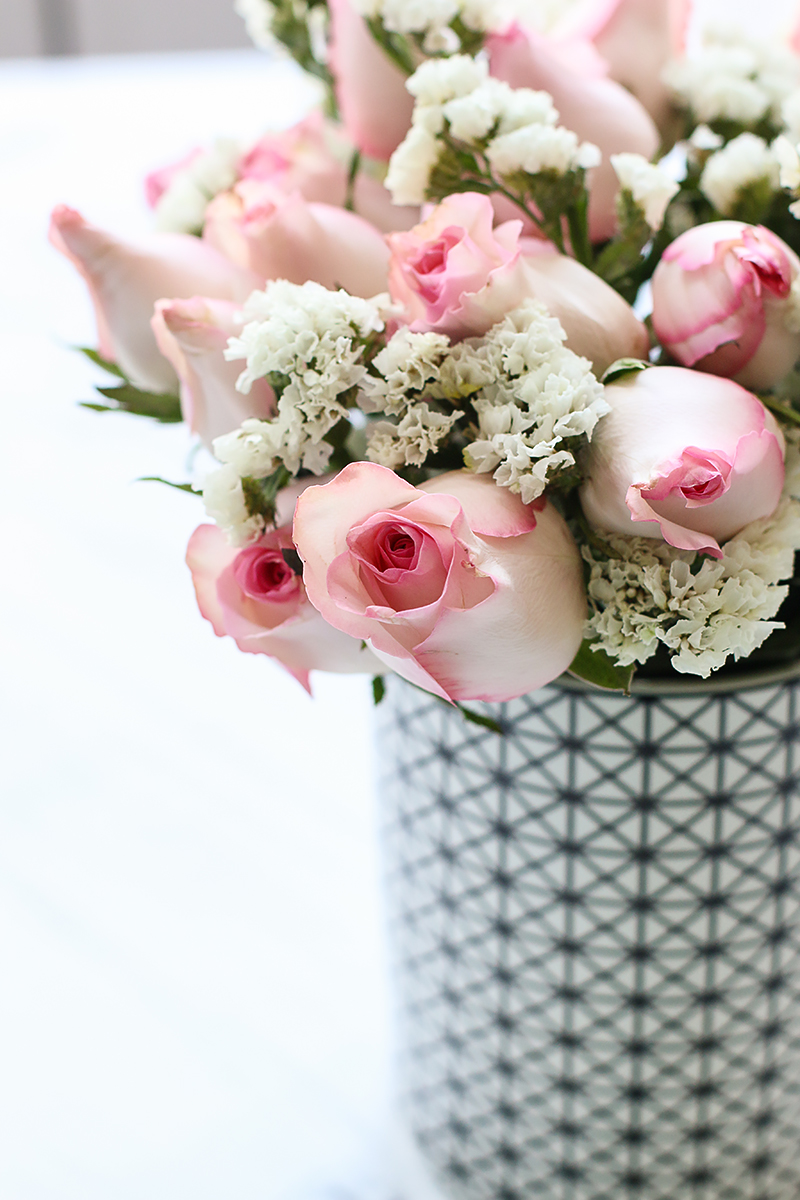
Thinking outside the box…err…generic glass vase…can make your flowers feel more intentional in your home. You know how sometimes you look at a picture of a room and it looks like those fresh flowers are part of the room instead of intruders in an unknown space? Well, picking the right container that is water tight can make that happen for you!
Also – I wanted to take a minute to tell you something that I have heard in the past. People have left comments about their Bouqs deliveries and said they have petals that are creased or damaged. STOP FREAKING OUT! They are meant to be there people! A florist friend told me that a trick of their profession is to remove rose guard petals. Rose guard petals are the petals on the outermost parts of flowers that protect the blooms inside. They sometimes have creases or marks….but they are kept on there from harvesting through delivery because they GUARD the perfect petals inside. Just pinch them and peel them off….it makes a huge difference in how the blooms appear. You will also want to remove any leaves that would be below the edge of your container. And make sure to cut the bottom of each stem at a forty-five degree angle to allow those flowers to get nice big drinks of fresh water mixed with the flower food.
Since these flowers are so fresh, they will last with proper care and open to share their amazing blooms over time. I literally have had bouquets last WEEKS.
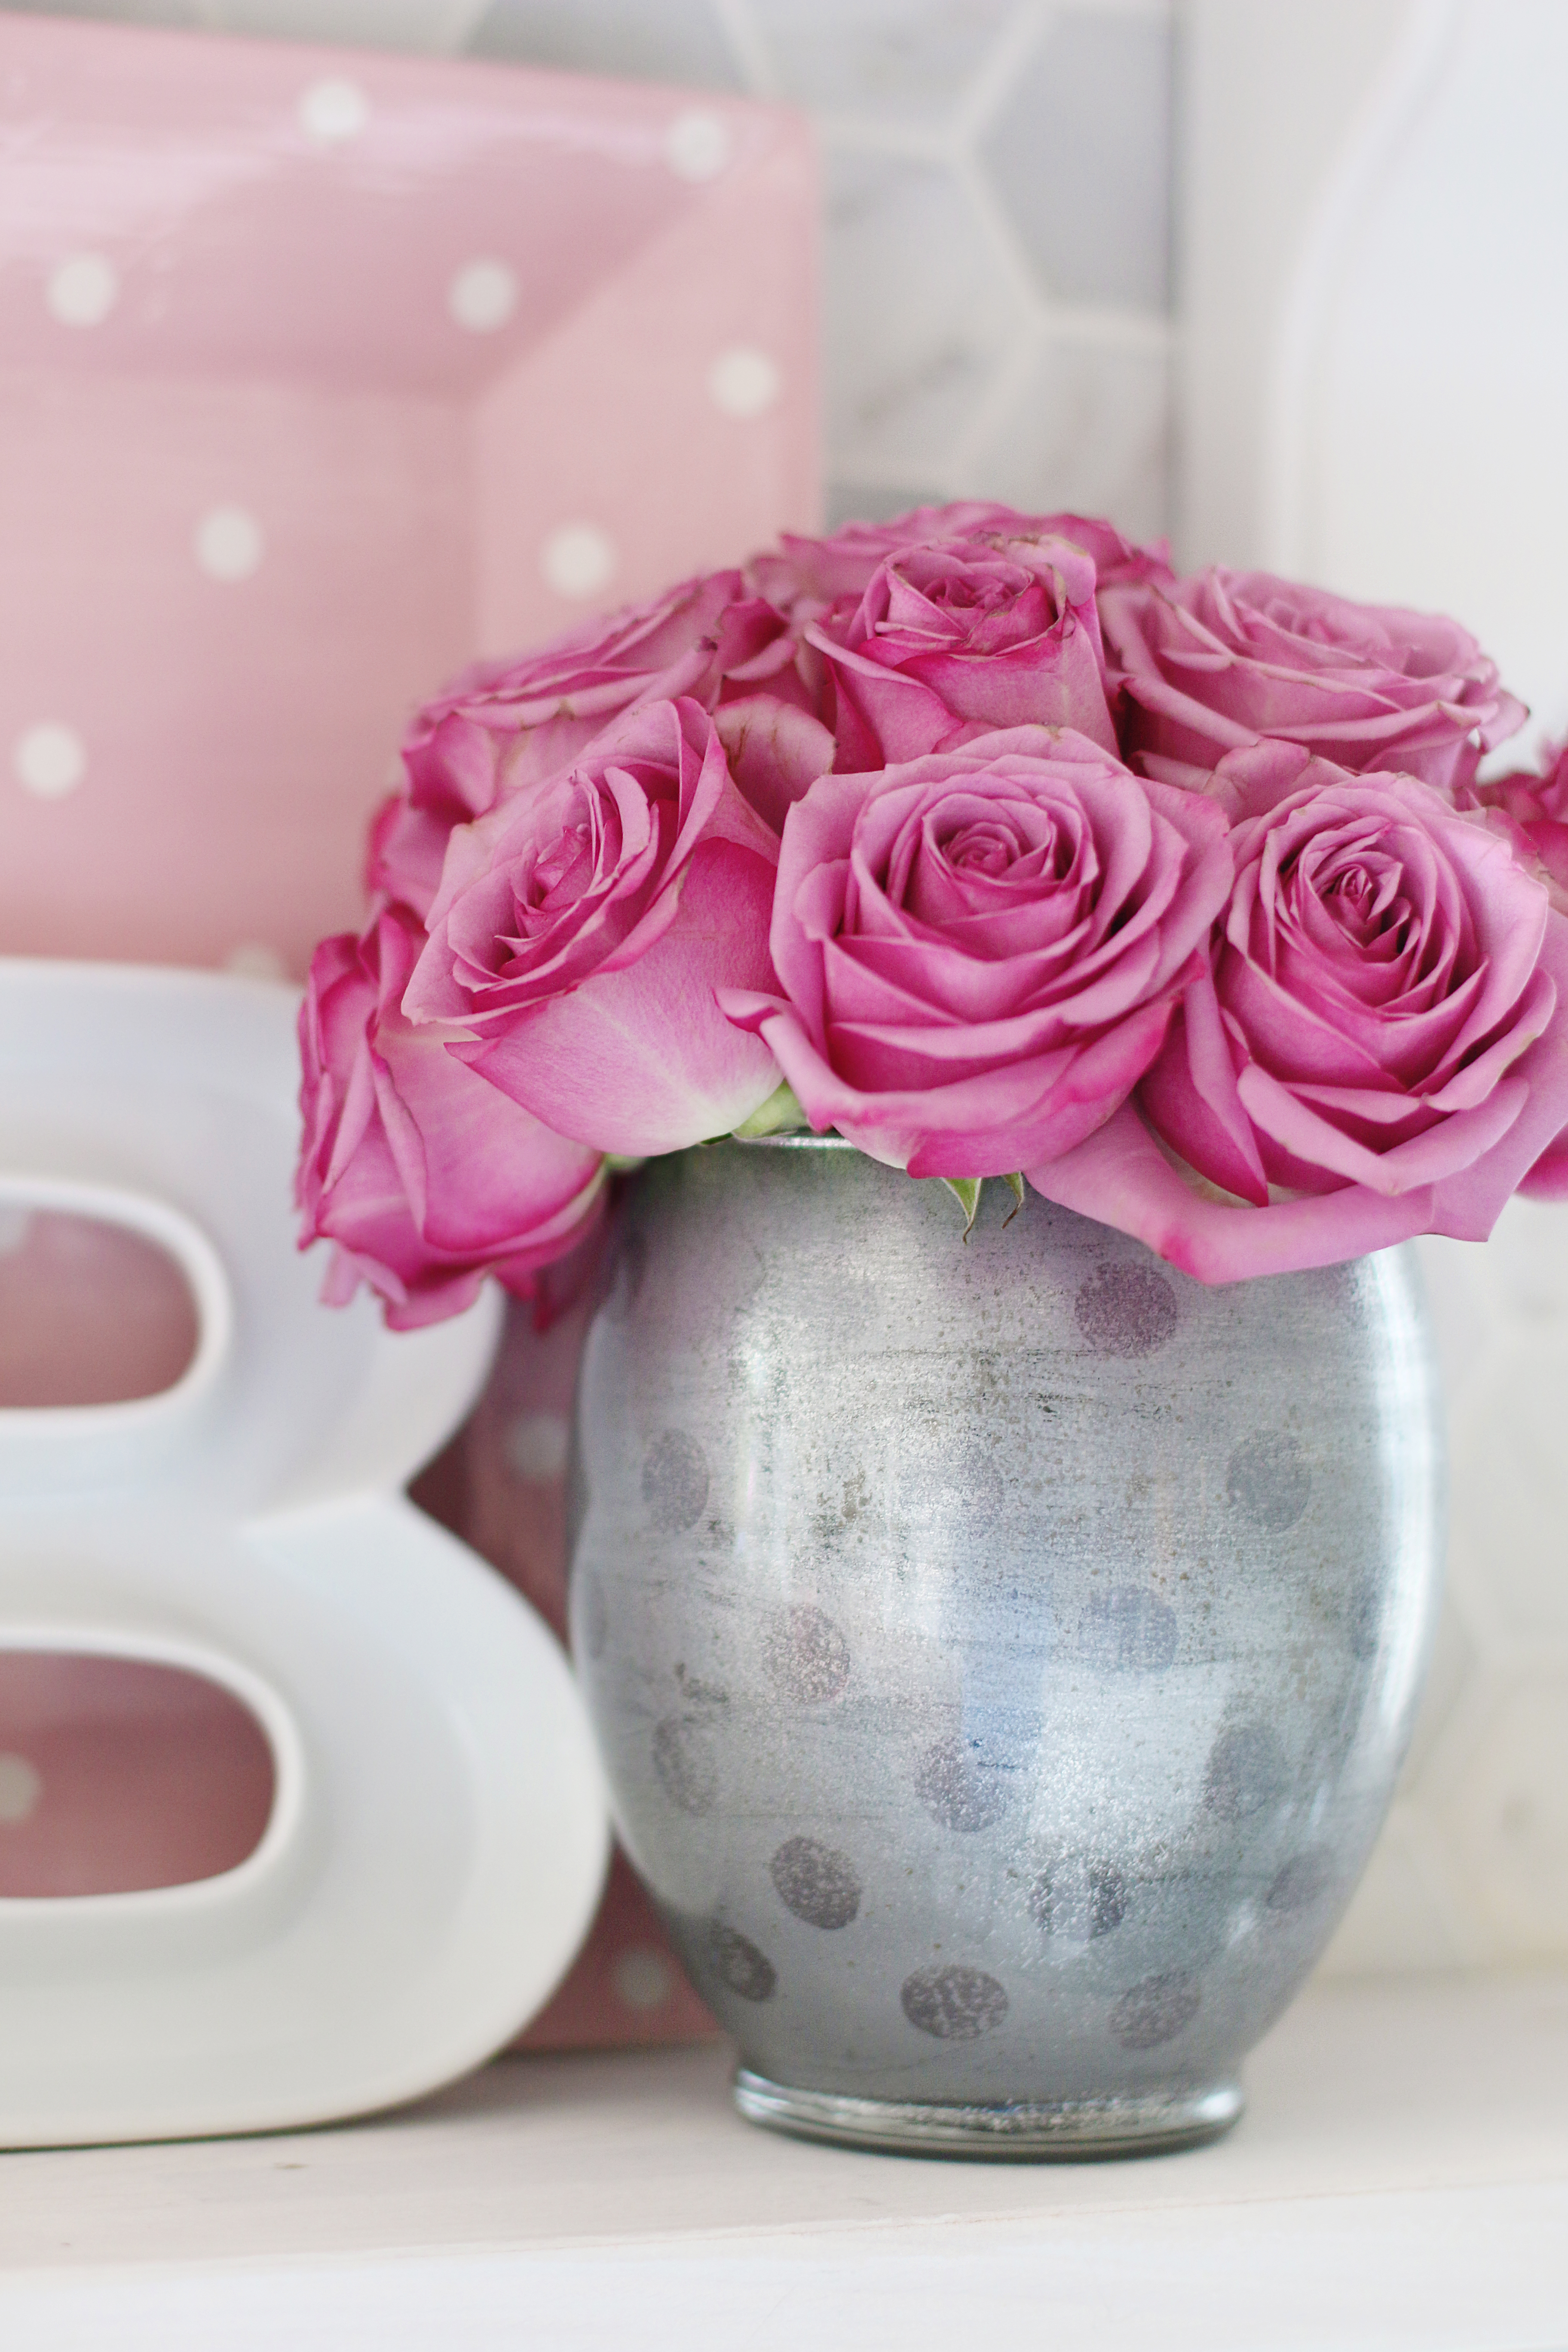
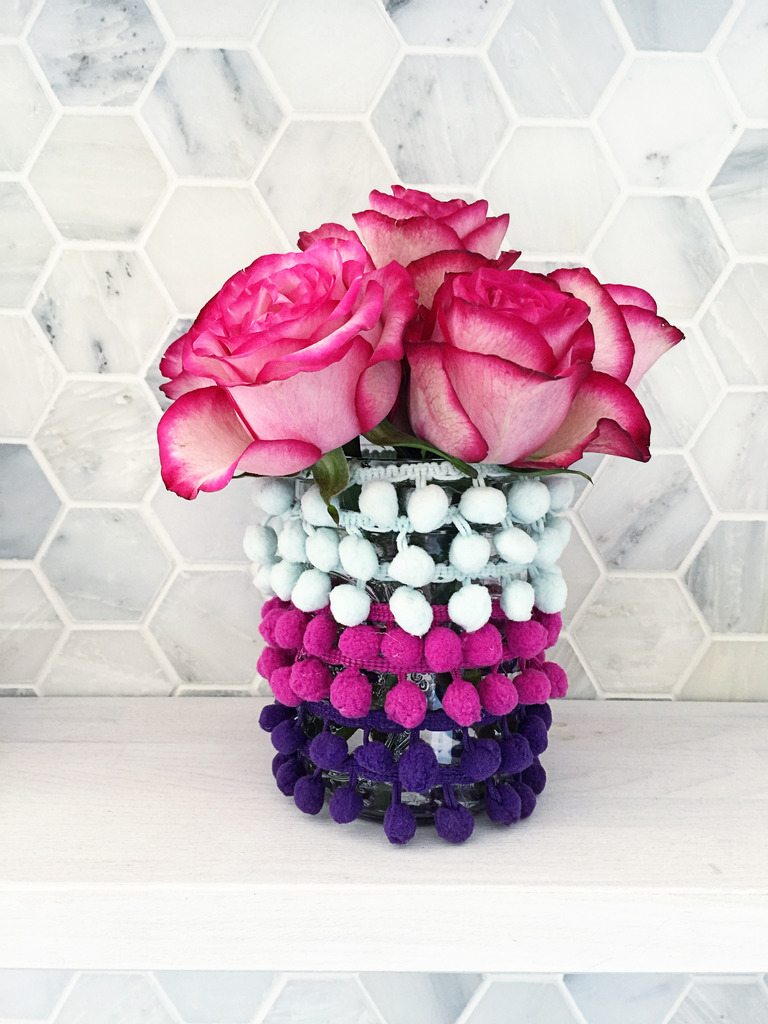
So I know what you are thinking….these aren’t DIYs! Well…let’s stop procrastinating! This is a really simple DIY that requires a vase and a little black paint.
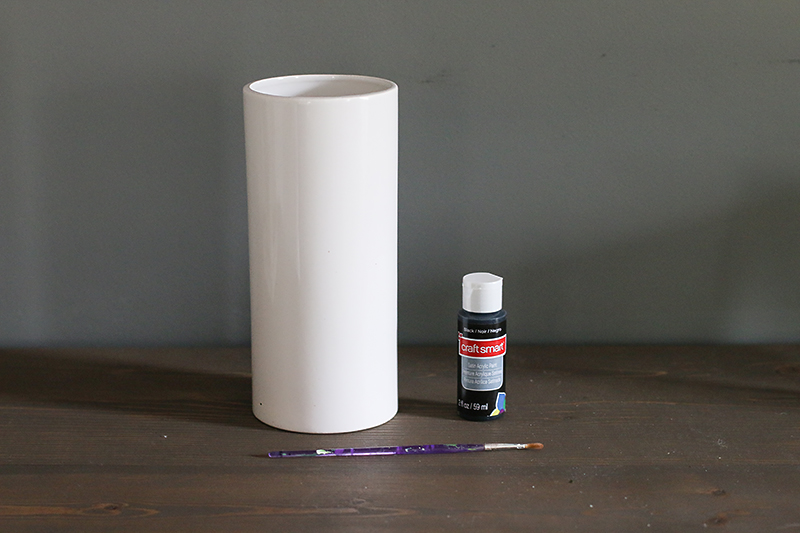
Simply dab tiny black dots all over the vase. Don’t overthink it. It’s an activity that you can do with a bottle of wine and it will turn out great.

Trim your Bouqs to length and pop them inside! BOOM! Crafty McCrafterson!
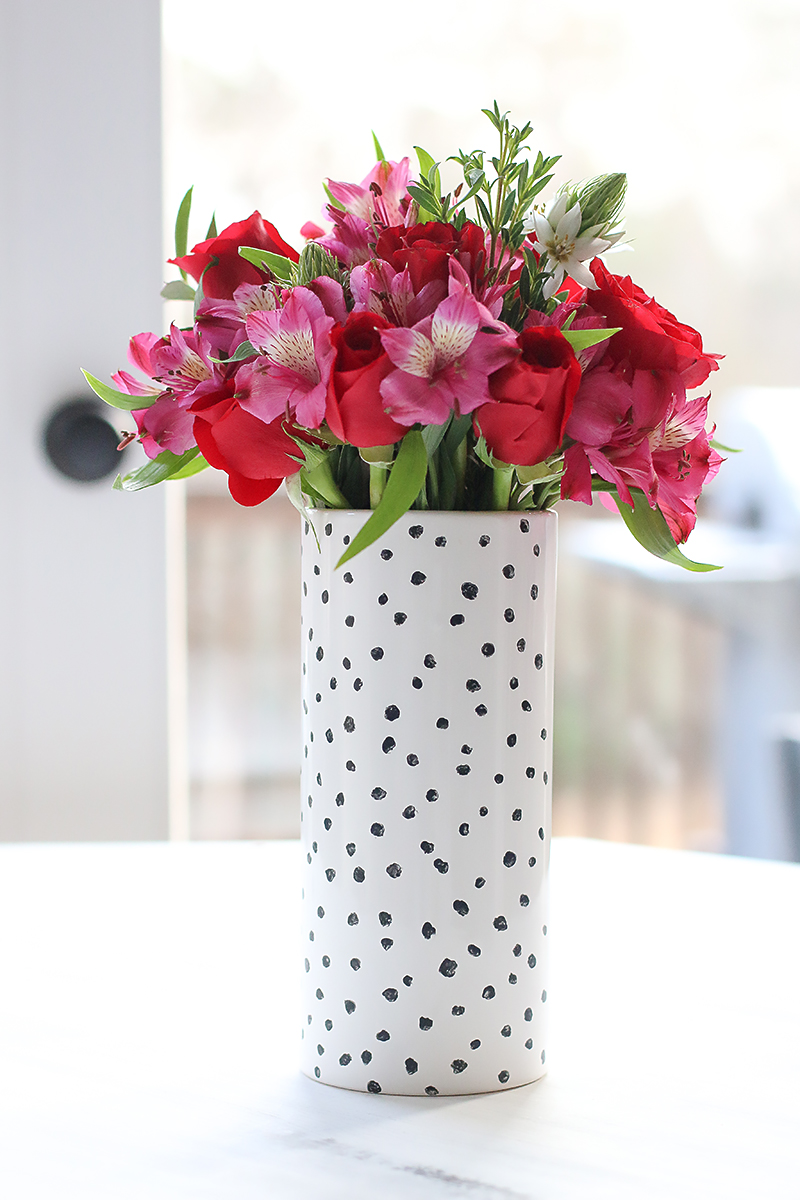
Seriously – this would melt even the coldest of hearts. Don’t believe me? Just ask Cruella Deville 🙂
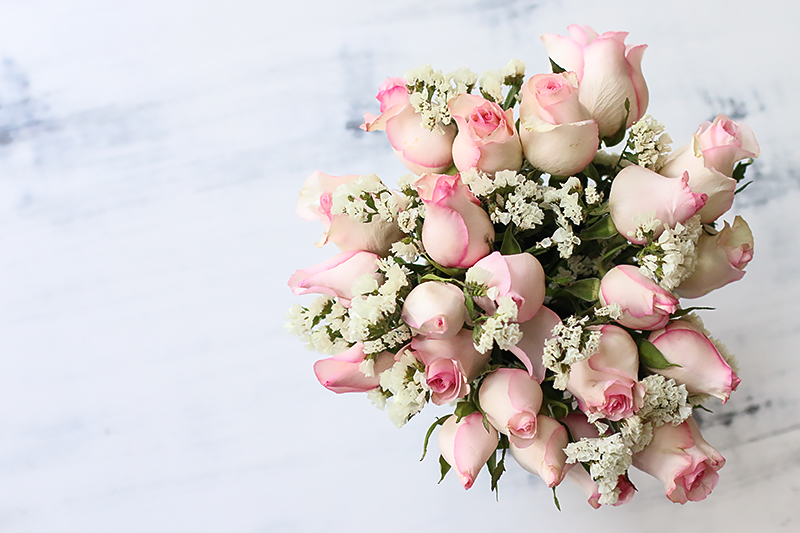
And if you want my personal favorite of all the Bouqs choices…this is one of them…it’s called RAVISHING….and it is the perfect bouquet for moms and grandmothers and sisters….its not all roses which screams romance to me…but it’s mixed for a more subtle ‘I love you!’ 🙂 Ahhh – flower philosophy 🙂
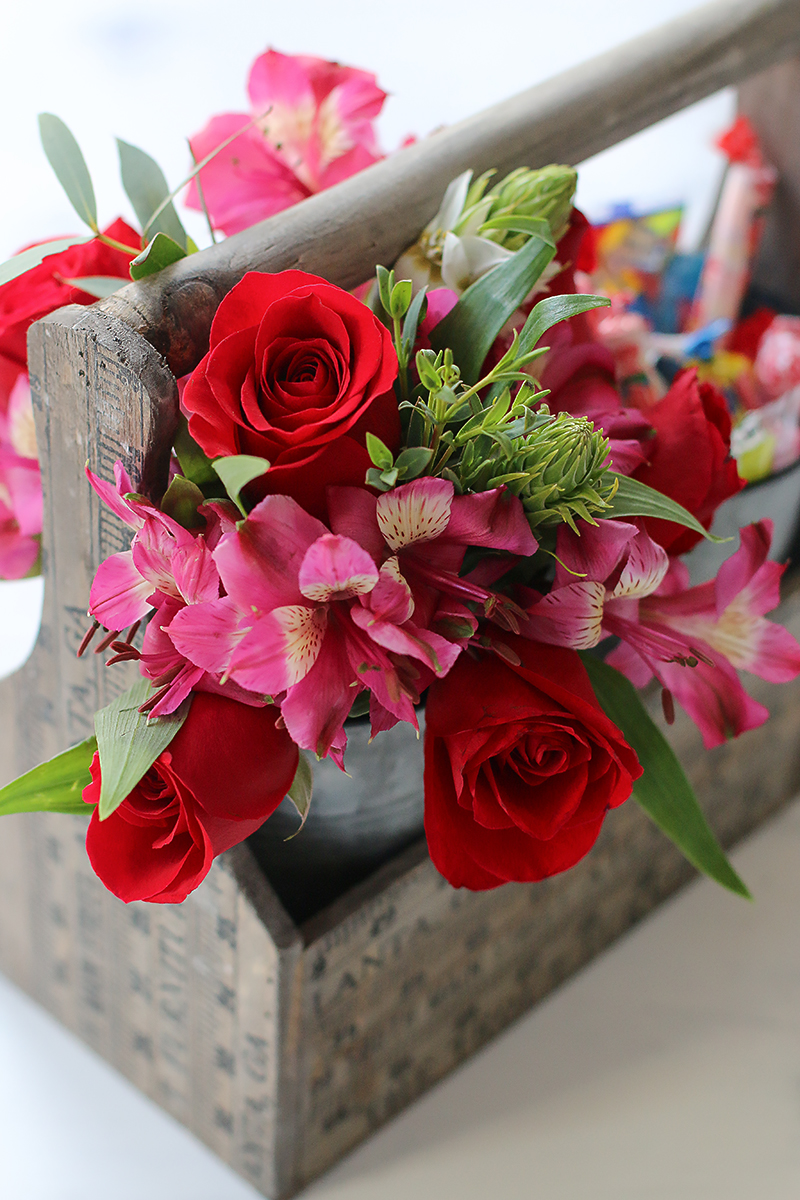
This one I wanted to make it so that you could deliver more than just the roses. Let’s just say you wanted to give some candy, a gift card or even a bucket of freshly sharpened pencils (name that movie!). That is this idea. You will need a wooden crate (I got mine for $6 at Hobby Lobby and some metal containers.
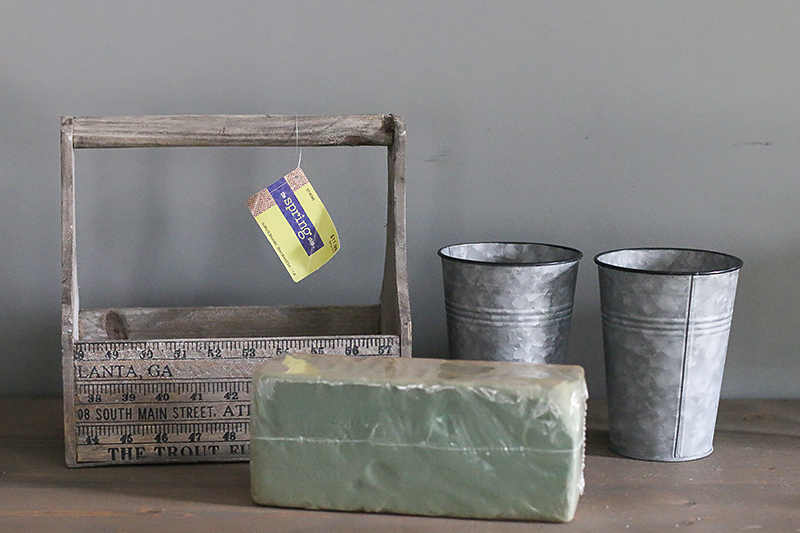
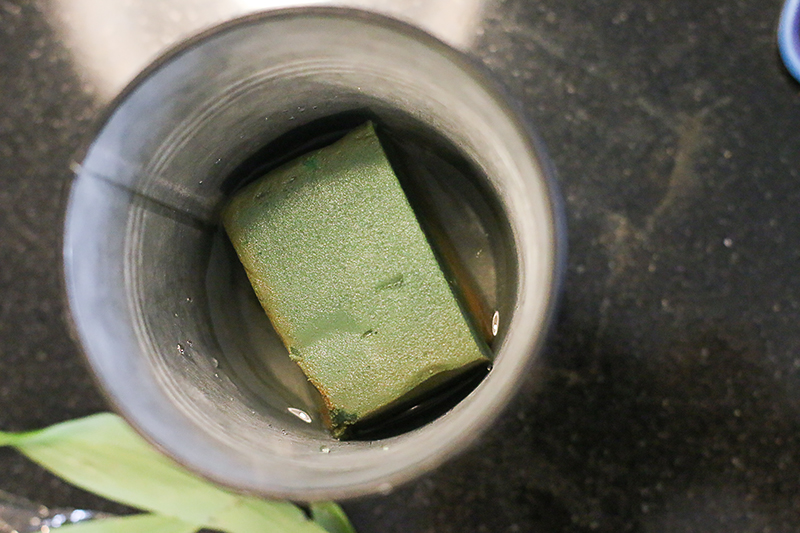
I liked to use florist foam on this one because it will help the flowers last longer and give it a little more structure. Just soak the foam in water first…
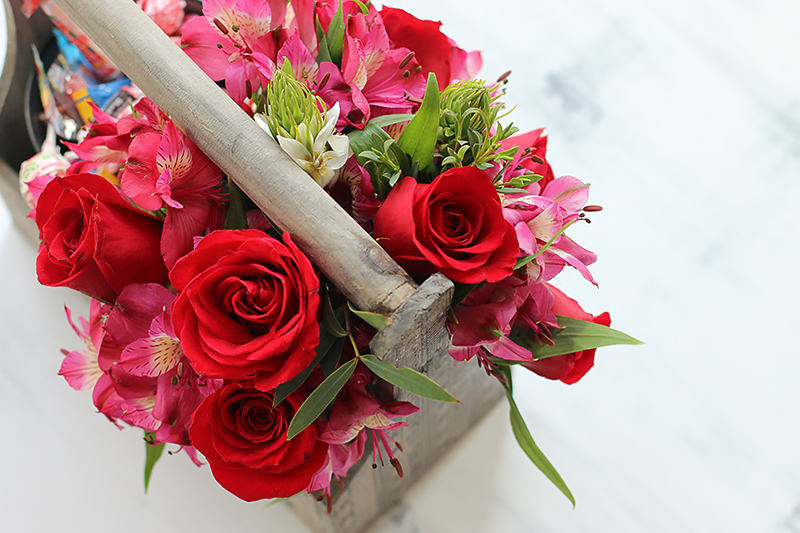
Then fill the container with flowers….BOOM!

The other container gets filled with your little hearts desire…candy bars, flower seeds, a happy birthday Katie pair of earrings….who said that? 🙂
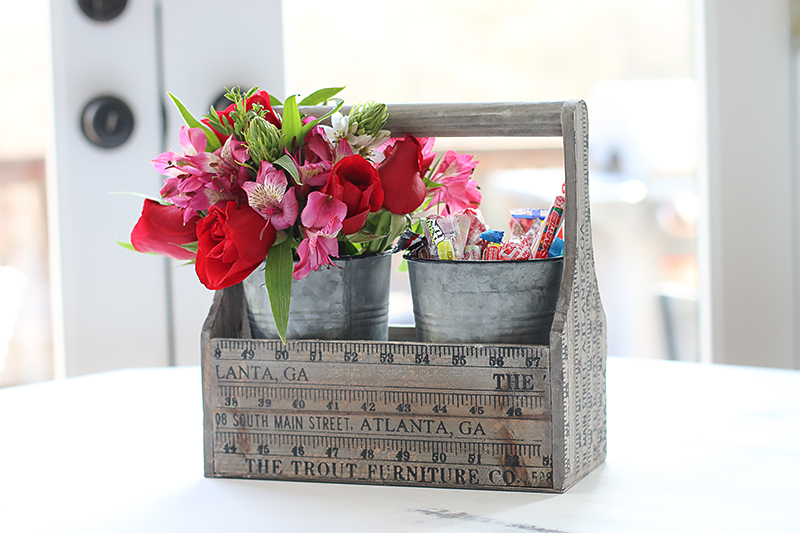
And I love how this idea is perfect for splitting bouquets. This is only HALF of one Ravishing Bouqs bouquet. It’s huge right?!
This one is going to a friend to say thank you for helping me with picking up my kids this past week. See it doesn’t even have to be romantic!
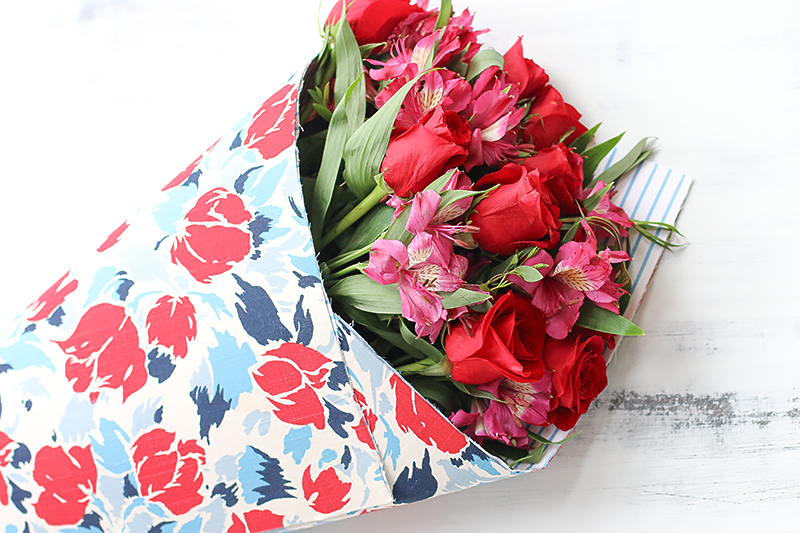
And last but not least is this idea that plastic wrappers are not good enough. How many of you have gotten a bouquet and it looks like this?!
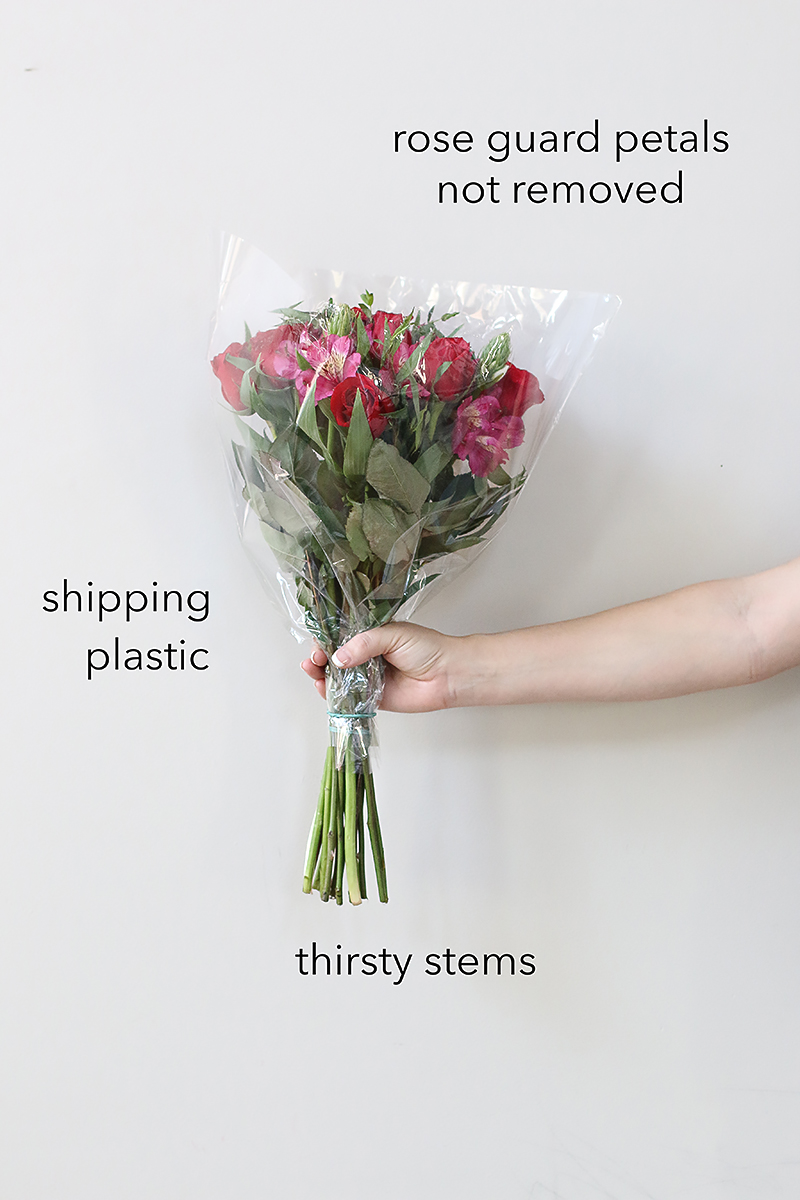
The rubber bands? The protective plastic wrap meant for shipping not presenting? The creased petals still in place? It’s just not as pretty as it could be! So I’m here to share with you an easy solution….the DIY bouquet holder.
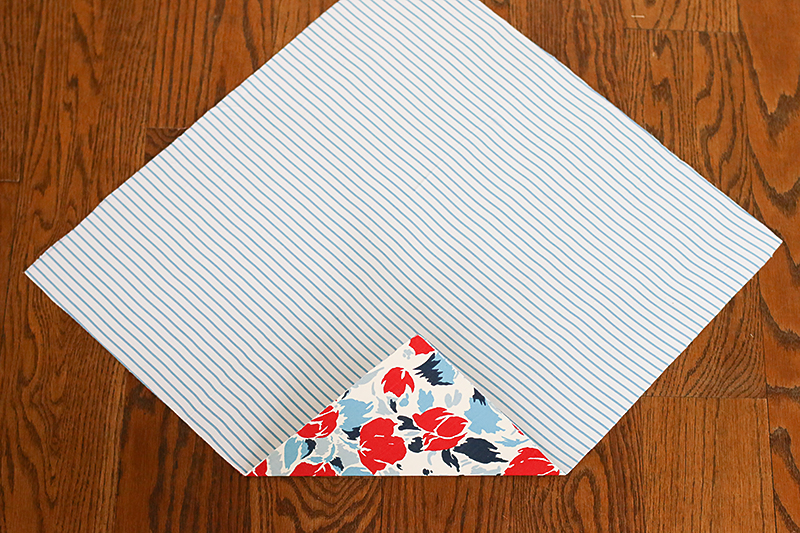
I simply took a piece of poster board from the Dollar Store and trimmed it to be a square.
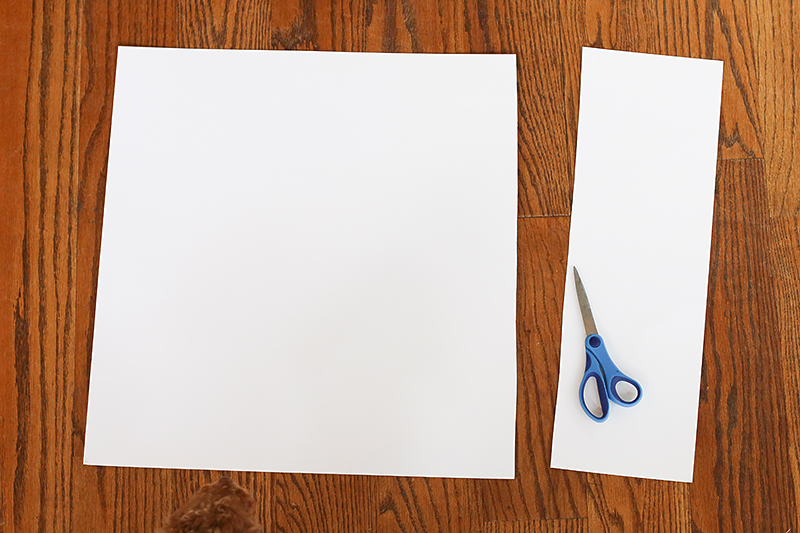
I sprayed one side with Spray Adhesive and laid some thin cotton fabric down and spread it flat. I used my hands to push out any wrinkles and then trimmed the excess.

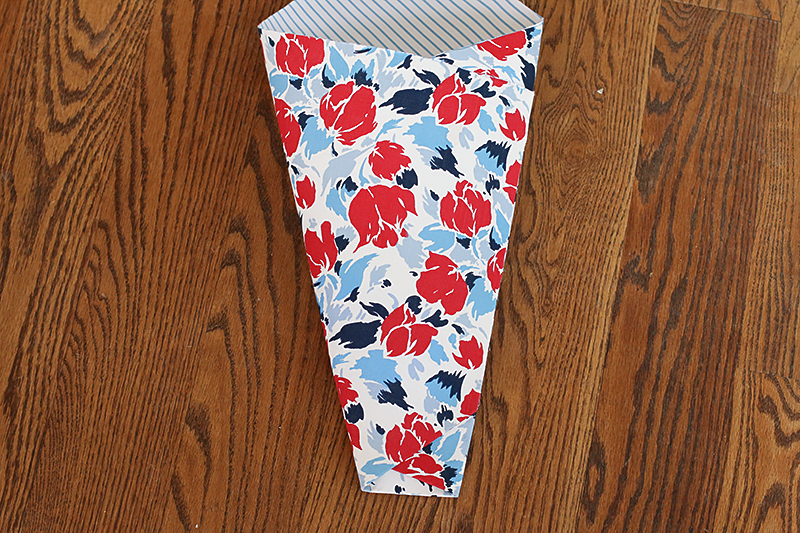
The other side I did with a coordinating fabric. Super simple. Then you want to fold the bottom corner up.
The idea is to create a pocket for the flowers to slip inside. I folded one side over and glued in place.

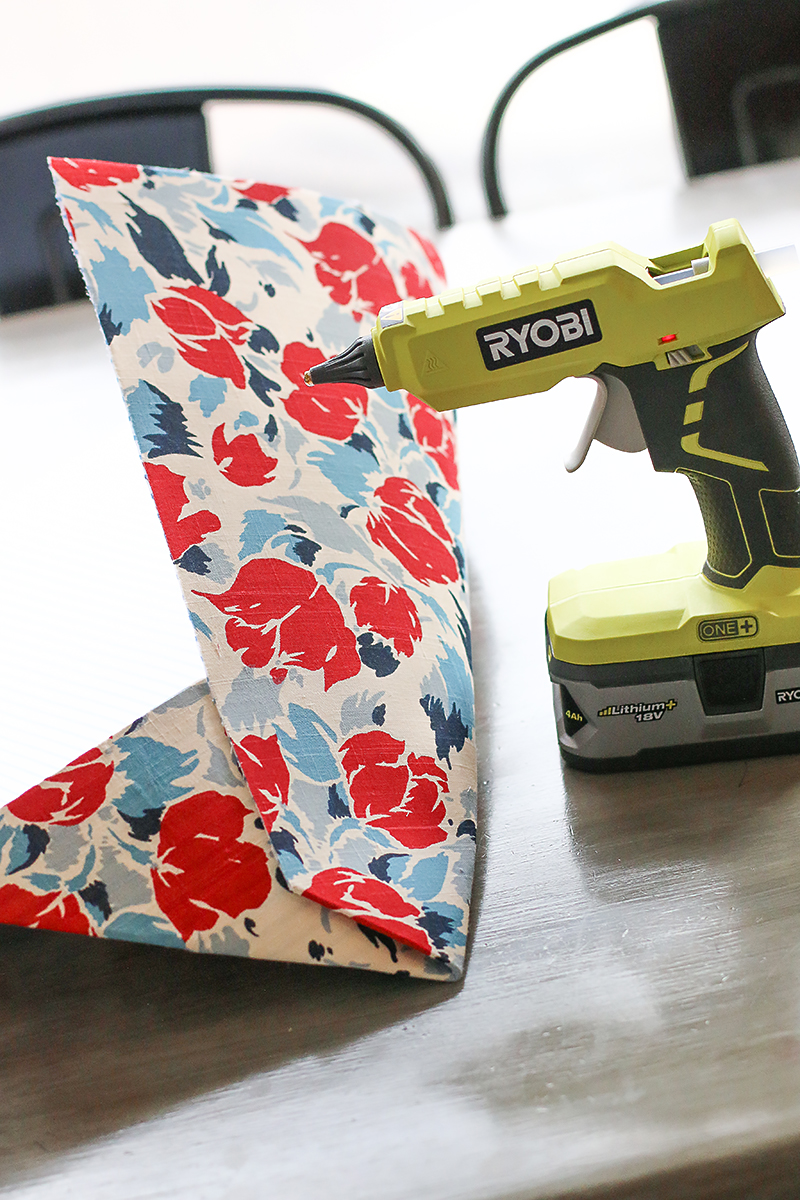
Then the other side.
I used hot glue and you can use a binder clip to keep it in place.
Then put your rose blooms into individual water tubes. You can get them at any craft store or Walmart. They will keep your blooms from drying out.
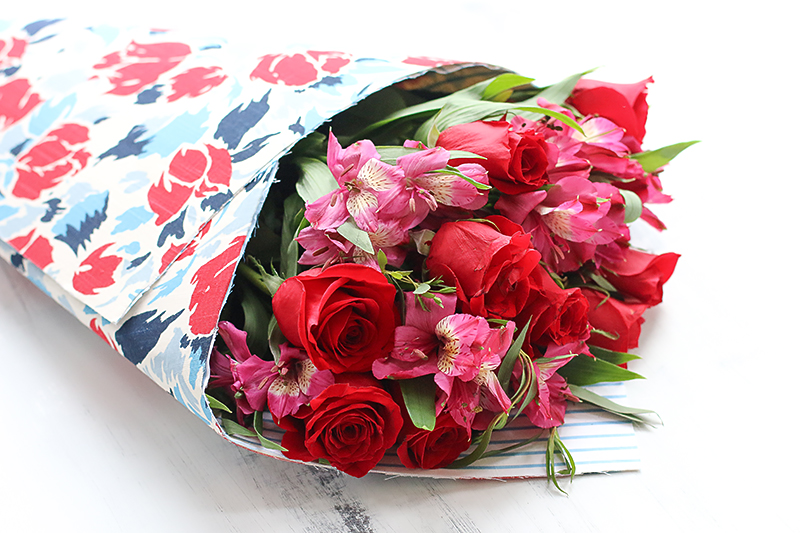
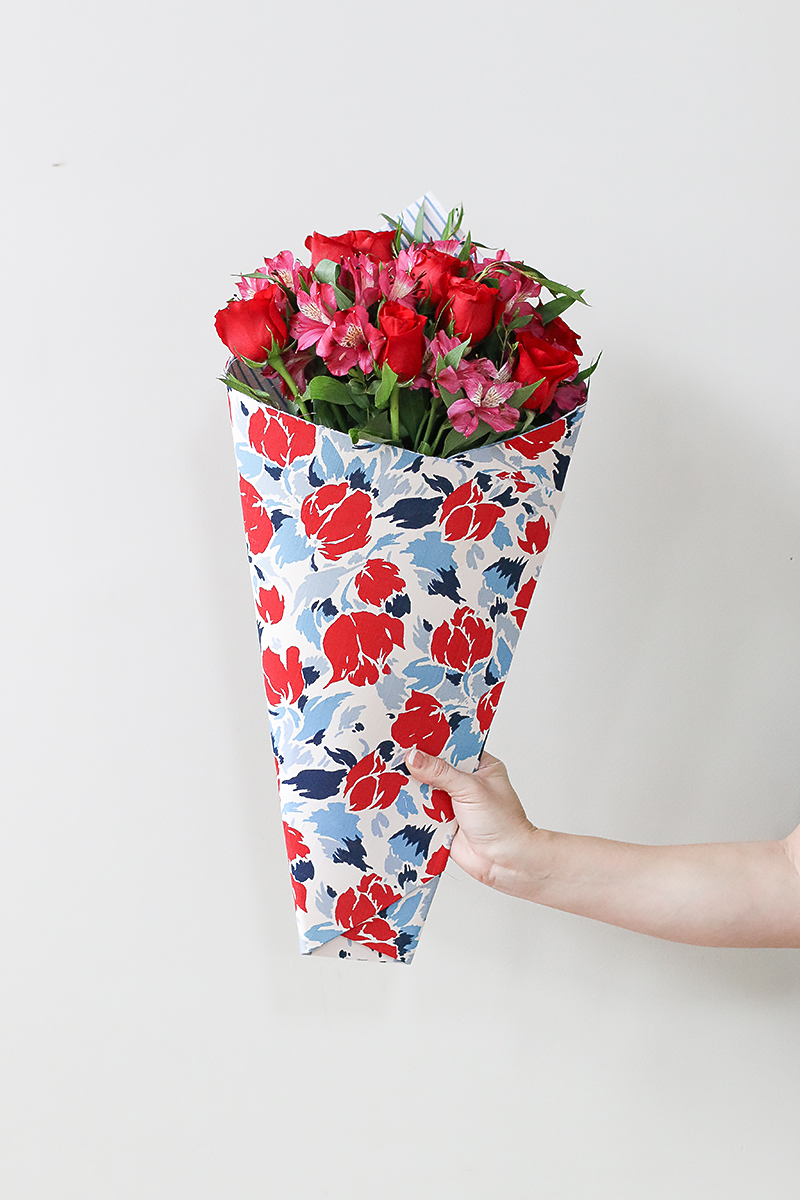
Simply trim and pop them inside. It’s that easy! Doesn’t that look SO much better than the plastic wrap? Yes. The correct answer is heck yes.
And don’t forget that Bouqs is sharing with you guys an awesome discount code. Use the code “BOWERPOWER” for 20% off your Valentines day purchases!
And happy crafting you guys!