Oh. My. Goodness. This post was written in 2011 and I don’t know why or how or what the heck was going on….but it never got published! So I thought – why the heck not?! This is a flashback to one very youth-filled Jeremy Bower in our old house when he made a gift for my dad (and one for ourselves) that we have literally played for YEARS now. It’s a winner. Carry on 🙂
The hardest people to buy for in my family have one thing in common – they are guys. Last Christmas my boyfriend and I stressed over what to give to my dad – who owns everything he wants already and most of his wishlist items cost the same as a private island with a manicured golf course on it. So we decided that instead of buying another generic tie or a different brand of cologne, that we would build him a personalized gift that would give him the pleasure of friendly testosterone-filled competition, and the most valuable thing – our company 🙂
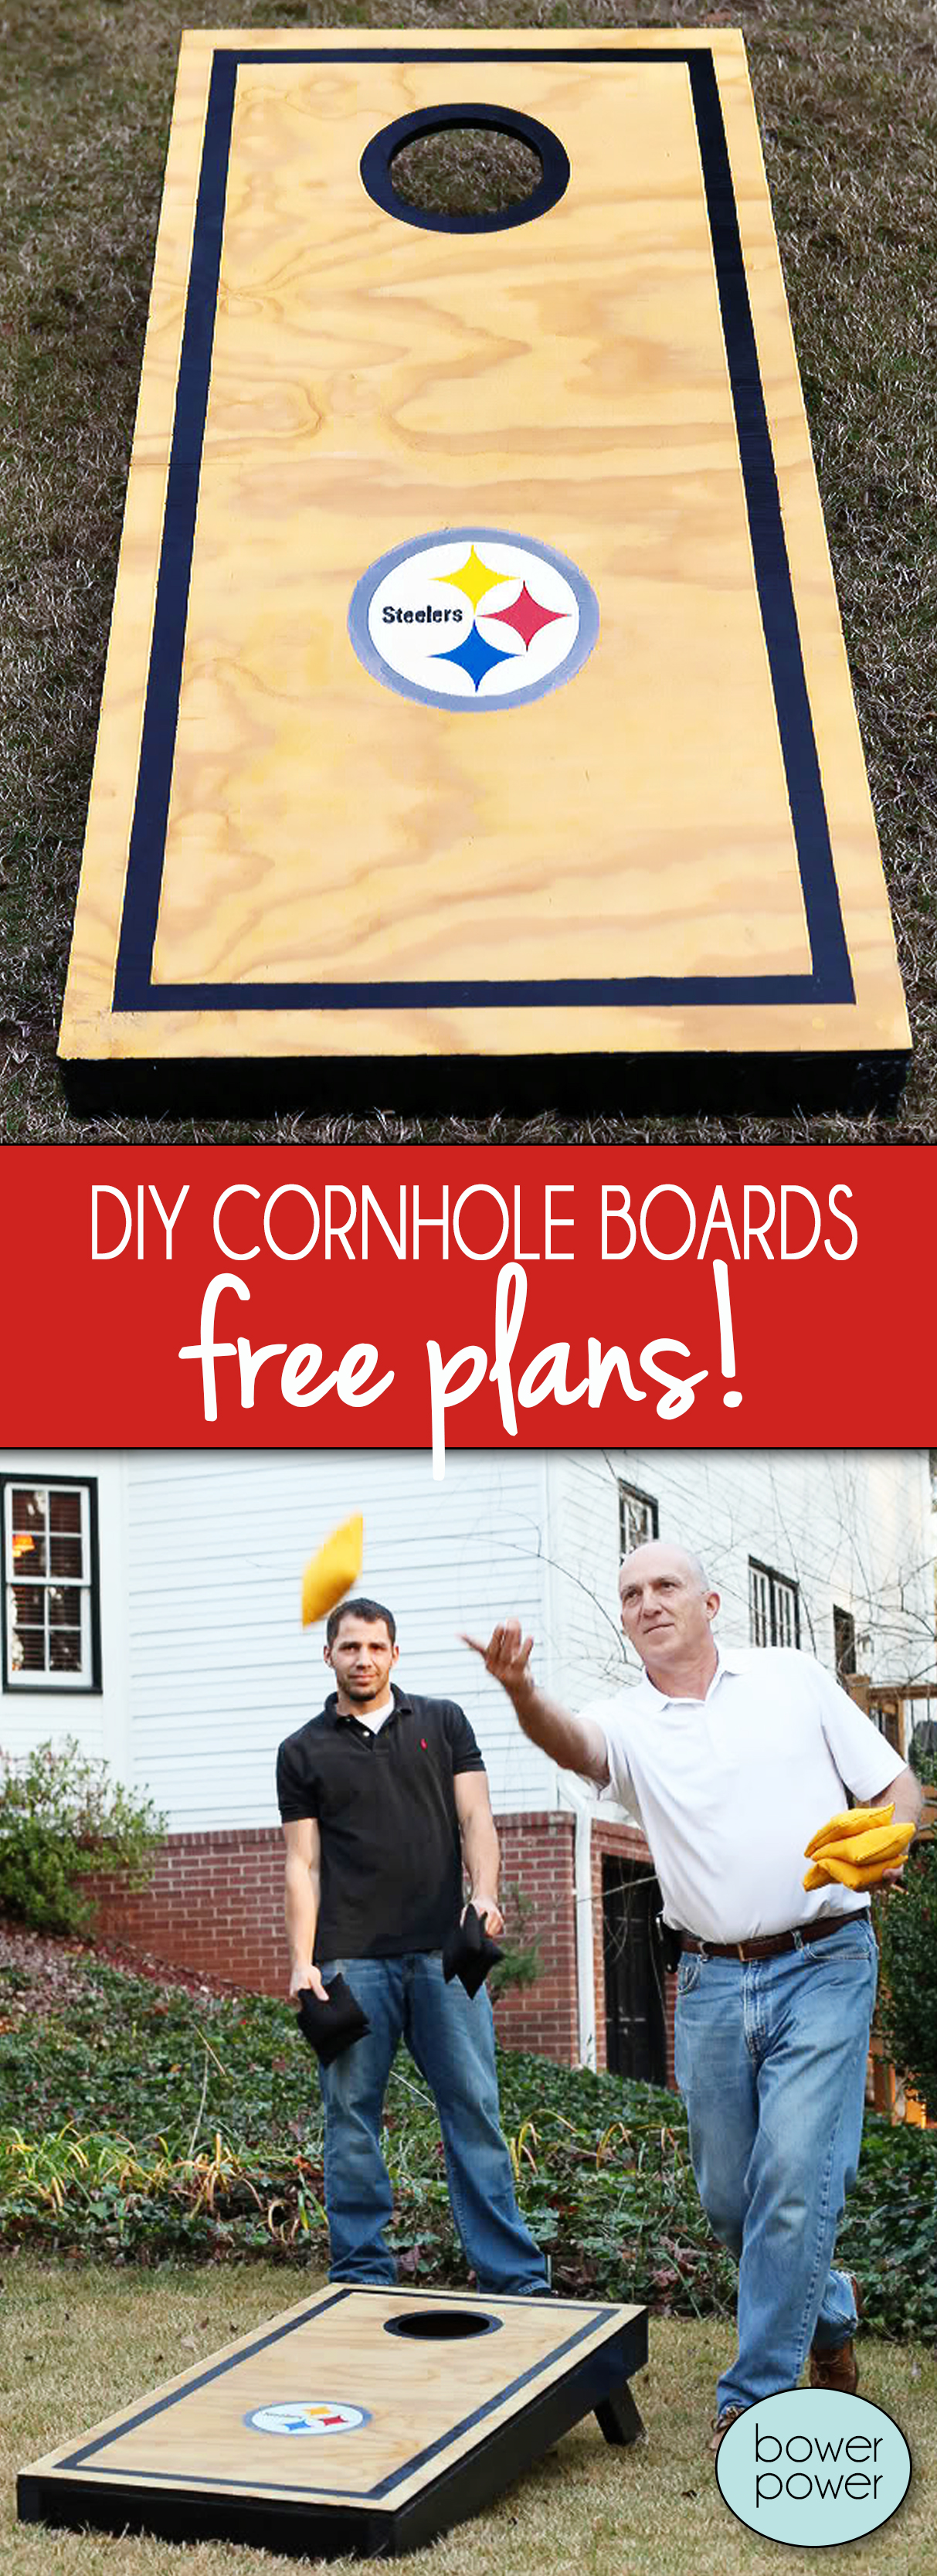
Cornhole Boards can be ridiculously expensive. So we decided to DIY them , and here is how we built the bean bag toss game set (affectionately known to us as Cornhole)…
First you build a box – we used the following materials for each box (two boxes per set):
- (2) 2 x 4 x 20.5 – top and bottom sides of box
- (2) 2 x 4 x 48 – left and right sides of box
- 4 ft x 2 ft 1/2″ plywood – top of box
- (2) 2 x 4 x 18 – legs
- 2 washers
- 2 wing nuts
- (2) 3″ bolts
- screws
- finishing materials
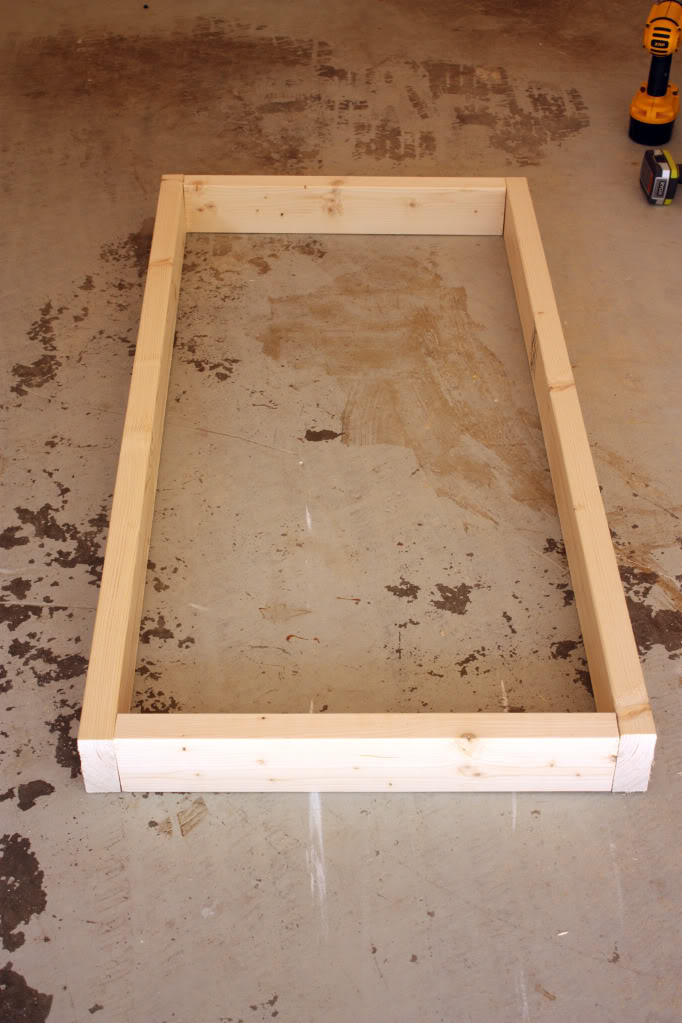
First, you screw together your box…pretty simple…just make sure the top & bottom sides go on the inside of the left & right sides so that your finished box frame is 2 foot x 4 foot.
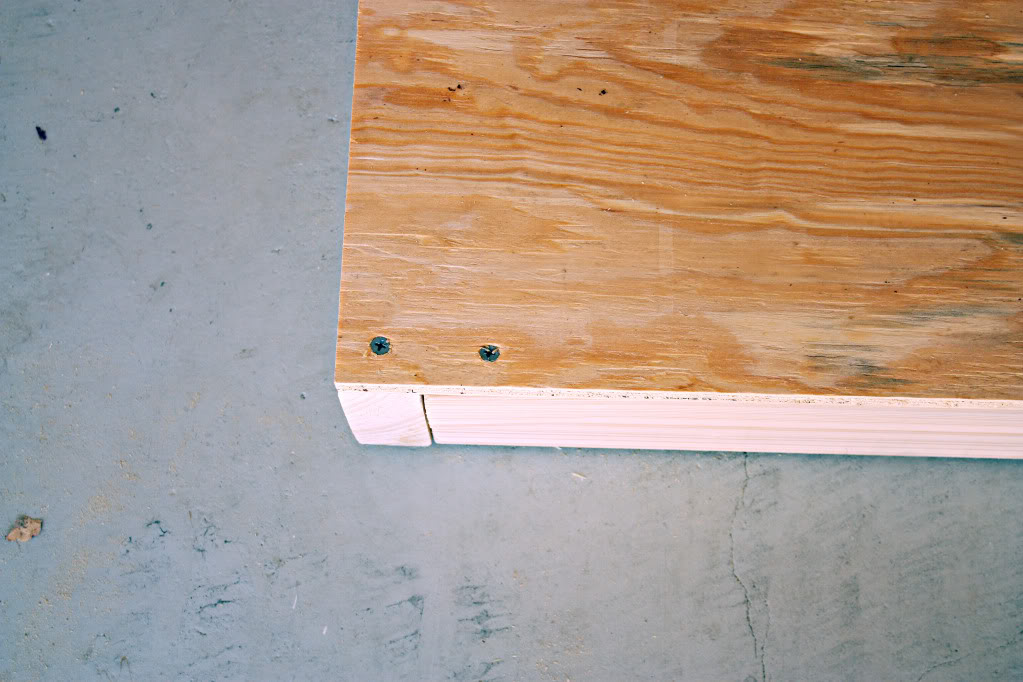
Then screw the top of the box onto the frame.
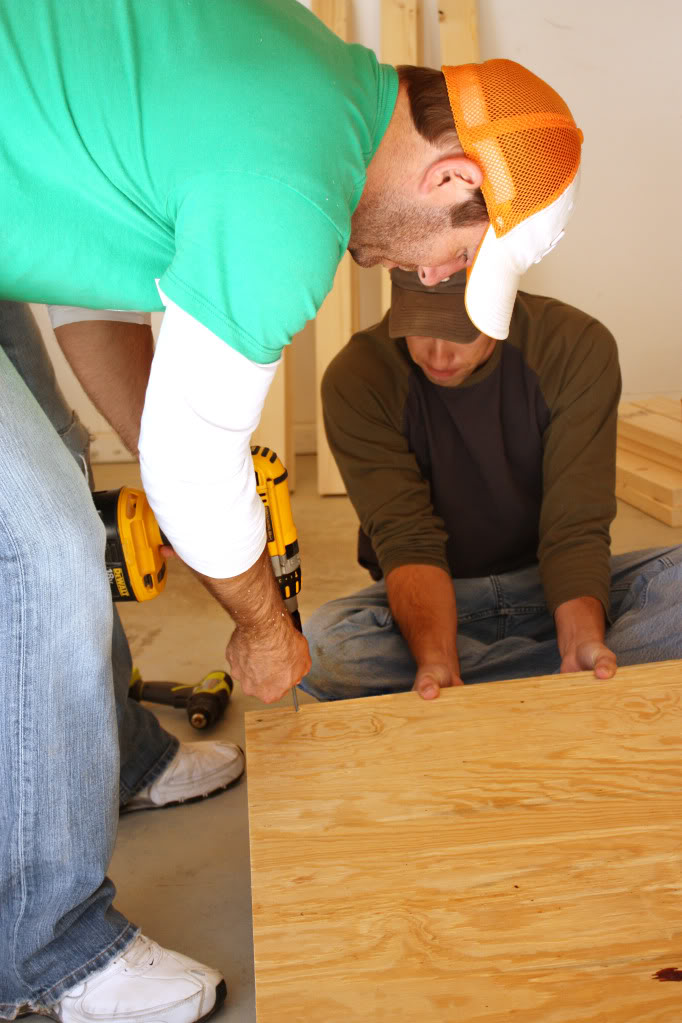
We used two screws for each corner – so that it secured it to both sides of the frame.
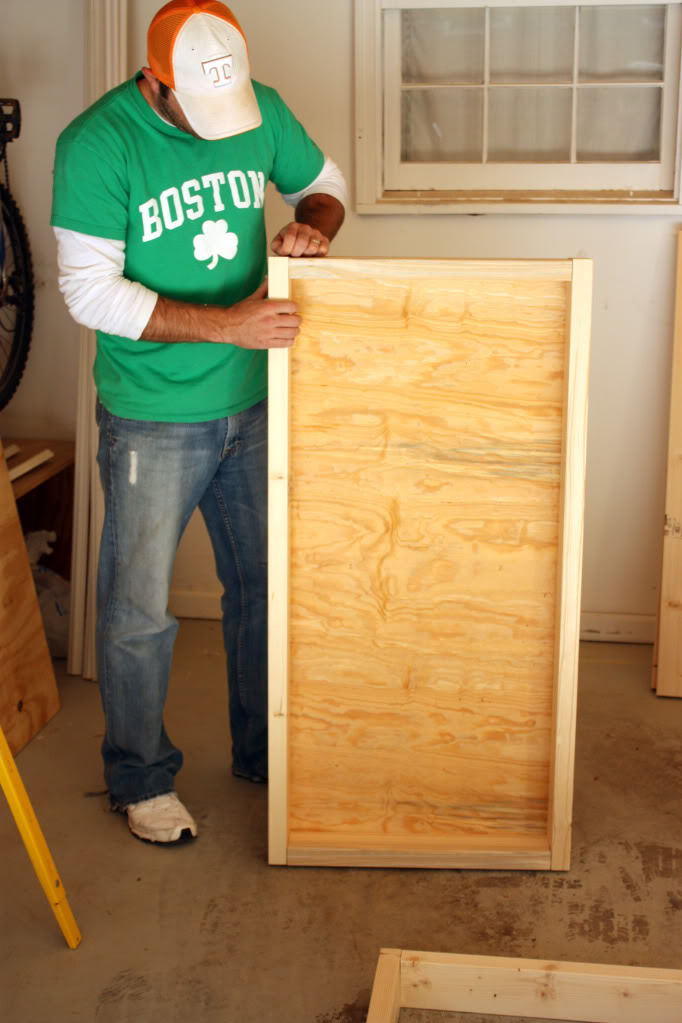
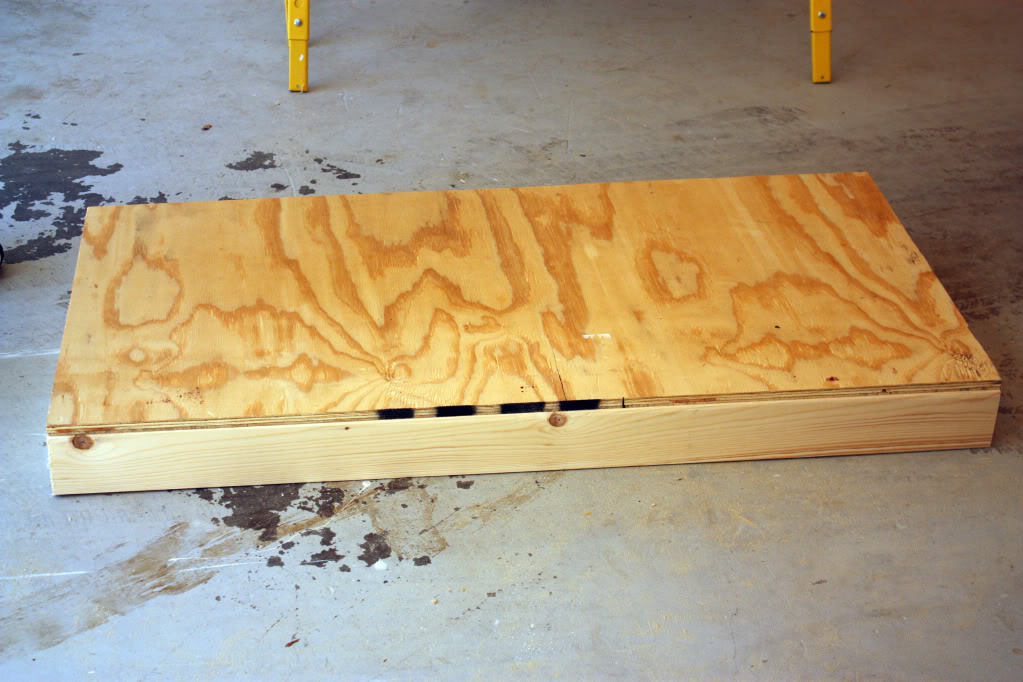
Your assembled box should look like this (except with the screws in it!)…
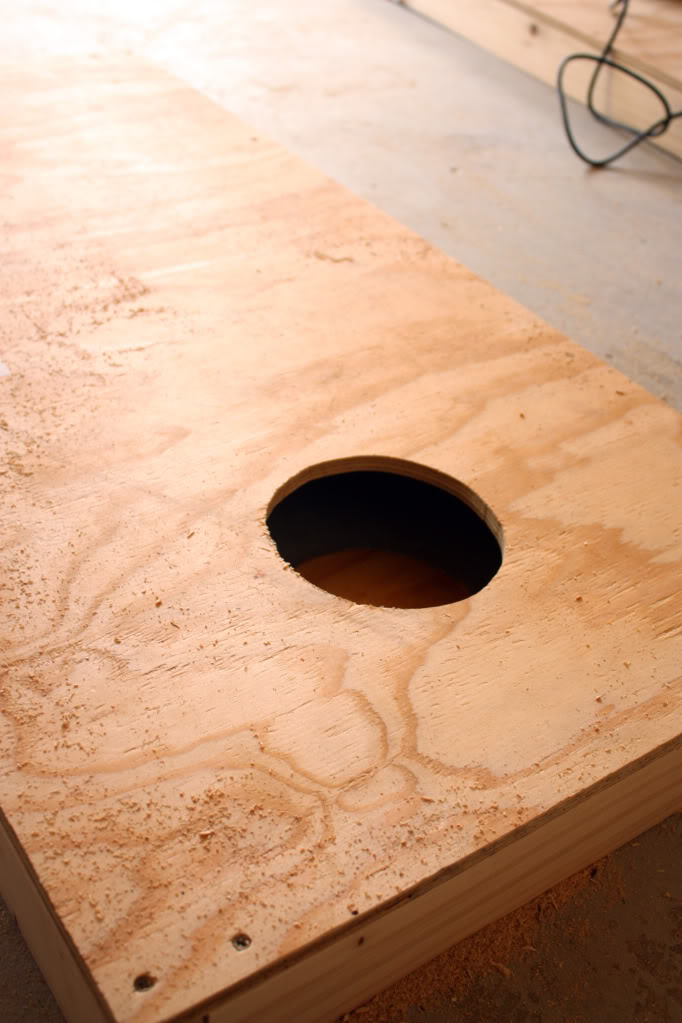
Then measure for the hole….
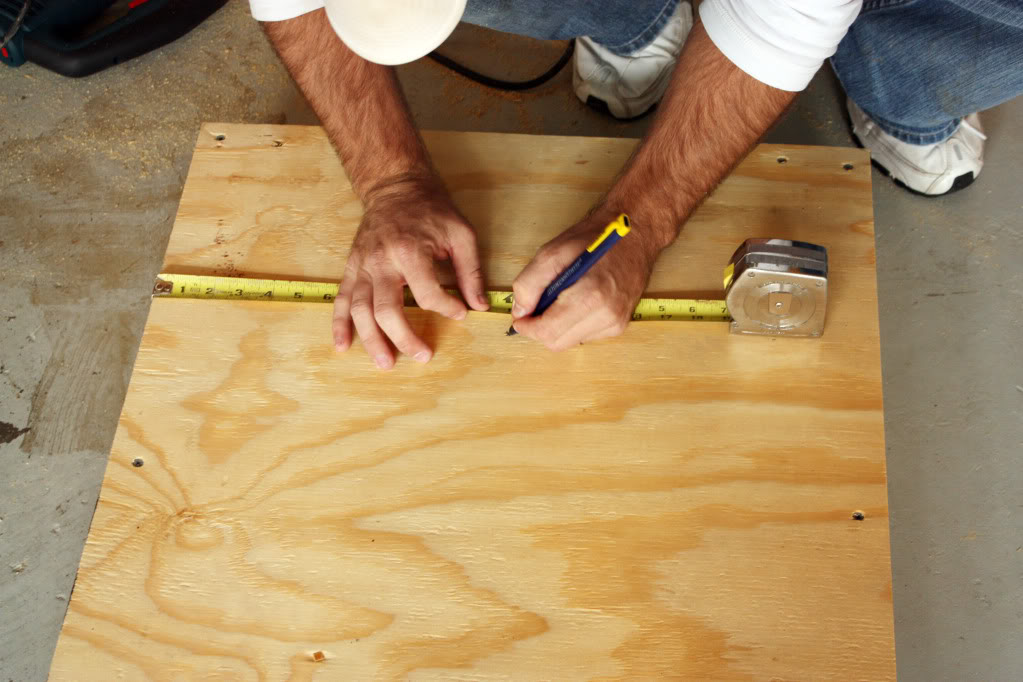
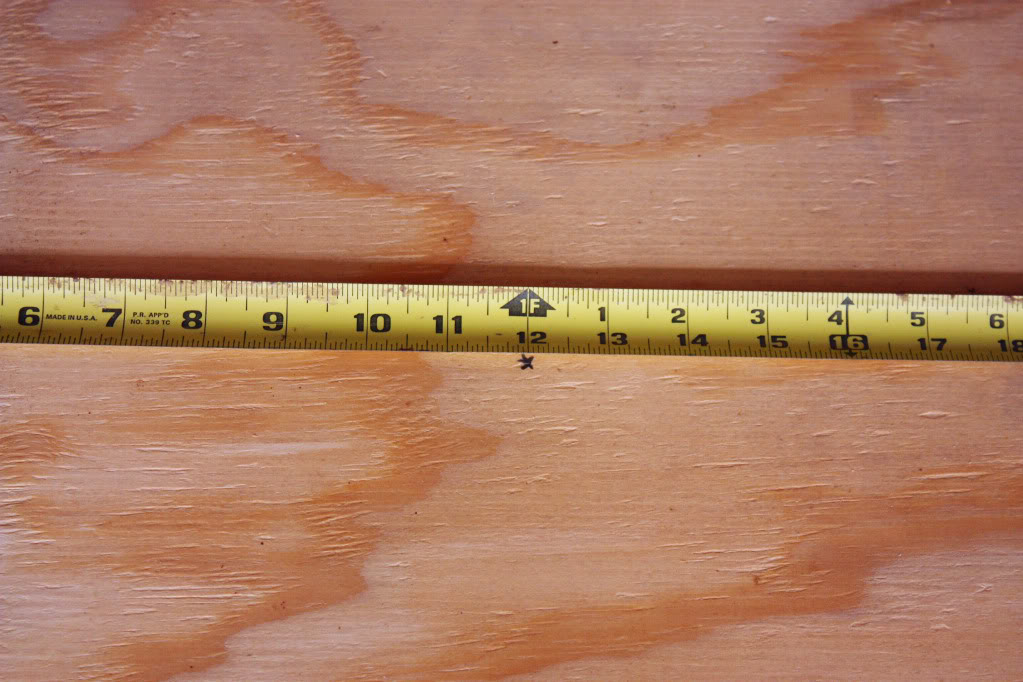
It’s smack dab in the center width wise…so mark a spot at 12 inches…
And then measure 9 inches down from the top….
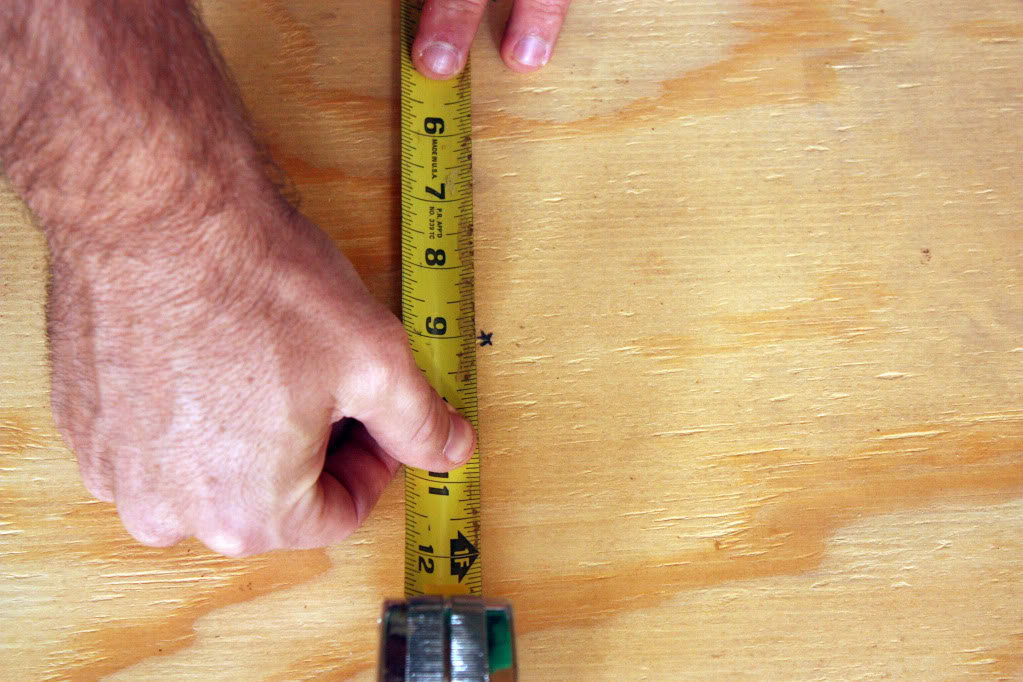
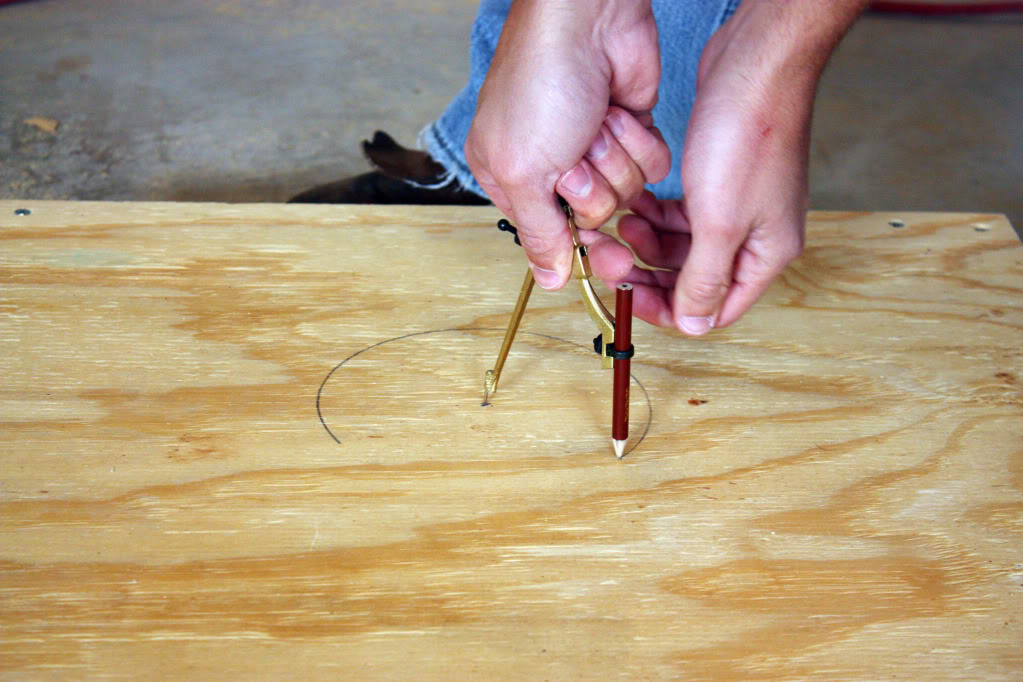
Using that point as the center, mark a six inch wide hole using a compass (yup – dig that sucker out from sixth grade! It is probably in your Caboodle. bahahaha! Don’t chuckle….easy-to-carry organization is no laughing matter.)…
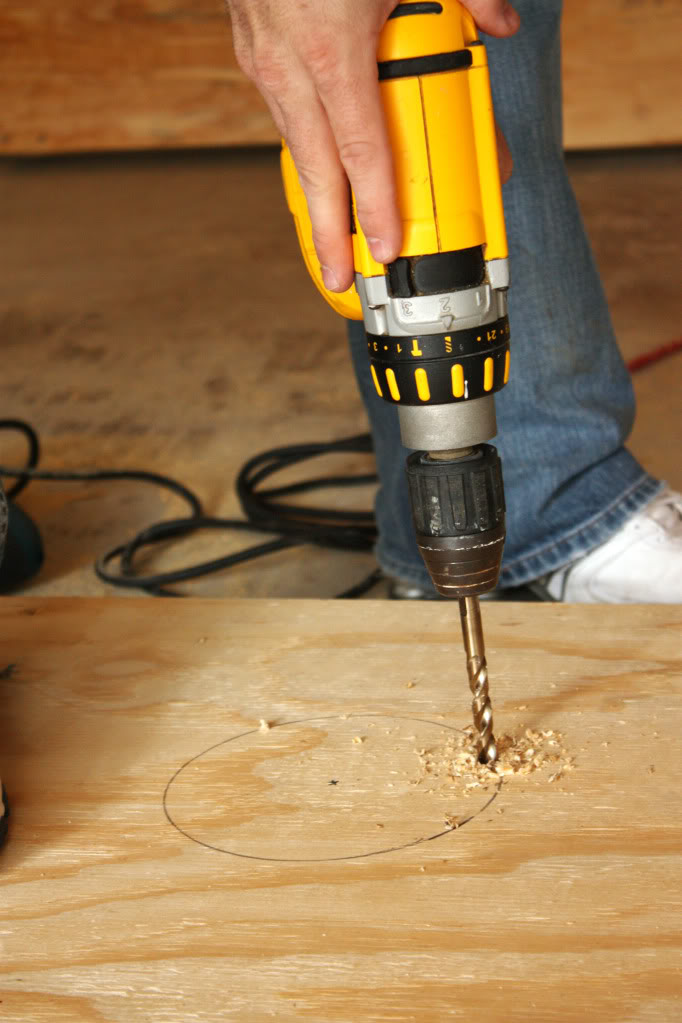
Then use a drill bit to make a hole on the INSIDE of the line so that your jigsaw blade can go to work…
Very slowly cut the center hole out following your marked line…
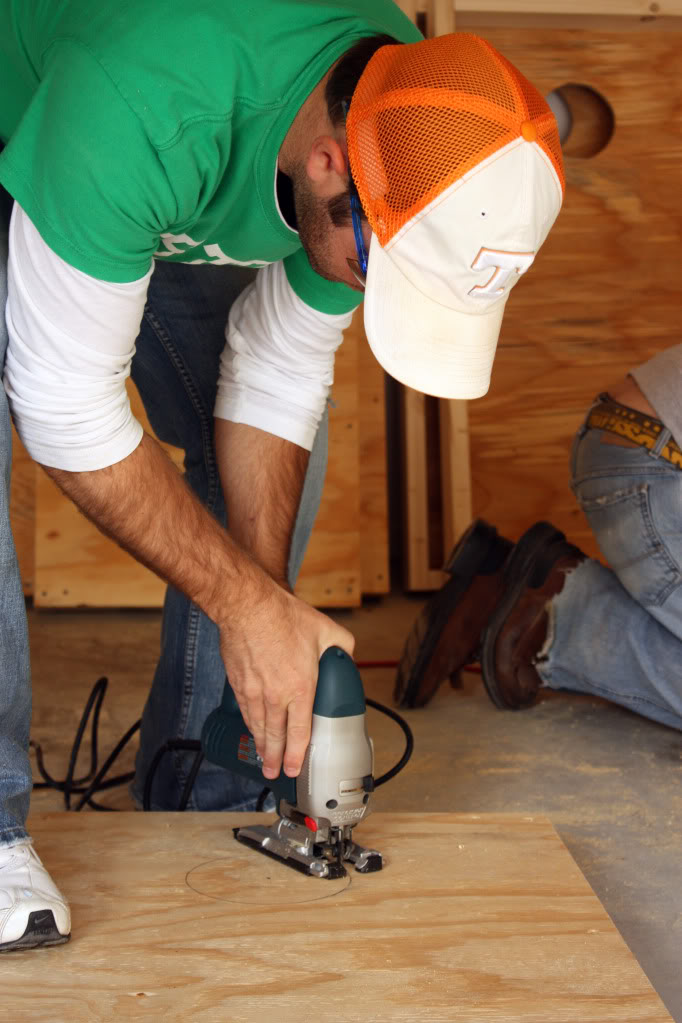
Celebrate your hole 🙂
Repeat that process for another box (so that you can have a set!)…

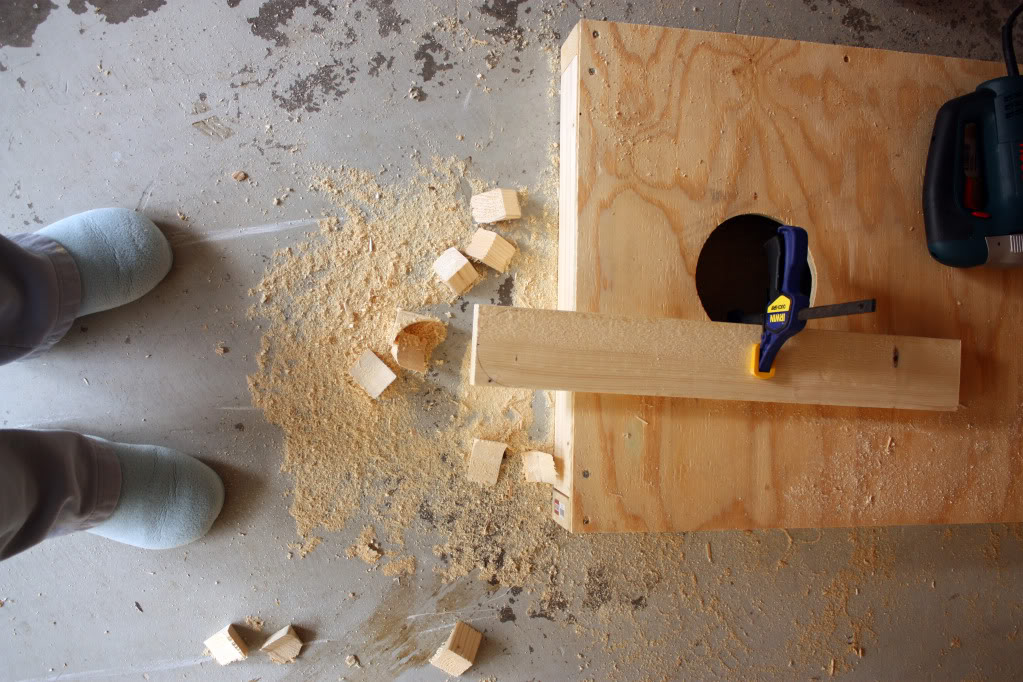
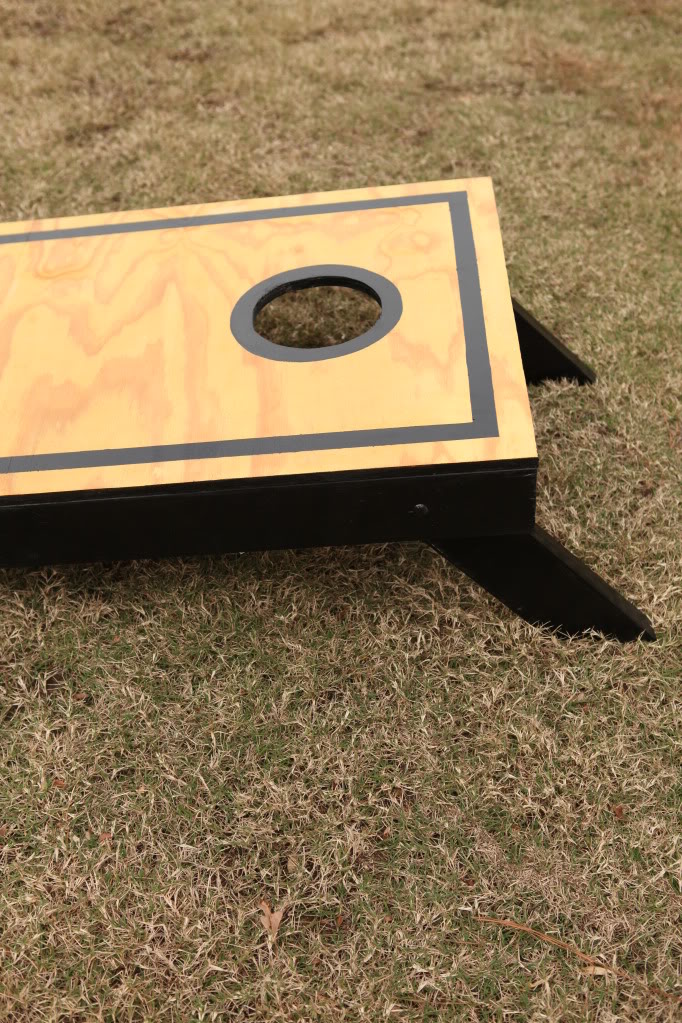
Now time for the legs….we chose to round out one end of the legs just so that they pivot easier on the backside of the board….
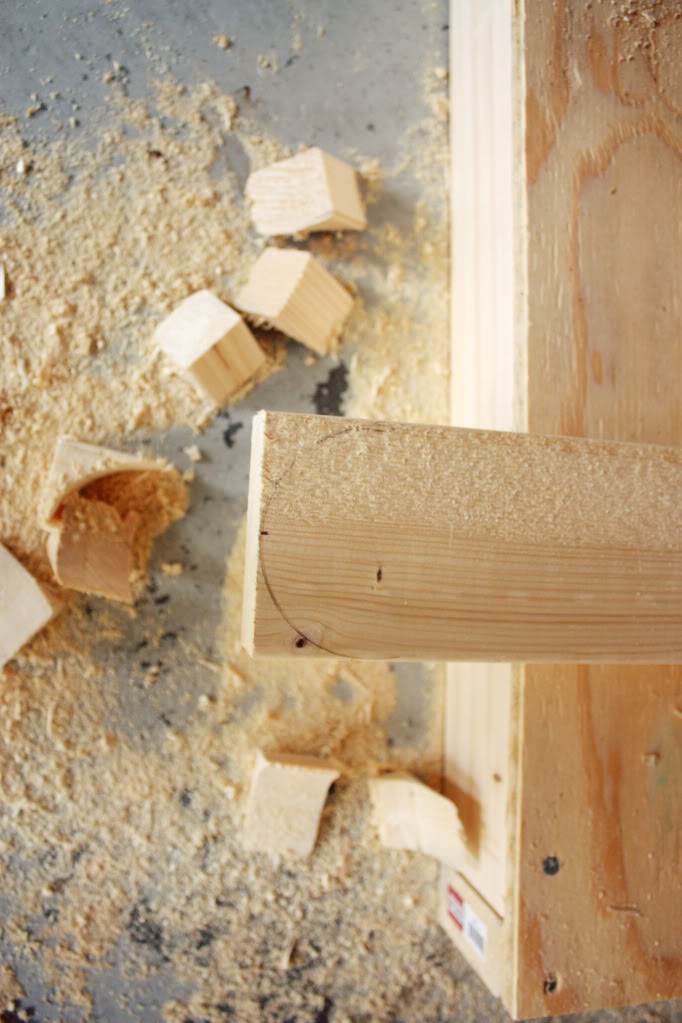
Mark, clamp and jigsaw. Blue fuzzy house slippers are optional 🙂
Cut the other end of the board at an angle to make the feet level when flipped out.
SAND EVERYTHING!
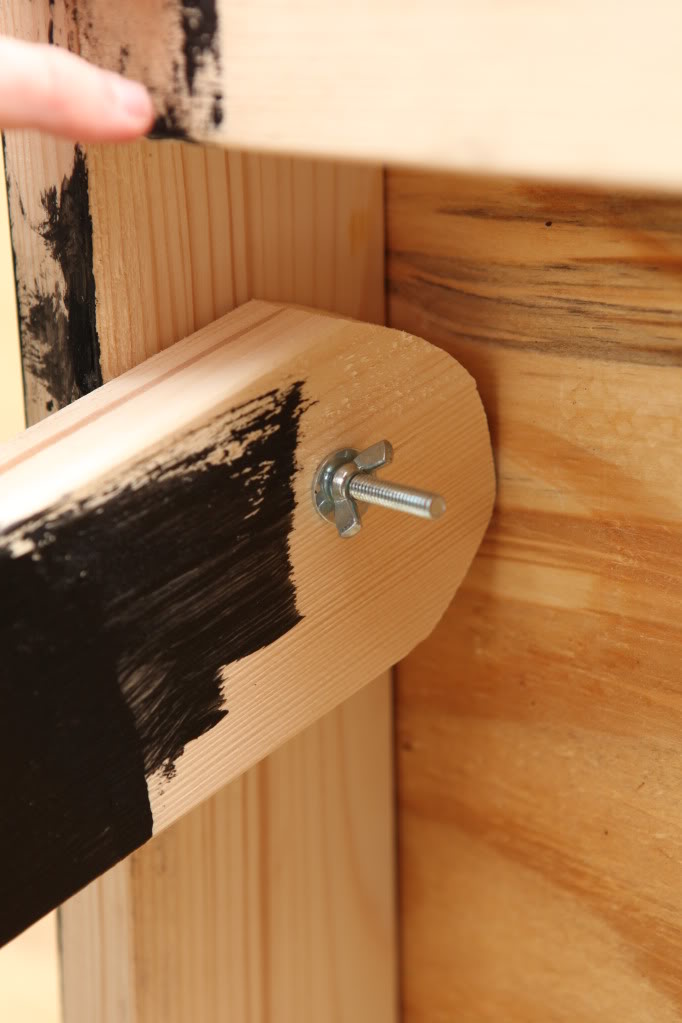
Using a drill, make a hole through the sides of the board 5 inches from top edge and into the center of the rounded end of the leg….
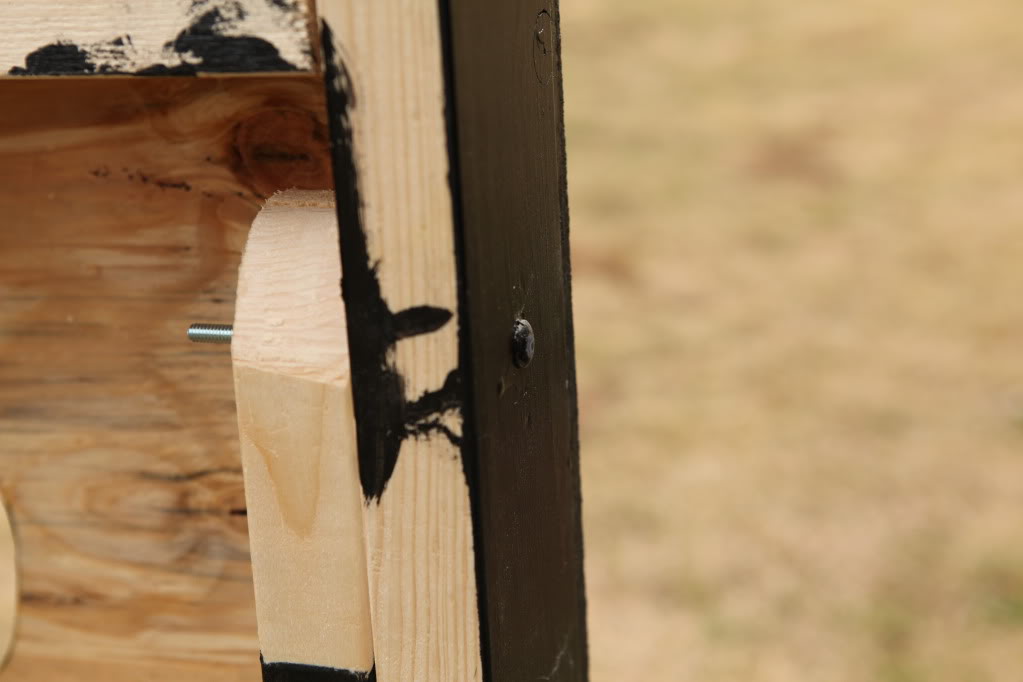
Insert bolt, washer, and wing nut to fasten.
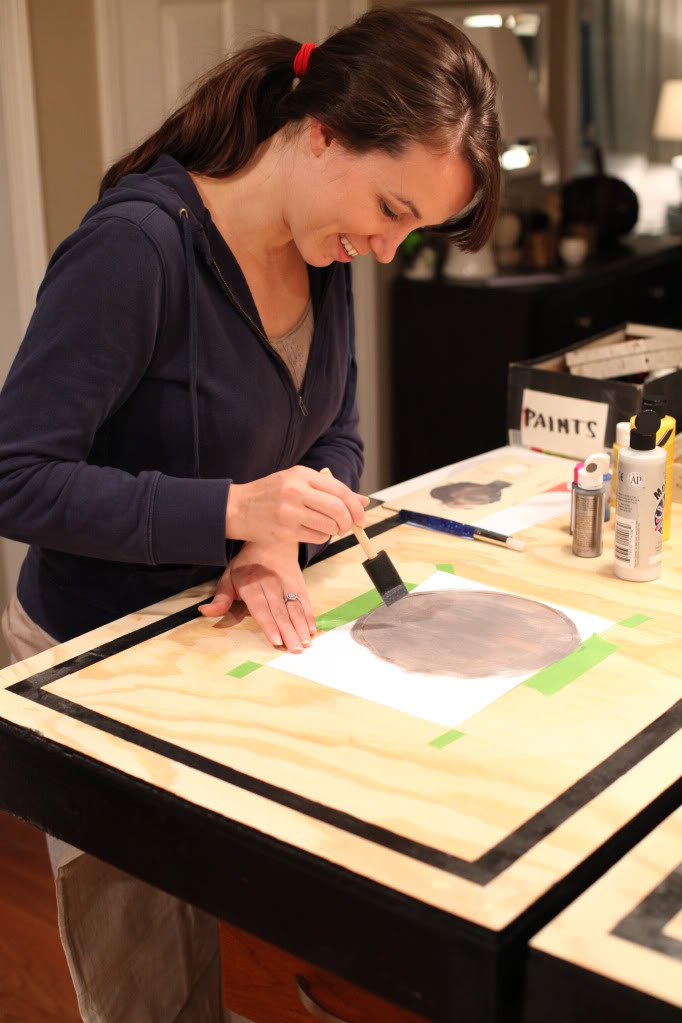
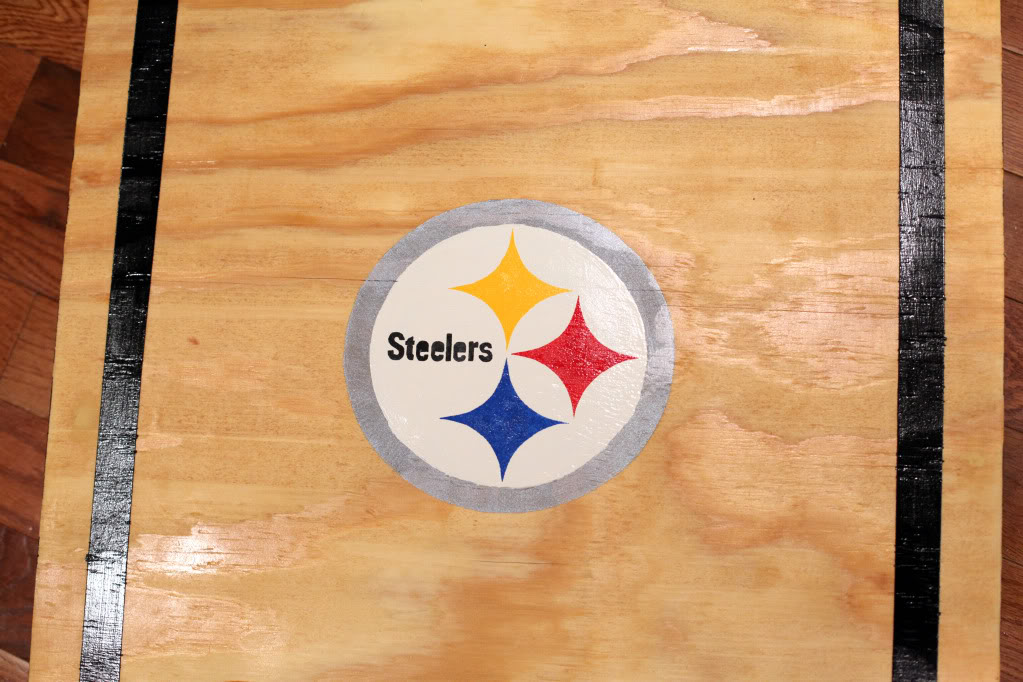
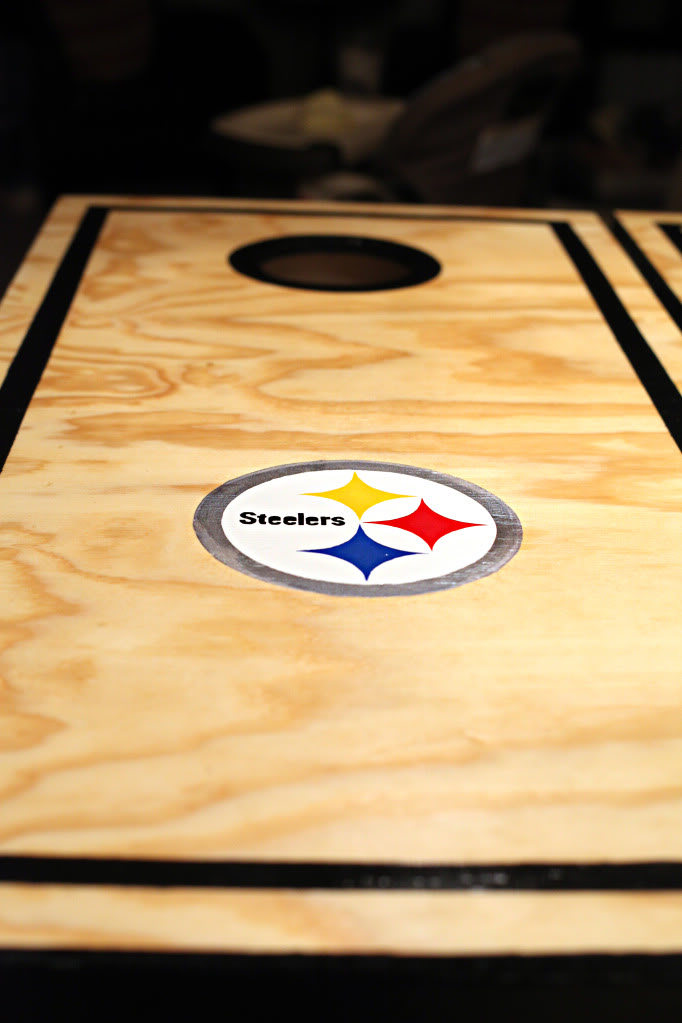
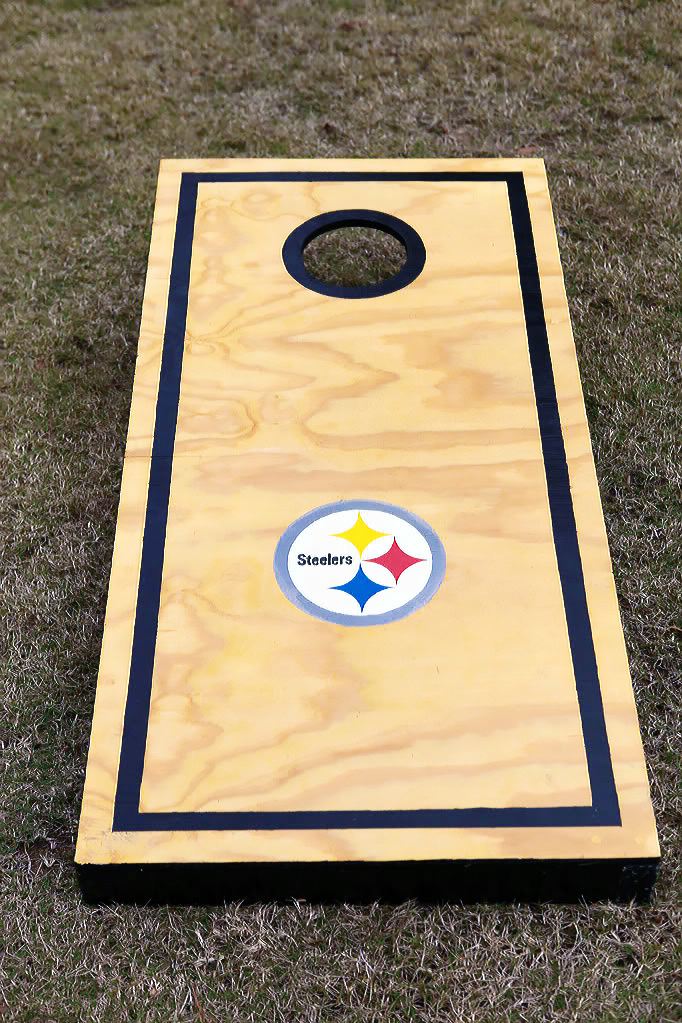
We chose to paint the sides and legs black and add a decorative black stripe around the top and the hole.
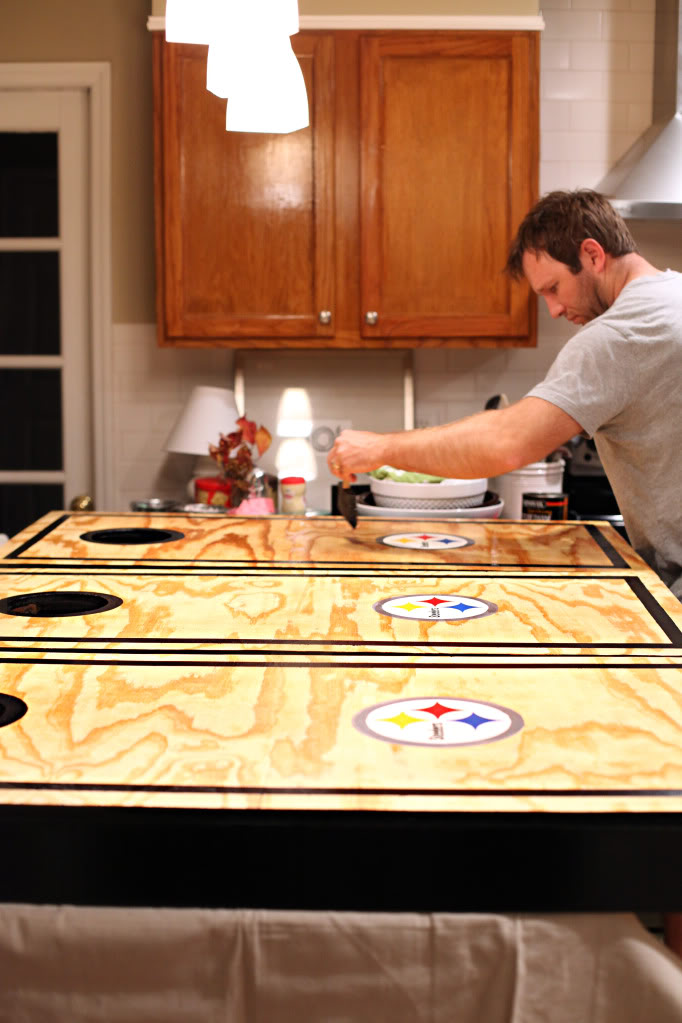
We also personalized the tops of the board with our families favorite sports team before applying three coats of poly.

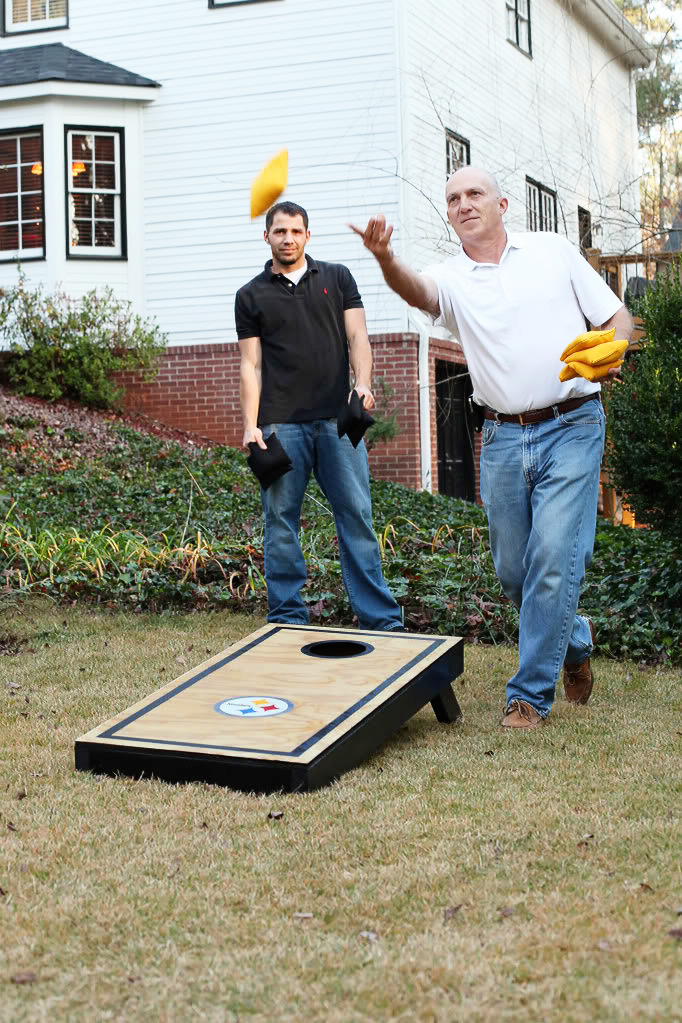
Create eight bean bags (or you can buy them here) using polyester fabric and corn kernels and enjoy watching the guys in your life attempt to throw it to win a million dollars! Just kidding – there’s no cash involved…unless the pride of being cornhole champion is worth something to you…and in our family – it’s priceless 🙂
Isn’t that fun guys?! A full DIY instruction from way back. Dude we are more crafty than you even realized. And Jeremy – this is conclusive evidence that you should never EVER get rid of the beard. like ever.
And if you want to bang out a few of these for your loved ones for Christmas – please share them with me on Instagram by tagging the photo @bowerpowerblog – I love seeing you guys try these projects at home….even five years later 🙂 It seriously is the best Christmas present you could give me!