If you have been long awaiting my tutorial on how I did this desk/console table/monster beast – today is your day. Go ahead. Get you something to eat. Grab your phone/laptop/ipad and lock the bathroom door. It’s gonna get sawdusty up in here.
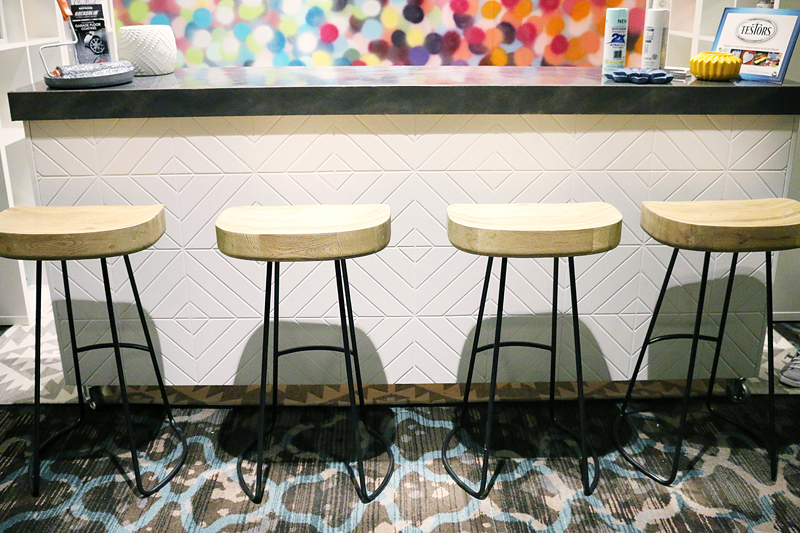
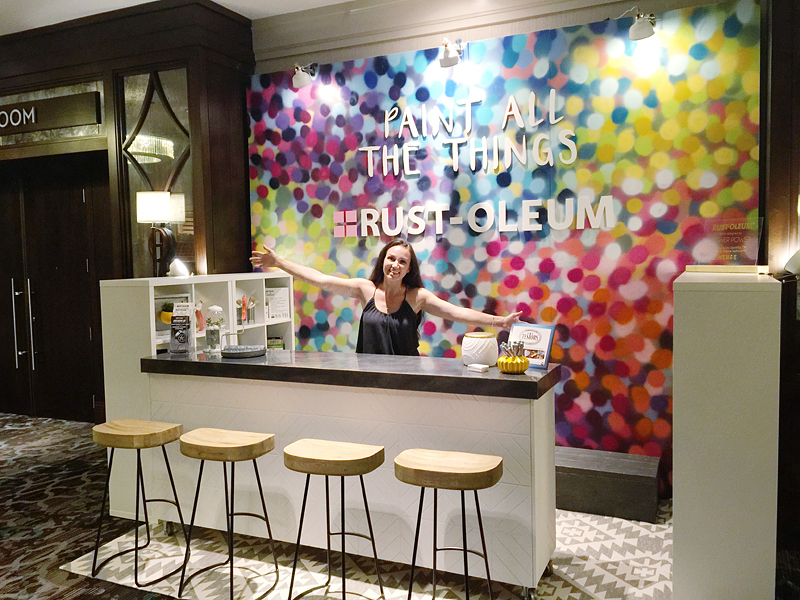
So for all you people googling “world’s awesomest desk”, welcome 🙂 I made this beast of a table for the Haven conference and it was meant to be a place to gather, store supplies plus it had to look good and show off some of Rust-Oleum’s awesome products like Rock Solid and their chalk paint. This particular desk had a Rock Solid top….which is NOT what it is meant for….it’s a garage floor coating. But we were just showing off the shiny finish. You can see the Rock Solid in our garage here.
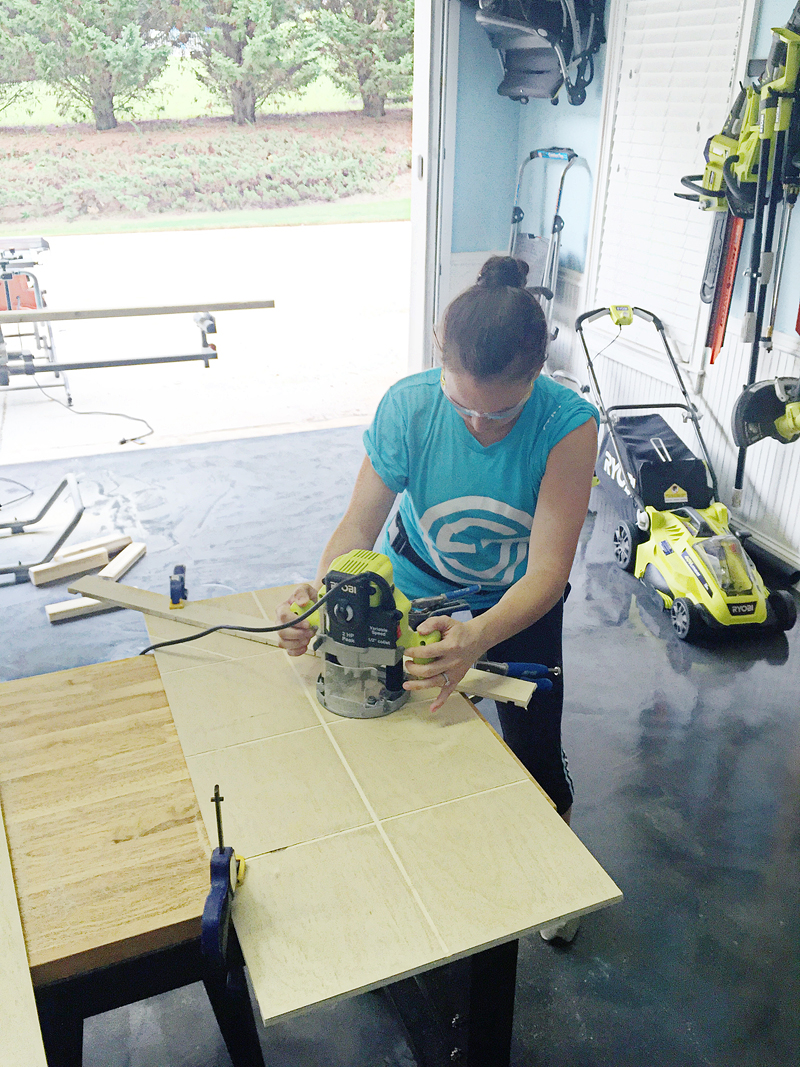
I really wanted to share with you how I did the geometric pattern on the sides. It requires a router. I used a plunge router from Ryobi….here is a link to it.
Now I really want to warn you….this routing business….it’s a serious core workout. If you have a bad back – you might need to recruit a volunteer that is detail oriented to do this for you. Also it takes up a chunk of time. Be warned.
The great part about this is that it’s relatively inexpensive. The back of this is 1/4″ plywood….so $12 for a big sheet. You can do this and attach it to a kitchen island or to a wall for a cool accent wall for super cheap. Cheaper than wallpaper.
Basically it all started with a plan from Ana White & Nikki Grandy called the sliding door console. I got the plan for free on Ana’s site and then modified it for my needs. Here is the link to that plan.
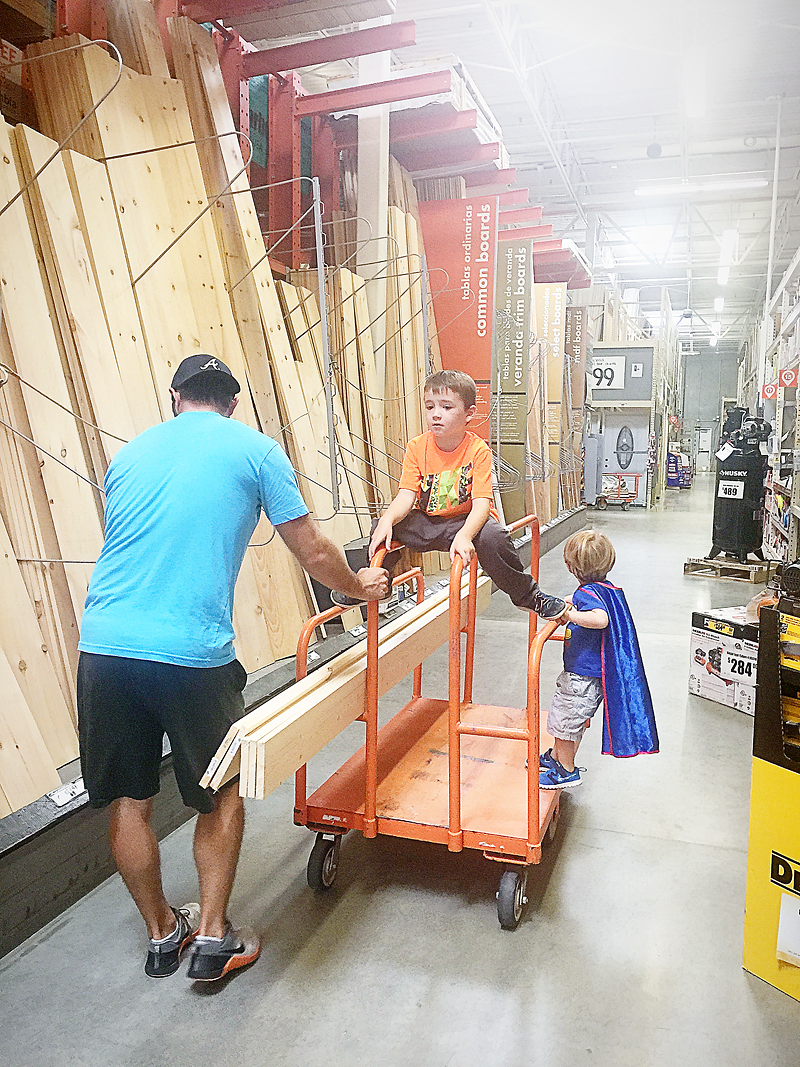
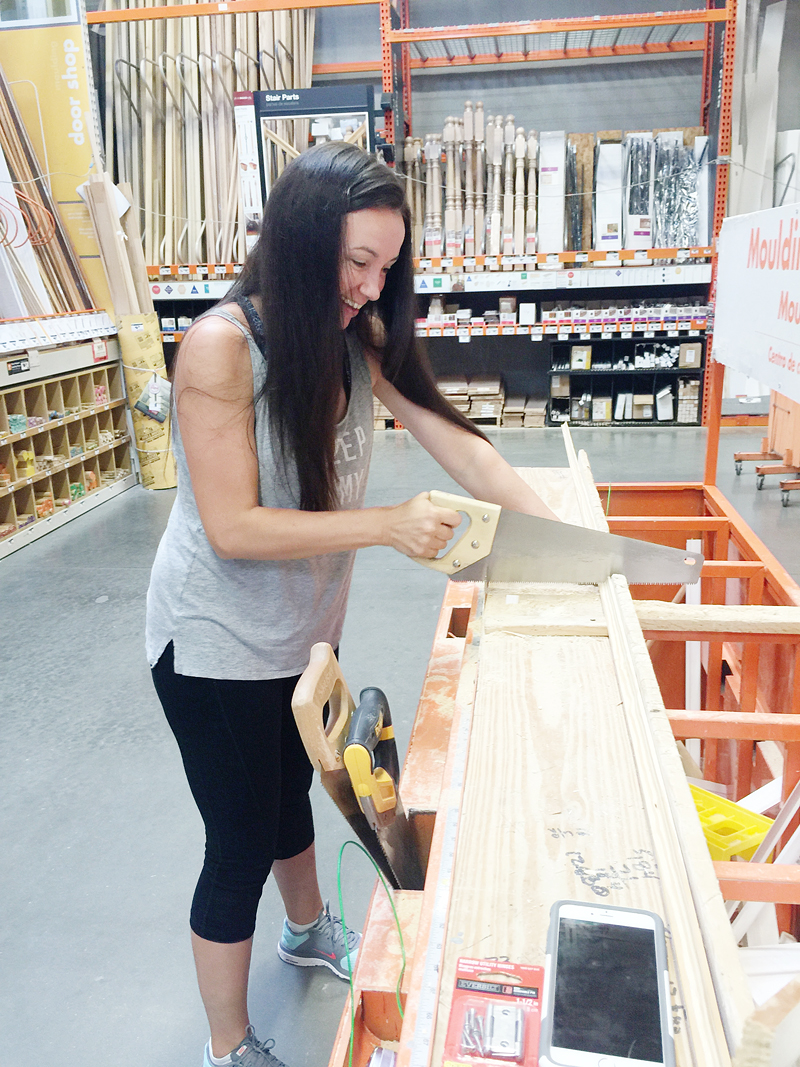
Of course, modifications need lumber and lumber means Home Depot and Home Depot means my kids running wild like animals on the loose. Can you hear them screaming? Because I think this photo does have a volume knob. Imagine my australian accent when I say “look at these creatures in their natural habitat….they are hunting their prey….ready to pounce on a huge herd of 2×6’s”.
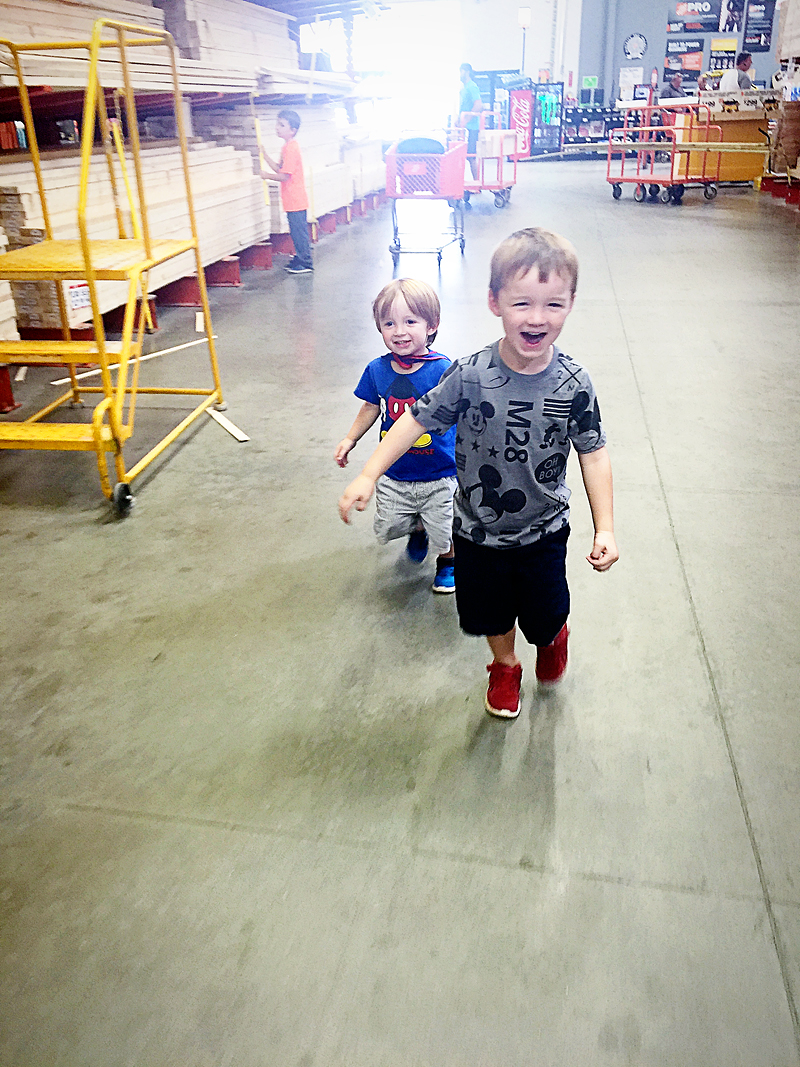
In other not related news….LJ has this cape. It’s his favorite thing in the world. Will got it from GrandBee a few years ago and LJ took to it this summer like a dog to peanut butter. It was true love. When we went to Haven, somehow the cape was lost. We were all super sad about it. He kept asking for his ‘tape’ and just would hand him a stuffed animal and look away in shame. I literally almost purchased a 29 dollar cape on Amazon because it looked identical. THEN a couple weeks ago, the Dollar Tree came out with their Halloween stuff and in the costume section….THERE WAS THE CAPE. I bought three. And now all is right in the world 🙂
Okay. So back to the build.
With the plans for the sliding door console, it shows the piece as a shelving unit against a wall. The back would be 1/4″ plywood but it didn’t have any support on the back. Our console desk thingie would be turned around….no doors and the back would be the new front….which made us a little nervous because we didn’t know if anyone would push on the plywood or go to feel it and it would be loose or breakable.
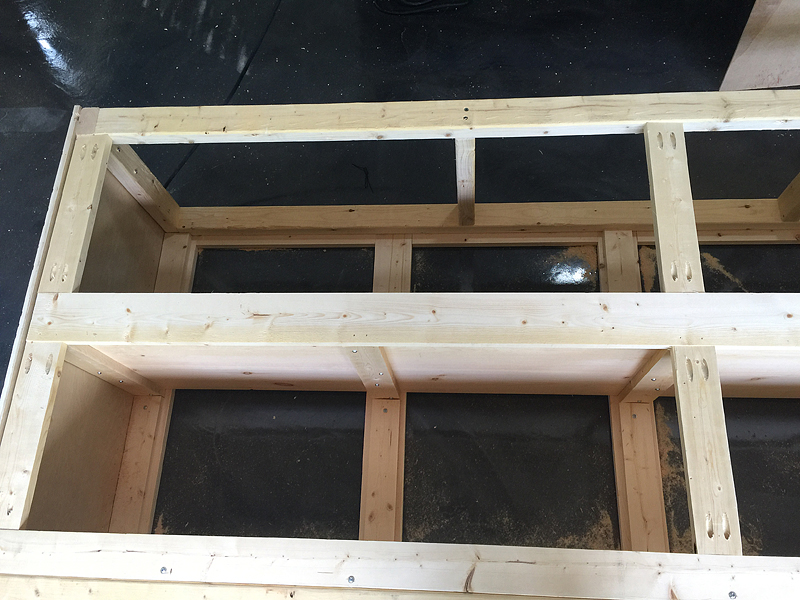
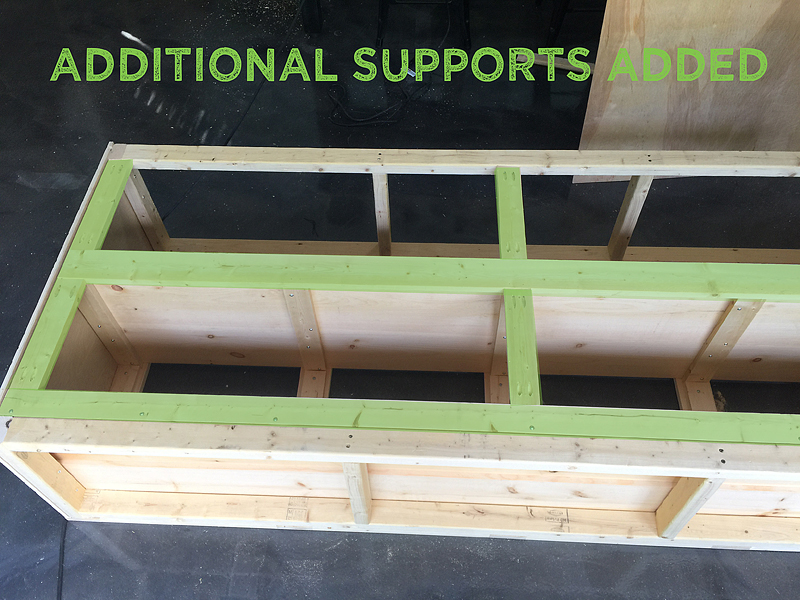
So the plan from Ana & Nikki does not show these additional pieces of wood but I added them so that we could have support behind our back (err….our new front). Also, because the router does remove some of the wood from the 1/4 plywood….it actually does weaken it…so I wanted to be sure this turned out great. I just measured the pieces for the space and added everything with my Kreg Jig.
Then came time for routing. This was my first time ever routing and it was definitely harder than I thought. While I was building, I needed to have these side panels as supports to hold up the console so I had to route them before attaching.
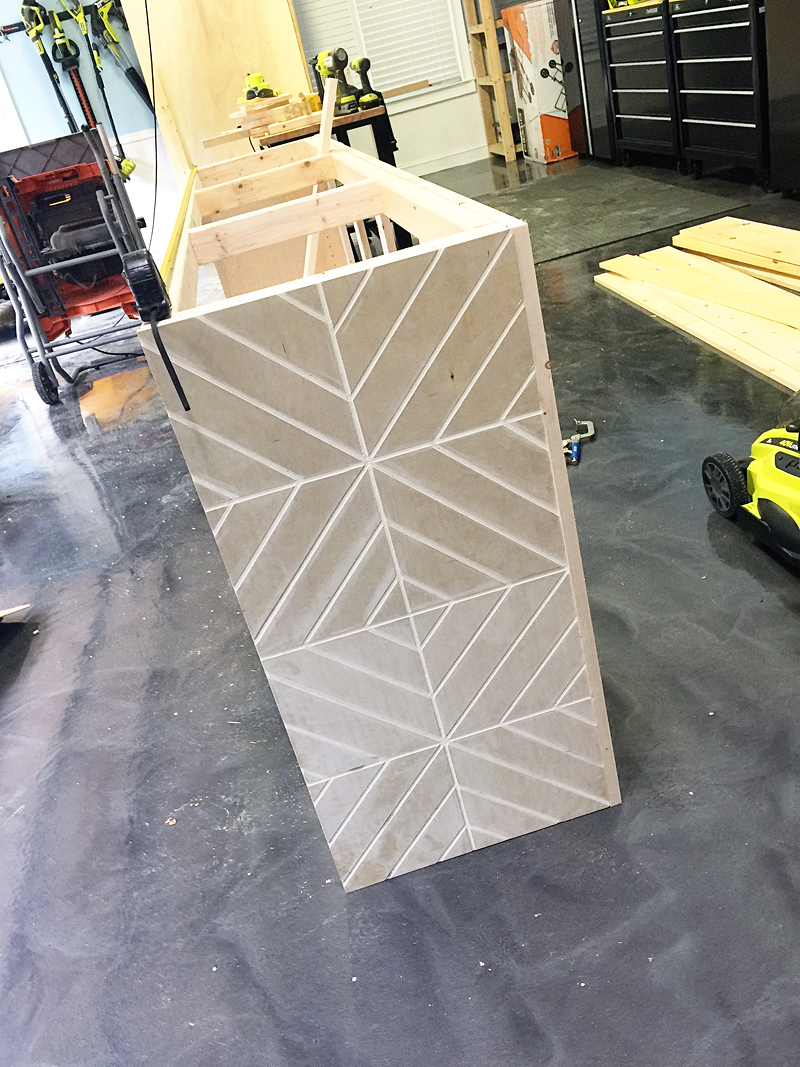
Here is the first one all done….
And here it is attached to the console table. These were done with 3/4″ plywood.
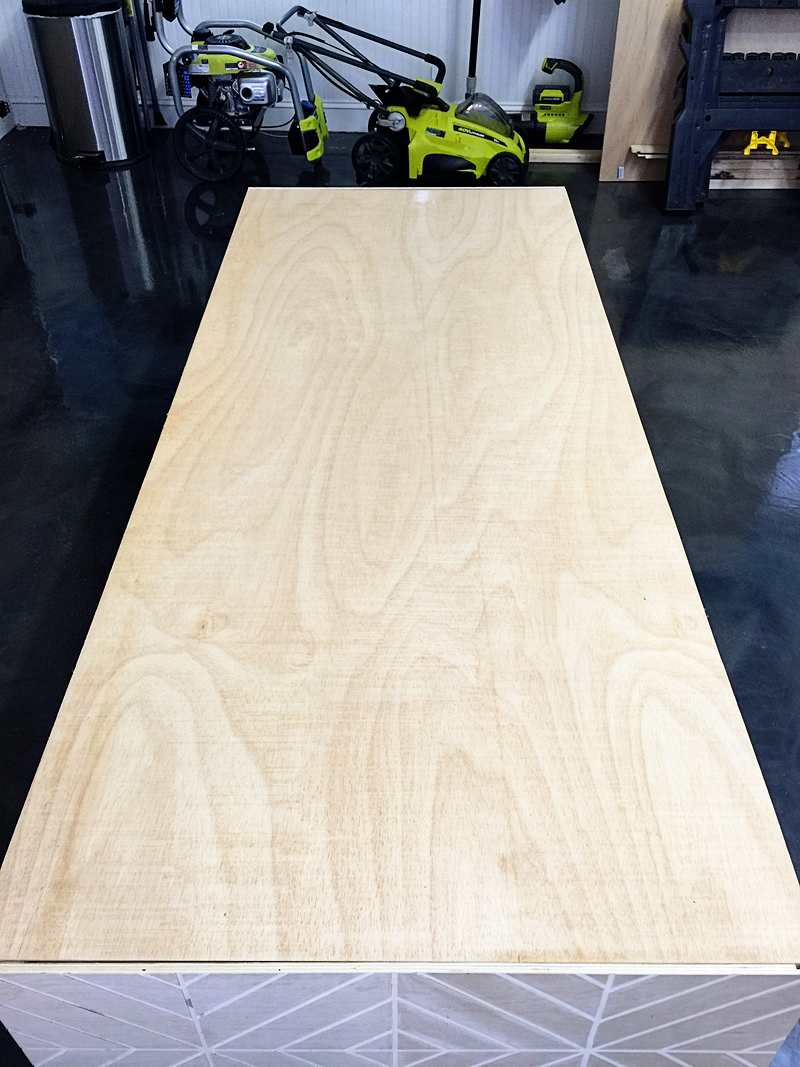
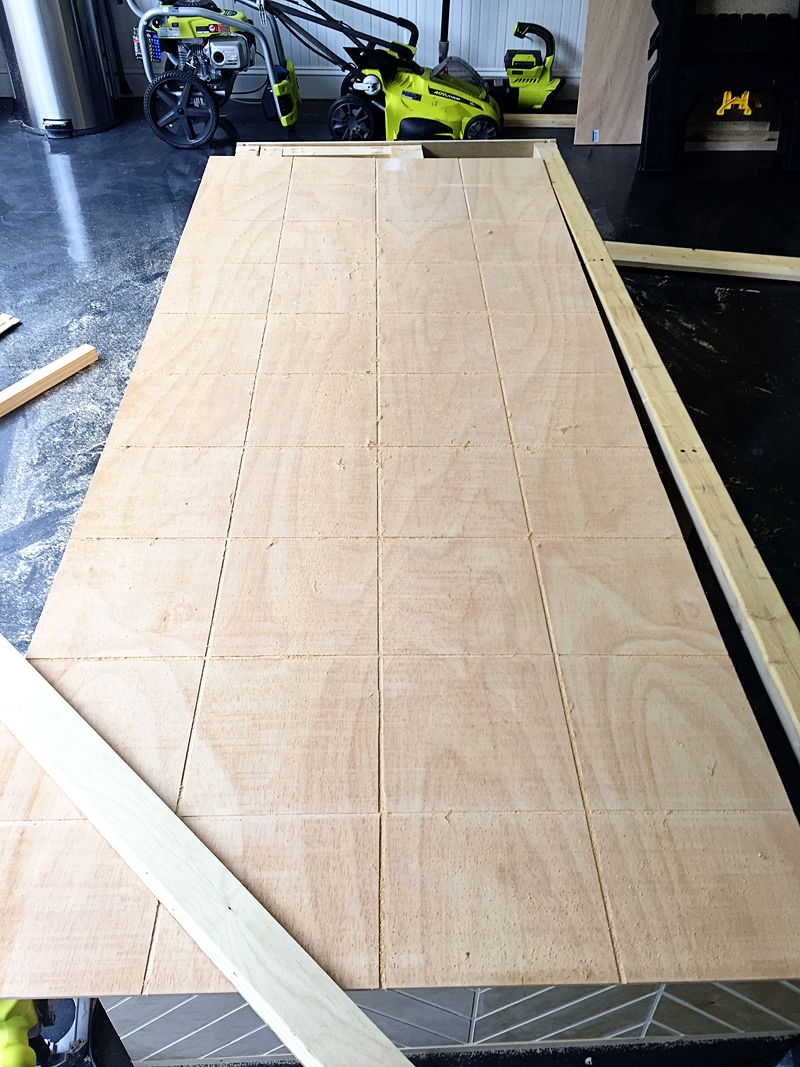
For the back, I started off with the plywood cut to size.
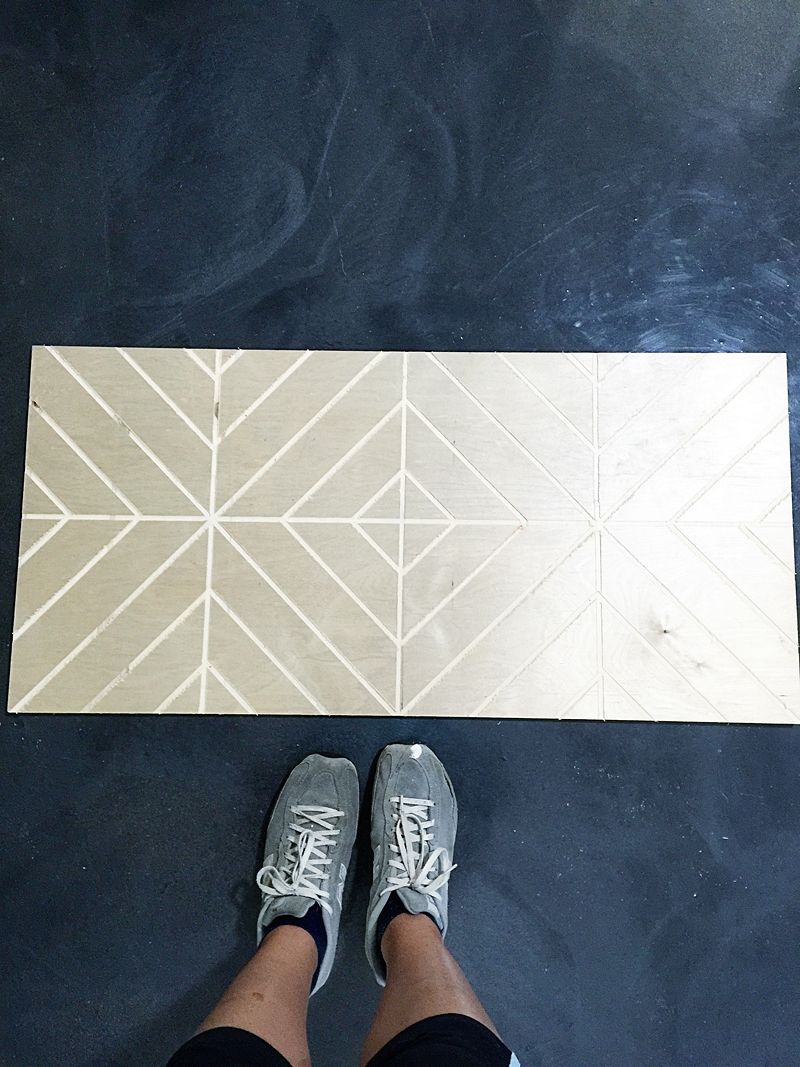
I marked all my lines and then would do the grid first. The goal was to just not screw up too badly 🙂
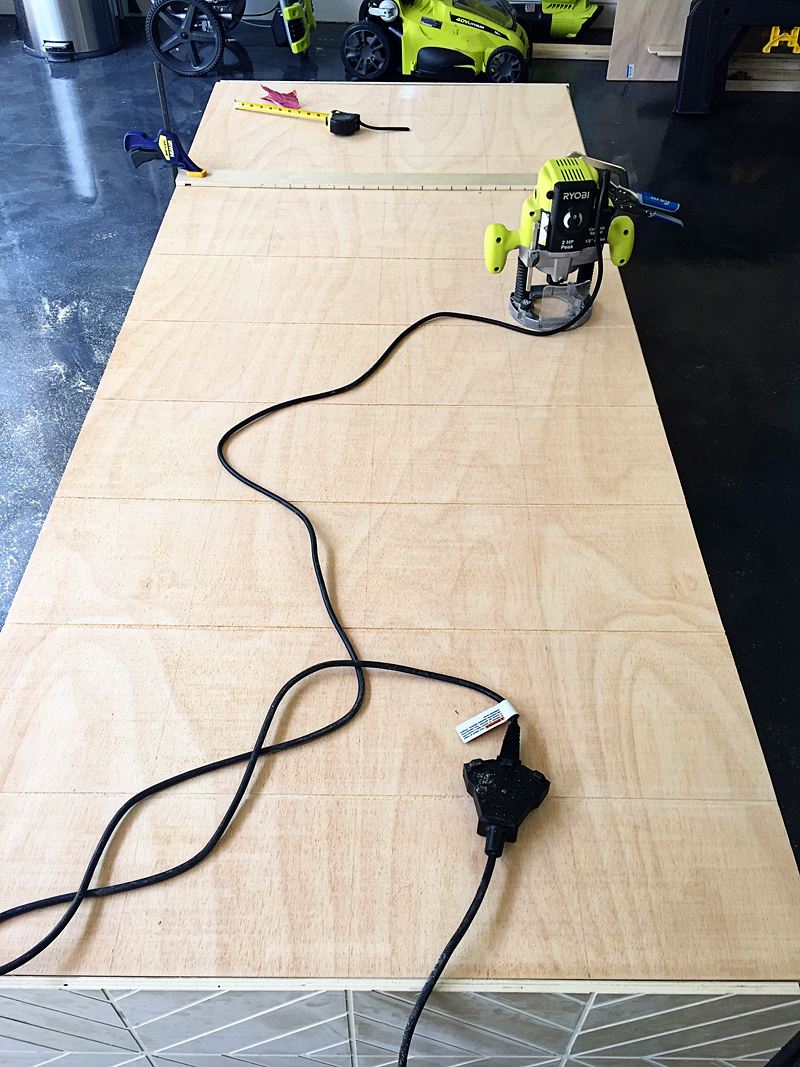
I ran the router on the horizontal and vertical lines first to create the grid….
Then I laid a guide to do the diagonal lines. I did them in every other box – so it ended up with a checkerboard pattern of one direction.
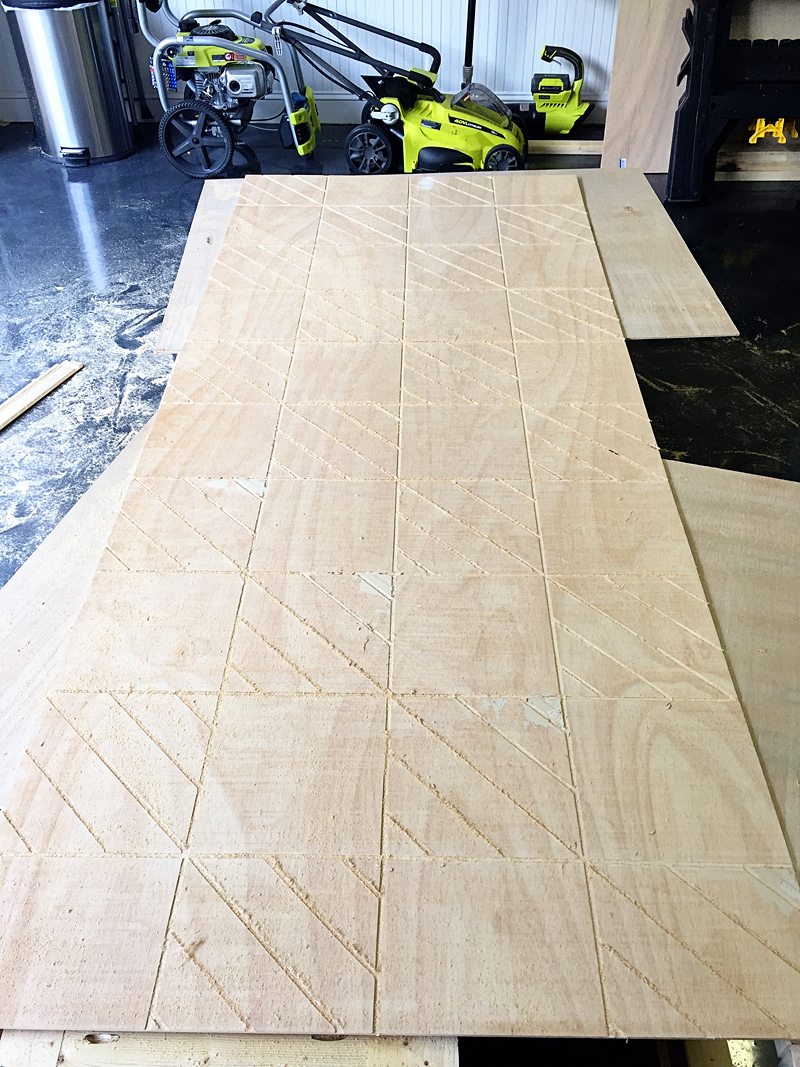
The remaining squares got the opposite direction. And yes, you can see where I messed up. I used the wrong guide measurement and had to fill my mistake with wood filler….wait for it to dry….sand…reroute…and pray I didn’t mess up again 🙂
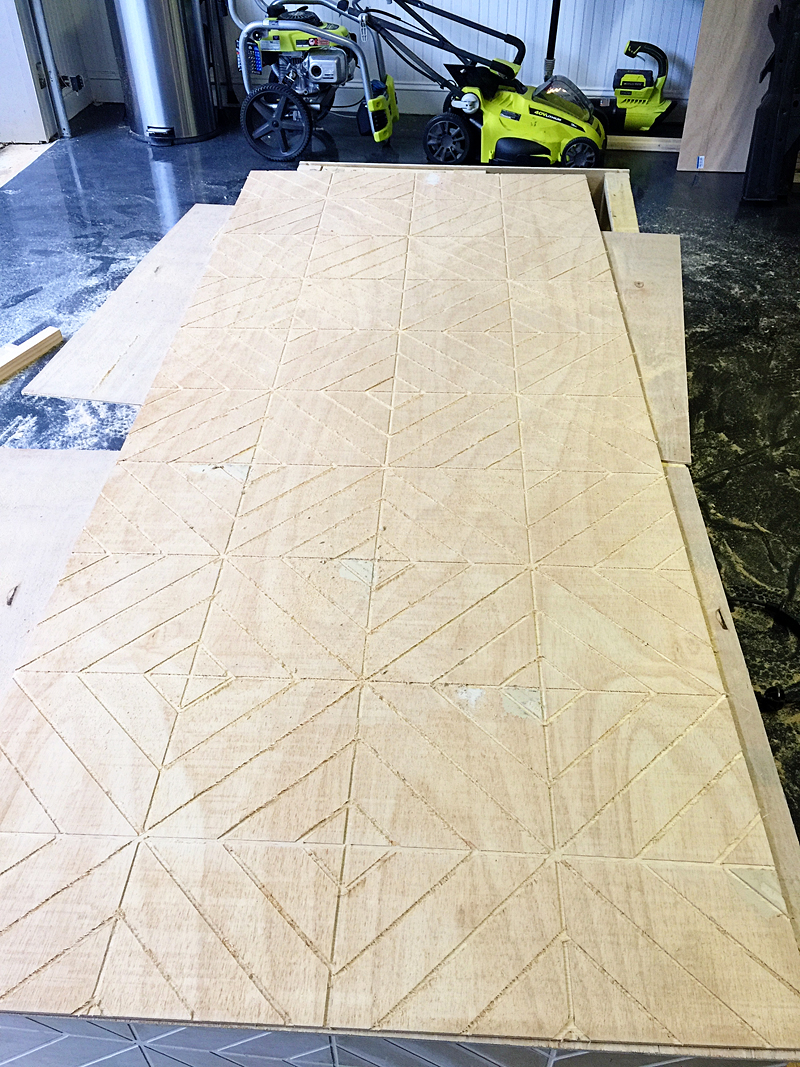
I would definitely recommend that if you do this….make sure you use the plunge lock. It will help so much. I didn’t discover it on the router until I was 3/4 of the way through.
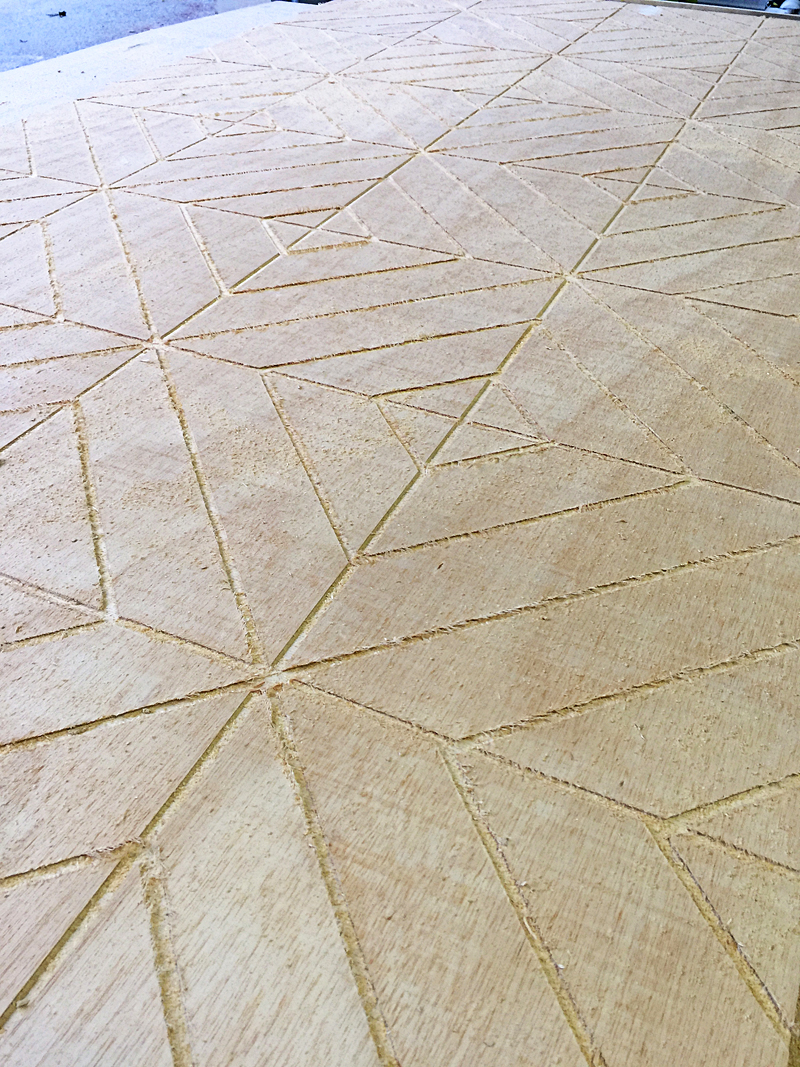
Then comes sanding. It makes a huge difference. Think about a unshaved leg vs. a shaved leg. That’s the perfect analogy here.
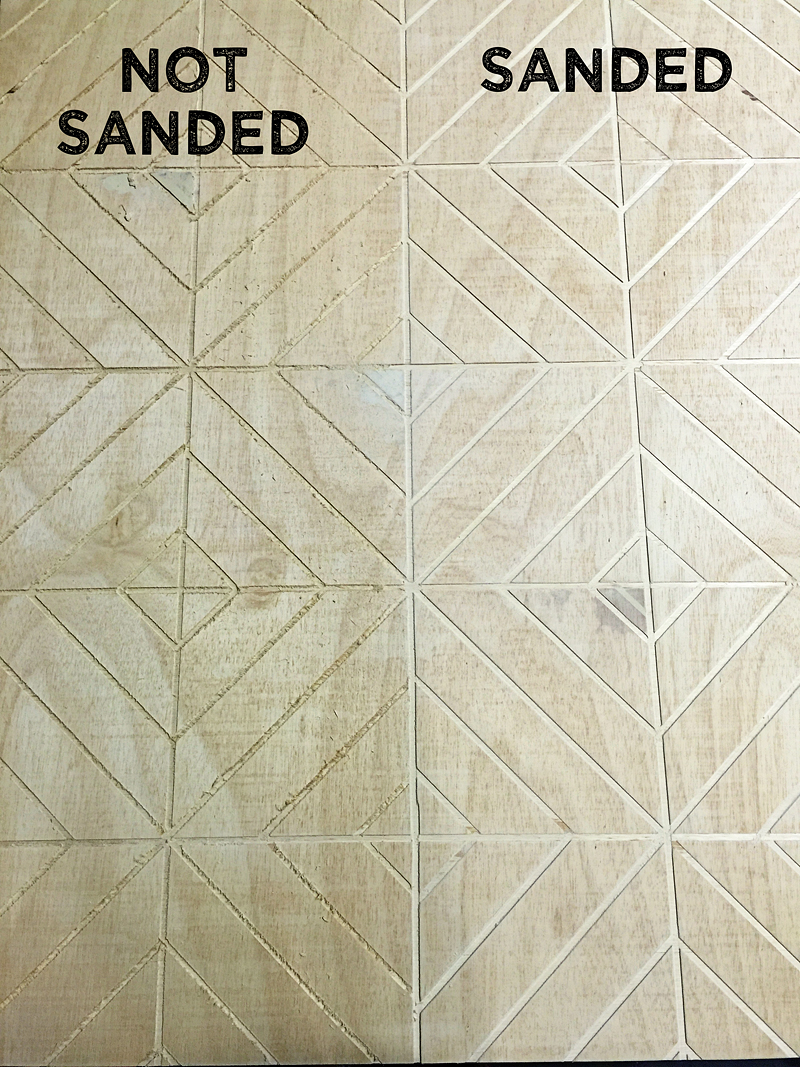
I sanded down the face of the board with 120 and 220 grit with my cat sander but the grooves, you have to do by hand.
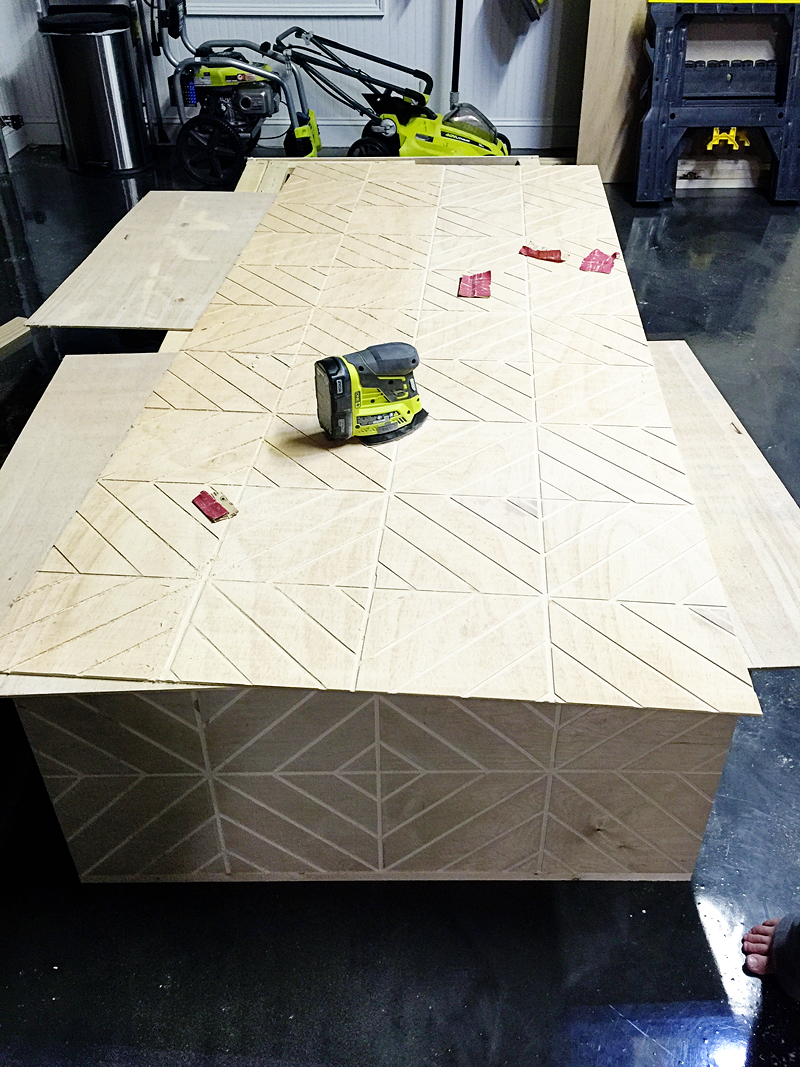
For added stability, I actually layered another piece of plywood underneath the routed version. I figured that I could remove the back eventually if I wanted to tweak this piece for later but either way – this was cheaper and easier to do and made the whole thing stronger.

I also wanted to cover up the corners…so I added a little molding cut to length.
And there we have it….a recap of my console with geometric sides.
In our messy house tour, you saw it sitting in the garage….that’s where it is right now…sitting in the garage waiting for a new top. I am gonna take the wheels off of it, add additional wood around the bottom and see if I could use it as a console table in the house. I don’t know if it will go with our vibe so if it doesn’t work out, I’ll sell it on Craigslist or give it to a family member….either way….it was definitely a good learning experience for me when it comes to the router. I’ve already used that tool again and it has really come in handy! Maybe I will try freehand routing next. That seems a bit harder. But I really want to try new things…new tools….in new ways….so here’s to learning!
TO SEE MORE OF OUR FAVORITE TOOLS — CHECK OUT THIS POST!