Hi Friends! Today’s post is all about a table that belongs to my friend Sydney…..meet Syd everyone….
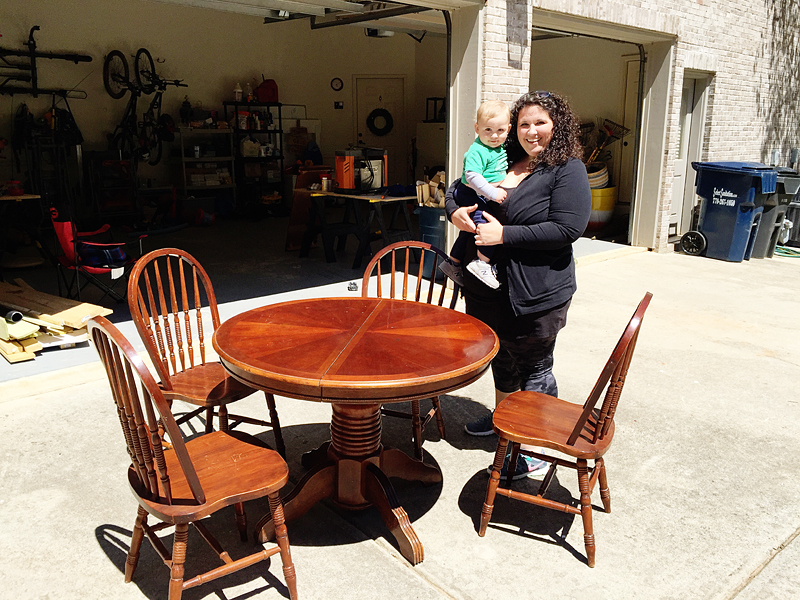
And that is her baby Bradley who is just the smiliest and friendliest kid ever 🙂
So Sydney texted me and told me that she was super excited because a co-worker of her husband was getting rid of this table and chairs and gave it to them FOR FREE. But it didn’t really coordinate with the decor she was using in her dining room.

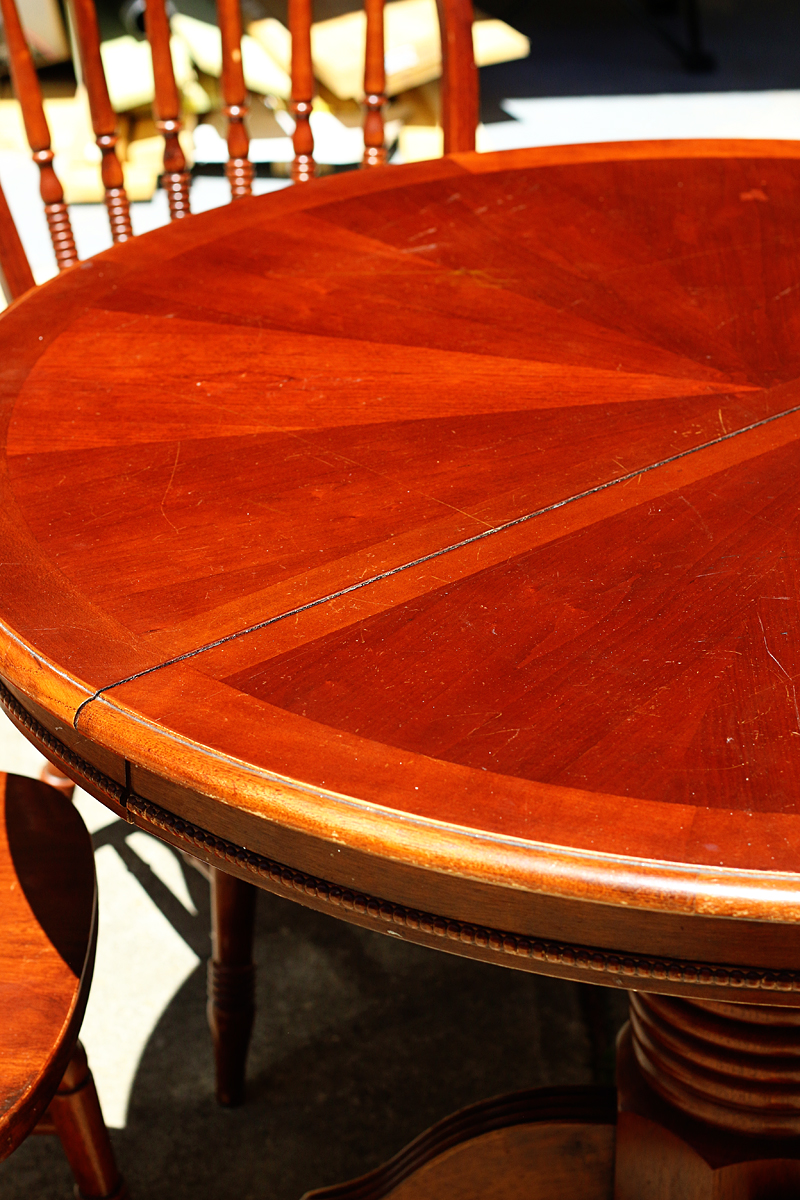
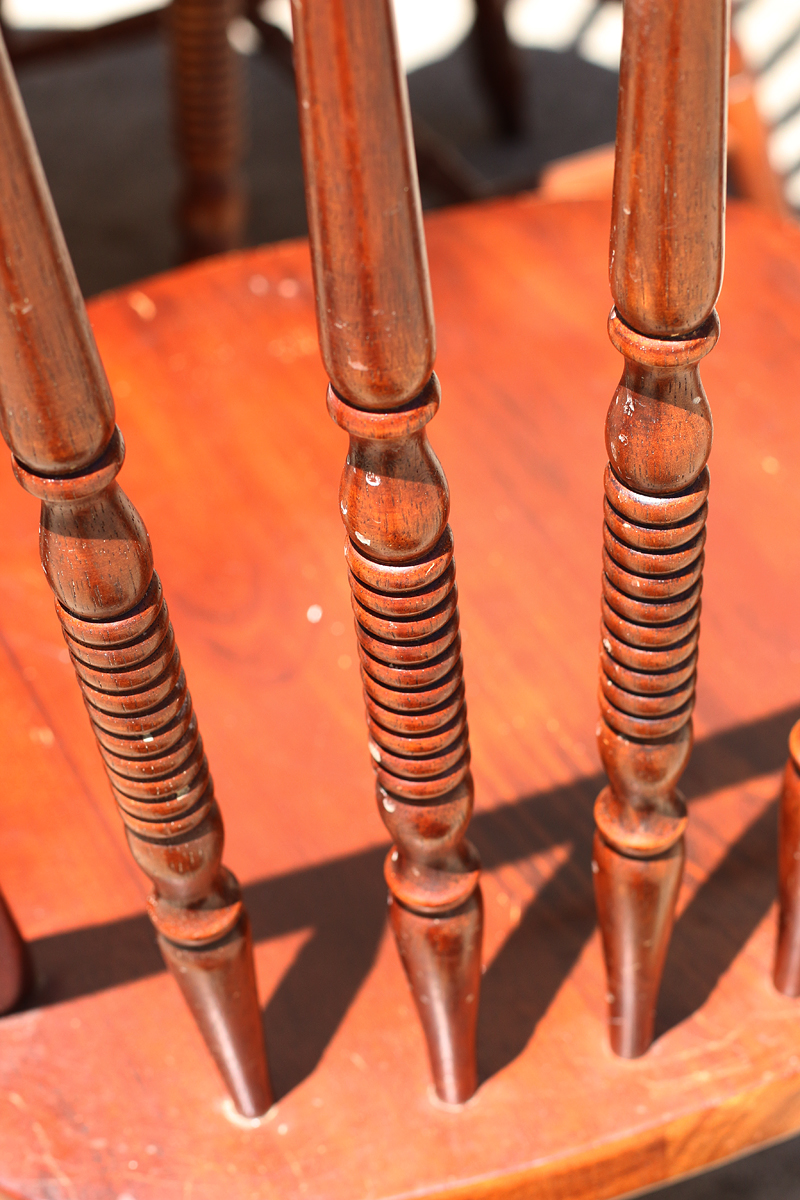
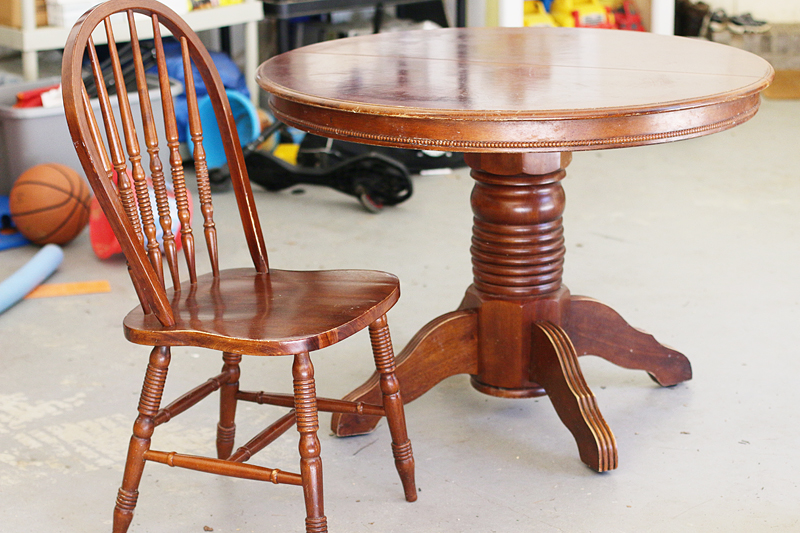
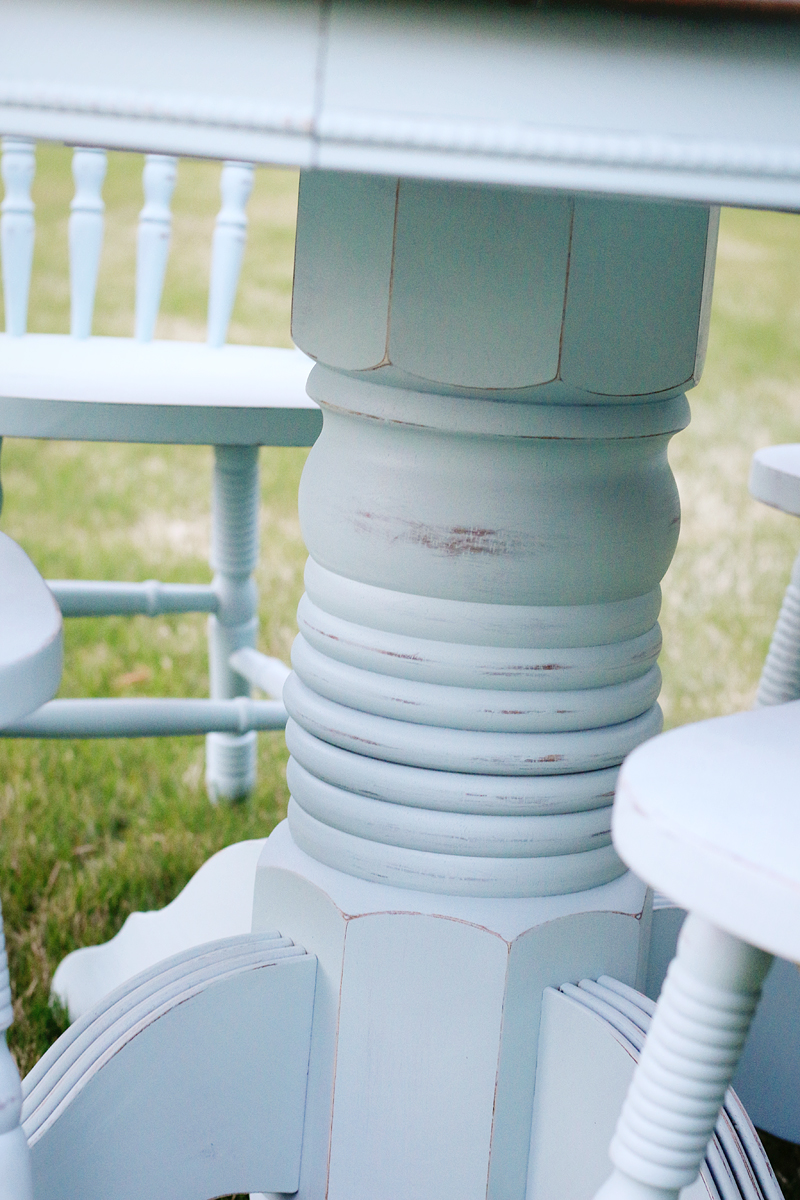
Isn’t it so cool? I LOVE all the detail in that table base and look at the top! It’s so pretty!
Granted the red stain color wasn’t doing it for me in her space and she has three kids and watches her sister’s kids too…so we both knew that she would want to get a distressed finish so that the kids marks wouldn’t show!
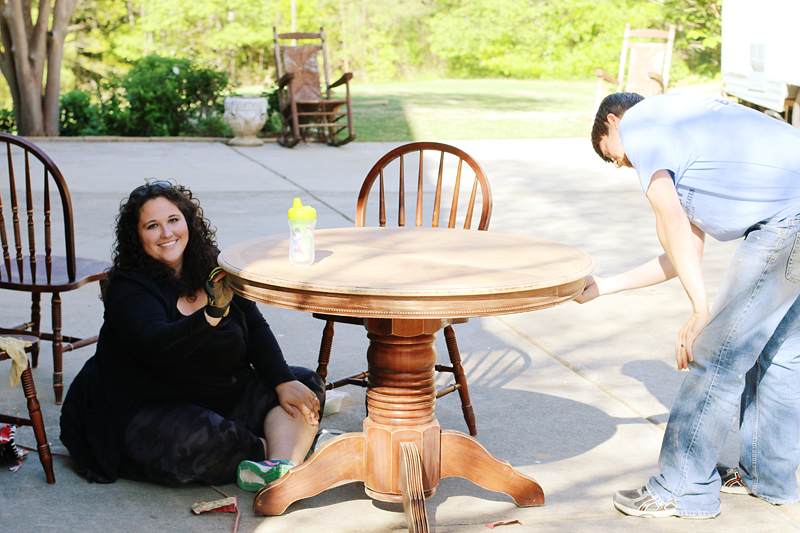
She brought it over and told me that she had no idea what to do to make it over. Well….that’s my favorite part 🙂
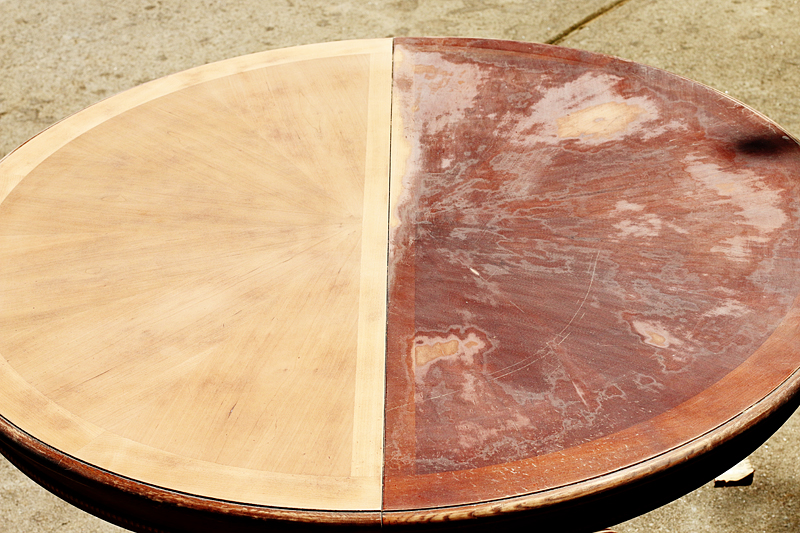
Upon inspection, the chairs and the base were solid wood and the table top was a particle board with a veneered overlay. Whenever you are dealing with solid wood, you can sand till your little heart is content….but with veneer, you have to have a lighter touch.
She and her husband came over on a Saturday with the table in tow (and six kiddos!) ready to get started. At first, her little ones were really interested in the sanding so we put them to work 🙂
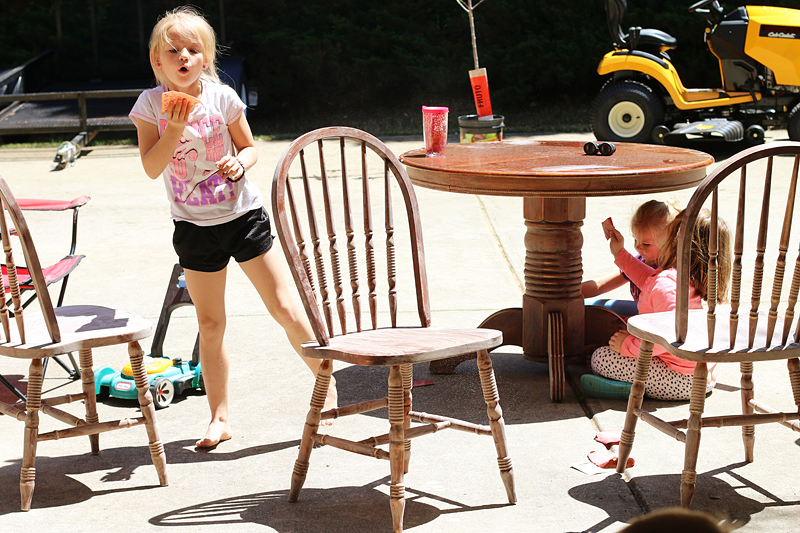
I sanded the first half of the table top to show Sydney and Matt how to remove the stained bits without exposing the particle board and then they were off to the races.
One of my favorite things about DIY is this….teaching people how to do something so that they can save money. It’s so much fun to tackle a project together but also to know that you improved something yourself is an AMAZING feeling. I hope that every time they look at this table, they know that they did it!
Since the plan was to stain the top and paint the base, the sanding part was more tedious on the top. We had to remove all of the stain or risk a color difference. The base just needed to have the finish scuffed up so that the paint could adhere properly.
ISN”T IT AMAZING?!
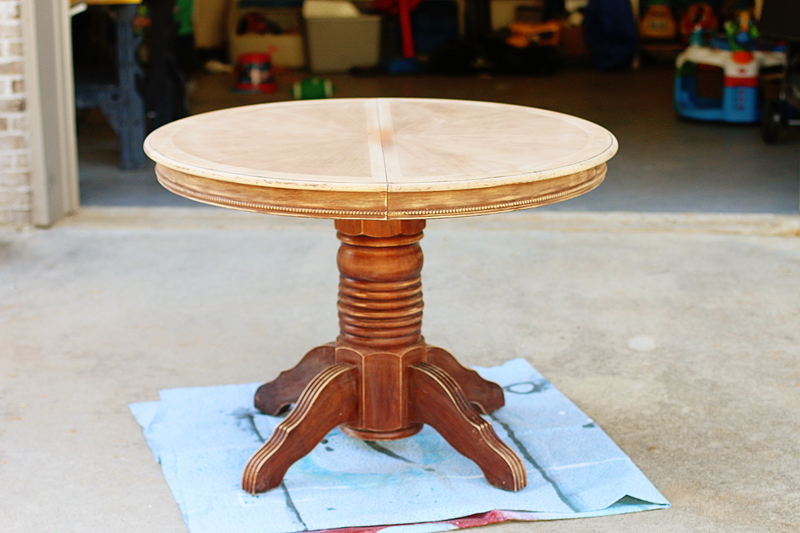
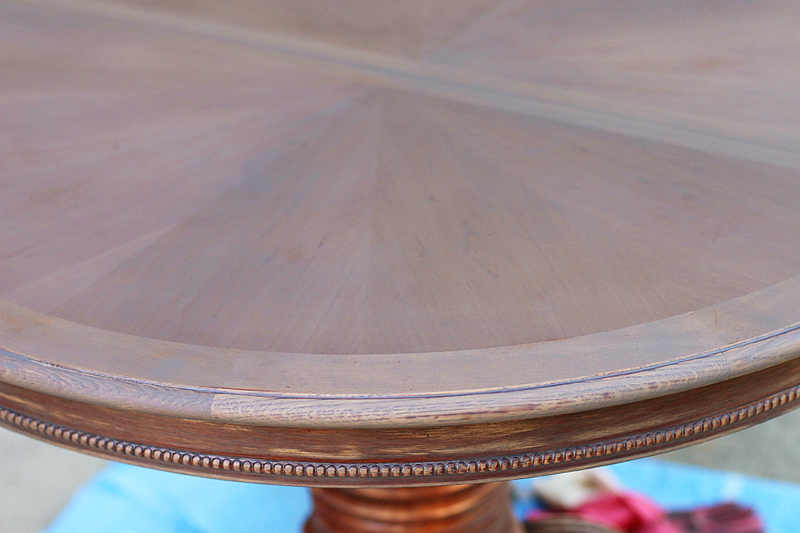
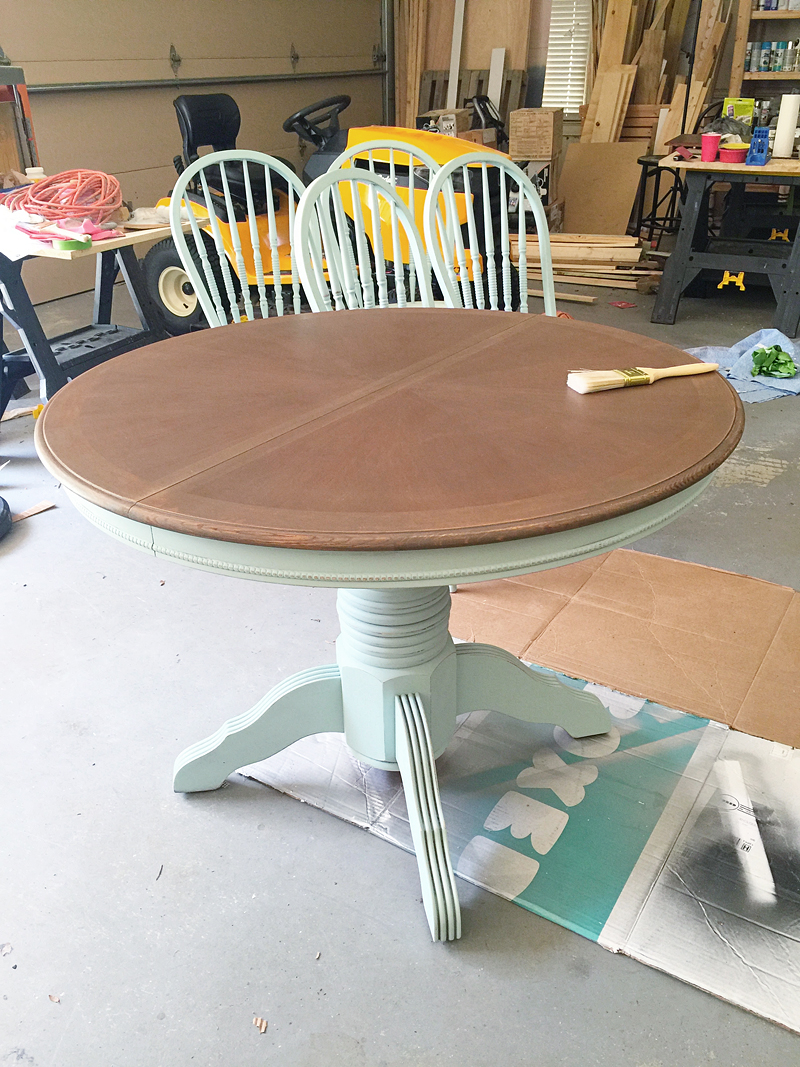
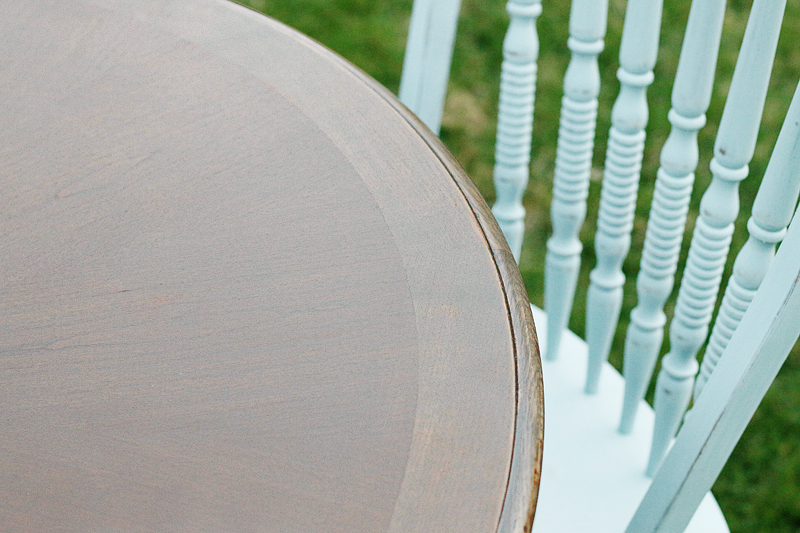
So for the top, Sydney wanted something dark and I thought that was a great idea. Darker stained table tops tend to hide marks and imperfections well and also add contrast if you want to have a lighter base.
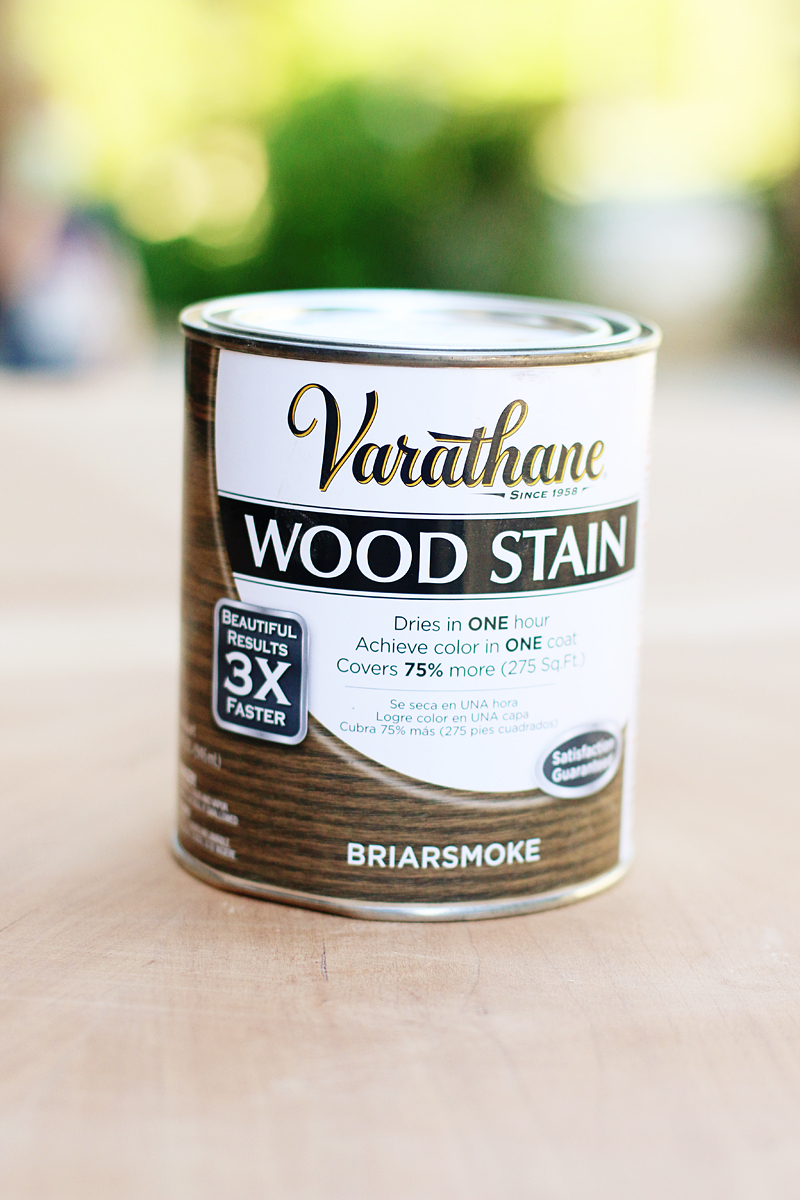
We used the Rust-Oleum Briarsmoke color (it’s new!!!) and it looks sooooo good. More gray brown than red brown which is perfect for a coastal vibe. And I couldn’t find my staining gloves so I used my kitchen gloves. ha!
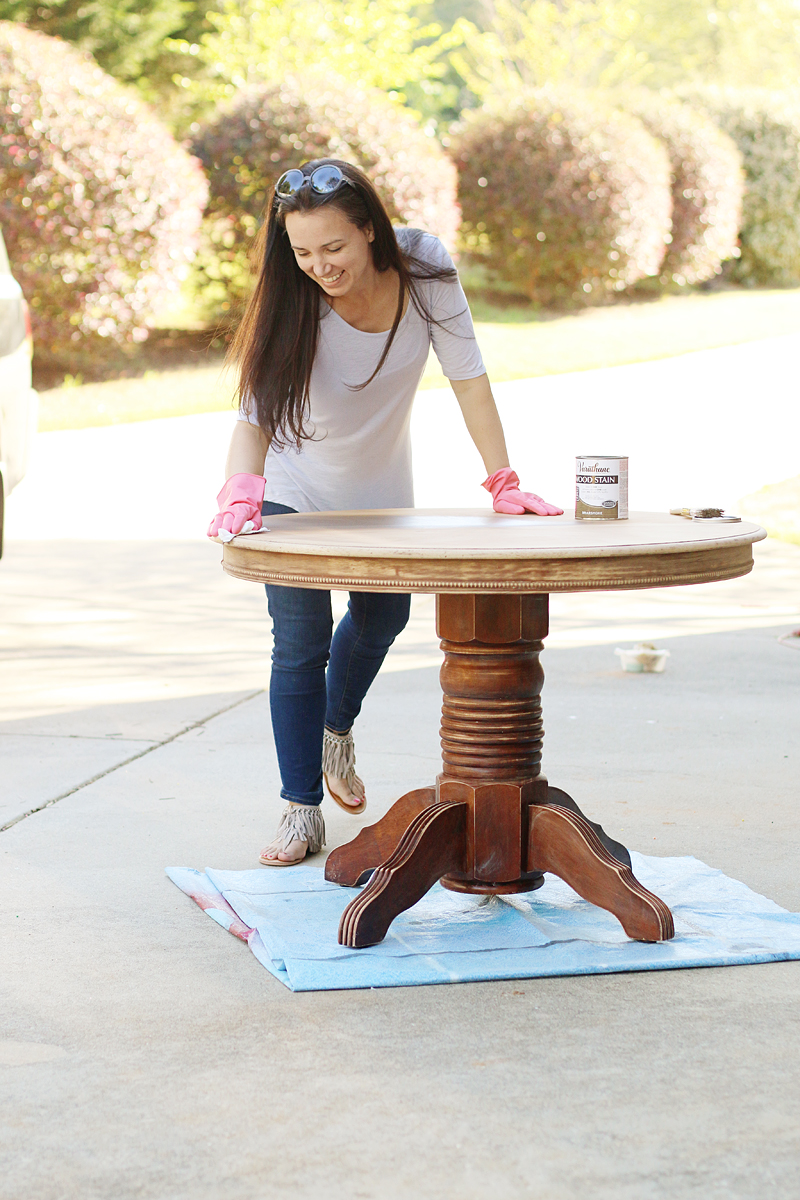
Here it is as it was drying. It looks different here as it does finished so I did get nervous….but you will see how good it turned out.
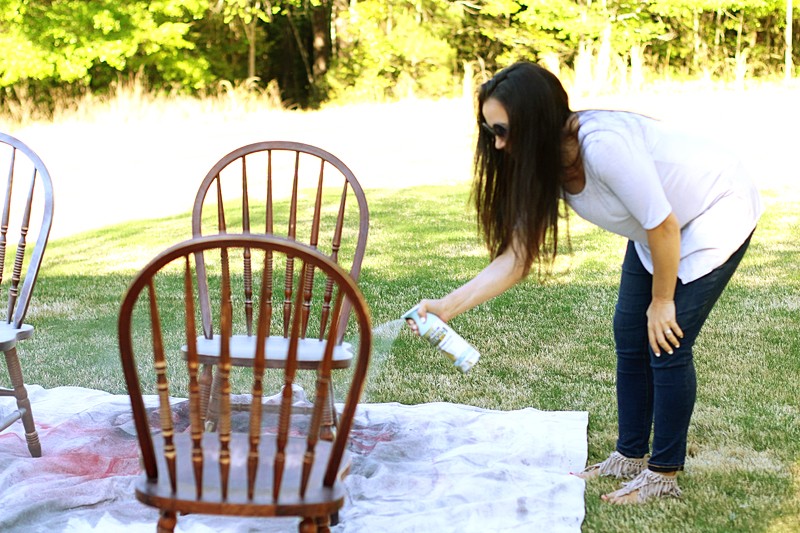
After the chairs were sanded and the dust removed, it was time to paint them.
The spray paint was definitely the best man (err…best can?!) for the job as there were so many nooks and crannies.
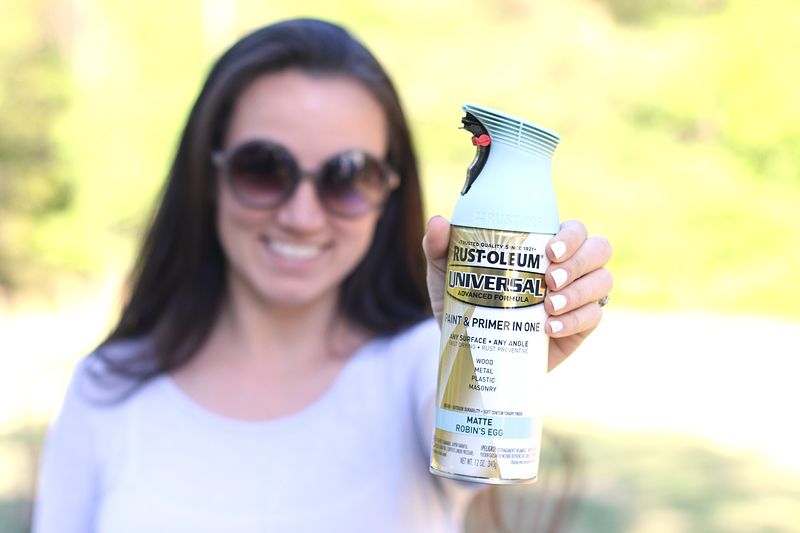
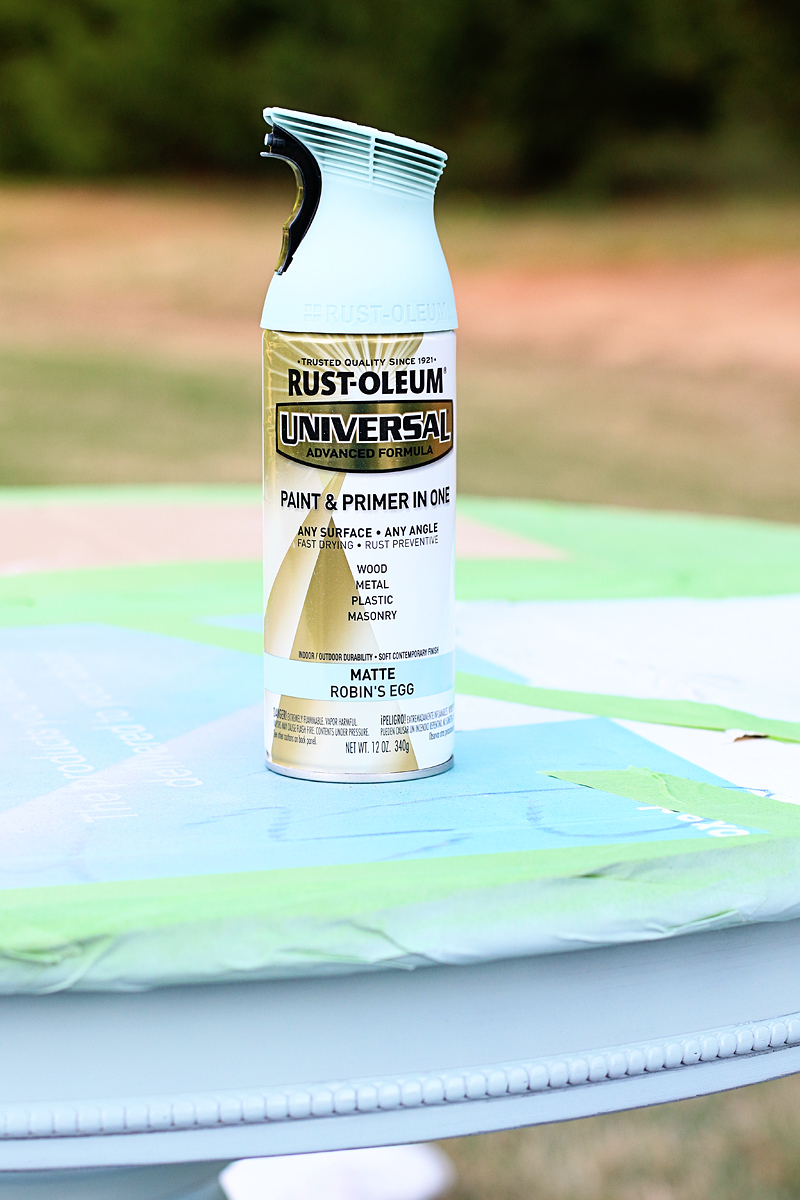
I picked out the Rust-Oleum Universal Matte Robin’s Egg turquoise color. It’s Sydney’s favorite color and she had it in a lot of different decor items so I knew it would work great.
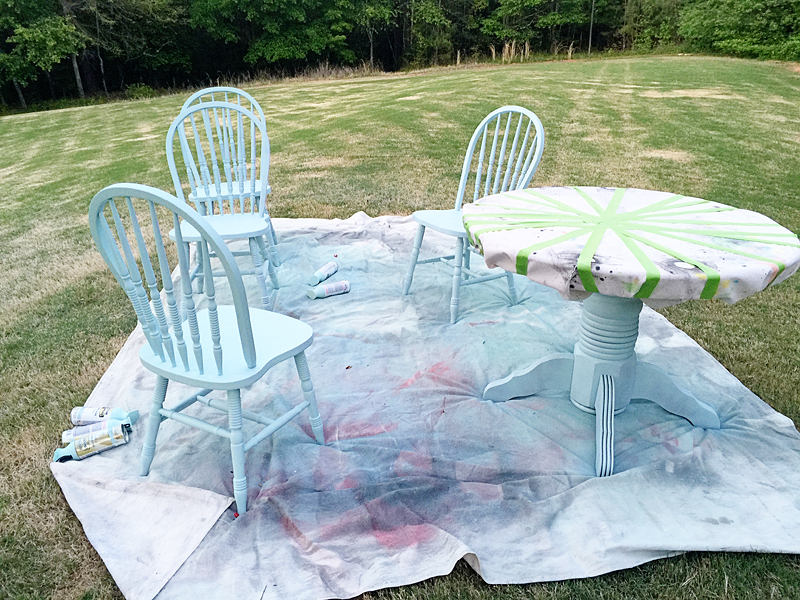
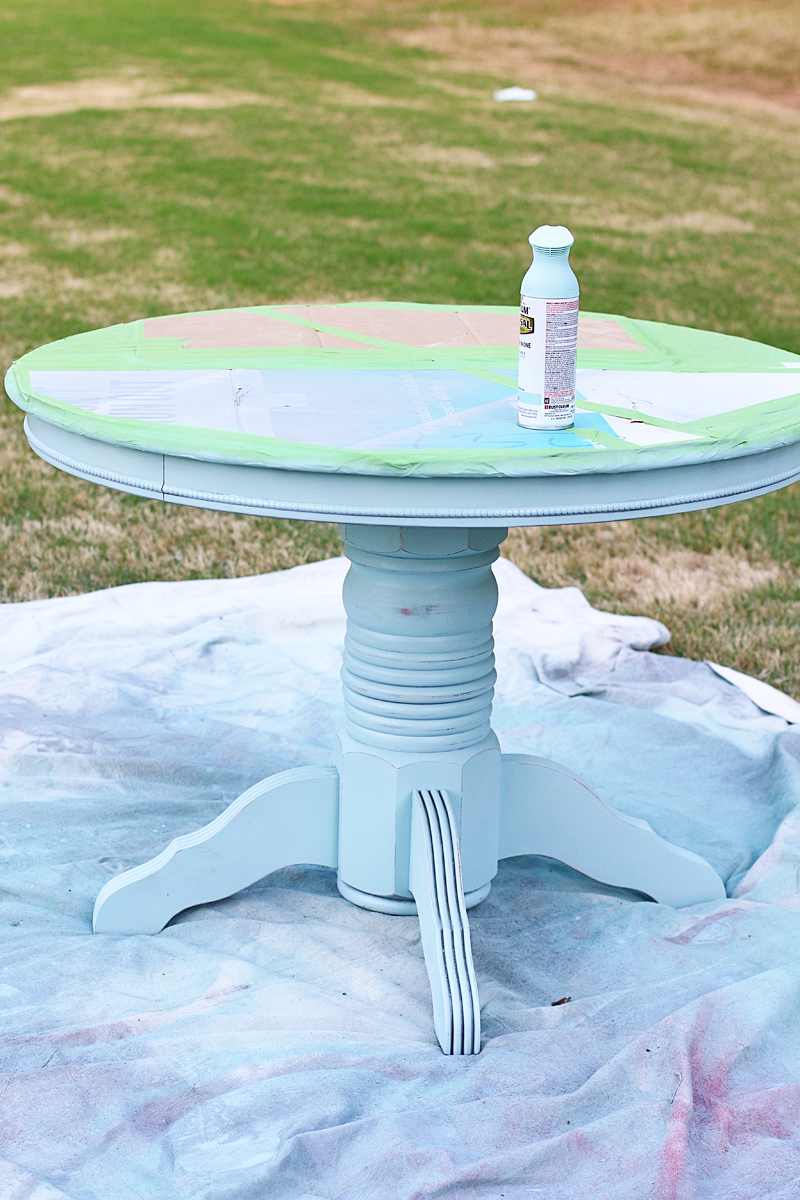
Once the stain was dry on the table top I also draped that and taped it up and got to spraying that base too.
This is where I kinda steered off course. Remember that scene in Friends where Joey picks up the ring and Rachel thinks he is proposing and then Ross gets offended that she said yes? That has nothing to do with this. But I’m glad to see you remembered it.
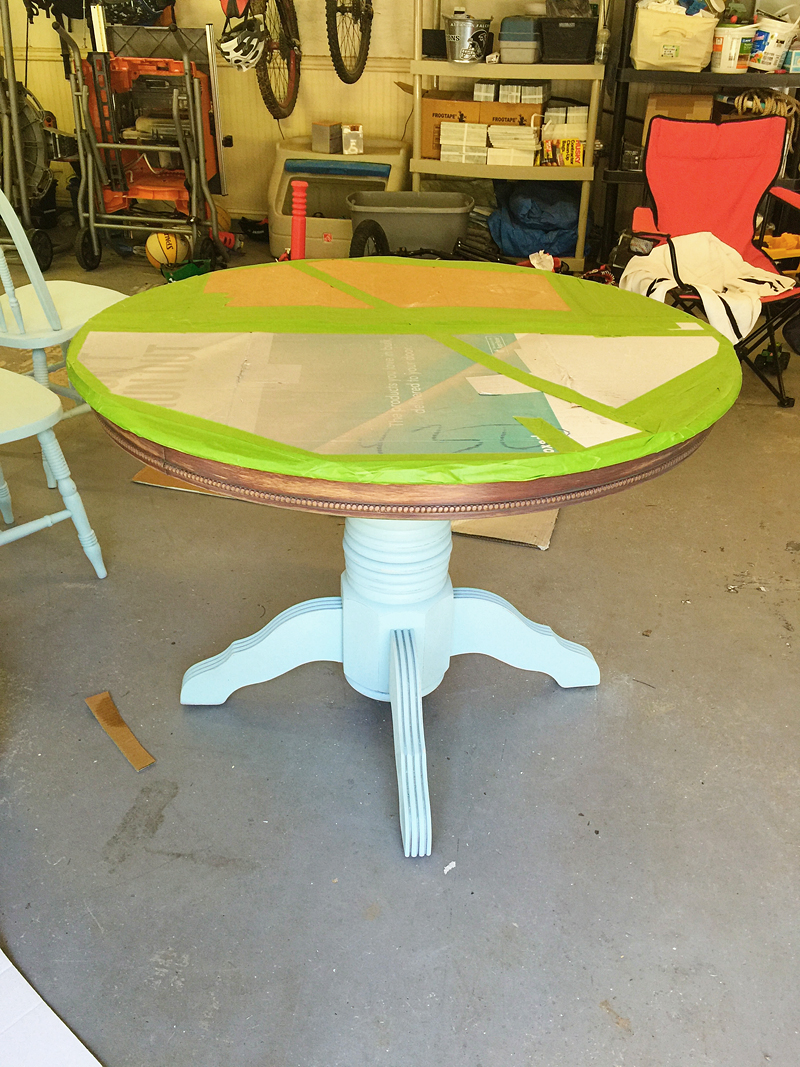
So getting off course is something I do well. Point proven. And in the case of this table, I had a major misstep. a brain fart. a lapse of judgement. I accidentally covered the table top AND the apron.

In the famous words of Homer Simpson….DOH!
So back to the garage (this was obviously before our big makeover started!) and back to covering that table top so I could paint the apron. May this be a lesson to you…..ALWAYS PAINT THE APRON.
I busted out a couple more cans of the spray paint…
And a couple quick coats later, she was looking mighty fine…
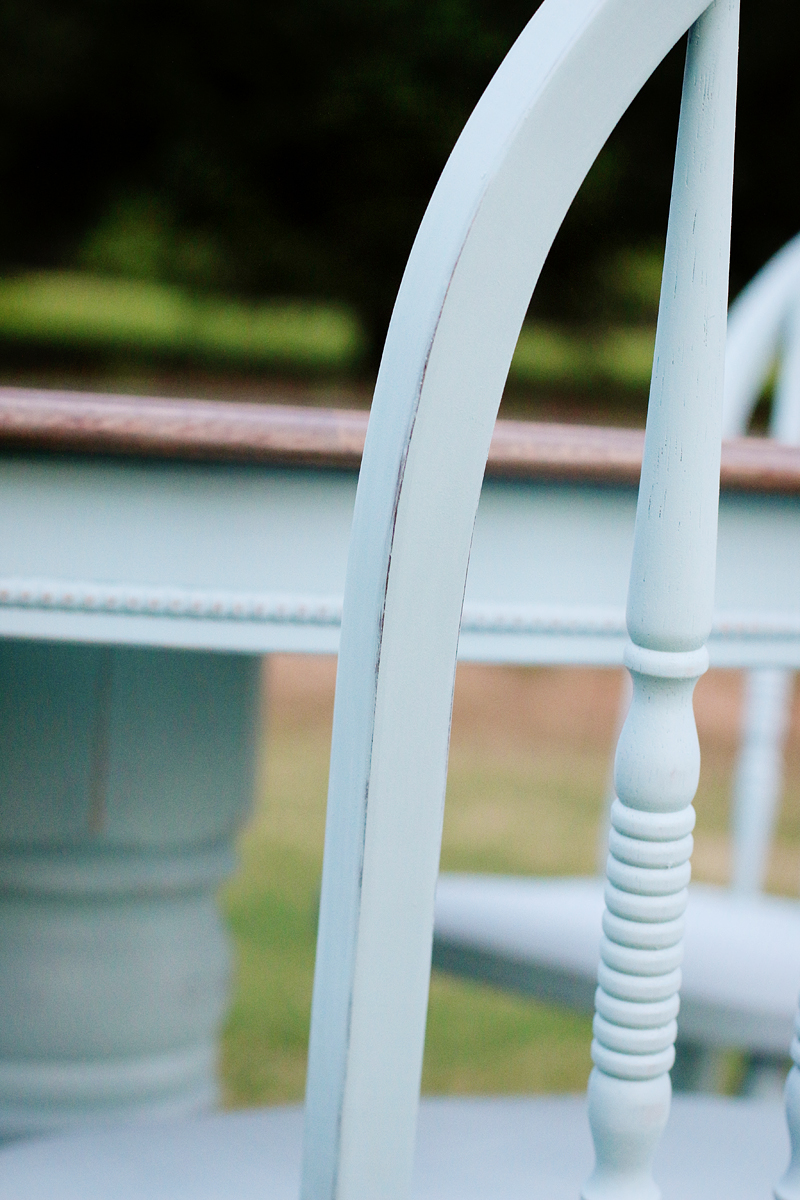
This is when I started the distressing. I needed a light natural worn distress on the chairs and base so I used 220 grit to hit the edges and make sure it was all areas that would get naturally worn down with use.
A few coats of poly and Sydney’s table is complete!
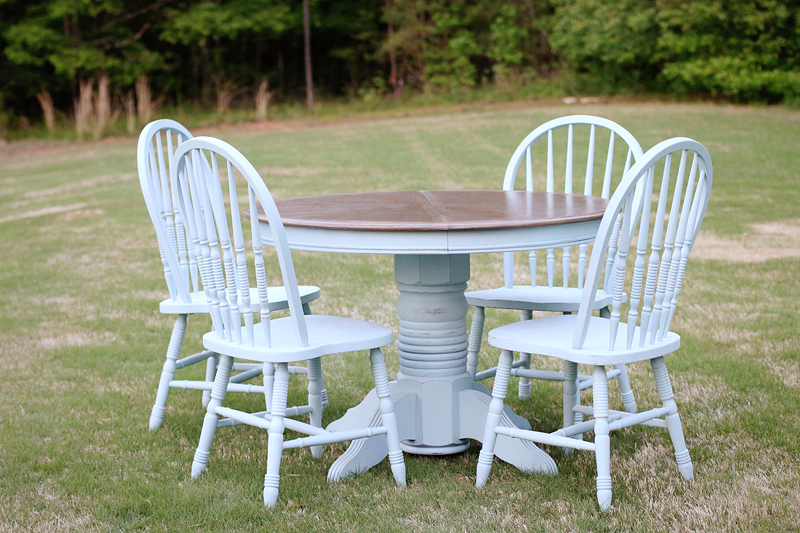
I love the natural distress look….it is the perfect amount of color peeking through…
And the color combo is so fun and at the same time feels classically coastal…here is the picture with a good color representation…
I put it in the yard for a few pictures before we delivered it back to Sydney. She loved it and honestly I was so happy that she got a great makeover that actually WORKS for her family and home. And she learned so much along the way….it’s like a win-win-win!
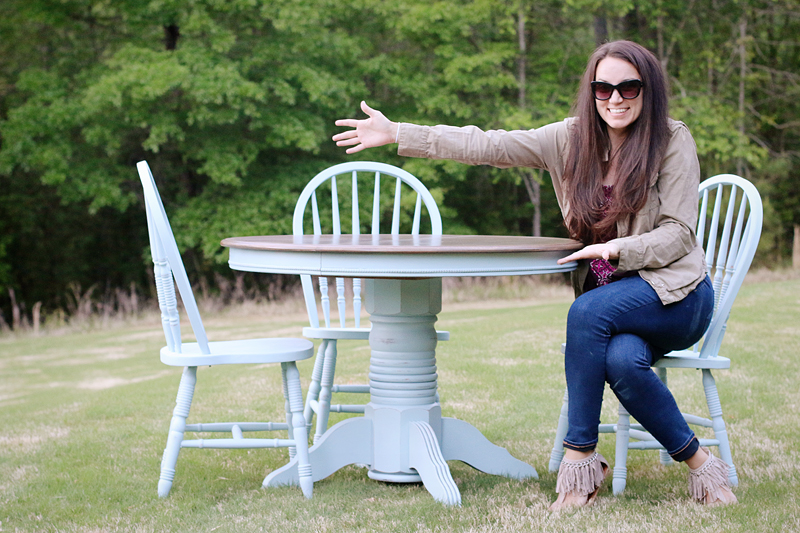
I love the fact that people are taking more risks with their furniture and using a big color like robins egg blue is an easy way to get your foot in the color-loving door. Plus, I think medium toned woods are making a splash in homes so definitely consider those for your next makeover. For now let’s just all congratulate Sydney on a job well done and a brand new beautiful table!
p.s. And because I know you will ask….my sandals are HERE. And yes, people stop me in the street to tell me they love them 🙂