Thank you guys so much for the support in yesterday’s post! I am so excited about this project and I know giving the garage a huge makeover will help us get more done (#goals) and be so great for our family (#safety #fitness #sanity).
So let’s just get to the nitty and gritty of it. And trust me – this post has a lot of that.
Our garage needed first to be cleared out of EVERYTHING for us to get started on the pimp-ification. That’s a legit word and if you use it in real life I will need you to document it and then tag me so I can give you a subtle head nod in approval.
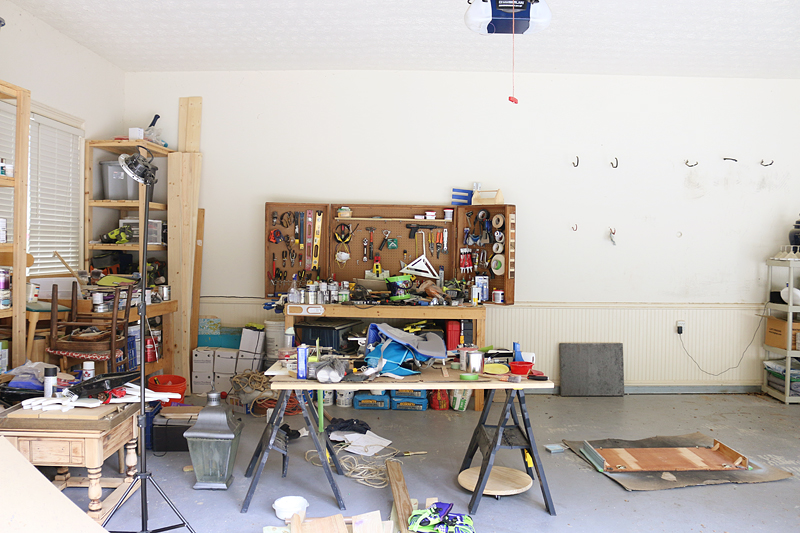
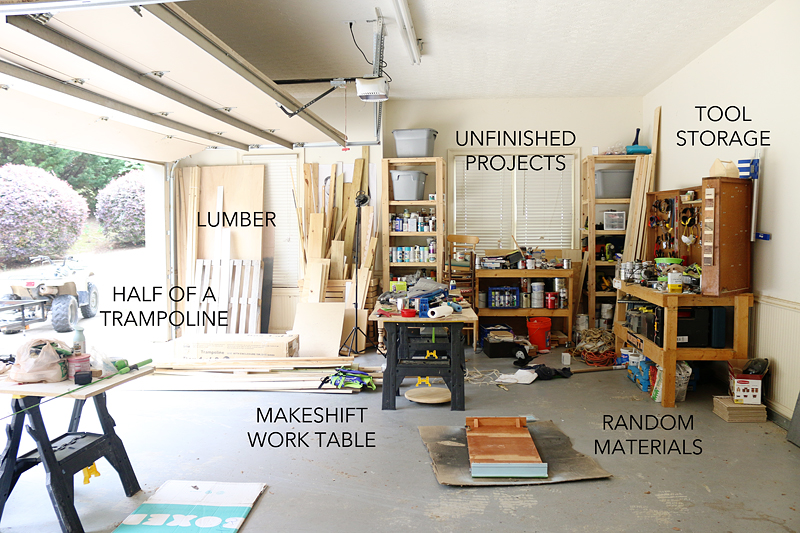
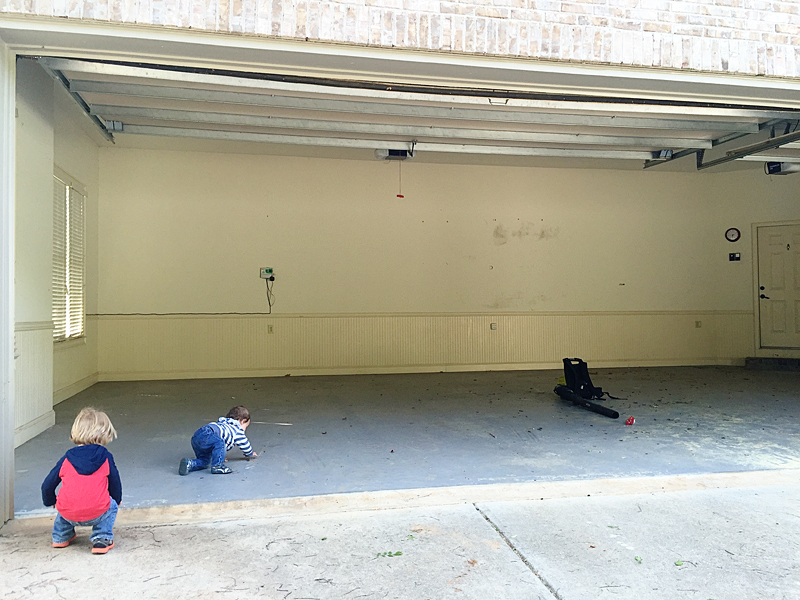
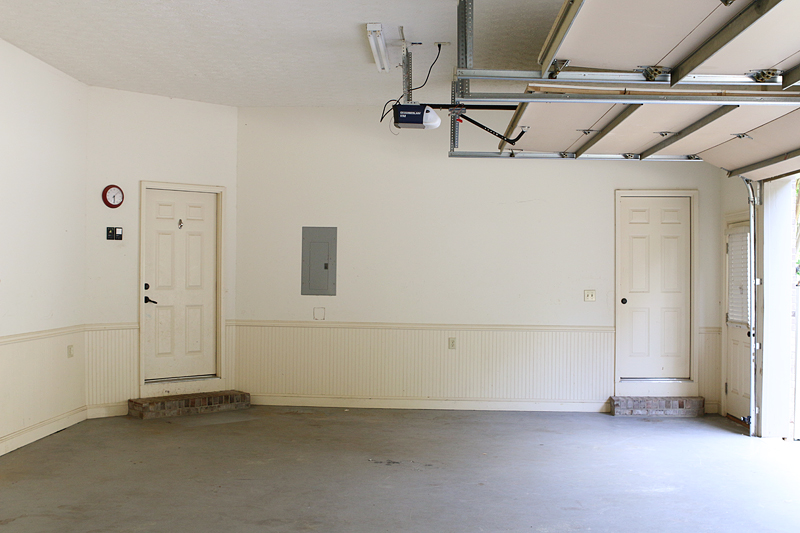
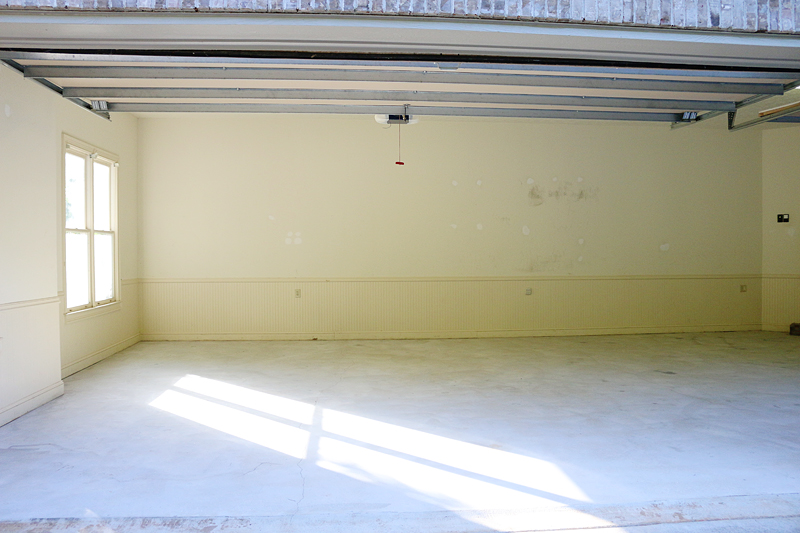
Basically this garage picture is after Jeremy moved out almost half of the stuff. I know. It’s really really easy to judge me in this moment. And yes, there is half of a trampoline still in there. Random….

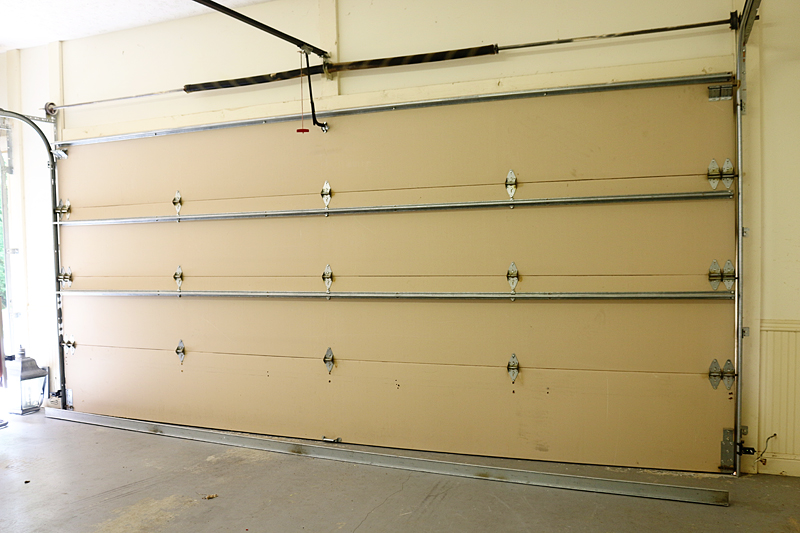
Our garage door has been broken since we moved in. One of the support bars fell off…and then the sensor keeps on getting messed up. So basically we have to push the button to close the garage door and then pray that it actually CLOSES before the half hour is up, we throw in the towel and decide to just stay home.
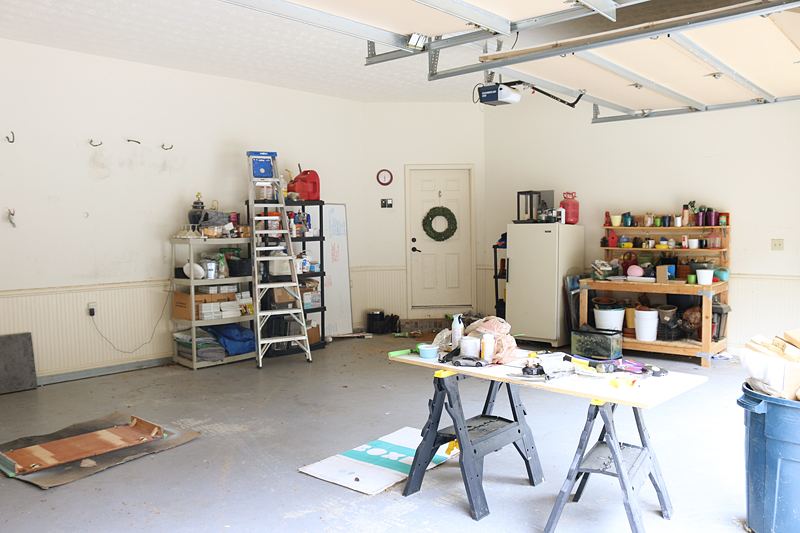
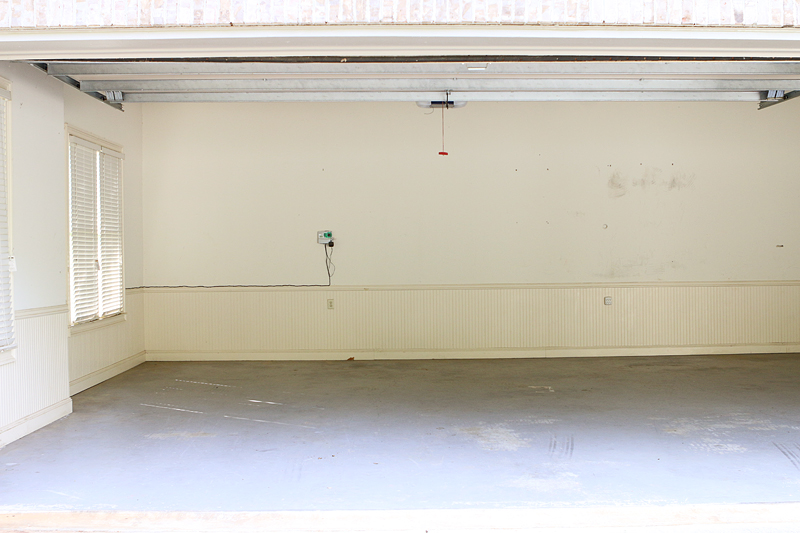
So where did we put all our junk? Well – it went into the big room in the basement. Thank goodness we have empty space down there right now!

I can take zero credit for clearing it out. I think I loaded and carried a couple dozen boards and maybe two boxes. Jeremy did it ALL. He got into beast mode and just knocked it out of the park one weekend.
Then we had to clean it so we could assess the paint situation.
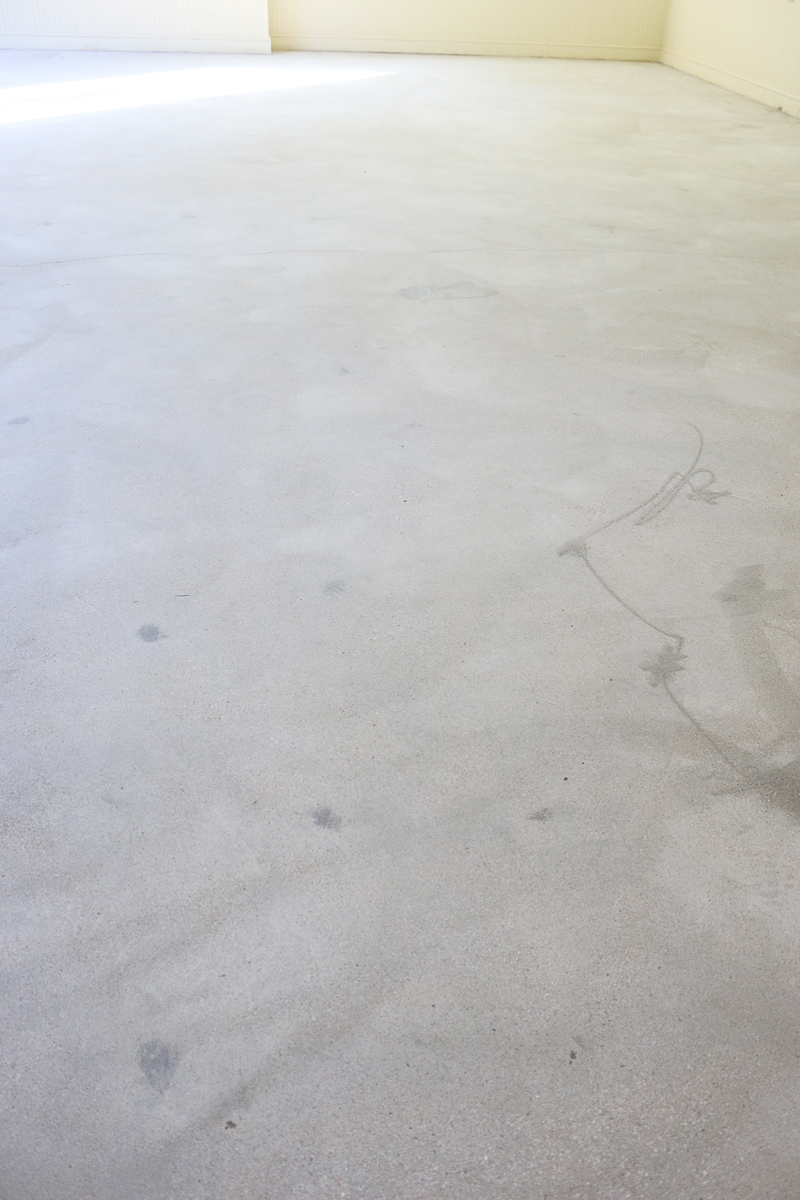
The floor itself was in okay shape. Like if I were giving it a grade, it would be a B-. The cracks were smallish and the overall finish was intact.
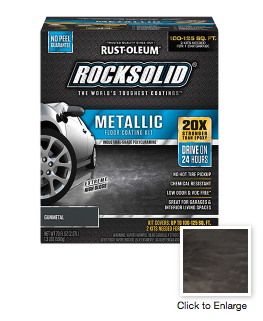
But then we read the instructions on the floor paint that we were planning to put down. As you already know, we chose the Rust-Oleum Rocksolid metallic floor coating for this space. When we read the instructions, it said that if you can put a piece of duct tape on the floor and peel it up and there is less than a quarter of paint that comes up, then you should be good to paint over your existing paint.
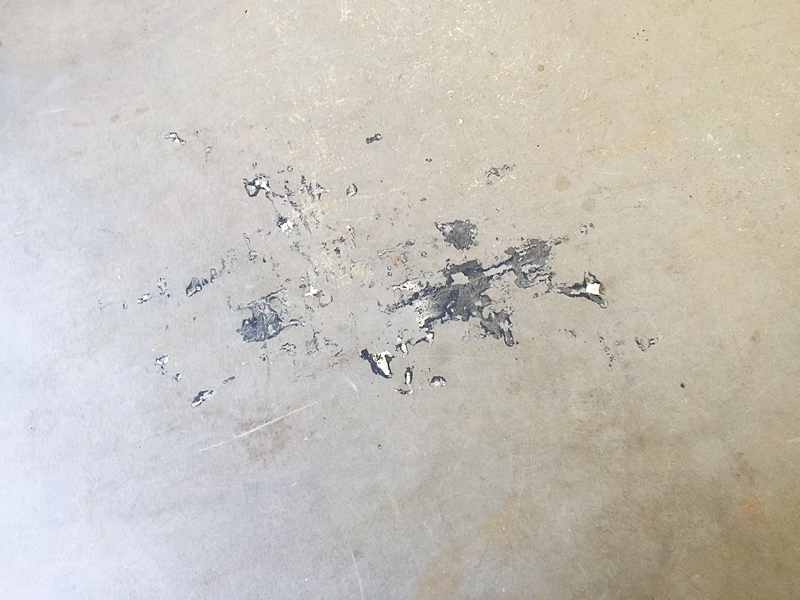
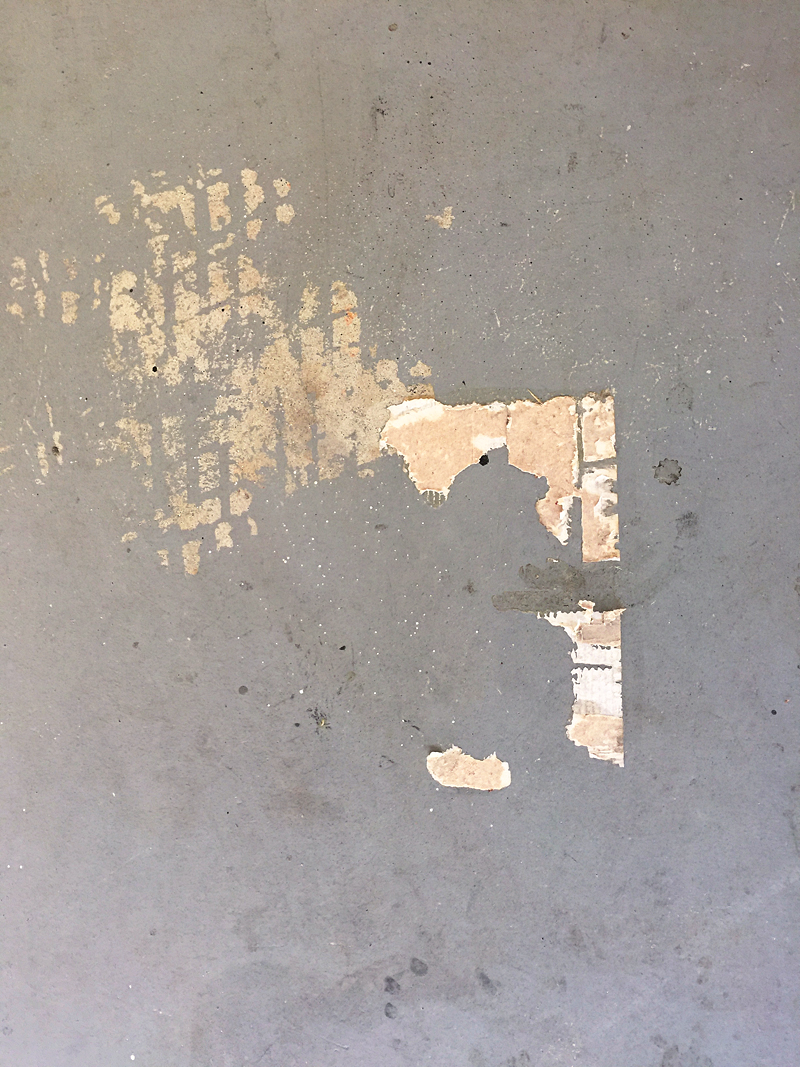
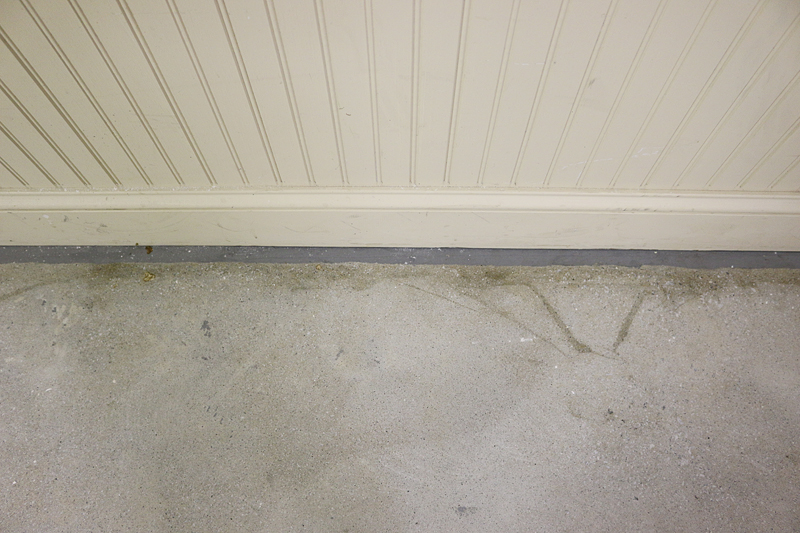
Well, ours passed that test but just barely. The paint was CHIPPED….like here…
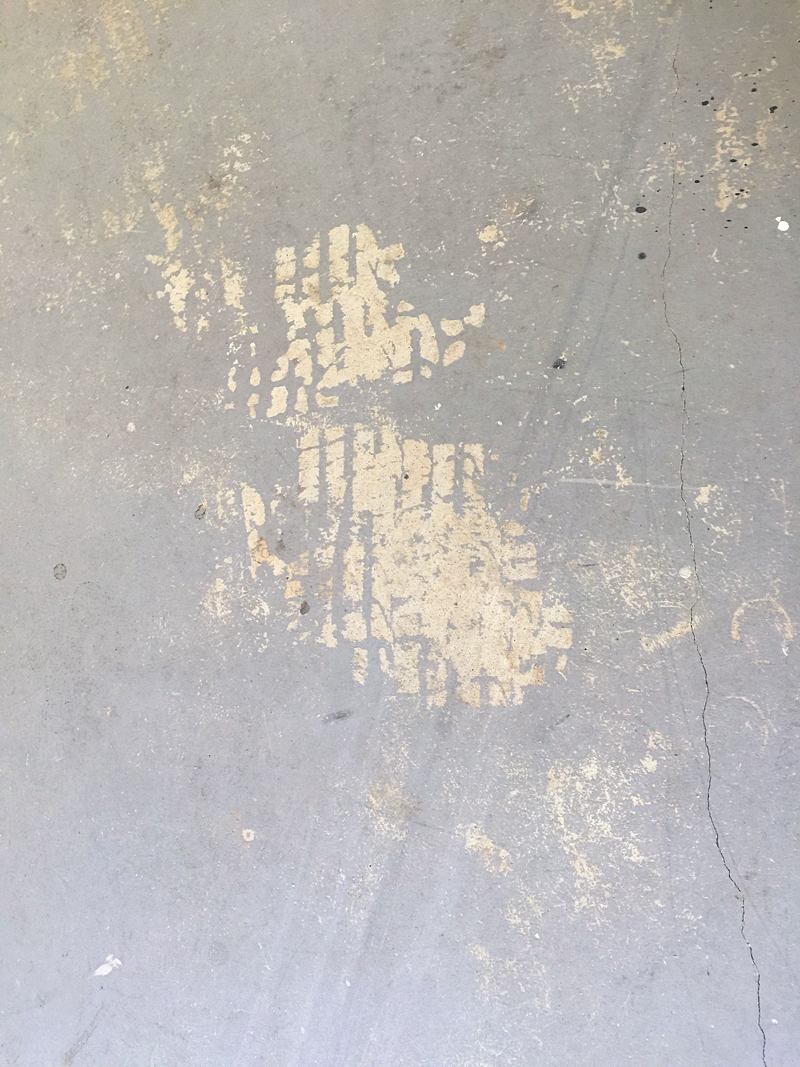
And it was very CLOSE to not passing in this area…
But we had a big issue when it came to an accident from last winter. You see, I had spilled a quart of poly onto a big box and that had made a huge mess. I thought I had gotten most of it cleaned up, but later I realized that some poly had gotten into the box and made it stick to the floor and it all dried that way. That’s why we decided to remove all the paint completely. Not only is this in a very high traffic area that I need GREAT adhesion…but the raised areas would definitely be noticeable if we painted over it. And I tried EVERYTHING to get it up….it was stuck like glue. I told Jeremy that maybe we could just grind down that area but he said that if we did that, we would have to grind down everything.
So that is exactly what we decided to do.
We are totally risk adverse when it comes to giant projects that we only want to do once….so this meant biting the bullet, doing an awesome prep job and being super happy with the end result.
Enter our little friend, the diamond grinder….
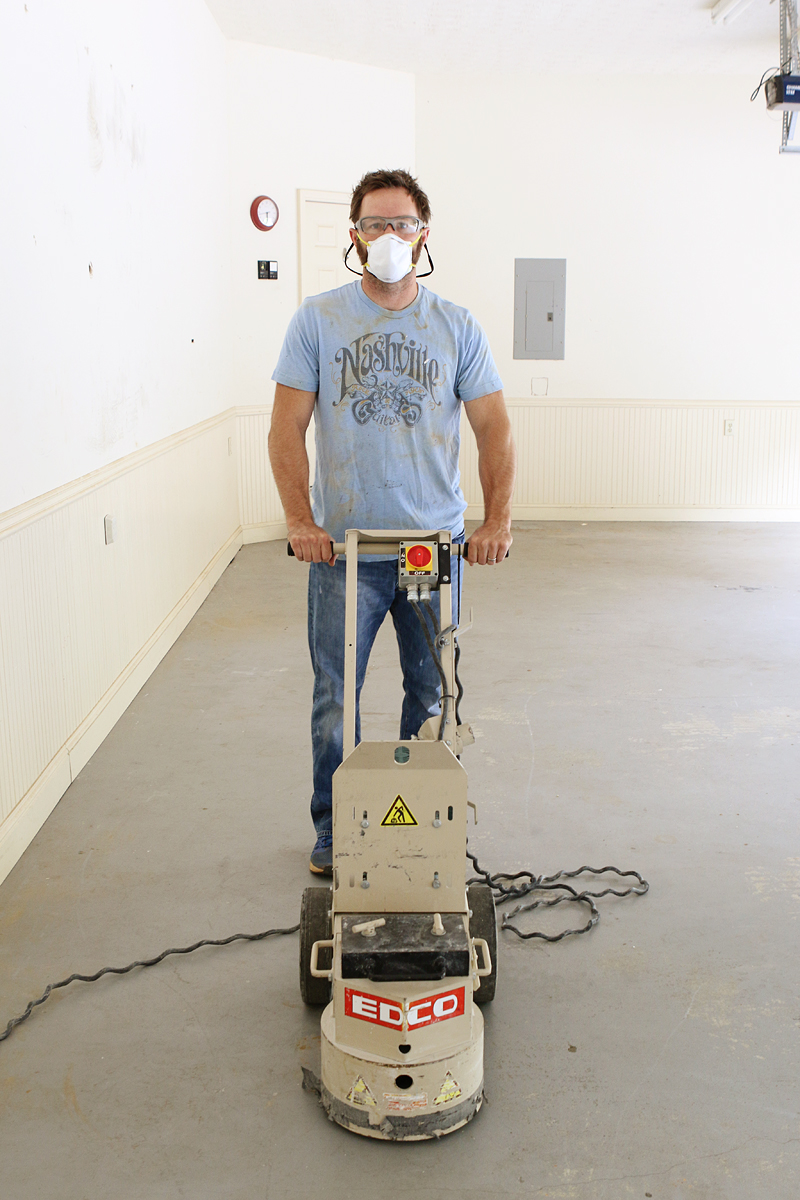
We called around to a bunch of rental places and found that Home Depot had the best price for us. We rented this single diamond grinder for $154 for 24 hours rental and tested to see if it worked….

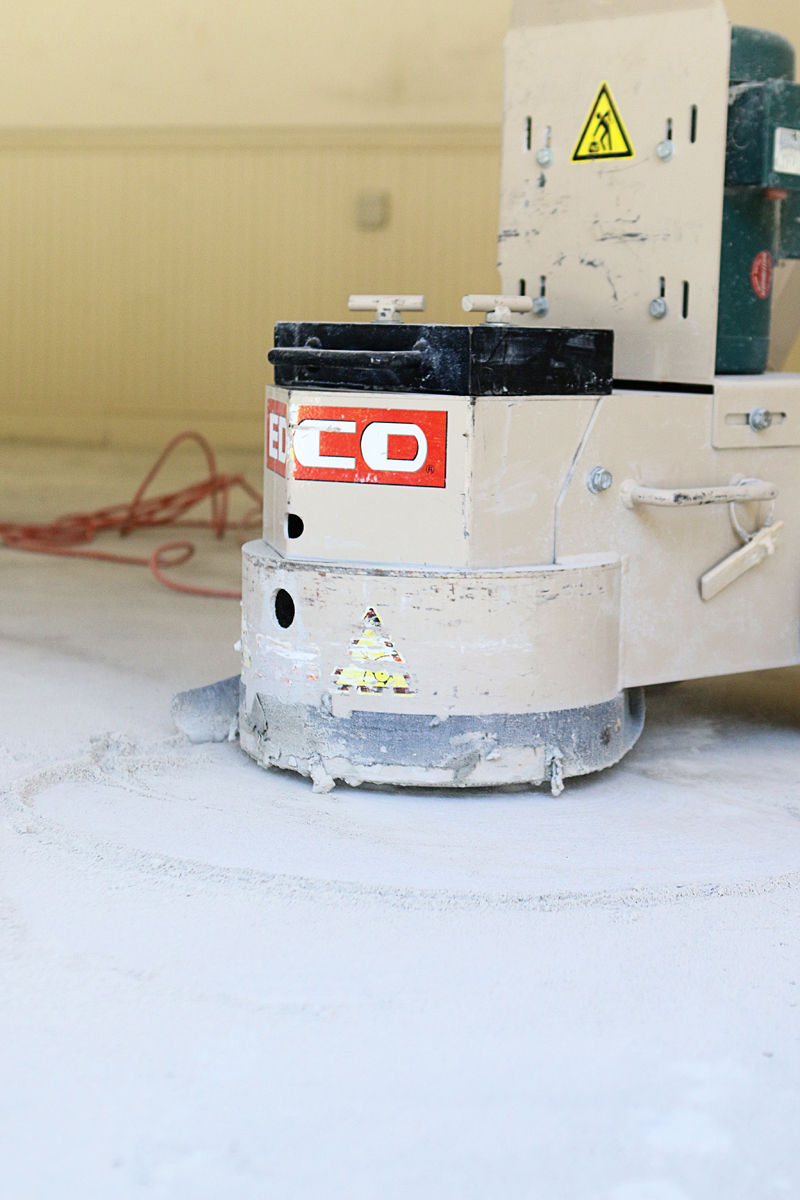
Low and behold, it was amazing. It worked really really well and the paint was grinded right up!
Now I will say there were some drawbacks. This thing was MESSY. Like the entire garage filled up with dust and it got everywhere. Our exterior, driveway, even some bushes even needed pressure washing later.
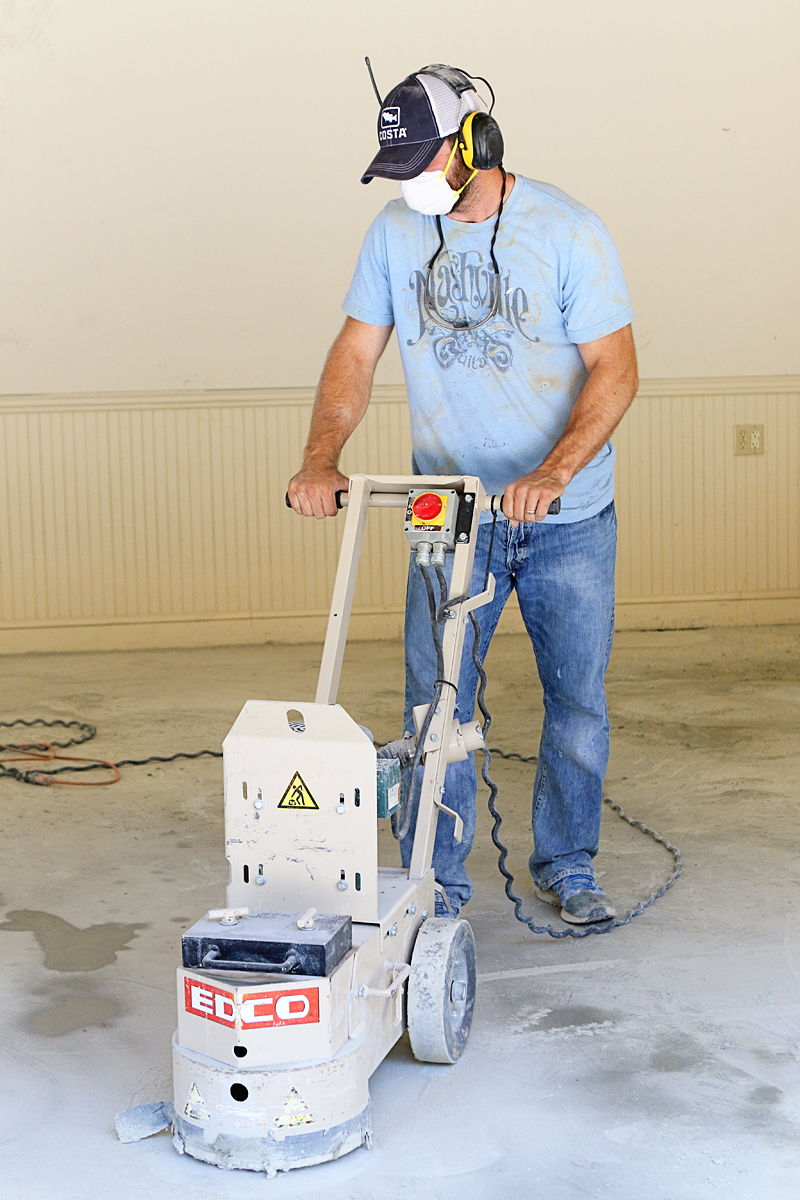
And all that ground up paint and concrete was like a sludge in our driveway.
Jeremy attempted to do wet sanding but he said that it turned into a paste and he had a hard time telling what had been removed on the floor. And he also attempted to hook up a shop vac to the grinder but then the filter would get clogged VERY quickly and it needed him to stop every couple minutes to unclog it. In the end, I wish we had just a better mask for him….if I could have changed anything that is what I would want because he was having dust in his sinuses for a couple days! Also, I would have sealed our doors to the house better….it made a huge mess inside too. The kids would open the door and I would be lounging for the handle, yelling NOOOOOOOOOOOOoooooooO! The dust would fly inside before I had a chance to get it shut.
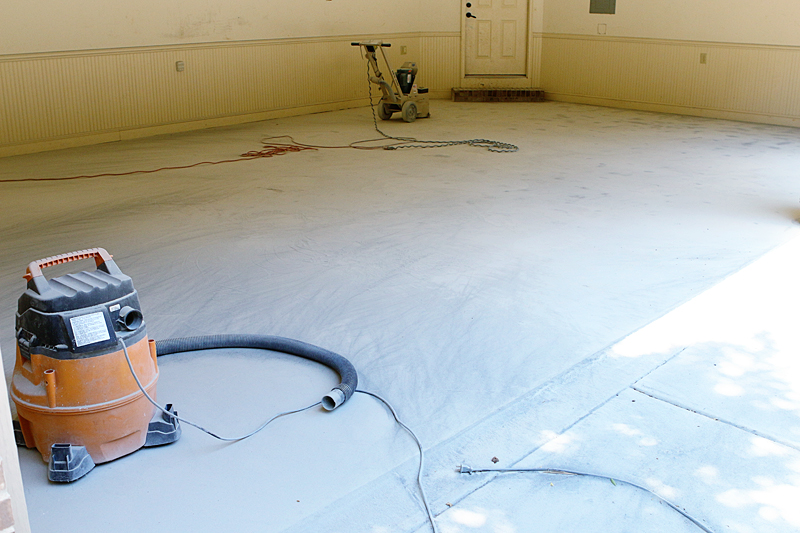
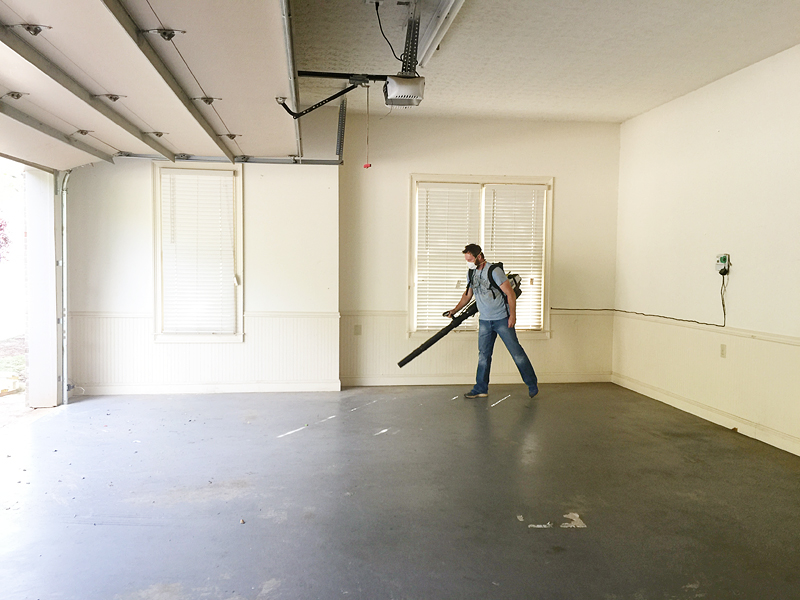
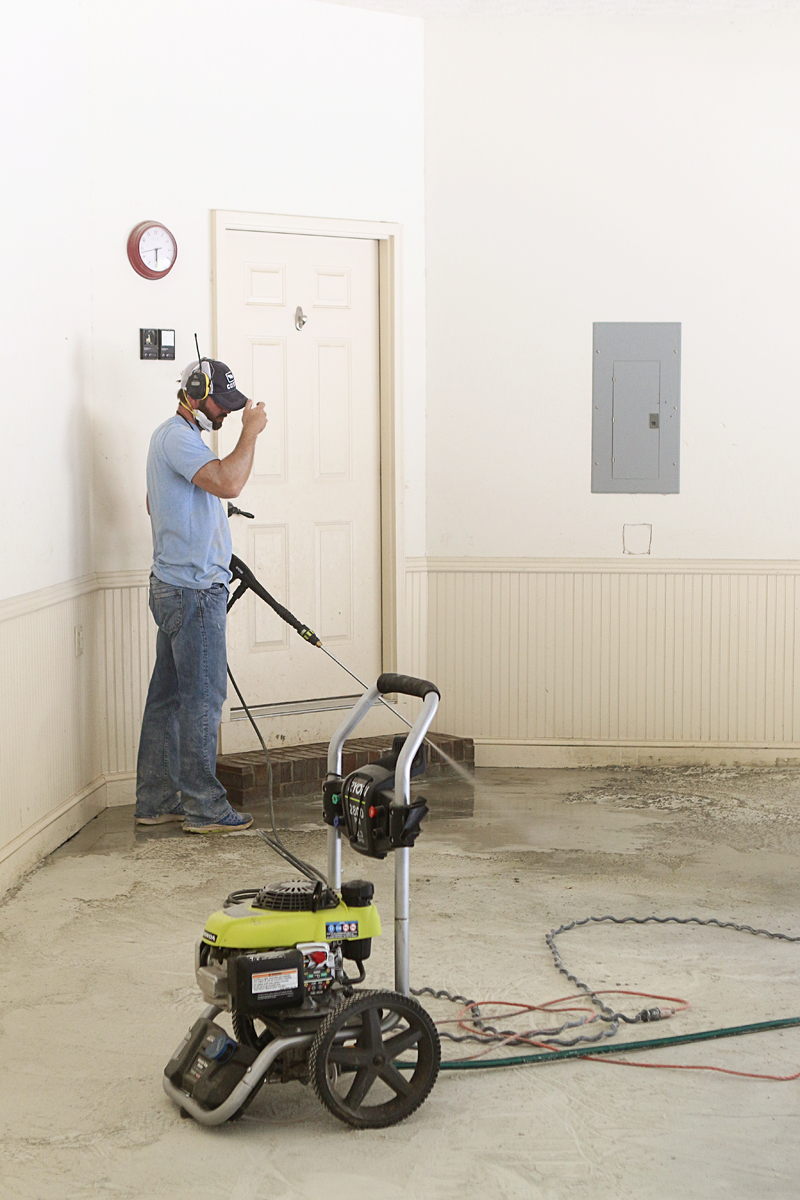
Once it was done, Jeremy and I tag teamed on the cleaning part. The pressure washer seemed to be the best.
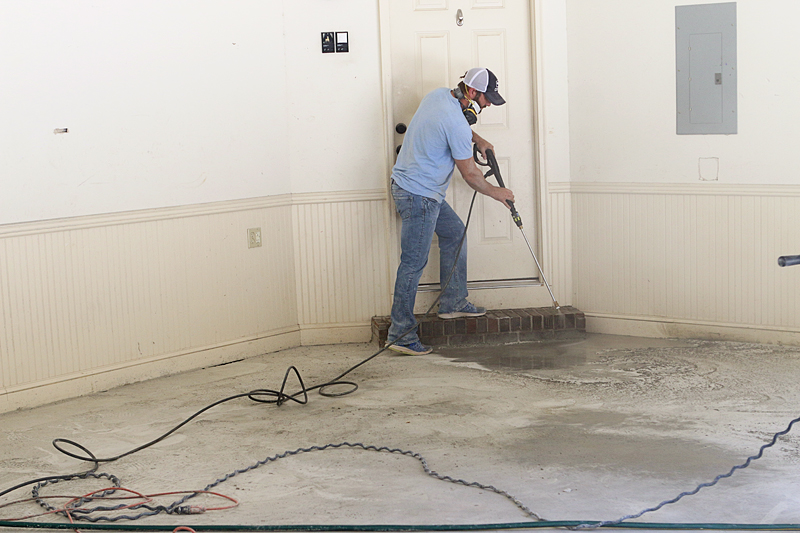
Here he is getting the majority of the big stuff up so he could see what he had left to grind. When I pressure washed, I did everything. I even sprayed the drywall. I mean everything EVERYTHING was covered with gray dust and it all needed to be cleaned.
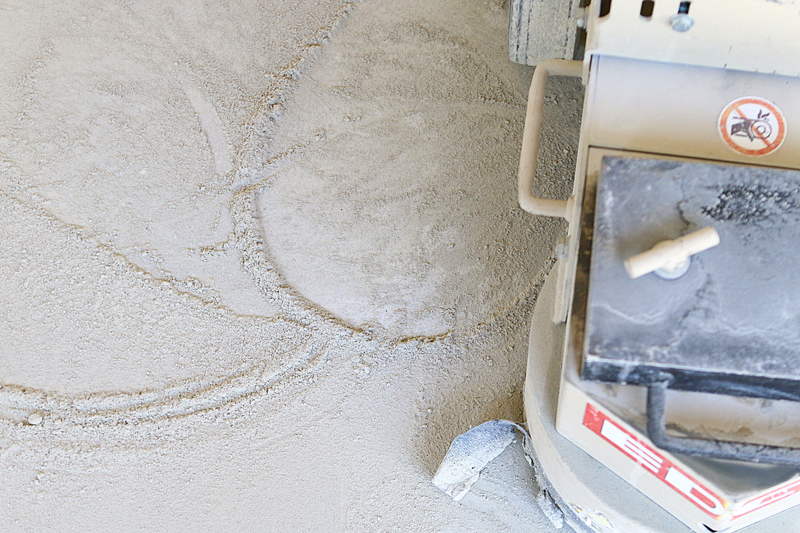
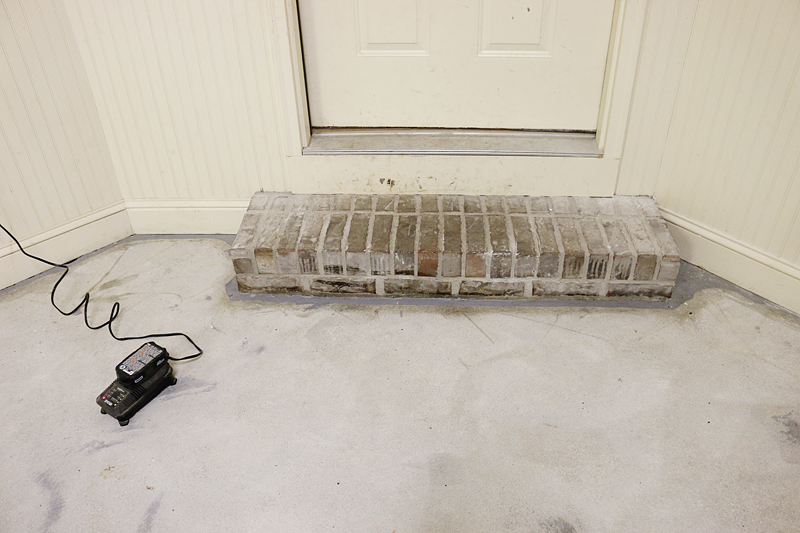
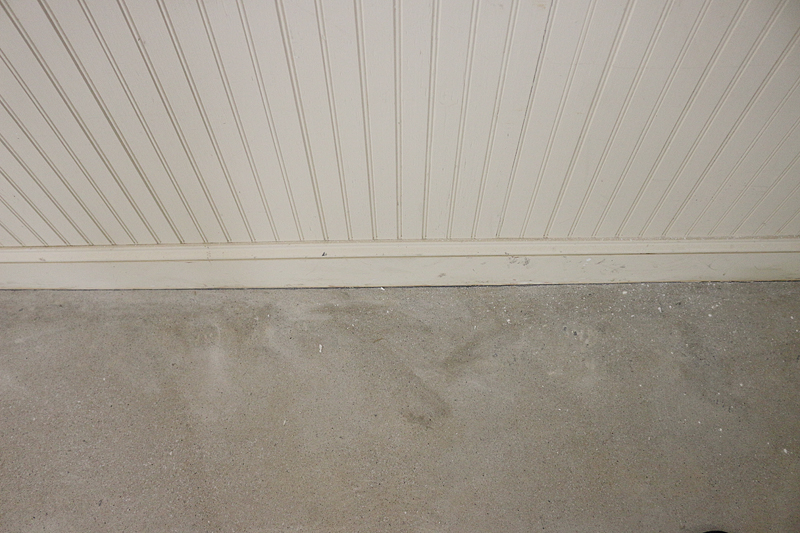
So when it came to the edges, the big rental could not get closer than this to the trim….
And it was very evident there was still paint around the steps too. At first we thought that we could use a paint stripper but once we applied that, we quickly realized that would be a mistake because the floor would still be lower on the ground out areas. The diamond grinded floor was slightly lower than the edges even when the paint was stripped and so it was like a topographical map. Our garage had a small plateau that ran around the edges which also needed to be ground down.
Enter the angle grinder.
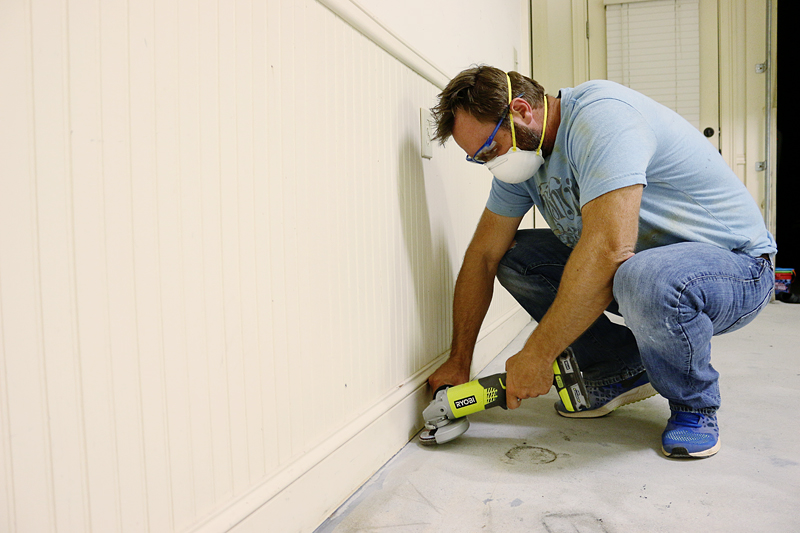
Jeremy ran out to the store and picked up this battery operated angle grinder and it was SO fast. It did an amazing job and removing just enough paint and leveling out the concrete. The only issue we had was that it ate through our batteries fast. He could get about six solid minutes of grinding done before switching to a new battery. Once all our batteries were dead, we had to wait for the recharge so this process took long!
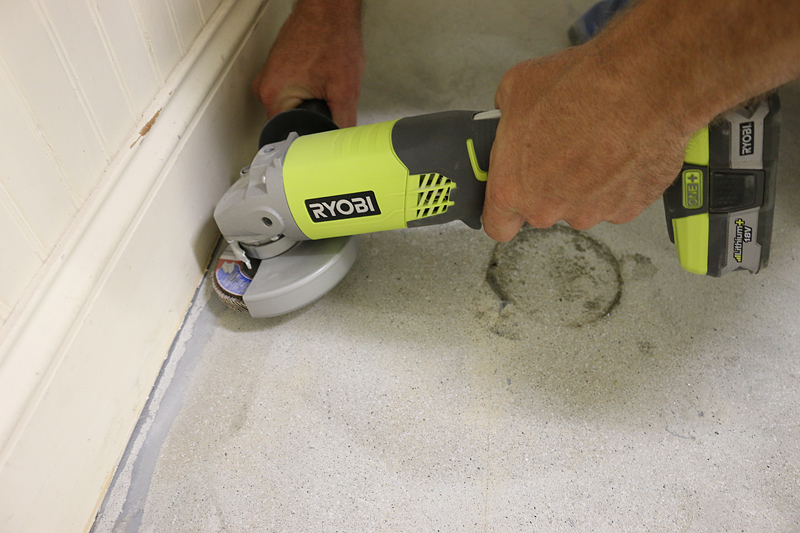
In the end it was so worth it though – just check out how close he could get to the edge!
We cleaned everything once more and TA-DA! No more paint on the floor!
I wish I could say that it was so easy (oh wait I can because I didn’t do the work! ha!) but seriously I am so proud of Jeremy and how dedicated he was to get this finished. A three car garage is a HUGE space and he was such a champ about it….even when he said later that he felt like he was in a natural disaster zone.
And the floor is ready for the paint kit – but FIRST we needed to paint all that beadboard (seriously our garage is amazing!) and the ceiling so that it doesn’t look like yucky yellow compared to our crisp white trim! Stay tuned because that is what is coming to you next!
And if you have any tips or tricks or advice for anyone removing paint from a cement floor, I would love it if you left it in the comments. I know my mom was really impressed with how it looked later – now we are trying to convince her to do the same thing as us but with a BLUE floor 🙂