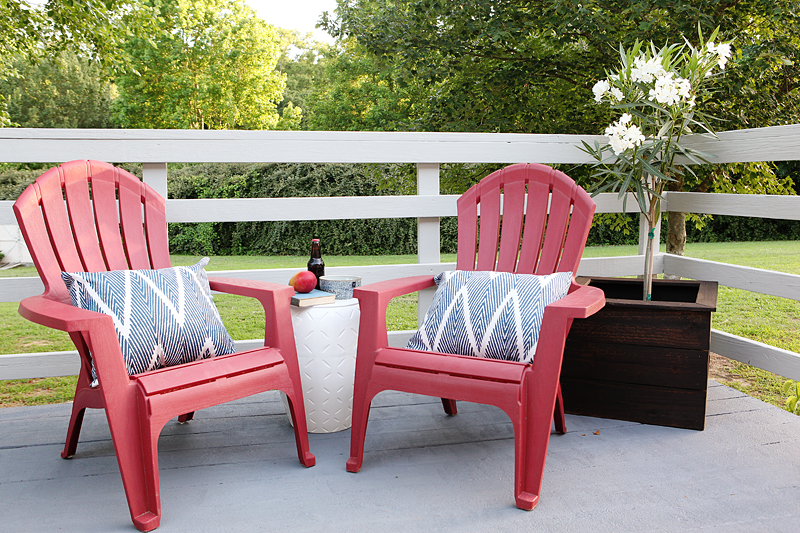
One of my very FAVORITE projects from last year was transforming this deck into something completely swoon-worthy…
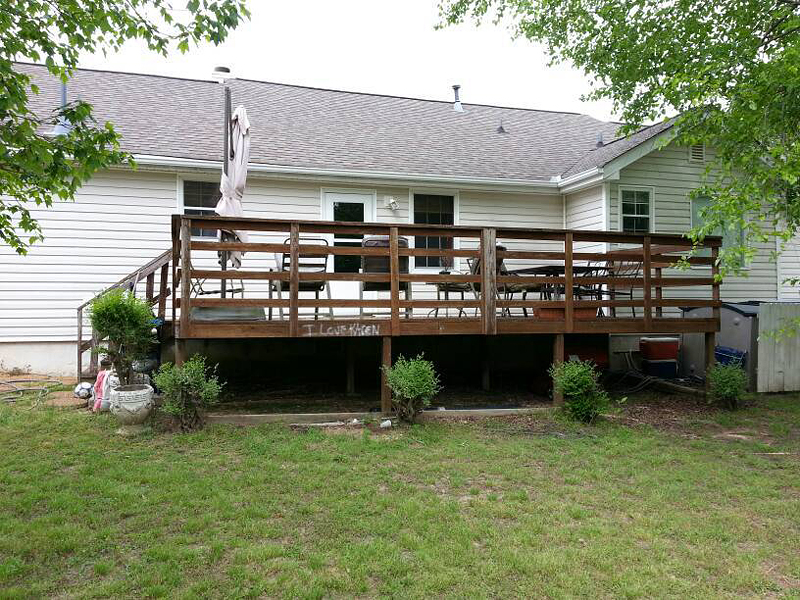
I mean…is that even the same house?
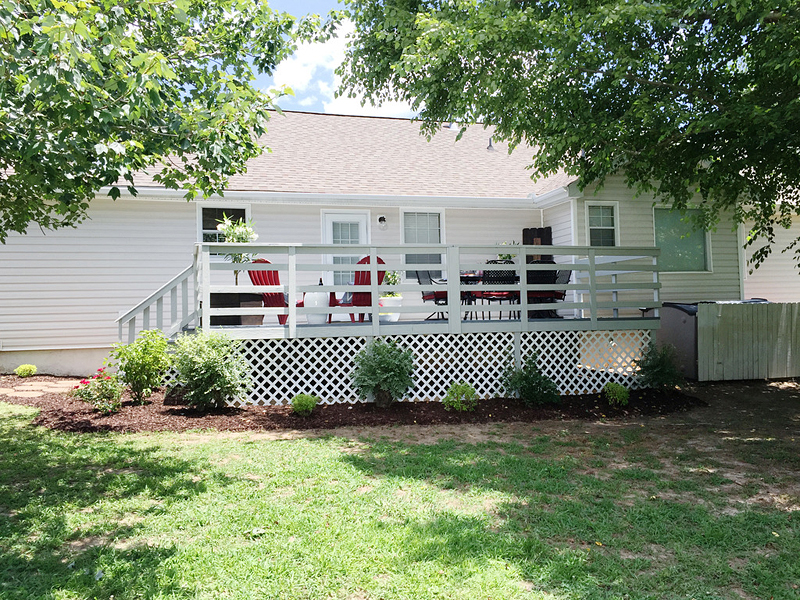
Yes it is. Unbelievable but true.
We completely overhauled this sad before into a lovely entertaining space by partnering with Rust-Oleum and using their Restore product. I just got an update from Karen about how it’s held up. So far, it has survived the fall, winter and spring with no peeling or worn spots. We didn’t have a harsh winter here in Georgia – but I think that the success of the paint was the primer. The paint is a super-thick extra durable finish but unless it sticks…it ain’t working. So if you are thinking about using Restore for your weathered deck….that’s our update! We filmed the how-to commercial and you can see it here. Yes, I am impressively huge.
And now let’s go back and admire that before and after….
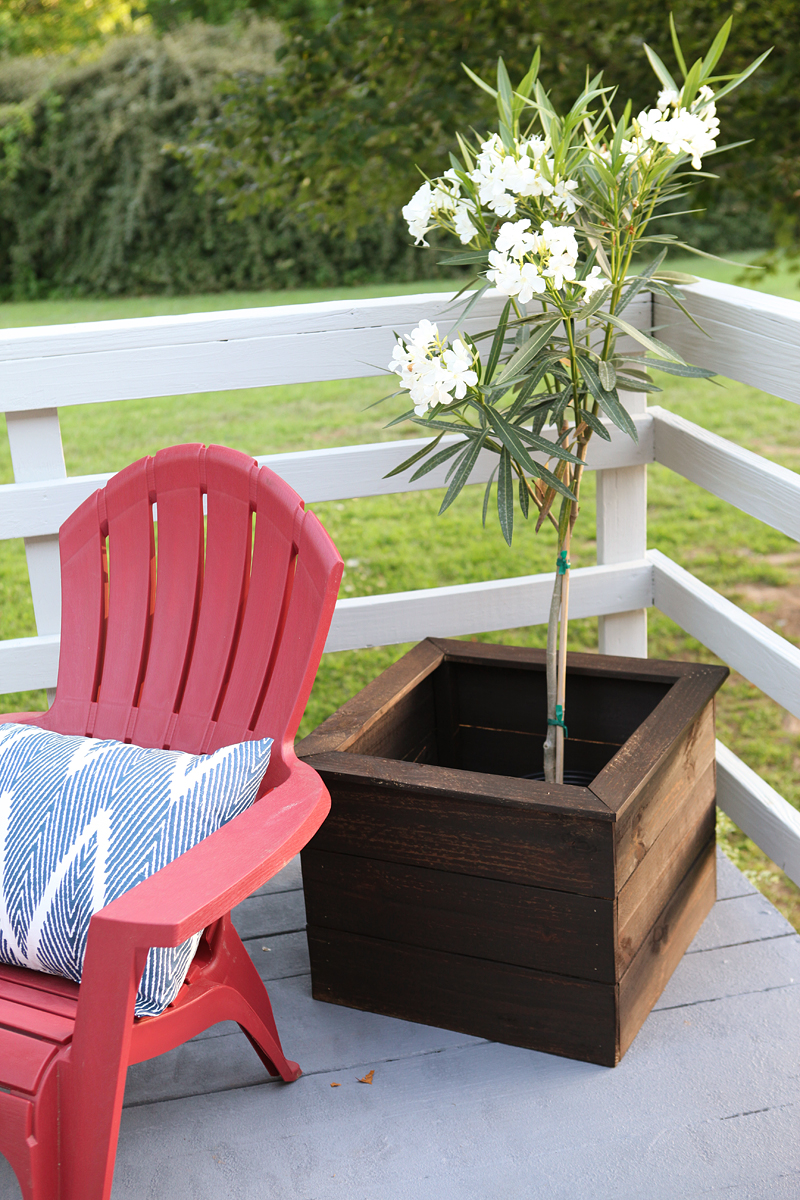
Now something I promised and completely forgot to share with you were a couple projects that are VERY inexpensive and literally take an hour each. Both involve the cheapest wood known to man…..the picket. First let me tell you how to jazz up any ugly pot and make it look instantly more substantial and beefy and beautiful. I like to call it the Pot Sleeve….
Basically it is a wooden box with no bottom that you can slip around any potted plant. You can make them in any size and the one I made cost about $8. So huge bang for little bucks.
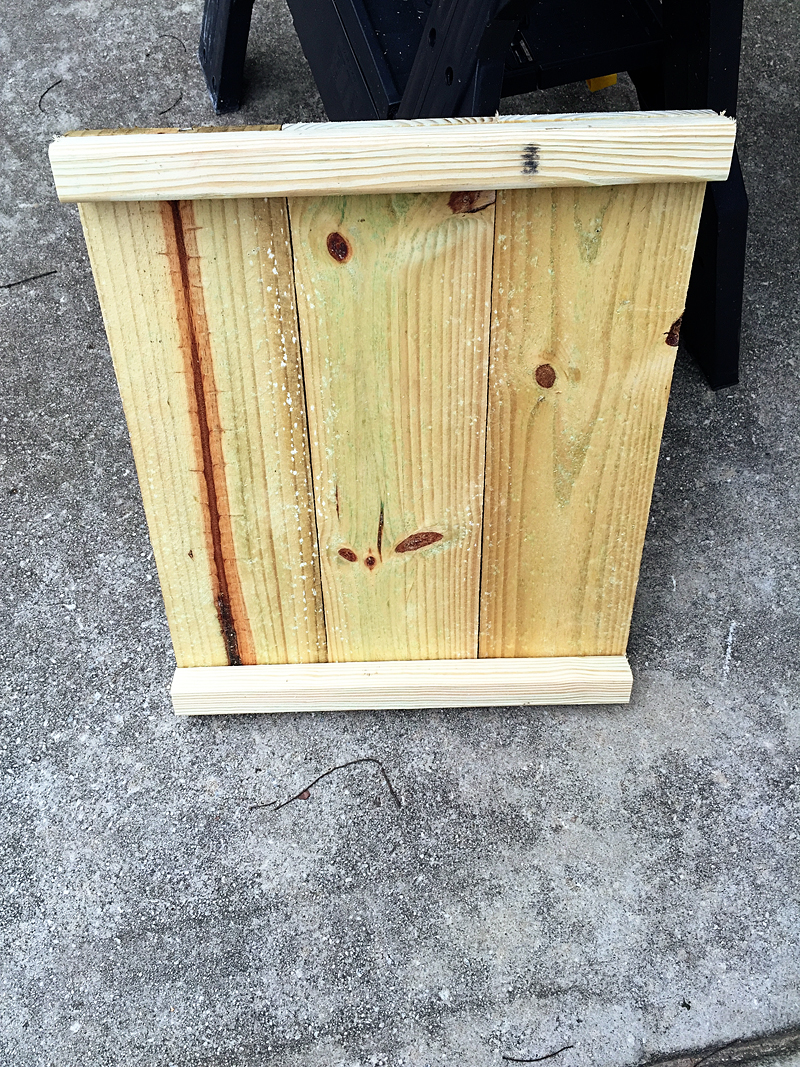
First thing you do is cut your boards to length. I cut six lengths of pickets at 24″ and then cut four lengths of pressure treated 2×2’s at 16.5″.

Using a brad nailer, you simply attach the 2×2’s to three picket pieces to create one side. I use this tool. Repeat. Also stay hydrated. And never forget to wash behind your ears. And dream big. And smell rugs before you buy them. Just thought I would remind you of the basics since I was telling you what to do.
After you have two sides together, attach the other picket sides between the two original sides. Then rip one picket in half to create the mitered tops. It’s really very easy. Just measure as you go and using the brad nailer – attach that upper lip to the 2×2 in the corners.
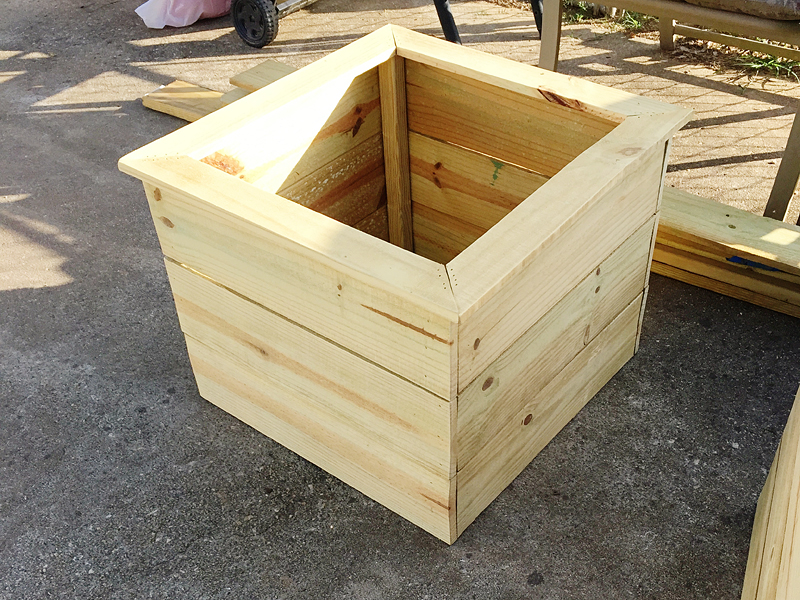
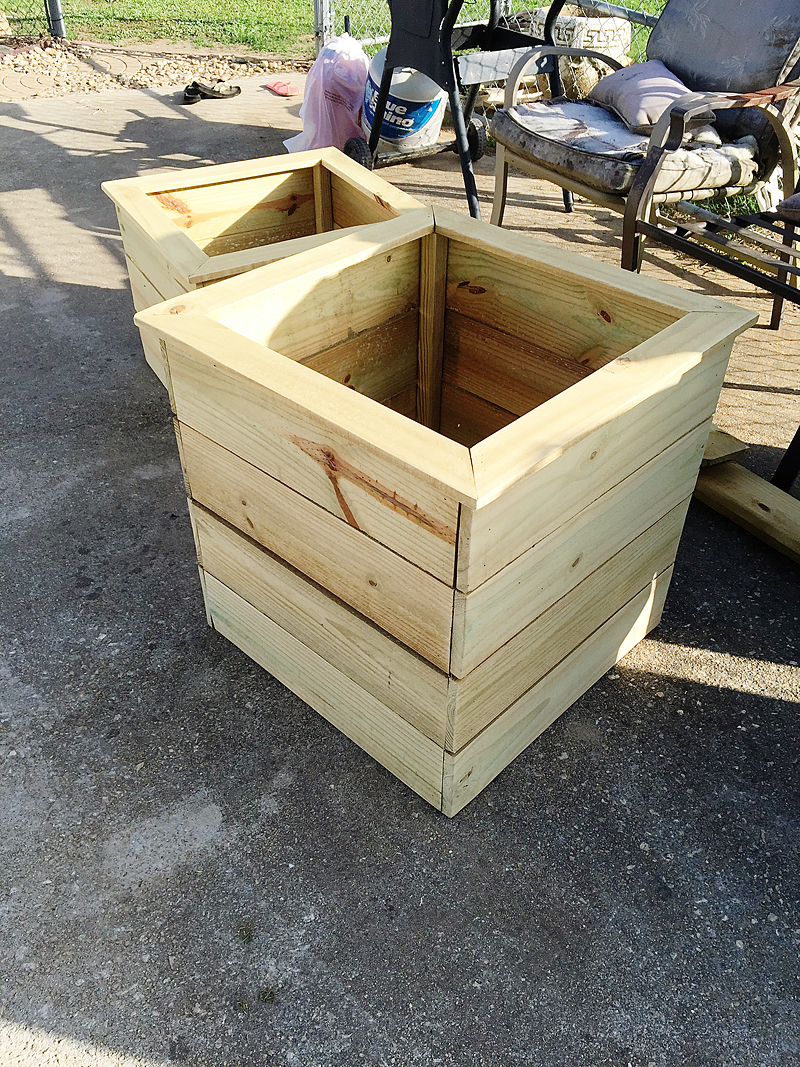
We made two sizes – one with three boards per side…one with four….the one with four is HUGE….like it would make a great side table.
Lastly you just sand and stain or paint (we used Rust-Oleum’s Kona to finish it) and slip the old pot down into the middle hole.
I love these and the price is well…priceless.
The other picket project is this little artwork that we made out of branch clippings and five pickets. We used four full length pickets and cut the fifth one into two lengths of 22″ and attached from the back with brad nails.
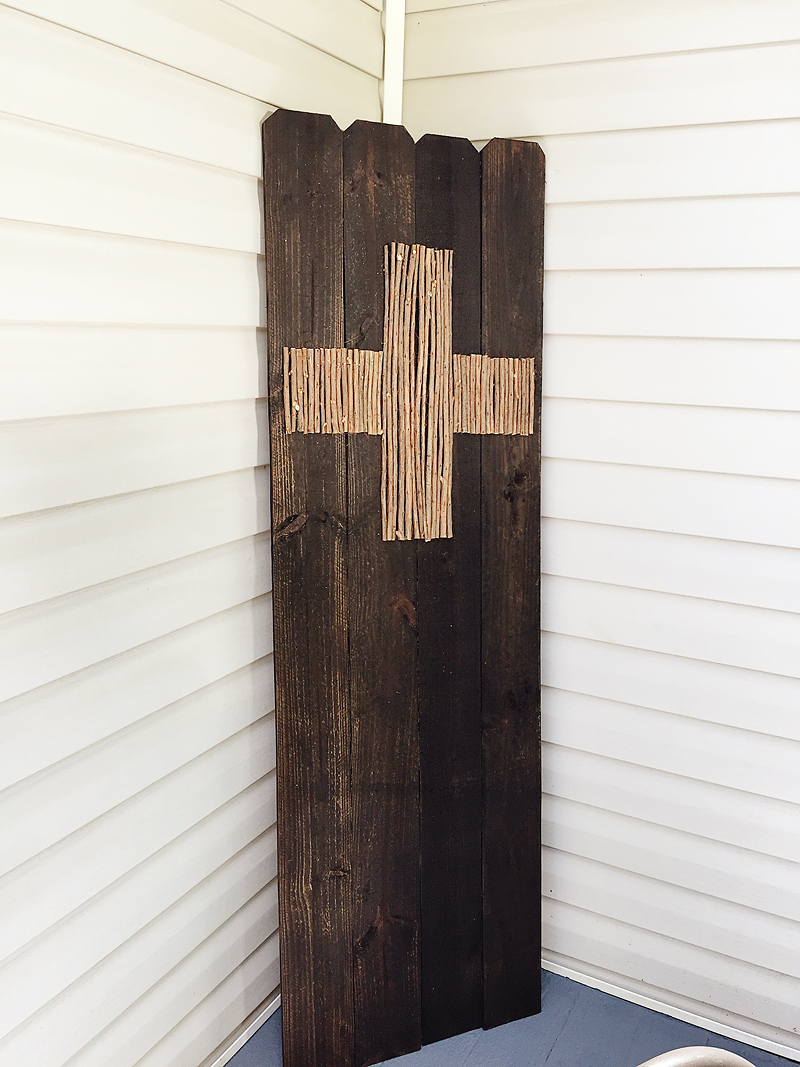
The color we used was Kona from Rust-Oleum….you knew that was coming didn’t you!?
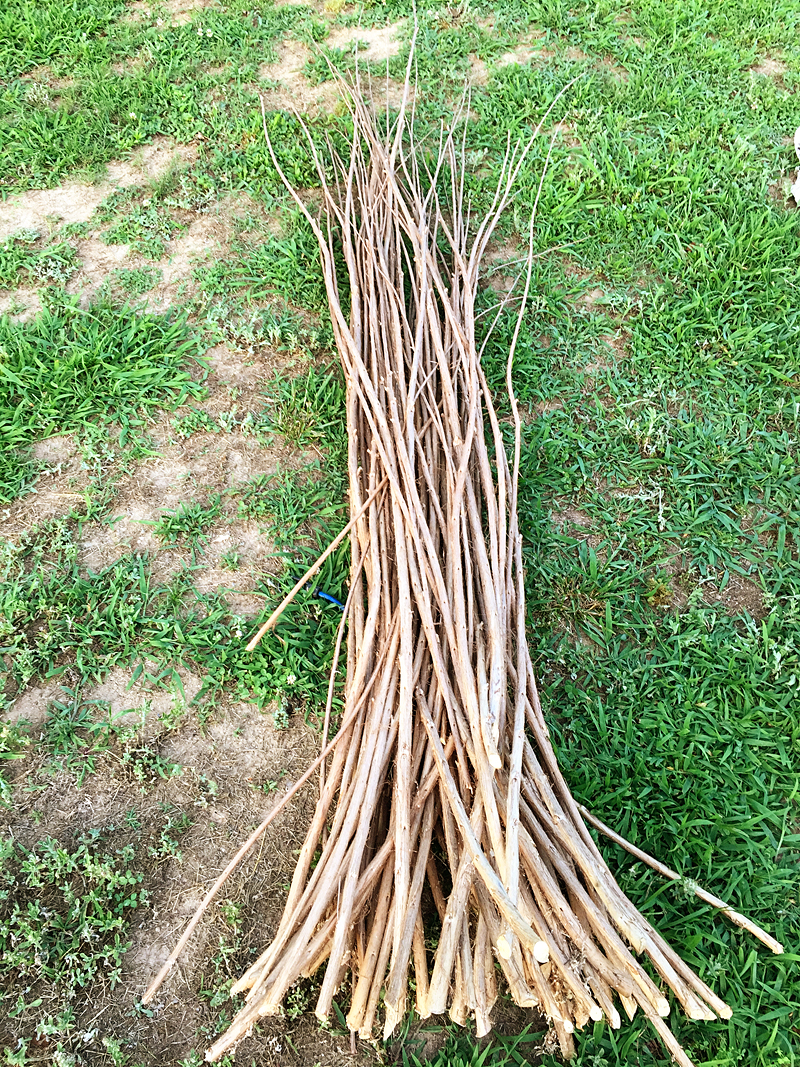
Then we cut lengths of the branch clippings (these are trimmed pieces from Crepe Myrtle’s in case you were wondering) and simply cut them to length we needed and attached them also with brad nails using our Ryobi 18V battery operated brad nailer.

You could literally make any shape you want! I love the idea of anything outdoorsy or nature inspired. We did a first aid cross because Karen is a nurse but you might like your monogram letter, an anchor, a pet outline or a favorite word (DRINK UP would be fun!)….or even something cool like a starburst….something that represents you never goes out of style!
We leaned it in the corner but you can attach it with velcro strips if you prefer.
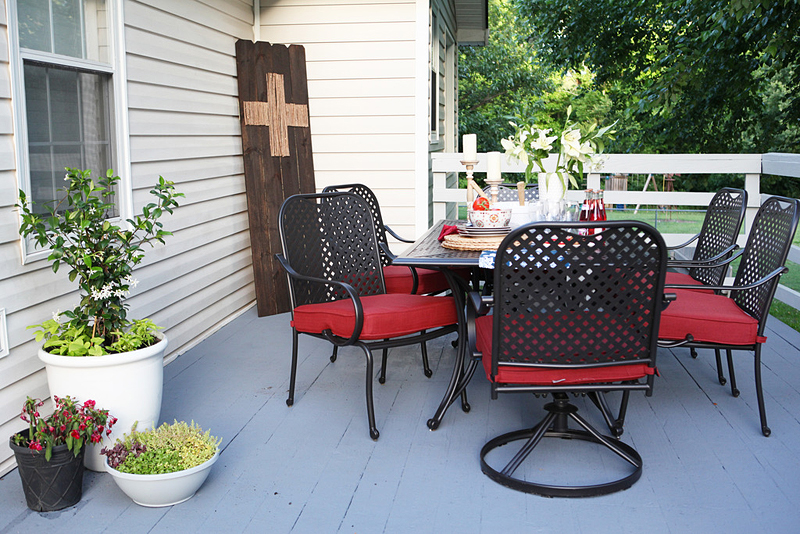
Aren’t those the cutest projects? Those little finishing touches really add personality and spunk to a space. It’s basically the jazz hands in this porch dance. And as every theatre junkie knows…there is nothing like a good jazz hand 🙂
For more details about this space, you can check out this old post! And for all the mama’s out there…and anyone that has a mama or knows a mama….Happy Mother’s Day weekend. I hope your heart and belly are full and you are with the ones that you love most 🙂