Disclaimer – This is a sponsored post brought to you by Canon. All opinions are 100% my own.
Sometimes it’s the smallest things that make you feel like you’ve won the lottery. Seriously. One time I found a Kate Spade gold foil print on clearance for $1.29 and you would have thought that I had been announced Miss America. There was glitter confetti falling all around me and I walked the aisles doing my best slow wave.
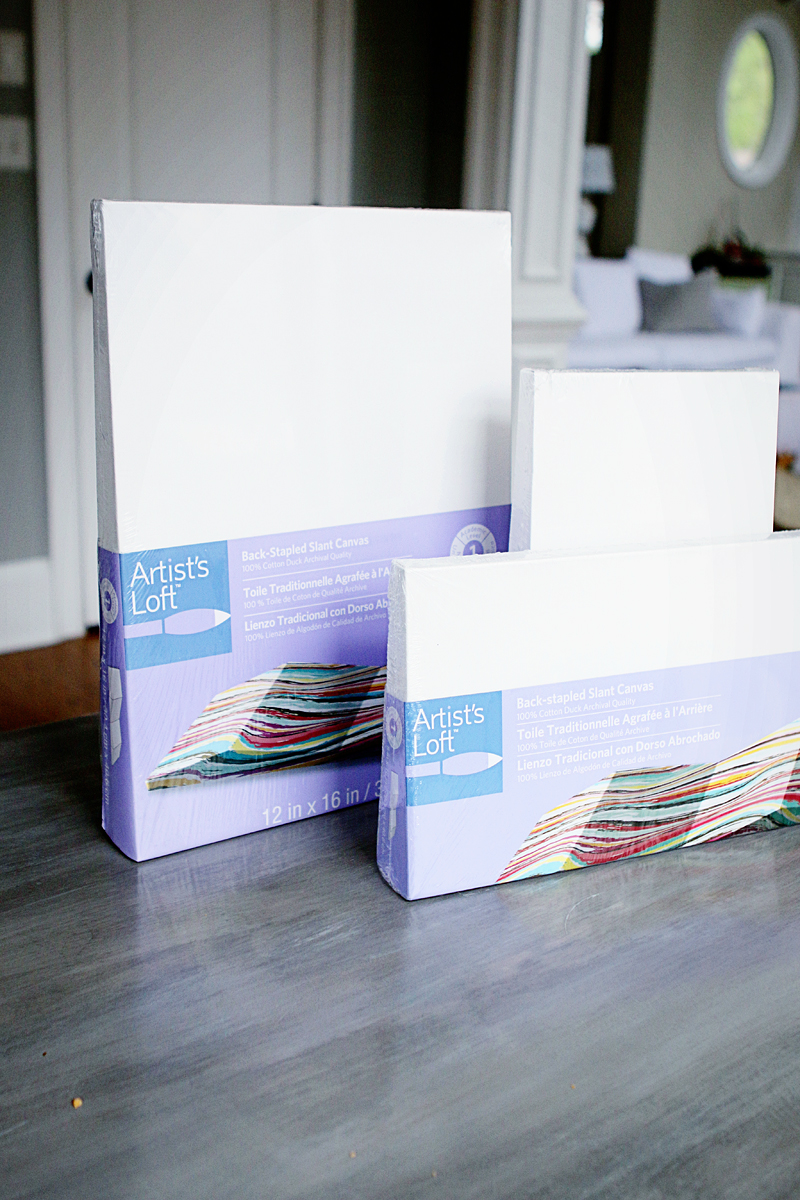
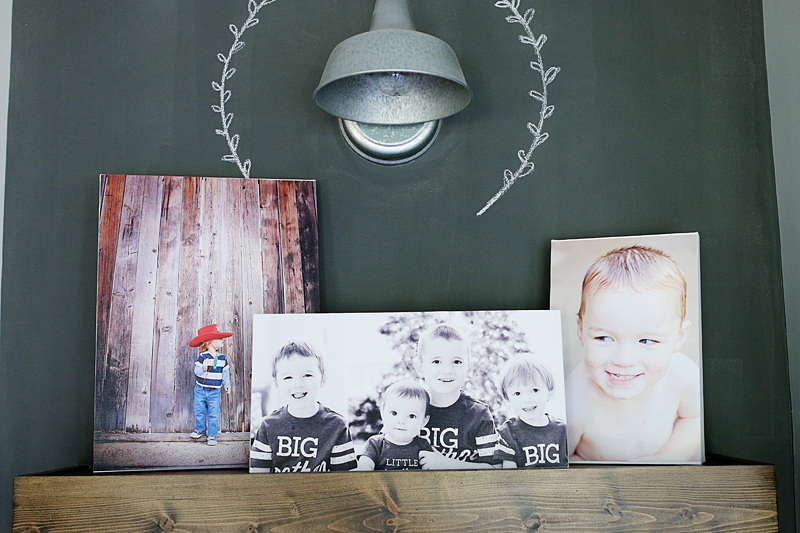
You can imagine my elation when I saw these cool slanted canvases at Michaels. I was not cool in that moment. Not cool at all.
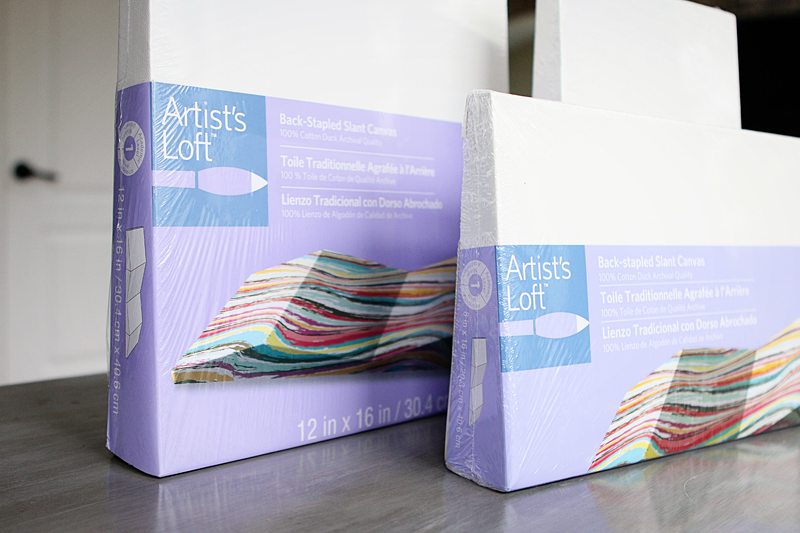
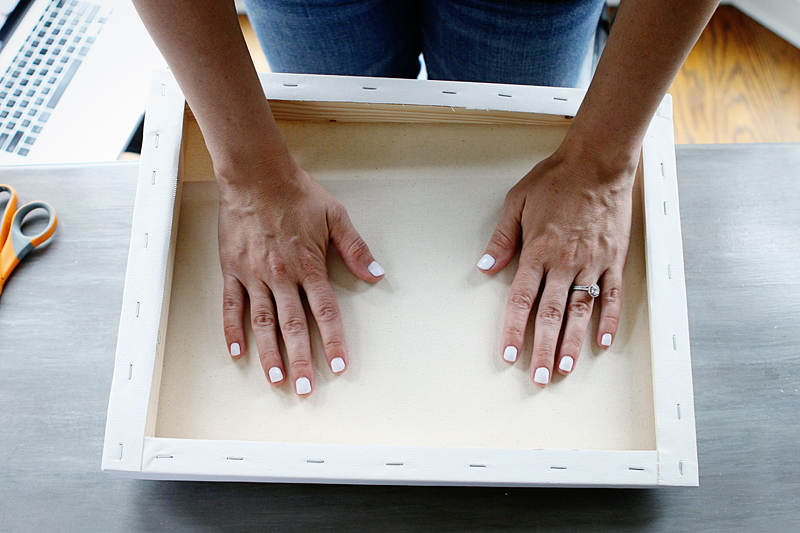
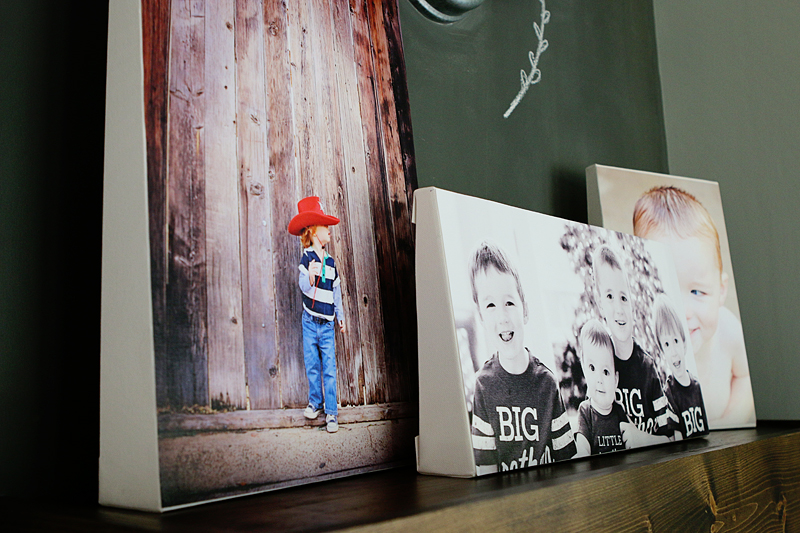
My first thought was these would be the solution to the issue of canvases that fall over. I have painted art on canvas before and you either have to hang them on the wall or frame them or add something to make them stable enough to stand up on their own. But these are wedge shaped canvases giving them plenty of stability and allow them to stand up on their own.
(please note the Cheez-Its crumbs on the table…#snackshappen)
The first thing I did was format my photos to make them the correct size for my particular canvas.
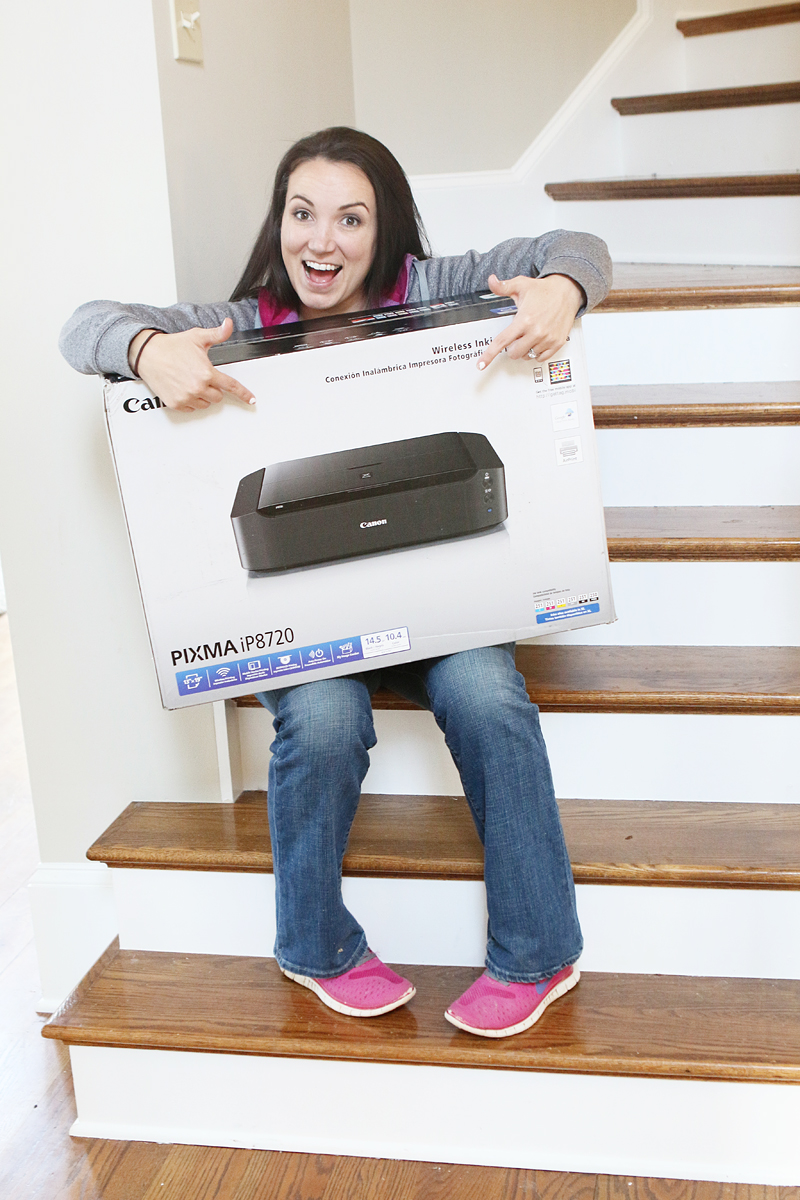
I was printing my pictures out on my Canon PIXMA iP8720 so they were going to be HUGE….which is amazing because you can see exactly what you are getting and can modify things easily.
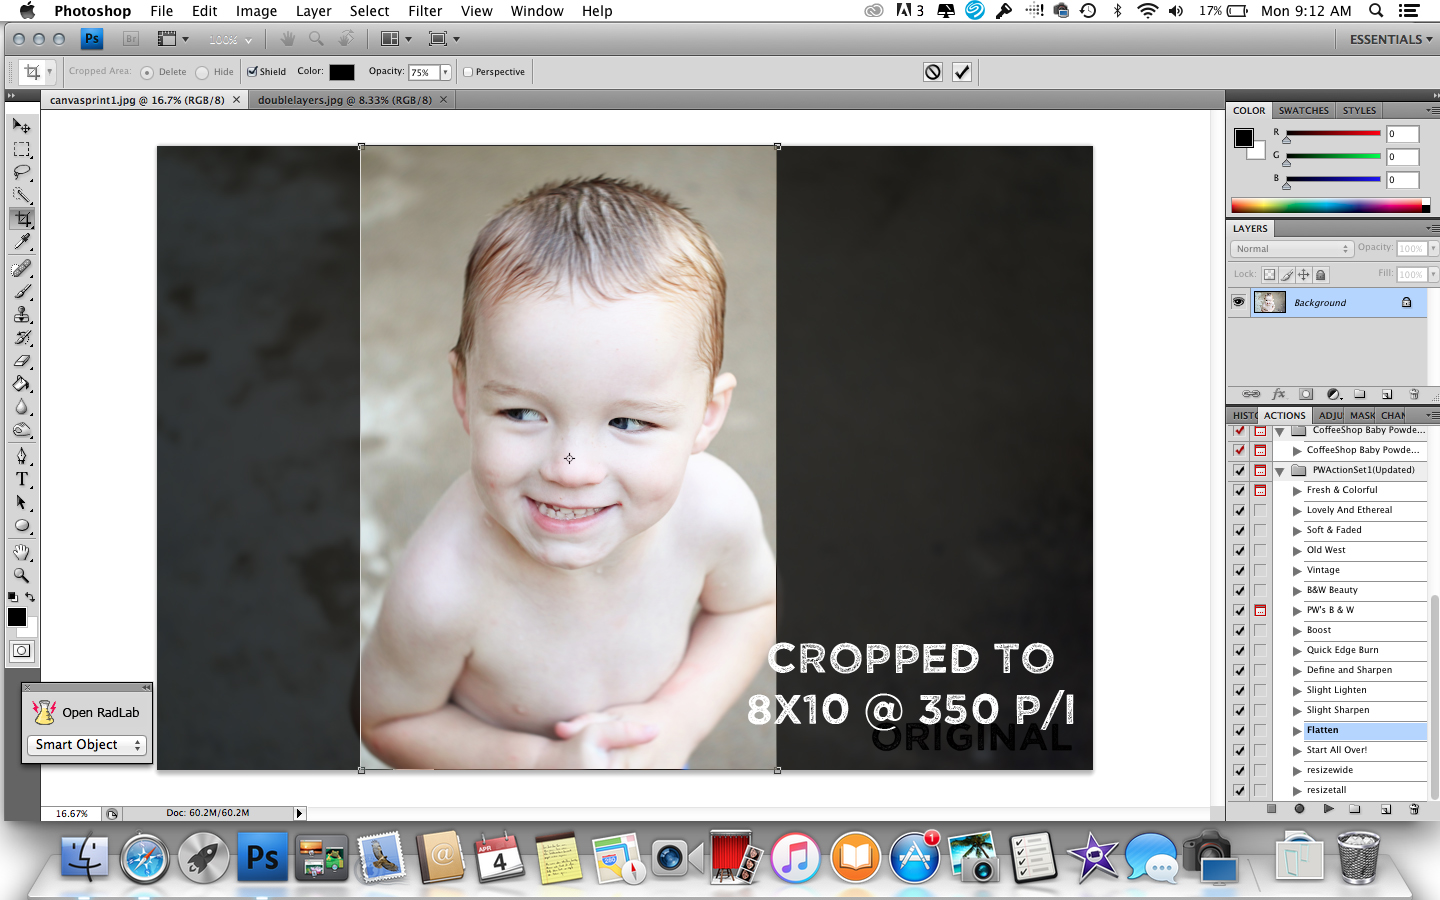
One of my originals looked like this….my little Munchie with his devilish grin and his sneaky little side eyes 🙂

I opened it in Photoshop and cropped it to 8×10 and changed the pixels per inch to 350.
Then I opened a new file with a canvas that was the size of my printer paper. I made it 13×19 also at 350 P/I. I know….the PIXMA iP8720 prints BIG 🙂 #happydance
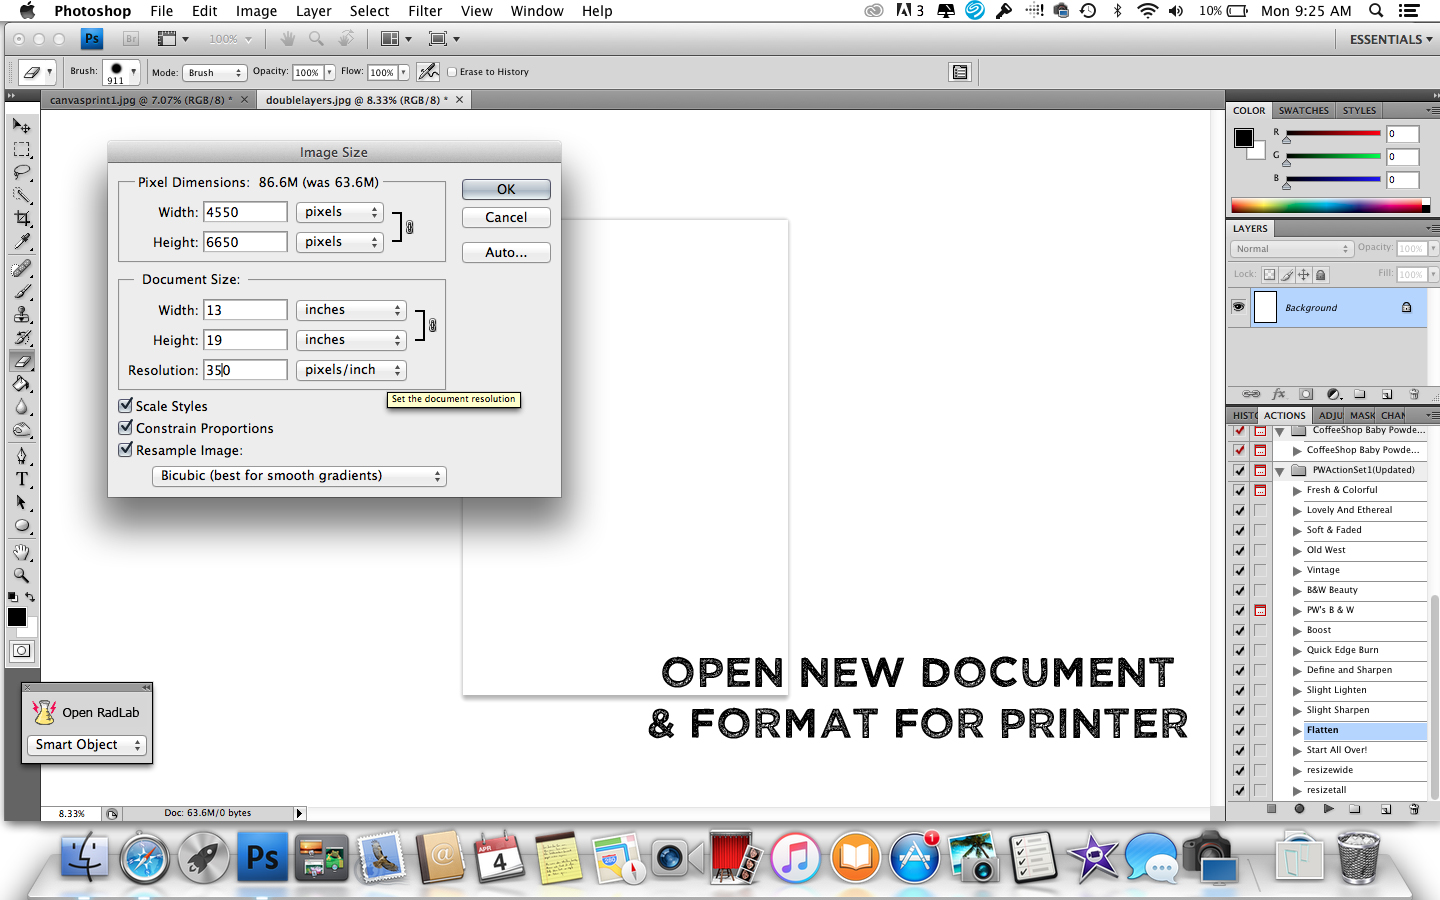
Then I just selected my cropped Weston image and copied and pasted to the new image. I did need to rotate it and made it slightly bigger because I knew that I would be cropping out his hands so that the focus would be on his sweet face. If I kept it the same size as it was pasted…it would be exactly the size I needed for the canvas. If I made it any smaller, the standing canvas would show around the photo….no bueno. And if I made it a bit bigger, I could end up losing needed details….so the tip here is – be careful with your cropping and resizing. I also pasted a photo of LJ so that I wouldn’t waste the rest of the photo paper 🙂

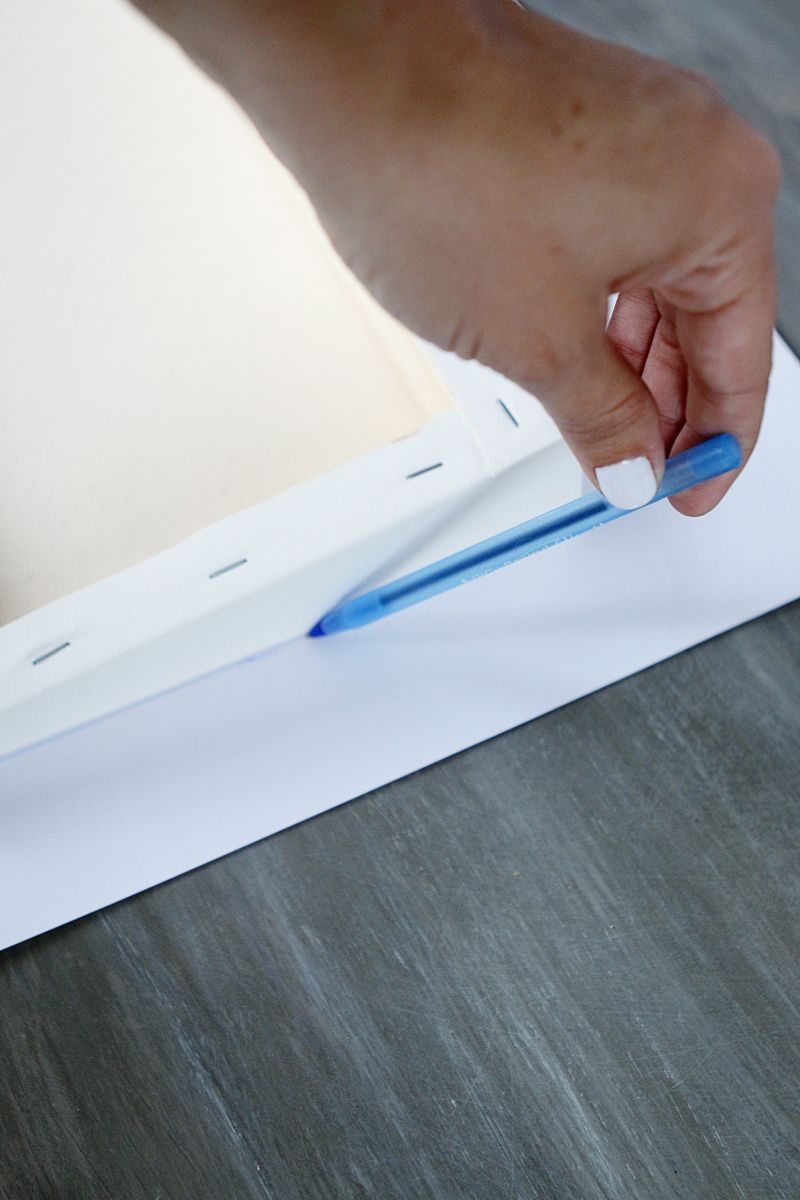
Once all my images were printed, it was time to cut for the canvas. I simply laid the canvas on top of the image and then traced it with a pen.
Then I cut my prints down to fit the front of the canvas.
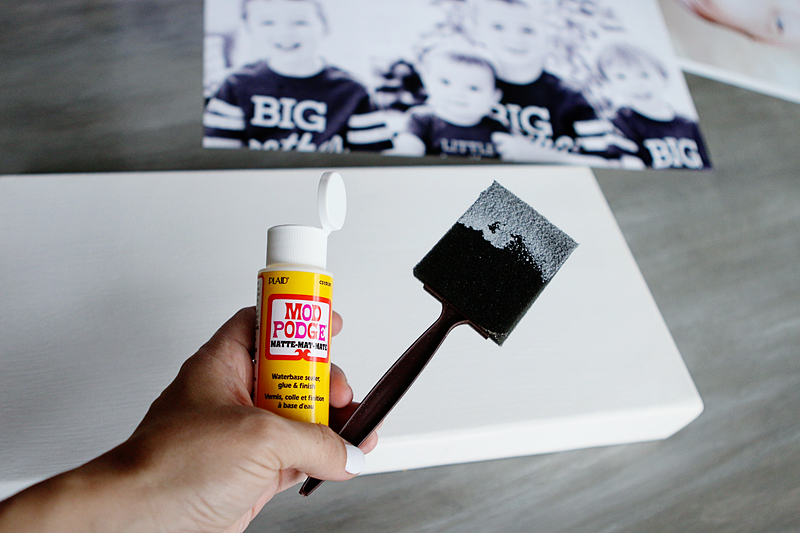
The canvas received a very generous helping of Mod Podge and I smoothed it with a sponge brush.
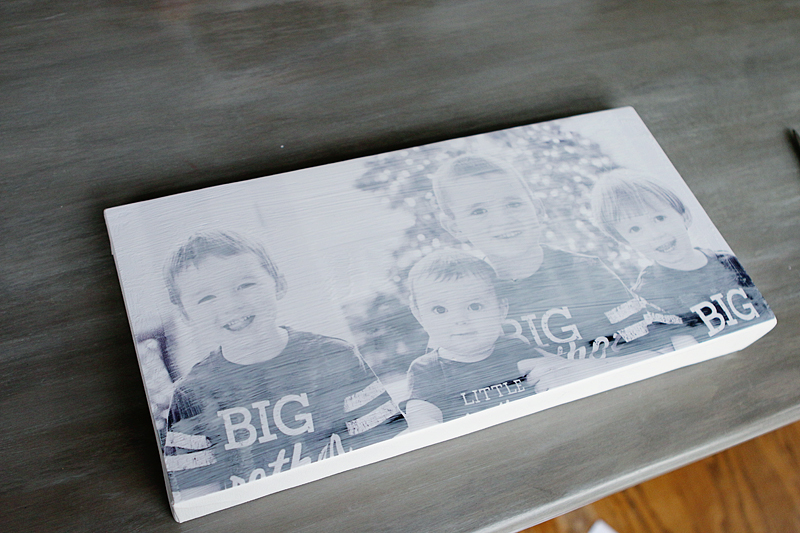
Then you firmly press your print on the canvas. You can stop there if you like but I wanted the prints to have that canvas texture so I tried out a technique that is supposed to give you the canvas feel.
Basically you dump a lot of Mod Podge on top of your print and try not to freak out….

Then smooth that out evenly…
If you left it like this, it would have the brush marks on top of the picture.
Instead of brush marks, you want to imprint on the top so you lay another canvas on top….
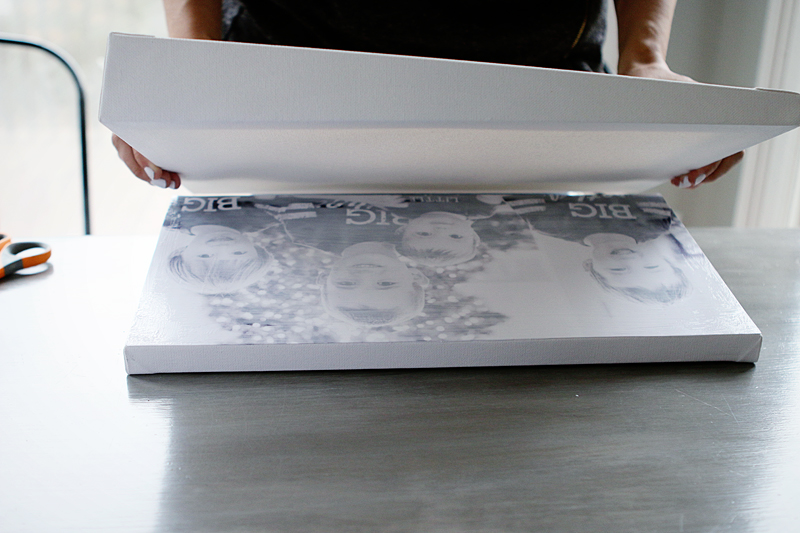
And press that down firmly and then remove…
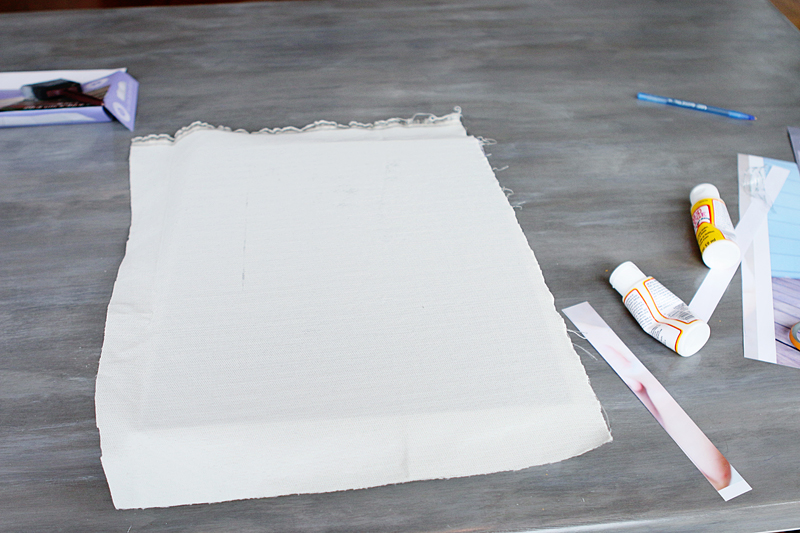
I didn’t like that method as much as the next one. You can also get the same effect by laying a piece of textural fabric over the top.
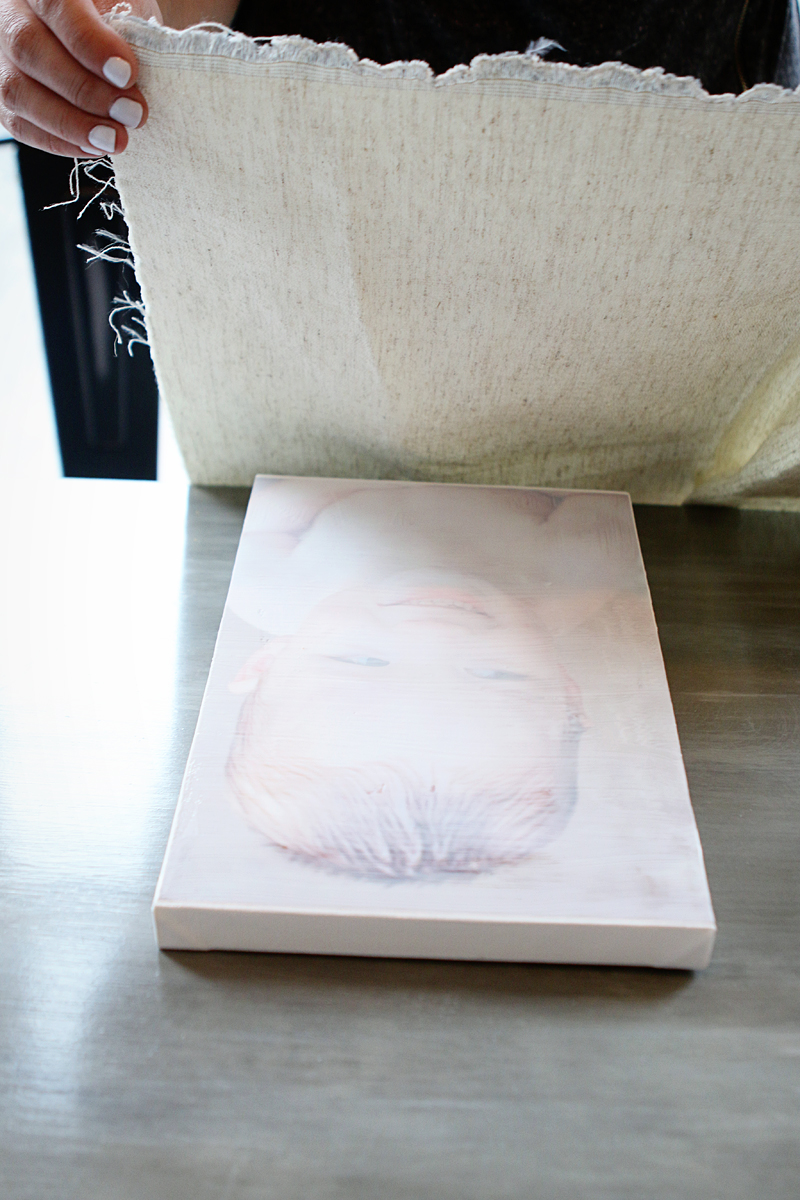
I like using a lot of Mod Podge and letting it settle for at least ten seconds before slowly removing the fabric.
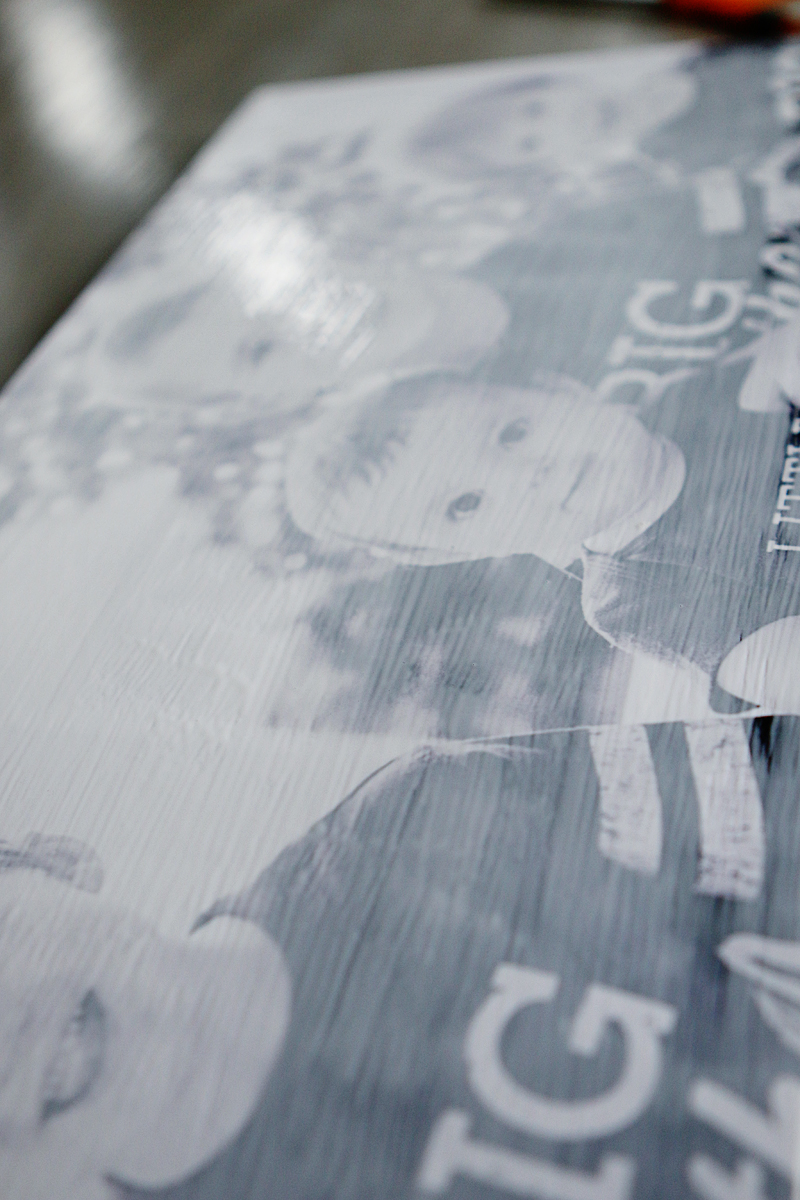
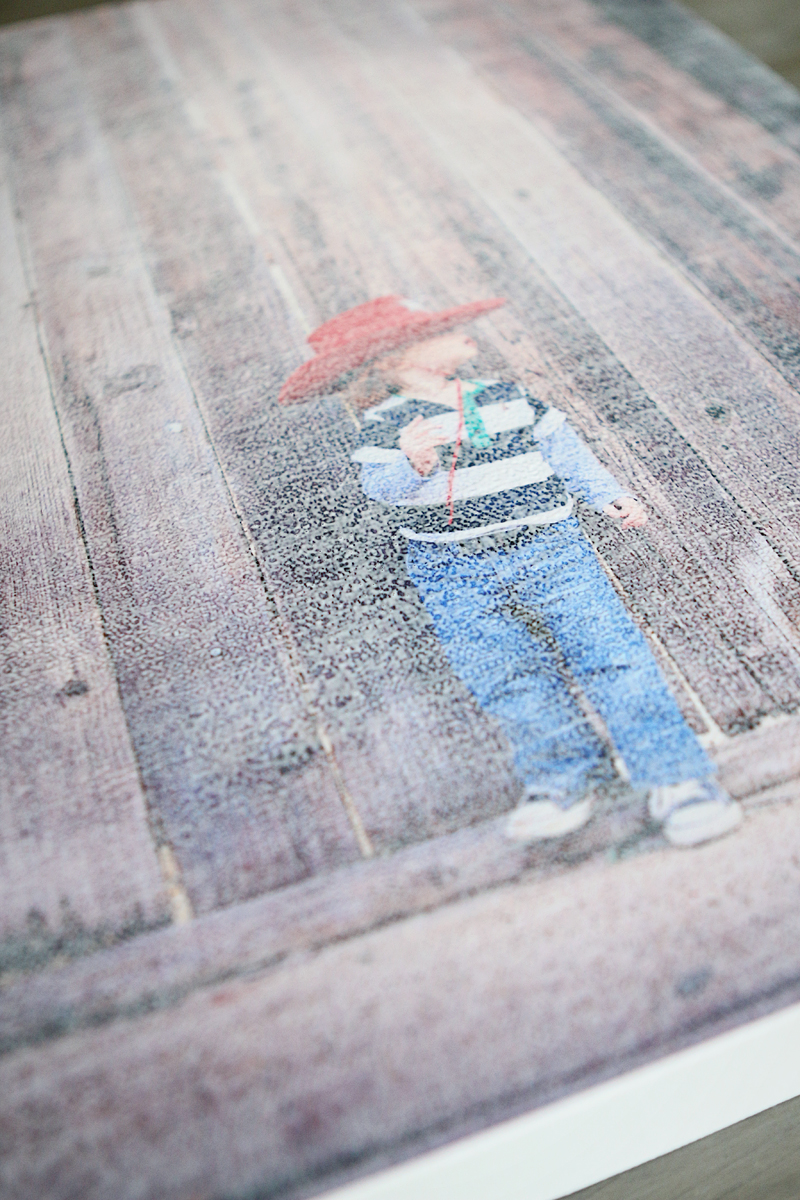
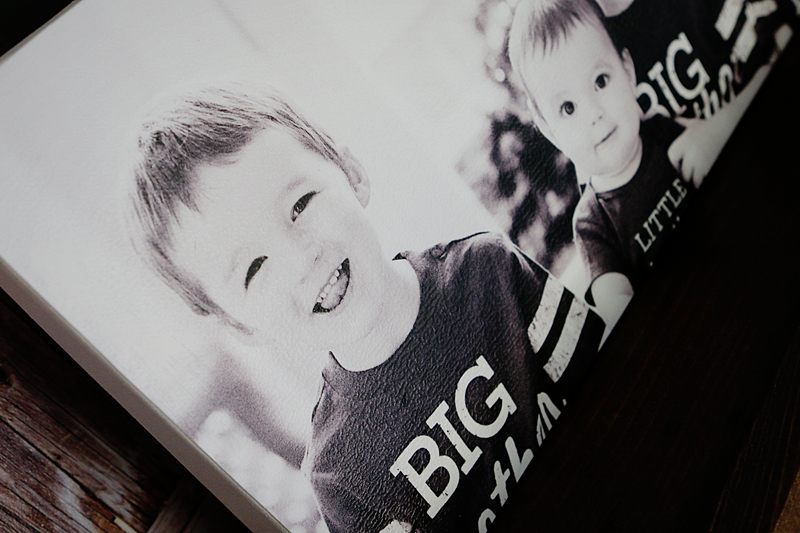
When the surface is still wet, it looks like the photo below but it will dry to look like a canvas texture.
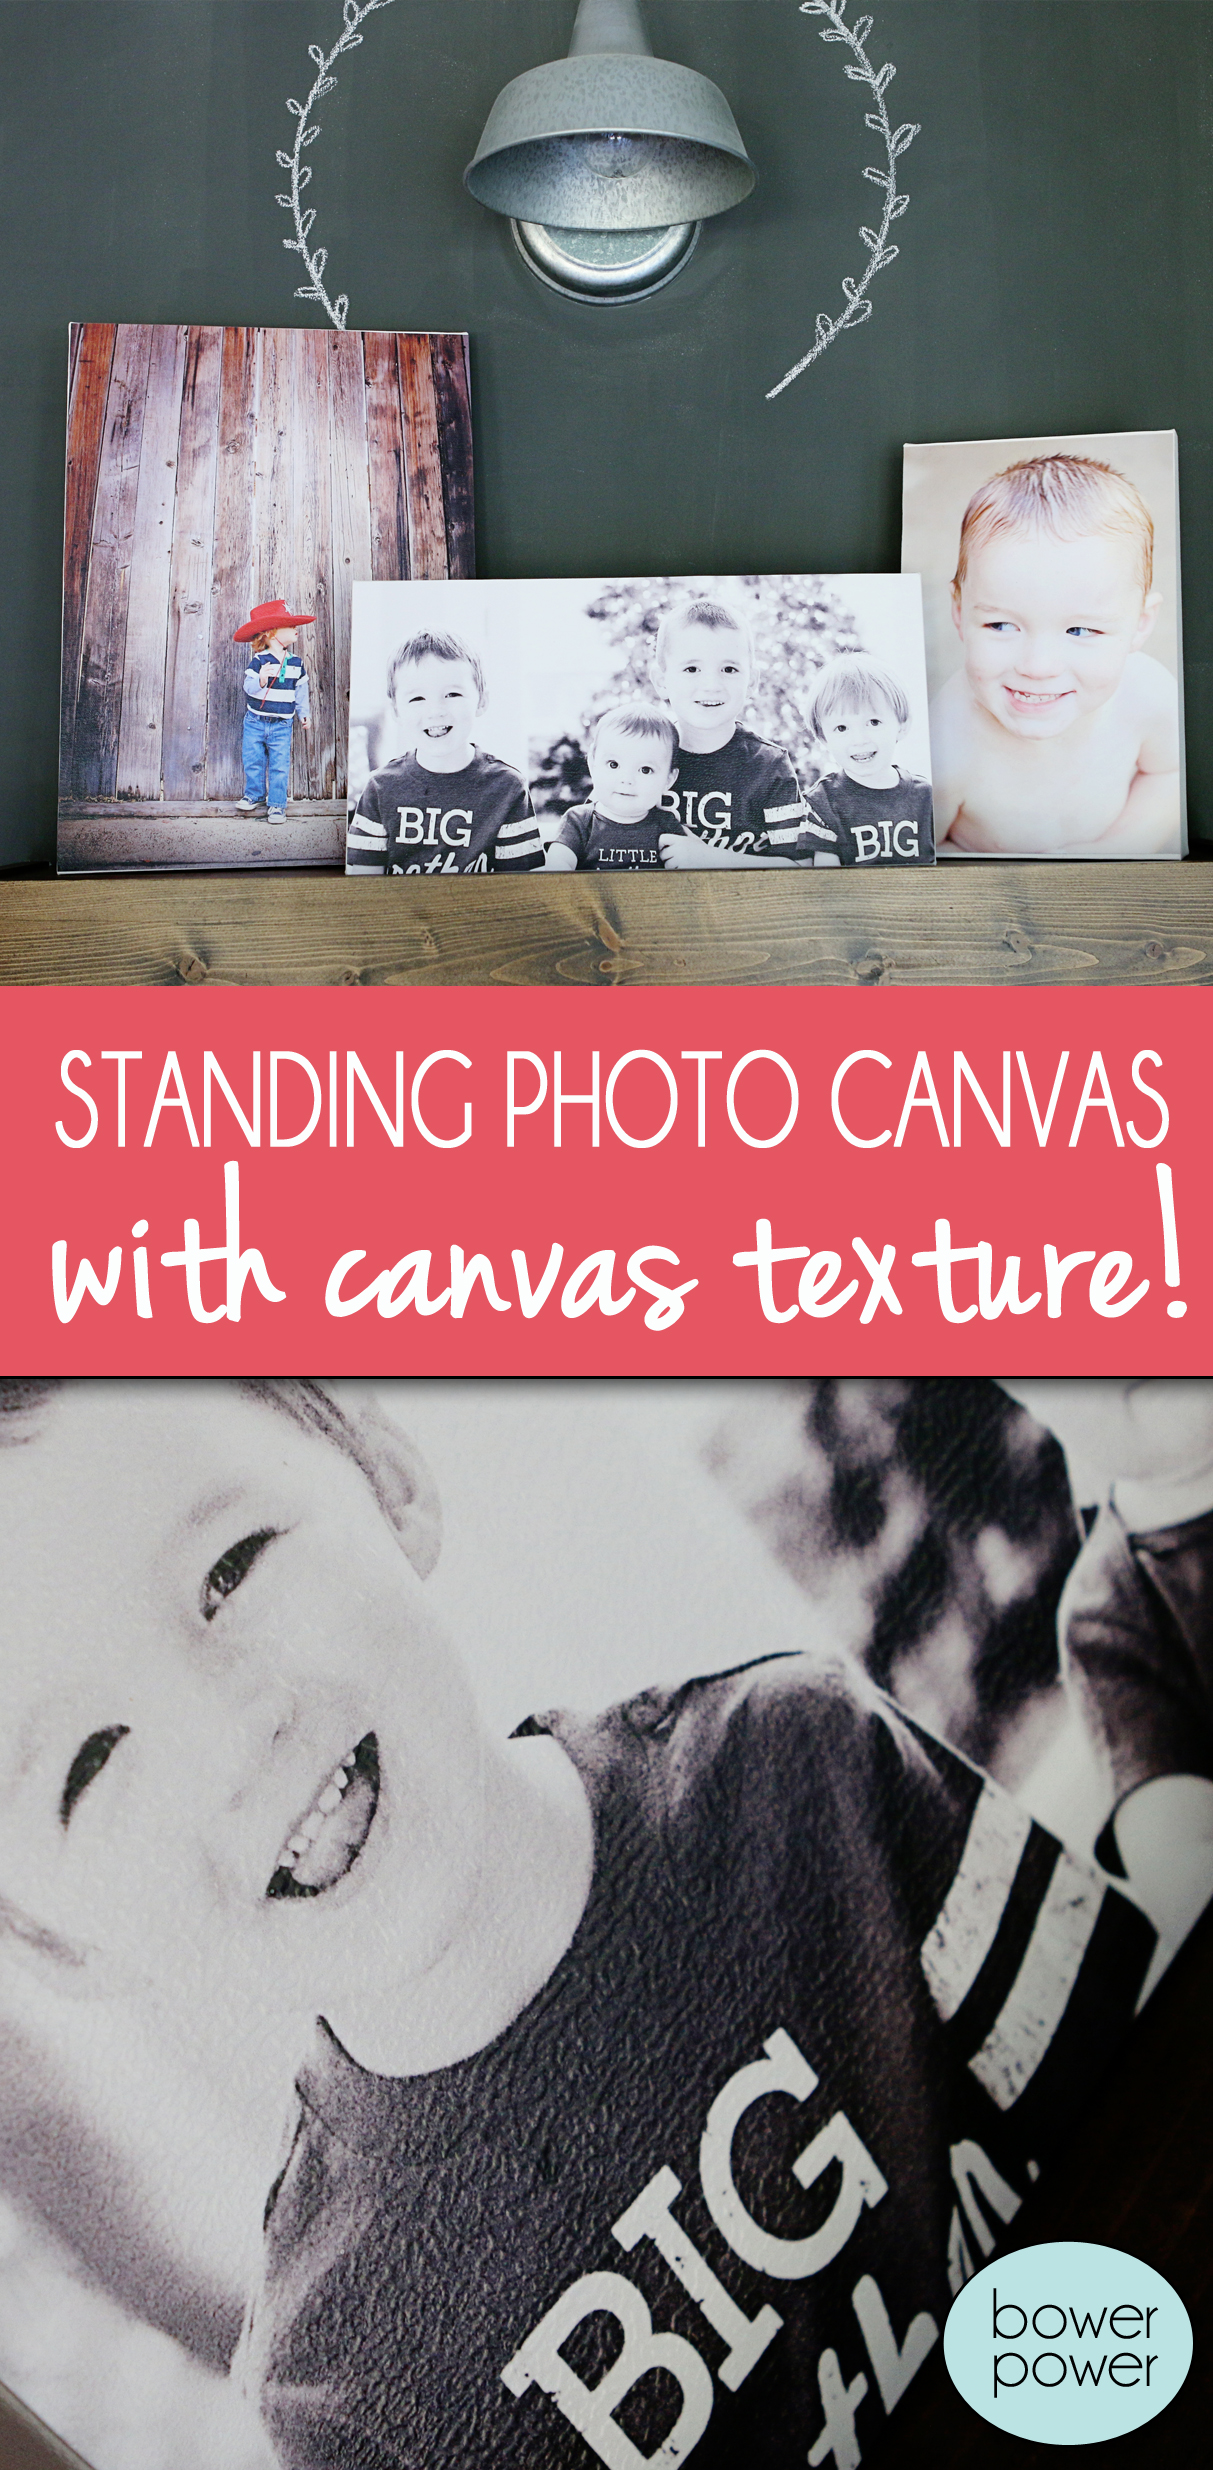
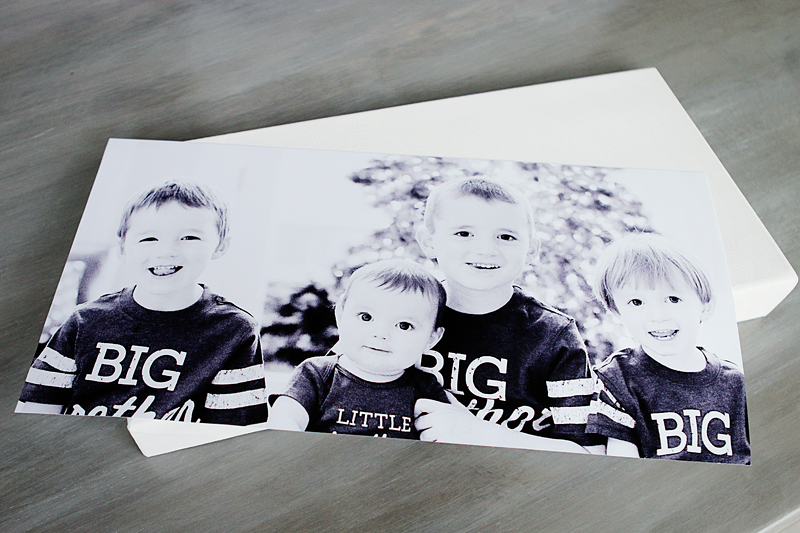
Let everything dry and then set them up to display! You can also do fun paint on the sides of the canvas – black, stripes, dalmation print, the possibilities are endless!
And that texture is spot on…
The best part is that they actually stand up on their own and require no holes in your wall or mounting hardware. Unlike regular canvases which can knock over with a light breeze – these feel very sturdy and still display your precious loves!
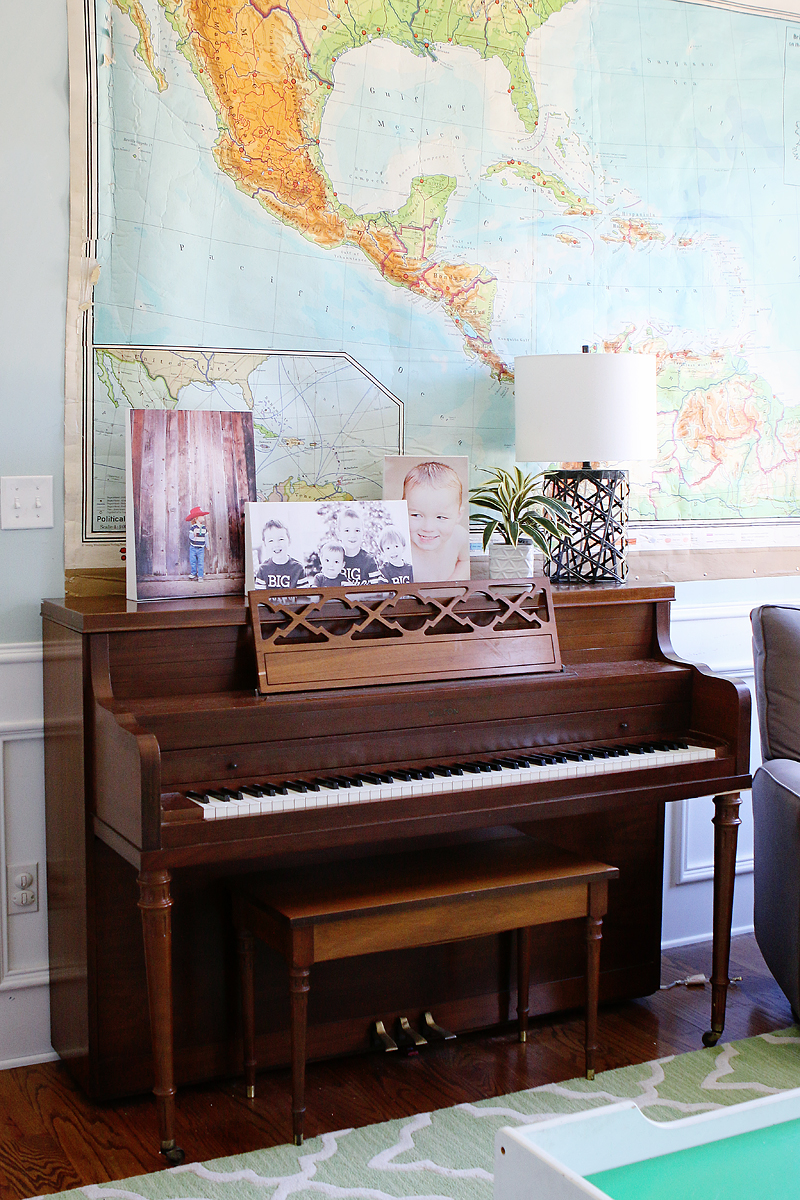
I especially like this application for any area that you would use a normal photo frame but this is much higher impact without paying an arm and a leg. In fact, all three canvases cost me $18 total ($2 for Mod Podge, $16 for the 3 canvases) – not too shabby for $6 a pop! So all you wedding family photo display planners….this project is your best friend. Grandpa never looked so good!
I love these so much that I even invited a few friends over to make some of their own! My girls aren’t super crafty (they died laughing when I tried showing them how to sand a piece of wood) but these are so easy that I think they could totally handle it! Plus, I know they would LOVE having prints of their own hanging up! The only question remains – what to serve as a snack? Chocolate or dark chocolate?! 🙂
Don’t forget to pin this image for later! Happy crafting y’all!