We are so close to finishing up the kitchen – I can hardly stand it! Are you guys excited to see this next step because you really should be….it’s the biggest part of this transformation and I am so thrilled to show you!
Okay, so the basement kitchen had been painted before and when all the cabinets and backsplash were installed, I was slowly coming to realize that the walls needed some color….
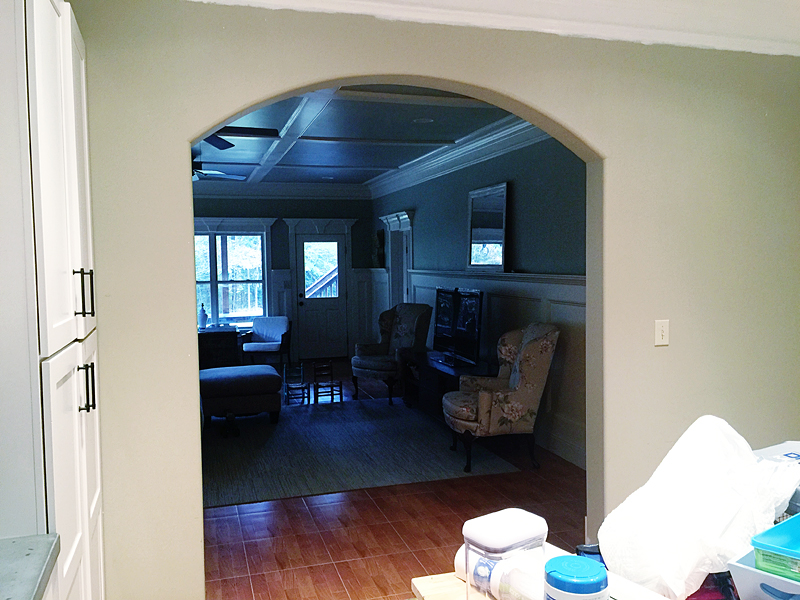
This space definitely was going for the industrial vibe but I realized that the walls were gonna be the only place to have a little splash of freshness and if you ever have an instinct about something NOT working – you should follow it.

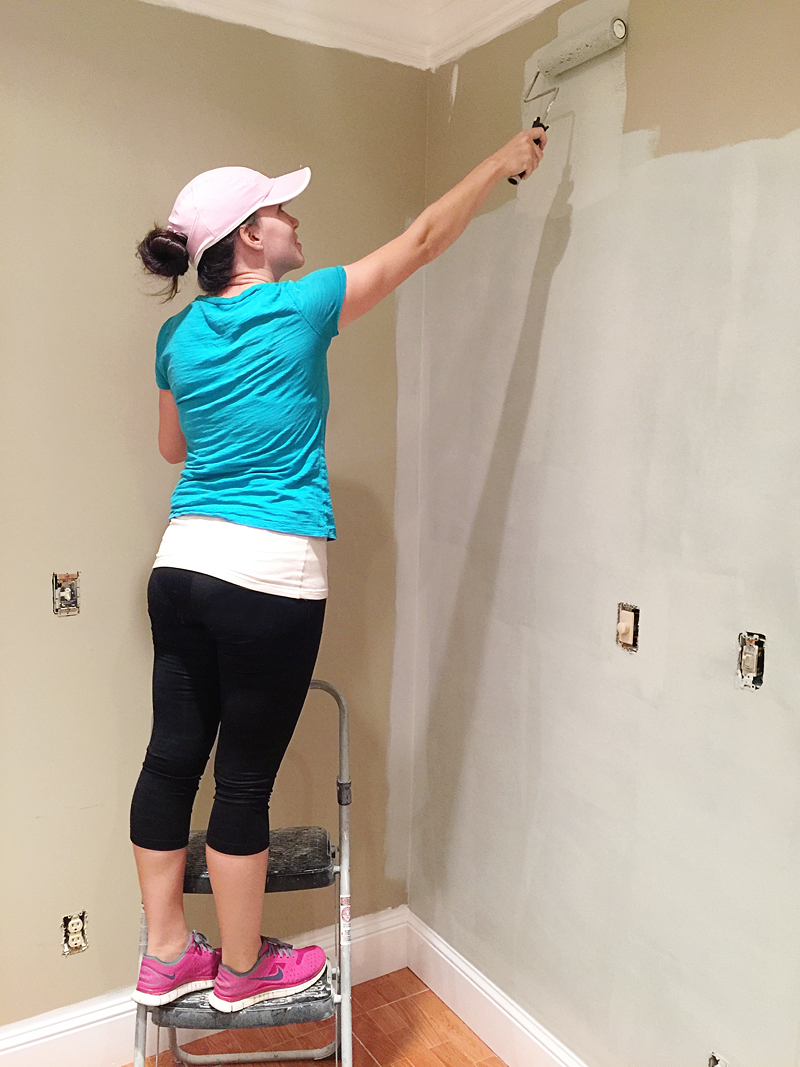
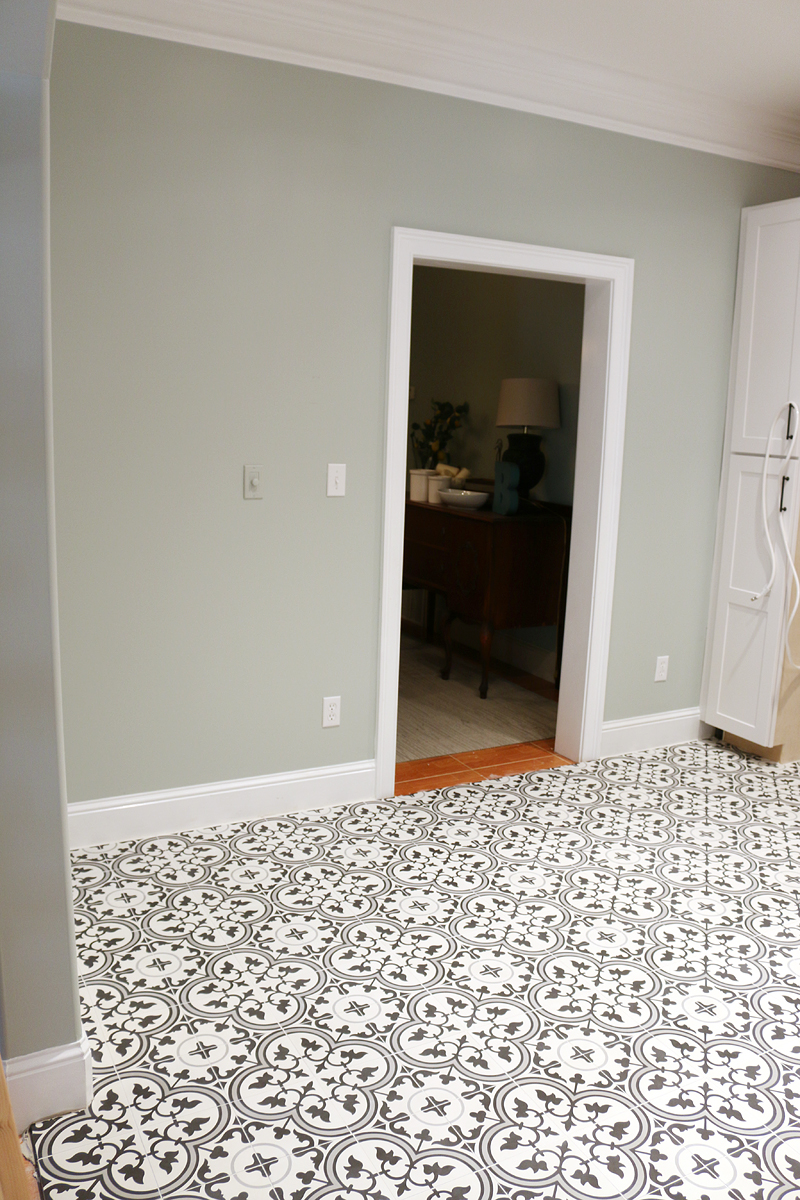
I had a leftover gallon of Allen + Roth Portico paint that I used in the adjoining dining room and even though I don’t love it in that room (it has that tan trim and throws the color off!) – I decided it wouldn’t hurt to try it in here (with the white trim) and I am so glad I did.
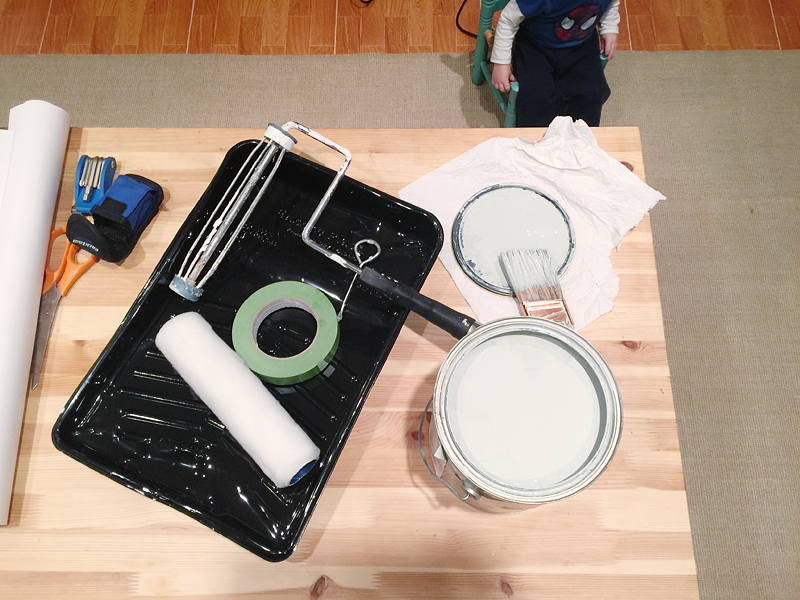
Jeremy totally made fun of it with the first coat – it was looking kinda like greenish gray but I promised him that with the flooring – it would change the whole look.
Now you’ll have to wait to see it 🙂 I’m so generous like that. Trust me – you don’t want to see it with that orange tile. That orange tile is like a drill sergeant that demands all eyes on it…and will dole out burpees if you look at anything else.
Moving on to the tile. Here is the thing. We wanted to use concrete tile in this space. It was the pattern we wanted. It was the only type of tile I really haven’t installed yet (I’m always looking for new things to learn!). It was gonna balance out the faux wood backsplash. It checked off all the boxes on the list. But I gotta admit – I was super nervous about the installation process. I’ve heard it is harder in a lot of ways and so naturally it made me question my tiling skills.

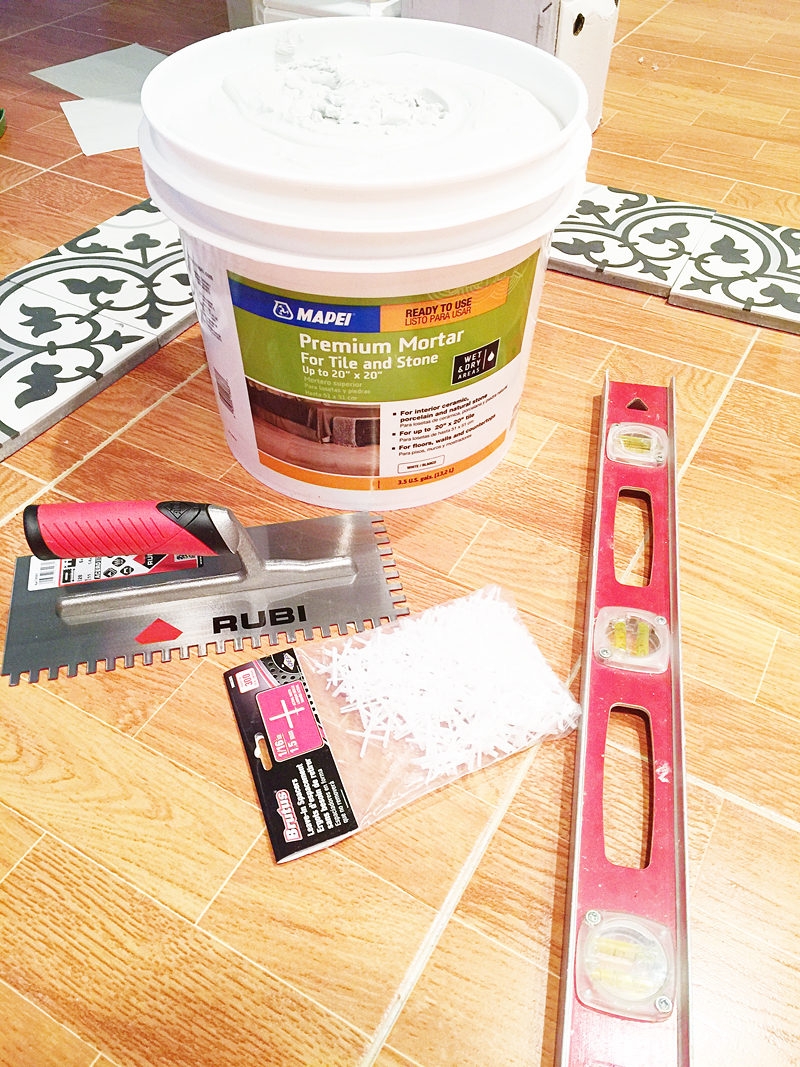
I picked out the pattern – it’s called FLORET (this was at the beginning of last year mind you) and had Jeremy email Cement Tile Shop asking if there was a way that we could barter a discount. Now – we would have paid full price – I was that sold on using this tile – but it is nice to be able to barter a little trade if they get to use our photos at the end of all this. So when they said yes I was THRILLED. Like seriously jump up and down happy.

Then came the intimidating part – figuring out the installation.
Oh and did I mention that we were gonna do something CRAZY. We are installing the tile directly over the old tile. YUP.
Imagine me freaking out over whether this would actually work.
I read everything I could about the process. And at some point, my confidence just rose and rose until finally I told Jeremy that we would HAVE to install the tile directly – otherwise we would have to reinstall EVERYTHING. It HAD to work. If you are thinking I am yelling with all these capitalized letters…I TOTALLY AM.
The research said that first the existing tile had to be in great shape. CHECK.
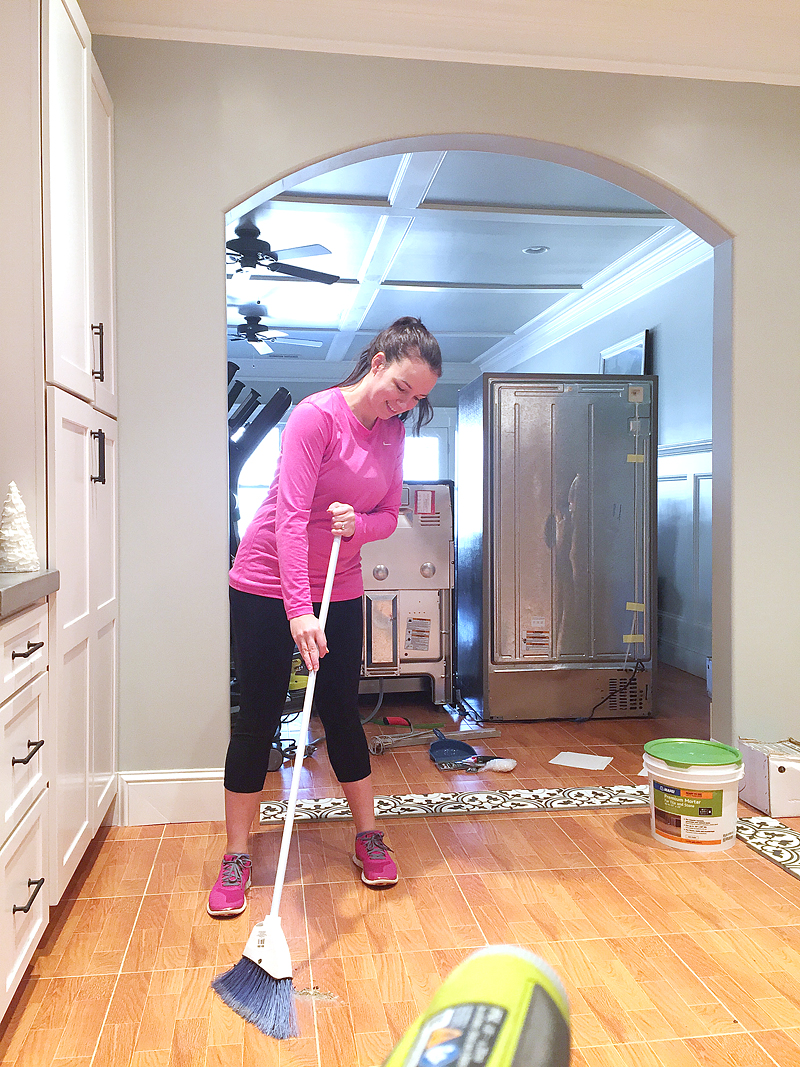
Then the surface had to be roughed up. I had Jeremy come down with a belt sander and go to town. CHECK.
Then it had to be clean and smooth. CHECK.
We used a ready-to-use Mortar for extra adhesion. We could have considered a thinset but mortars generally have more sticking power and so that is one reason why we went with this.
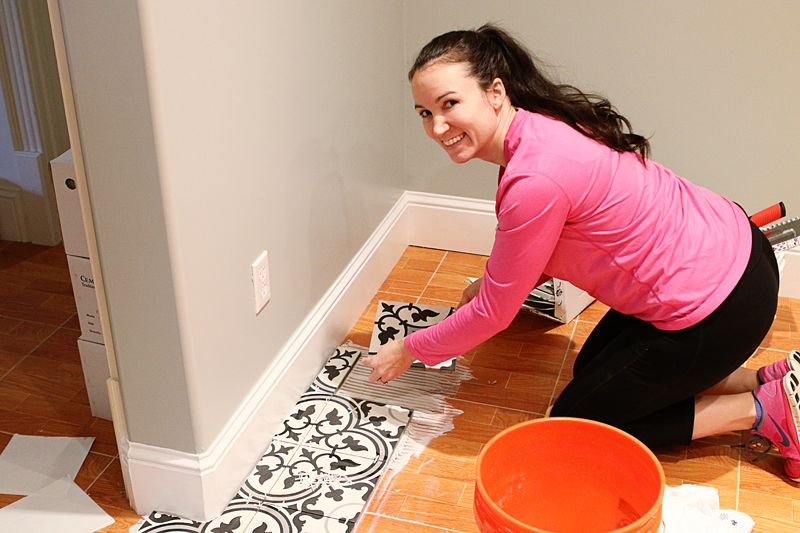
I lined everything up to figure out the pattern and then I started the process. Don’t let that smile fool you. I was freaking out inside.
The hardest part about the process was the amount of time it took to get everything super level and even. I also would review my list of tiling basics just to make sure I wasn’t making a stupid mistake like leaving room for expansion and wall movement and making sure each tile was installed with the same thickness of mortar.
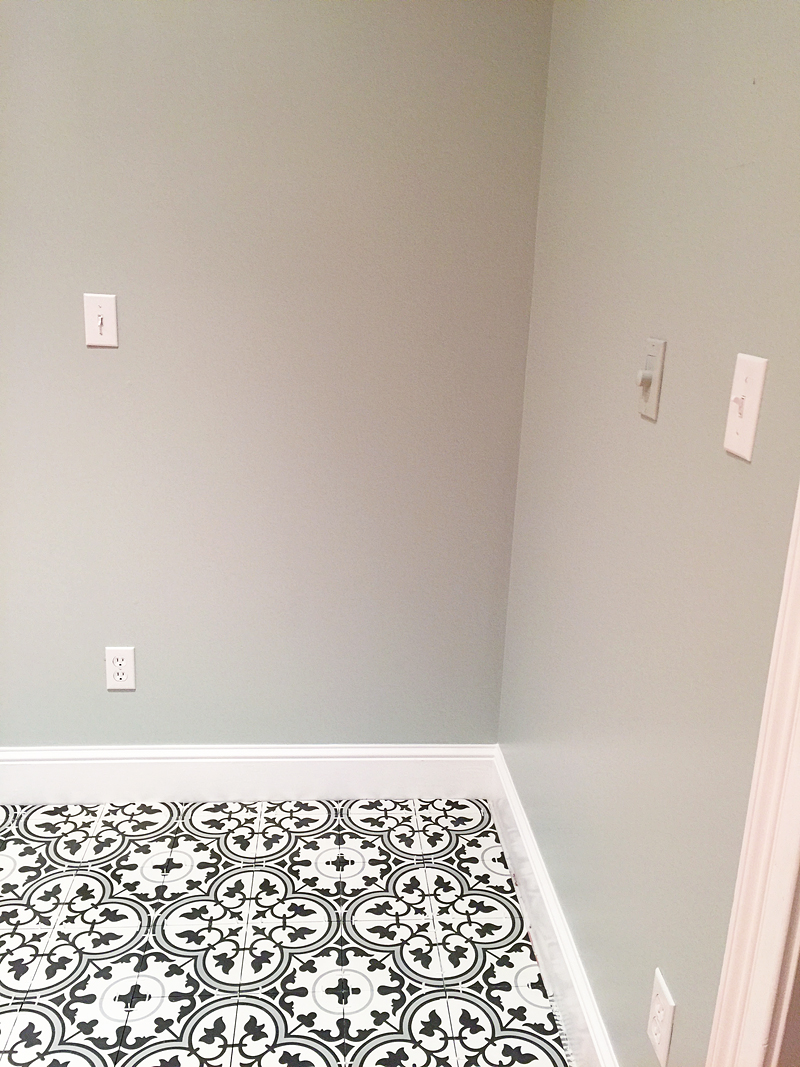
And here is one corner with the new tile and the new paint – looks SOOOO good right?!
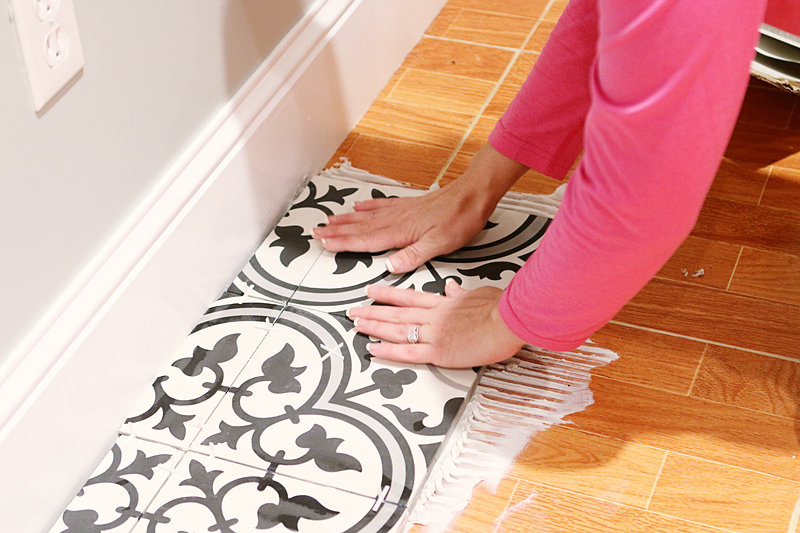
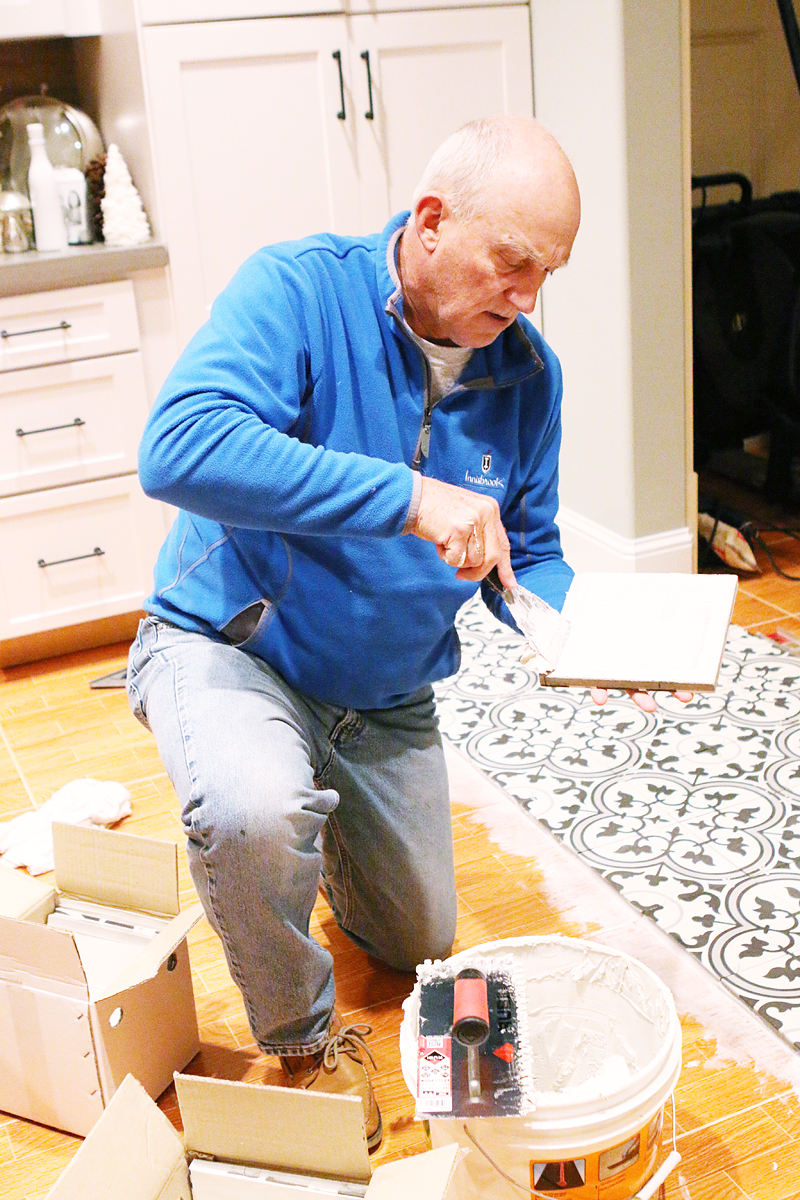
The other part of the process that took forever was the fact that you had to spread the mortar on the floor and you also needed to back butter every single tile. Besides Jeremy and the boys, I had several helpers through out the process that would come sit with me, encourage me and back butter 🙂
Helper #1 – my dad….
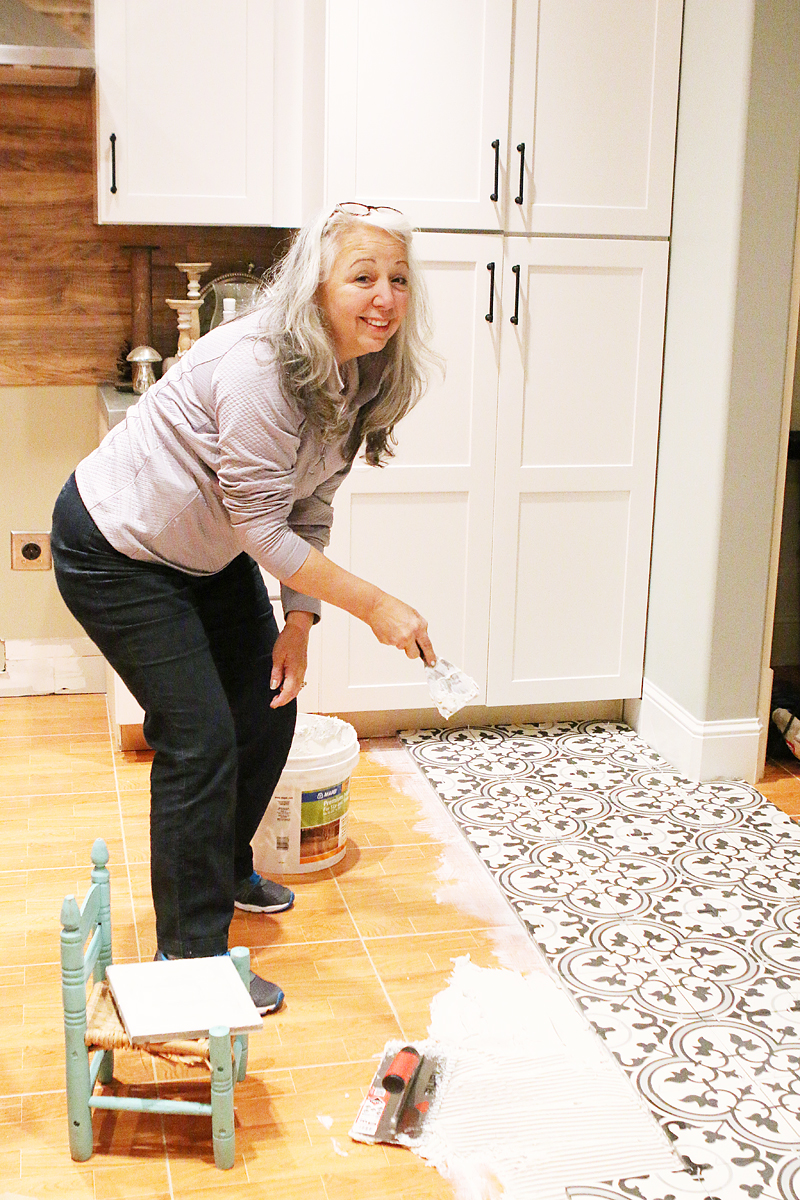
Helper #2 – my mom….
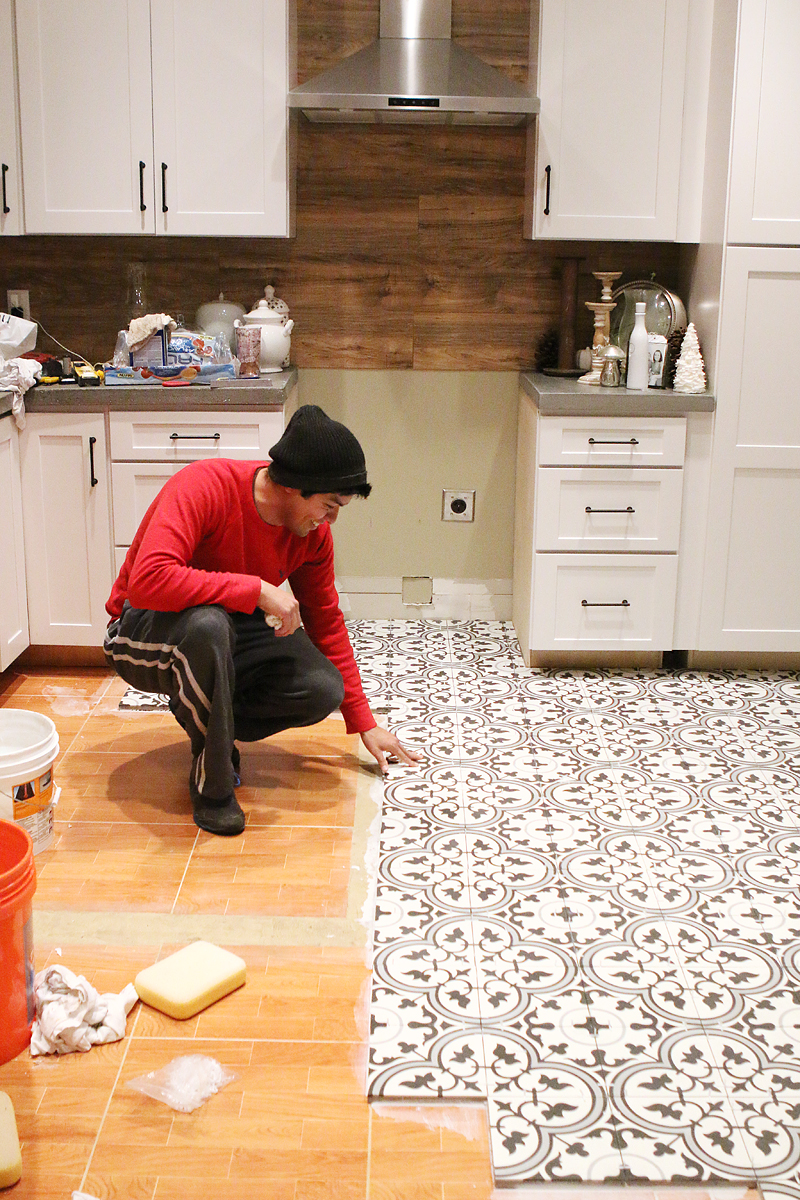
Helper #3 – our friend Danny Pedraza….who is yes, checking my work….
About half way through the process, I knew that the tiles were gonna stick because I tried to pull one up (I didn’t notice a small chip in it before installing it) and OMG it was seriously like the hardest thing ever. I thing I pulled a muscle.
But it proved to me that like the New Kids on the Block, these bad boys weren’t going ANYWHERE.
I will say that if you decide to install concrete tiles yourself – make sure you level the tiles. They have non-rounded edges like a porcelain or glazed tile would have so you can feel installation height differences easily.
The other part about concrete that is a little terrifying is the fact that it is porous. It sucks up EVERYTHING. So you need to make sure that it stays dry while in the boxes. Then once it is dry, you need to seal it with a impregnating sealer. We used this one…

Jeremy would spray it on and wipe it down. That has to dry a few days before grouting. The first time, Jeremy did two coats of the sealant and we attempted to grout and it was VERY hard to remove the grout without a lot of haze. So I will tell you the strategy that worked for us. First – use several layers of sealer and do the water test. If you did three coats of sealer and any water drops do absorb into your tile – you need more coats. It’s a fact. We did five coats and finally we felt confident that our tile wouldn’t be sucking in too much grout and leave a gray haze over the entire thing. If you don’t do this – IT CAN STAIN YOUR TILE AND YOU WILL CRY YOURSELF TO SLEEP FOR A WEEK AND WISH YOU WERE NEVER BORN.
Then get your stuff. We used white premixed grout and it said it would be great for this application.
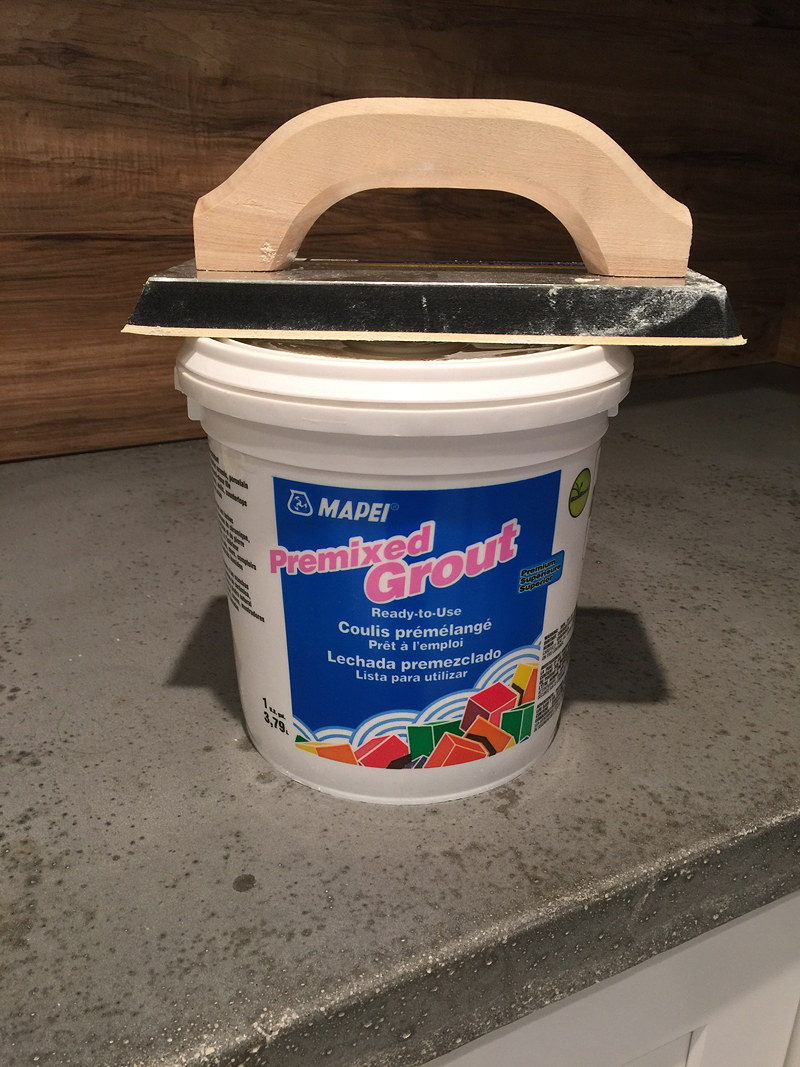
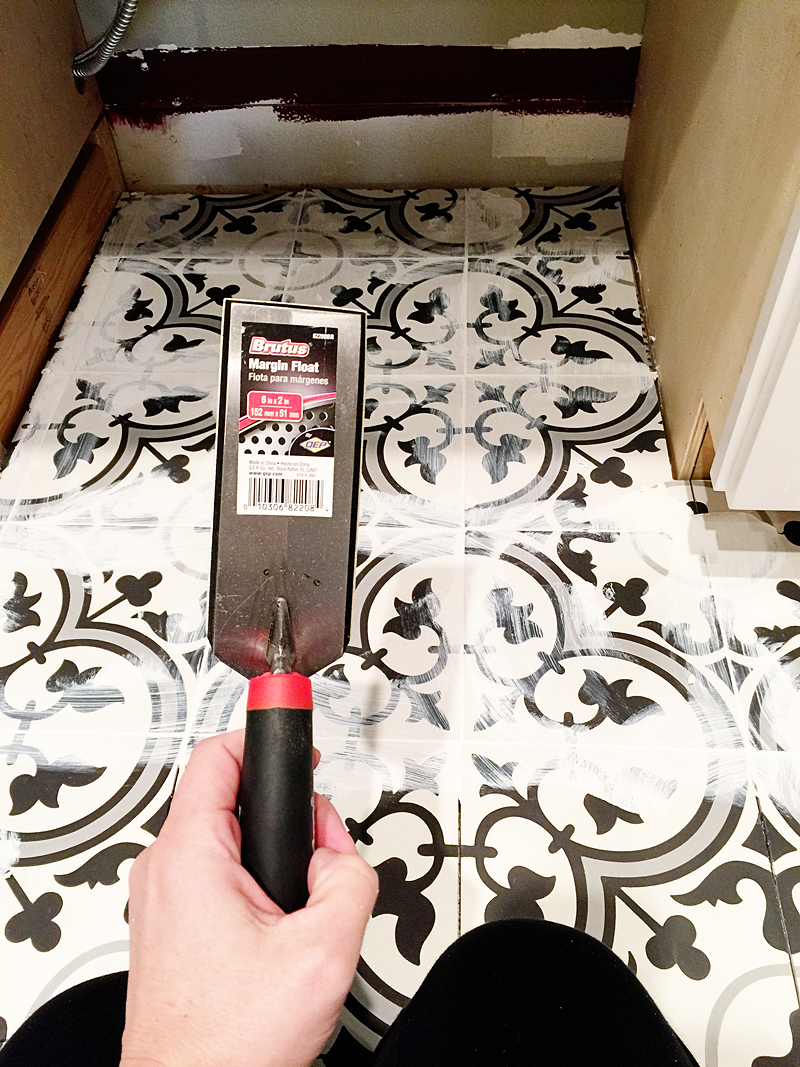
The float we used was this small one because you aren’t supposed to smear the grout over the whole tile – just push it in the grout lines. That’s obviously easier said than done.
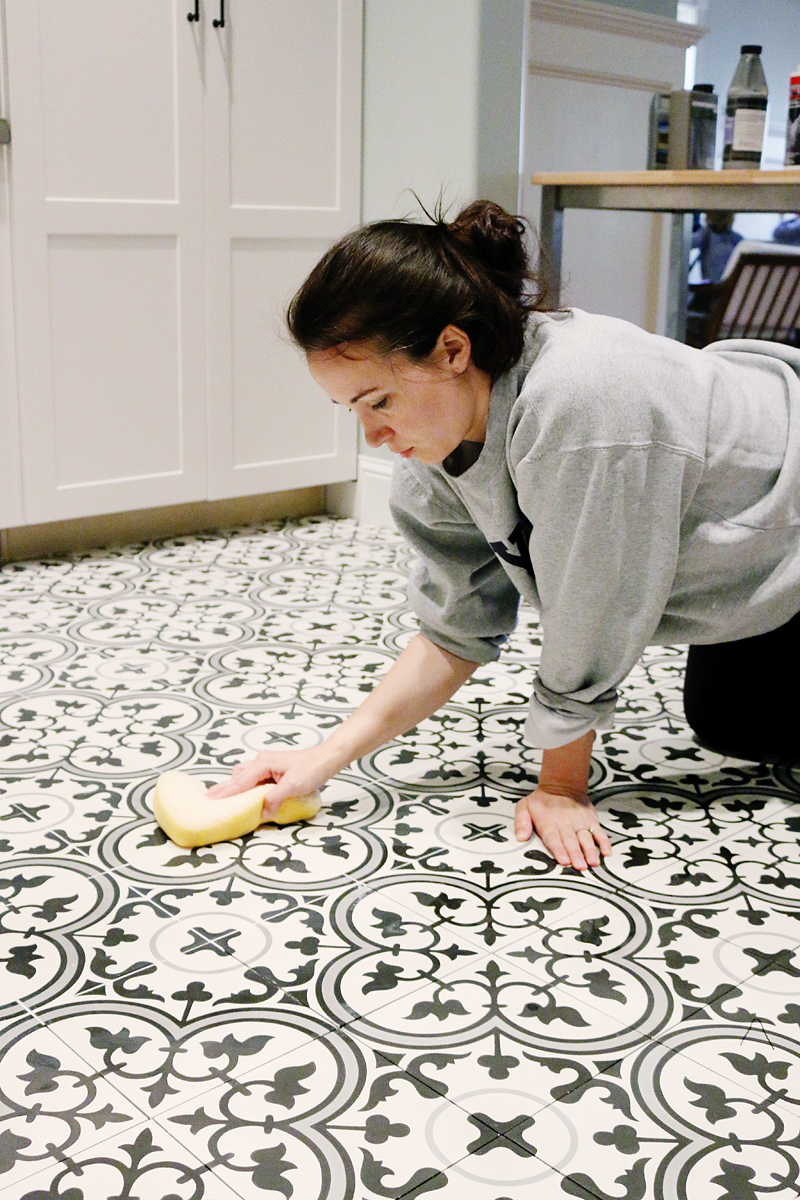
This was our method that really helped a lot. First we wiped the section down with a clean damp sponge. It did not have standing water on it – just made it slightly damp. We thought this would help it resist the grout if there was a spot that the sealer wasn’t as resistant.
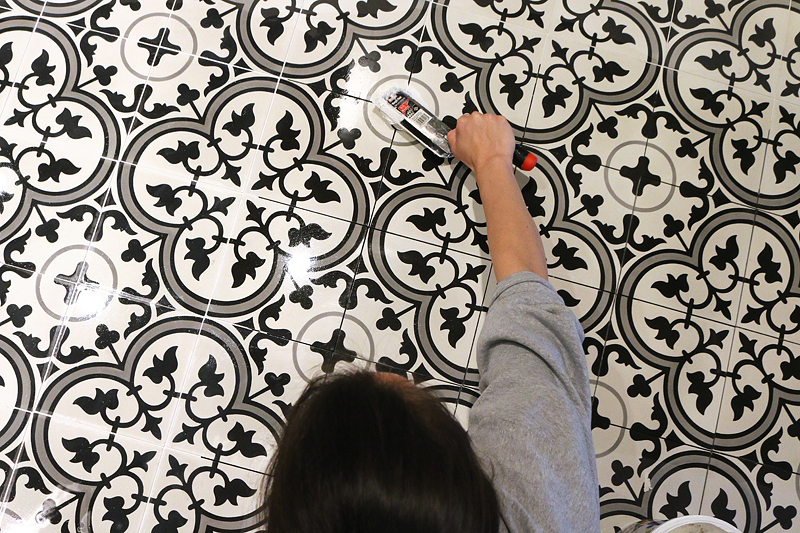
Then push the grout into the lines. We worked in six square foot sections. If the grout is allowed to dry (like if you worked in a huge section that would be possible) – it is SO hard to remove the haze.
Then clean it up like normal….with passes with a sponge and clean clear water. Afterward – you can remove haze with soapy water. And then you need to seal your grout and tile again.
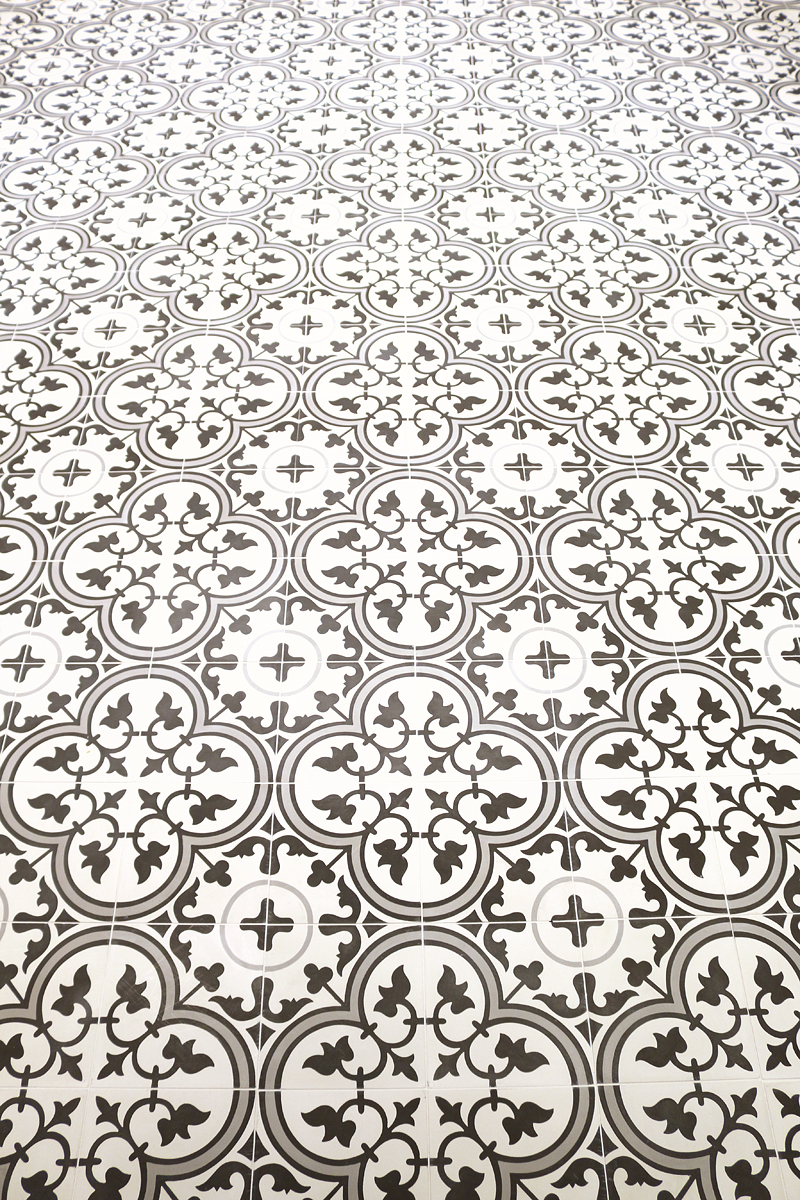
But OH it looks so good, right?! I love how this space is coming together.
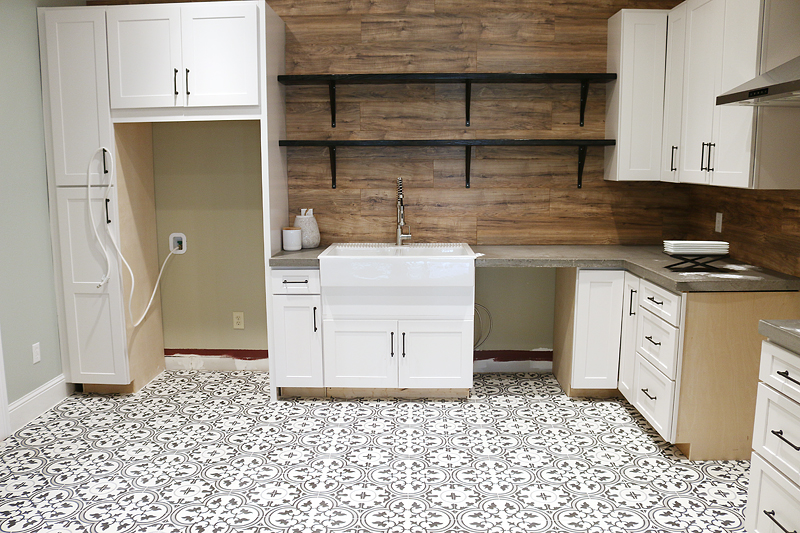
And the wall color looks FANTASTIC in here. I love the freshness of it against the tile! (oh you tiling peeps may notice I didn’t do that doorway yet….we are waiting on that little section for when we install laminate flooring in the rest of the basement. I didn’t want to install the tile and make an error too early so I have my little box of tile waiting on it!)
Isn’t it just lovely?! I know it’s hard to see the finished product without the appliances installed and the kick plate and all that – but it is really starting to look like a completely different space!
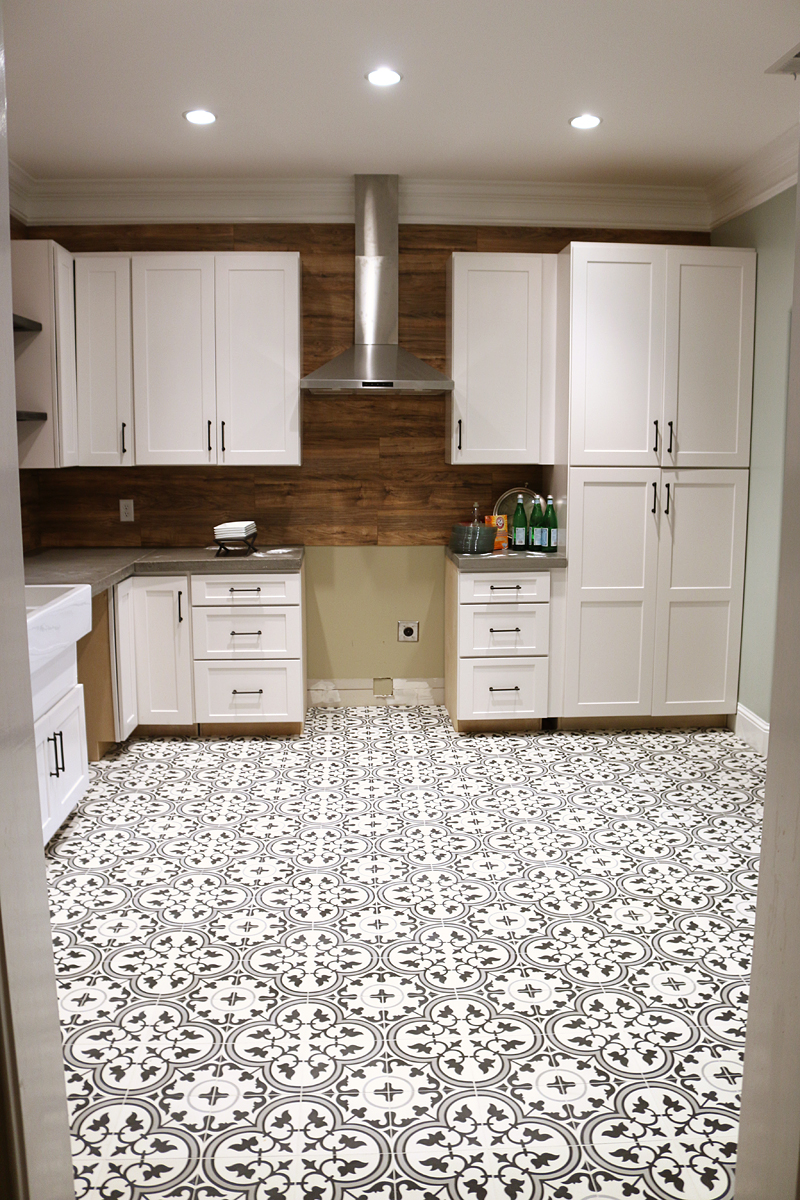
My mom literally walked in and exclaimed – OH IT’s BEAUTIFUL! Which was seriously the nicest thing she has ever said about tile. And I feel like it definitely makes the wood backsplash feel not-so-cabin-in-the-woods. It just feels fashion forward! Like something a celebrity would have in their home.
And you know what comes next?!
The REVEAL! I have a couple more posts to share (I built a cool shelf unit for in here and we did an island) but I thought that it was high time to just show you the finished styled space! It looks so good I can’t stand it! I must share it with the world! Tune in next week to see that reveal! Oh and hope you have a wonderful weekend – we are so happy it’s Good Friday and we can’t wait to celebrate LJ’s birthday tomorrow on Holy Saturday and then of course, see the boys open their Easter baskets! It’s gonna be such a fun weekend!
p.s. If you would like to catch up on past basement kitchen posts – here are the links….
- Clearing out the Basement
- Planning the kitchen
- Assembling the Cabinetry
- Saving on appliances
- Building concrete countertop forms
- Screwing up the concrete (attempt 1)
- Successful concrete countertops
- Concrete countertops FAQ
- Retrofitting a cabinet for a farmhouse sink
- A Laminate Flooring backsplash
- Installing a hood and shelves
DISCLAIMER – The tile was provided in part by Cement Tile Shop. All opinions are my 100% my own.