I never thought I would say this but THANK GOODNESS IT’s MONDAY! I’m so excited about today’s post!
A few weeks ago Jen Woodhouse of the blog House of Wood asked me if I would participate in a virtual DIY project party with Home Depot, her and several other bloggers. Being a true friend that has trouble maintaining her competitive cool, of course I accepted so that I could win the title of “Princess of the World” and the prize of a golden throne that Jen herself would build me.
But first we had to make the coolest doormat in all the land.

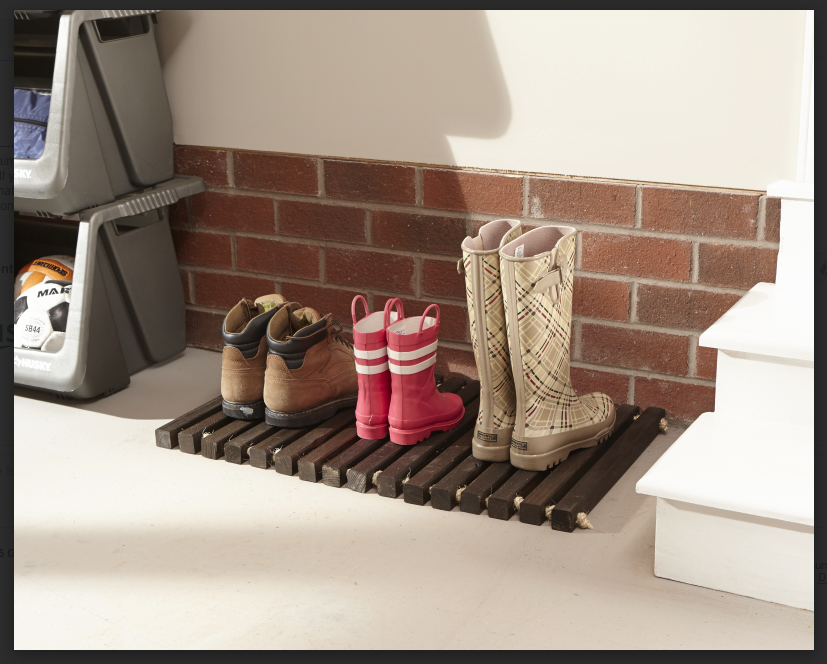
The challenge was to take wood and rope and do our own spin on this classic Home Depot version…
All materials had to be purchased at the Home Depot and they provided us with a gift card to buy the items we needed.
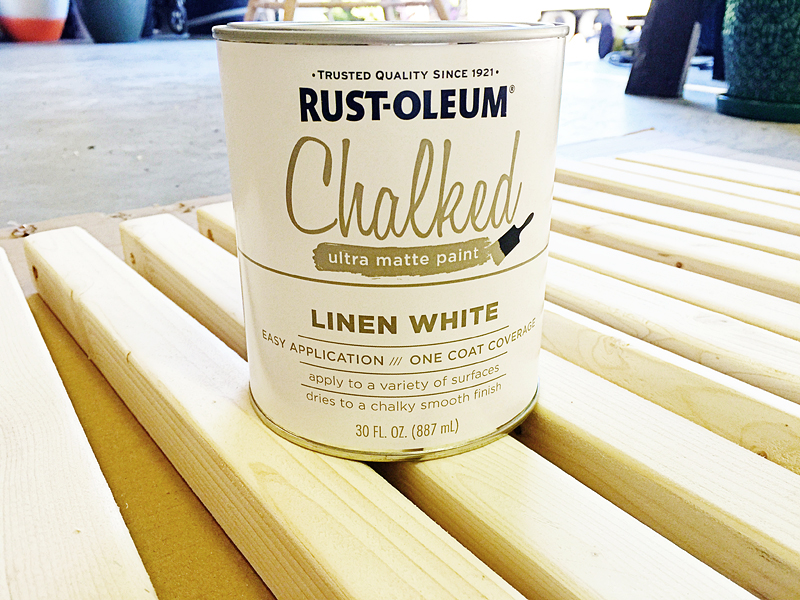
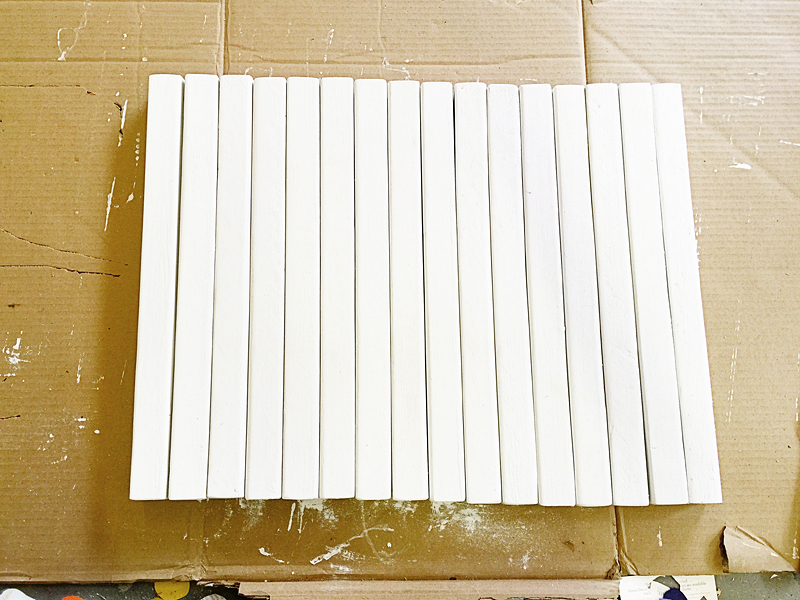
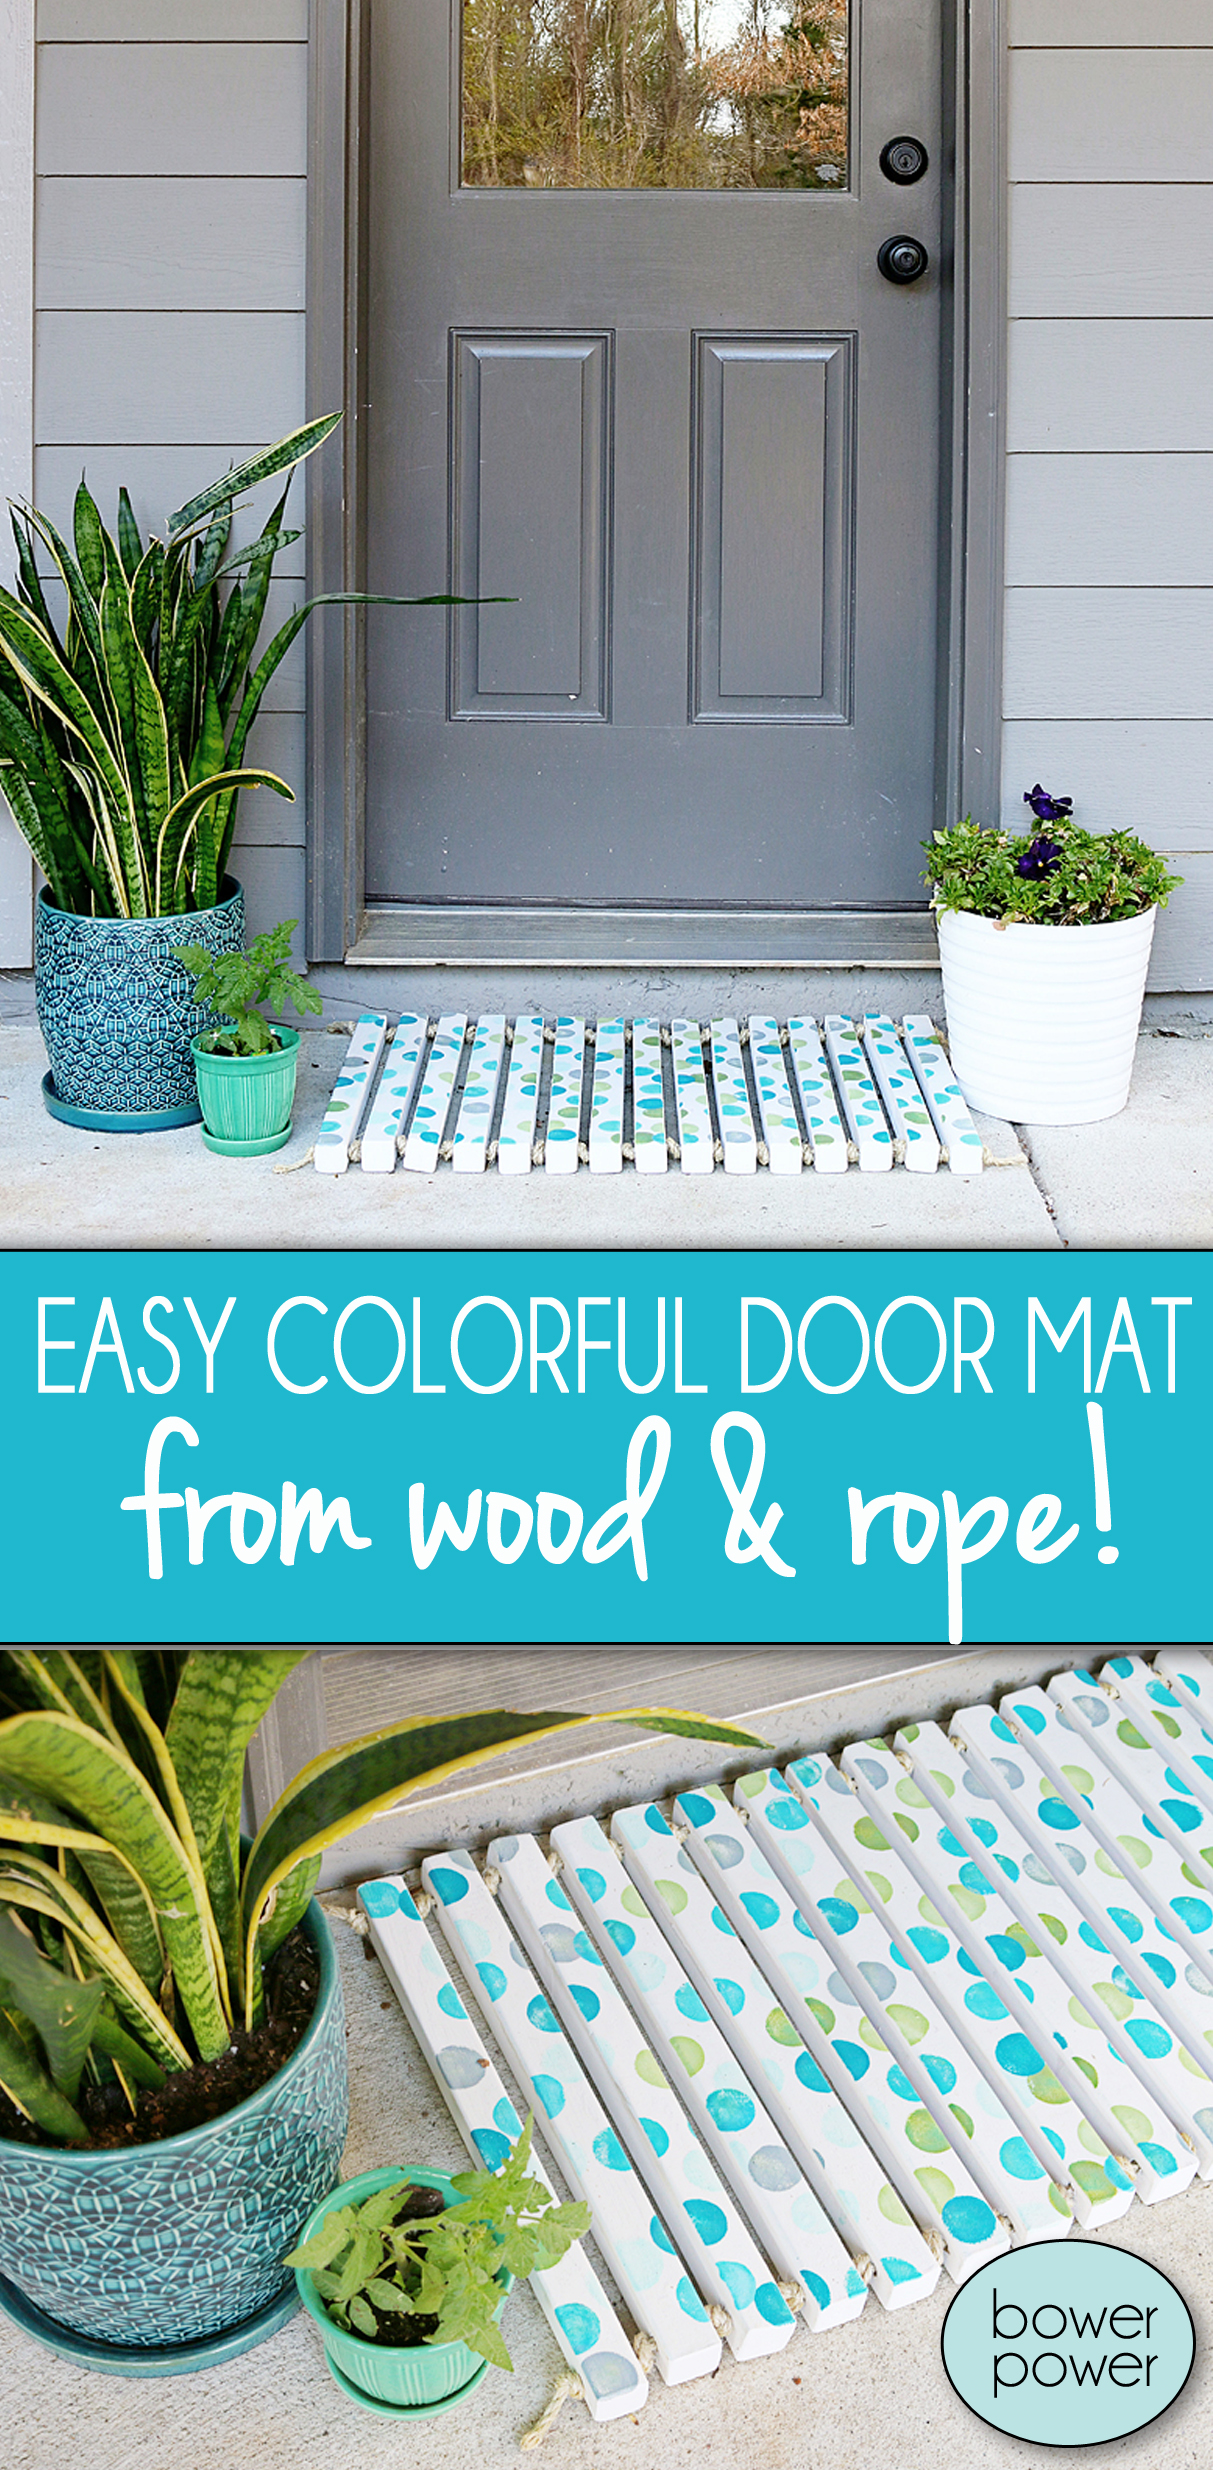
Now….if we are going to be completely honest….I thought that we had to make that EXACT doormat. EXACTLY. And the creative part was the finish. So I figured, go party or go home. That’s how I roll. So I cut all my pieces and painted them white.
Yes, a white doormat will show dirt. I gather that. Jeremy reminded me of the fact several times.

But the plan is to not keep it white and then seal it so well that dirt will literally not even want to go near this thing. Dirt will actually cease to exist near this doormat. It’s magical.
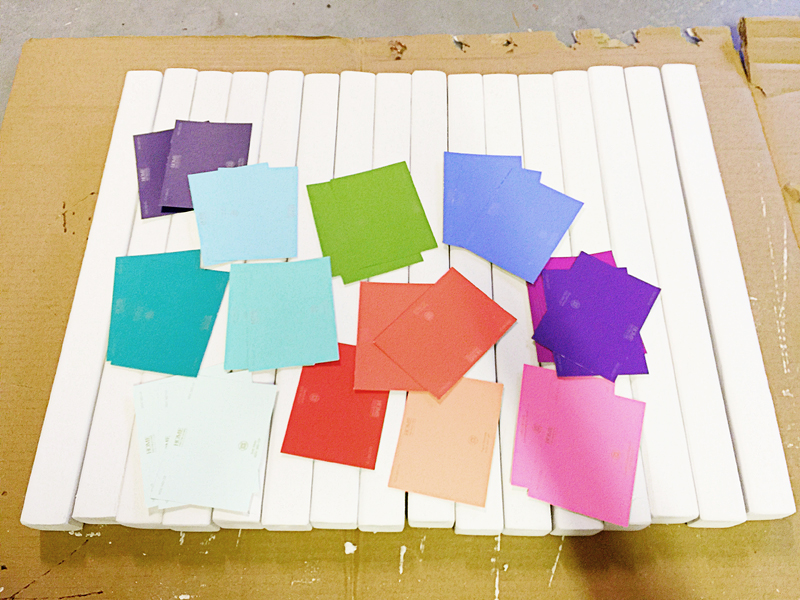
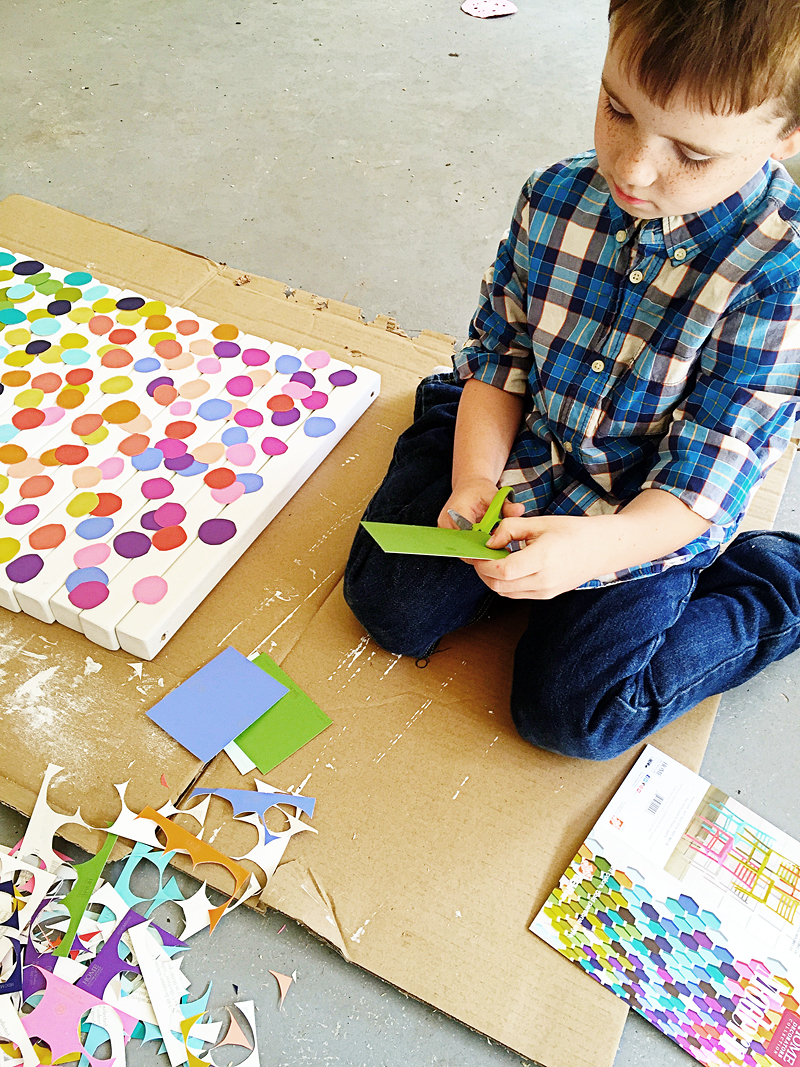
After the paint was dry, I picked out some of my paint swatches from Home Decorators collection paint section. Their pamphlet showed a colorful hex wall and I decided that would be my inspiration and I would sacrifice my swatches in the doormat’s honor.
My little helper and I cut those circles till we felt like we died and went to circle heaven…(see that pamphlet?!)
Then I tried to glue them on. So the first time, I just wiped some glue on the backs of each one and put them on….but they didn’t stick. Then I tried dumping a whole slew of Mod Podge on the boards and pressing them into place….that’s when the edges started curling. Either way, this wasn’t going to work.
I then went through the seven stages of remorse….
PLAN B.
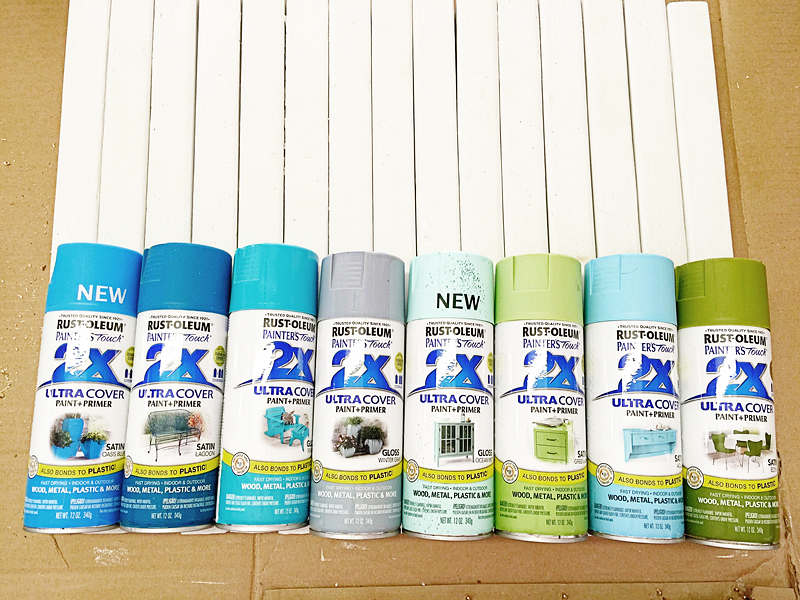
Paint them suckers. I got out my stash of half used spray paints and decided to pull a Titanic and never let go.
After all – the prize is a glute lift curtesy of Home Depot (that’s not true but sometimes I just make things up to make doormat posts sound more interesting!)
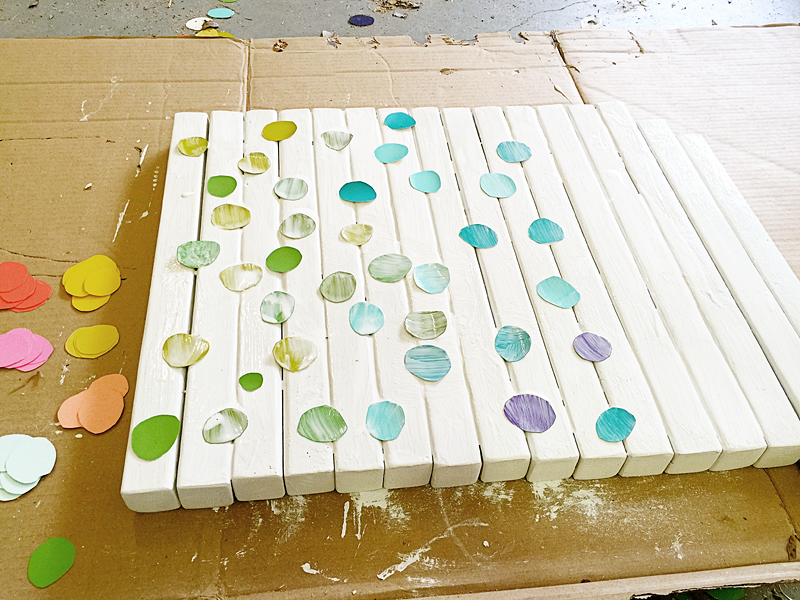
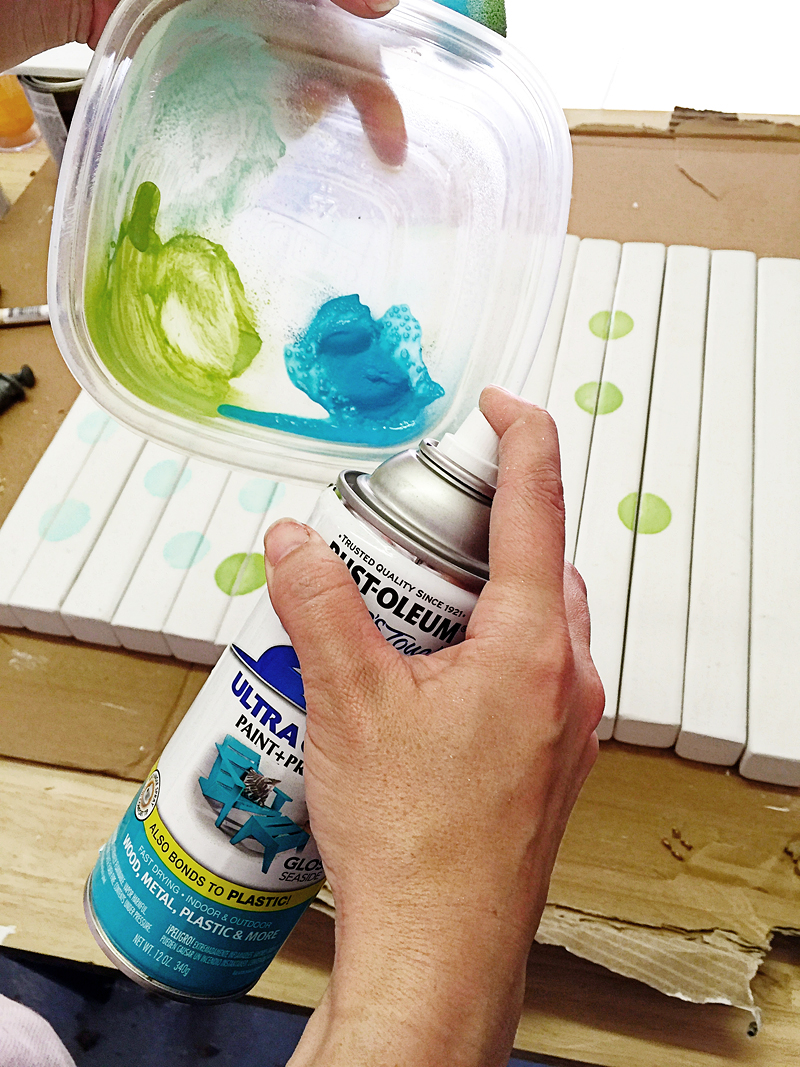
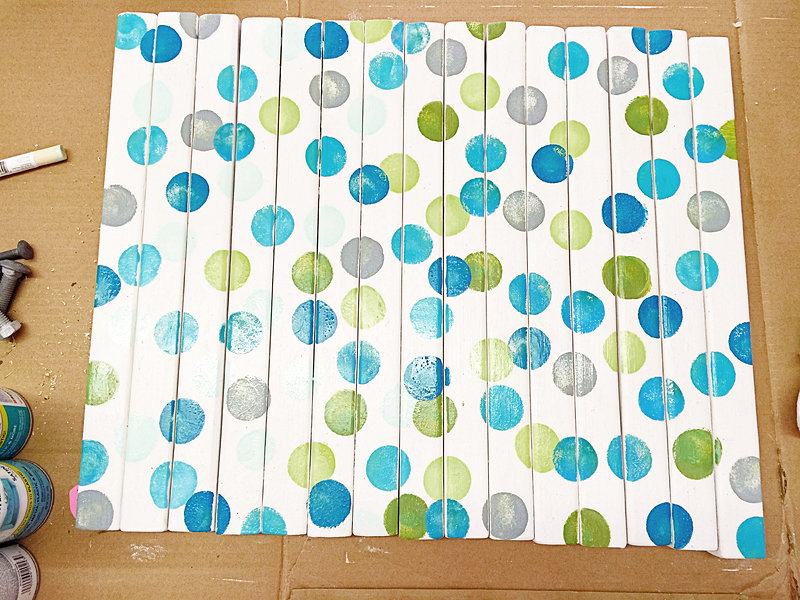
I sprayed a little paint in the corner of a bowl and then used that as the circles…
It helps to space them out so that they look like confetti…
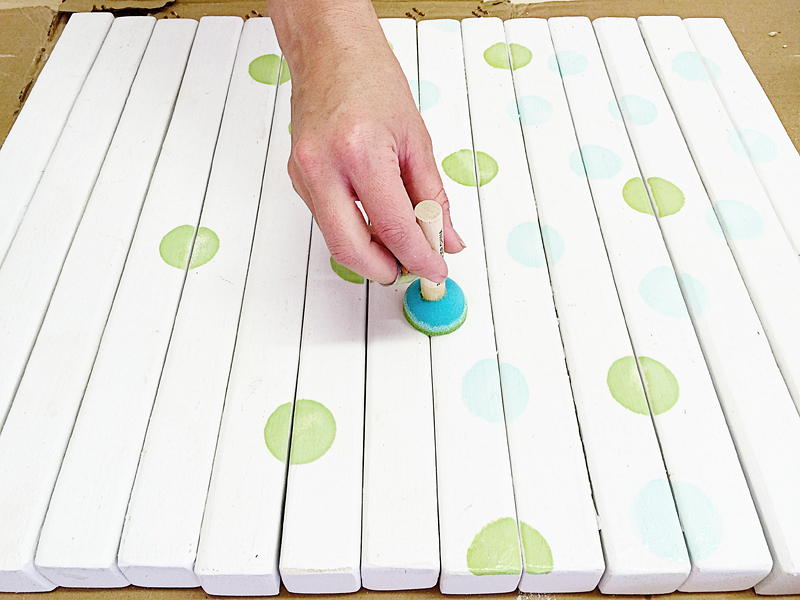
Then I let that dry.
So after it was dried and sealed, I put the rope through and called it a party.
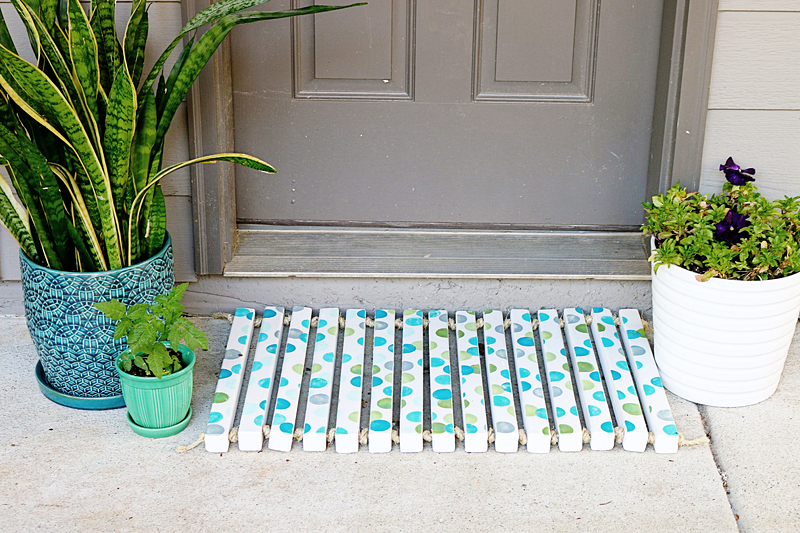
It’s fun right!?
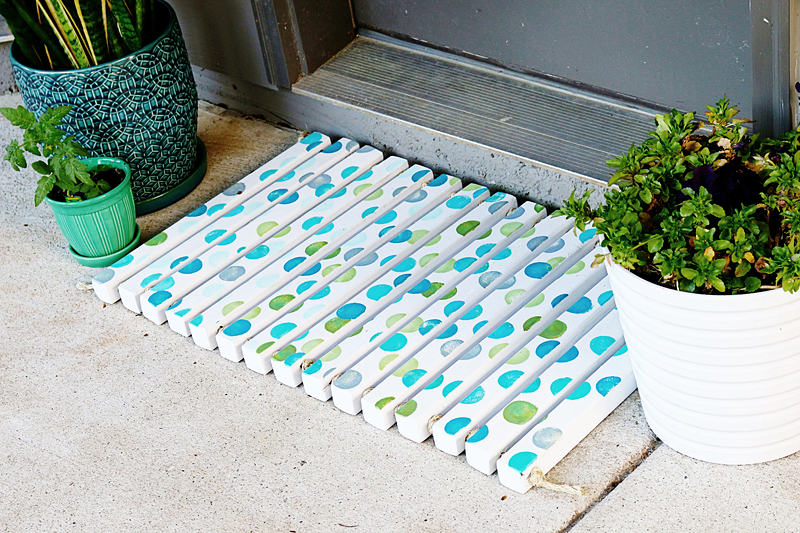
I love the youthful and colorful vibe it gives off….perfect for special occasions like little boy’s birthday parties! Oh look – I have several of those 🙂
So that is where this story goes a little crazy.
First – you should know that legitimately I love that girl Jen and I only half-joke when I say I want to have a wig made from her hair. Secondly – I texted her half way through the week and asked her if her doormat was done and she was like Yup and I was like um can I see it pleeeeeeaaassse? And then she sent me a picture (you’ll have to go here to see it) and I was like this…
And then I got like this…
Girl just threw down.
Literally. There was a giant DIY golden hammer and Woodhouse just mic-dropped it.
So I knew that I would have to up my game. Hence a late night run to Home Depot for more wood and a plan to make a new much-more fancy rug. Thankfully I have an equally competitive boyfriend that supports me when I am trying to win a Home Depot snuggie. (no prizes will be awarded)
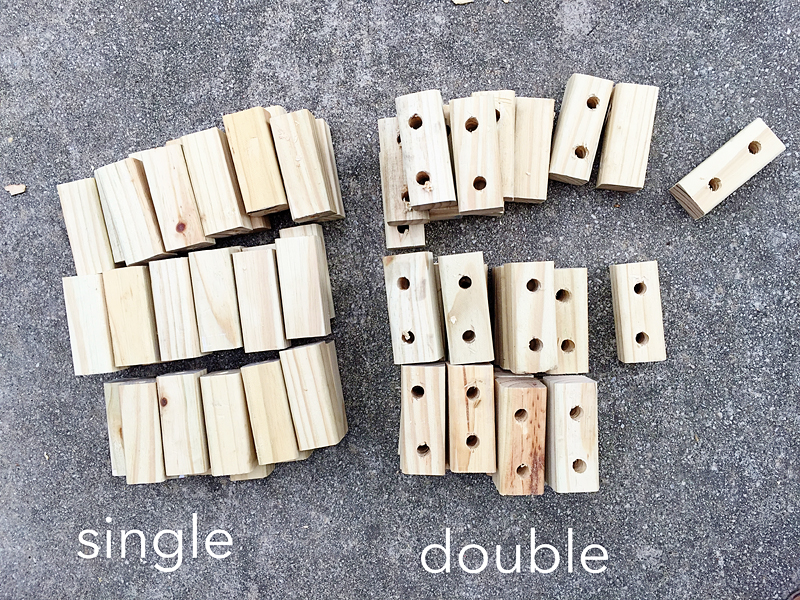
We cut 157 pieces of wood to 3 inches long. Then we needed to drill holes….a whole truckload of holes….ya know if that was possible.
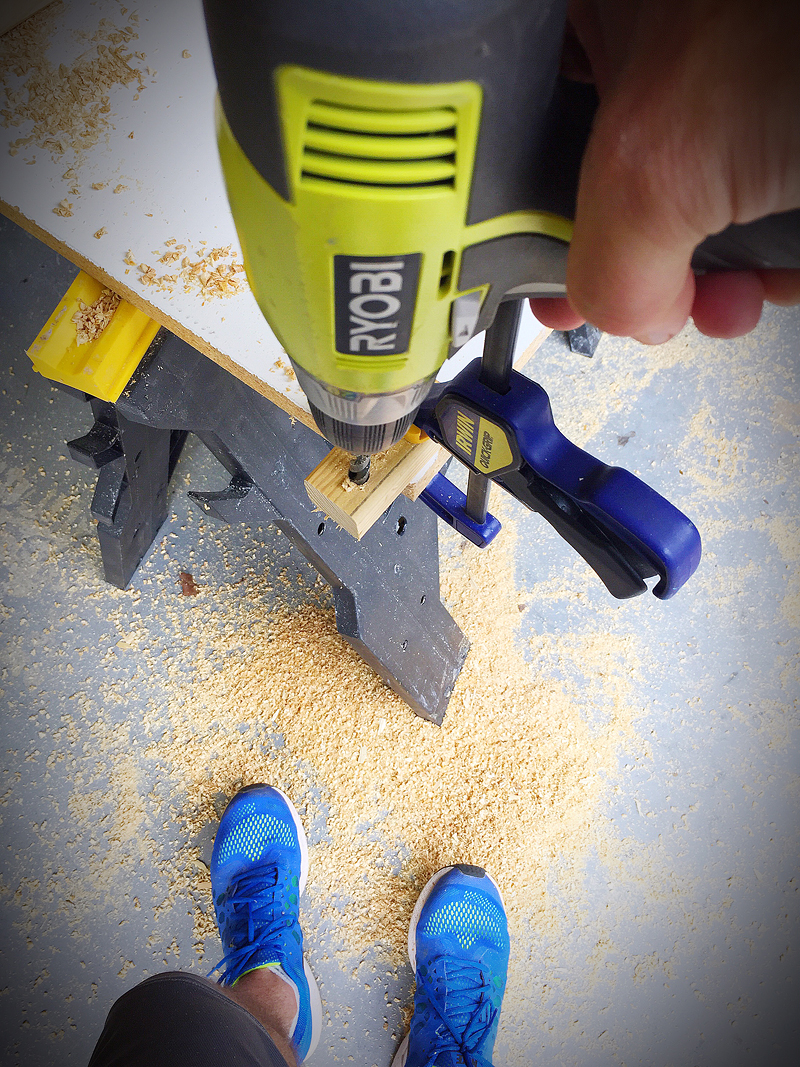
77 of the pieces were single hole pieces. That means we had to drill a hole down the length of the wood.
80 of the pieces were double hole pieces. That means we had to drill two holes in the side of the wood.
Jeremy figured out this fun method to maximize his drilling speed without a drill press 🙂
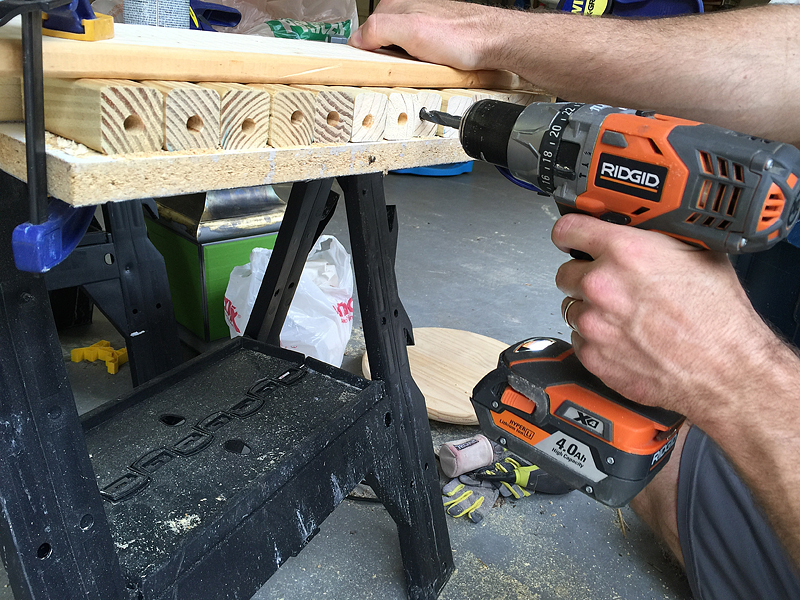
The double holes took much longer without a jig. Finally all 237 holes were drilled and Jeremy got to go ice his hand 🙂
So what the heck are we doing?!
Why so many wood pieces?!
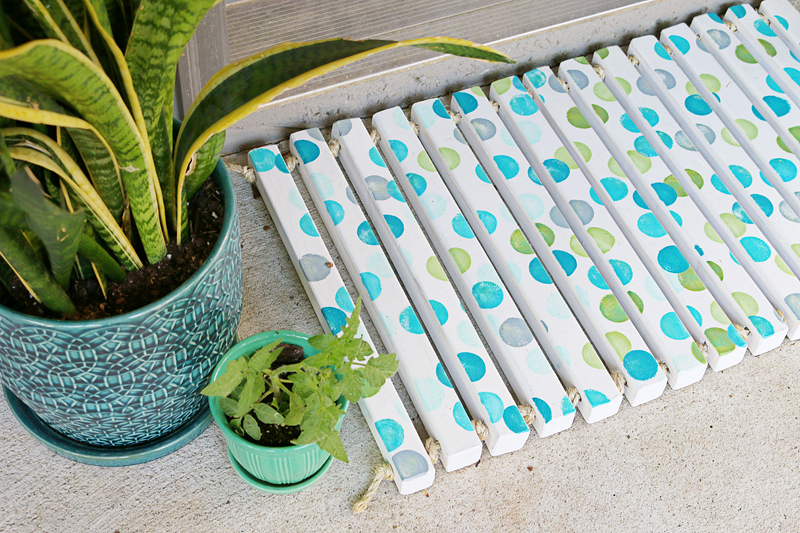
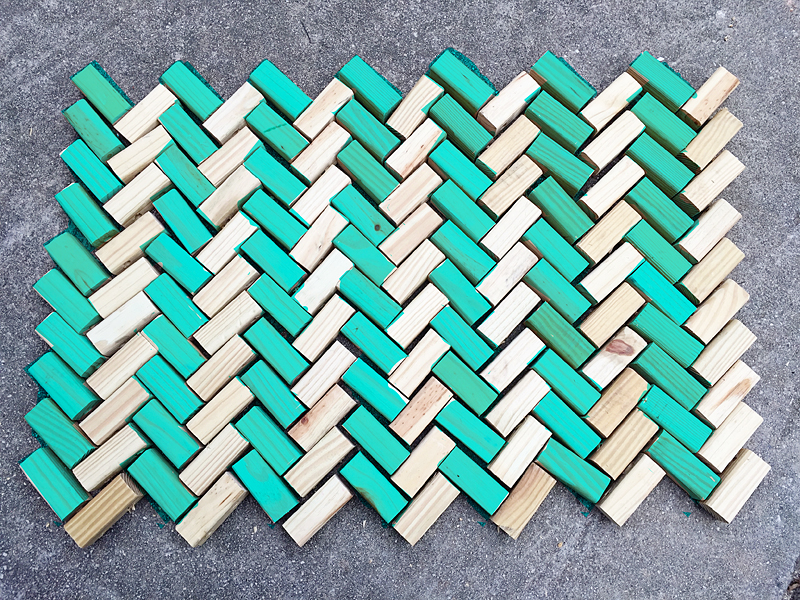
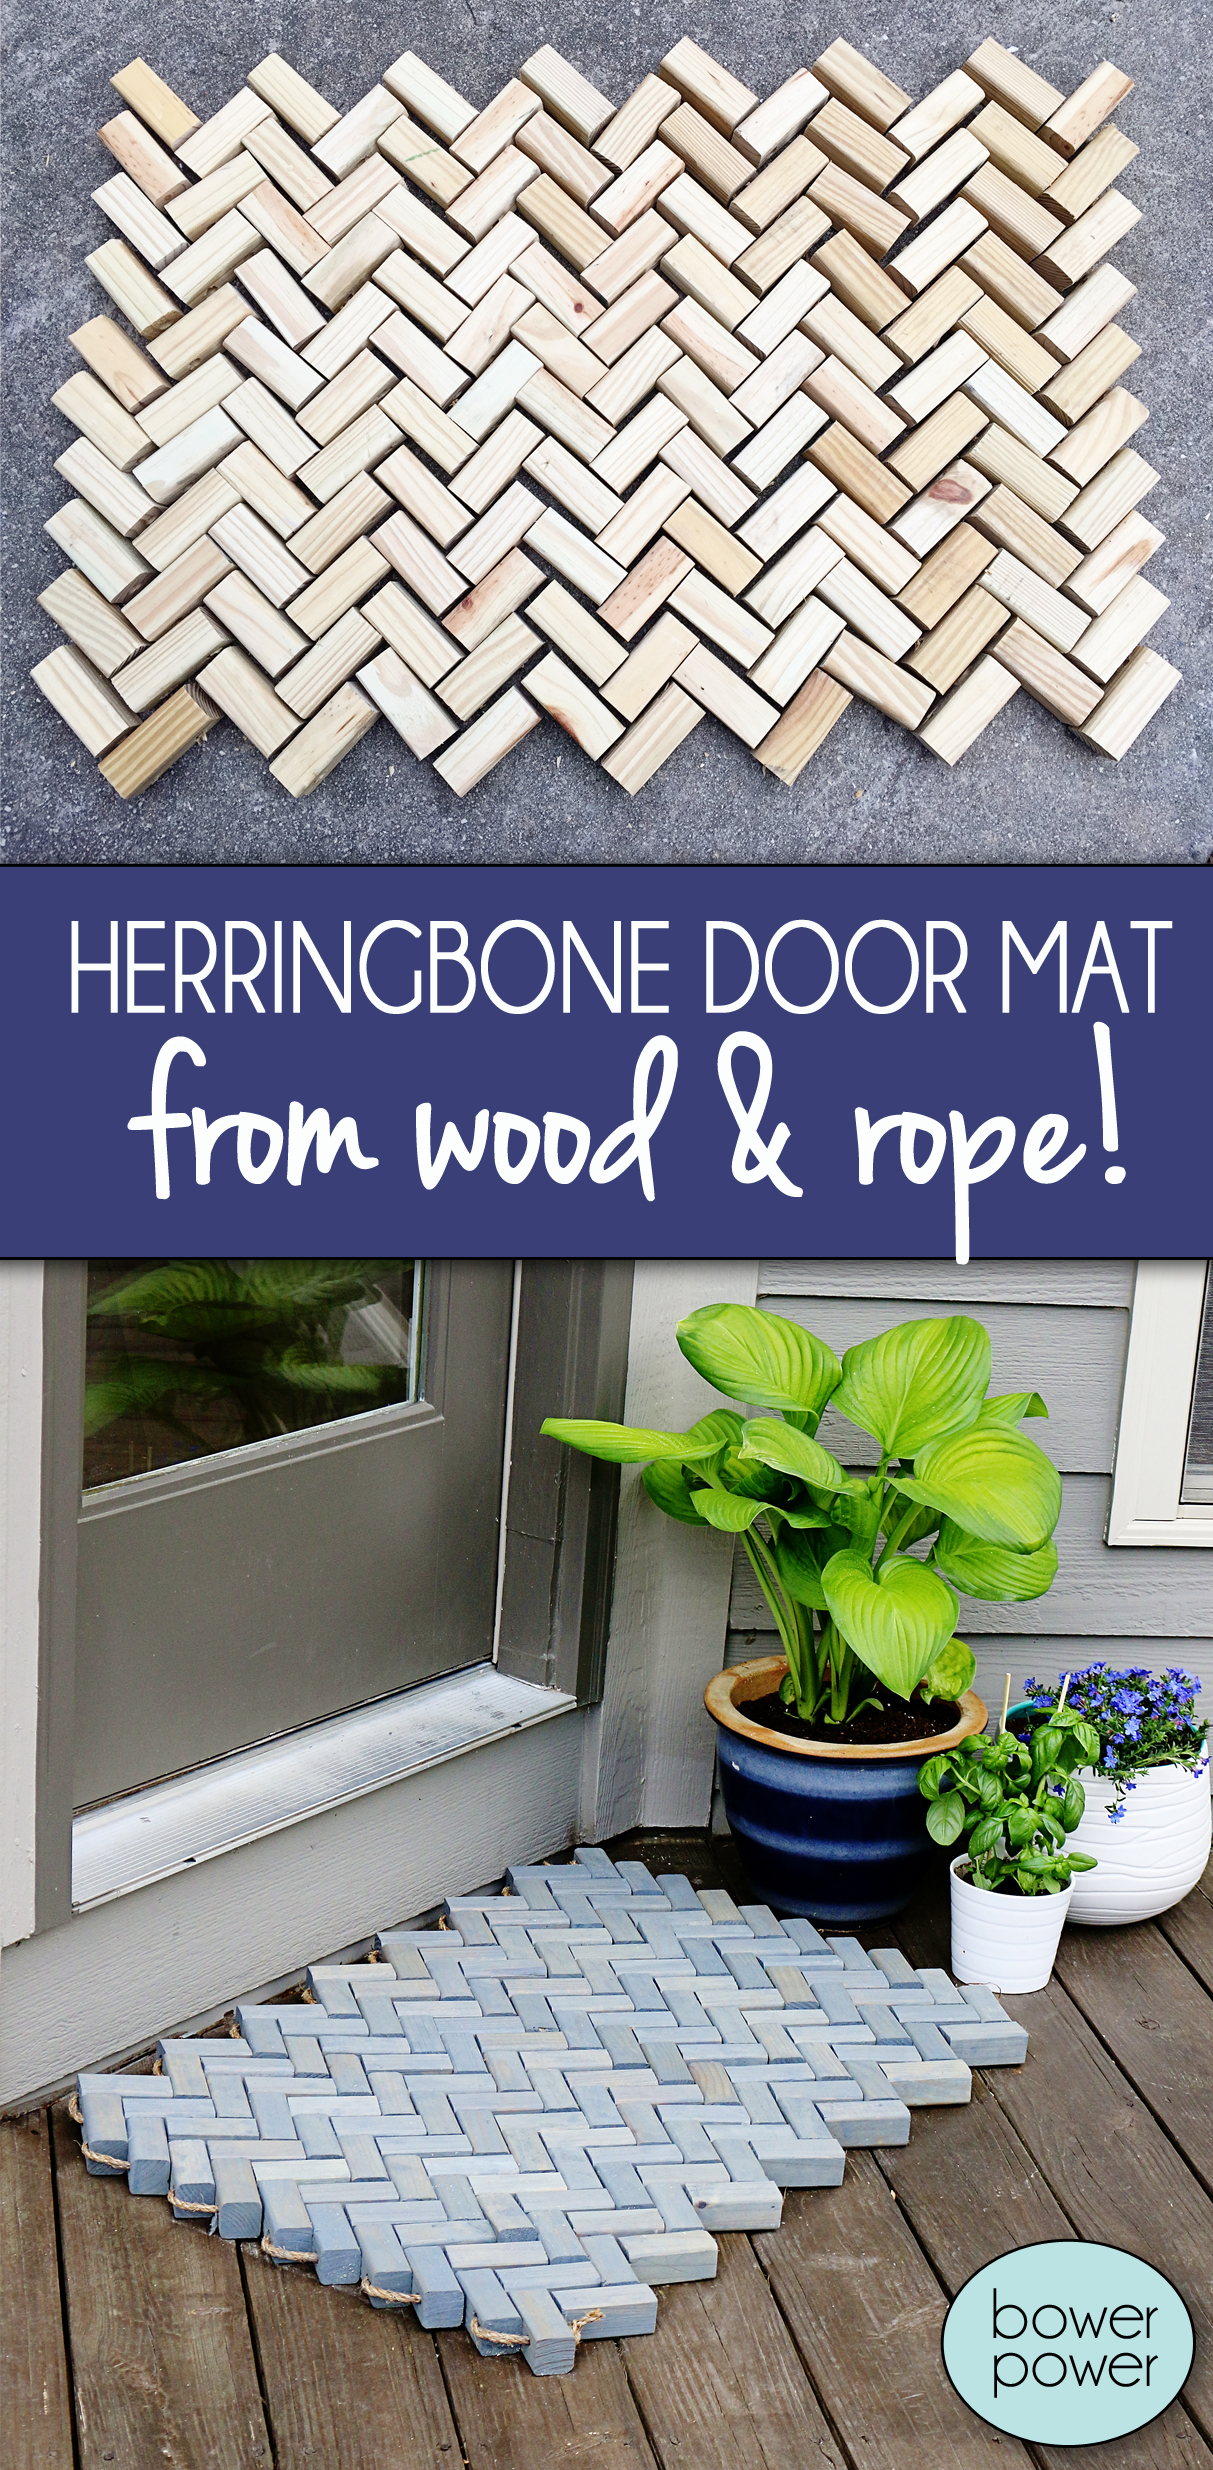
Well….we are doing a herringbone mat people….a very awesome herringbone mat that looks like this….
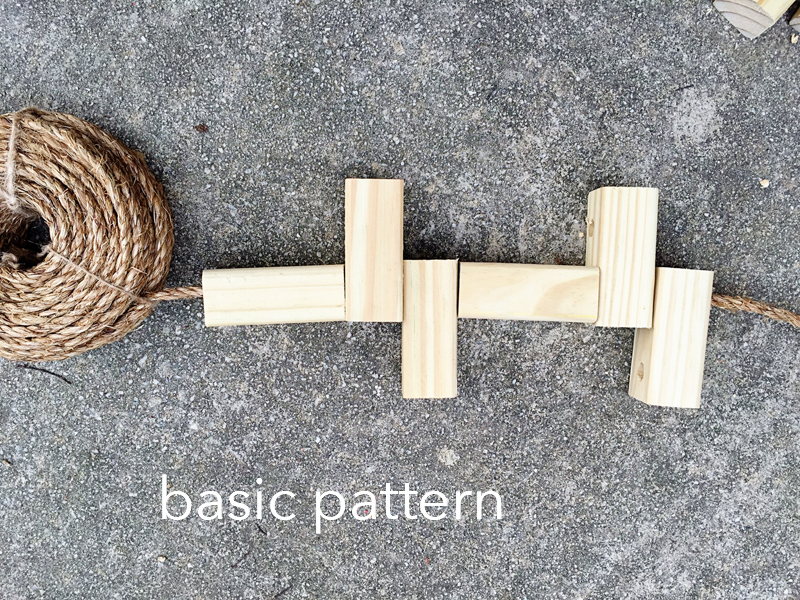
What you don’t see herringbone?!
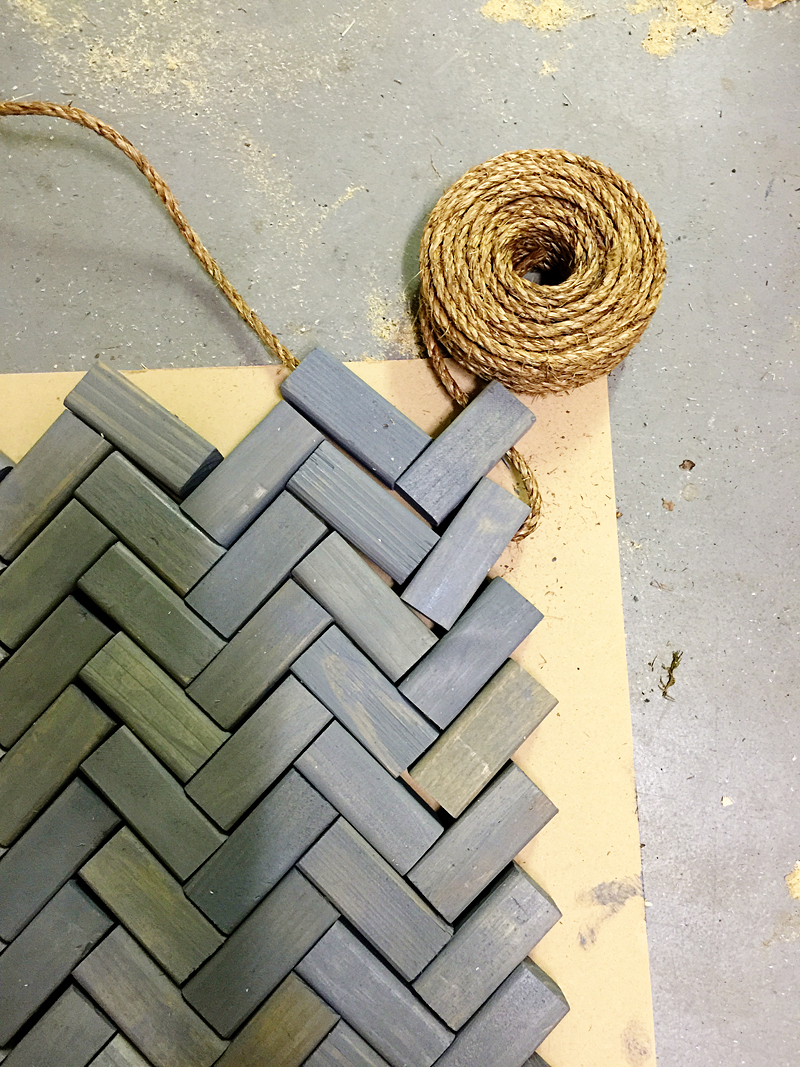
If you string that pattern over and over….it will look like this…it’s all about how you lay out those single pieces and double pieces. The single pieces are the ones in green….the other pieces are double holes. The rope attaches them all running diagonally.
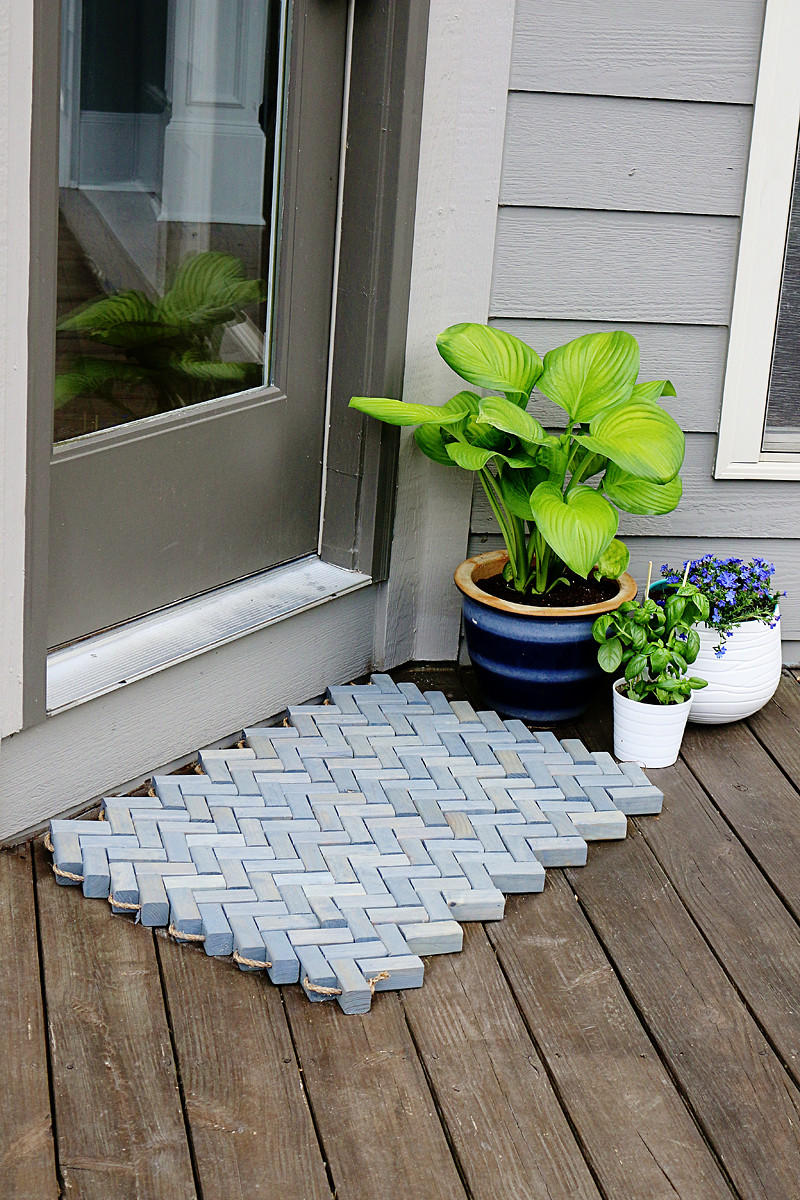
We stained them up with Rust-Oleum’s Weathered Gray to match our deck planters….
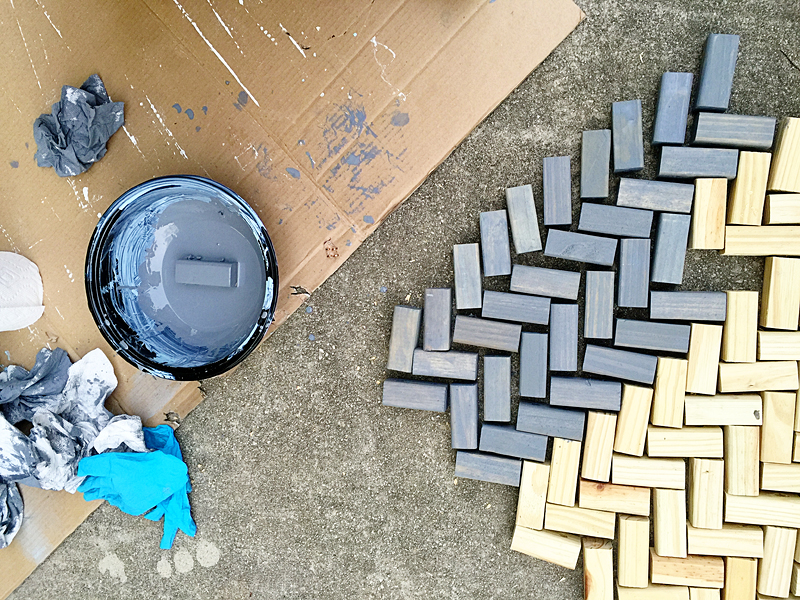
And then crossed our fingers that my theory of strings and straight lines and wood mats would come together in perfect unison…
Please note that not all the pieces are shown in these photos for the final result.
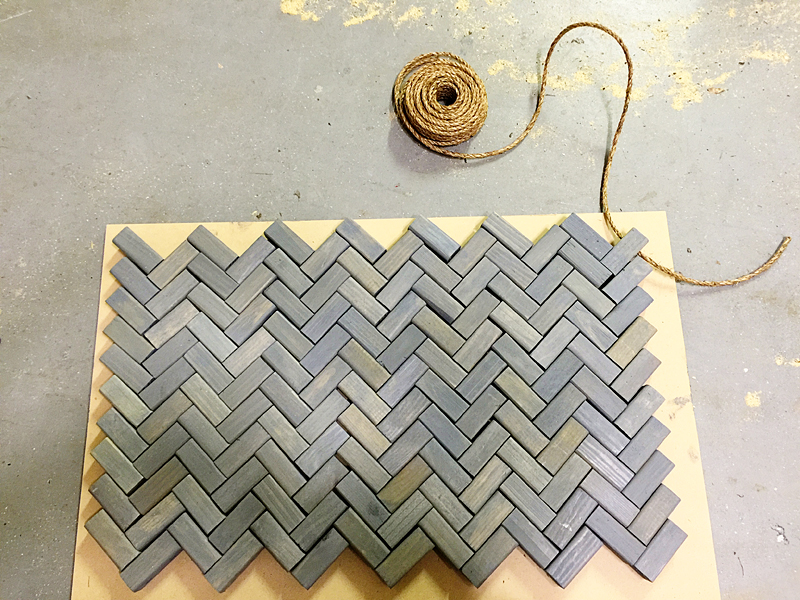
We just thread the rope through starting at the top corner and then go at a diagonal repeating that pattern we saw above!
See how it is coming together? Pretty awesome huh?! Yeah. Angels were singing in my garage that night.
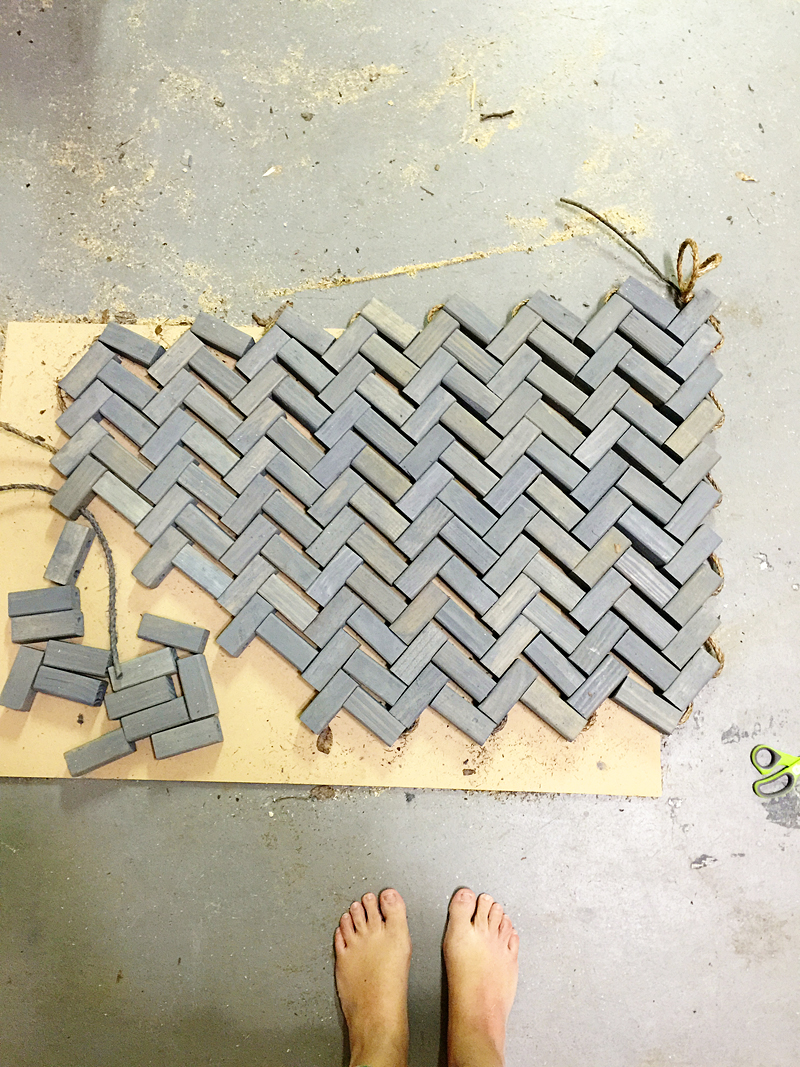
When it was all said and done, we pulled it super tight and put it outside on our deck to see how it looked….
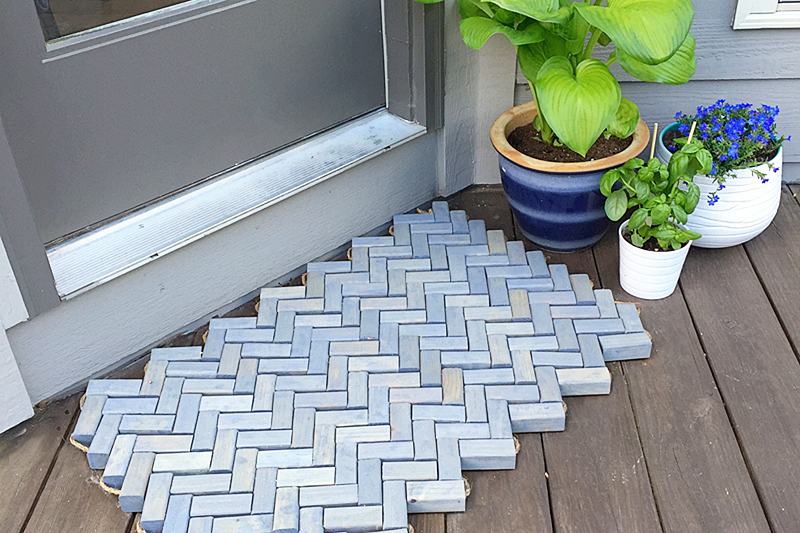
I AM OBSESSED. It is really one of those duh-why-didn’t-i-do-this-before-or-see-this-somewhere-else-on-pinterest moments!
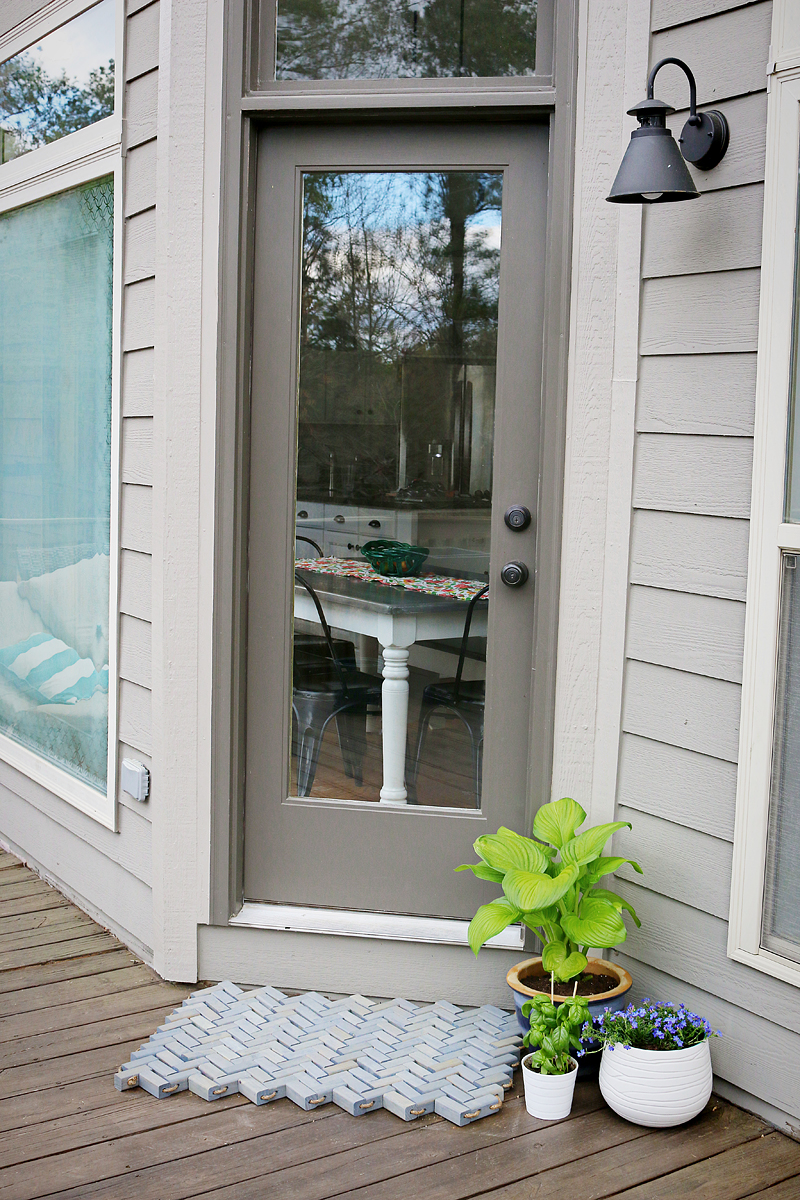
And the best part about it is that it is really gives off a polished look…like it deserves to be a doormat….like that tree was BORN to be a doormat for me. This is gonna be sold in stores next year. You can bet your bottom dollar on it 🙂
So now here comes the challenge – you get to make your own doormat! You can register to participate in one of the Home Depot DIY workshops yourself! They actually have three different types…..one for Kids, one for us ladies (Do-It-Herself) and one general DIY one (Do-It-Yourself) – and Home Depot stores host these workshops at each of their locations to teach folks how to build decor projects, how to tackle easy home repairs, and how to operate tools safely. They have demonstrations and hands-on time and you can learn how to hone those DIY skills no matter your age or experience level.
Click the button below to register for the DIY Workshop at your local Home Depot store to learn how to make a DIY Wooden Doormat.

- The Home Depot #DIYWorkshop
Saturday, March 26, 2016
10:00 a.m. – 11:30 a.m
Want to learn more? Visit http://workshops.homedepot.com and be sure to mark your calendar to attend the DIY Workshop this month!
CLICK HERE TO REGISTER.
NOW – go see all the other blogger’s doormats and come back and tell me which ones are your favorite! There is a serious amount of viral material here….
- House of Wood – TRIBAL
- Shades of Blue Interiors – SUNBURST
- Place of my Taste – REVERSIBLE
- Making Home Base – HOME
- Build Basic – ARROW
- Sawdust 2 Stitches – CLASSIC
- My Love 2 Create – CHAINLINK
- Her Toolbelt – HELLO
- Addicted 2 DIY – CACTUS
- That’s My Letter – DIAGONAL
- Ciburbanity – ETCHED
- Brooklyn Limestone – WORDY
- Wills Casa – STRIPED
- The Bold Abode – METALLIC
- Fix This Build That – MODERN
- Glued N Screwed – T NOTCH
- Build It,Craft It, Love It – MONOGRAM
- DIY Huntress – TRIANGLES
- Sawdust To Sequins – CHEVRON
- Remodelando La Casa – LEAVES
- The Batchelor Way – STENCIL
- The Kim Six Fix – DOWEL
- Heathered Nest – FOOTPRINTS
- Creatively Living – SPRING
(All of the folks have officially put up their posts now so happy browsing! I’d love to hear which ones are your favorites!)
DISCLAIMER – This is a sponsored post. The materials for these projects were provided by Home Depot. #DIYWorkshop
I acknowledge that The Home Depot is partnering with me to participate in this Workshops Program. As a part of the Program, I am receiving compensation in the form of products and services, for the purpose of promoting TheHome Depot. All expressed opinions and experiences are my own words. This post complies with the Word Of Mouth Marketing Association (WOMMA) Ethics Code and applicable Federal Trade Commission guidelines.