Wood walls are a total normal thing now. I see pallet walls CONSTANTLY. And ship lap is now something people want in their homes….thanks to JoJo & Fixer Upper…..which by the way….you must read The Lettered Cottage’s educational post about what is ship lap and what is planked walls. THERE IS A DIFFERENCE PEOPLE 🙂
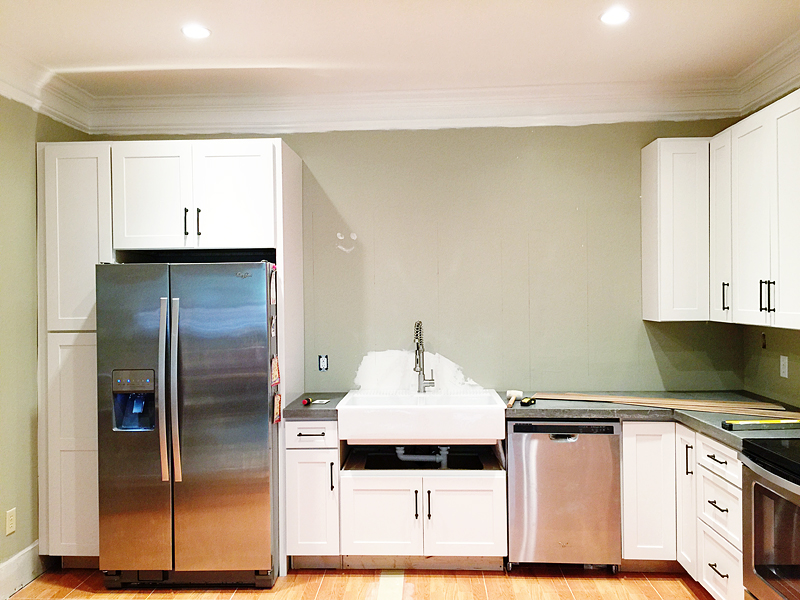
As someone that started that wood wall trend (BAHAHAHA – my evil sarcastic laugh with eye roll), I am no stranger to the fact that wood looks good vertically! So why not in the basement kitchen?! It would go nicely with our industrial vibe and make me think outside the box when it came to the floor tile.
When I saw this wood laminate floor go on sale at Home Depot, I figured out the quick math and we could literally save HUNDREDS by doing this with the wood look vs. tile. Here’s how it all went down….err…up….
First we marked all our studs. We figured that we could tack the flooring directly to the studs and it would be secure without any additional glue. That way if we changed our minds down the road, it could be easily removed without huge amounts of damage to our drywall.
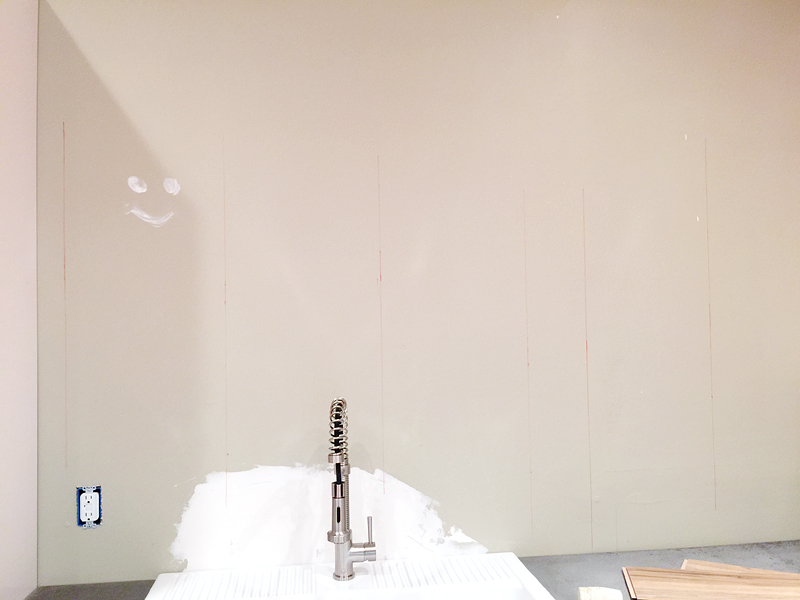
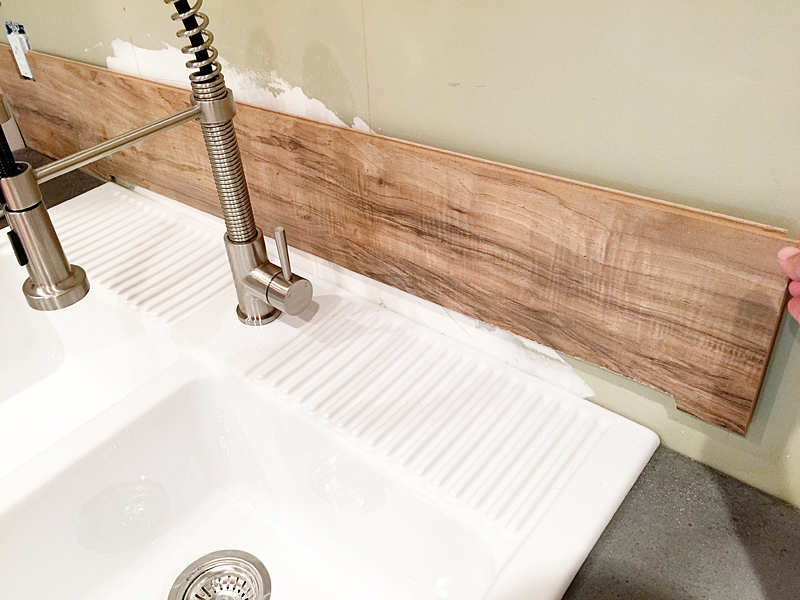
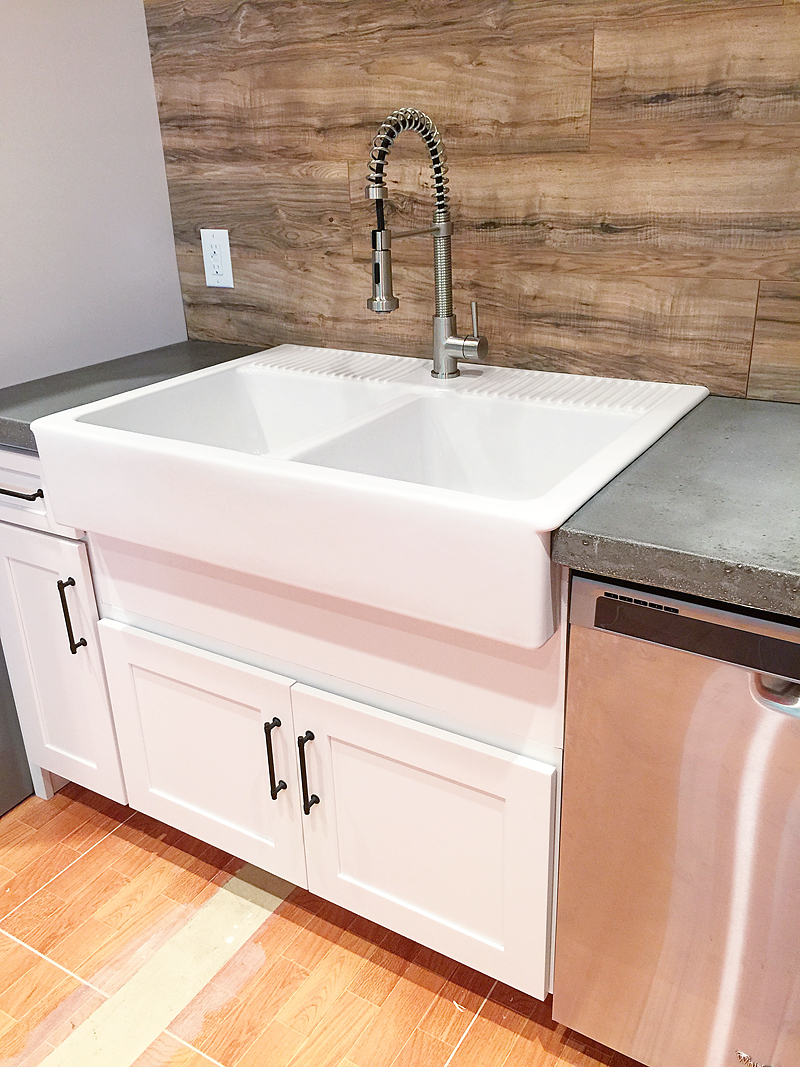
Then we chose where our first seam would be. I definitely did NOT want there to be a seam behind the kitchen sink (eewww yucky growing stuff!) so we started there.
Cutting the laminate was REALLY simple. We just marked it with a pencil and then used our miter saw for any straight cuts and our jigsaw and table saw for any weird curved or corner cuts (like around the sink corners).
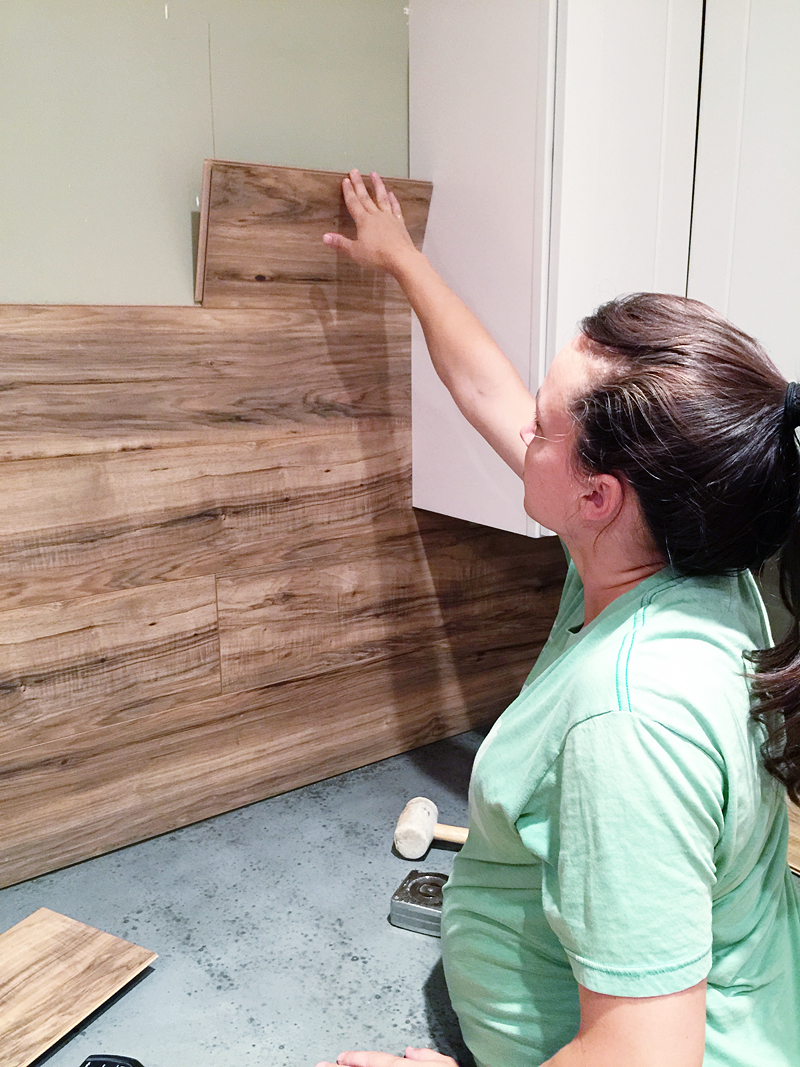
It is helpful to make sure the laminate is laid so that the tongue side is up. Trust me on that one.
So the process is super simple. You get your cut piece and you made sure to stagger your joints. Put it in place….
Knock it down with a rubber mallet so that the groove overlaps that tongue below it properly…
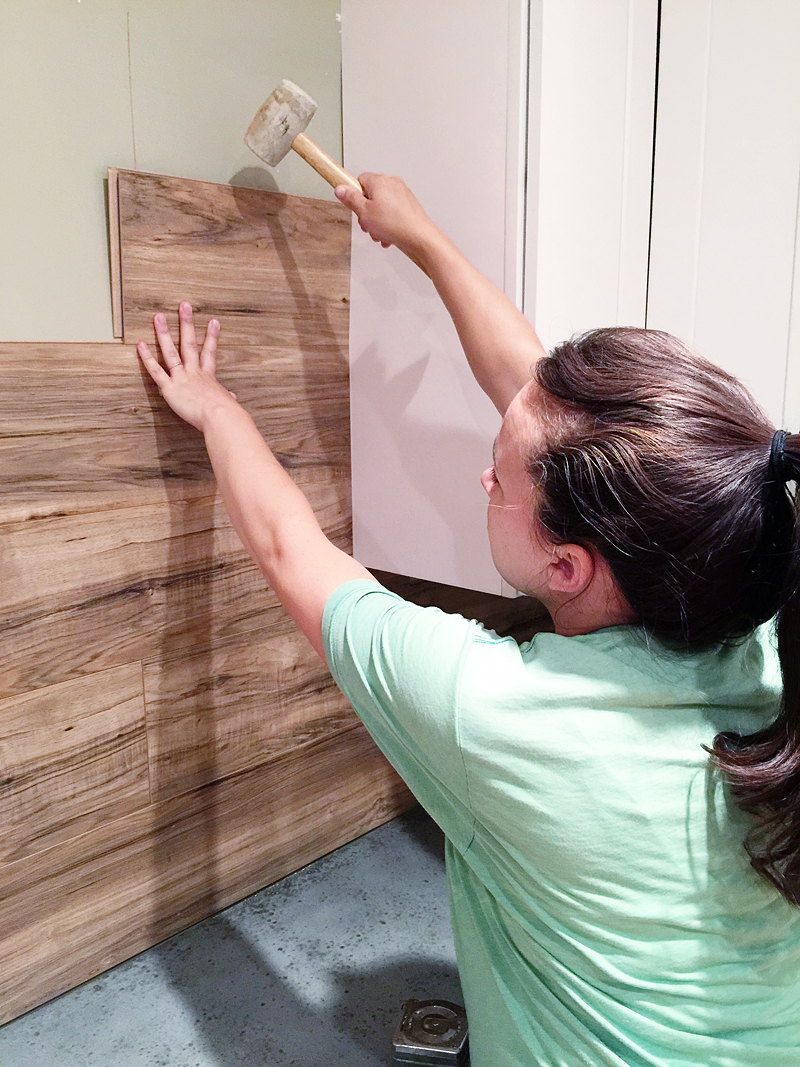
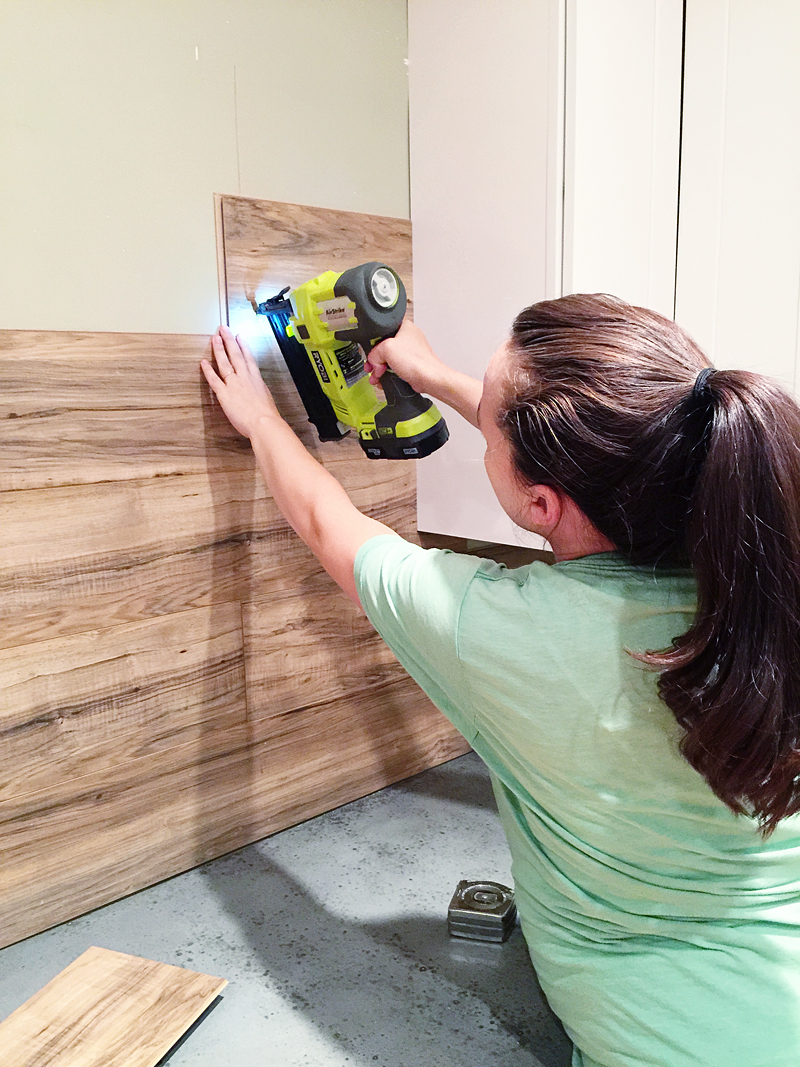
Then just use a brad nailer to tack it into the stud behind it. It will work if you tack it into drywall too but studs are always best. Note my lack of safety eyewear #dangerous #dontbelikeme #stayinschoolkids
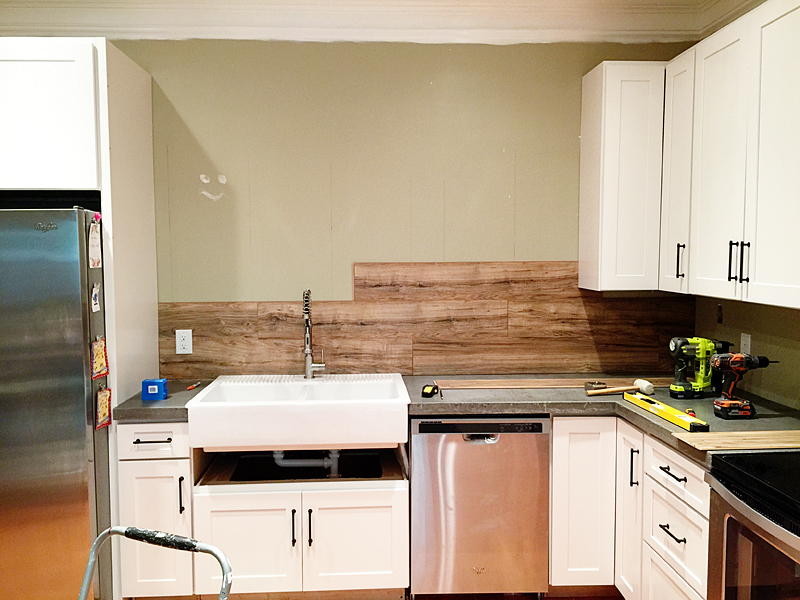
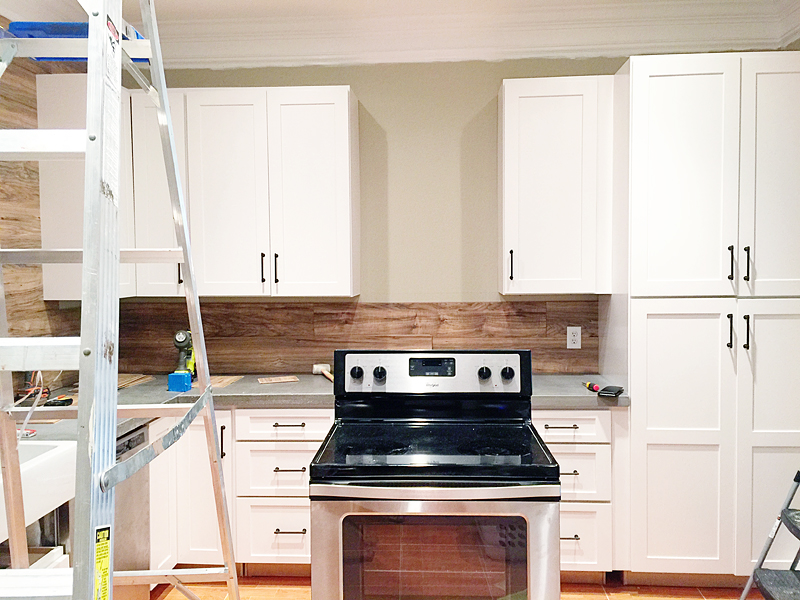
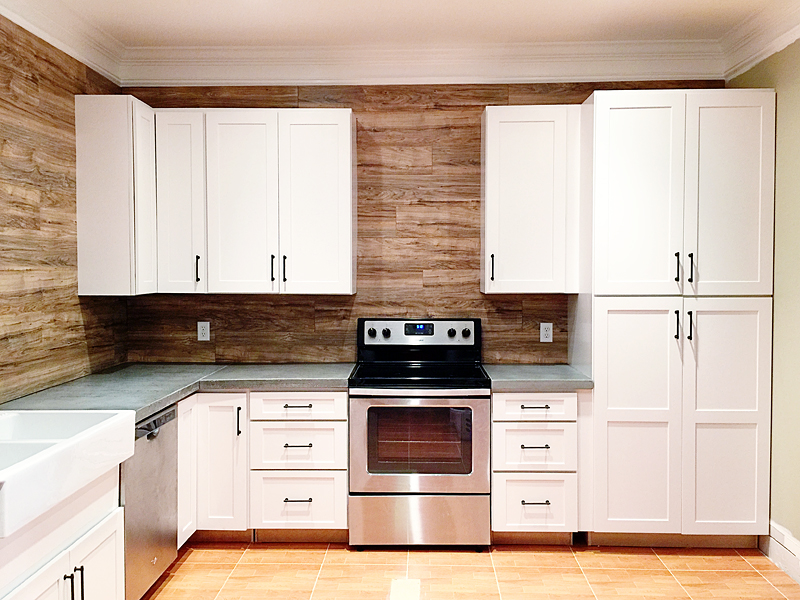
We did two entire walls – even up around the cabinetry so that it completely covered all the walls and it only cost us $60.
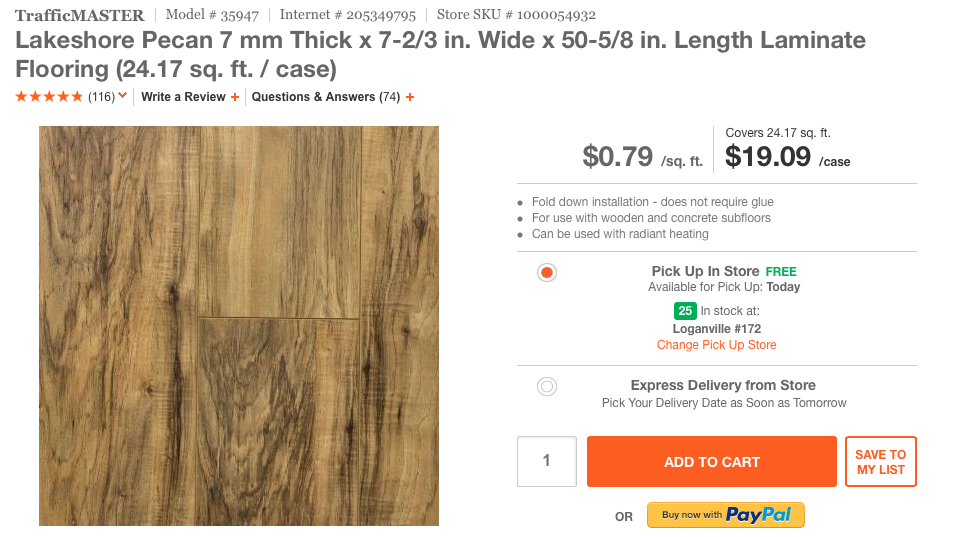
The laminate we used is this one at Home Depot….
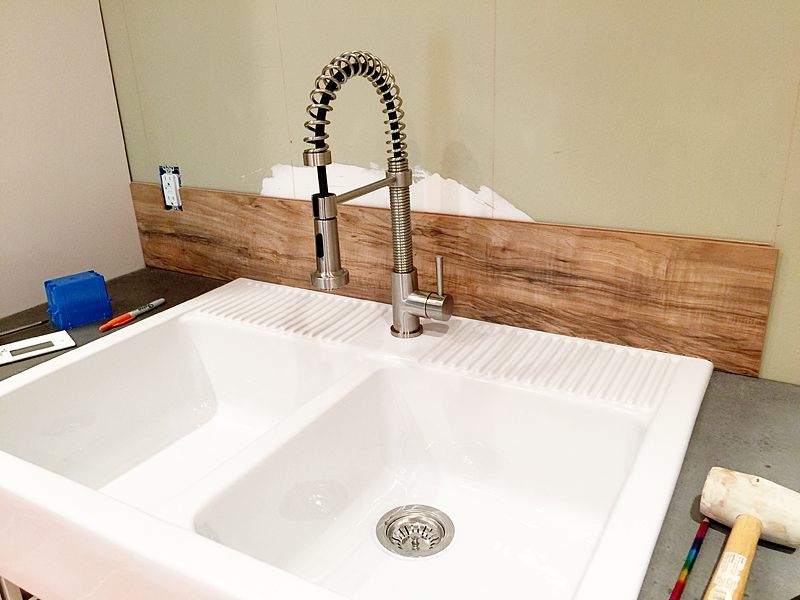
And yes, these photos were taken before we added that front panel to the sink….BUT SERIOUSLY WHO CAN SEE THAT WHEN TINY LITTLE LJ IS IN THERE!!! That kid kills me….
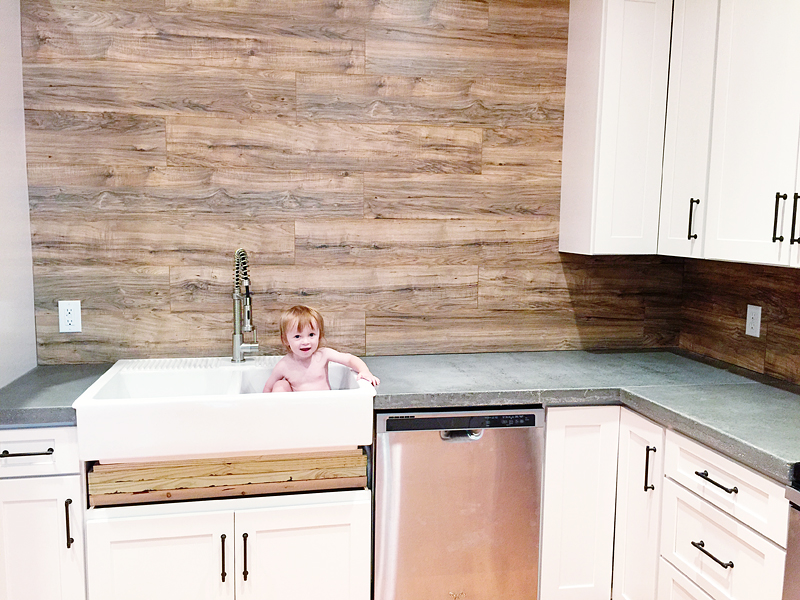
The backsplash is REALLY easy to clean up since it is wipeable which is MUST when it comes to all backsplashes. And the fact that this is affordable, removable, and looks amazing – it’s like the triple crown of backsplashes!
And the big wall is ready for open shelving….

And the little wall is ready for the hood!
All that and more in the next post! Happy DIYing!
p.s. If you would like to catch up on past basement kitchen posts – here are the links….
- Clearing out the Basement
- Planning the kitchen
- Assembling the Cabinetry
- Saving on appliances
- Building concrete countertop forms
- Screwing up the concrete (attempt 1)
- Successful concrete countertops
- Concrete countertops FAQ
- Retrofitting a cabinet for a farmhouse sink
*This post contains affiliate links.