Disclaimer – This is a sponsored post brought to you by Canon. All opinions are 100% my own.
OMG I LOVE THIS THING.
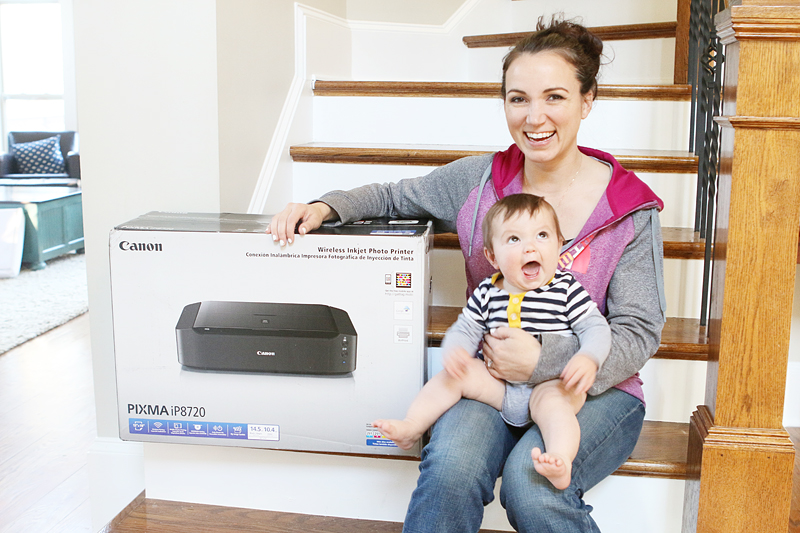
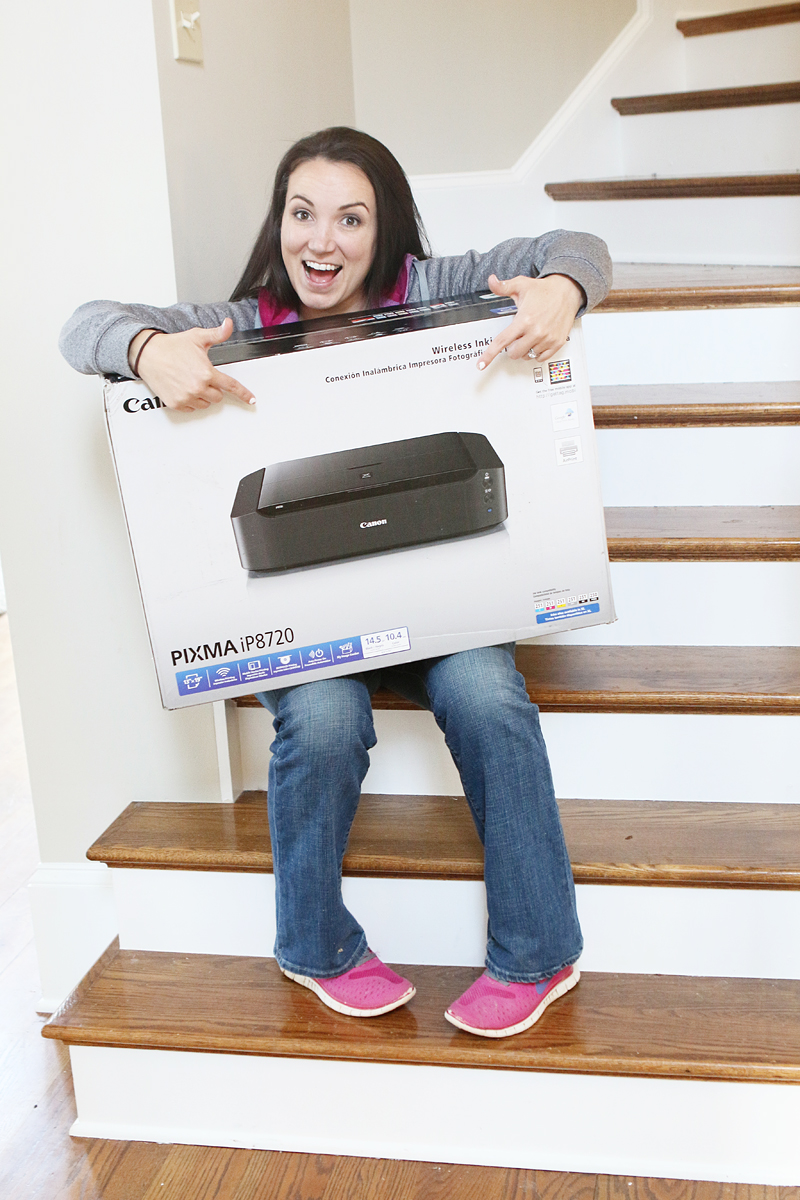
That is gonna be the words that are gonna come out of your mouth when you get the Canon PIXMA iP8720 crafting printer. I’m gonna call it like it is….you are gonna think of it as your first born child. Or in my case…my fifth born. I love this thing so dang much that it is now part of the family (printer adoption is real y’all) so obviously I had to get a whole slew of pictures with it.
In true Katie fashion, I asked Jeremy to take my photo until we get one where 1. I don’t look half asleep or too slouchy. 2. the baby isn’t crying. That’s not too much to ask, right?
I forgot to mention no photo bombers.
And as you can see Max is nearly as excited as I am about this thing…
We even did some synchronized stroking of the box…
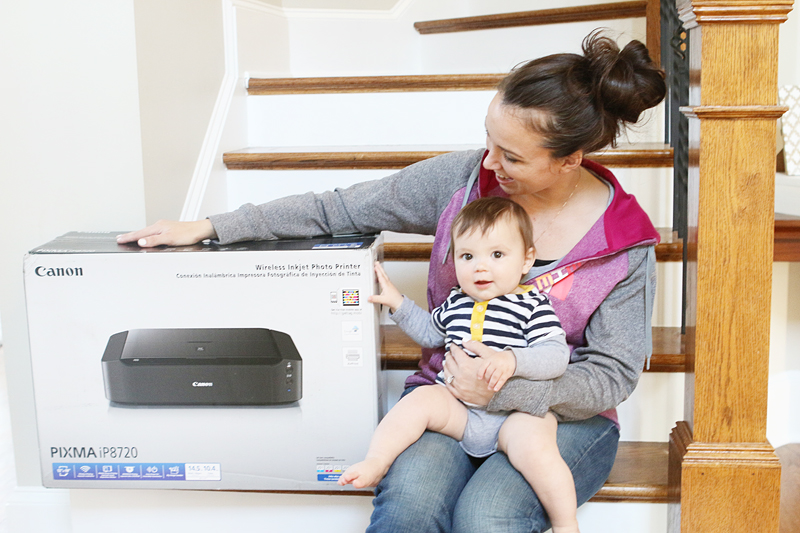
Of course, he got fancy and did some back hand stroking. #showoff
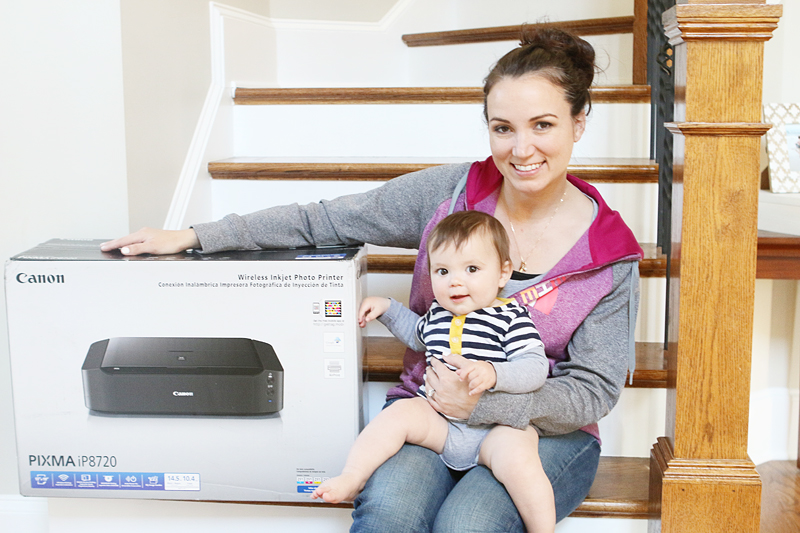
And that’s about as good as it got until things started falling apart…
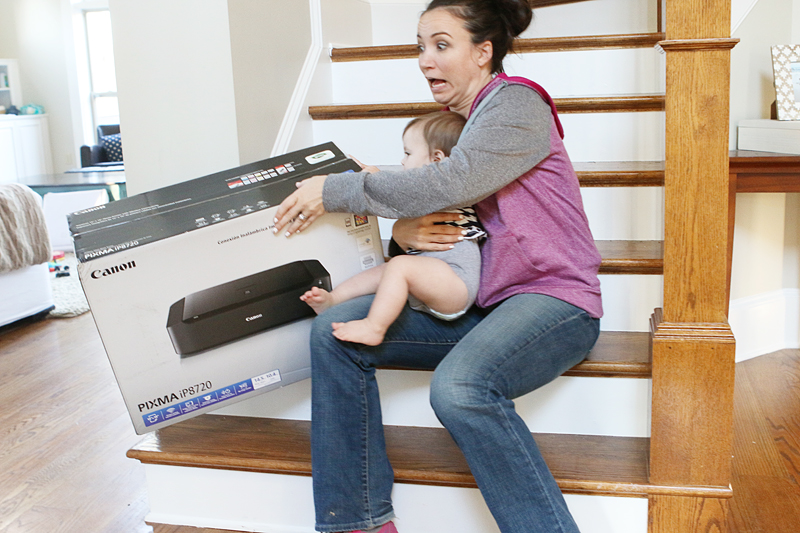
That really happened. Nearly gave me a heart attack. Back to stroking.

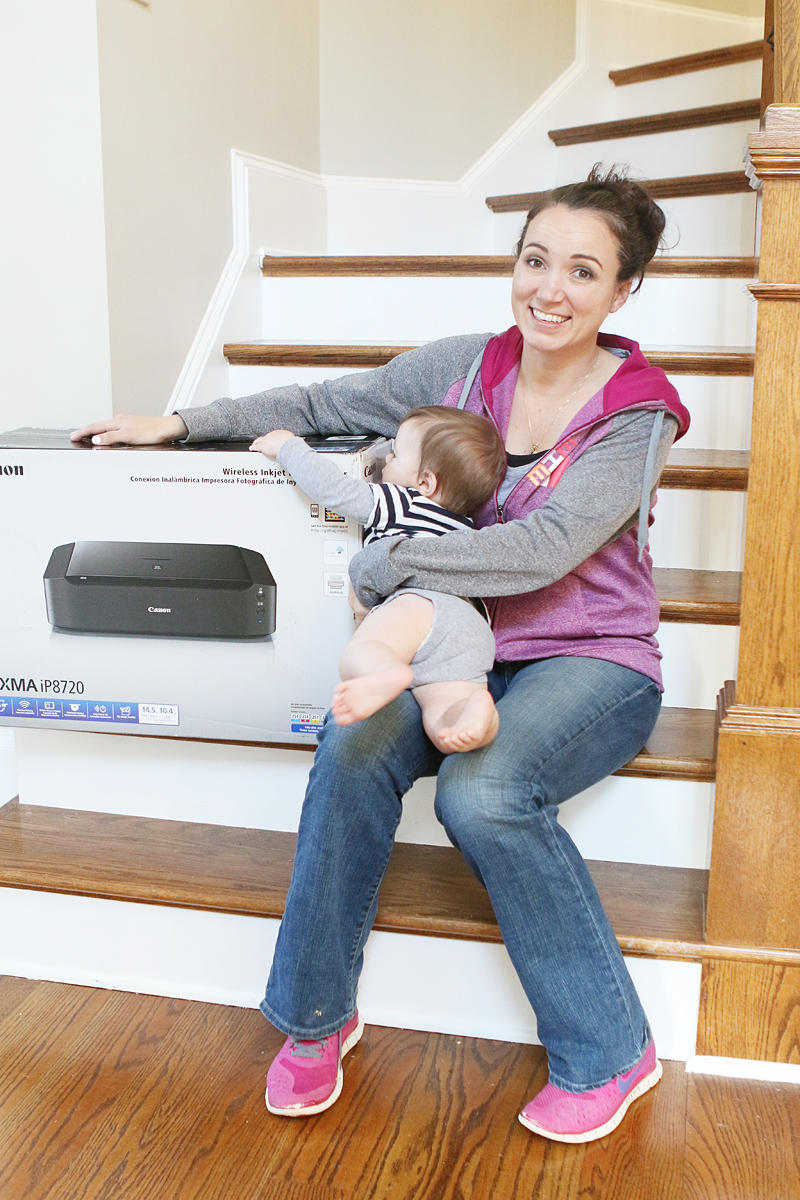
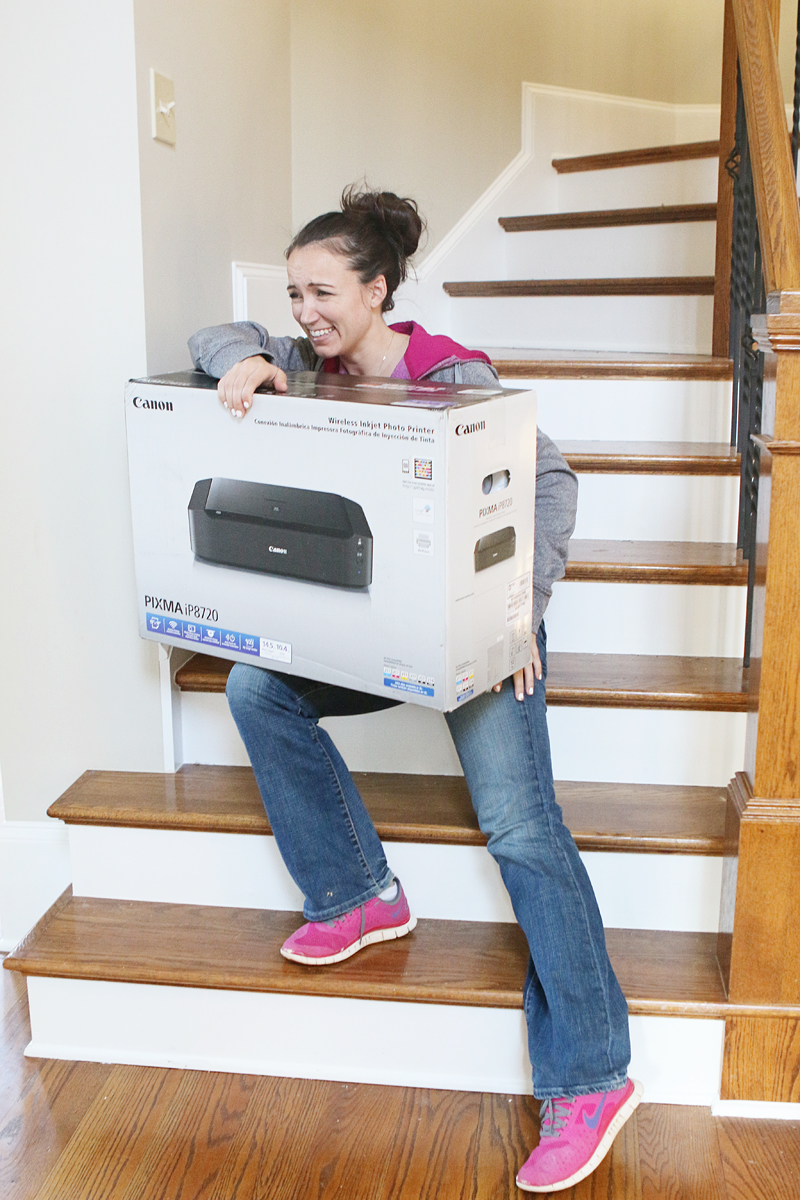
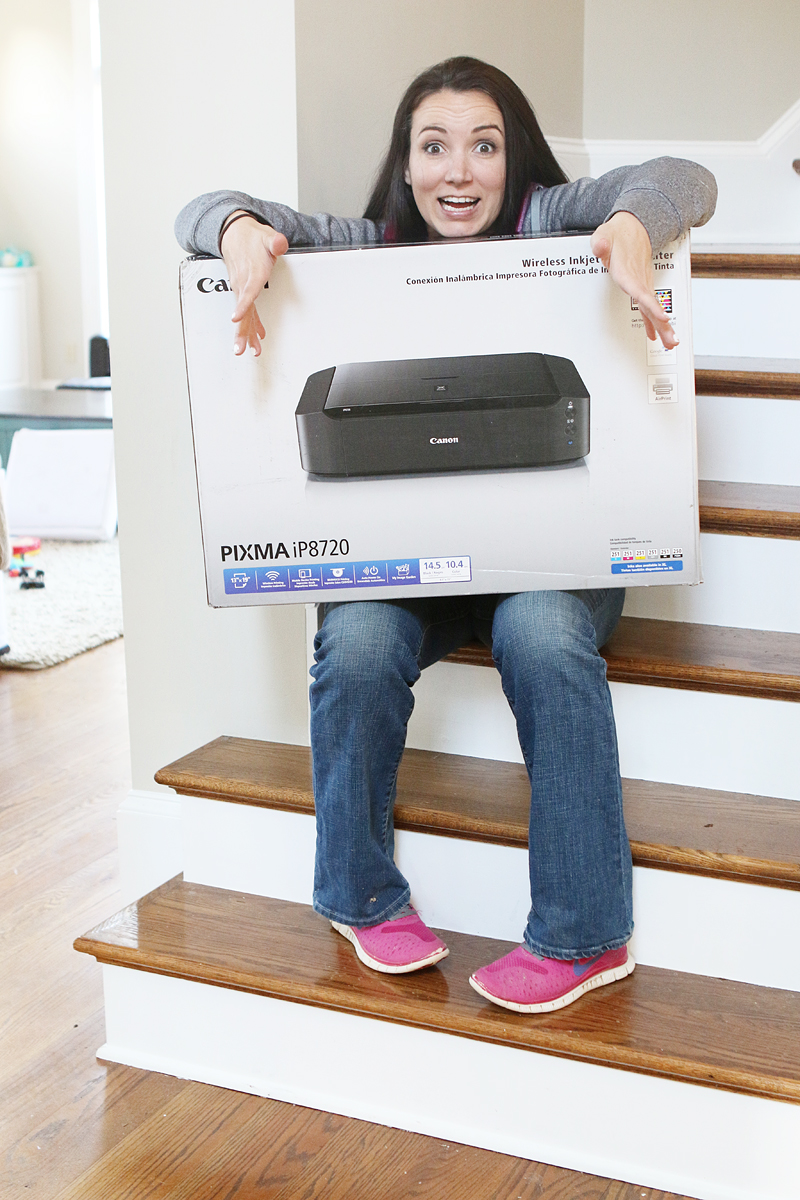
Then we decided something without the baby since he couldn’t keep his chubby little hands off the printer….of course, that is when my hips started going out. Does that happen to anyone else?
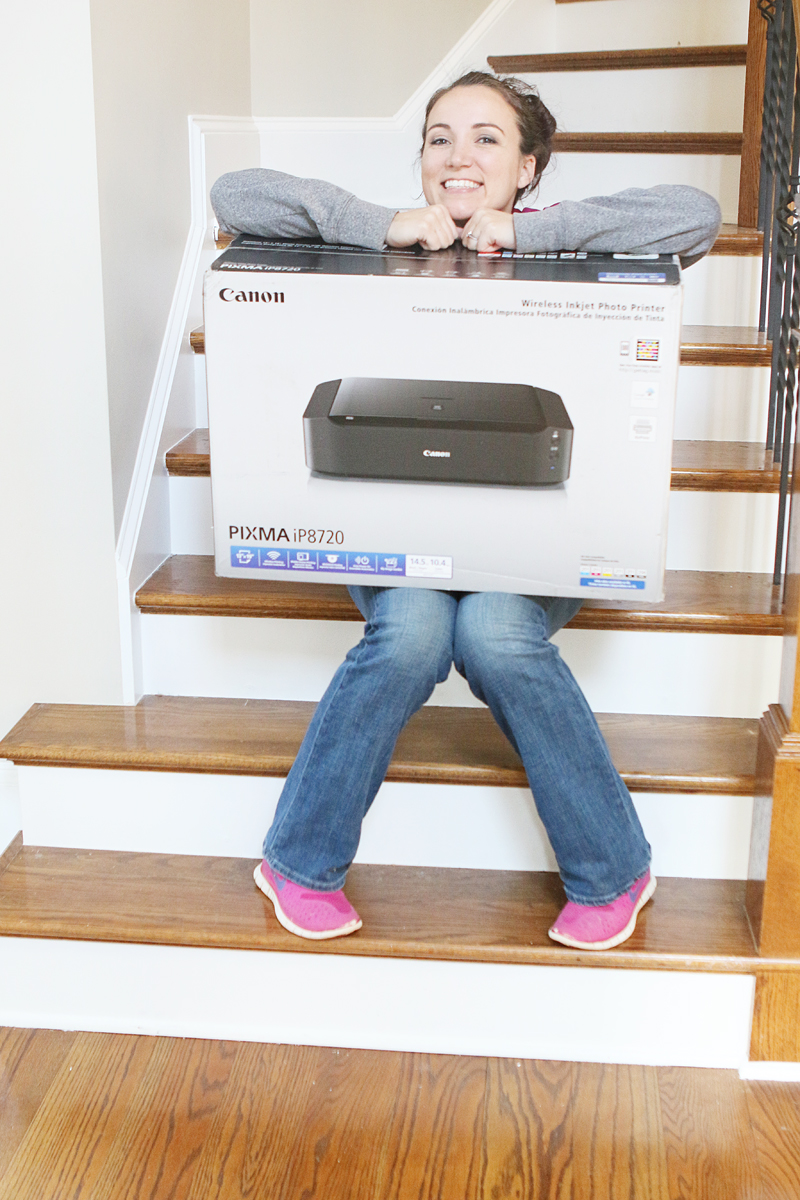
Got this one….can we consider this the winner?
Because these ones definitely didn’t work….

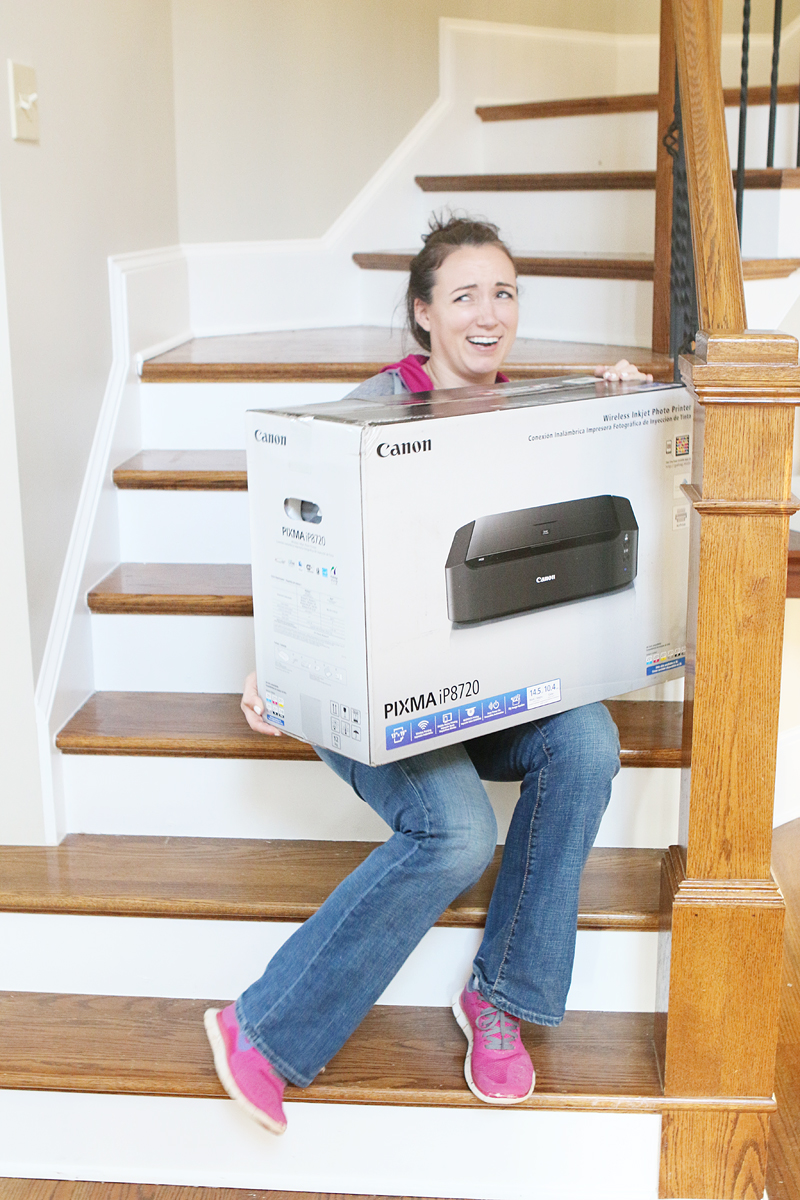
And then I got weird with my hands…

Long story short….I got this new awesome craft printer that prints off GIANT pictures and basically I feel like it justifies all weirdness and corny blogging tendencies because DANG IT MAKES ME FEEL LIKE A PRINCESS.
That’s true by the way….it really does.
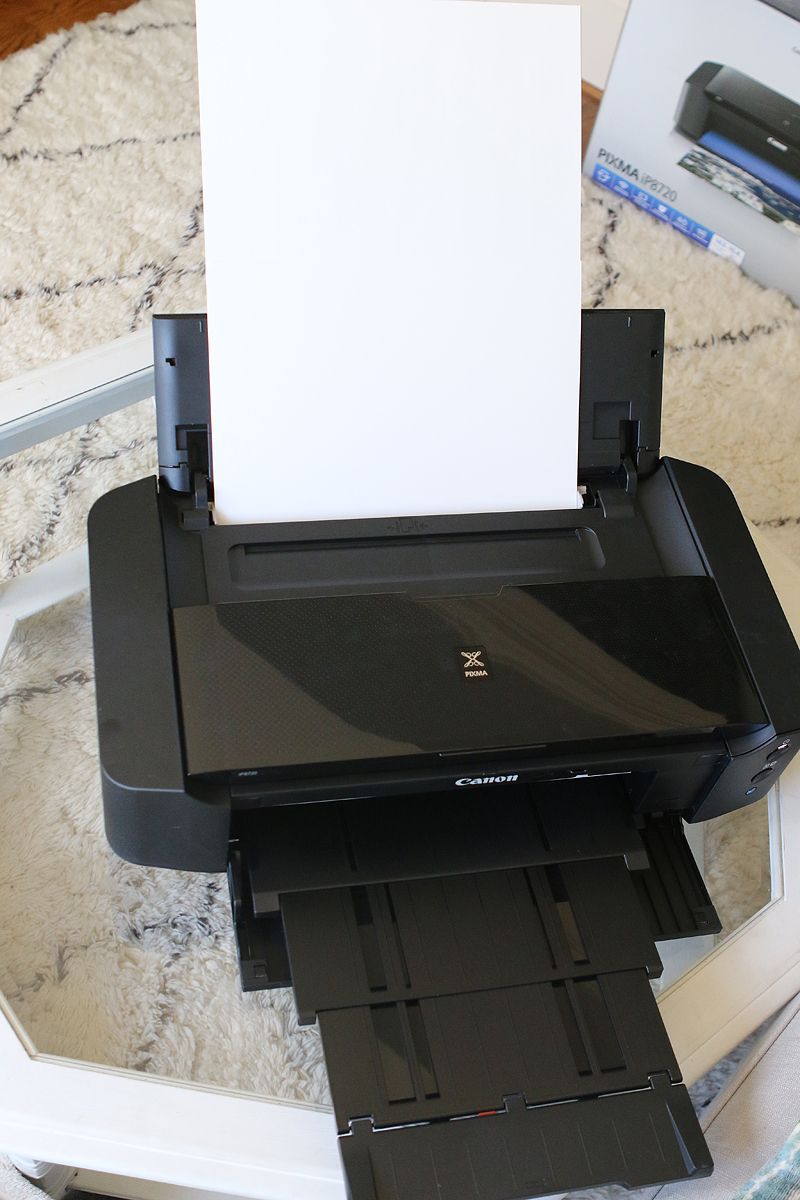
So giant photos….the ones that are similar size to the ones this bad boy prints off…are so expensive. Like $15 a pop at your local drug store. And if you order them online…you can just break out the Boston accent because you are gonna “forgettaboutit”. The prints are SO pricey! And you have to pay for shipping and there is no guarantee that you can get it here and now! But this printer – she can crank out a 13″ x 19″ borderless print no problem! All wireless too.
(Mom – that means that my camera talks to to the computer through the air which then talks to the printer through the air and tells it to also print wirelessly! It’s like MAGIC. No wires!)
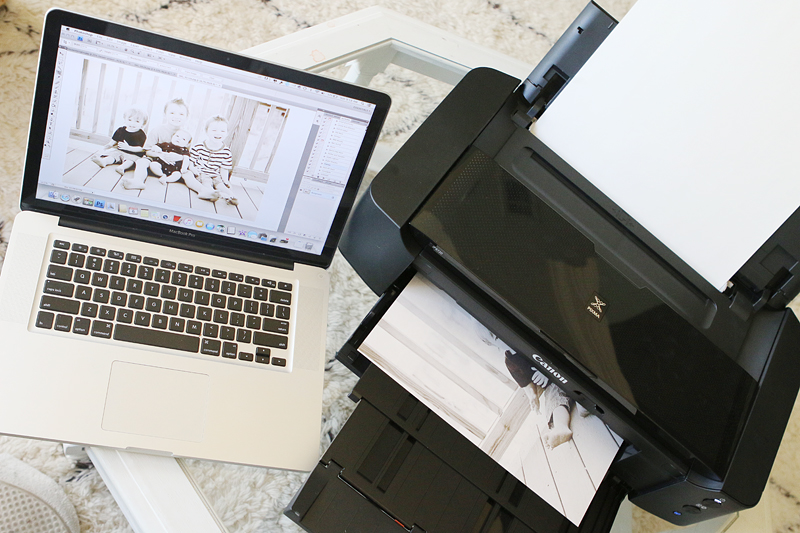
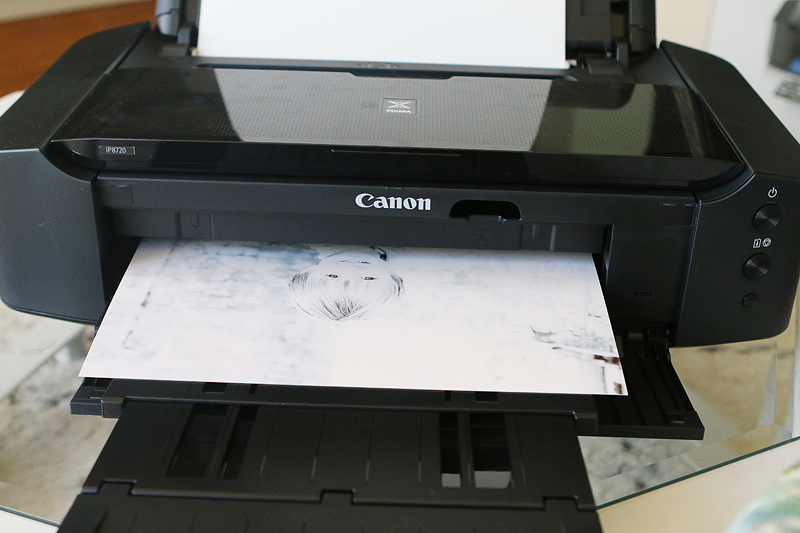
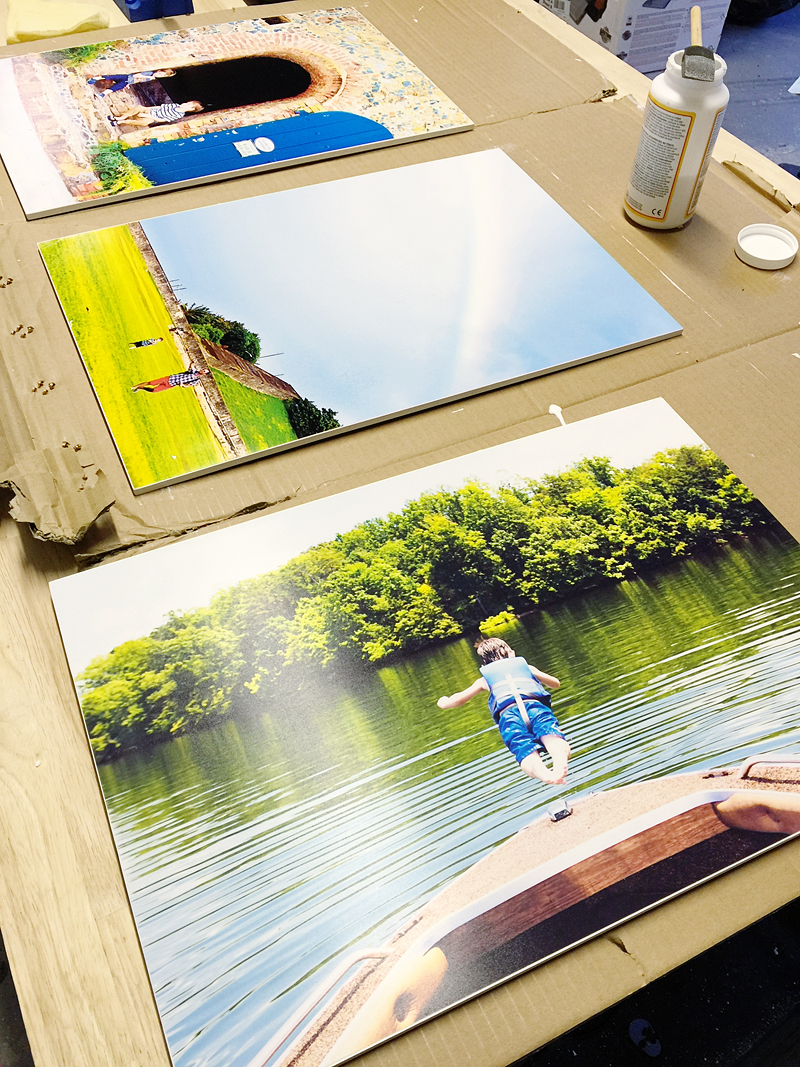
I was so dang excited that I immediately printed off eight giant prints (and have more coming out right now!).
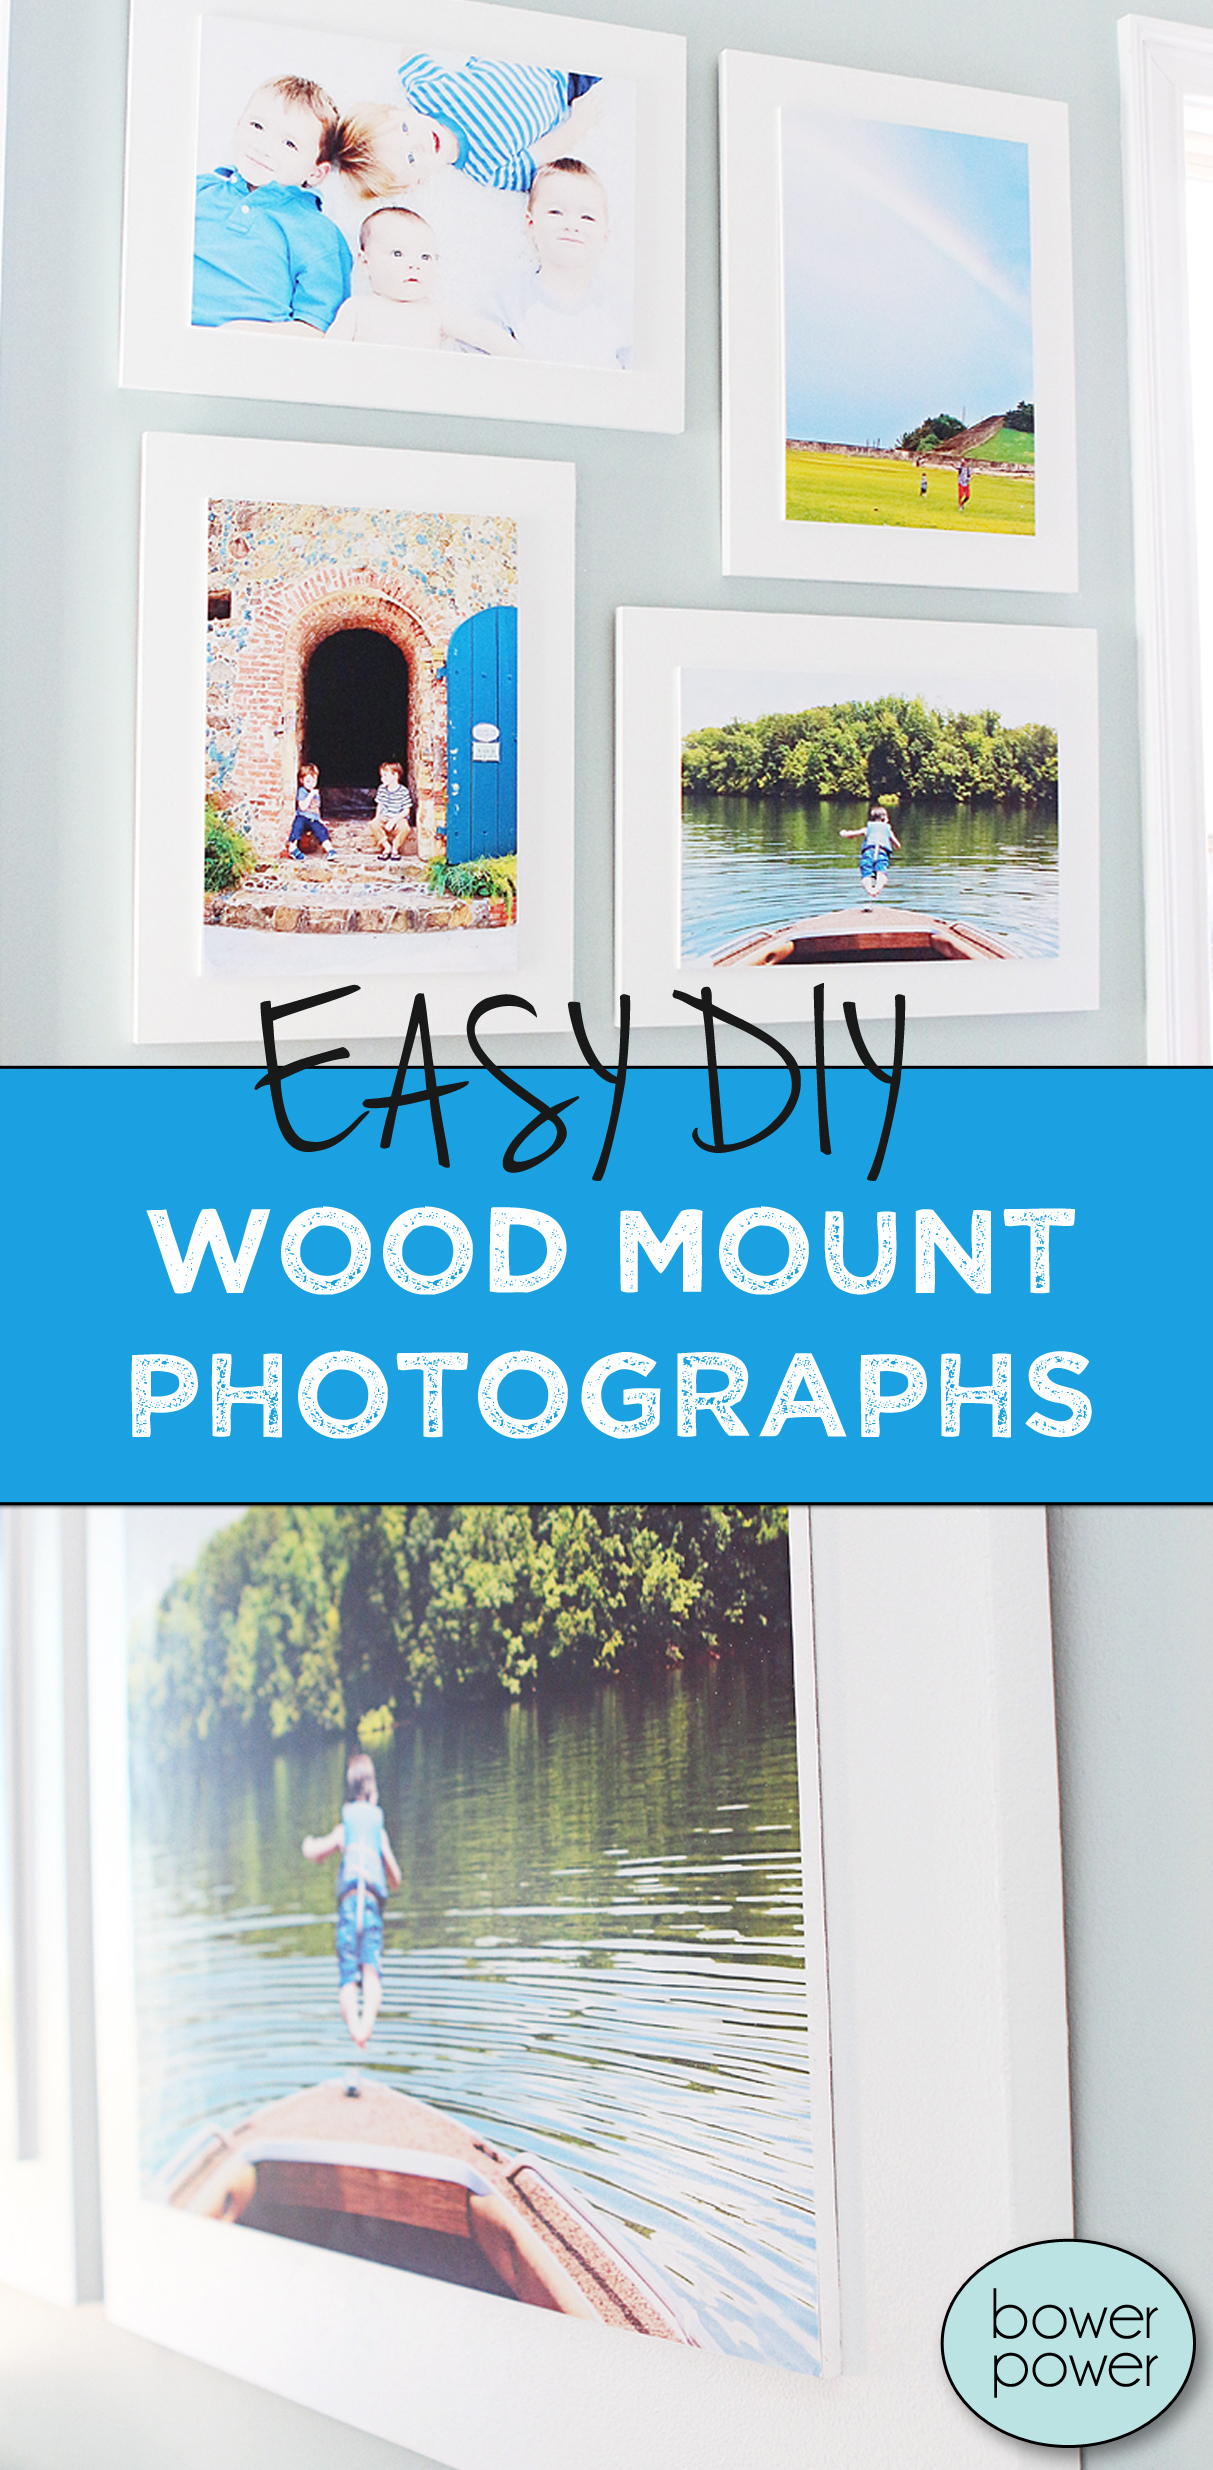
So this is today’s project and I just know you are gonna love it! It’s basically DIYing giant wood mounted photos and giving your gorgeous prints a clean modern frame that really makes your photo pop! You need some MDF from the home improvement store. They sell in “craft” sizes and can cut it for you right there in the store so you can get exactly what you need!
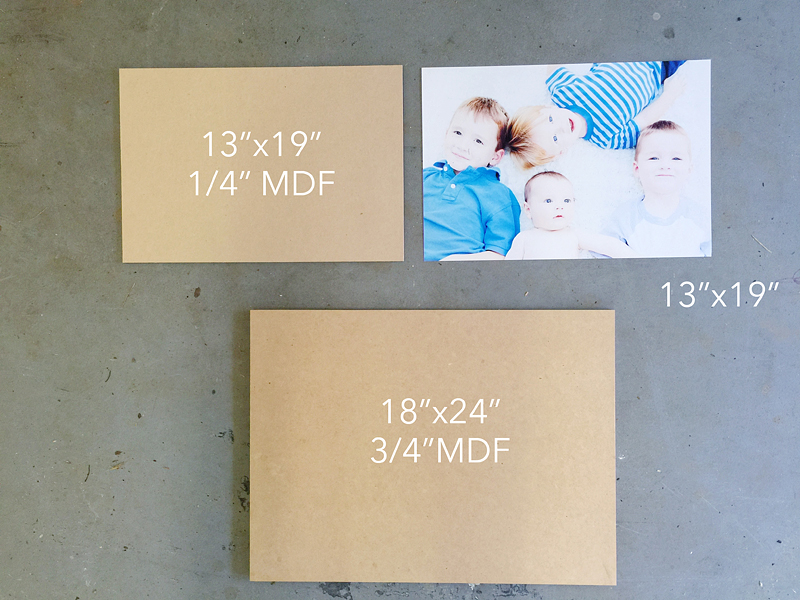
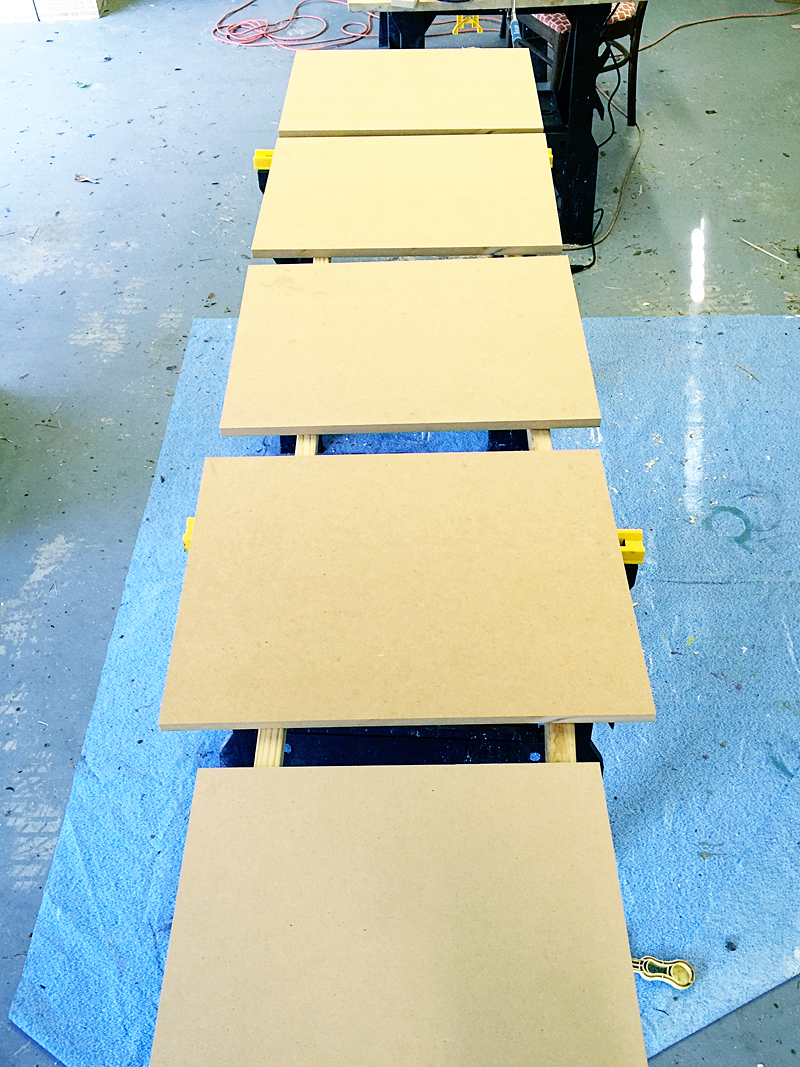
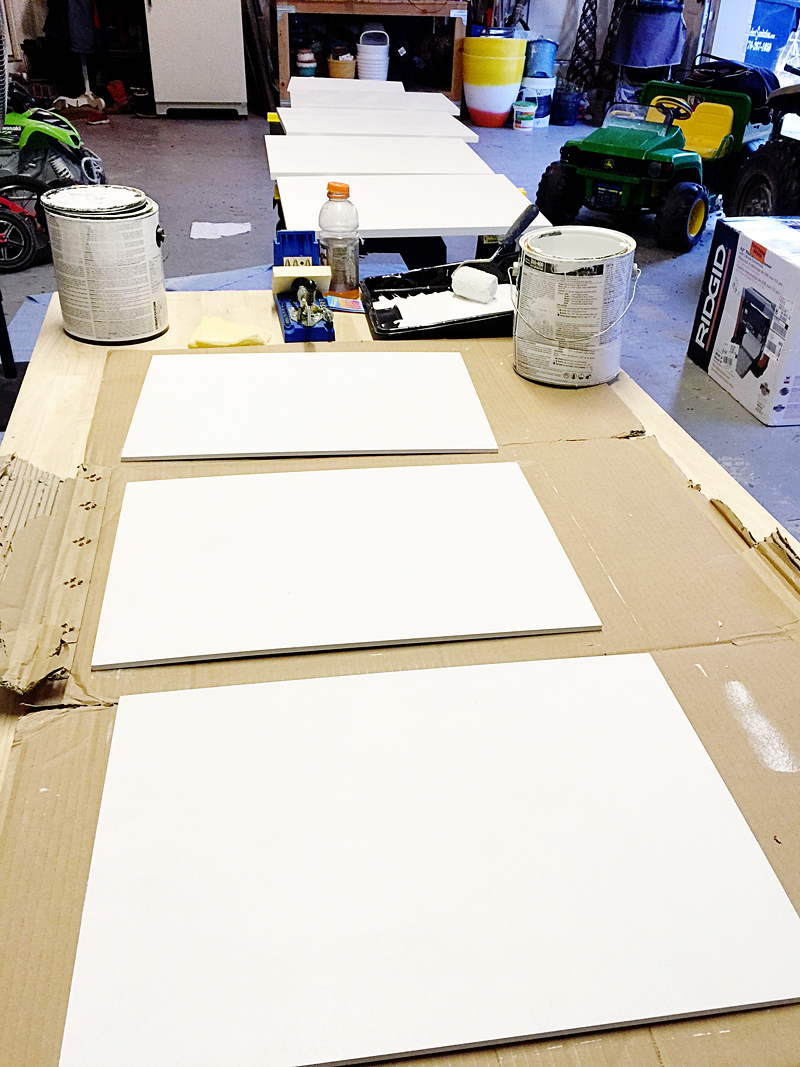
So the first thing you do is cut your boards to size. For each photo that you are mounting, you need a thick MDF piece (3/4″) and a thin one (1/4″). Lay them out and give them a good priming!
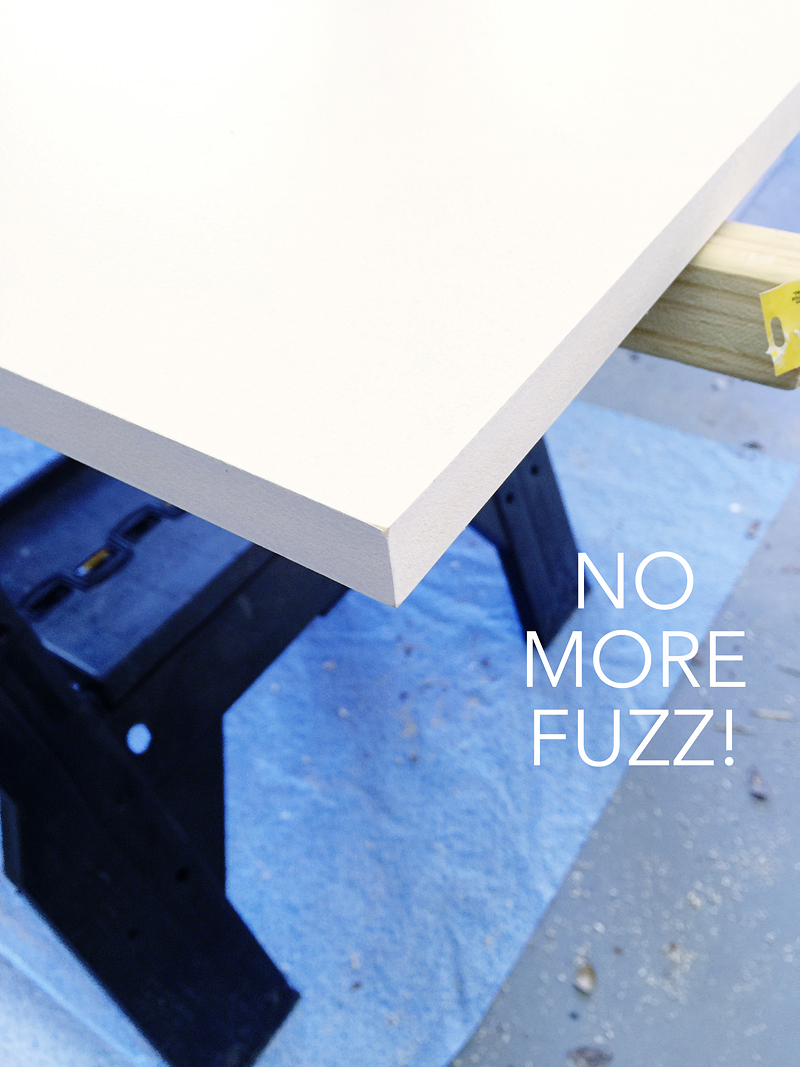
Now priming MDF will do terrible things. It makes the edges crazy and turns their sides into fuzz. This is normal and as long as you aren’t drenching it in primer, everything will be fine.
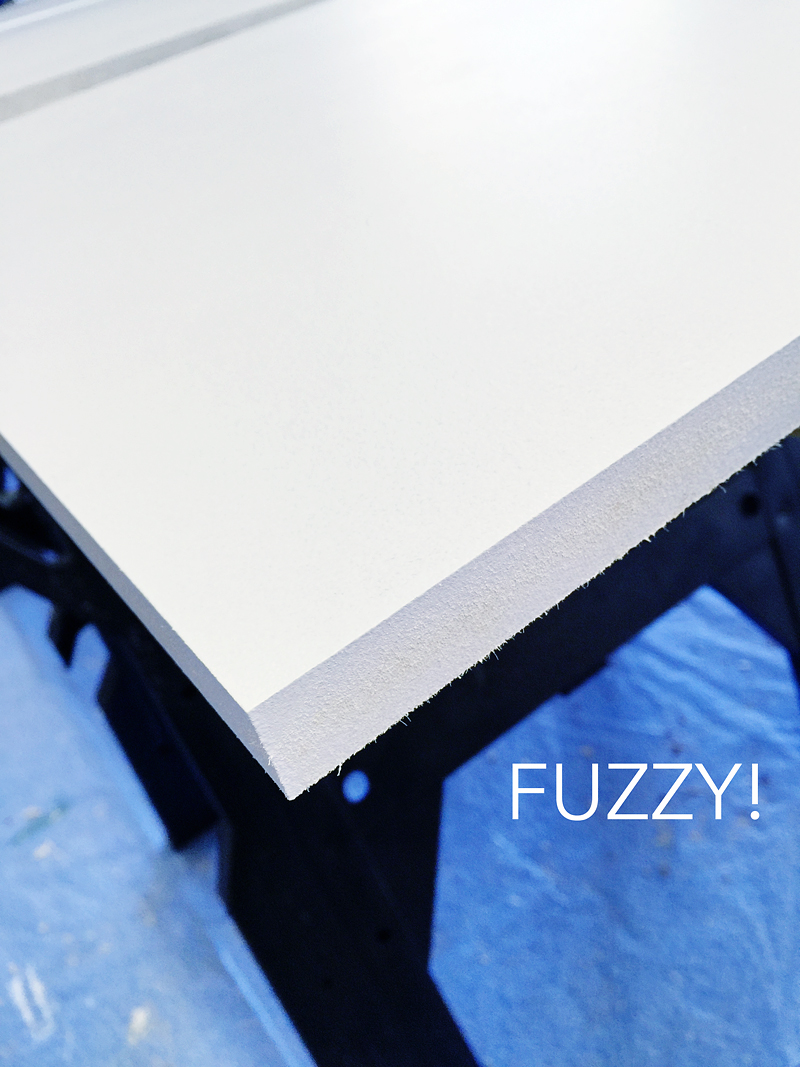
Getting rid of the fuzz is so easy! Just let the primer dry and then use some 440 grit sandpaper and knock it all down! After the primer, there should be no more fuzz popping up but if there is, just sand lightly and it should remove all the tiny particles.
After you prime, make sure to do a couple liberal coats of your desired paint color. If you are looking to do a pattern or texture, make sure it is on the big MDF pieces and now is the time. I think this would look great with stripes or stencils or even adding fabric!
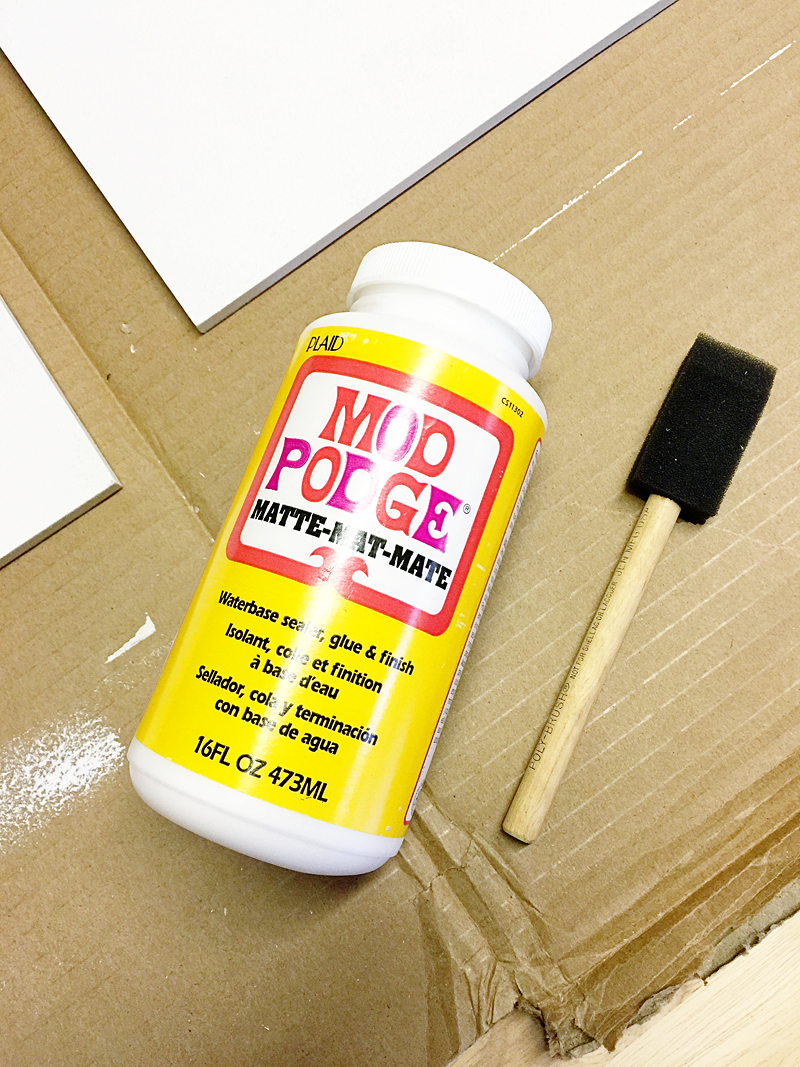
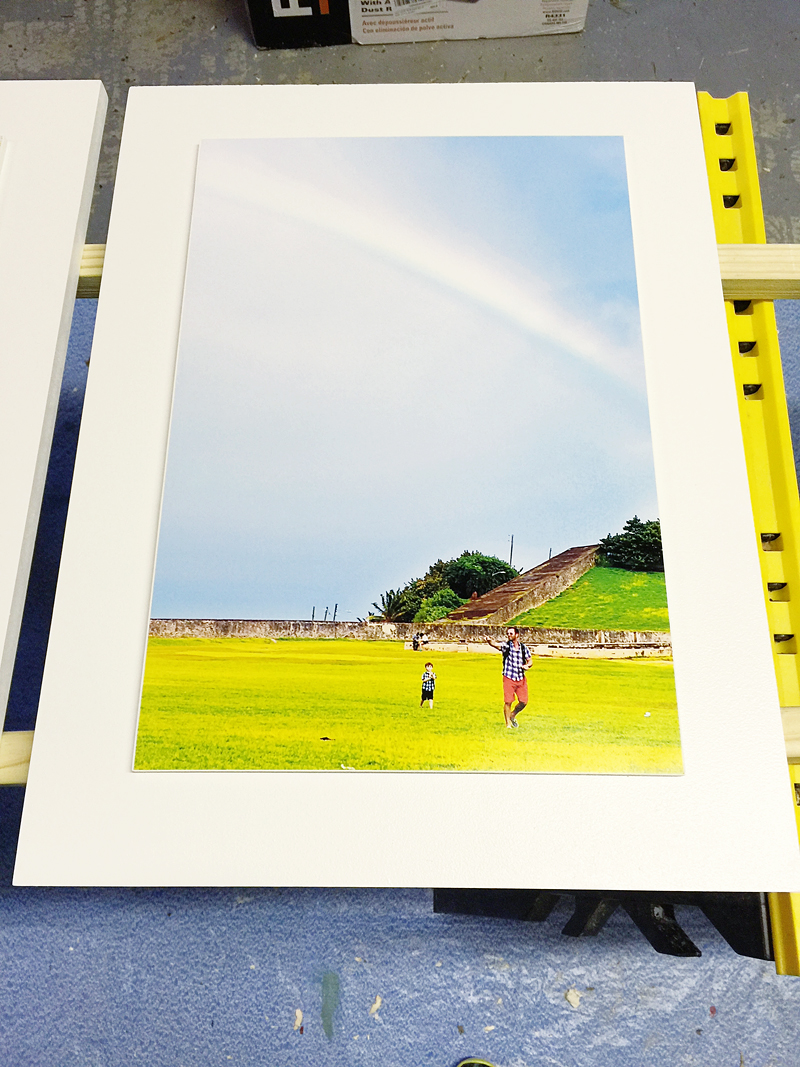
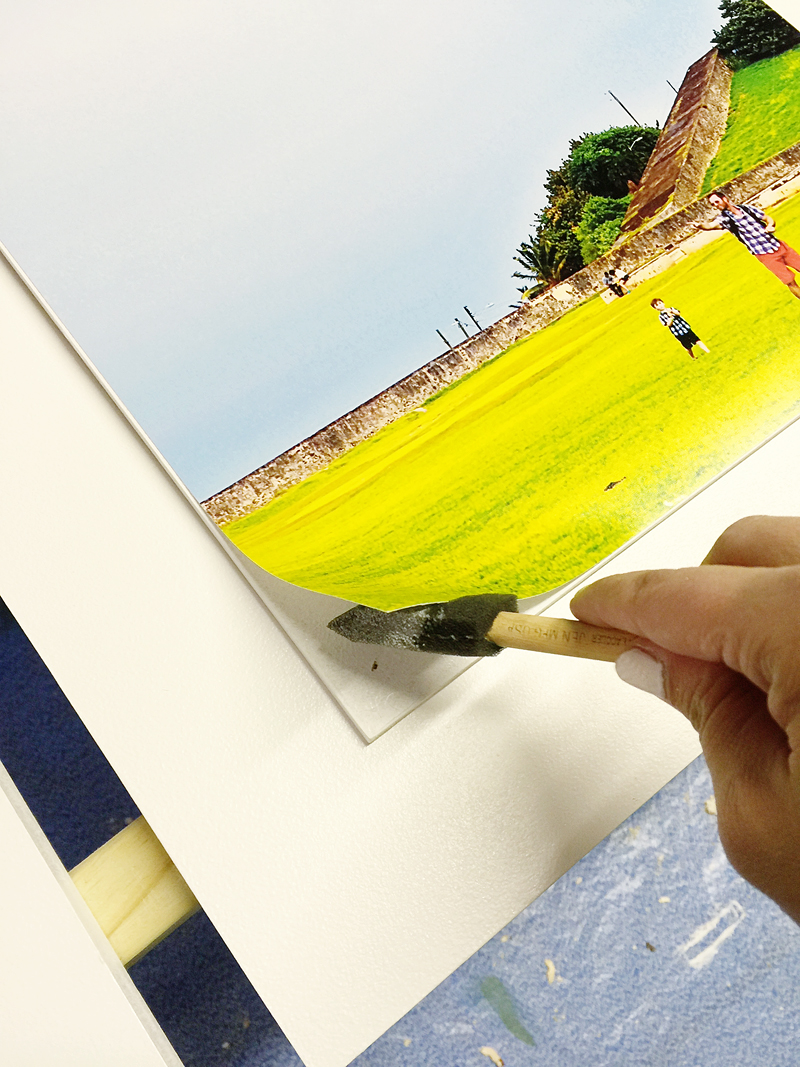
The next step involves your BFF – Modgie! Break out the Mod Podge and a little foam brush and do a liberal coat on the fronts of the thinner boards. I recommend leaving the corners dry because you are gonna need to access them.
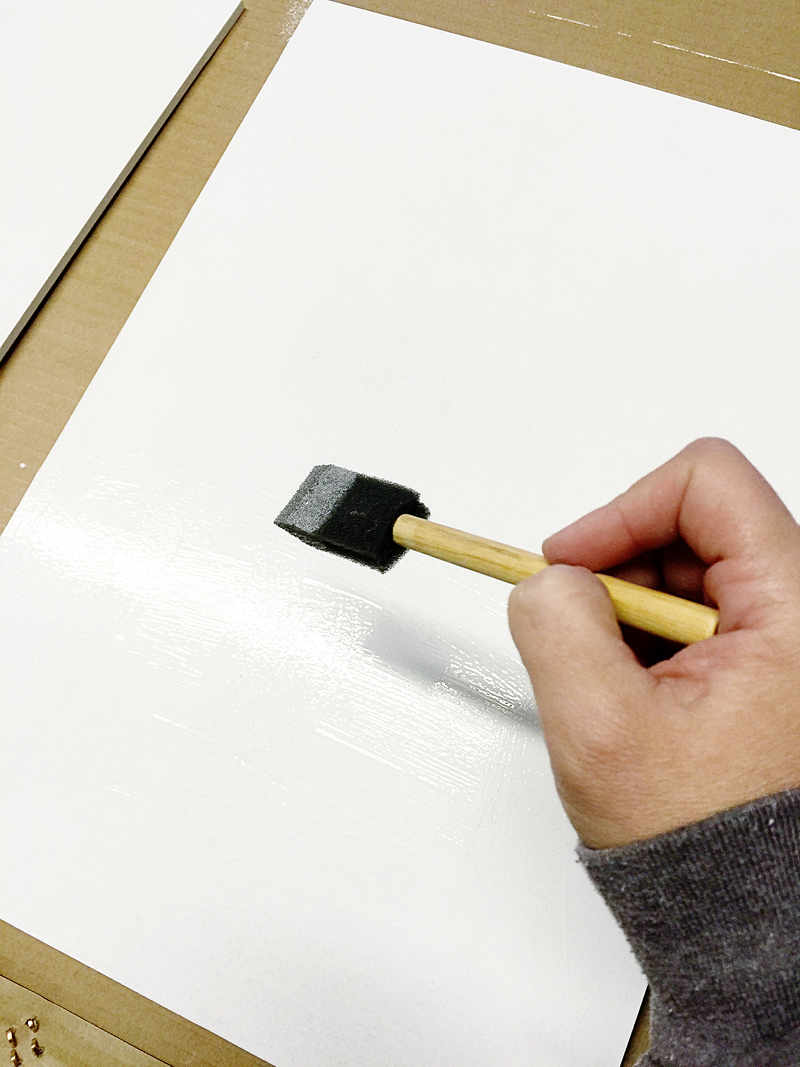
Lay your photos onto the thinner boards and smooth out any air bubbles. You could literally mount these as is and call it a day….but I wanted a beefy white frame around each one so let’s carry on!
The larger pieces of MDF were dry (that is the benefit of working with MDF is that it dries super fast!) so I centered the smaller ones on top and made sure to allow for 2.5″ all the way around it.
Then I had to be super gentle. Think newborn baby gentle. Cautiously peel up the corners of the photo and use a brad nailer to attach the smaller MDF board to the larger one.
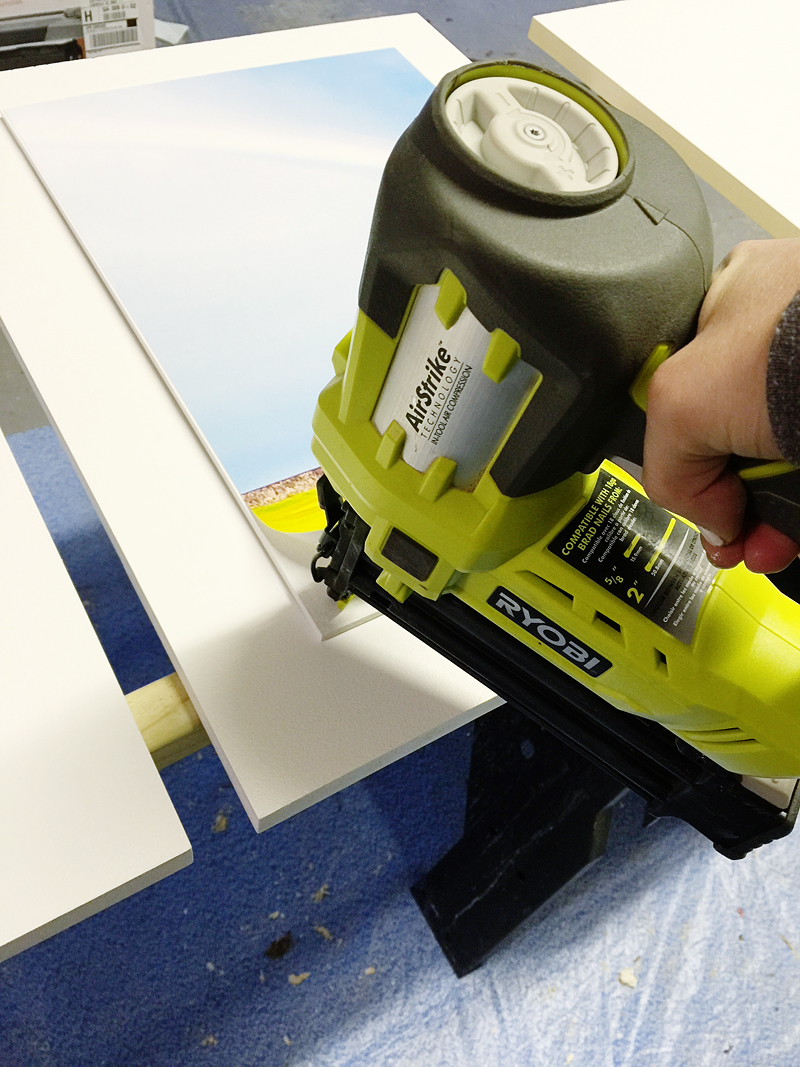
Jeremy insisted that you nail the board before mod podging but I think it’s better to do it afterward and then just dab some on the corners. I say that afterward is best because if your photo needs trimming, it is easier to do without it being attached to a giant board.
Then I added some D-Rings and wire onto the backs and got ready to hang them!

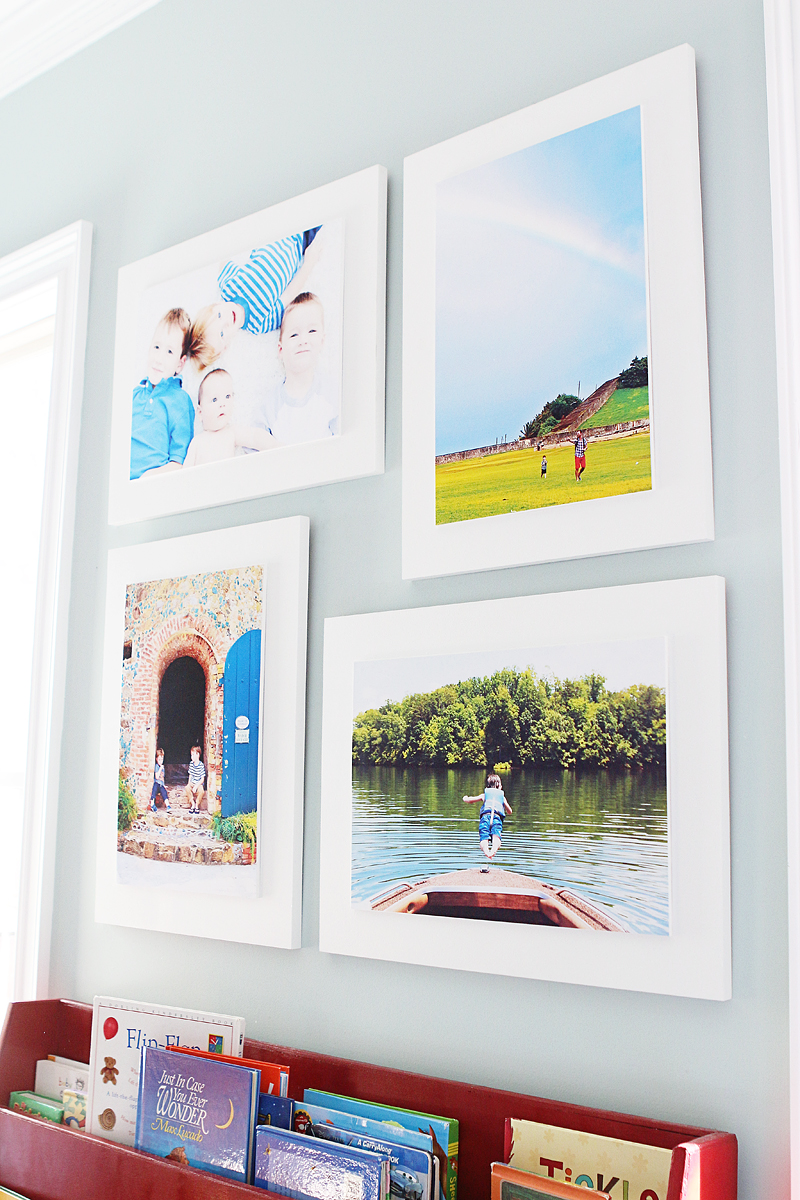
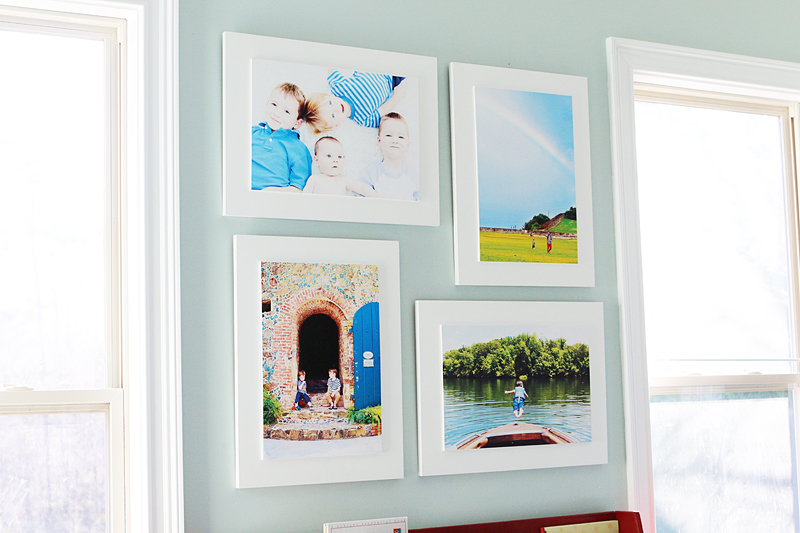
Ready for the end result? I am! I put them up in the playroom and look how stunning they are!
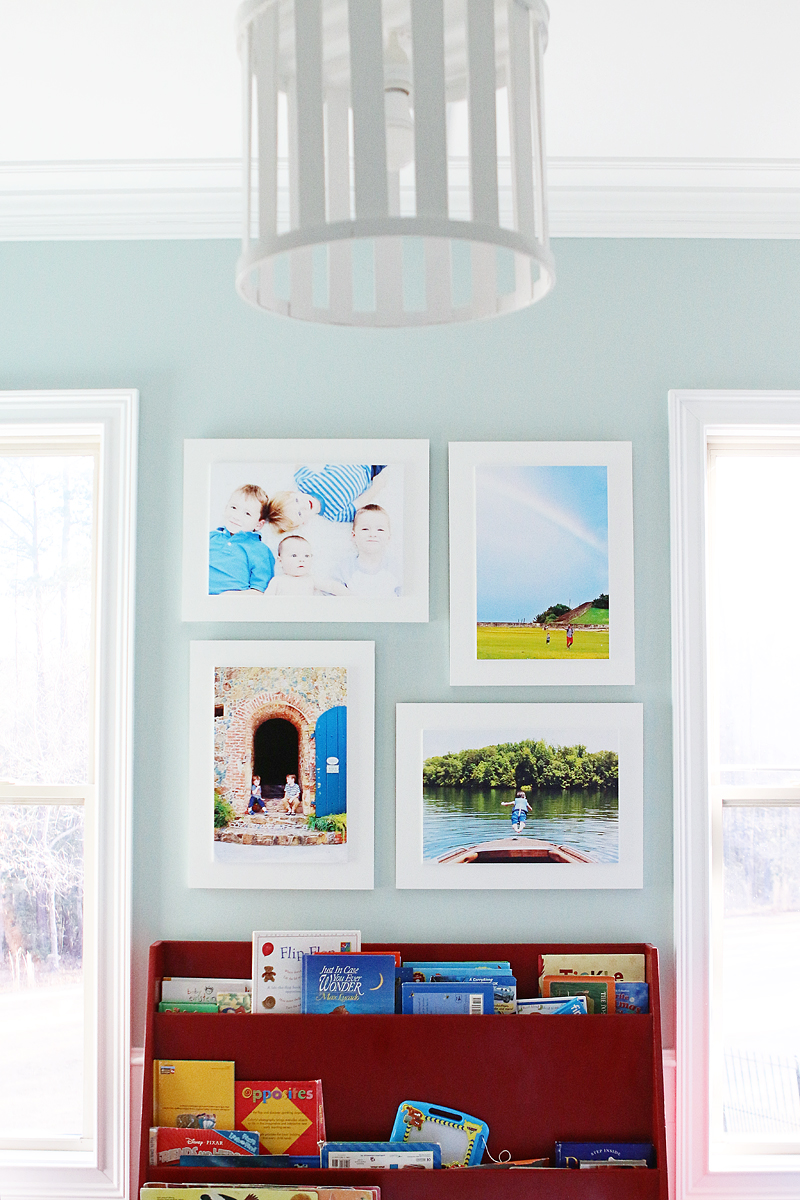
The colors are so vibrant and the quality is so good! Plus – this kinda art work would cost roughly $45 a pop plus shipping for something around this size! That just about pays for the printer in just one project!
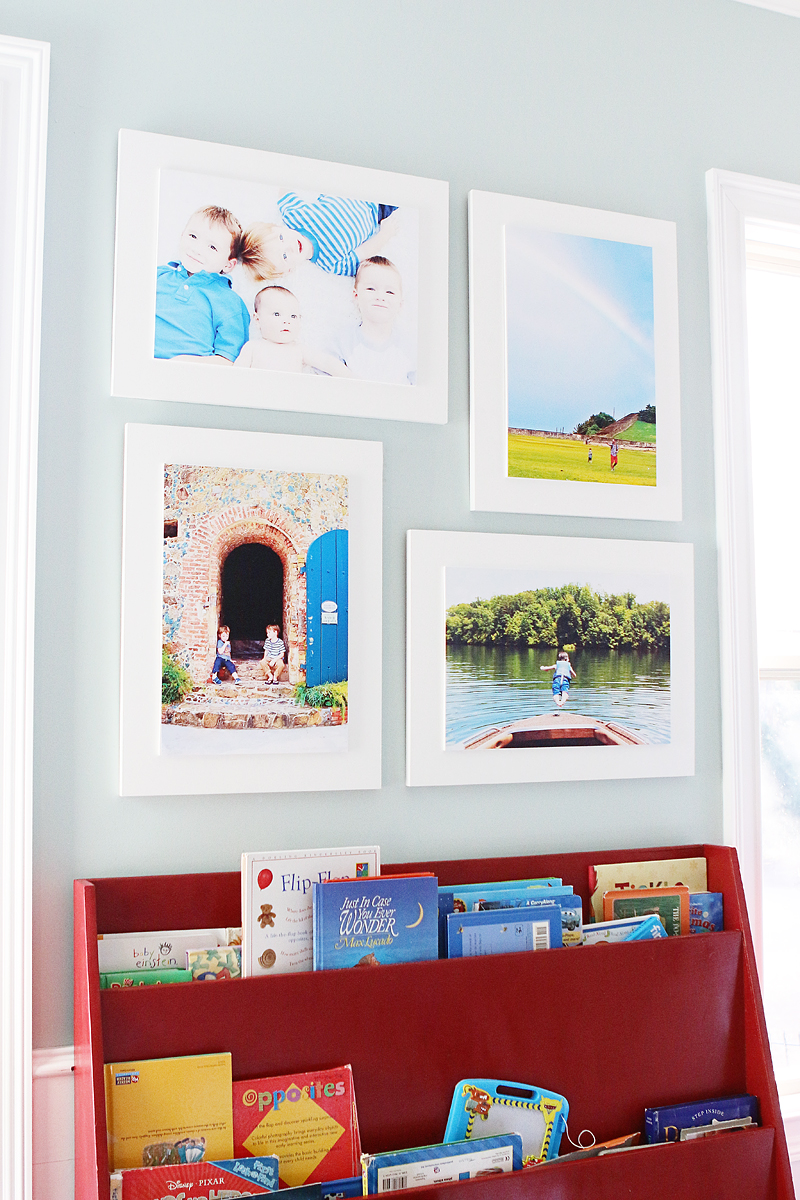
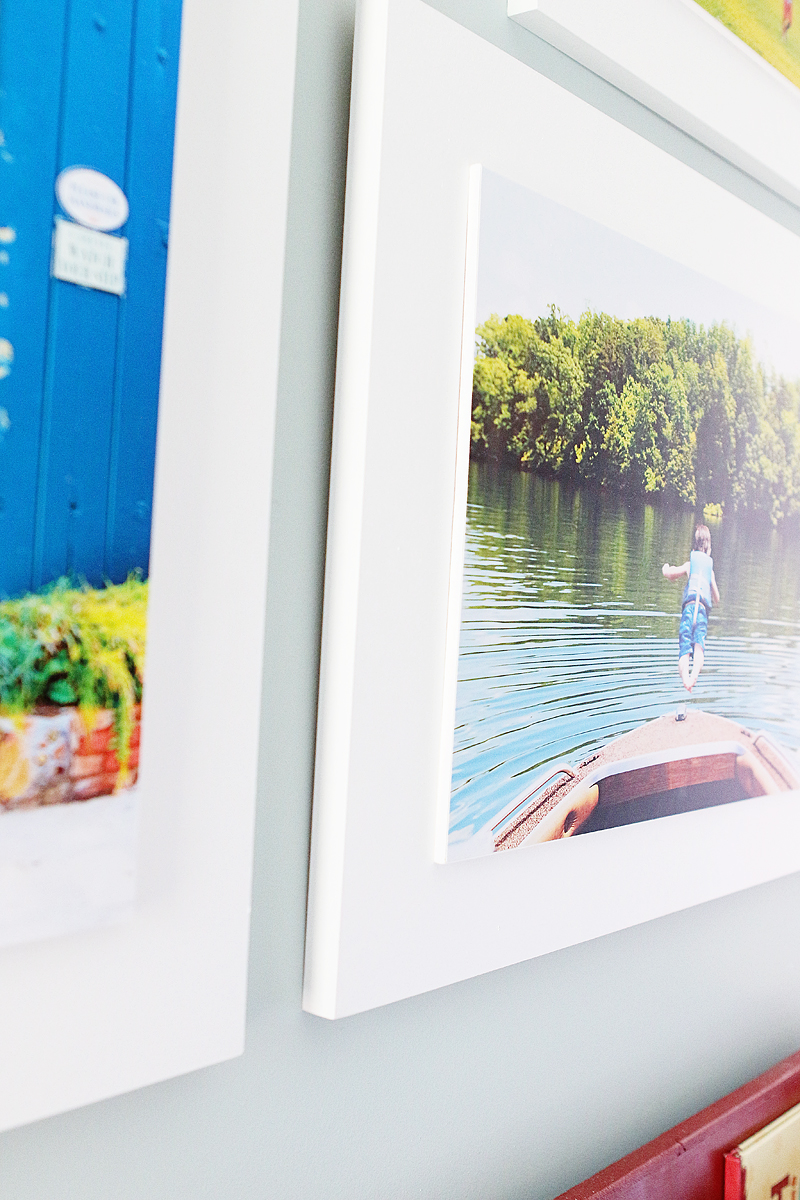
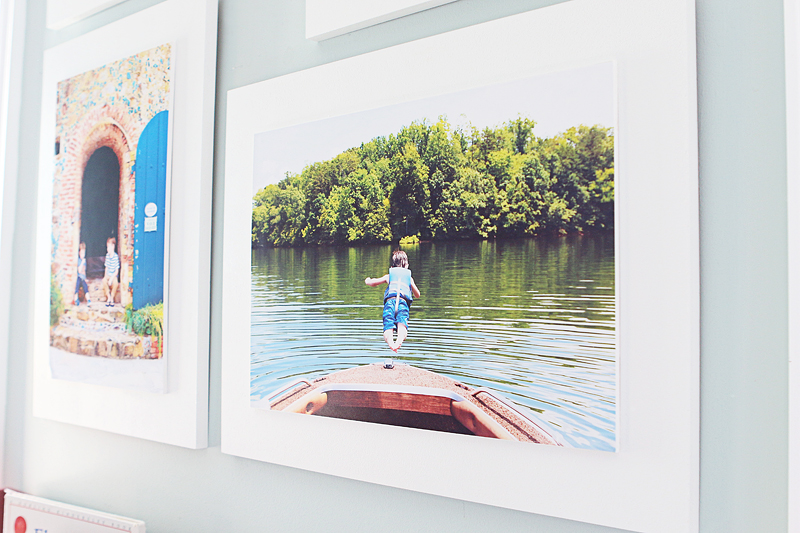
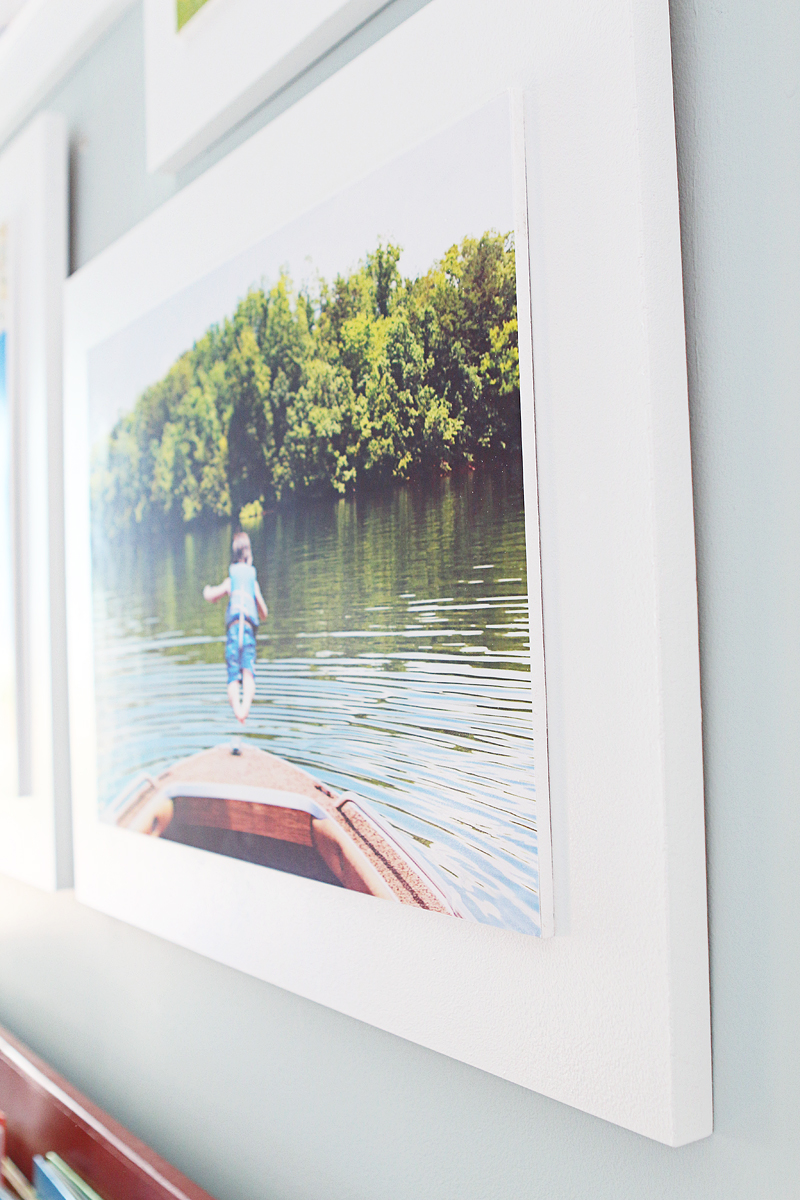
My favorite part is that they are definitely three dimensional. They look like something you would order from a high end photography site.
My other favorite part is that they are HUGE. I mean – this room has ten foot ceilings and if I put a tiny little print in here, then it would look ridiculous. So many times people ask me questions about art and I always say – go big or go home. I mean, scale is EVERYTHING when it comes to finishing a space well and art is usually the culprit. Who has something that is WAY too small on the wall above their sofa? The wall looks like it is swallowing that photo of your family. I would say something close to 65% of people are committing this decorating sin. Yes, I made that statistic up but it’s probably true. These are BIG and BEEFY and everything a cheeseburger and art should be!
So you might be wondering….why did you pick those particular photos Katie?
Well…so glad you asked! Obviously I wanted some fun play room pictures and I wanted them to be fun vibrant colors for this fun and vibrant space. I already knew that the one of all four boys would be a must. Will asked me if I would do a picture of when there was a kite and a rainbow (it was when we were in San Juan) – it’s amazing what kids remember! I also did a photo of the boys when we went to Blackbeards castle in St Thomas….my little scalawags were guarding the tower 🙂 And then one of Will jumping off my Pappap’s boat in Chattanooga. All sweet memories but also very fun and colorful shots!
So cost breakdown – I wanted to make four extra large prints with faux frames so I bought two pieces of 1/4″ MDF (@$6.42) and two pieces of 3/4″ MDF (@12.48)….for a grand total of $38. I had the paint and nails and D-rings but if I had to buy all that too – just add on $8 for the rings/wire and $3 for a paint sampler and $1 for the foam brush and $1 for the Mod Podge (buy your Mod Podge at the Dollar Tree!). That means this project cost roughly $51 for all four large prints…basically all four for the cost of ONE online.
But the memories on the wall? Priceless.
You knew that was coming didn’t you?!
I love this so much that I think I might make some as gifts too. My sister would love these! Who wouldn’t?!
Don’t forget to pin this image for later! Happy crafting y’all!