With our concrete countertops came a lot of different questions and I am here today to answer them as best as I can! If you need a reminder – we are working on the basement kitchen chronicles. We started this room a little over a year ago so anyone staying in our basement could have their own kitchen space. Here are some back posts about the room, the cabinets and about the countertops….
- Clearing out the Basement
- Planning the kitchen
- Assembling the Cabinetry
- Saving on appliances
- Building concrete countertop forms
- Screwing up the concrete (attempt 1)
- Successful concrete countertops
These photos were taken almost a year ago so that’s why the grass is green, the belly is big and why the boys are so little 🙂 Dang they grow fast!

Okay so let’s get to it….
QUESTION #1 – What would you do if the countertop didn’t fit?
Well – excellent question and we actually did have that occur with one piece. The wall is a little warped and even though the 3/4″ melamine fit, a 2″ countertop didn’t sit as flush. I, of course, freaked out and threw my hands up in the air and decided we should just scrap the entire piece and start over. Jeremy, of course, freaked out and threw his hands up in the air and we both sat and cried. And then we figured….why not try to cut it?! I mean – we cut our cement blocks for our fire pit….why not cut this concrete too?
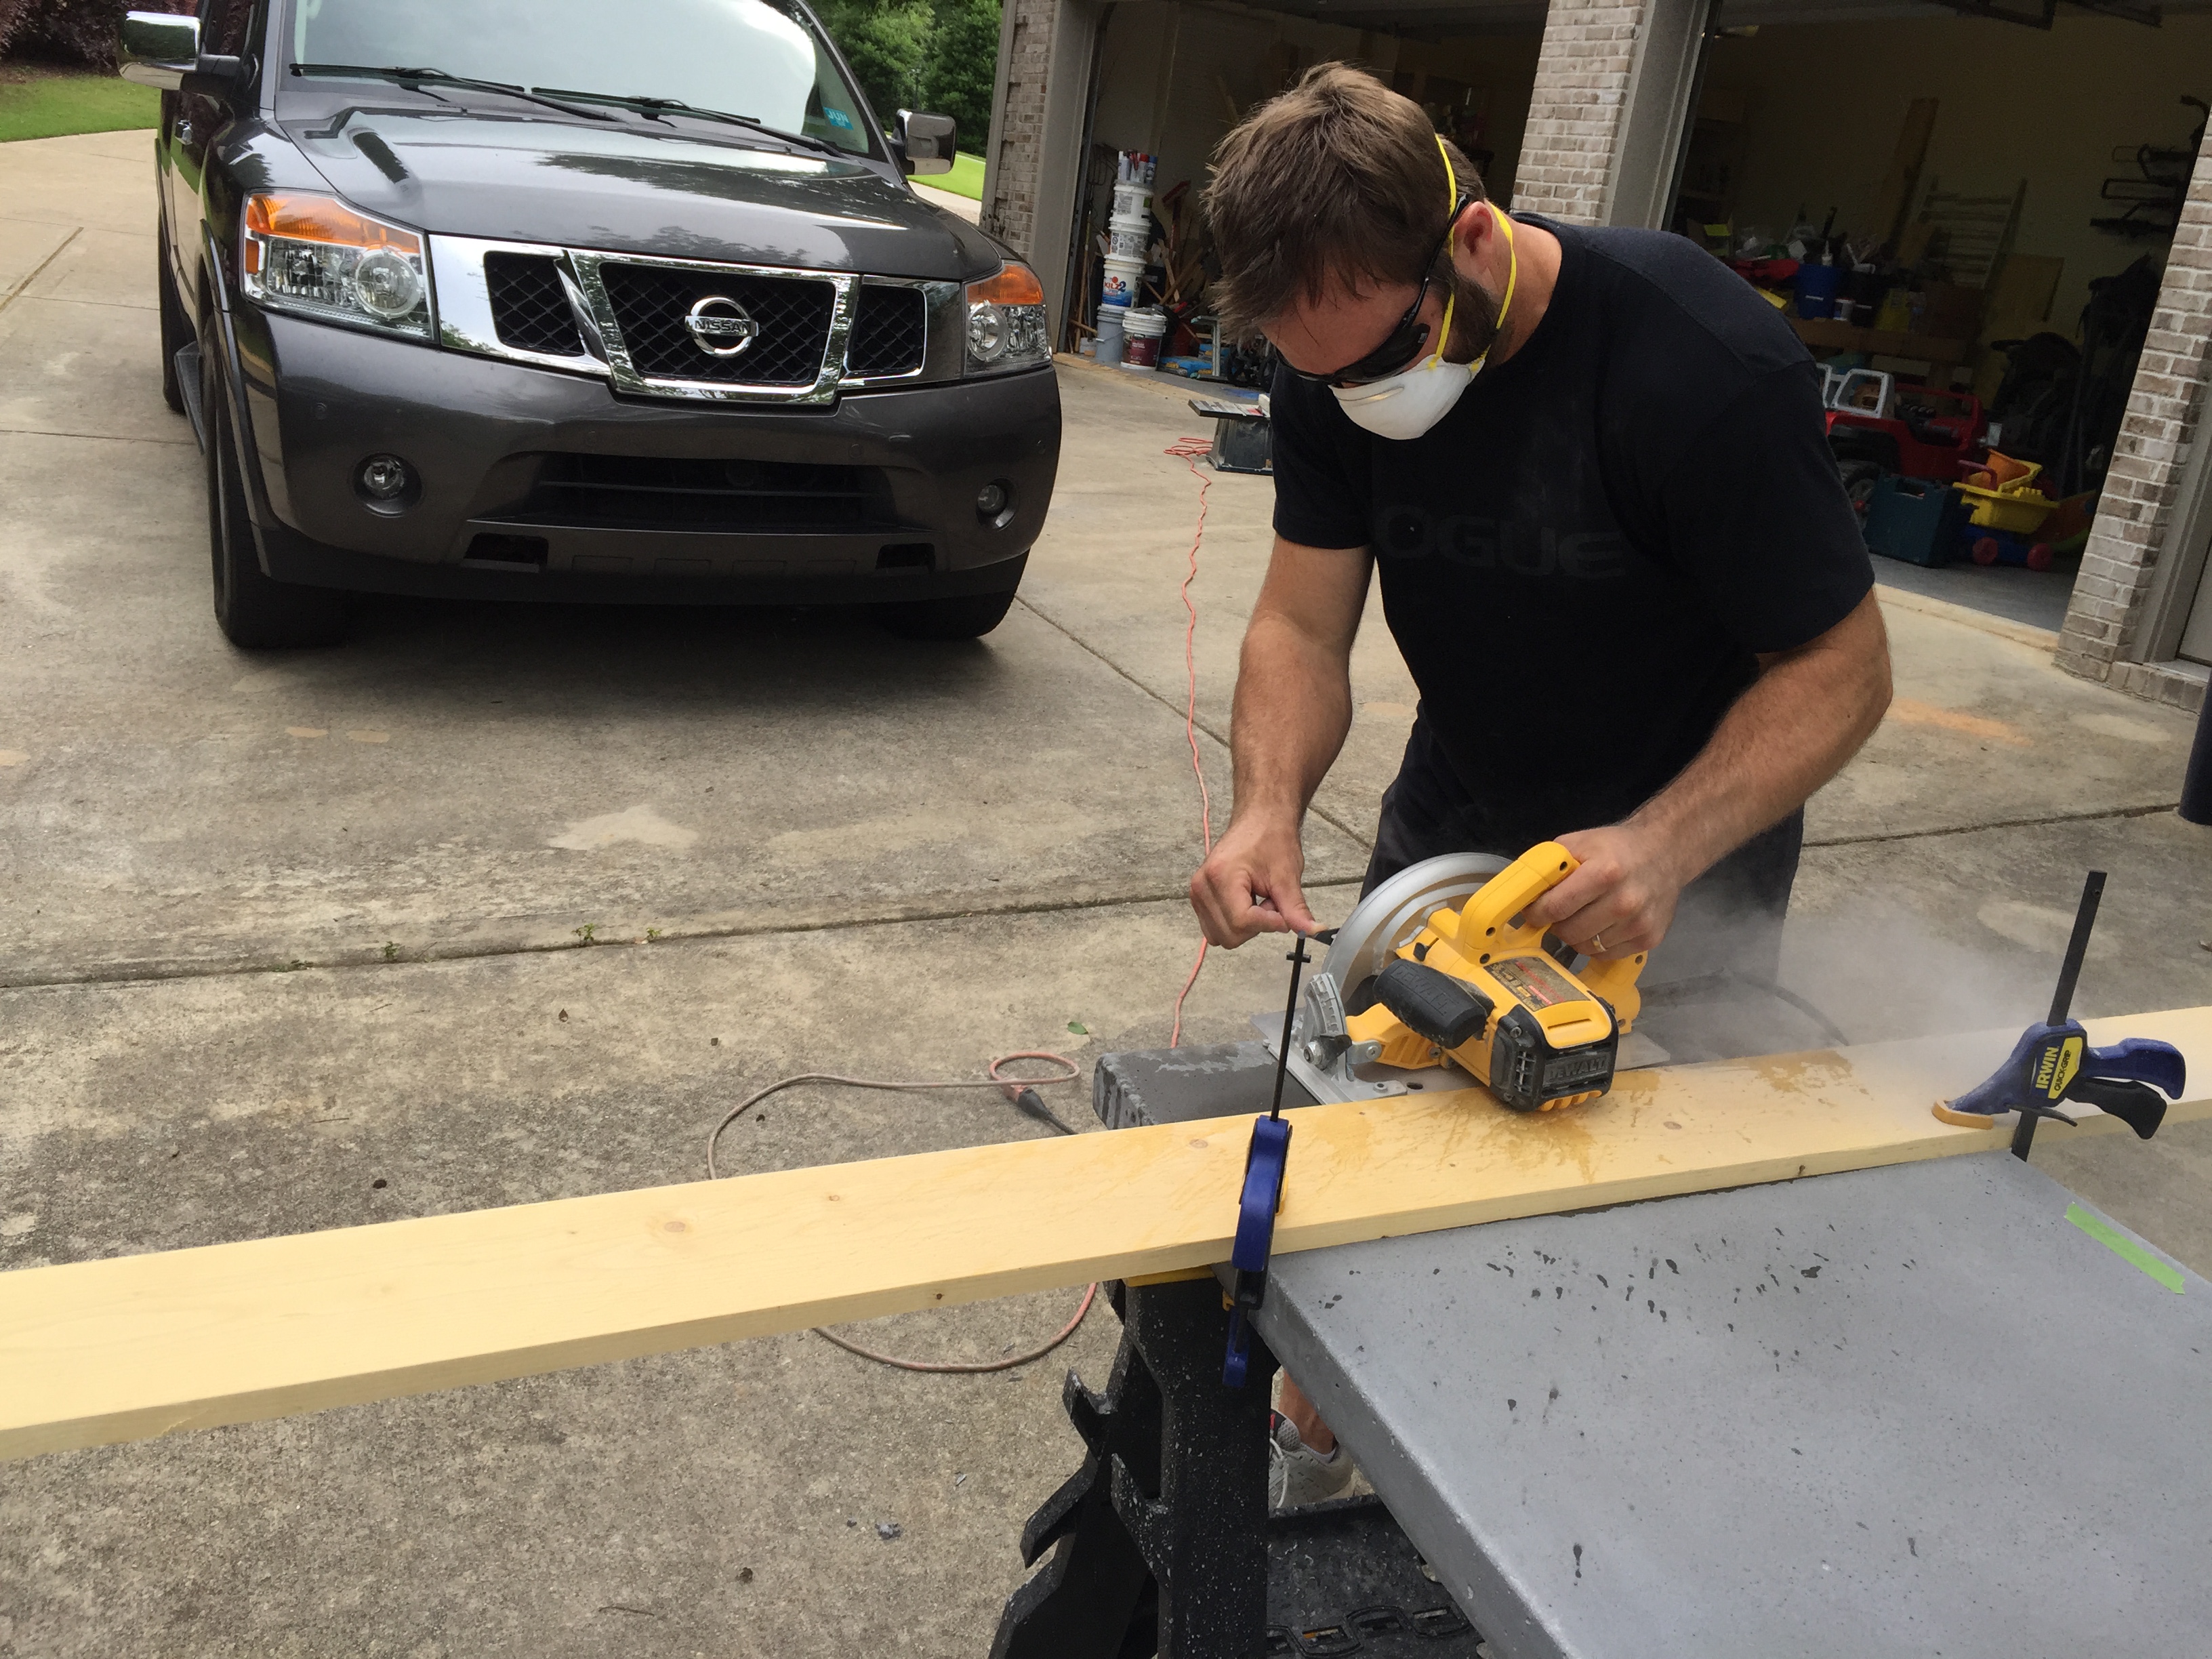
It was gross and dirty work but really we just needed a little sliver off of one corner so that we could slide the stove in properly.
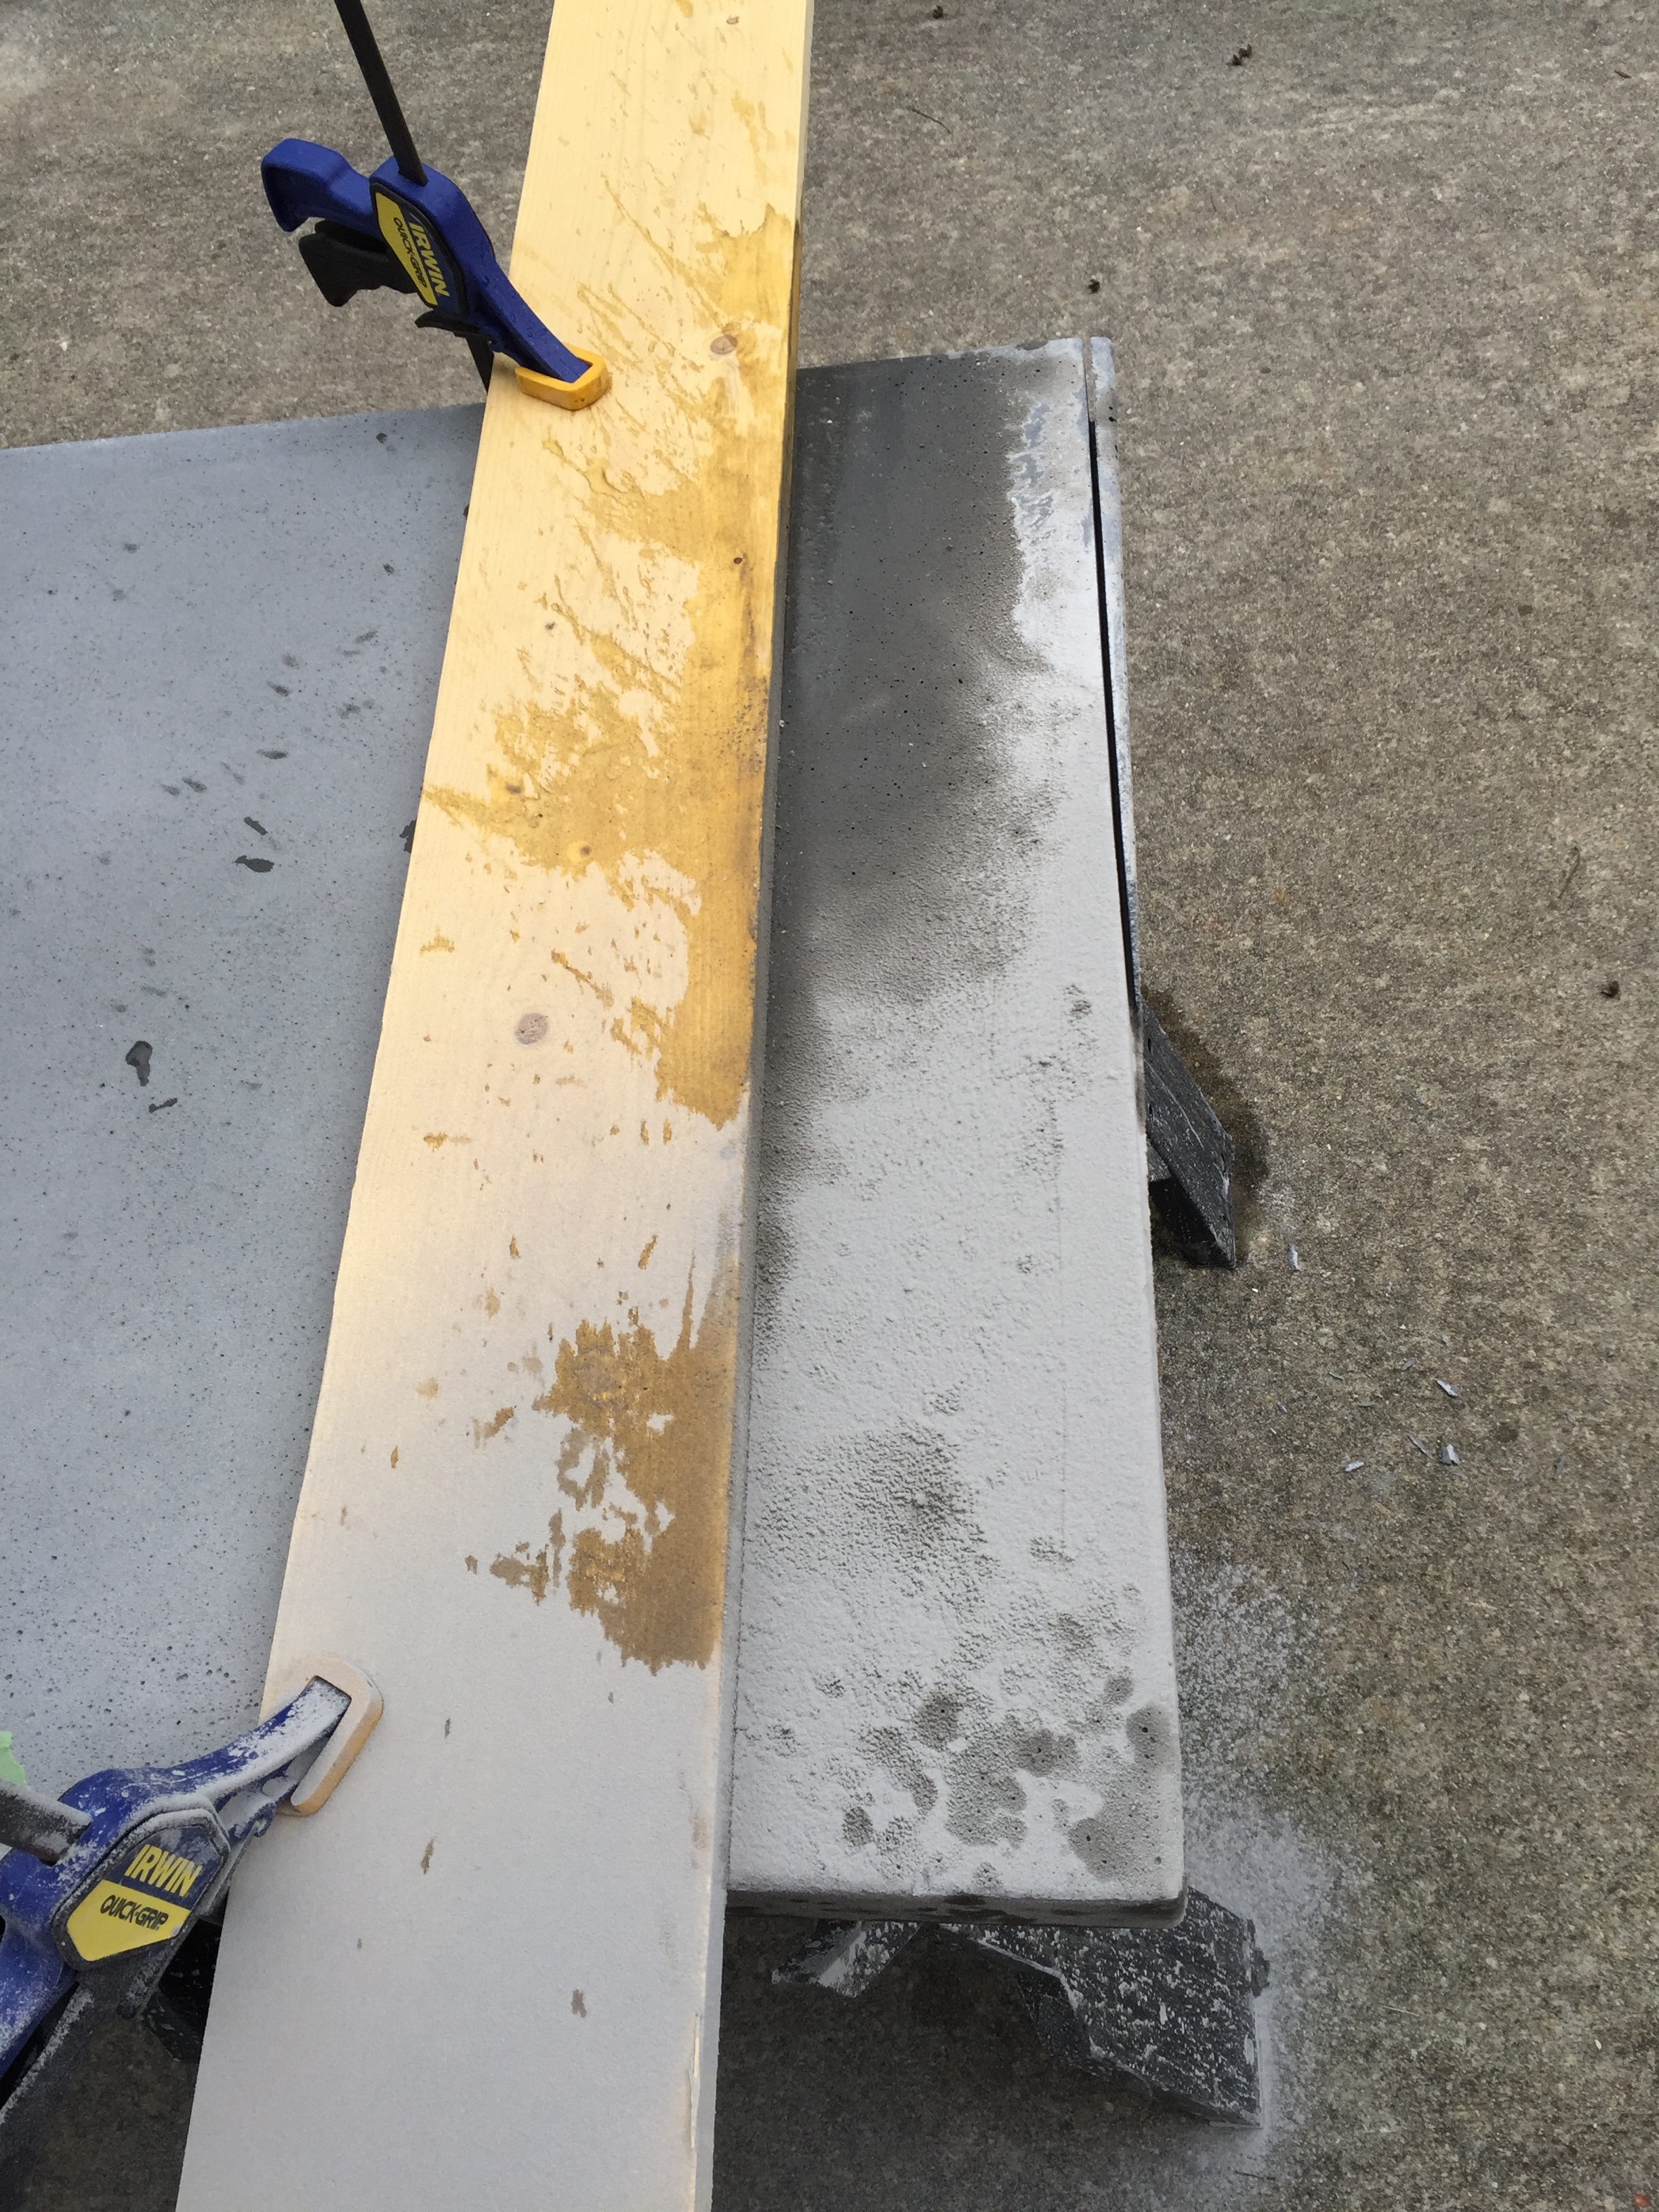
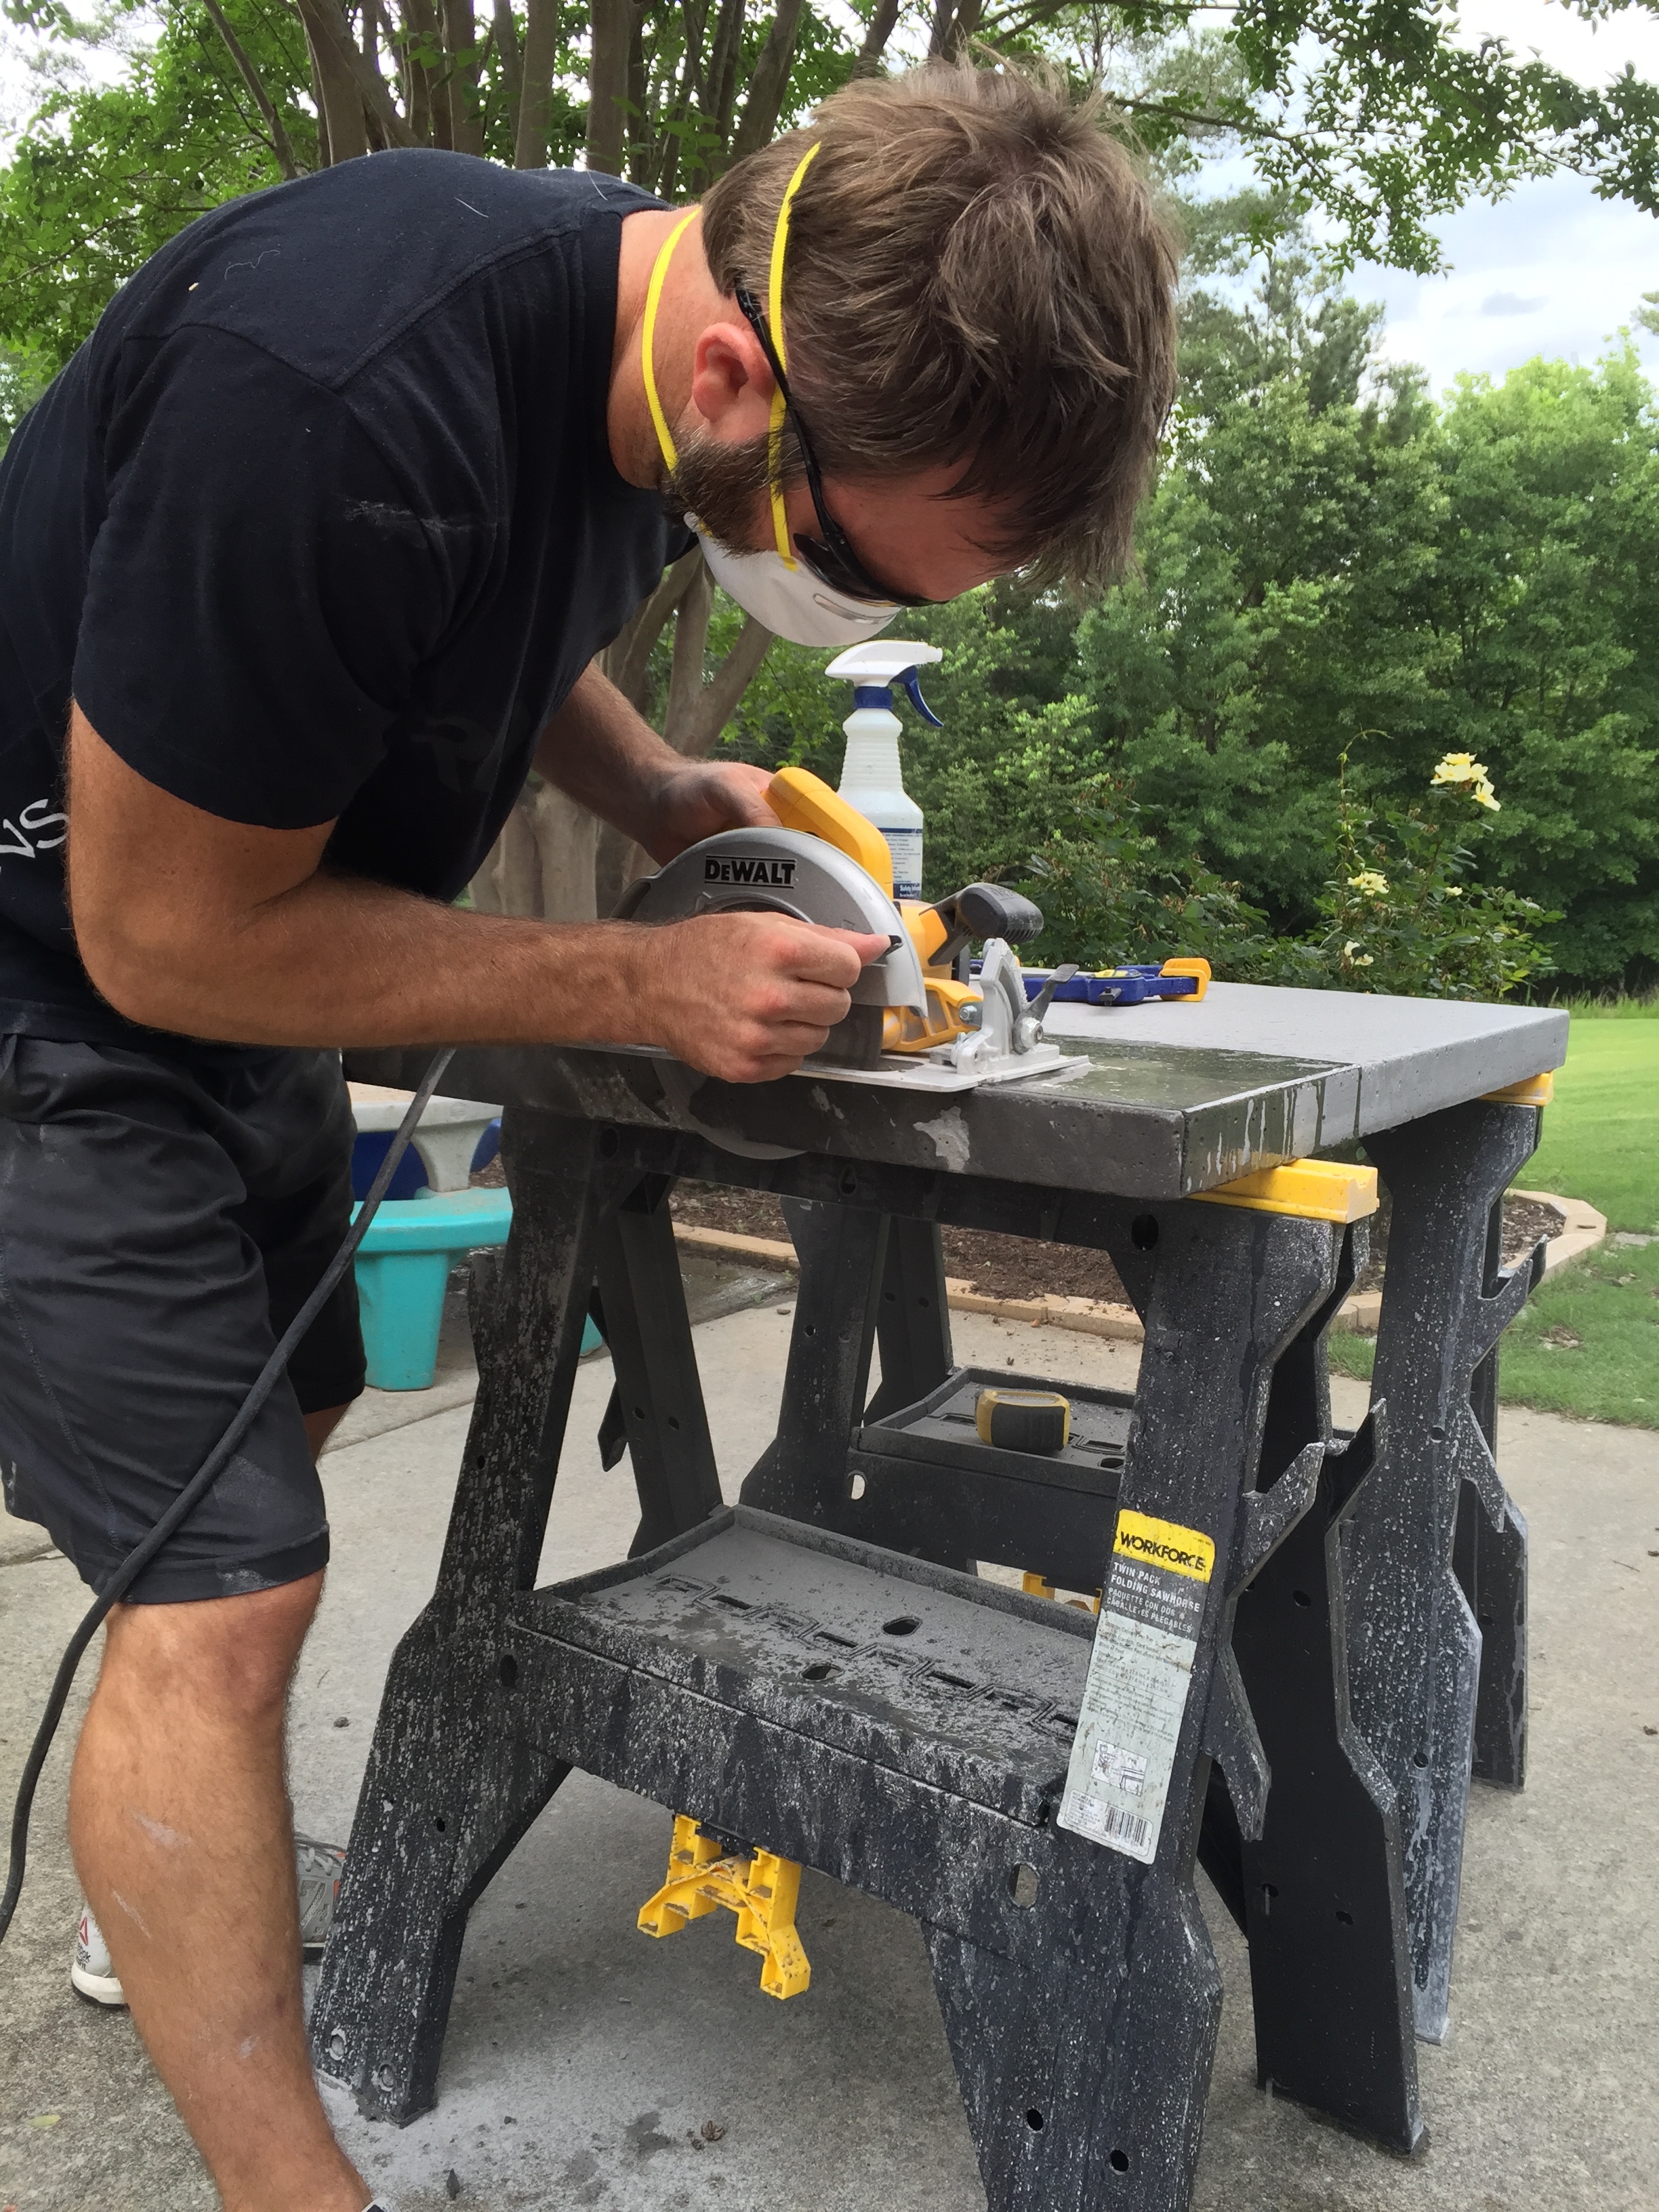
He sprayed it down with loads of water and used a circular saw to wet-cut it.
The blade he used is intended for masonry so it worked perfectly! We tested it in the spot and voila! Disaster averted.
QUESTION #2 – How did you finish the countertop?
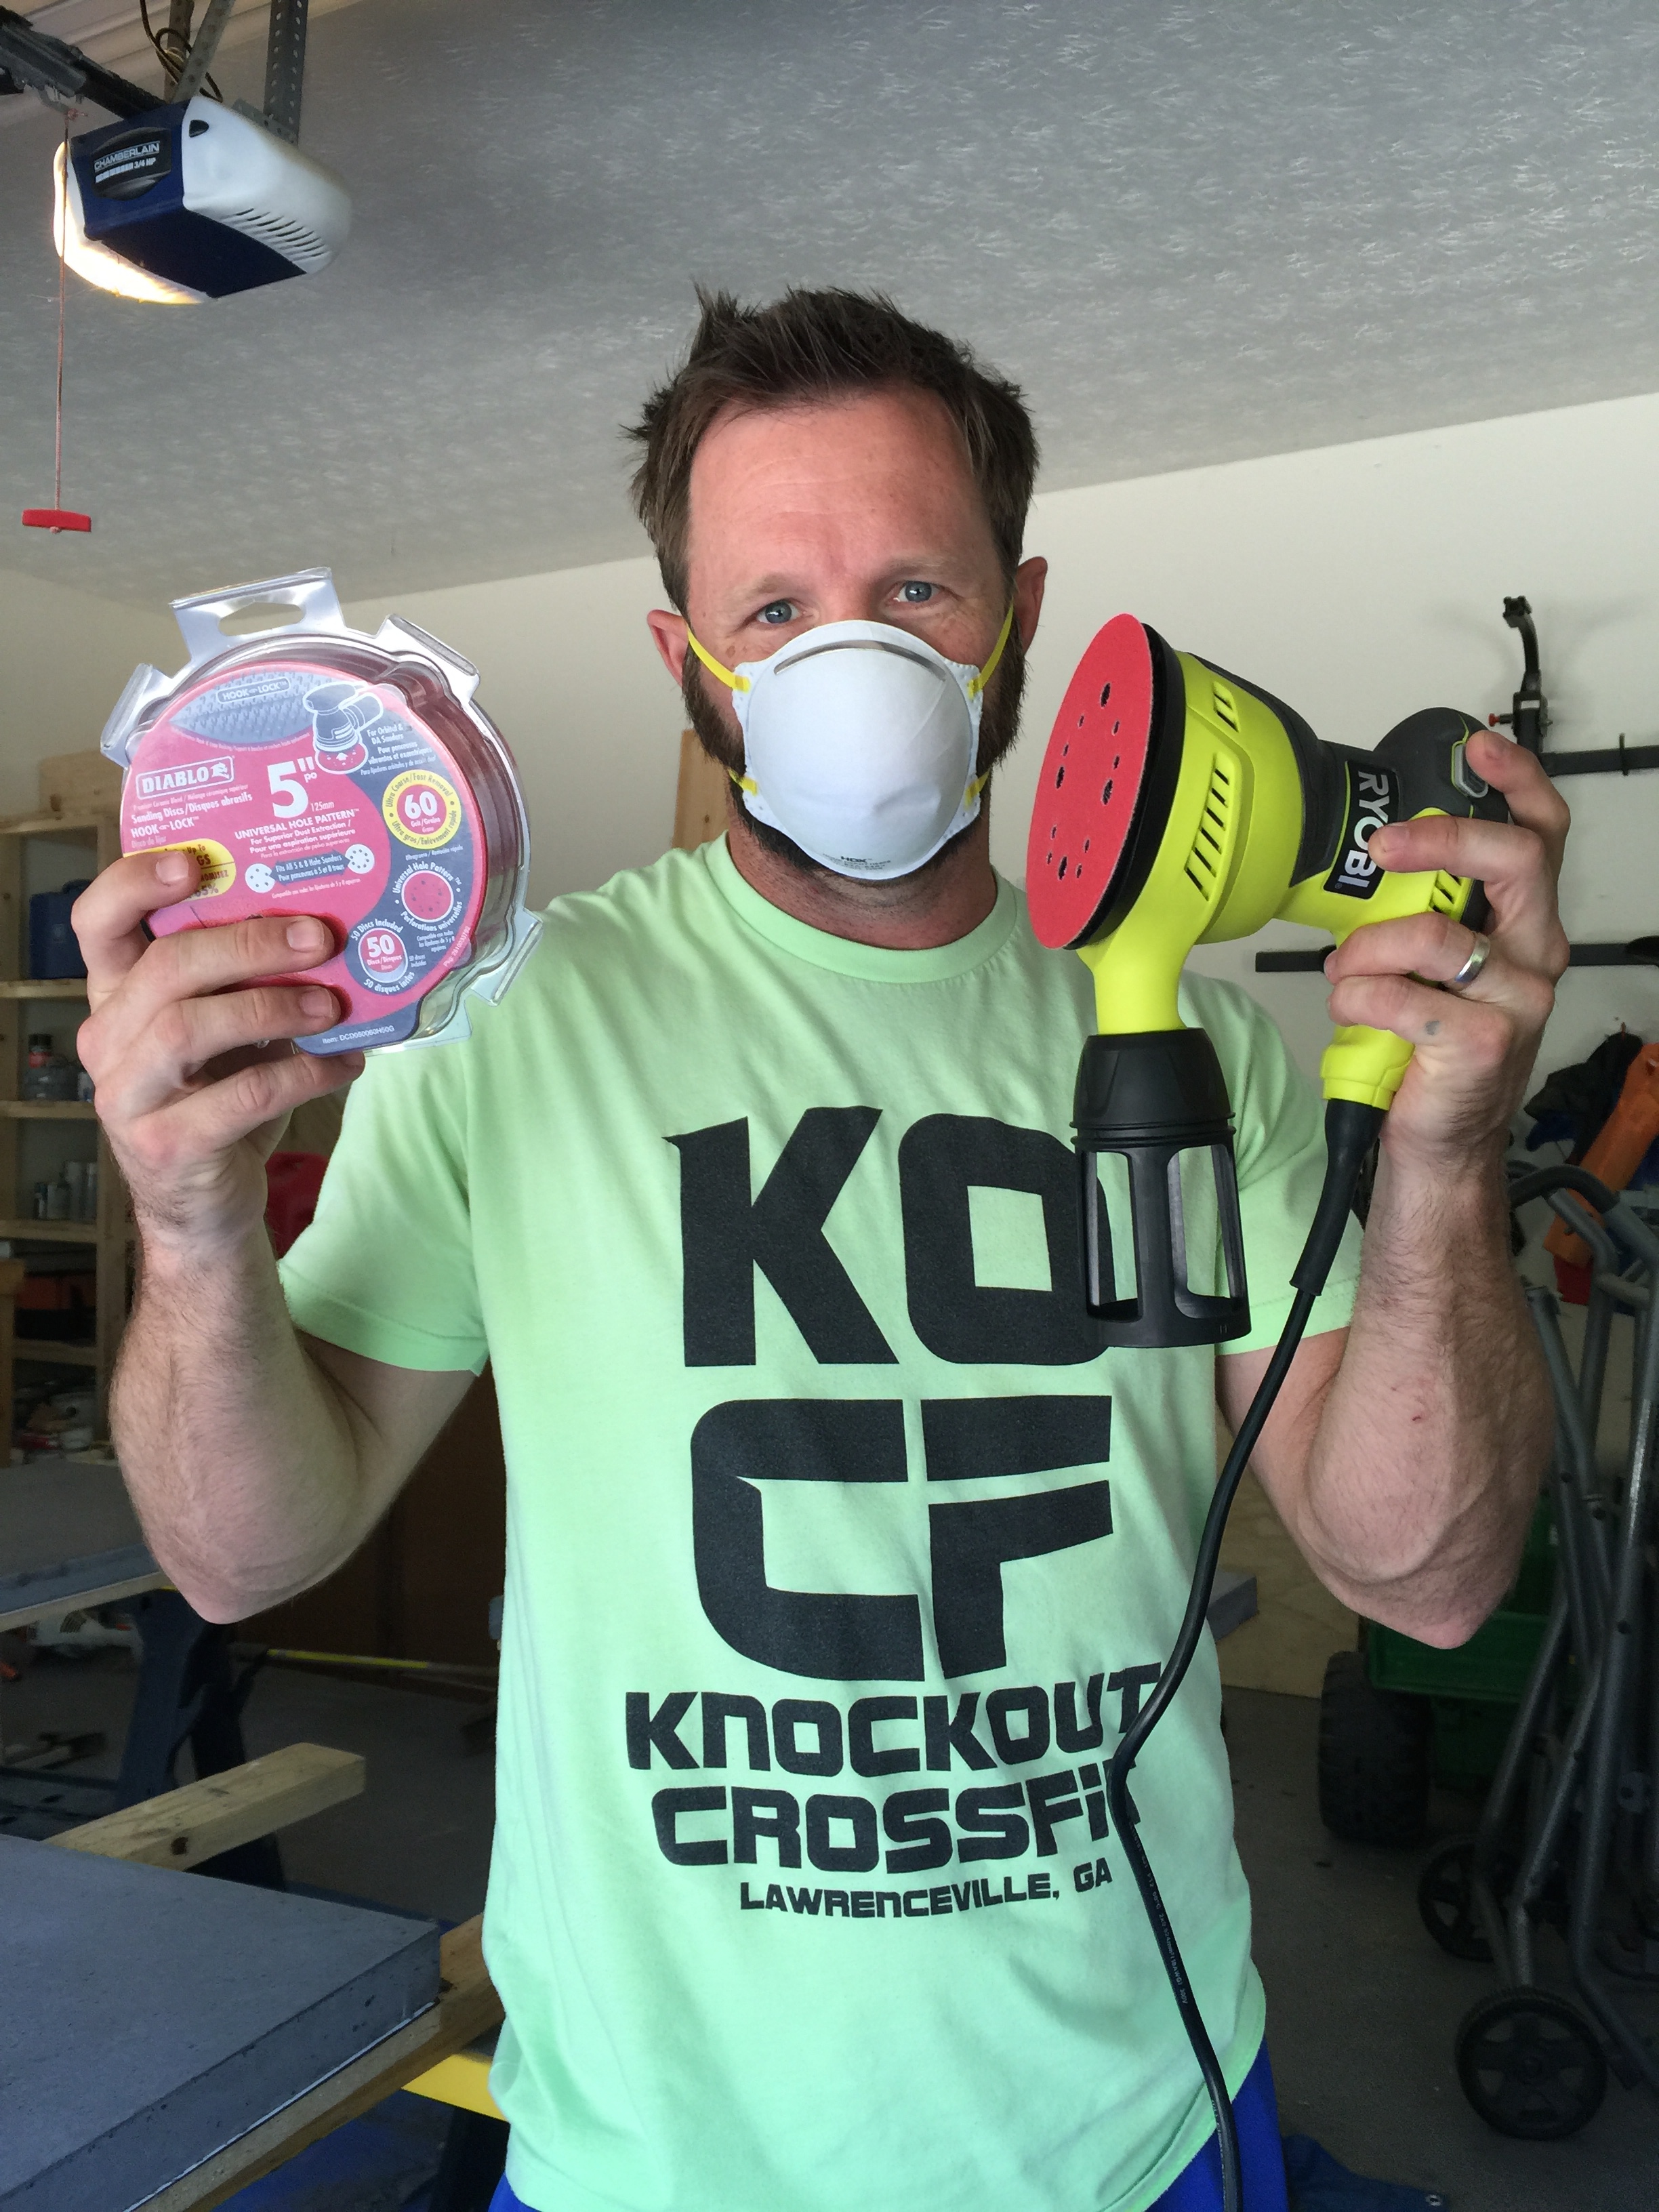
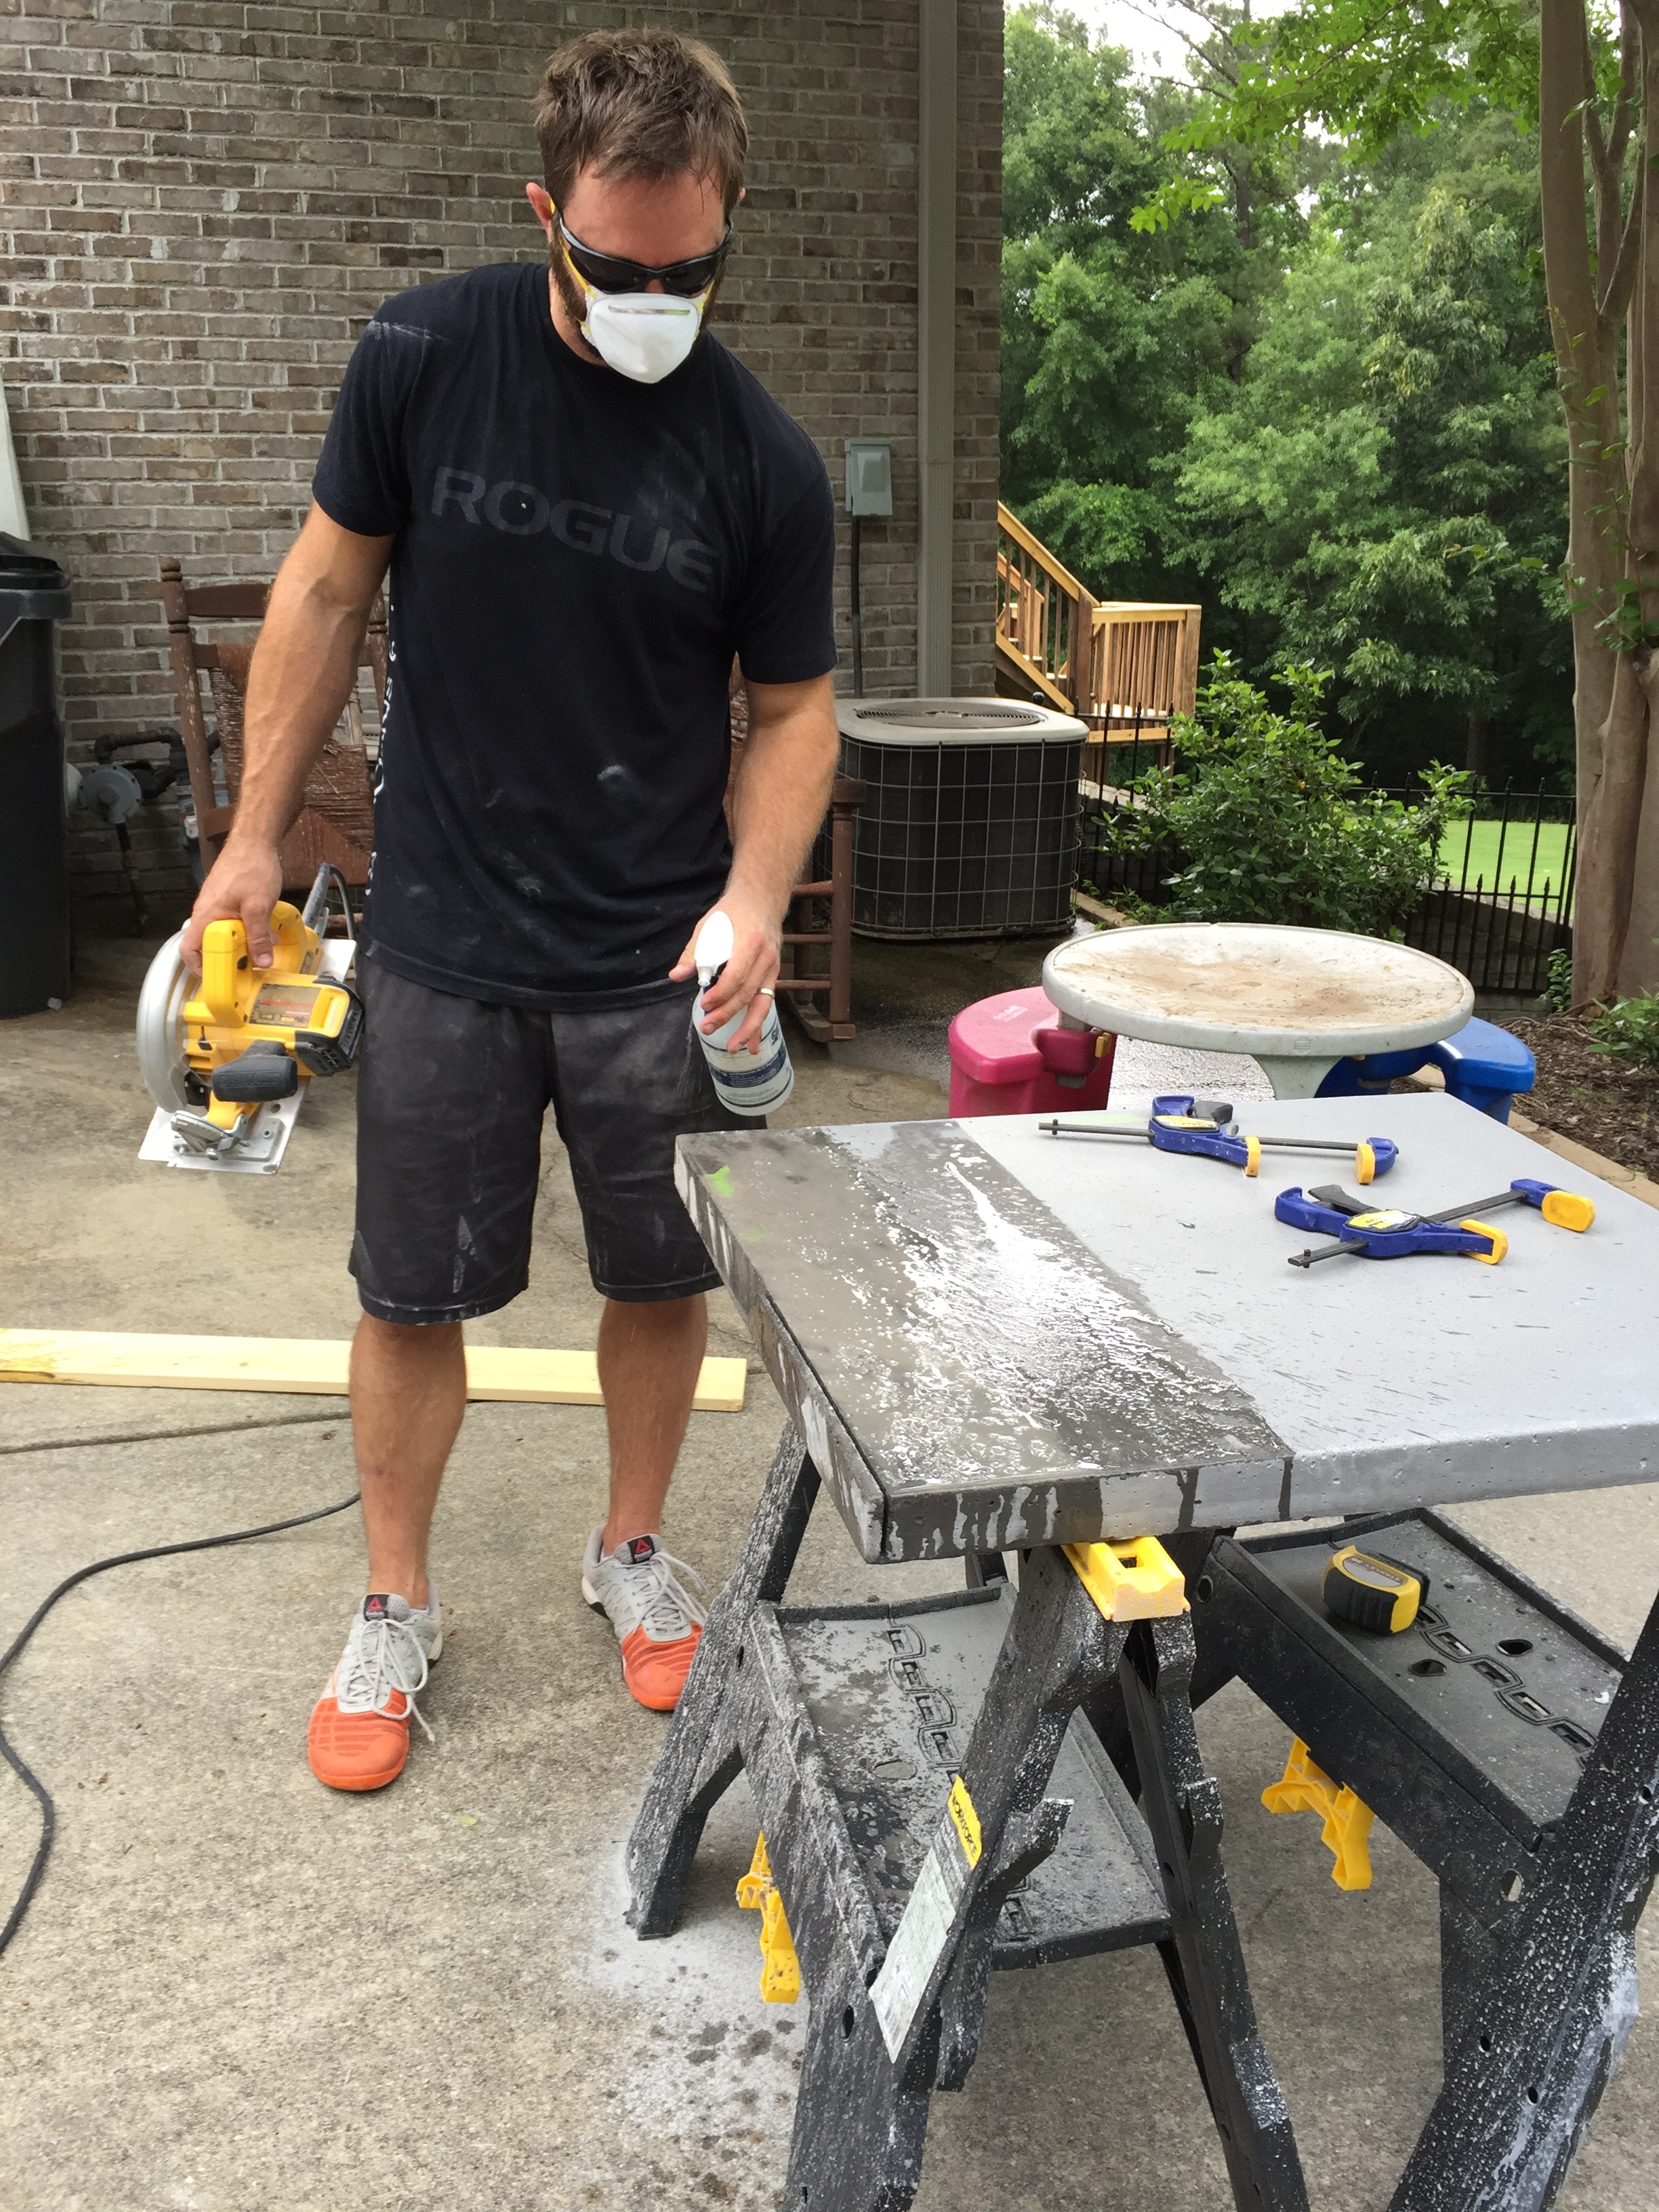
Jeremy is posing with the sander and sandpaper but let me assure you – he quickly realized that he did not want to do this job. So I hopped on sanding duty while he watched the kiddos attempt to kill each other 🙂 KIDDING. They are precious angels that never do anything crazy.

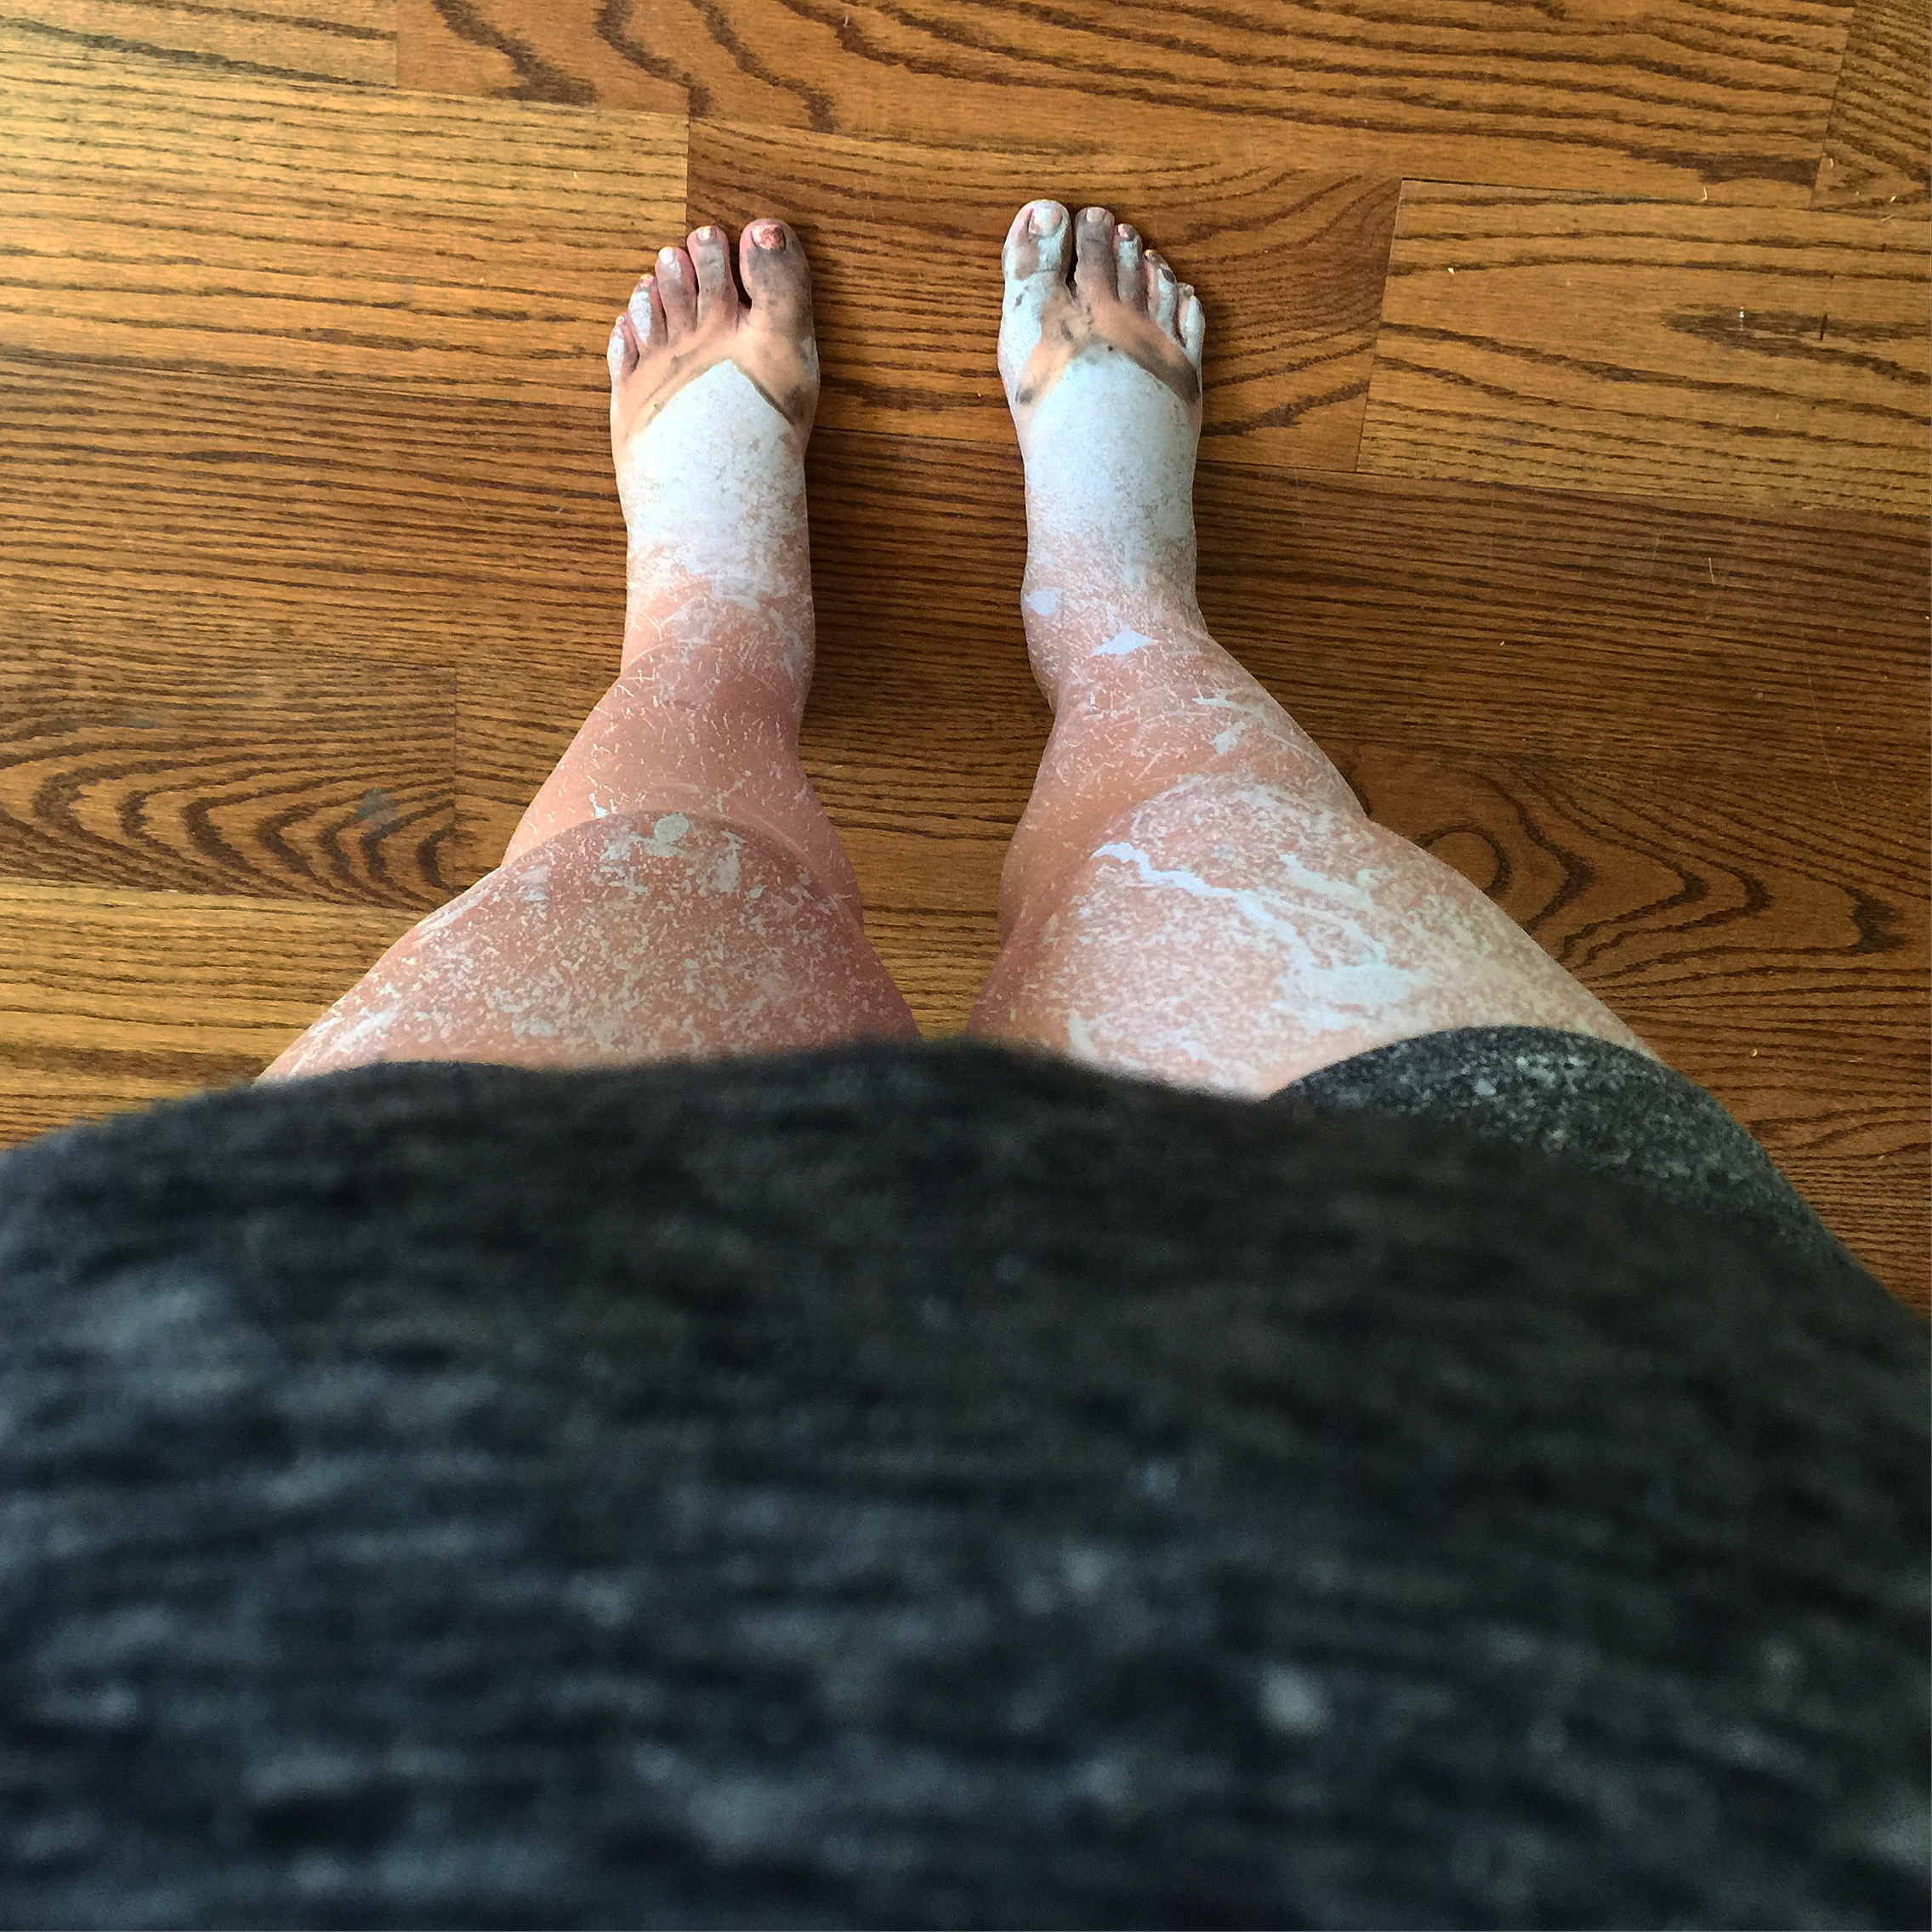
Basically you just take a sander and a spray bottle of water and constantly wet sand the entire surface. It is crazy messy and will ruin your pedicure but it is amazing how smooth the countertop gets.
Then you need to install it. We made sure our cabinetry was level to start with so that definitely helps. You simply lay it all out on the counters after it is clean and dry and then shim any low spots and then use some caulk adhesive to put it in place. The counters are super heavy duty so lifting them is pretty much impossible unless you do CrossFit. 🙂
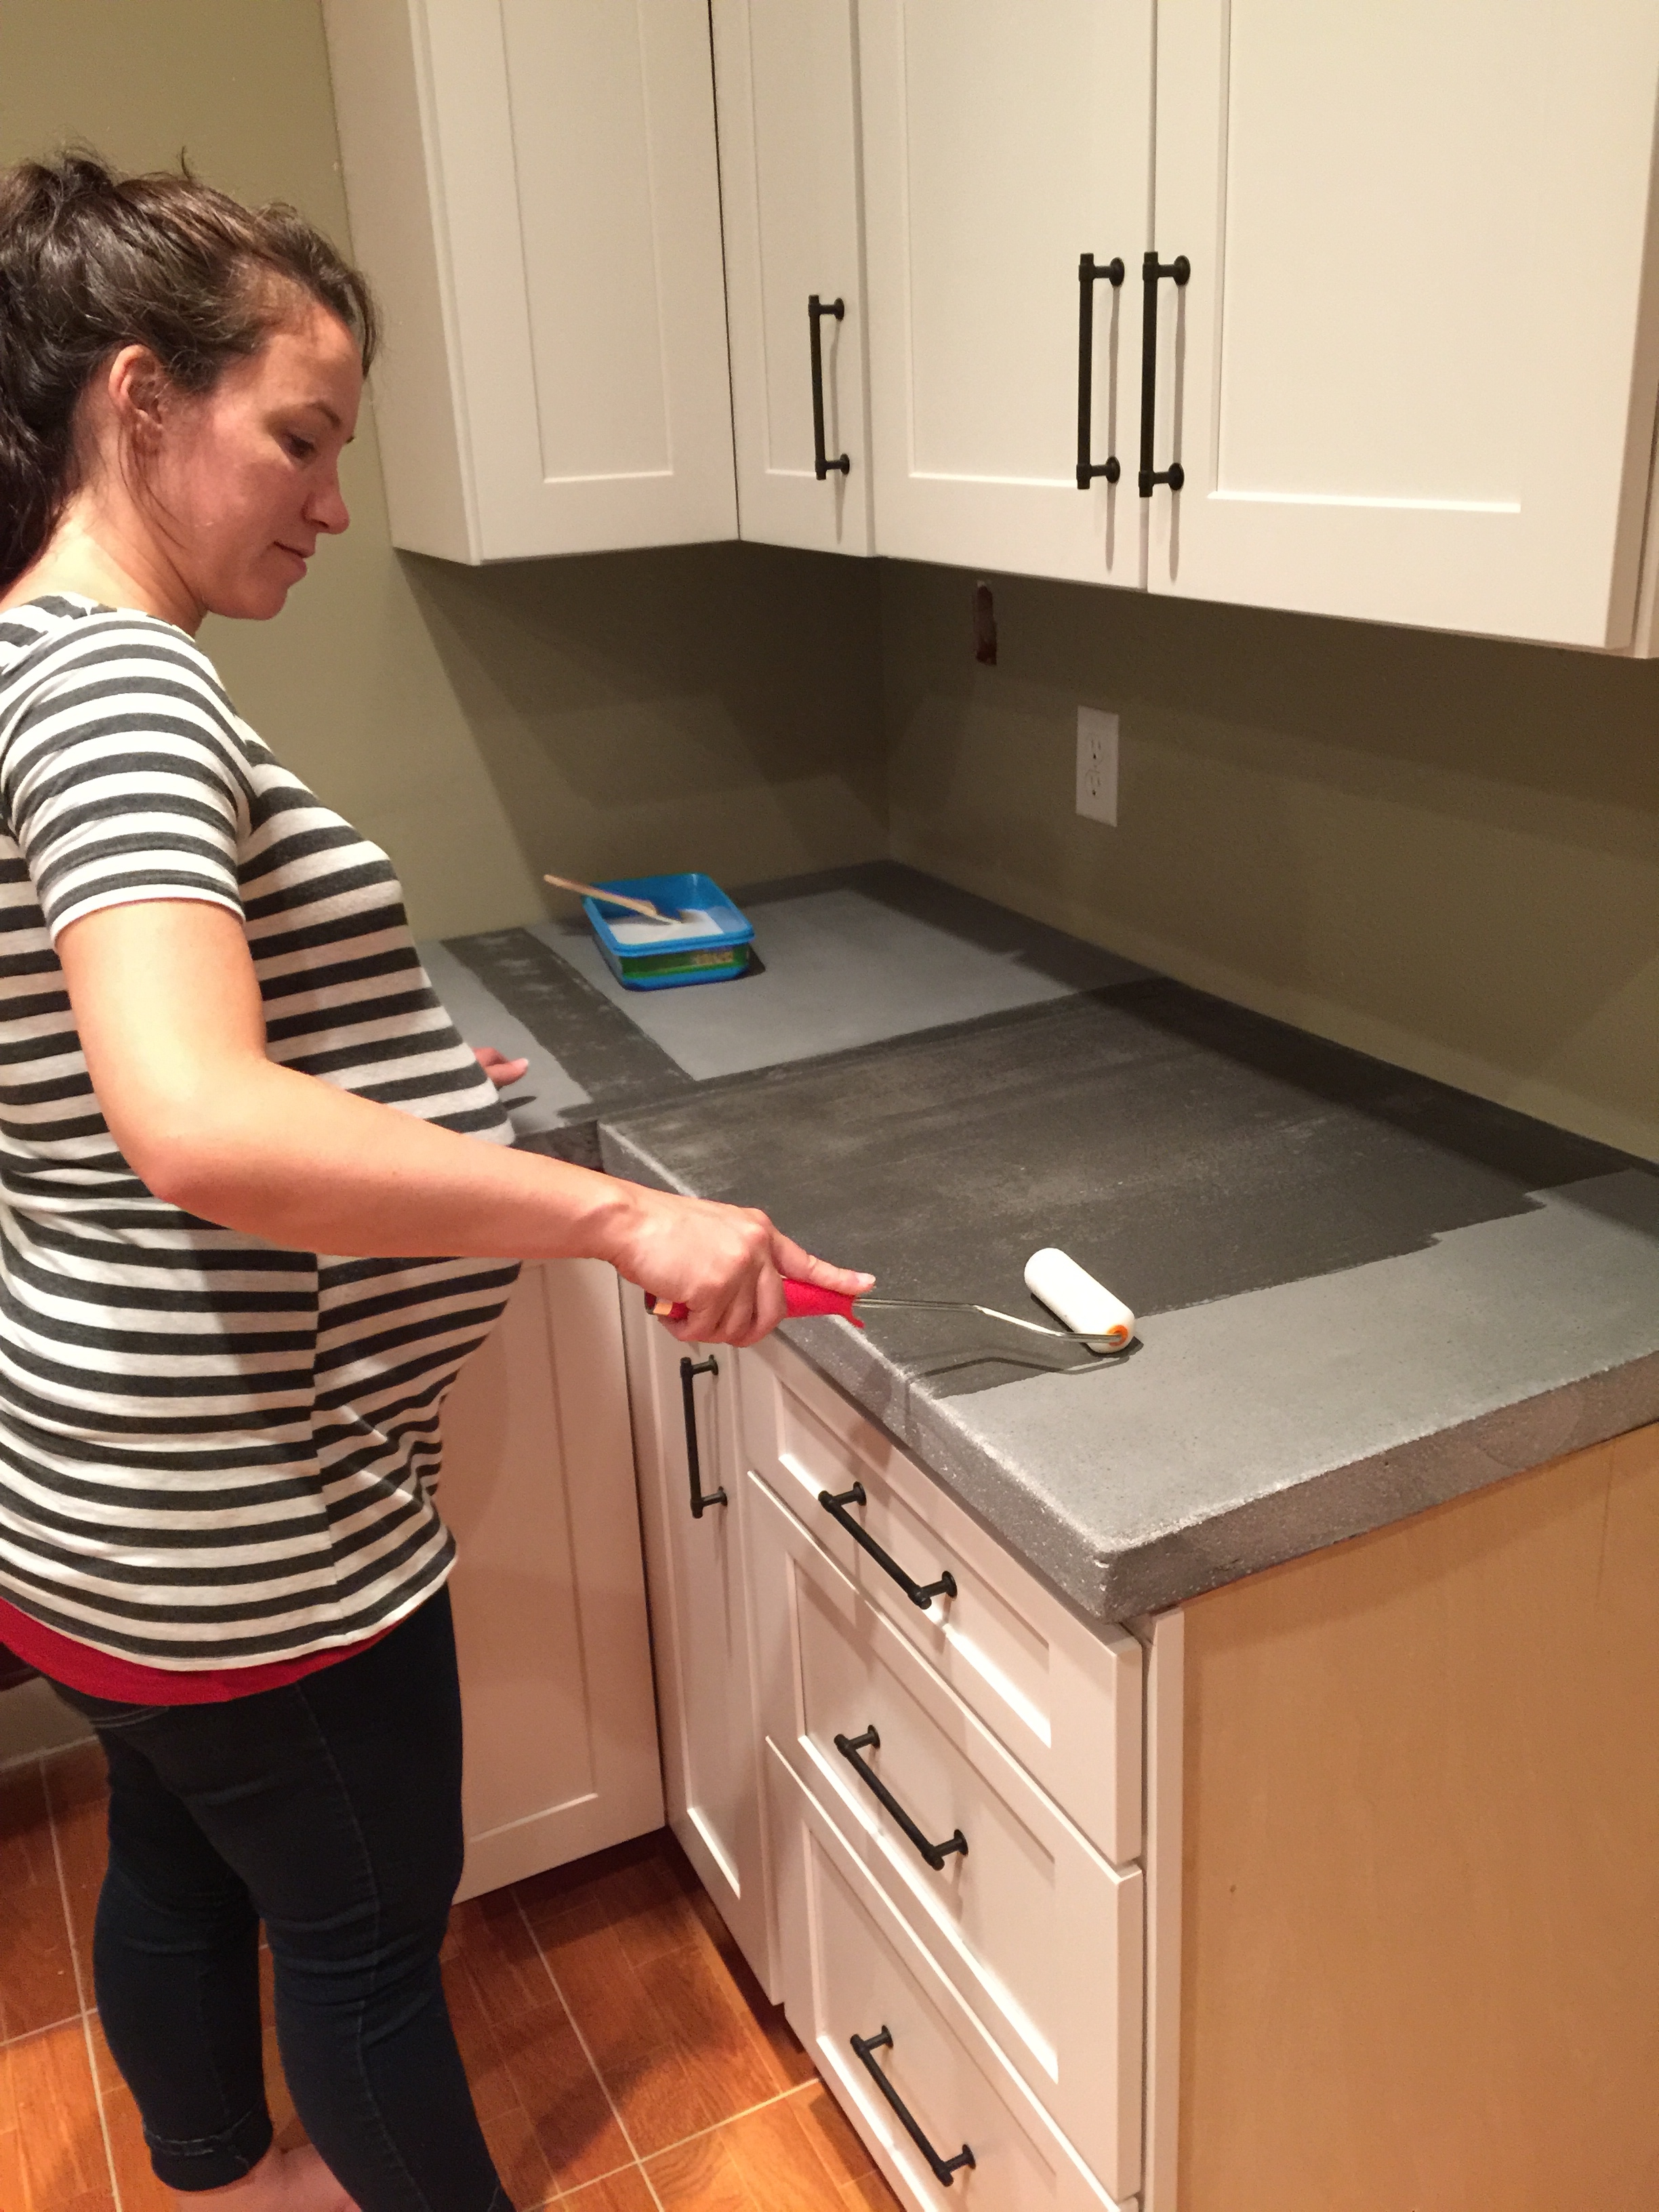
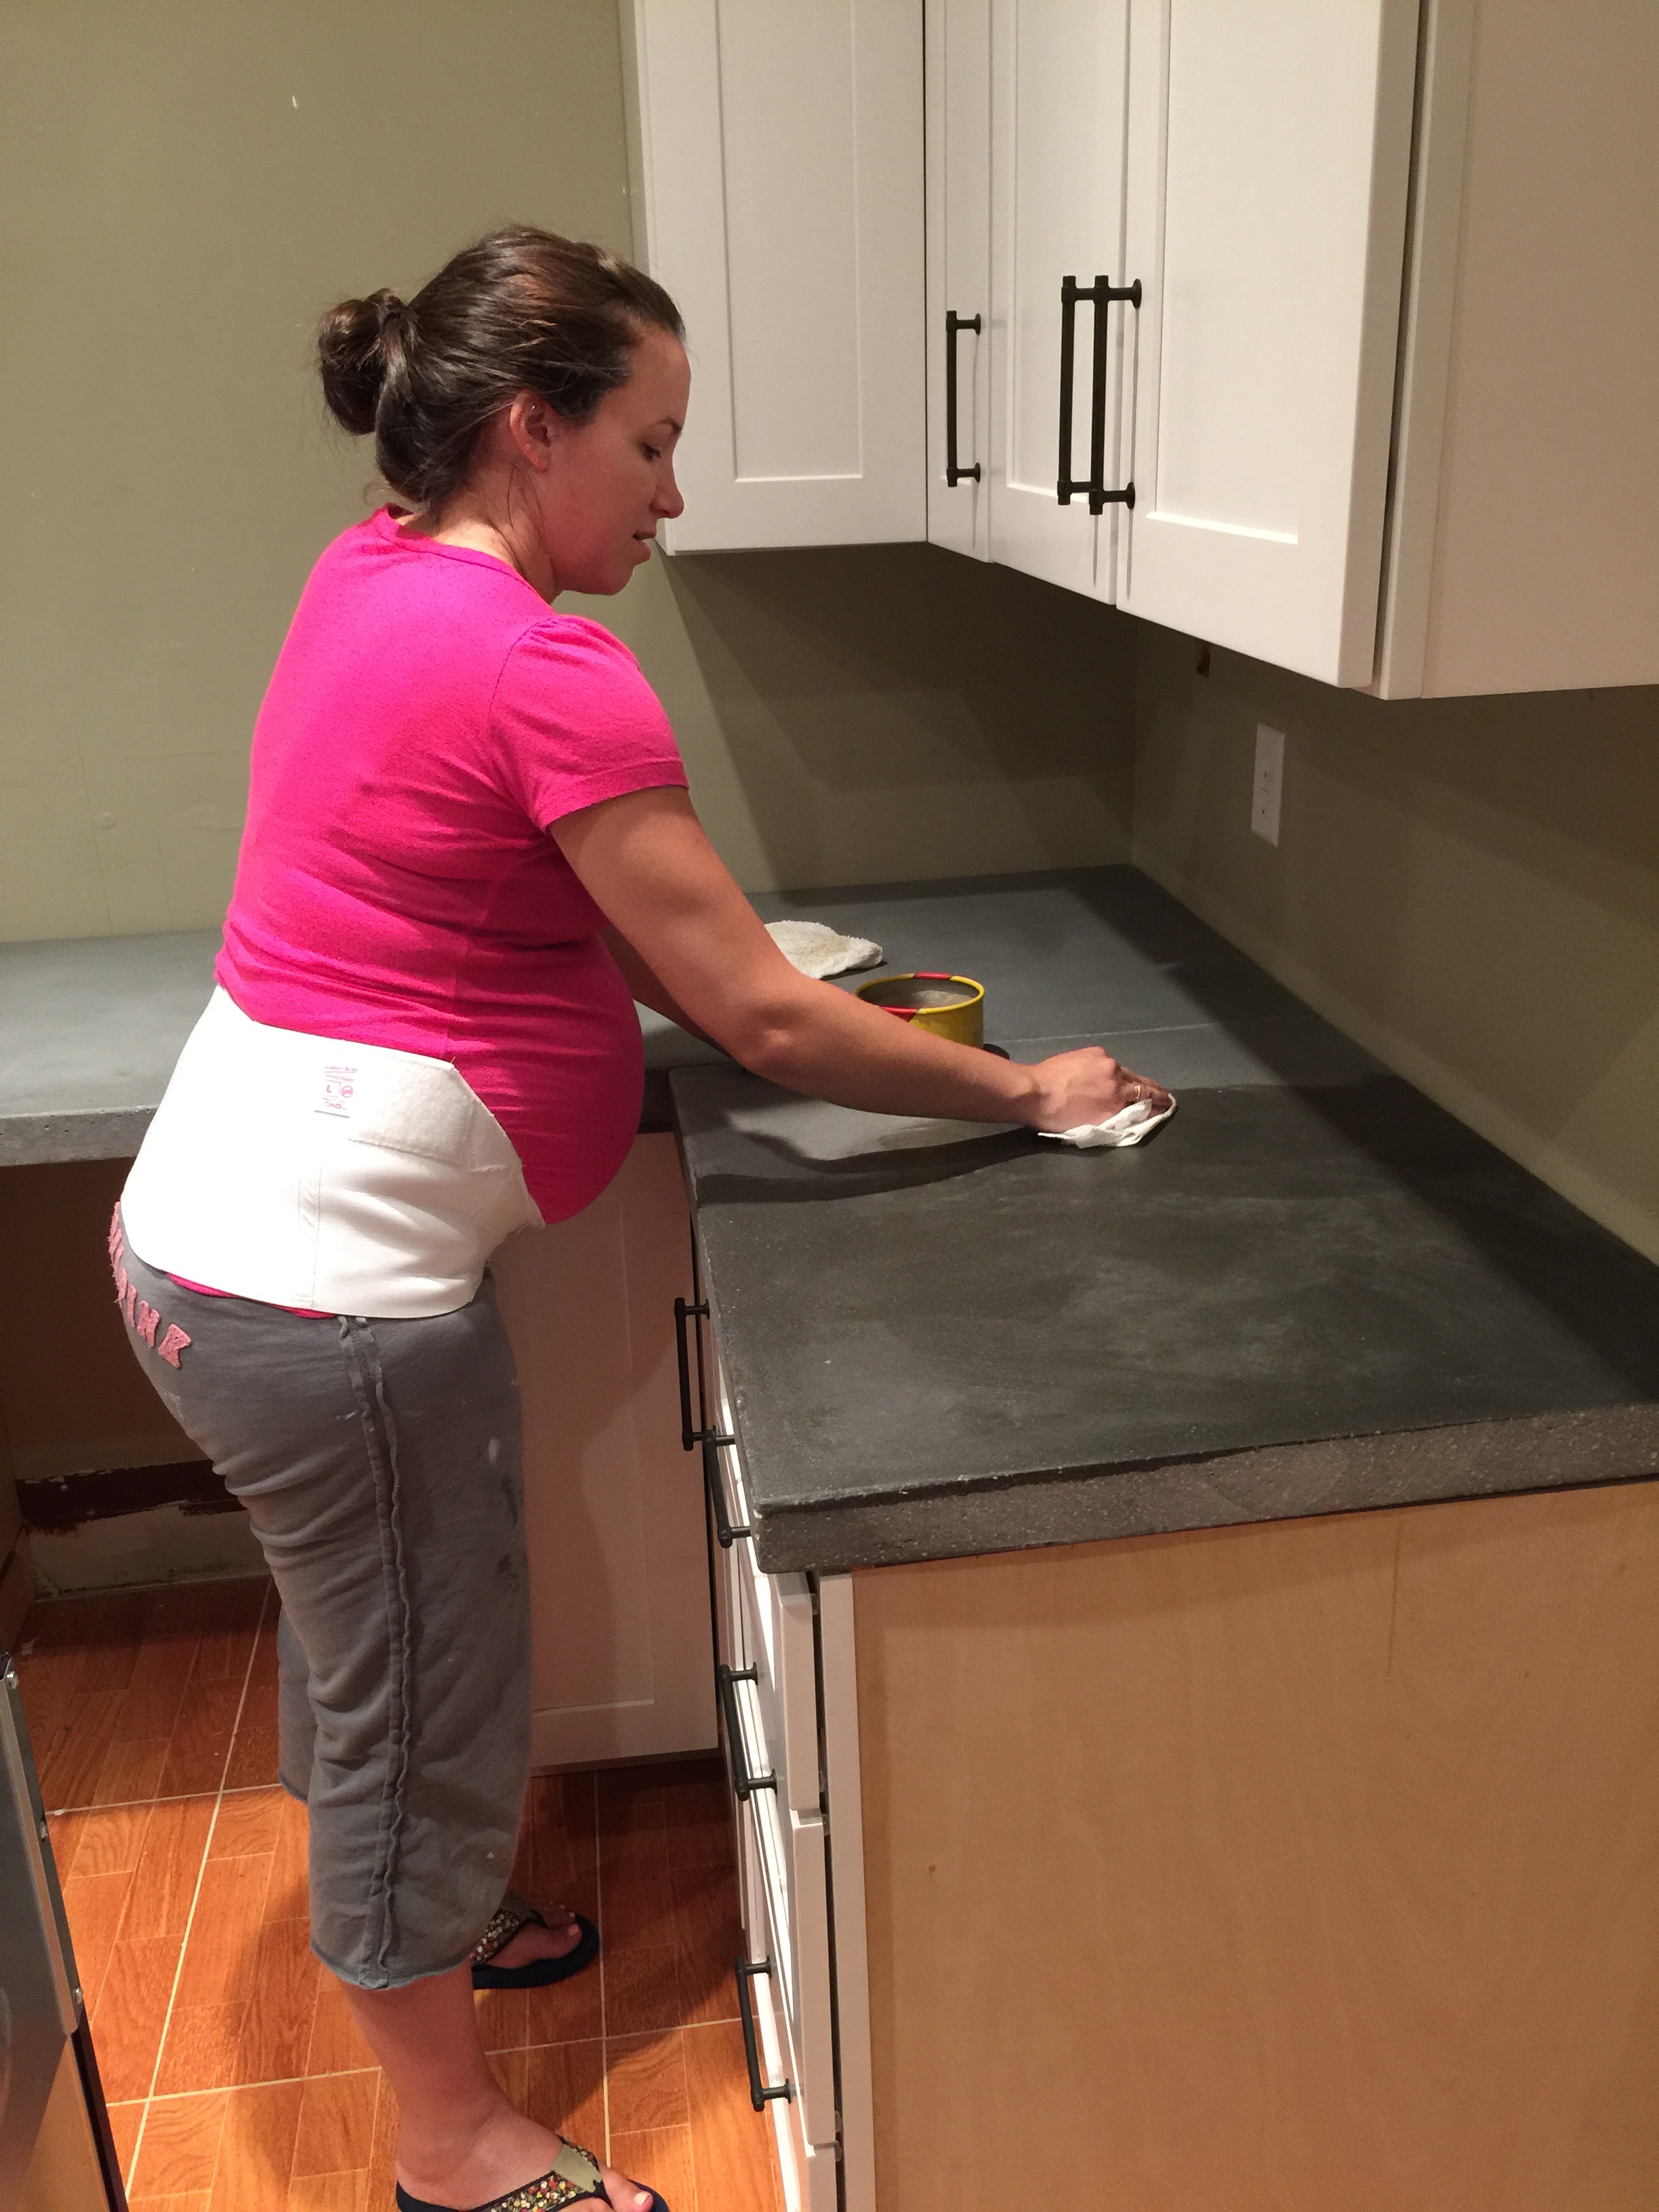
QUESTION #3 – How do you seal the countertops?
Ahh….our biggest mistake yet! We did install them and thought we had a good understanding of the sealing process…but we actually handed over the keys to the castle a little too early….figuratively speaking. We actually bought a water sealer…..which is what you see me doing there above…but in actuality, we should have bought a penetrating sealer.
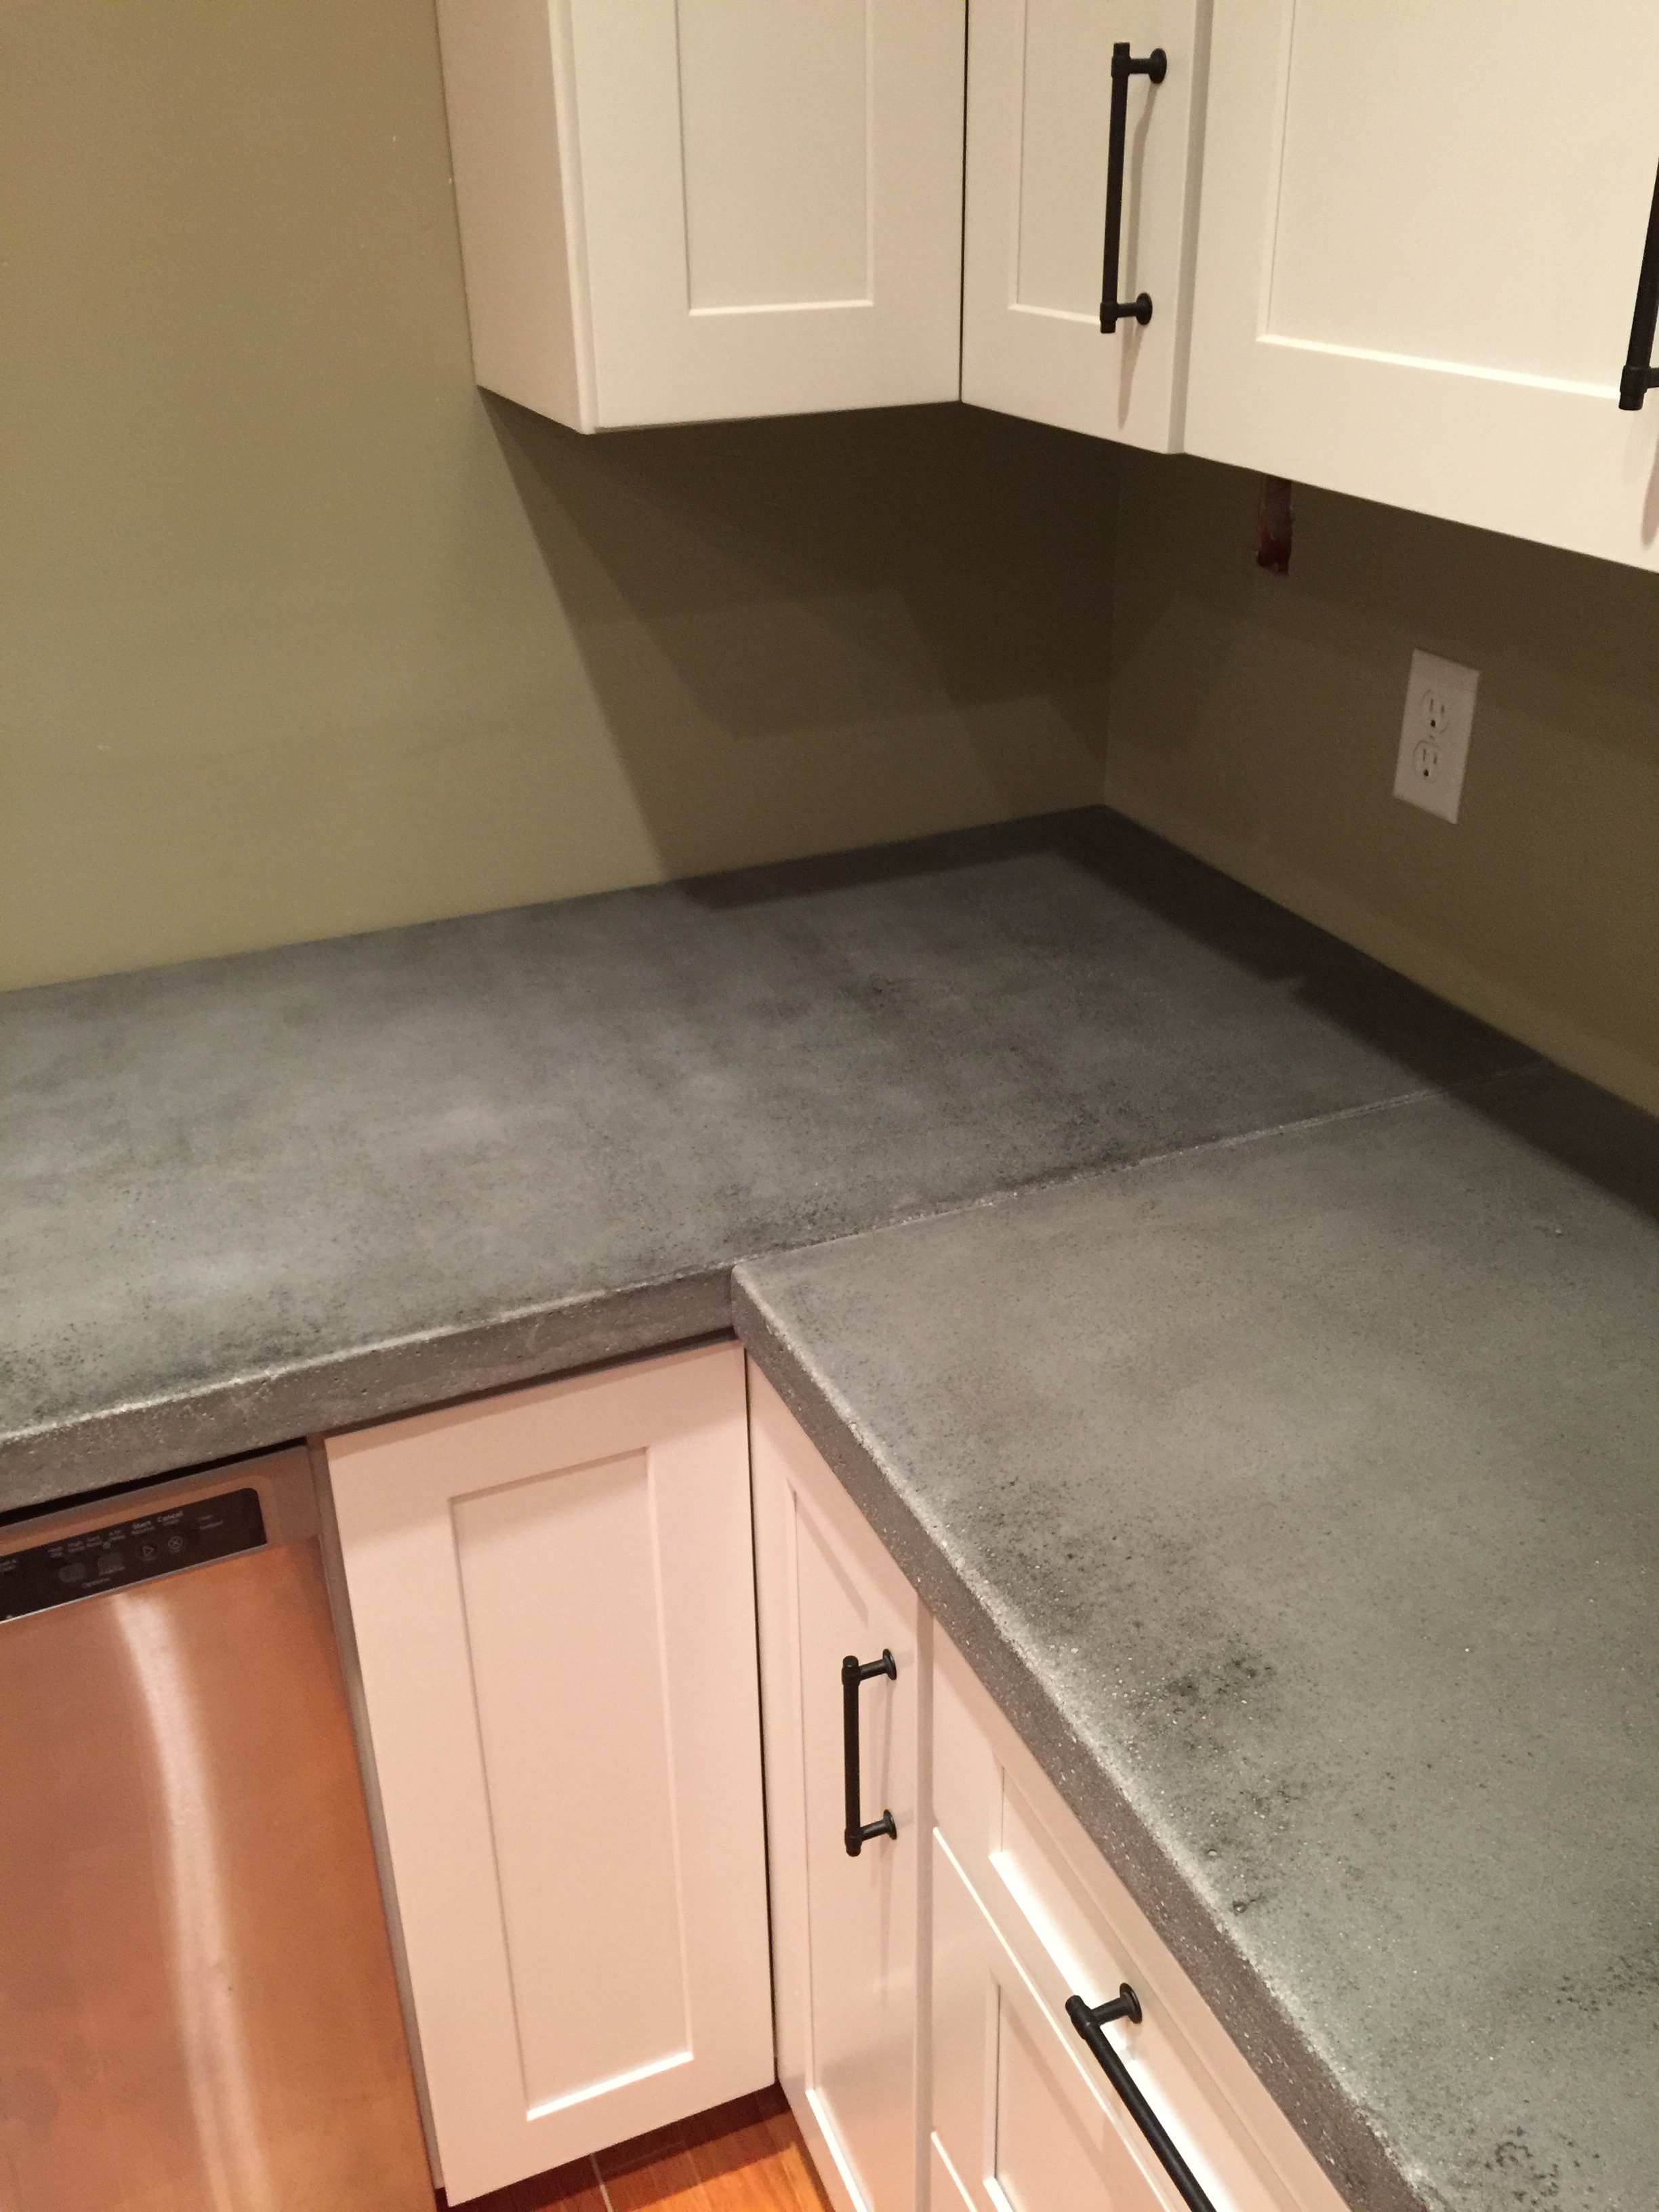
We did three coats of the waterproofing sealer and then let that dry. It does darken the concrete a little – which we fully expected.
Then we used a furniture wax to fill in the holes. Another mistake on our part. In hind sight, we should have done a slurry before installation and then sanded it all down and then used a penetrating sealer like this one and then finished with a concrete countertop wax. Now we do have some olive oil marks from a drippy bottle but I am confident we can fix our mistakes!
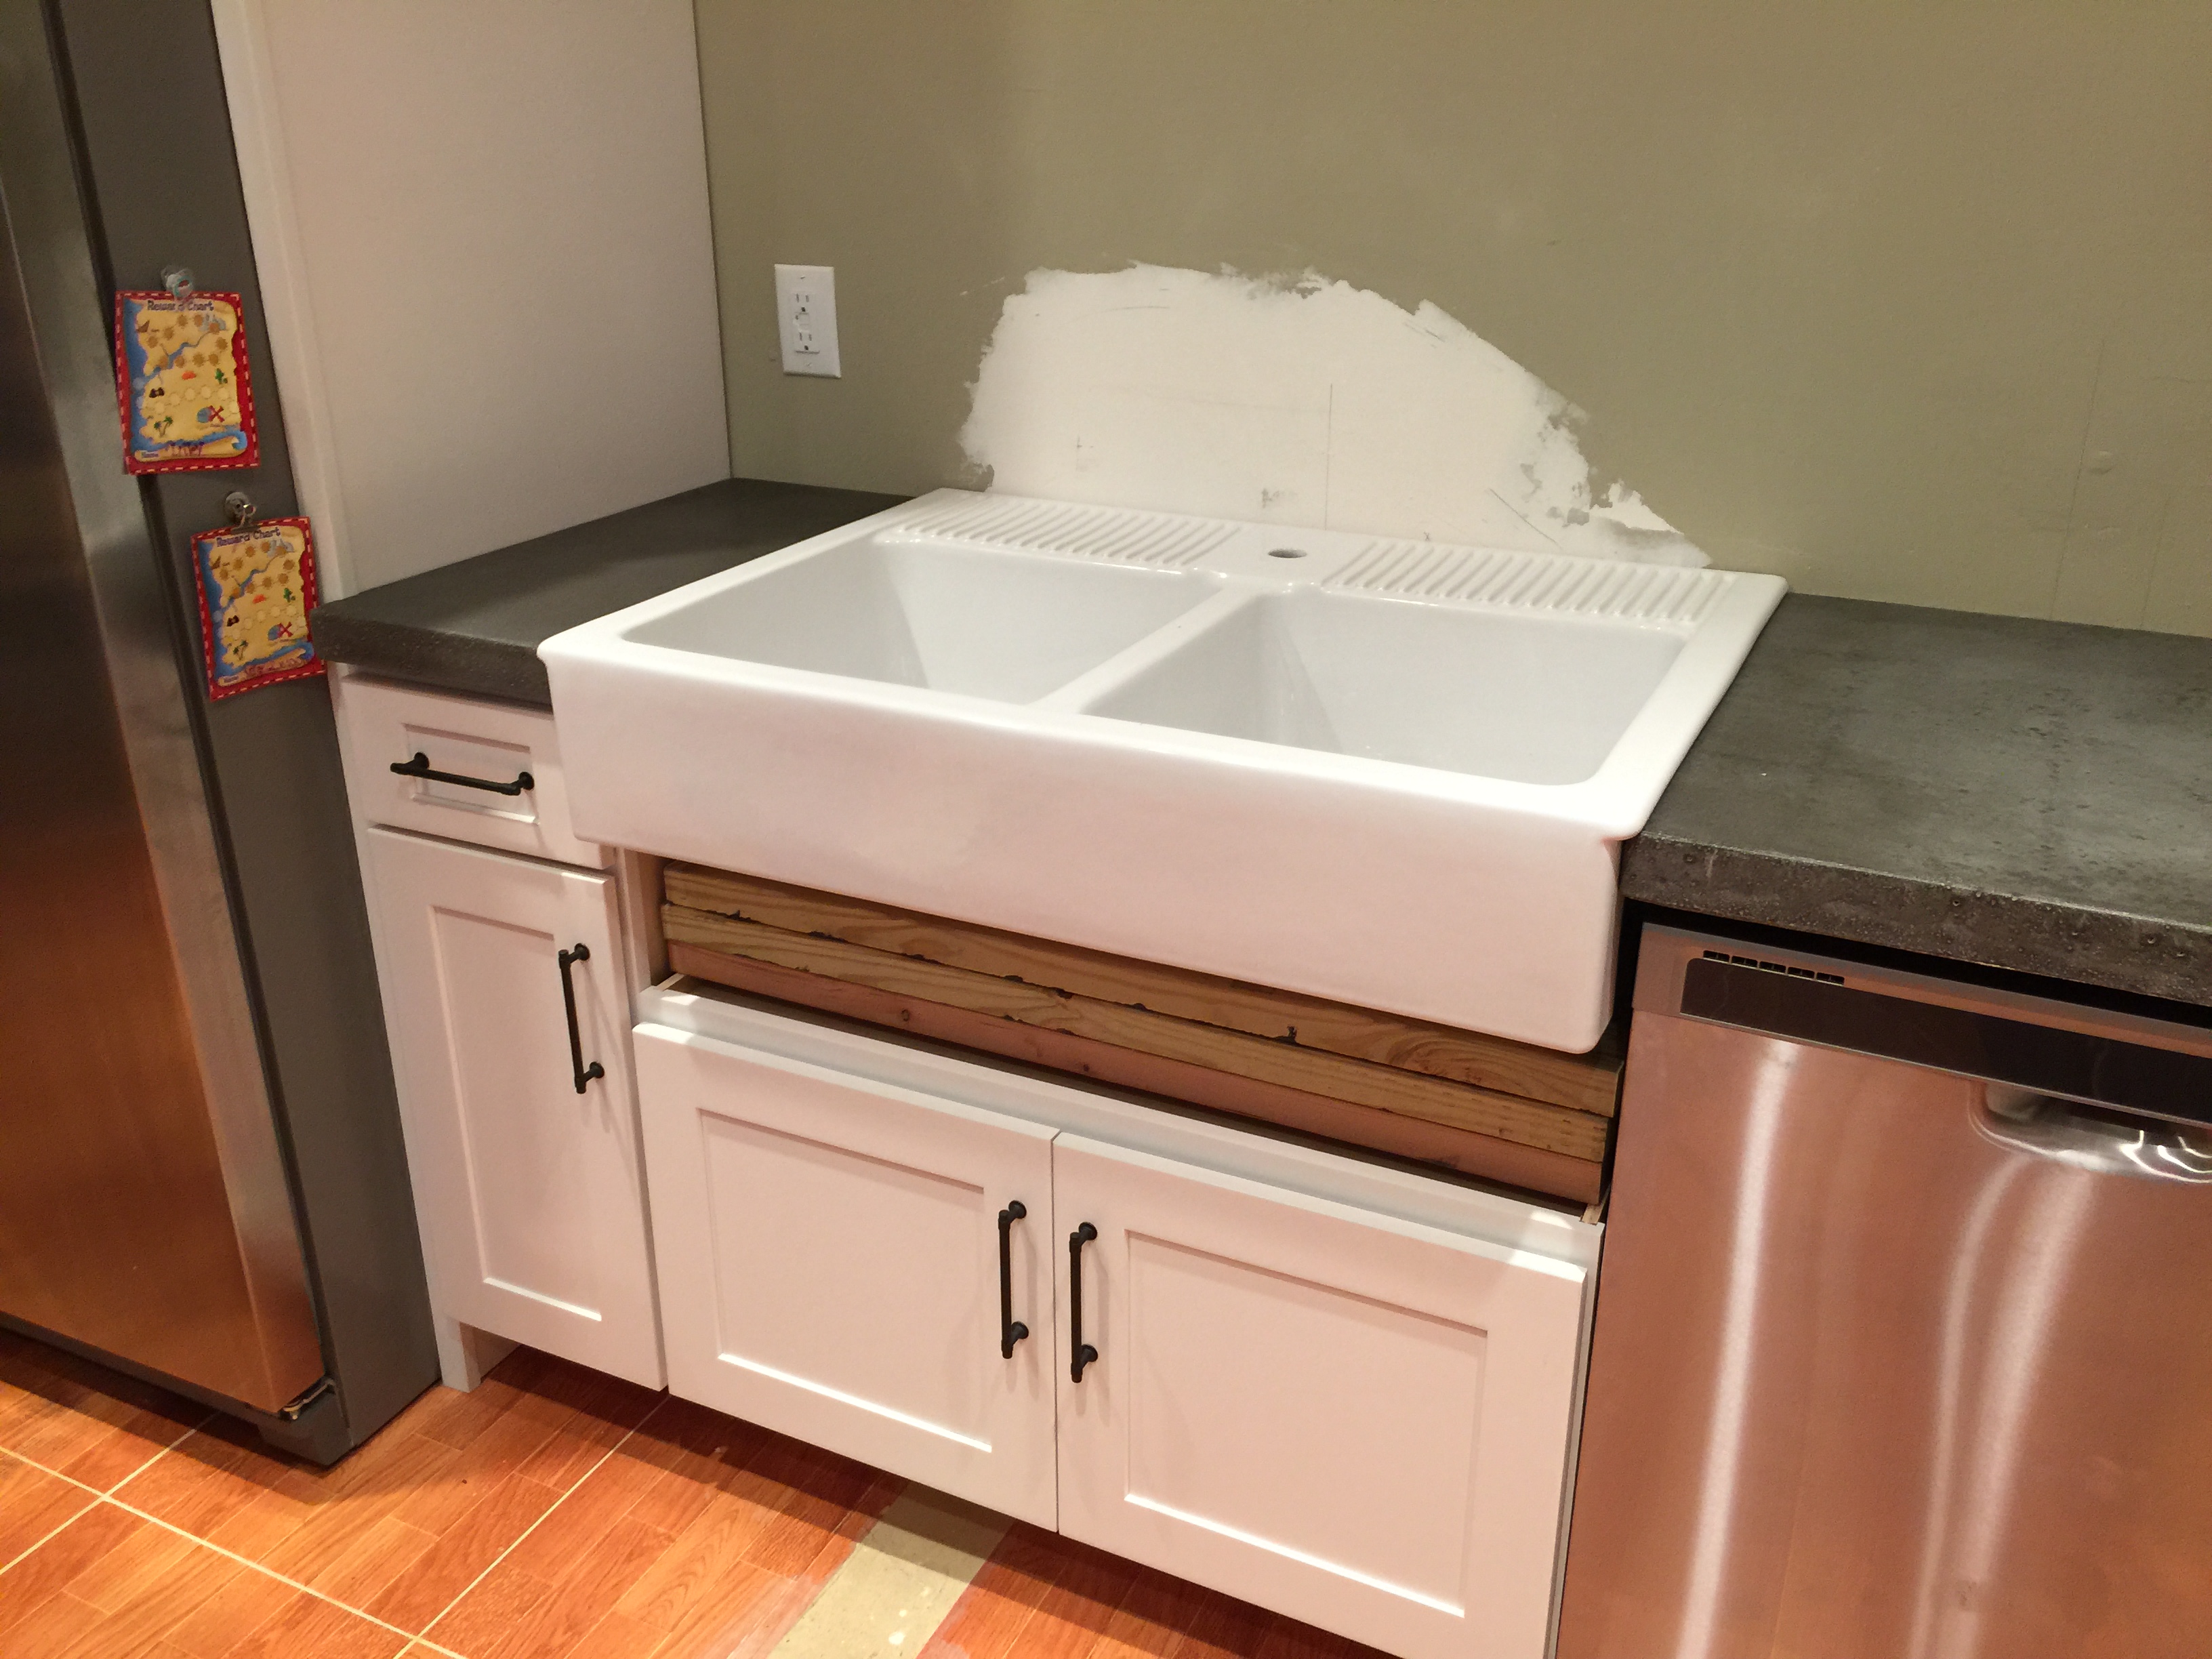
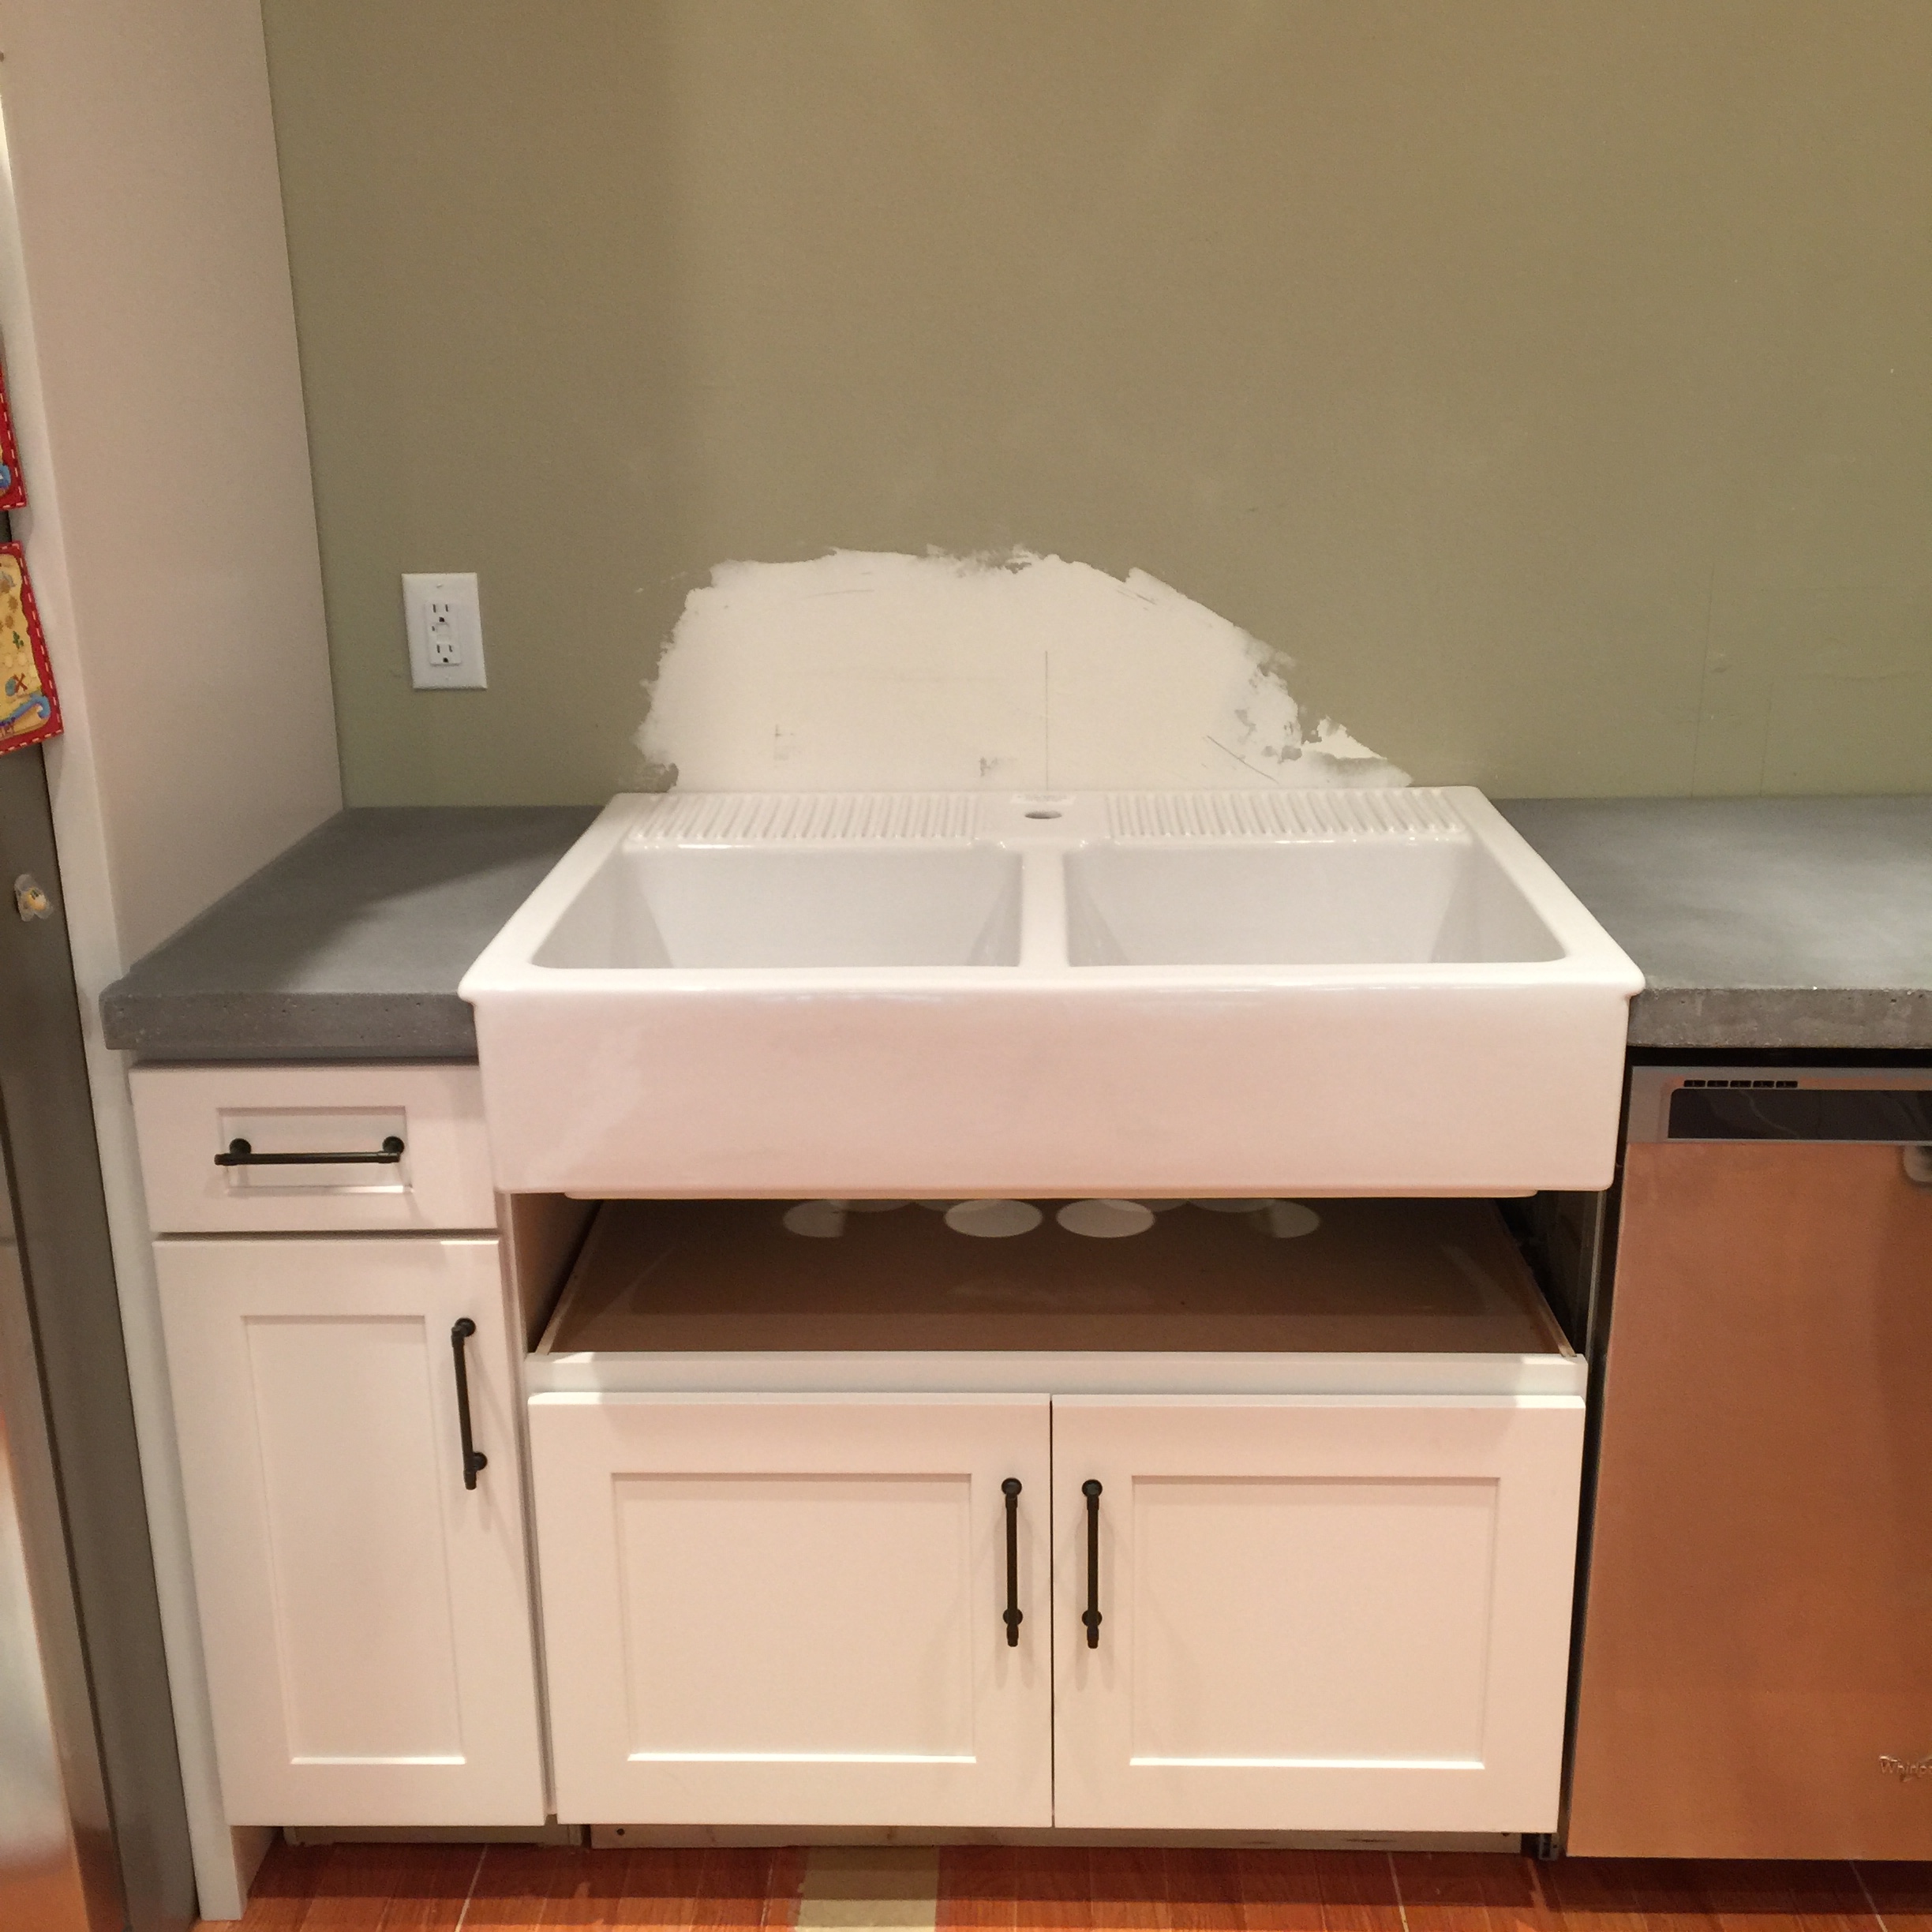
QUESTION #4 – Is that an apron front sink I see?
Yes! We scored the double basin, apron front sink from Ikea and we absolutely love it!

The sink was necessary to have before building the forms and pouring the concrete so we were happy when everything fit together like a puzzle! We definitely have more to share as this was a BEAST to install and also how we retrofitted that above-the-fridge cabinet into a base cabinet for this sink!
QUESTION #5 – How much did the countertops cost? Can you do a budget breakdown?
Sure! The concrete was super affordable and that definitely was a deciding factor in this space. We were sent the concrete by Quikrete but if we bought it, the cost wouldn’t have been a deal breaker. It was just really nice that the folks over there wanted to help us out in this project! We really appreciated that gesture 🙂
Okay – so here we go:
- 1 Remesh sheet – $7.25
- 2 bottles of 10 oz. Liquid Cement Color – Charcoal – $6.73 each
- 2 4×8 Melamine board – $29.25 each
- (13 Quikrete 80lb Commercial Grade Countertop Mix – $15.97 each – supplied to us. buy the regular one.)
- 13 Quikrete 8olb concrete mix – $3.90 each
- 1 10oz GE Black Silicone $6.53
- 1 box of #8 1 1/2in. wood screws $8.47
- 1 12×16 Tarp $23.98
- 1 6×8 Tarp $6.48
- Sandpaper $19.97
- Ghostshield (what we should have done) $59.88
- concrete wax (what we should have done) $24.50
TOTAL : $279.72 ALL IN for counters finished.
Not too shabby! I mean…it’s basically the same cost as inexpensive laminate countertops but the look and feel is so nice. Plus…Joanna Gaines has concrete countertops….so there’s that 🙂
Any other questions – just put it right there in the comments!
p.s. A frequent question was why we didn’t do the method that Chris Loves Julia did….they have beautiful white concrete counters and the answer is – because we weren’t as confident that we could actually do this! We went with a form method because if we did screw up, we could scrap it and start over. Basically we cheated 🙂 And because we felt more comfortable with our method because we could call friends who do it this way for a living. Chris & Julia’s countertops are poured in place. Plus remember – we did these way before Chris & Julia posted about their kitchen so we set a trend telepathically 🙂
p.p.s. Another frequent question was why we didn’t do it like Jenny at Little Green Notebook who used Ardex on plywood. Ardex is a concrete mix that you trowel on instead of pour and we personally didn’t like the finish as much. Plus – you have to create the countertops in place (like Chris & Julia) and we didn’t feel like it was fool proof enough for us. If we screwed up (which we obviously did!), then we wanted to be able to scrap the section and start over! In the end, there are numerous ways to skin this concrete cat and I do love that all these DIYers did it differently! It just proves that there is no wrong way!