The concrete countertop post is here! This is a doozie so let’s just dive right in…
And then we learned how not to do the countertops correctly….
But we weren’t about to give up hope. Like the little blue hippo watering can in the picture below….you just gotta keep on smiling even if times are hard (and you are stuck on your side with your only hope being a two year old who wants to jam your face into some mud)….
So we learned from our DIY concrete countertop fail that the consistency of the concrete is super important. It is a make or break kinda thing here…
Too little water and your concrete will be full of air holes and need a concrete slurry (a wet mixture of cement paste, water and colorant) to fill the voids, gaps and holes. You might also have issues with proper color and even breakage!
Too much water and your concrete can shrink, lose it’s strength and have cracks. Yikes!
So for our second batch of concrete we followed the same instructions as before but we also added additional water till the slump was right. Yes…I can’t blame the bag entirely for our fail…..the first time we figured to go with the amount of water the bag said and added nothing more even though the bag clearly stated that there should be a 5-7″ slump. So there was definitely user-error in our first attempt. I’ll go sit in the DIY time out corner now 🙂
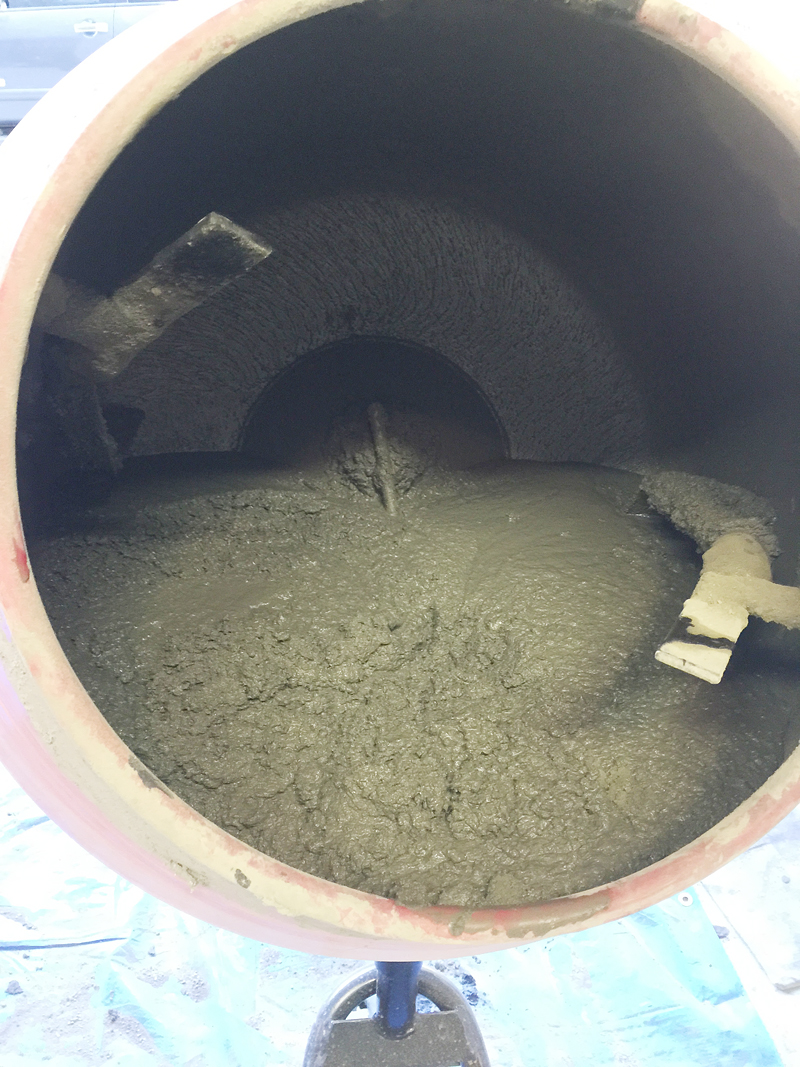
As you can see – the second time seemed like a much better consistency. It didn’t have a huge slump but big enough to make us think that this could work…
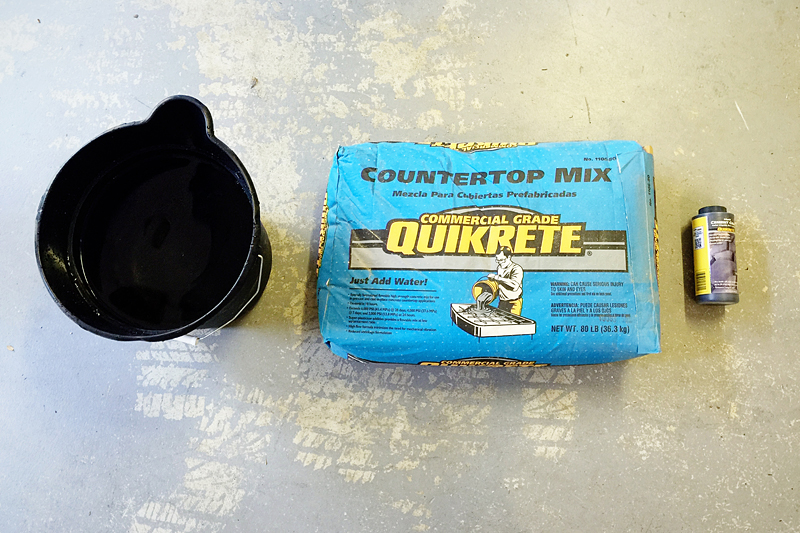
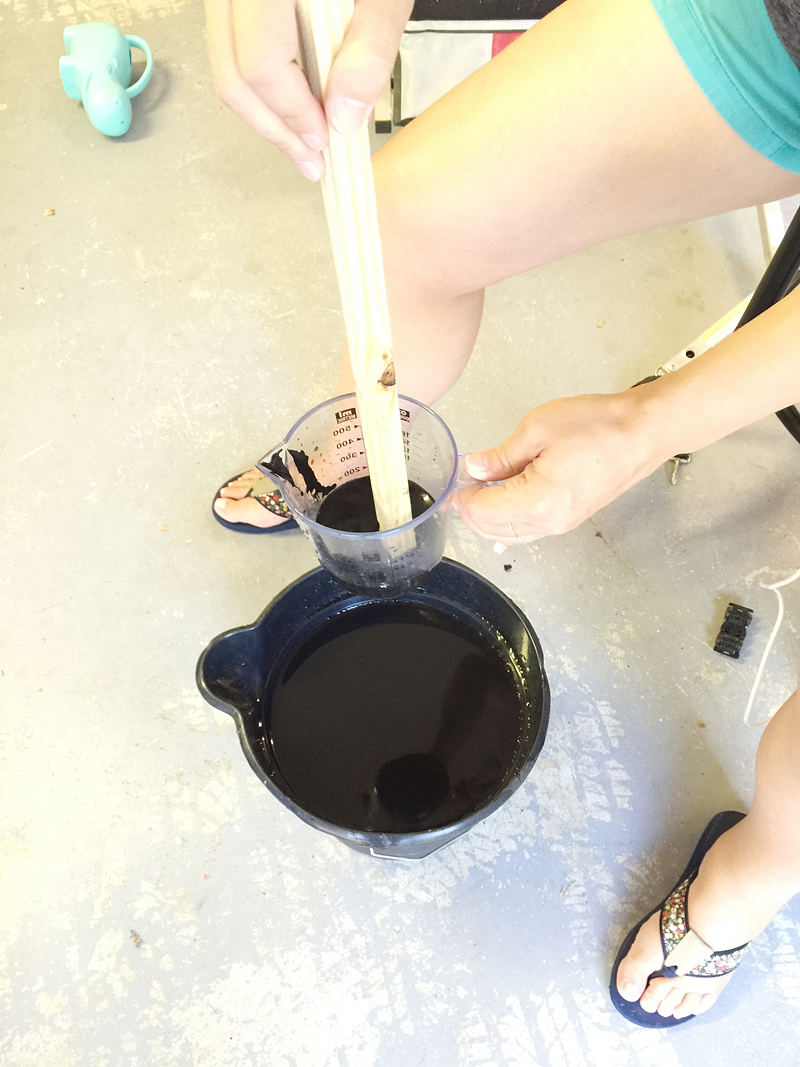
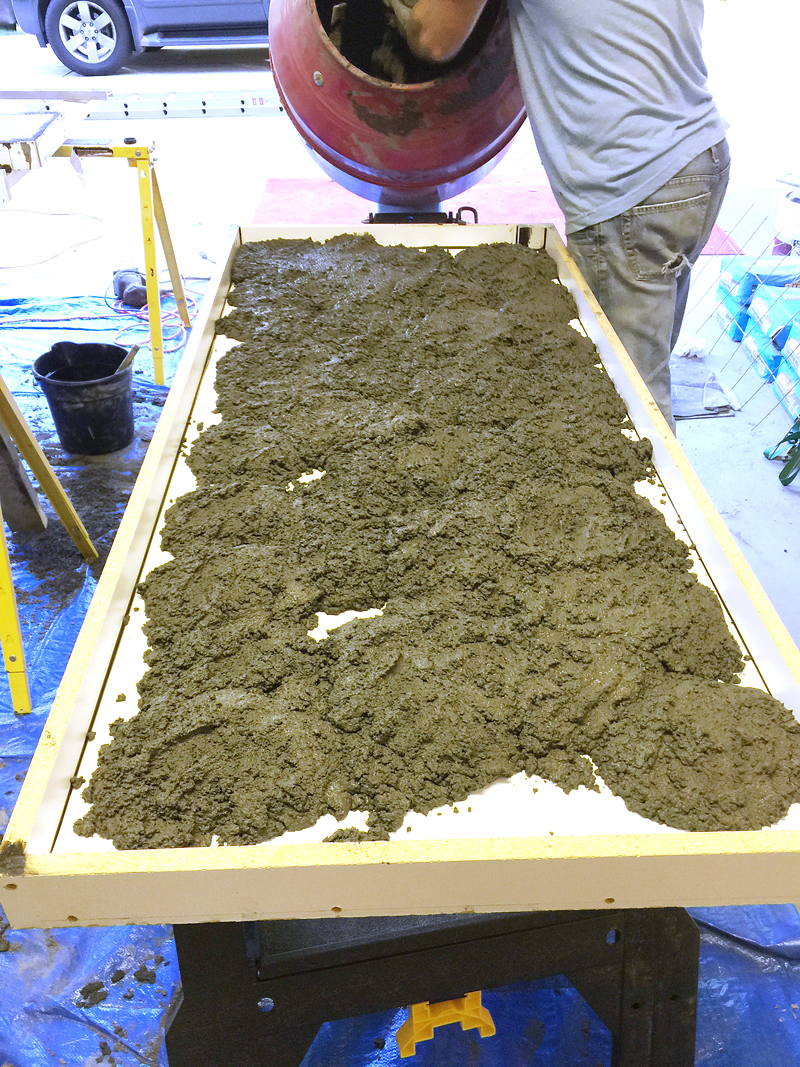
The first thing you do is mix your concrete, colorant and water together.
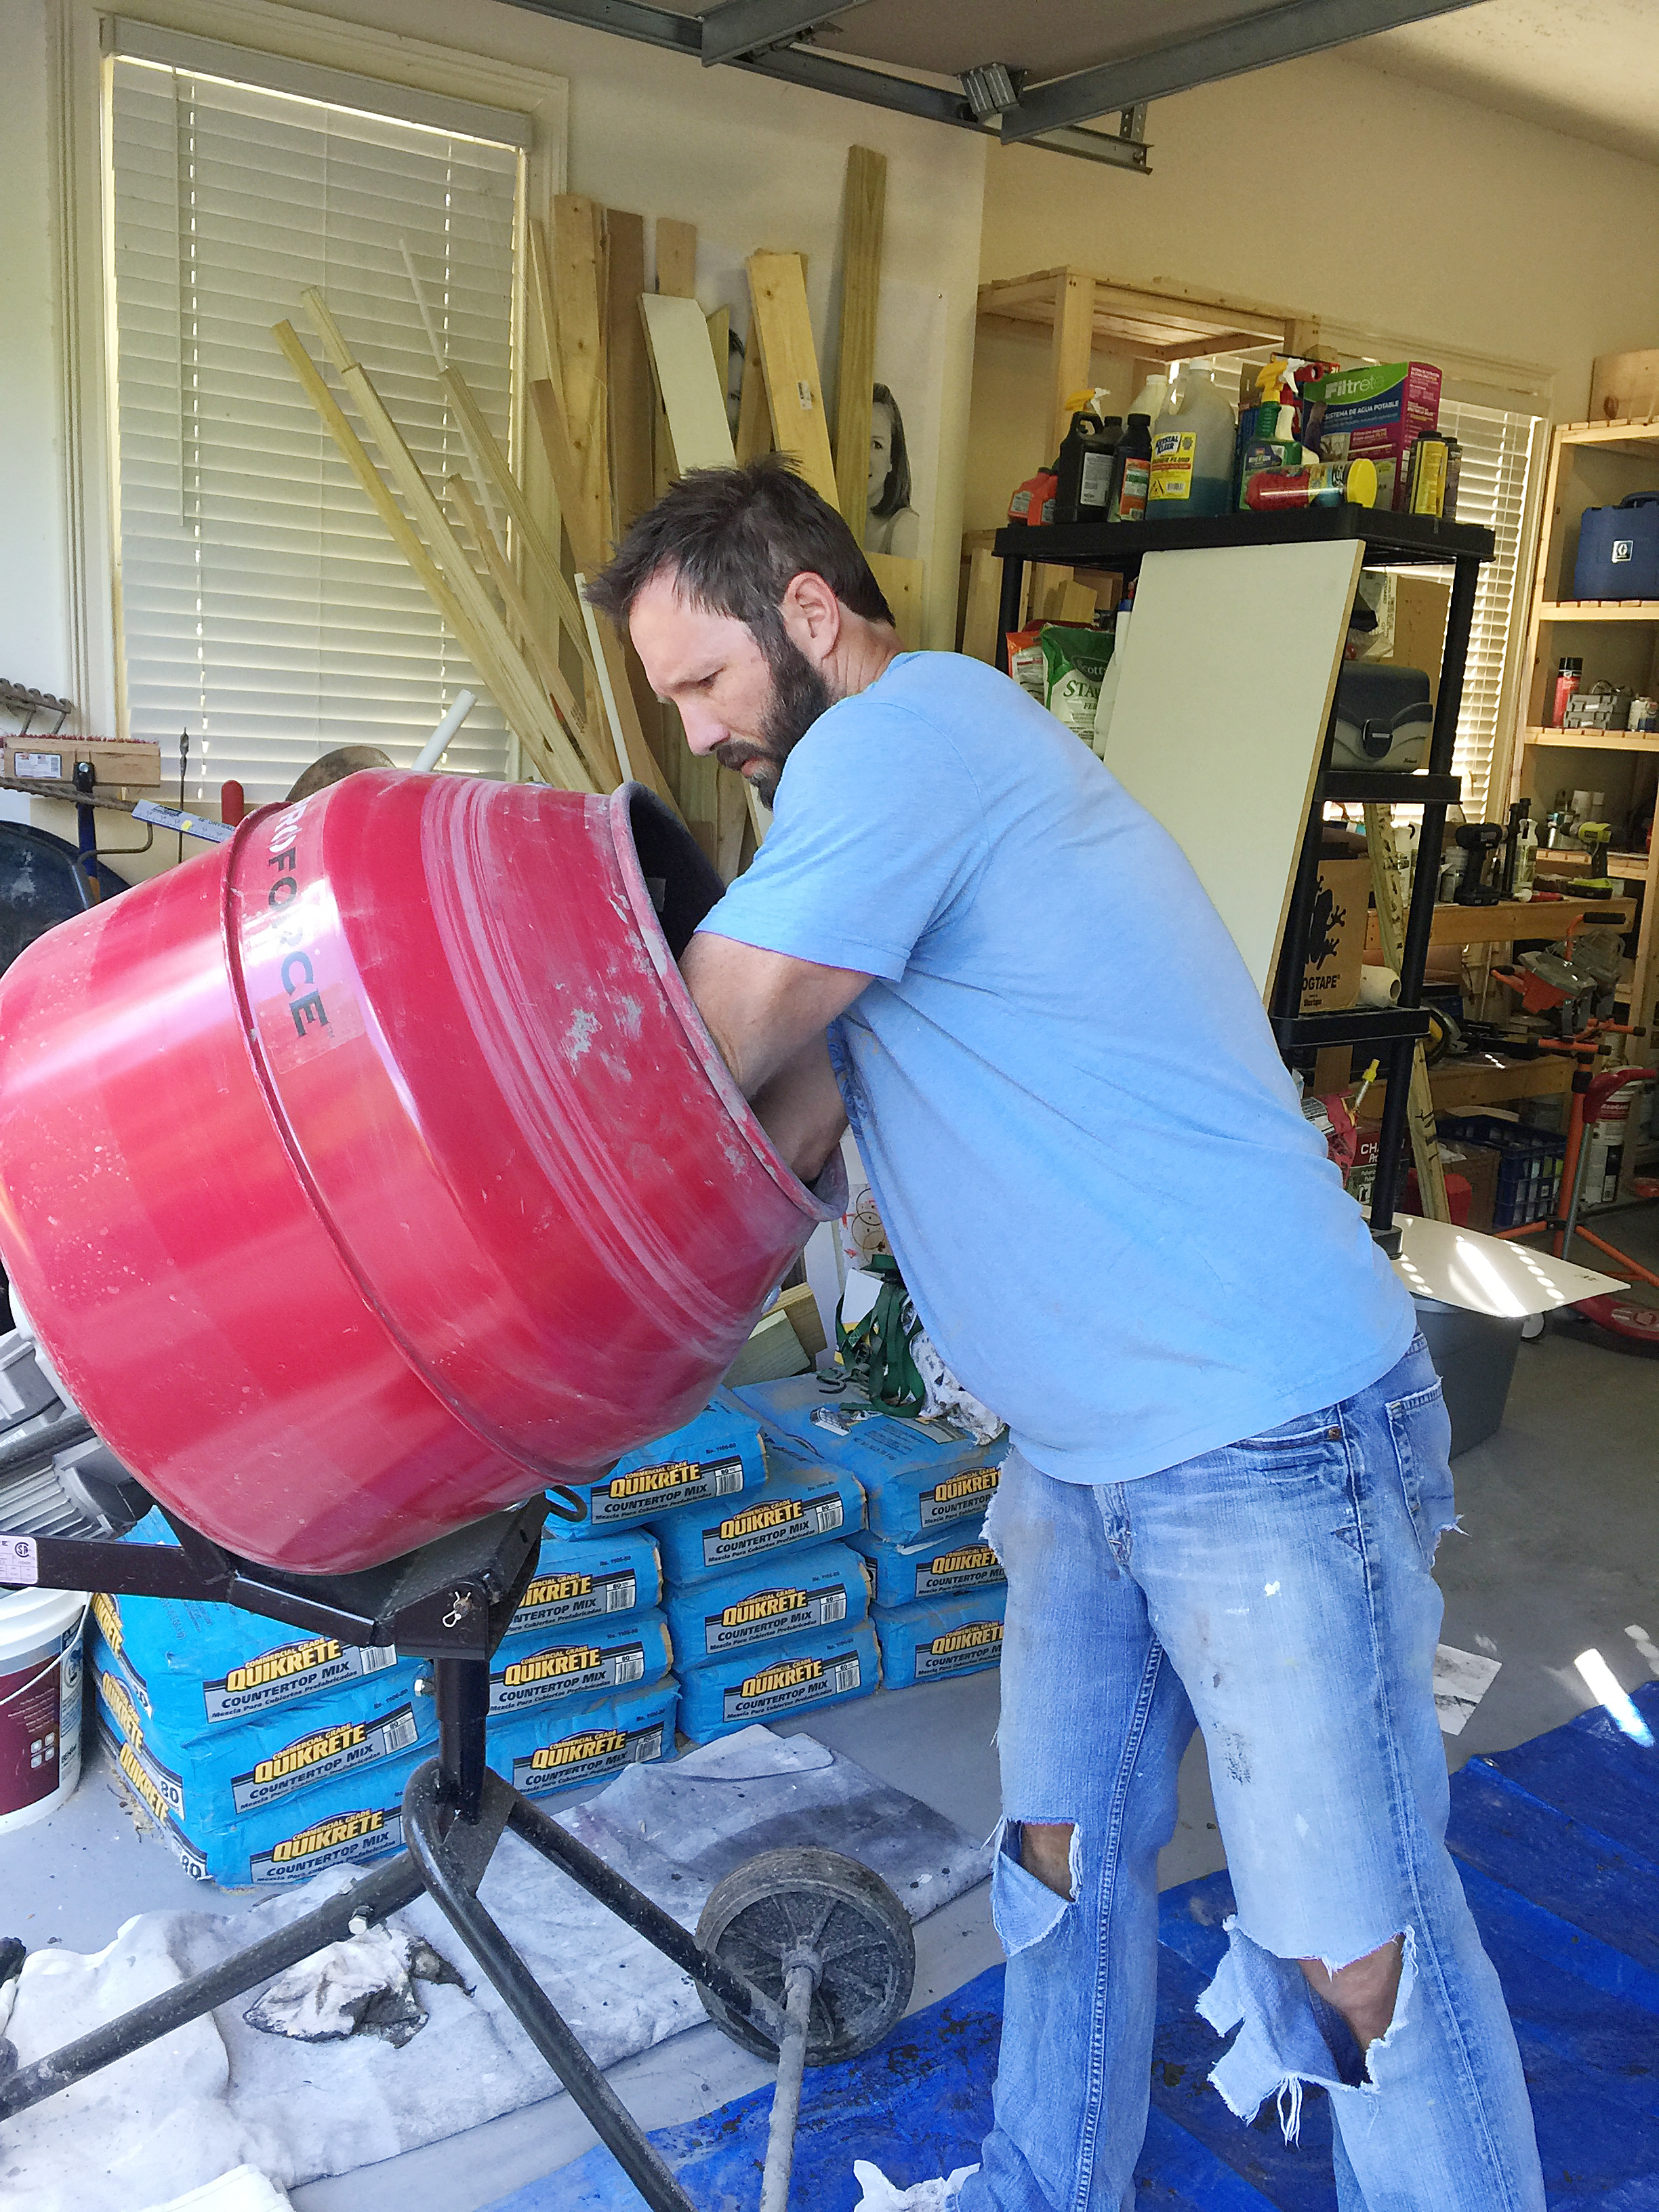
We used half a recommended colorant as it said on the bottle and we mixed two bags of concrete at a time. After it had proper mixing, we moved it into the forms. And when I say “we” I mean Jeremy moved it while I took photos 🙂
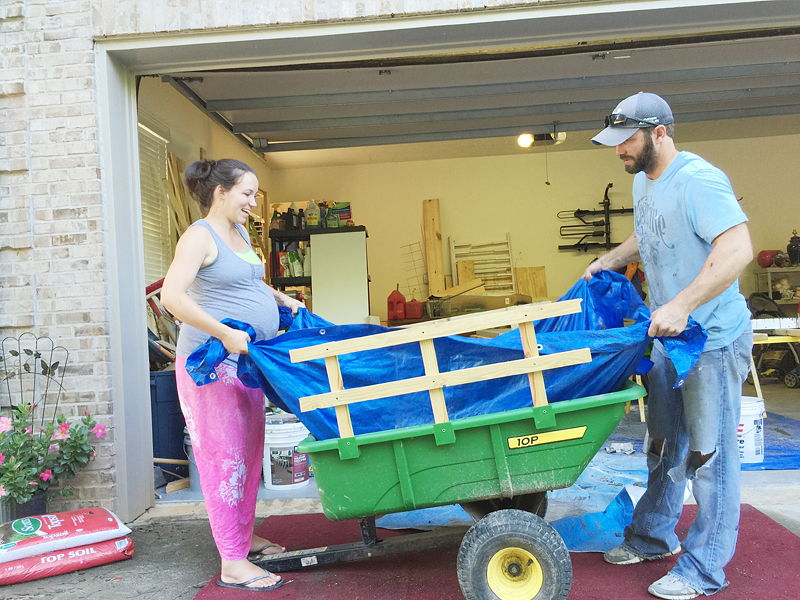
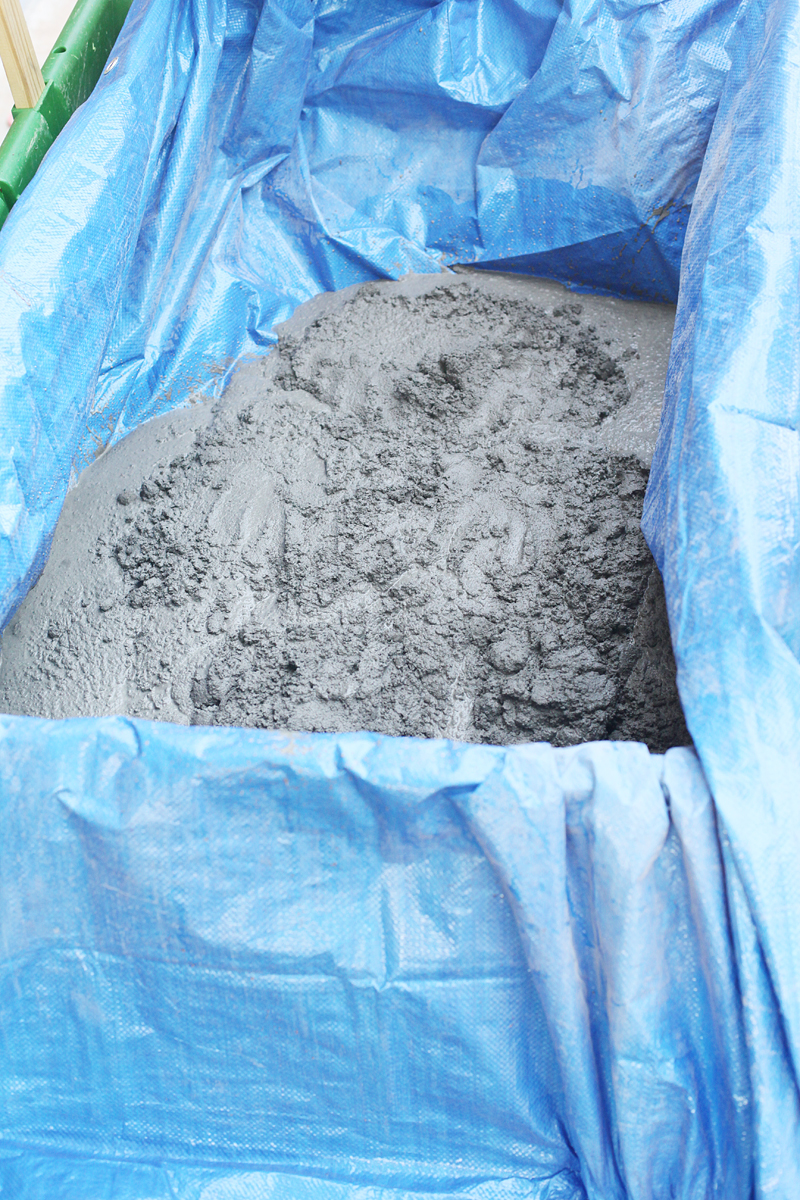
Now if you don’t have a concrete mixer and you don’t have a friend that will let you borrow theirs, then you can mix this another way! We actually did our THIRD attempt at mixing with a tarp and a big bucket trailer.
You just spread the tarp over the edges and put the concrete mix in the bottom.
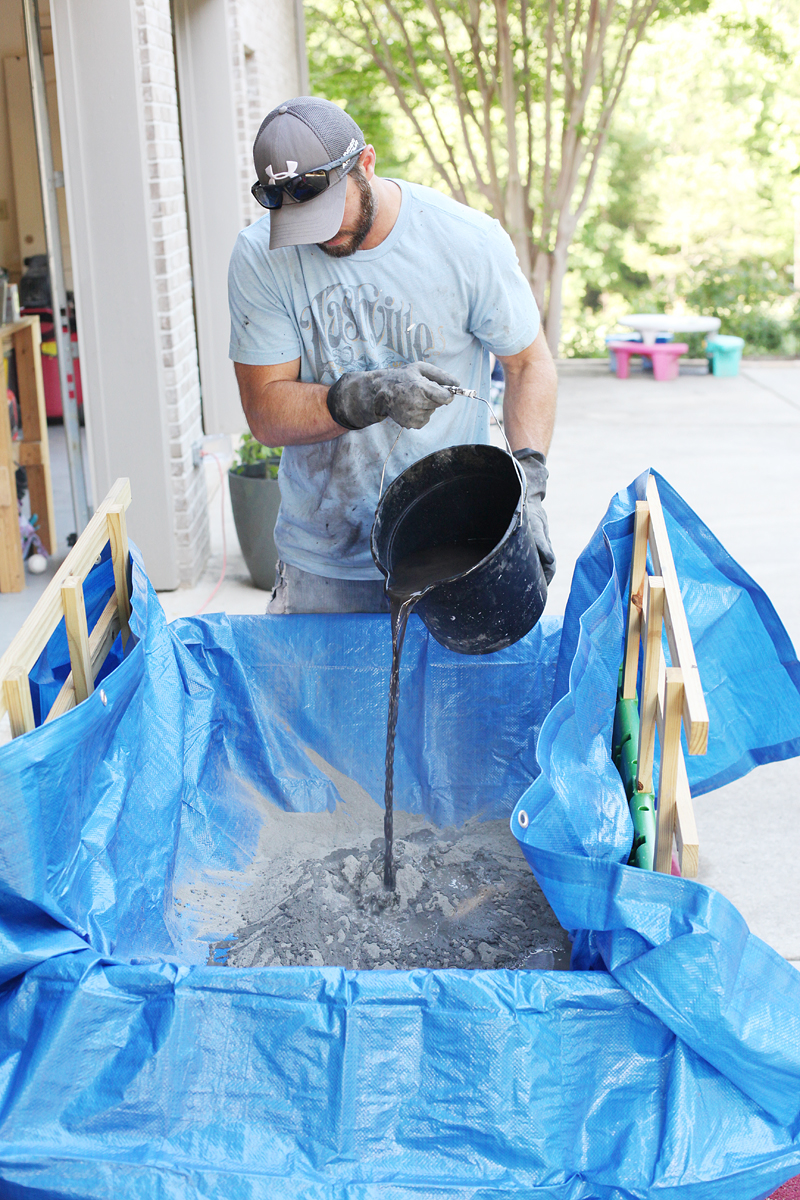
Then you and a partner (preferably one that is very pregnant and wearing the world’s most ridiculous outfit….is that really a sarong?!) can take turns lifting, lowering and shaking from side to side till the mixture looks well mixed.
We actually added a lot more water to this batch and it was the one that turned out to be Jeremy’s favorite because of the smooth finish.
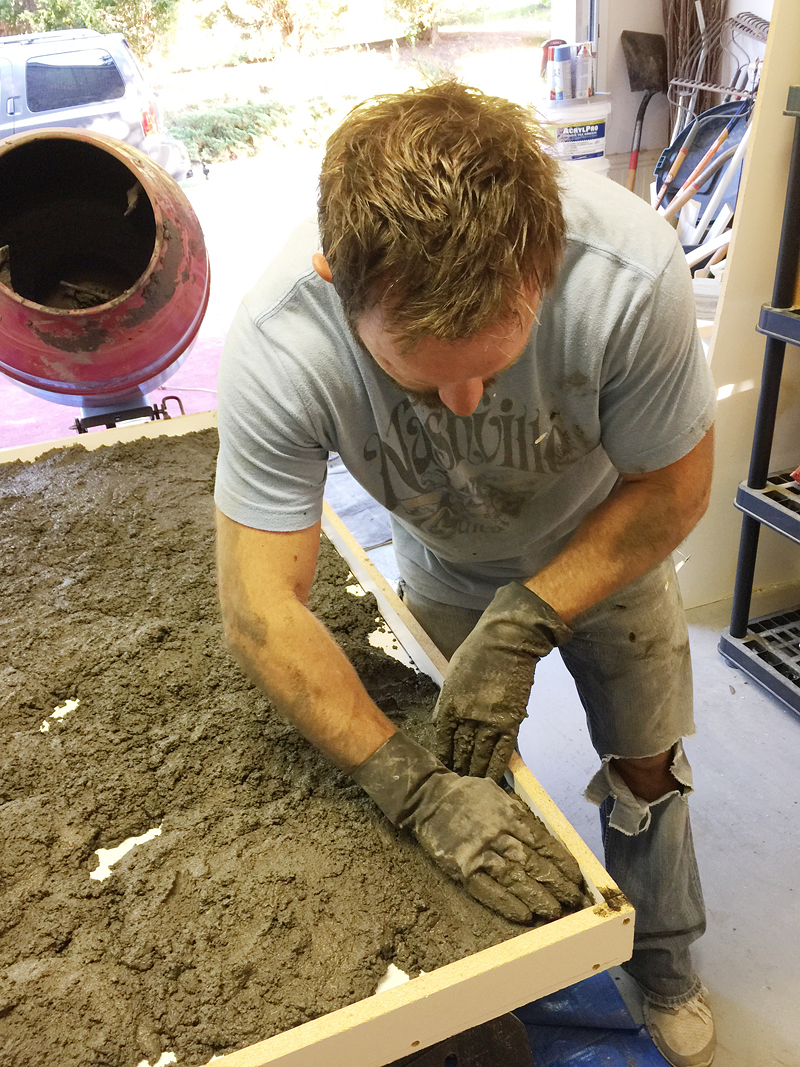
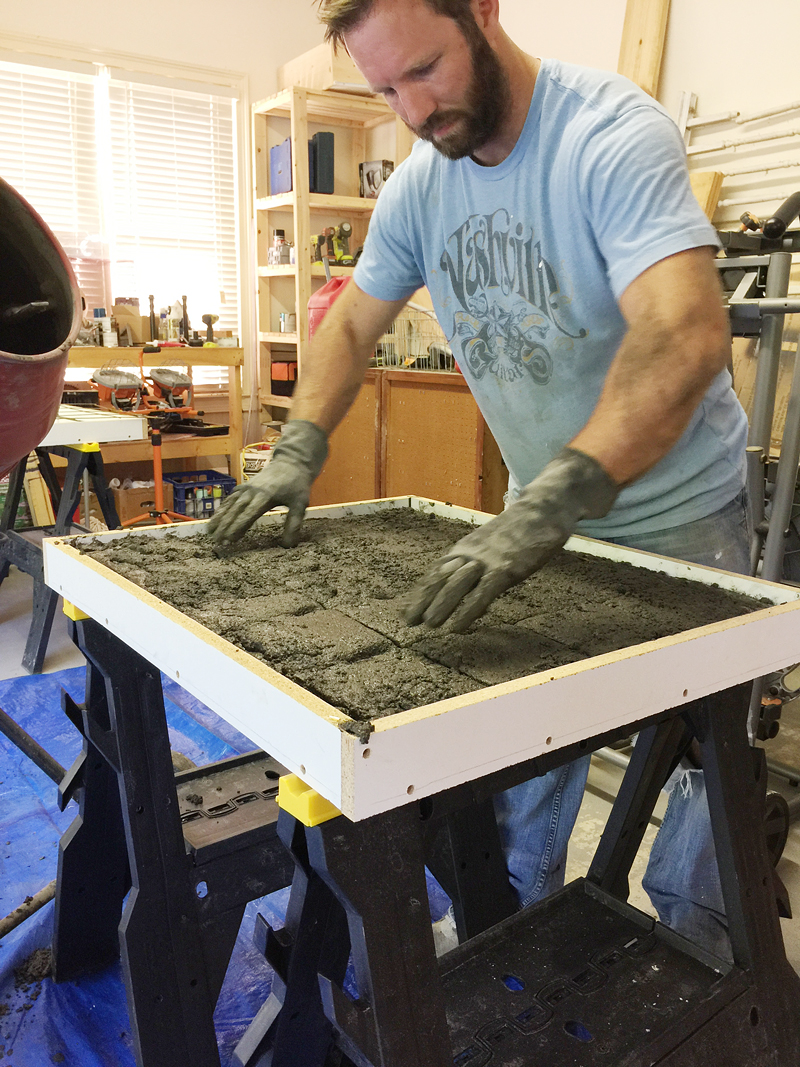
After your concrete is mixed, go ahead and fill those forms….
Pressing it into the corners is really important and since this is our biggest piece yet, we needed it to be just right (we really didn’t want to cut more forms!)
After it was a little over half way filled, we needed to add some reinforcement. This particular piece of countertop would rest on some cabinetry on one end but the other end would extend over the dishwasher (no support) and then hold up one side of the sink (no full support) so it needed to be like the Captain America of concrete countertops.
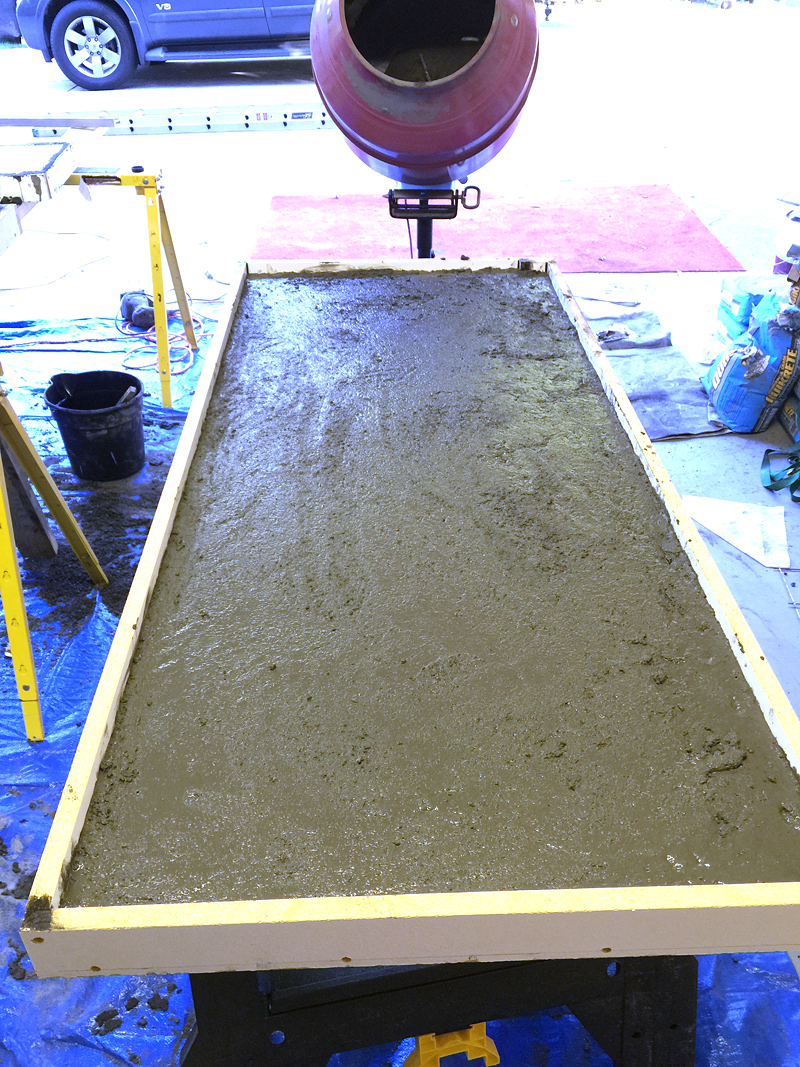
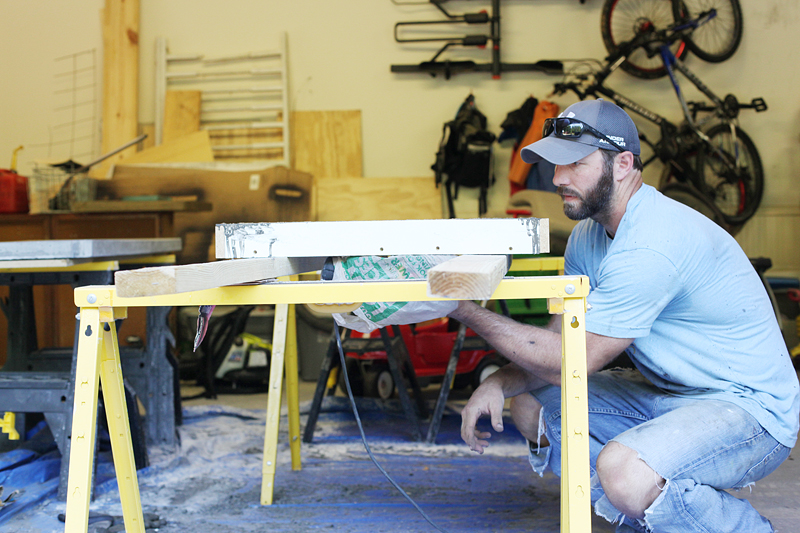
You can add wire mesh or rebar to your counters to reinforce it. We went with the cheap outdoor wire. You can cut it to size with a sawzall 🙂
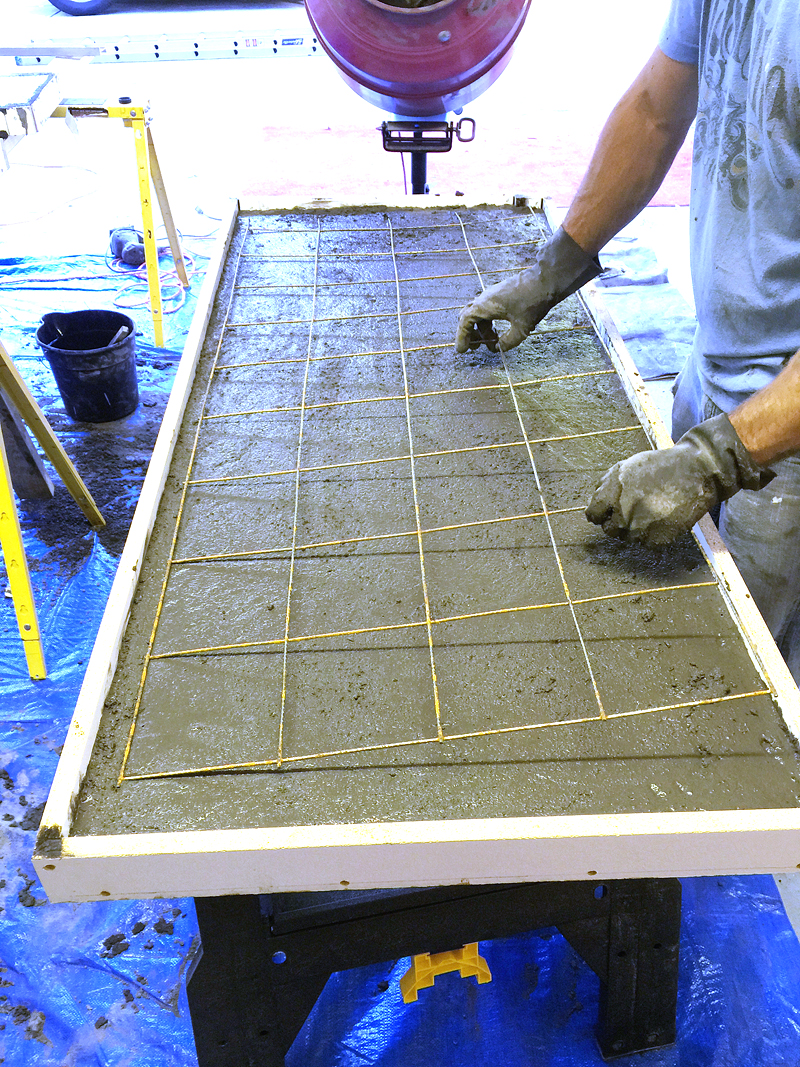
Here is a different form that we also added wire to…
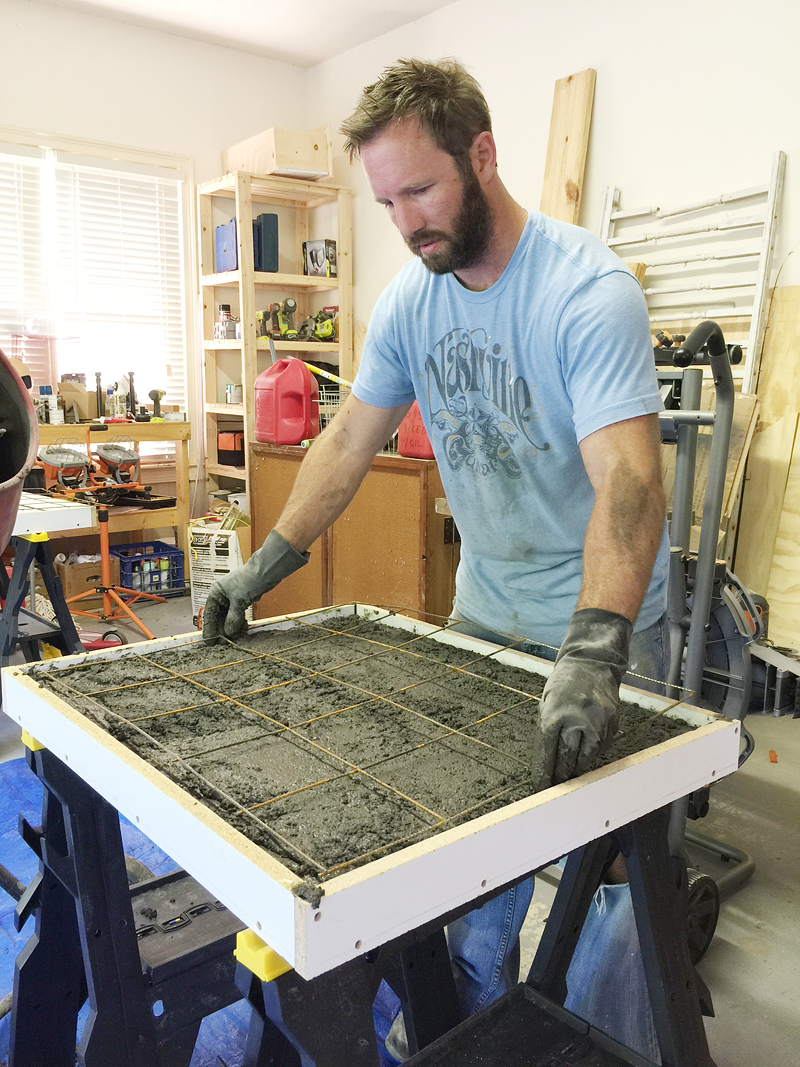
See how it is just ever so slightly pressed into the concrete? You can wiggle it back and forth until it’s embedded but be sure that the edges are not close to the form and that you don’t press too hard because then you could see it from the other side!
Then just fill till the form is full.
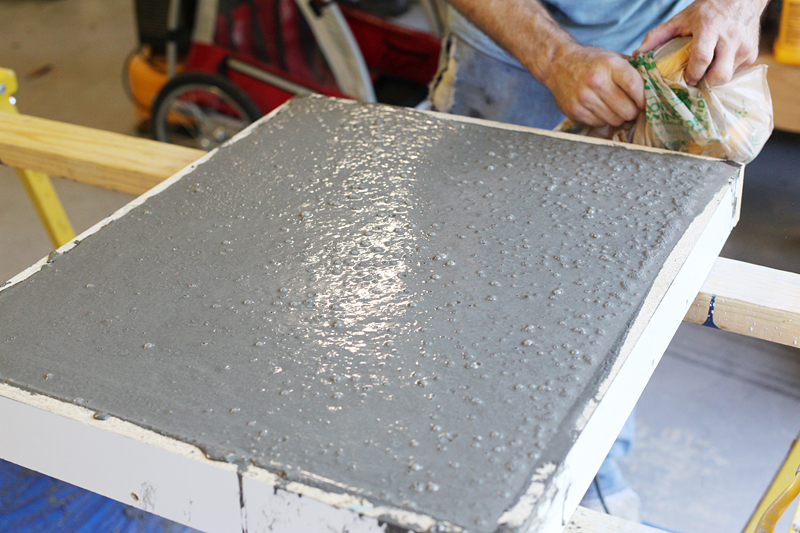
After you fill your forms, it is time to remove those air bubbles! This is the fun part!
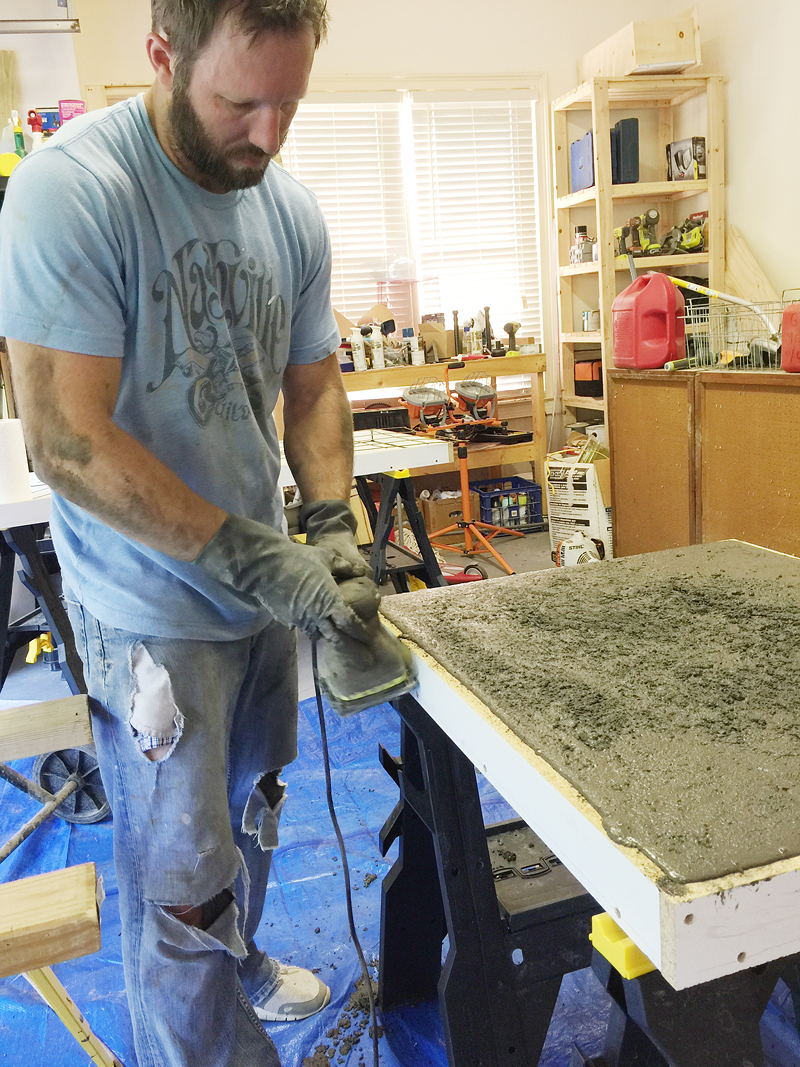
Any vibrating tool will work but this was our easiest method! You just take the edge of the sander and hold it to the form and watch those little air bubbles rise to the surface. In the photo above, that was our 2nd batch (the middle of the road when it came to dryness) and the bubbles didn’t come up as much as when we did the 3rd batch (much wetter consistency).

This is our last batch and look at those bubbles!!!
You go around each side and keep the sander moving back and forth and up and down. We put a plastic bag on our sander so that we didn’t ruin it with dripping concrete 🙂
Then you also hold the side of the sander to the bottom. This is why it is important to have elevated and level forms. This will allow you to access under them.
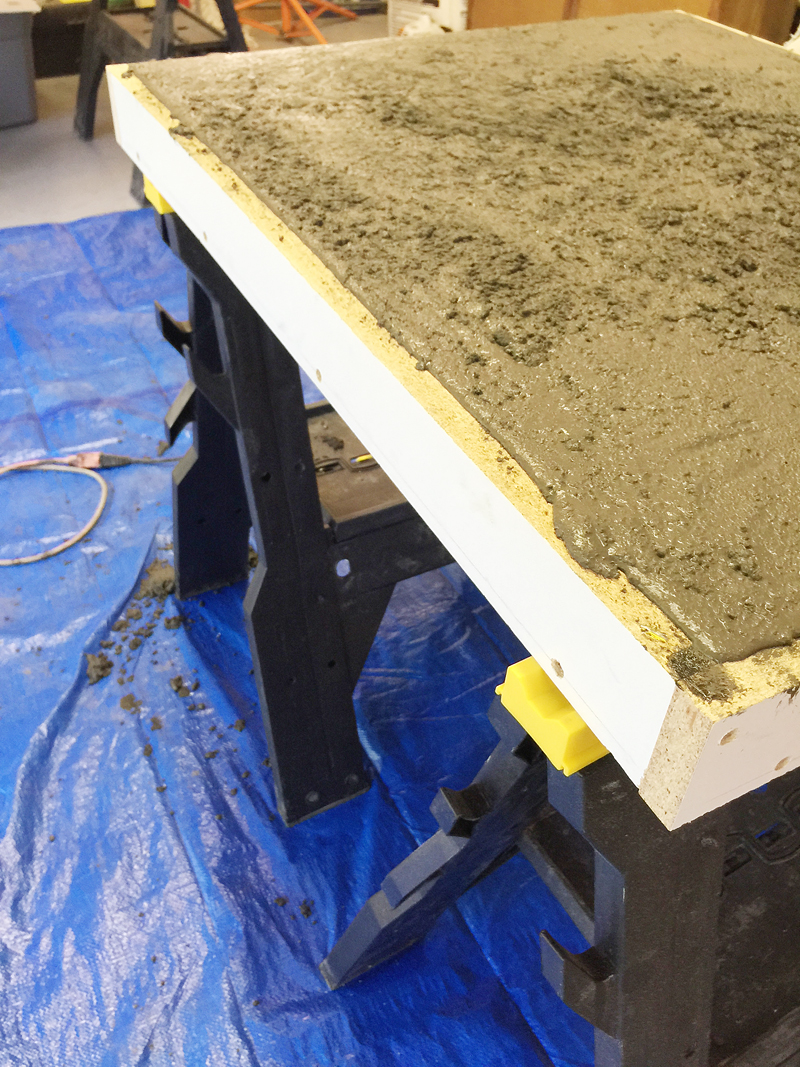
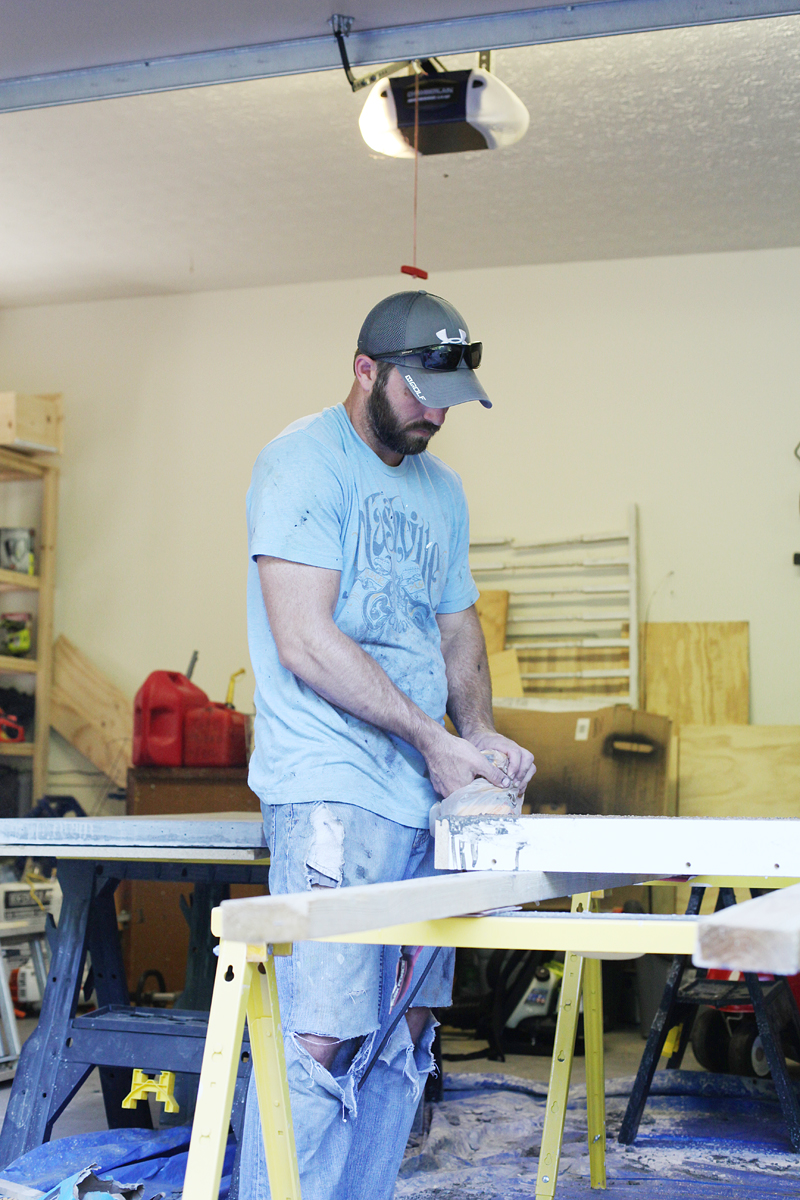
Then you screed the top to remove any excess. We used a regular ole 2×4 and moved it back and forth in a slow sawing motion across the forms to remove the extra concrete and get it super smooth. Here it is after we screeded (um new word?) and let it set up a little while.
And here is a fun little video of how we did it….
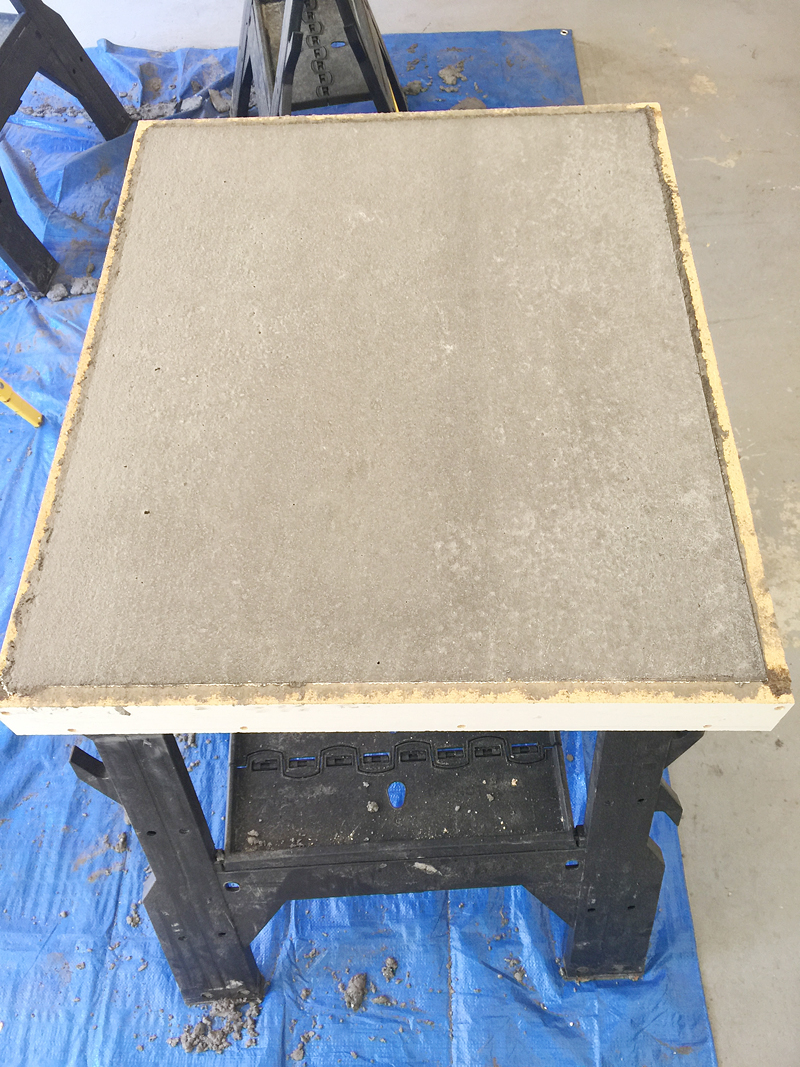
After you let it set up for 24-48 hours, you can remove the forms but they aren’t cured so you will need to let them sit even longer after you remove the melamine. We let ours sit longer than that (life got in the way) and they turned out great.
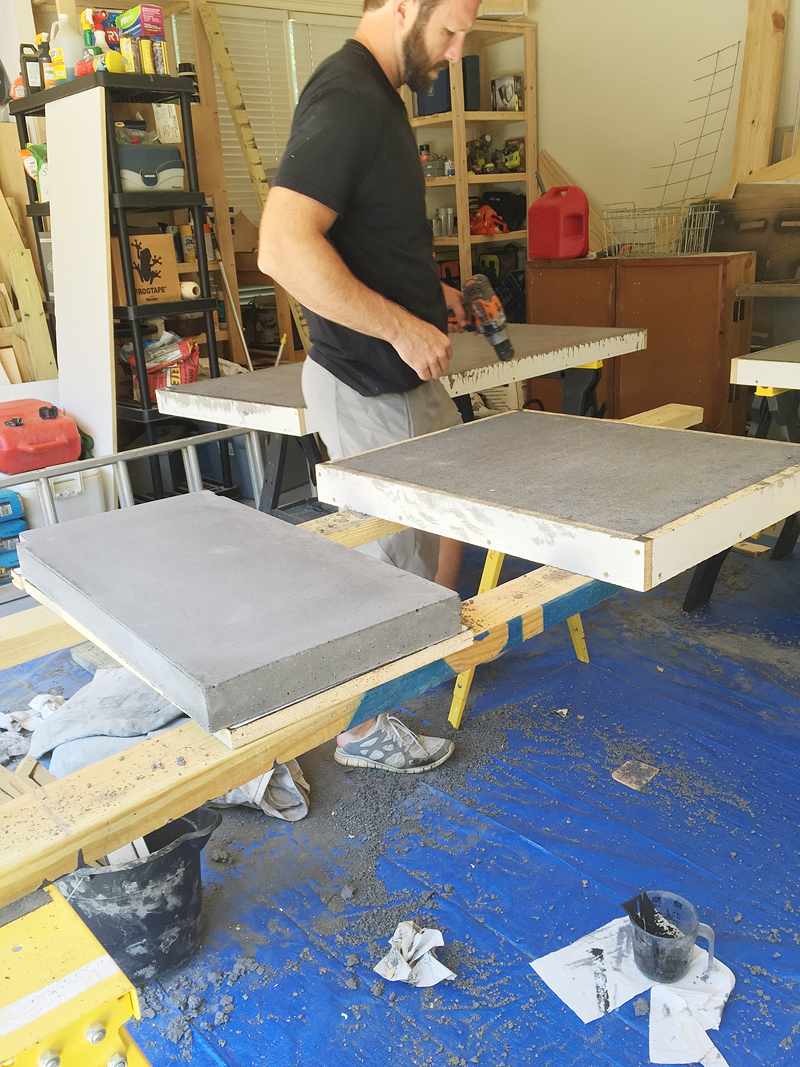
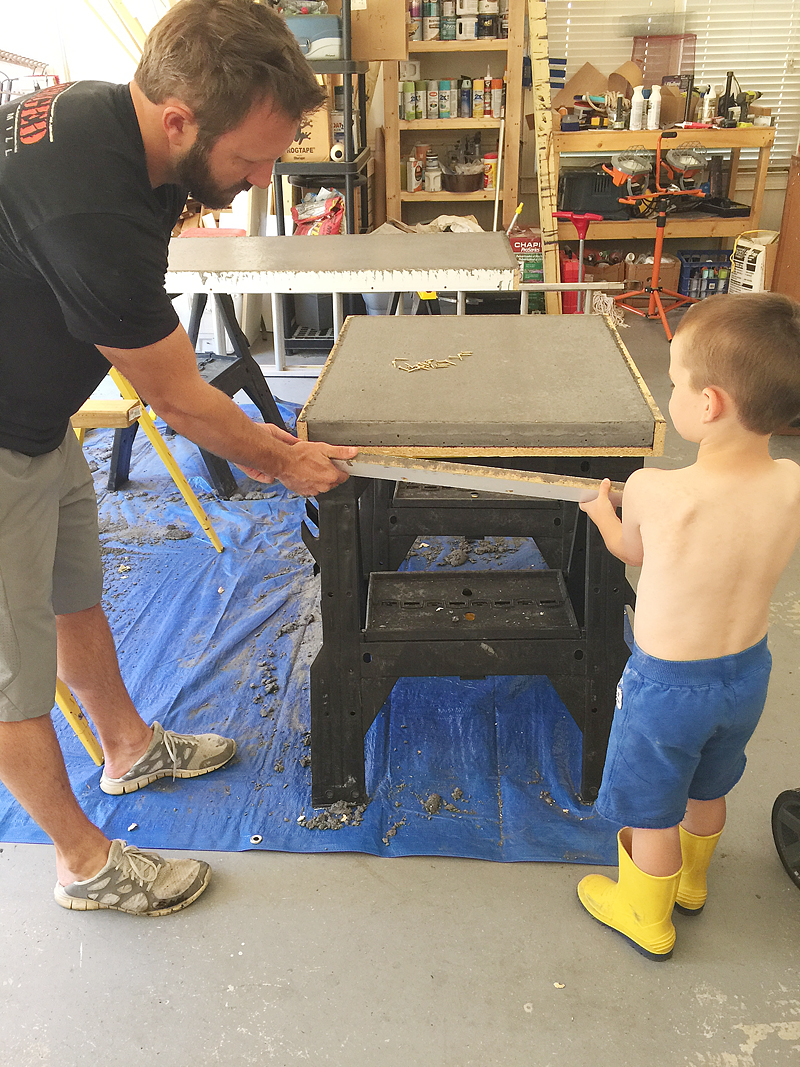
Removing the forms is super simple….just unscrew the sides of the forms and peel them back.
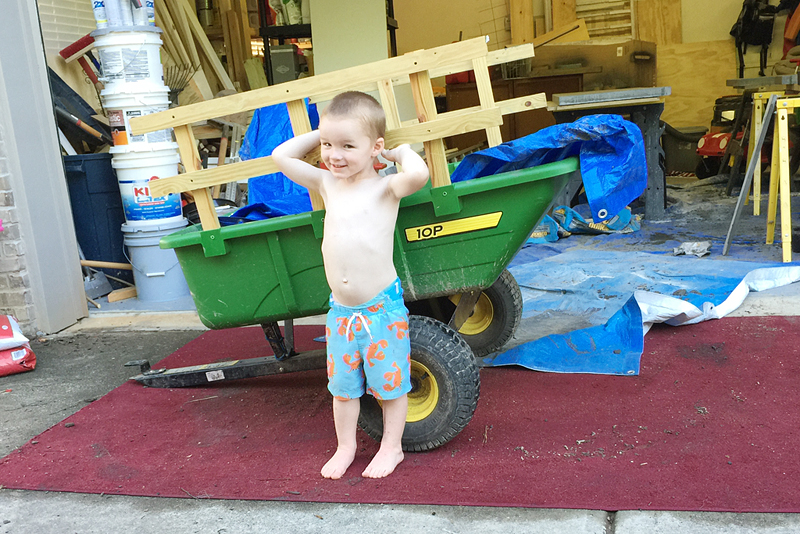
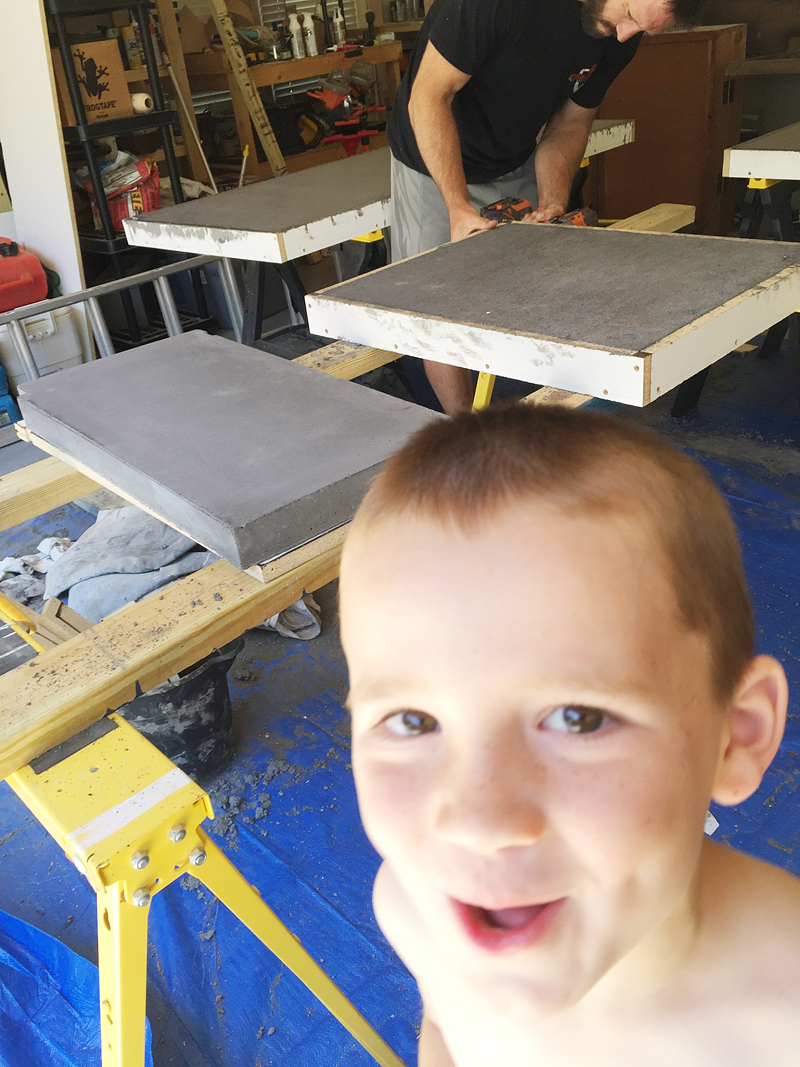
Side note….you know your mom is a blogger when you learn that photo bombing is a thing at age four 🙂
Overall the finished product is SO much nicer than our failed attempt and I think I would not have appreciated the fact that we did it unless we failed first!

And just so you can see them in place….here is what they looked like after installation! Obviously this is after sanding and sealing and getting them shimmed and all that but I thought you should know what the finished result could look like…
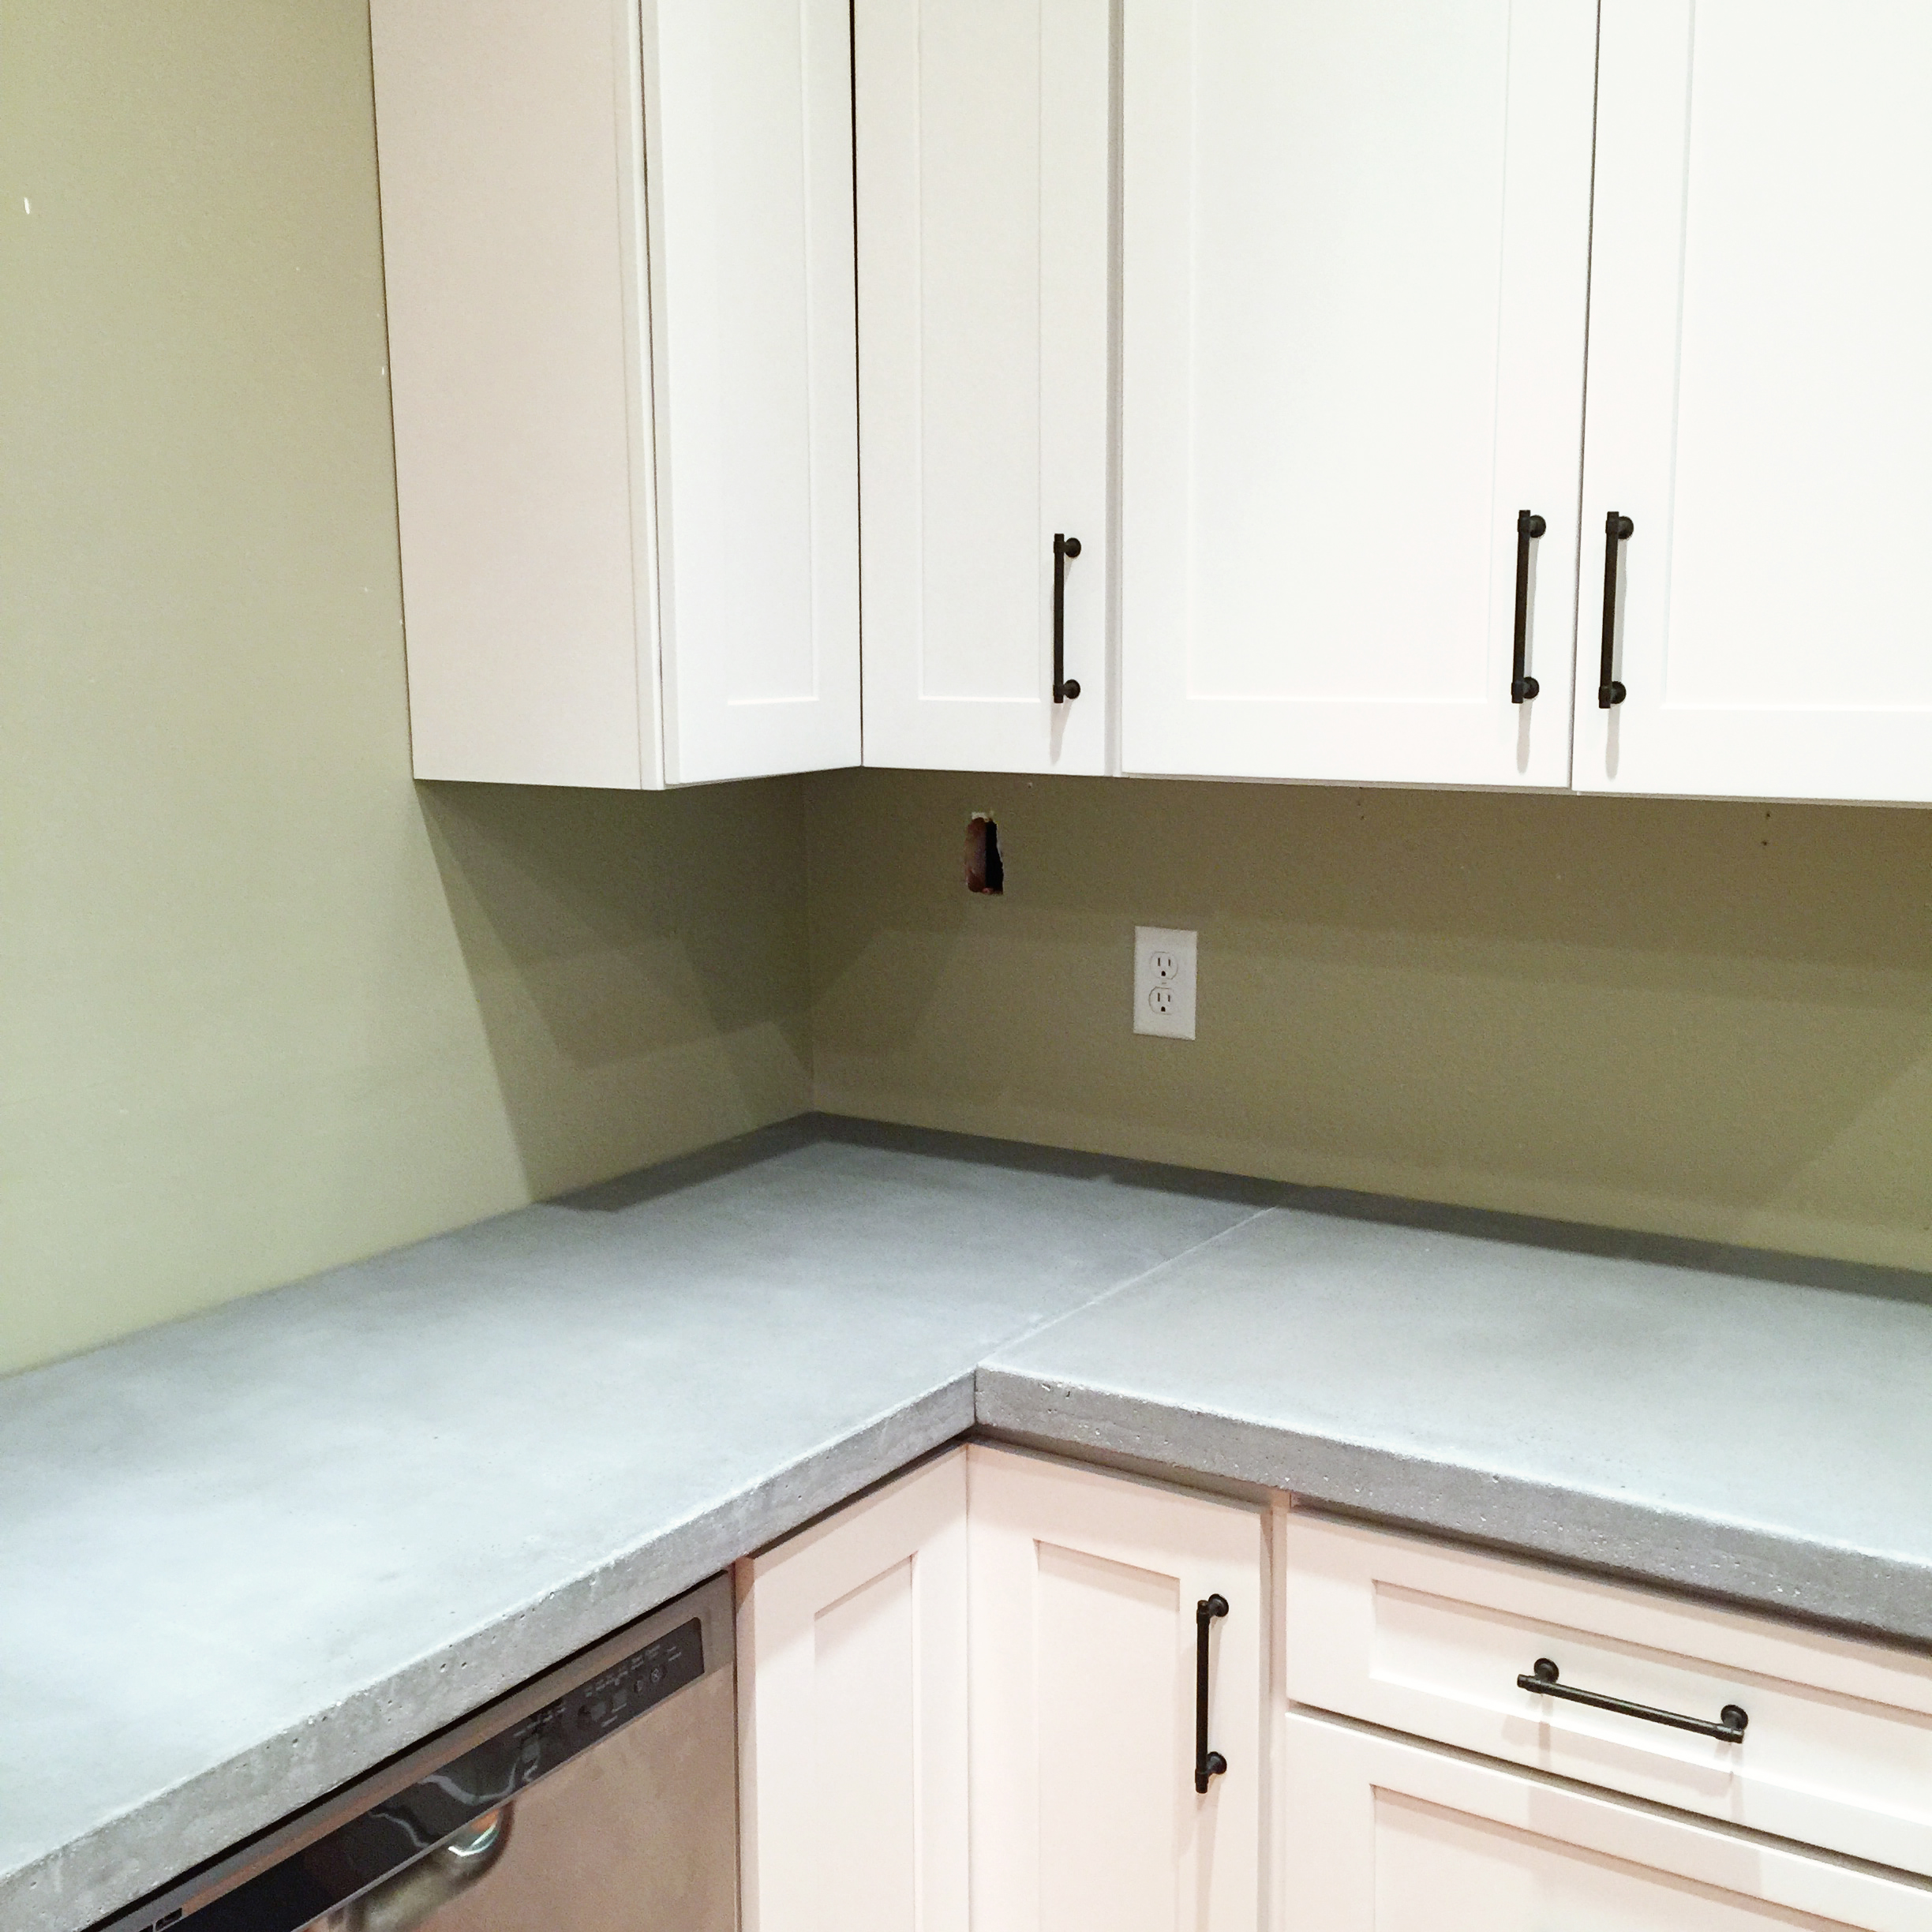
Fabulous right?! I love them so much it’s kinda ridiculous. And the little holes and imperfections on the edges make me so happy because it is exactly what I wanted for this space….industrial and a little rustic!
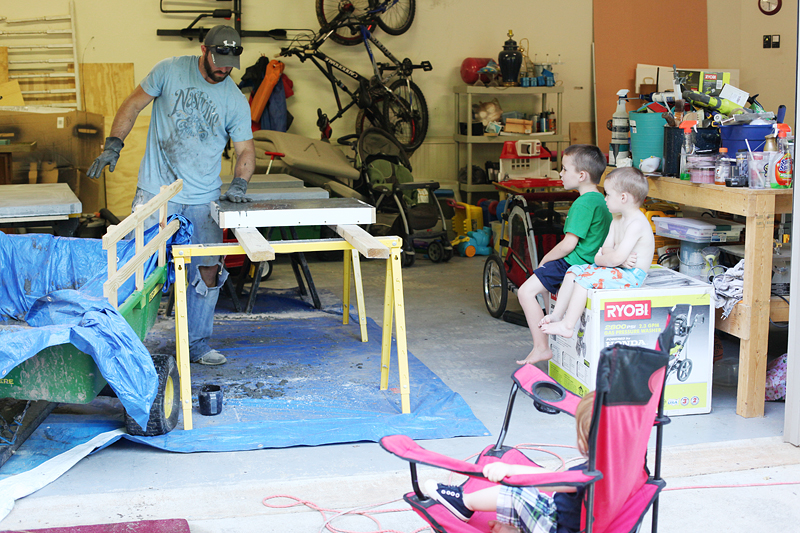
And if you are wondering what the kids did while we made these counters….here you go….we have little concrete counter makers in Bower Power school….sitting on a pressure washer box learning the ins and outs of DIY 🙂
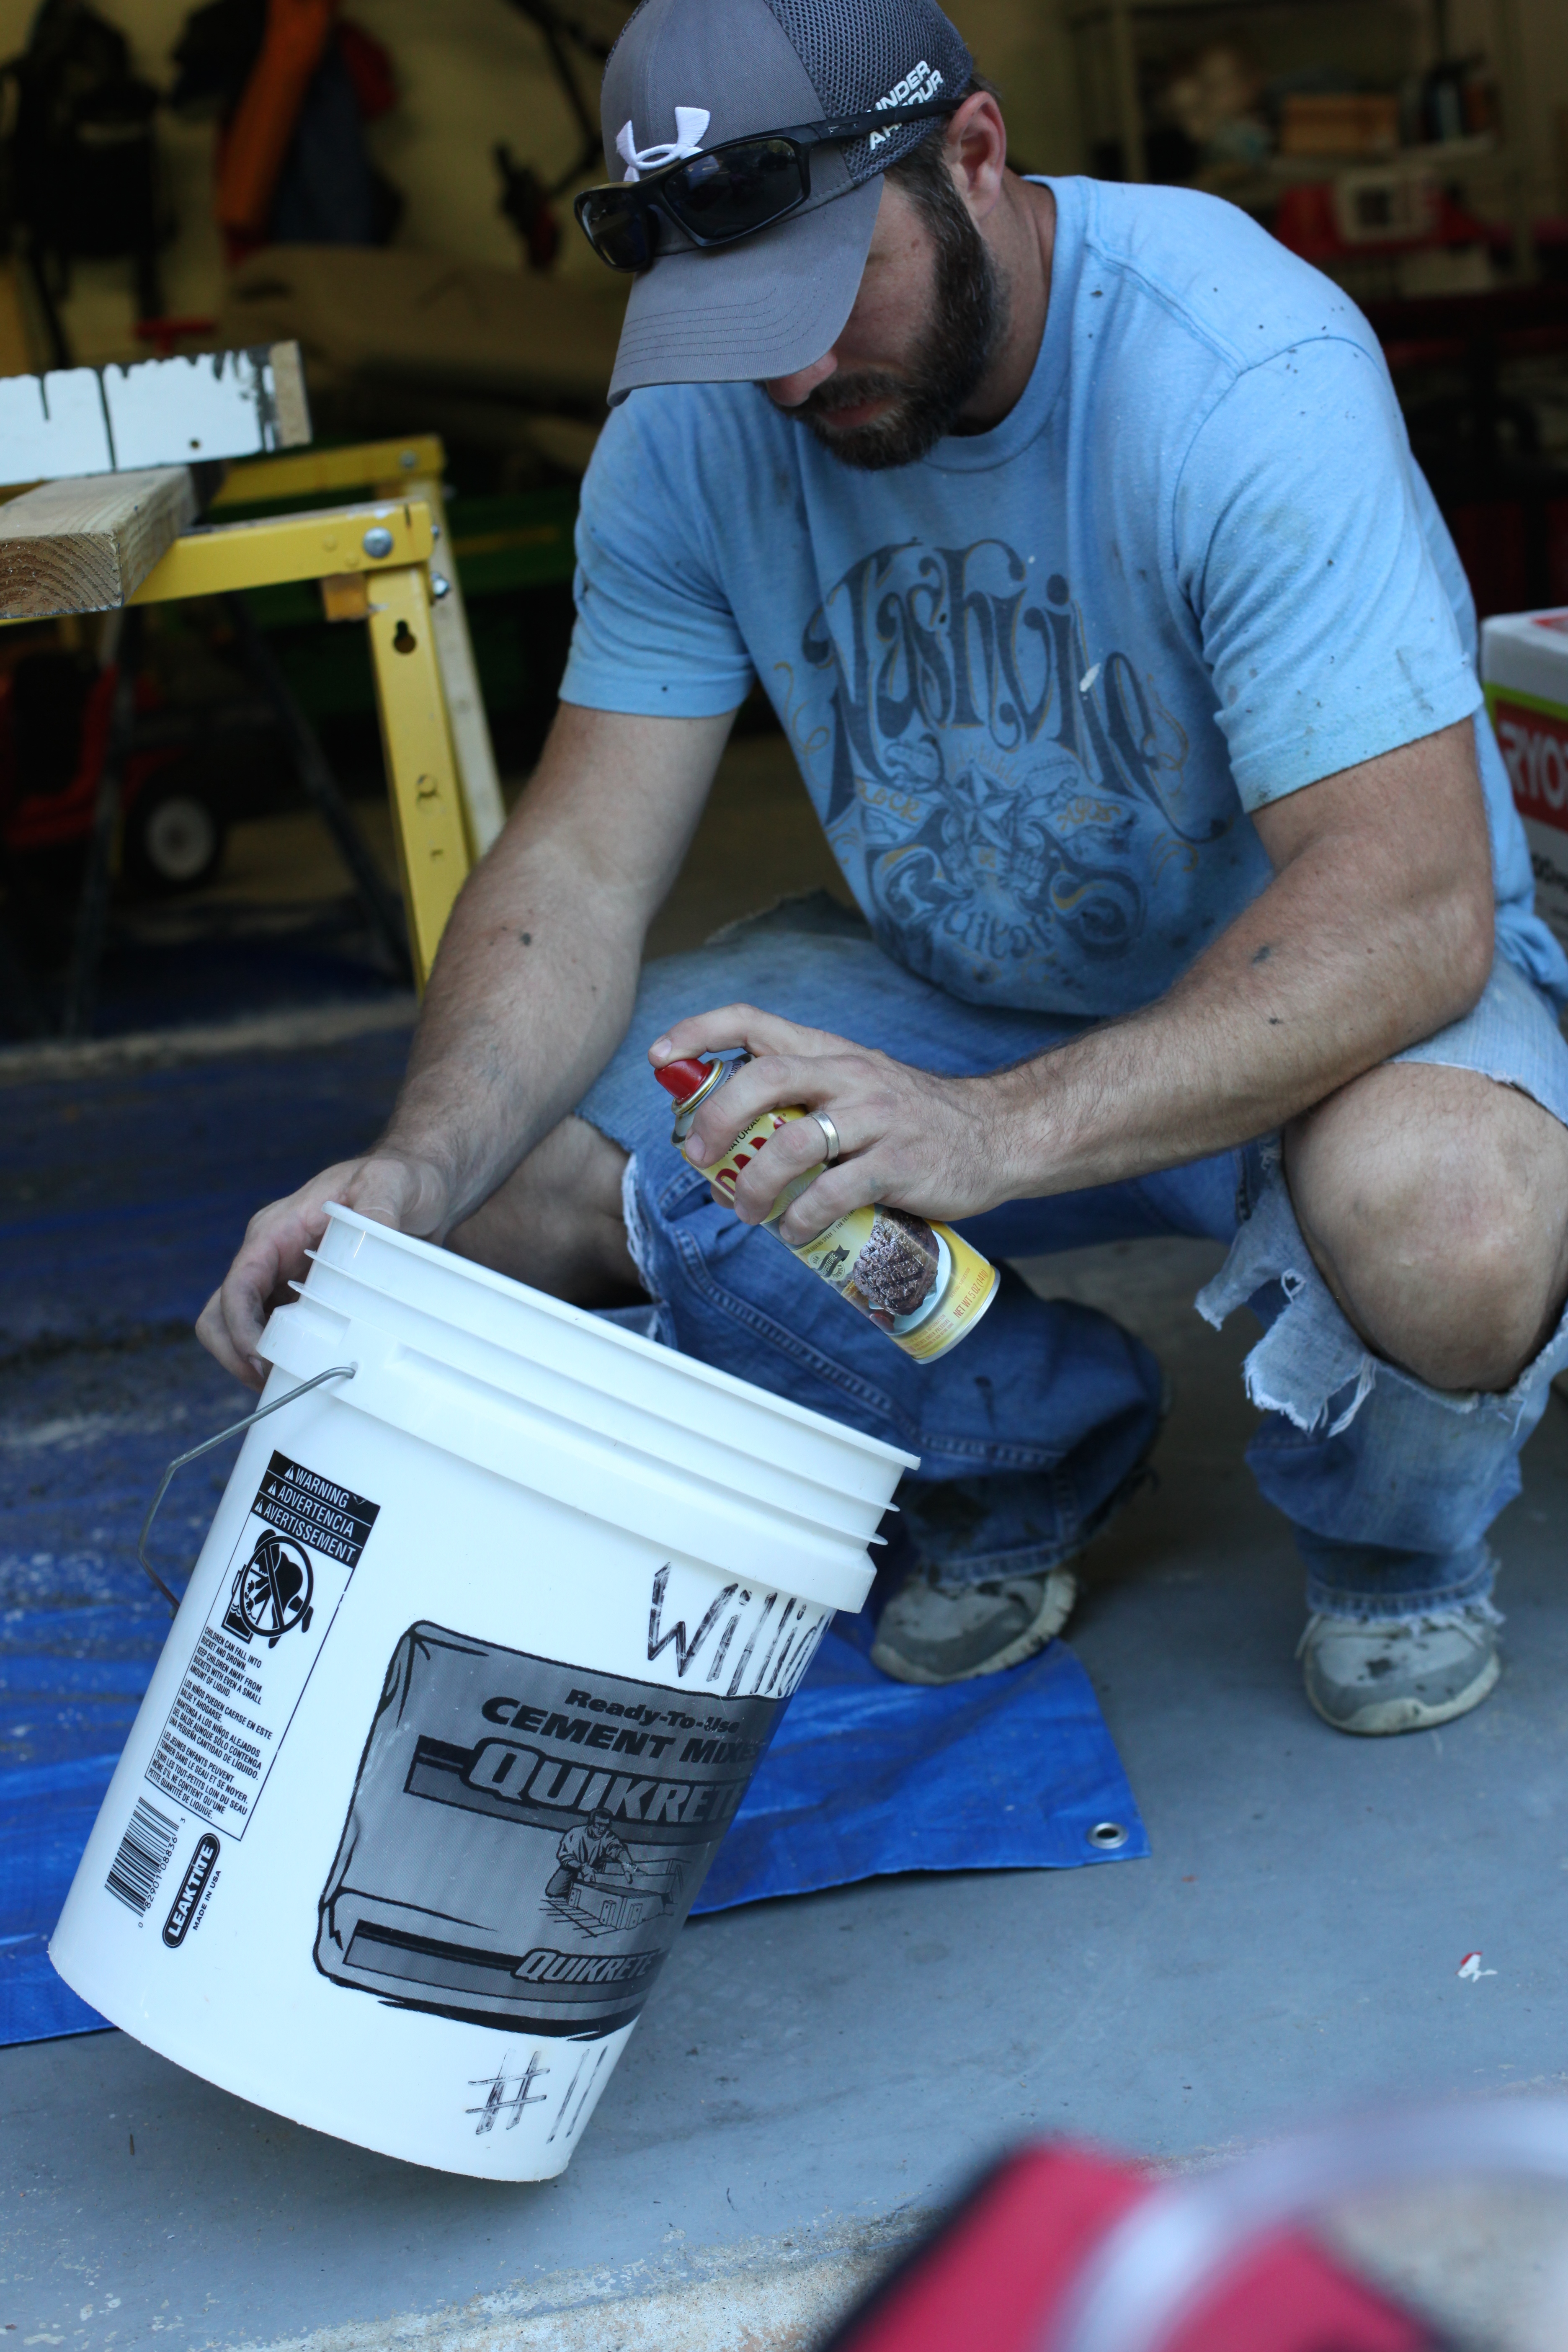
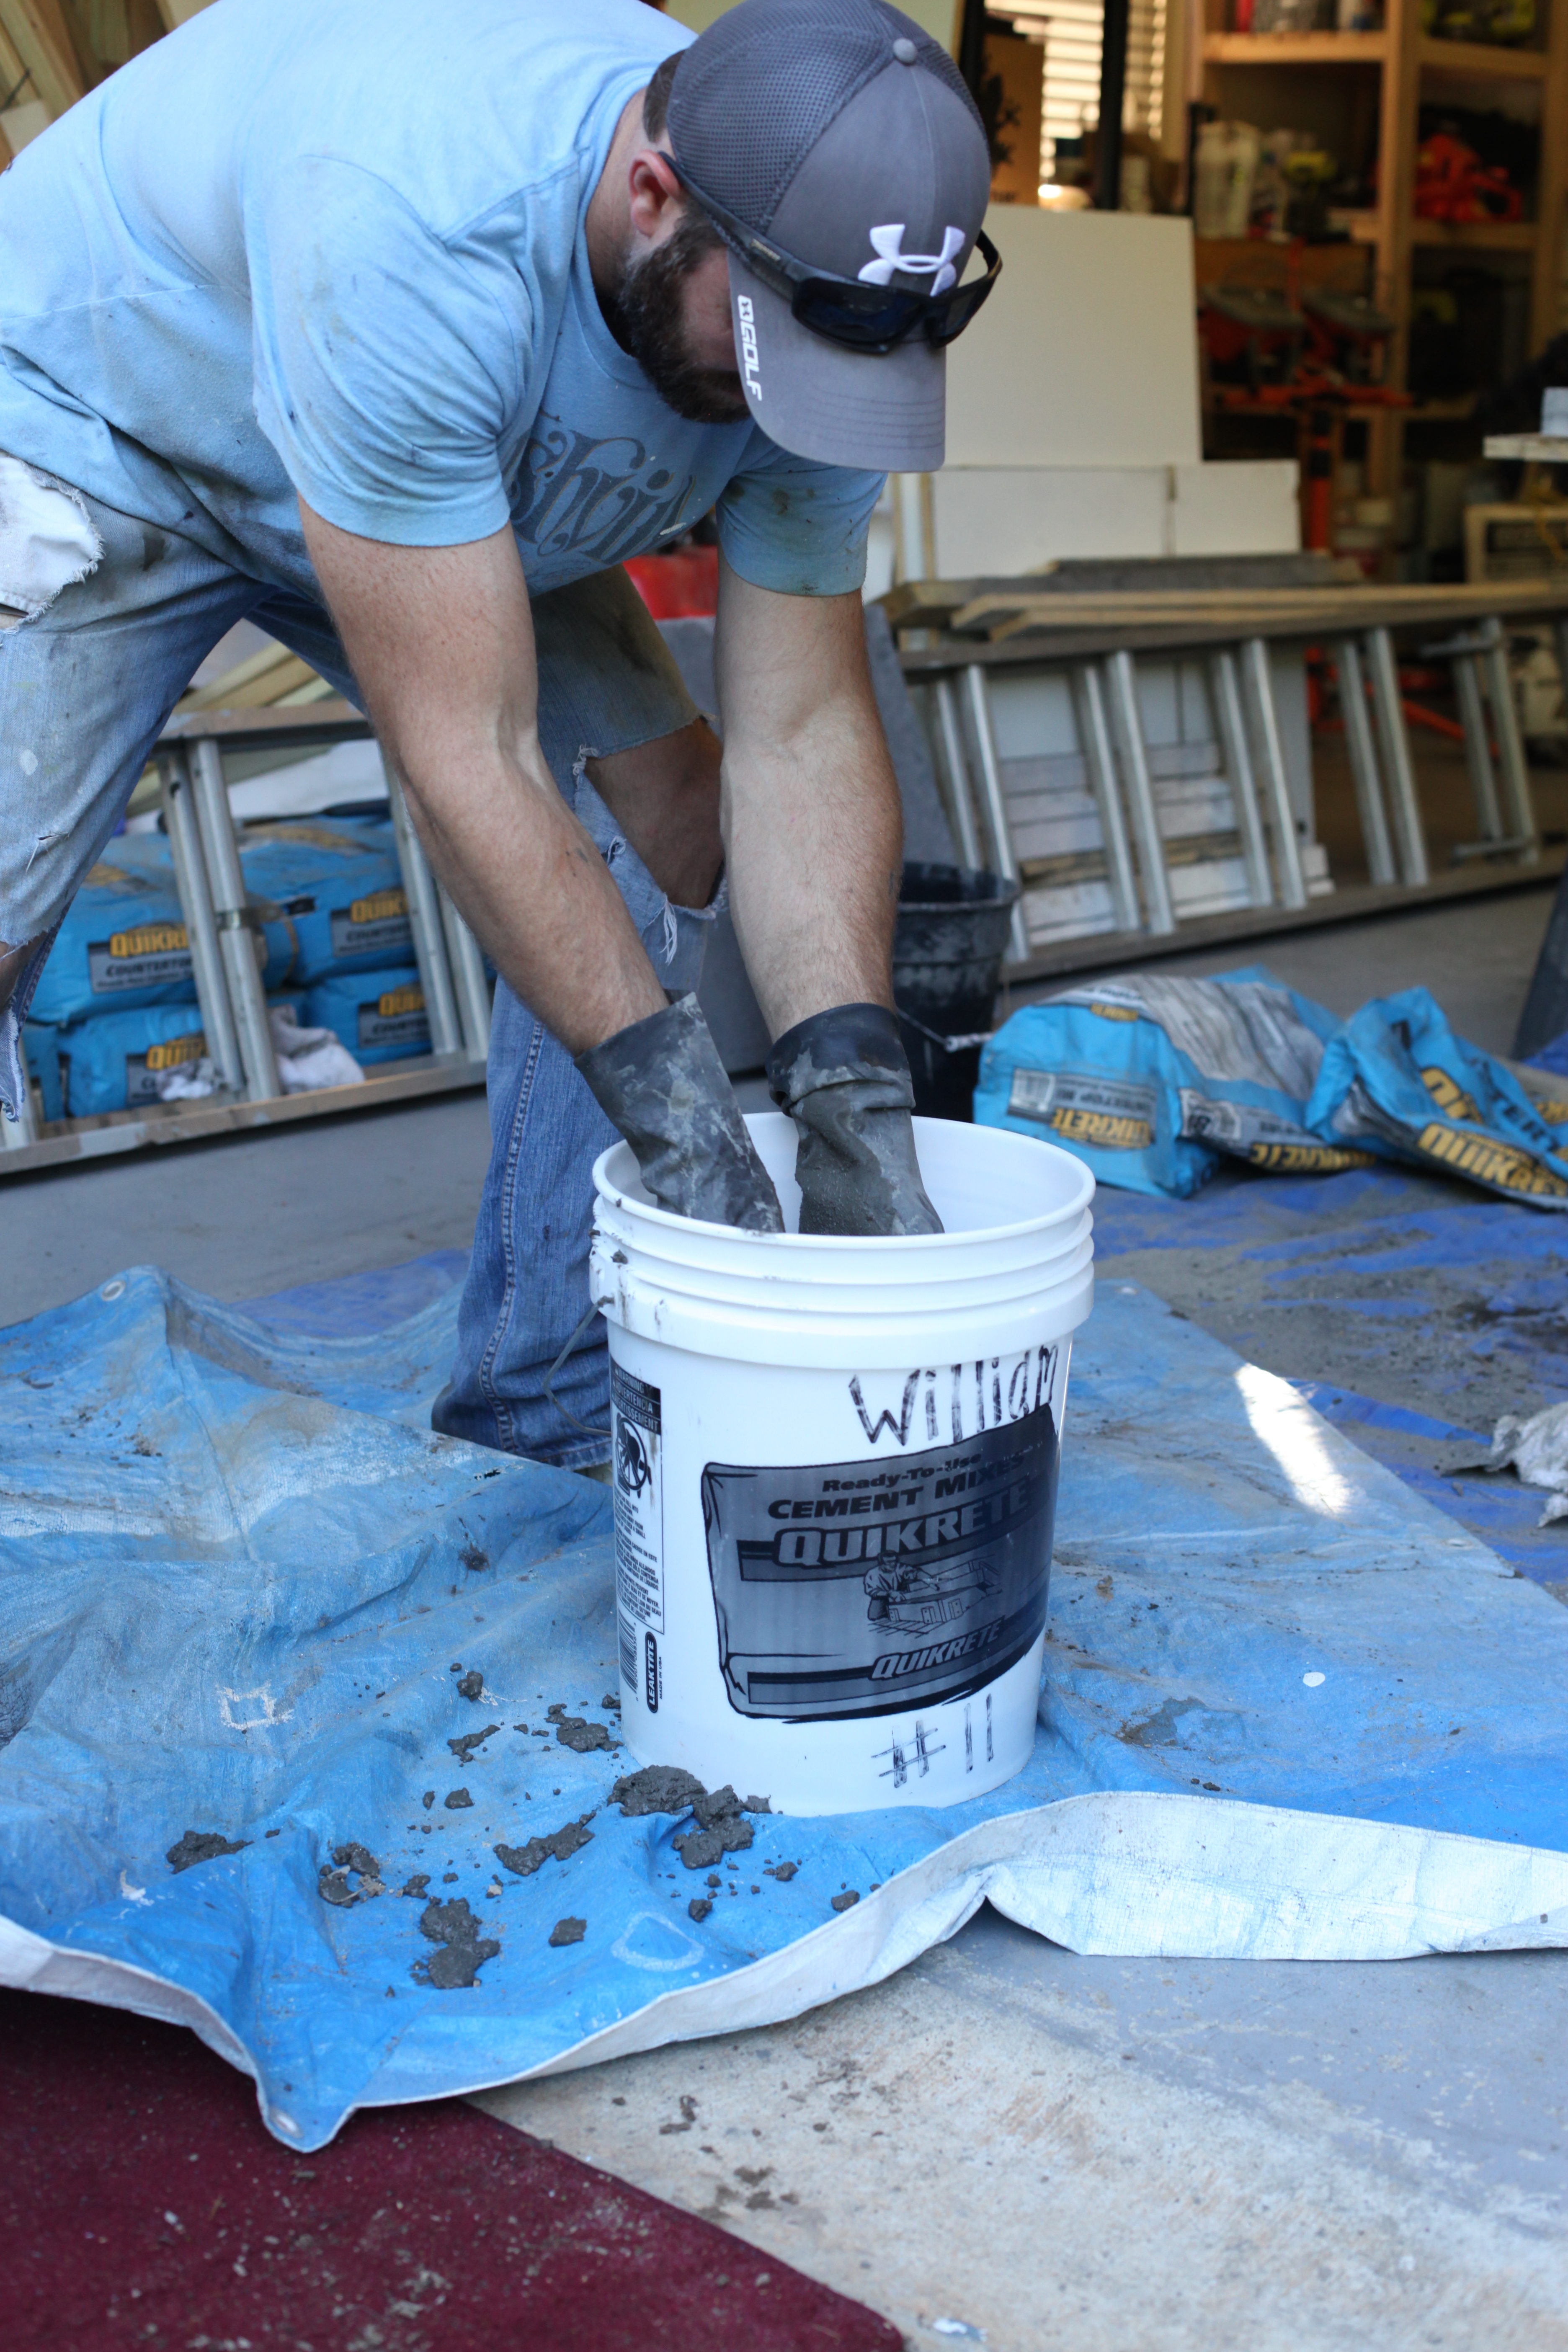
And for anyone making these at home….you will have extra concrete…it happens…and we decided to make fun little stepping stones with our excess. Just take an old bucket, spray it with some Pam, add some rocks or broken tiles or plates or stuff like that and then pour the excess in. When it’s dry, you can pop it out for a new stepping stone!