You have waited a long time.
I mean…this has become a trend huh? Me starting a room and not finishing it for like a year? Yeah – that is not ideal. How sucky of me. And 2016 is all about making things right…including finishing some of these dang rooms and showing them to you!
I am all about the reveals this year! Cue the applause 🙂
Okay – so now that we are wrapped up with my little brother’s foyer reveal, let’s rewind a bit to the kitchen that we started about a year ago. The one that lives in our basement.

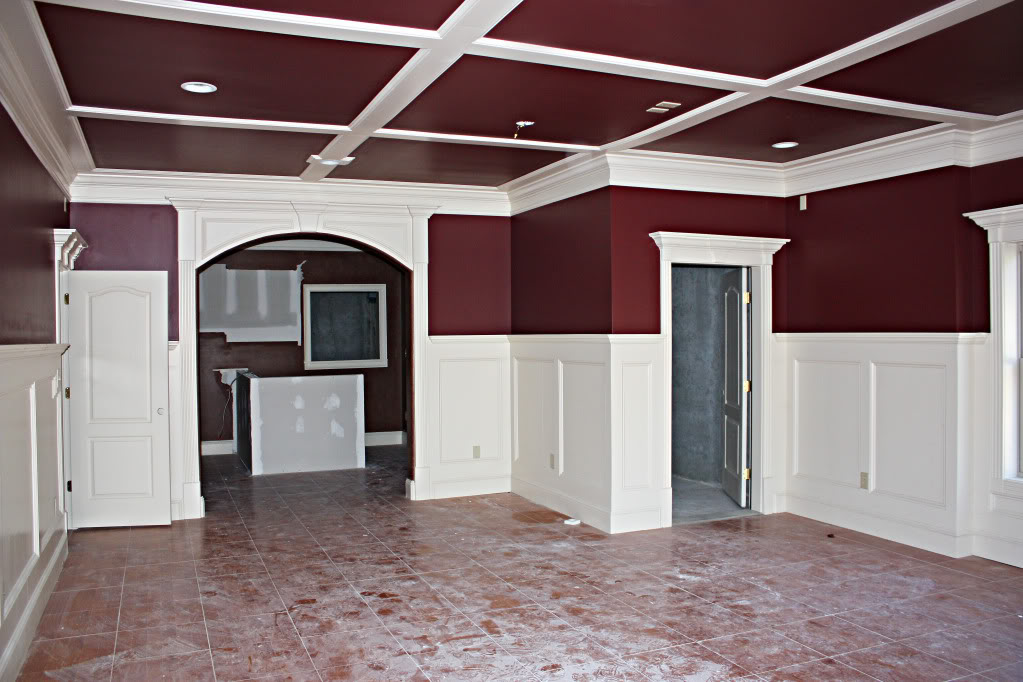
This kitchen is sort of a swan ugly duckling story. When we got this house, it was painted a deep shade of red, had a weird hole (um, yes you read that right.) and didn’t actually have a functional layout. You can see the basement tour HERE. It’s tucked away in the back there….
One of the first things we did was drywall over the “hole”. Every boy mama knows – if there is a hole, you better take care of that situation before they put something in it 🙂 (Mom that is a gross joke and I’ll explain it later.)
Anyhoo…the “bar” (why is there so many quotation marks in this kitchen?!) was completely a waste of space….I mean…it didn’t utilize the square footage well and it was not even well appointed – since there wasn’t space for both a mini fridge or a wine fridge! THE SHAME!
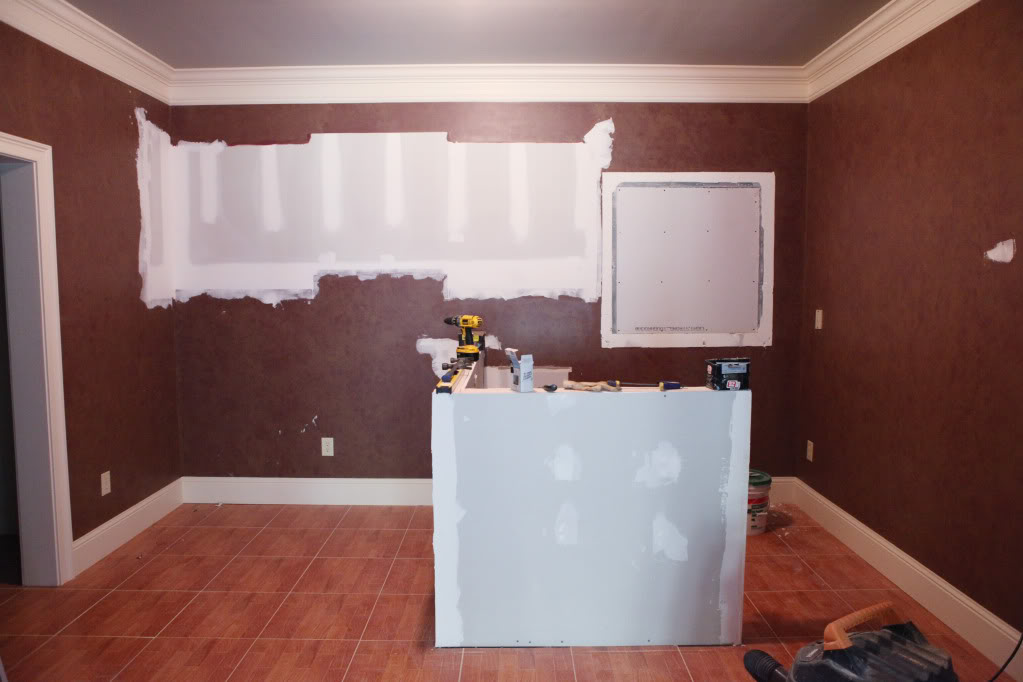
The bar was completely removed by my boyfriend’s big giant muscles and we mudded the hole, filled the tile gap on the floor….
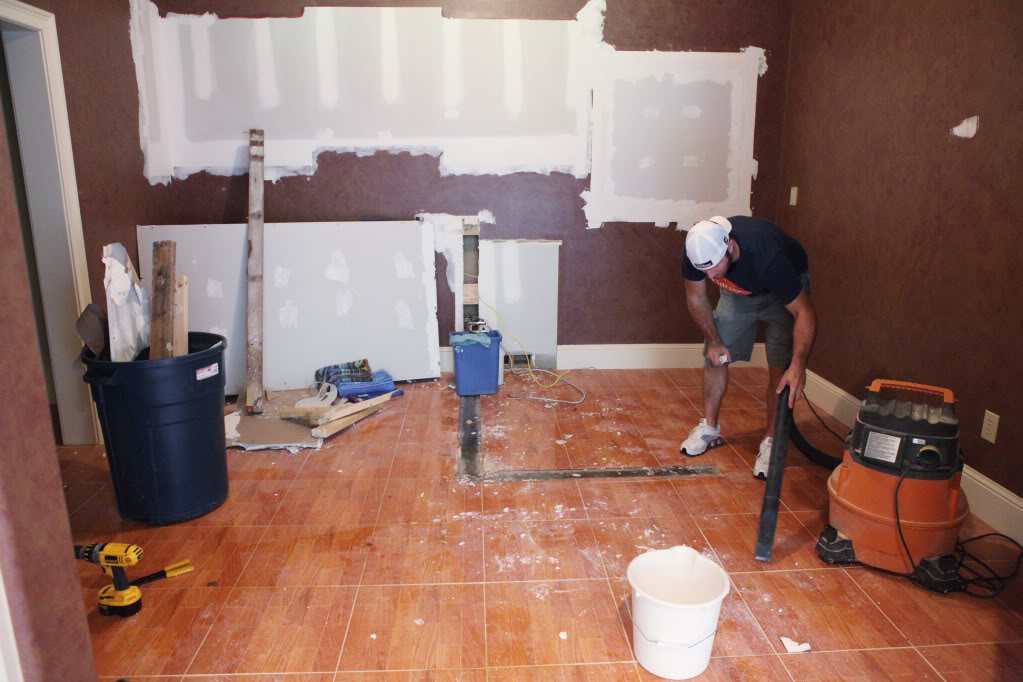
painted and then we had a LONG wait till the next phase….
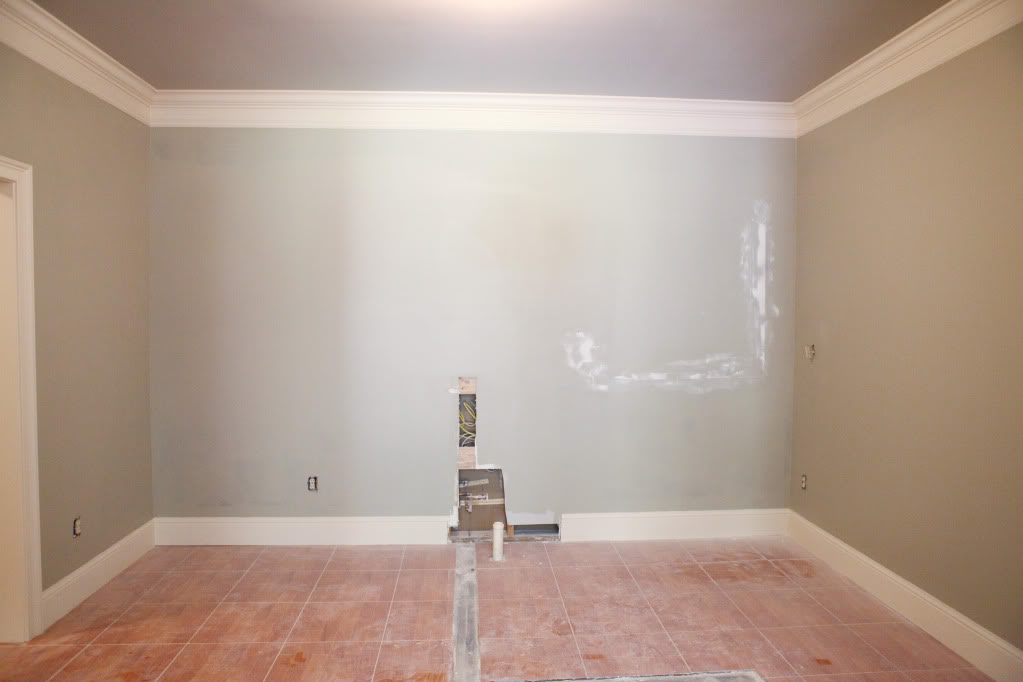
A couple years went by and then our friends needed a short-term place to stay so we wanted to create a space that they could use. This space ultimately needed to be a legit kitchen. The vibe was affordable, industrial, and very different than our upstairs kitchen.
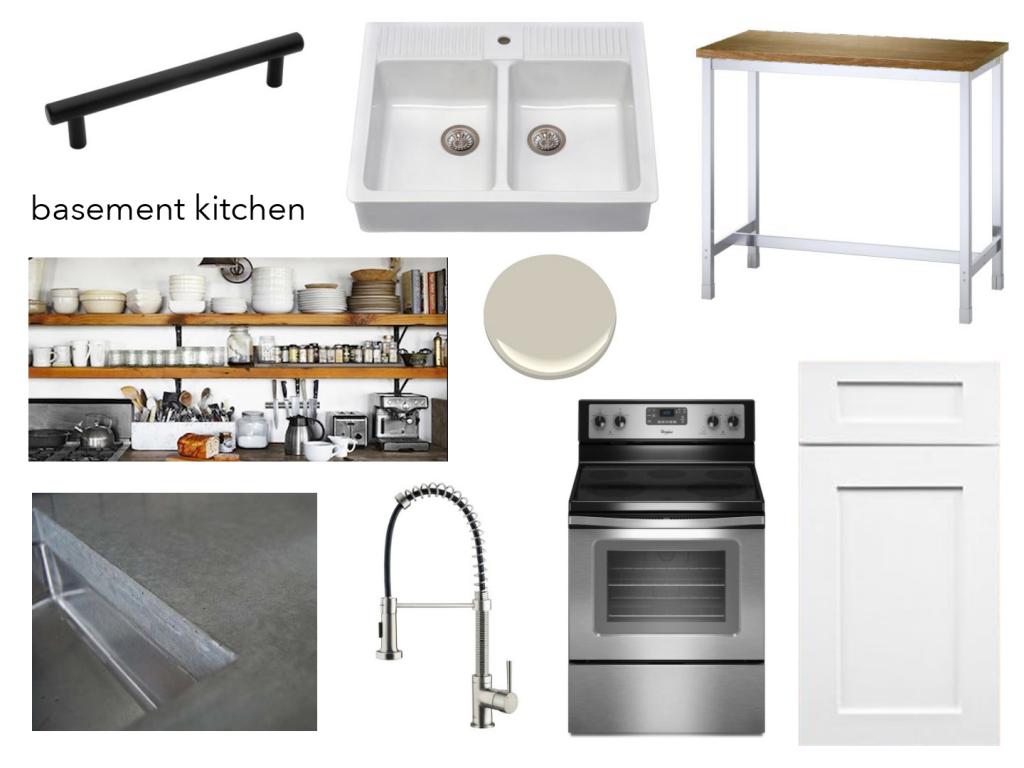
The very first step in our transformation is getting new cabinetry….and we got it from Cabinets.com

So many folks have asked about these cabinets and they truly are so pretty. They are really the nicest cabinets we have ever had. And we feel like one of the best things about working with Cabinets.com is being able to get access to their designer who helped us with planning process.
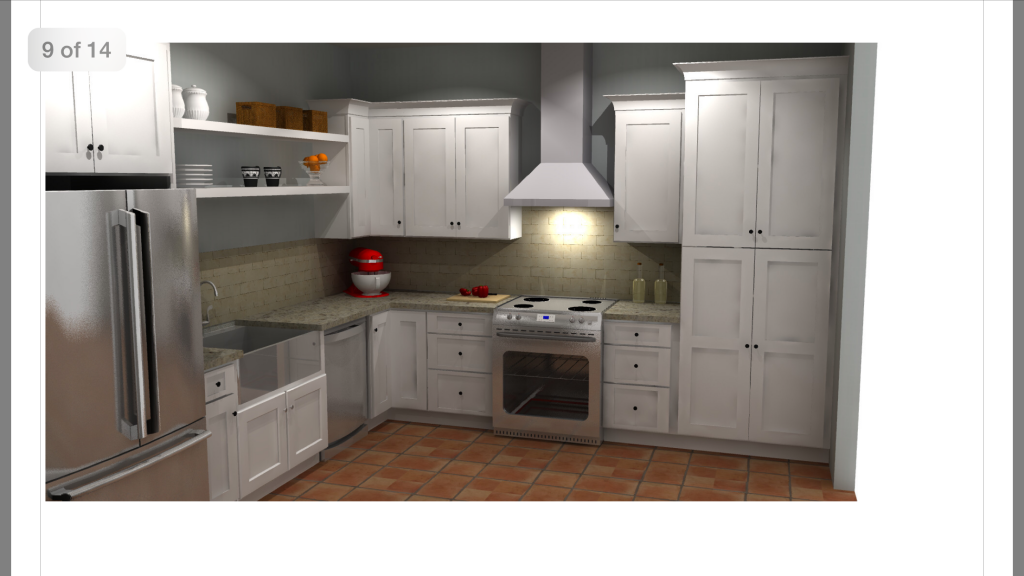
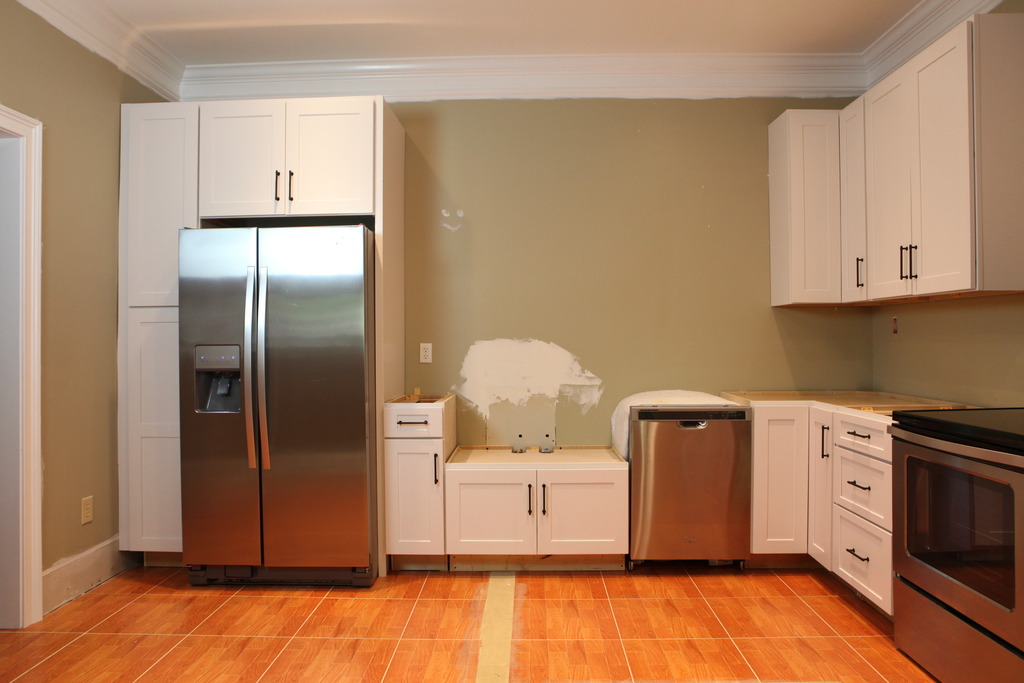
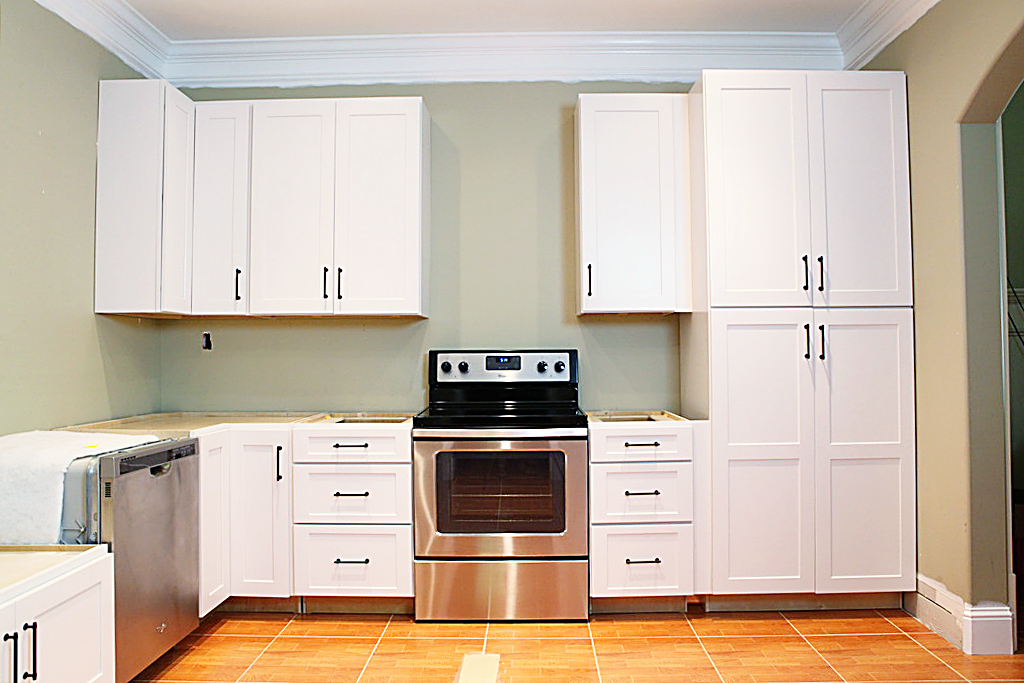
These were the cabinets after they were assembled and installed….
and color balanced…(heehee)
These particular ones are Titusville Shaker Maple White ones…

And no – they aren’t sponsoring this post – we just failed to give all the information before and we felt like it was important to get everyone up to speed (and because I needed a blog post to point people to in case they asked me about the cabinetry….again).
These particular cabinets were RTA – meaning that they arrived unassembled and we did assemble them ourselves with the help of online videos. You can see us putting them together here. Our neighbor helped install them and yes, we still owe him dinner. Larry & Charlene – we have not forgotten!
Okay – so if you are in the market for kitchen cabinets and you do want to hear some of the features about these….I made you a little video. It will only be interesting to those of you who are looking for cabinets….
WHEW! Okay. So now that we have that done and we are ready to move on – here’s what we are gonna do. In the next two weeks we are gonna share the kitchen – all the way to the reveal. It’s gonna be AWESOME.
Most of this space was done a while ago so don’t freak out if you see a picture of me mixing cement while pregnant….I am NOT currently with child. I mean….in my uterus. I am with ALL THE CHILDREN. Just not pregnant. So there’s that disclaimer.
Also – there will be fun tutorials on our DIY cement countertops, installing a farm house sink, doing a faux wood back splash, installing a hood, open shelving and building a cool rustic shelving unit. Plus, tiling the floor and doing the reveal. Are you ready? Because I feel exhausted just from typing all that. Seriously. Let’s go take a nap.