Good morning monday! And hello to all my friendlys! Did you guys survive the weekend? Are you snowed in? We got an epic amount of snow over the weekend…..1/8″ of an inch….and the boys thought it was the best thing ever. Will told me that it was a winter wonderland. I realized that my children may never know what it is like to wake up to a foot of snow outside, dare their little brother to go out in it wearing only shorts and then lock the sliding door. Good times. Sorry Timmy.
So if you are looking for a project that is snow related….you came to the wrong place. But if you came looking for a swing tutorial…you are in luck my friend. This is your day.
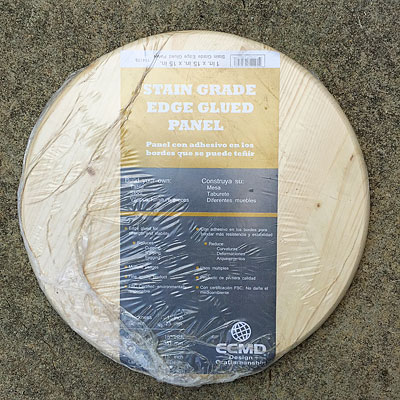
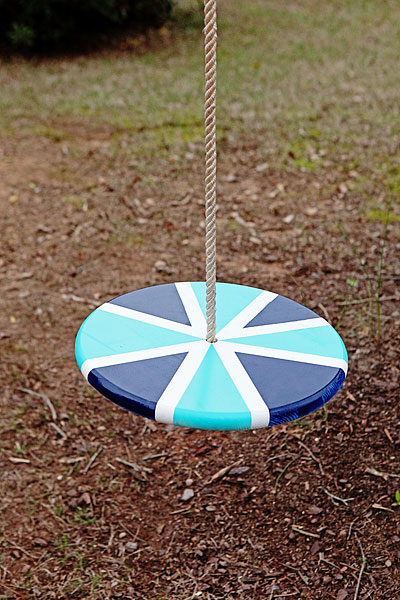
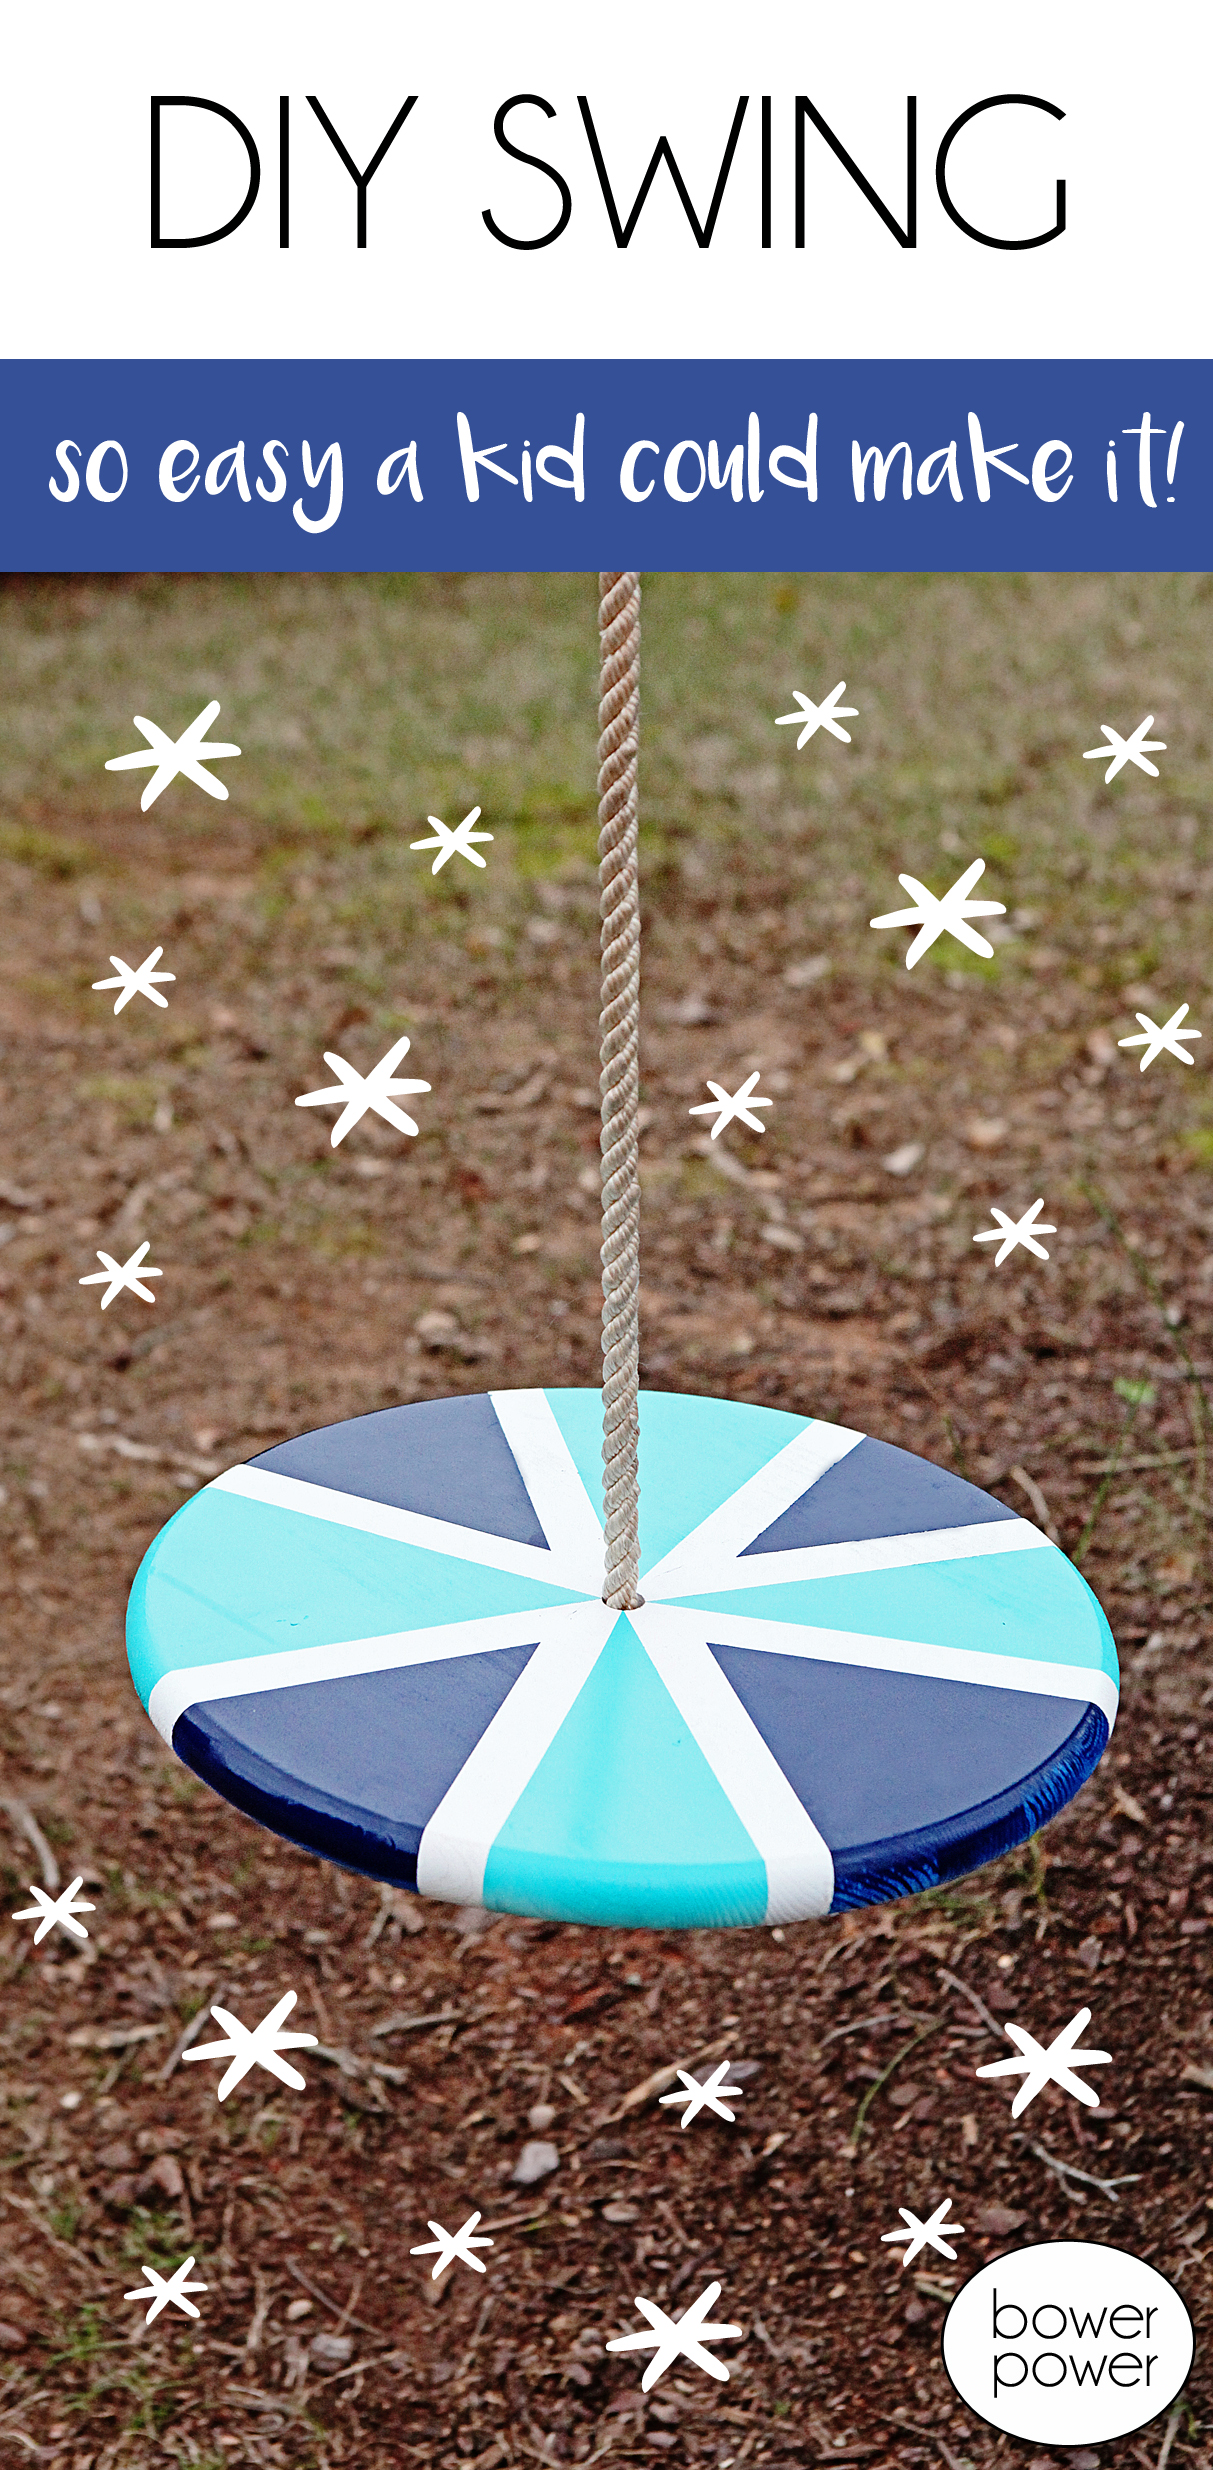
Will has recently been asking for a rope swing. There is one down by the creek but I wanted to make something that he could actually sit on comfortably and that wouldn’t scratch up his sweet little cheeks. When I saw this wood round at the home improvement store, I knew….that’s it!
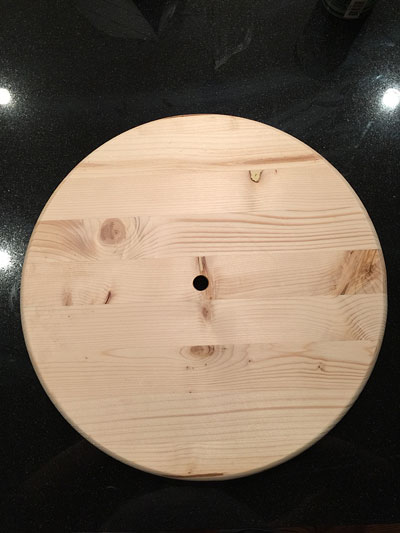
I simply lightly sanded it and then drilled a hole in the center. You really don’t even need to own a drill to make this project. Home Depot and Lowe’s usually have ‘test’ drills sitting out and you can put your hole in your wood for free. This is a half inch hole because I had half inch rope but if you have something different, drill appropriately.
Will specifically asked for it to be his second favorite color. (Ummm….my kids rank colors as their first, second, third favorites and so on. And then they want me to remember which one is which. It’s very taxing for my brain.)
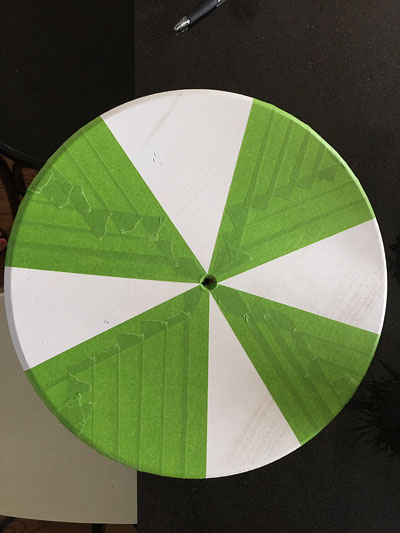
After he reminded me it was BLUE, I went to work with a fun but easy design. I simply spray painted the entire swing white (Rust-Oleum’s gloss white) and then taped off different sections of the pie.
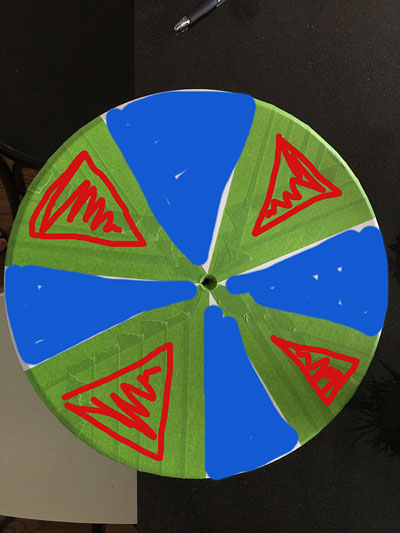
Then I sprayed it with the first color of spray paint – Rust-Oleum’s Gloss Seaside. I let that dry completely and then I peeled off the paint in the inner parts of the blocked off pie slices (the sections in red below). I also then COVERED the newly painted Seaside sections (that is what I highlighted in blue below) with more painters tape.
After spraying the exposed bits with Gloss Navy Blue and let it dry, I coated the entire thing with multiple coats of poly to make it protected outside. Then we cut a length of rope and slipped it in the hole. Here is the knot that we used for the bottom. And yes, I did feel like a girl scout again when I tied it. thank you for asking 🙂
We slipped it onto a tree branch (aka, it was awkward and we got overzealous about tying it and Will complains that it isn’t high enough to do Ninja Warrior tricks off of but we feel like it’s safe enough for our dudes. Make sure you use caution if you do this at home) and the kids had a blast. The best part about this project is….it got that rope outta my garage 🙂 It’s been sitting in that box for EVER. and ever. and ever. like ever.
So remember – I am not responsible if you die because of your own DIYed swing but I take all the credit if you feel 22 again 🙂 And happy DIYing!