One of the biggest questions I got about our recent bathroom mini makeover was “How did you refinish that bathroom vanity?!”
I know this would be a question because 1. it’s a great alternative to costly replacements and 2. refinishing cabinets/vanities is a big punch in the ugly bathroom throat. It literally changes the look of the space for super cheap. And it’s great because the tools required are easy and affordable.
If you guys have an ugly vanity situation, know that refinishing could be a great option for you if they are solid wood! Otherwise you may want to use paint to give it a makeover. I’ve painted vanities before and LOVE the results! Here is an old post where I painted our playroom vanity blue and another one where I painted the downstairs vanity red.
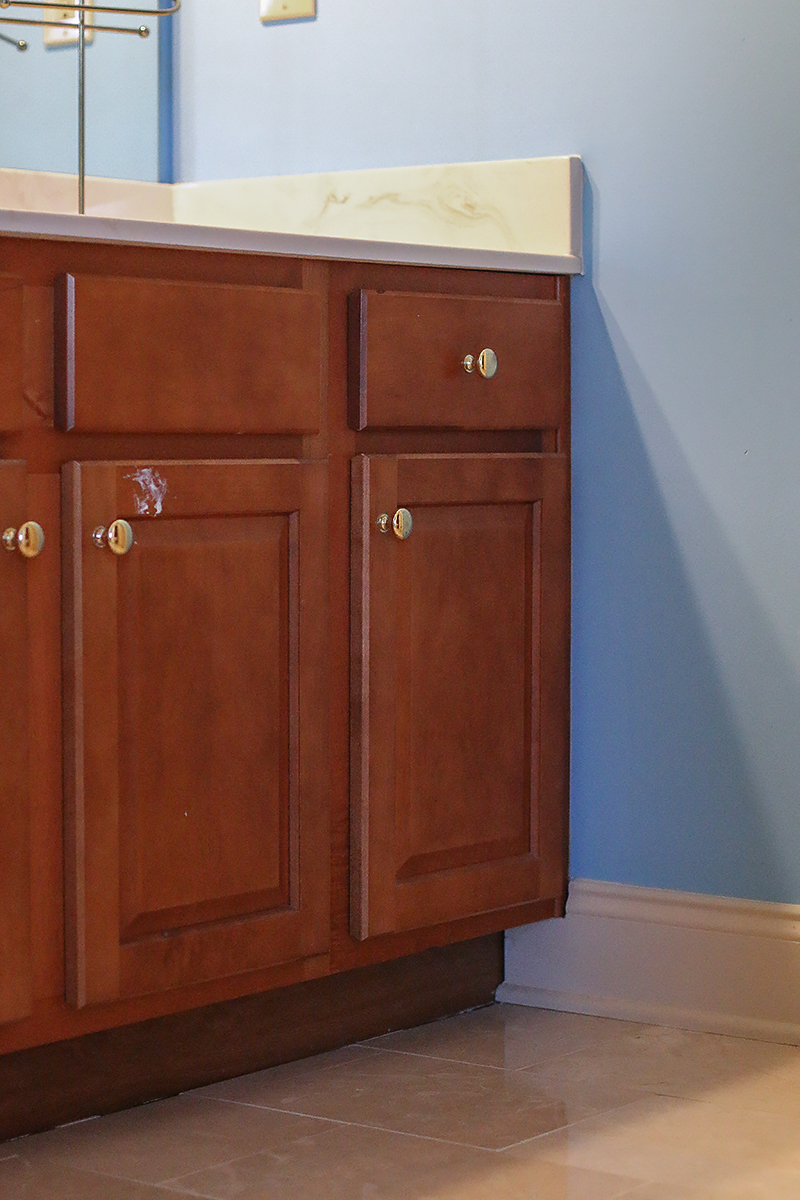
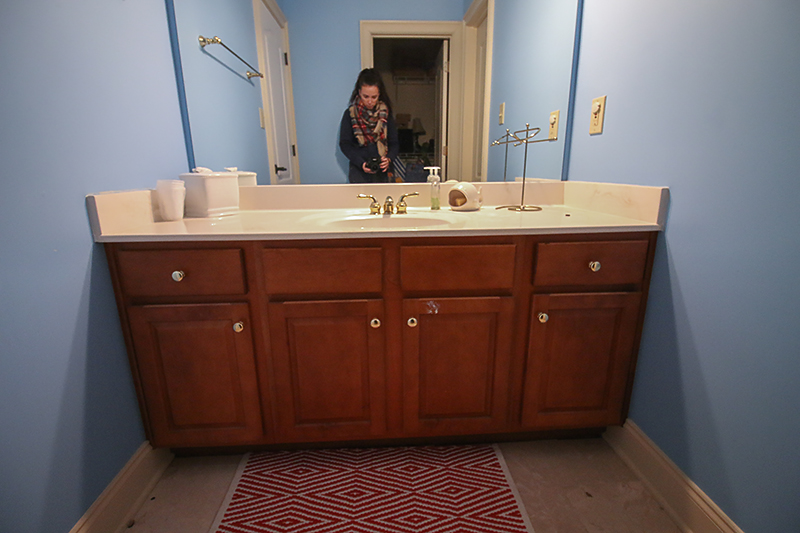
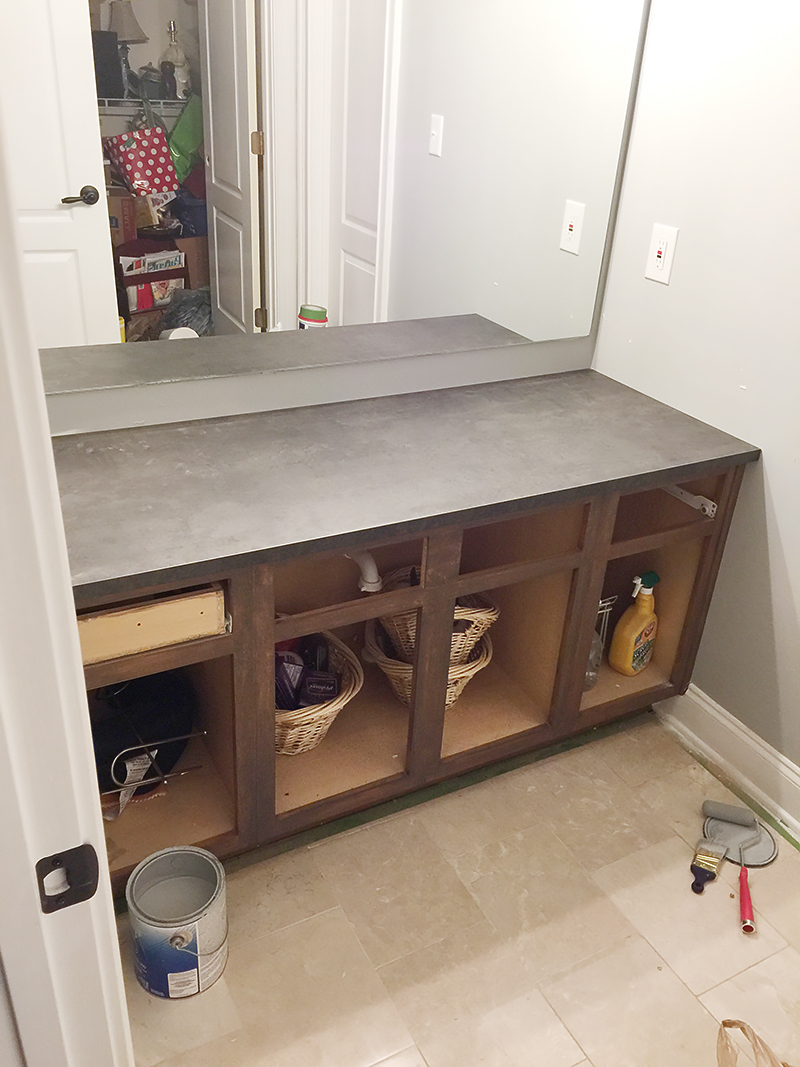
So the thing we are dealing with is this cabinet…it’s solid wood and has some basic details. It also had an orange hue that is on par with President-Elect’s spray tan. Not my favorite look.
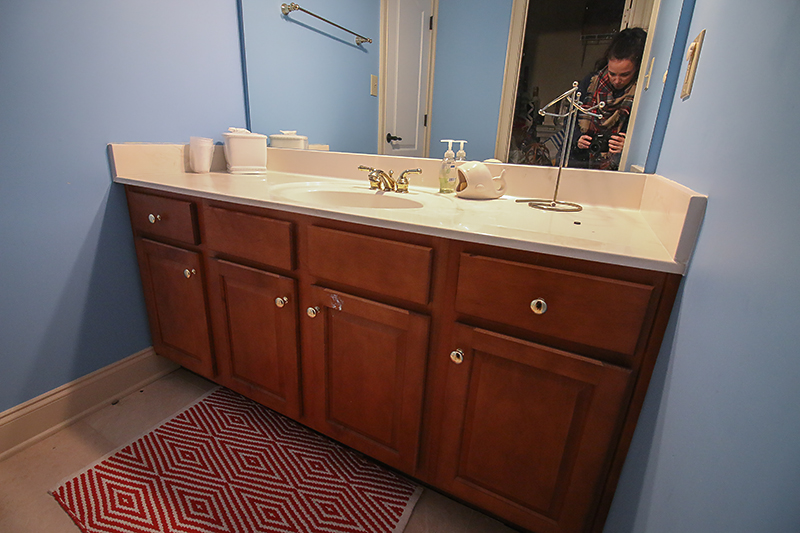
And refinishing it meant that we were going to sand down all the existing finish and re-stain it so that it would look completely different.
Okay so the tools I used for this project are….
- sandpaper
- screwdriver
That’s it! Seriously! You can remove the top like we did and replace it but for the cabinet part, you only need to remove the doors and knobs and sand them down. Two tools!
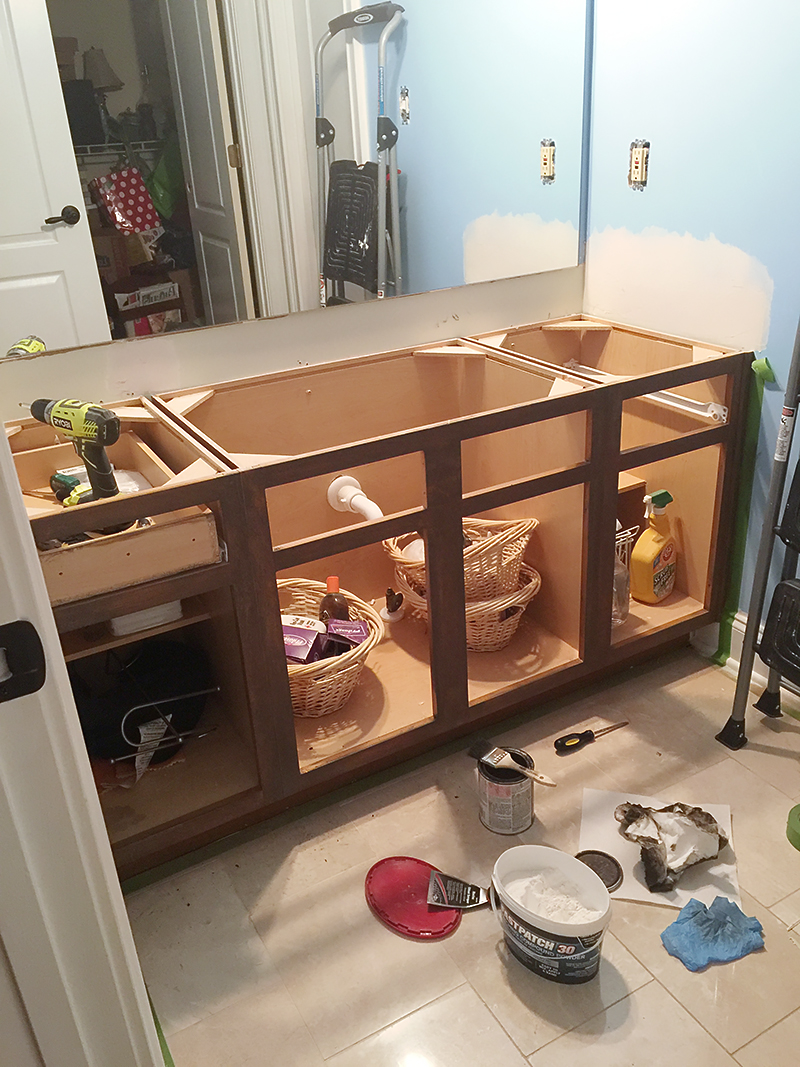
Let’s jump right into it.. When I did it, it took me a solid three hours to sand everything down. I removed all the drawer fronts and the doors and the faux fronts that cover the sink area. You can use just regular ole sandpaper (60grit) to get all the finish off. I use my Ryobi corner cat sander….it’s inexpensive as far as tools go (under $40!) and battery operated and I use mine ALL THE TIME. I cheat by using orbital sandpaper. It’s way cheaper in the long run than the paper meant for this tool…but both have the hook and loop back so it works. Regular corner cat paper is $6 for 5 sheets. The orbital is $20 for 50 sheets. And if I really cared, I could cut it down to the right shape….I don’t of course because I’ve got better things to do like binge watch Netflix. #priorities
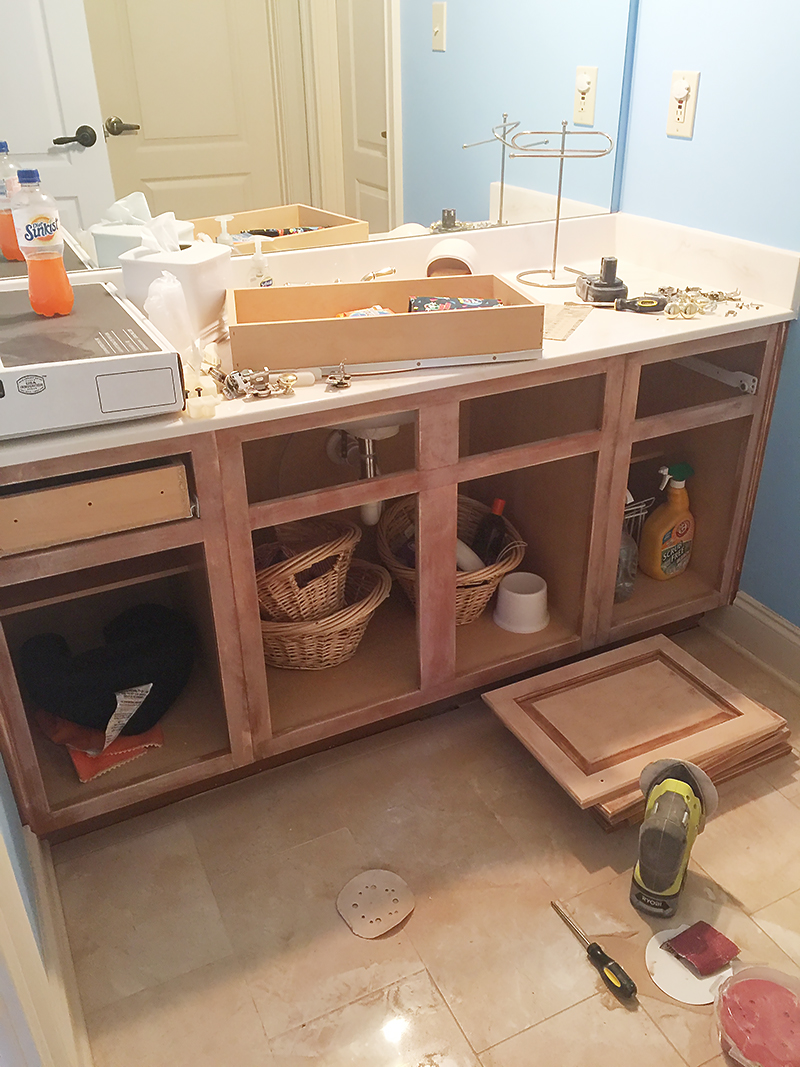
We also removed the sink top (let’s just get into that too since you are wondering). You can do it with a bit of muscle and a utility knife. Just cut the seams….usually there will be silicone where it meets the wall. And you might have to double check the inside to see if there are any screws or mounting mechanisms inside. It’s not hard. Remove the side pieces first and then give it a hefty pop upward. I act like I know what I’m talking about when really I just sit back and observe Jeremy do this part 🙂

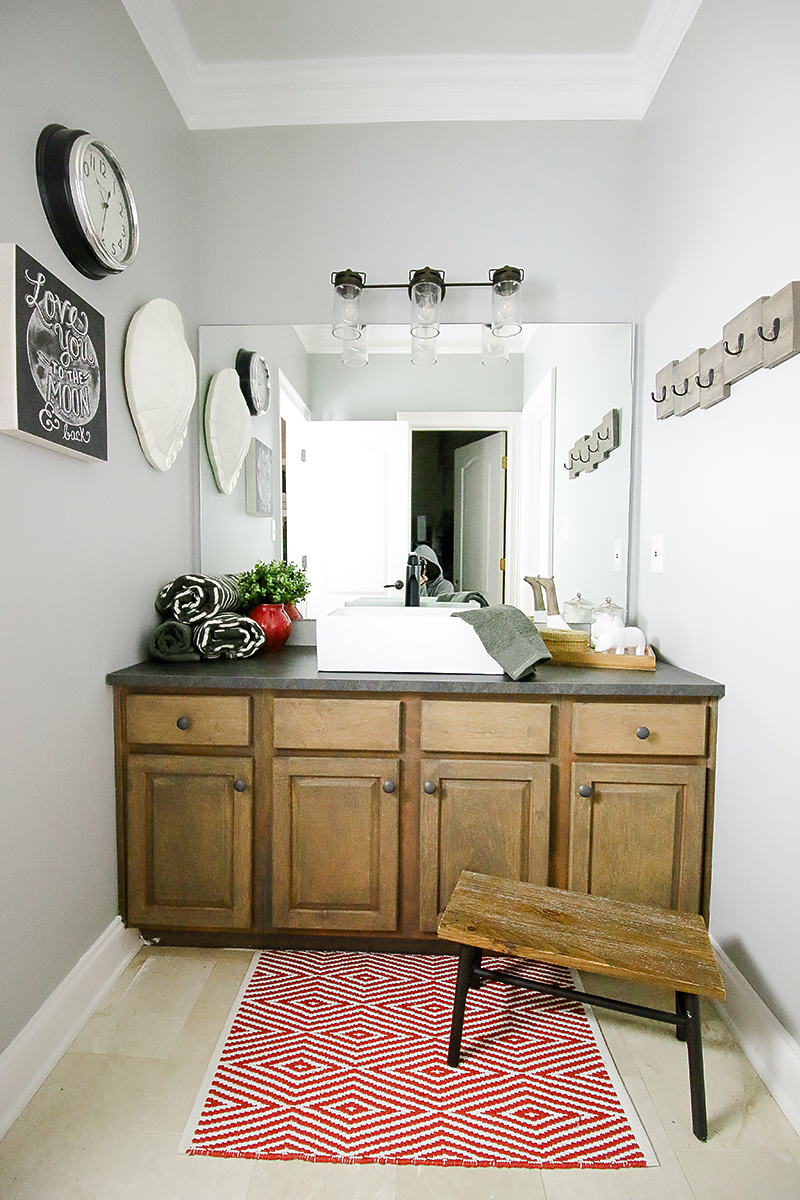
Time for stain! When the cabinet is fully sanded (you’ll want to do 60 grit to remove all the preexisting finish and then do 120 then do 220 for a nice finish)…you can whip out your stain and finish your piece. Remember, the goal is a even stain with a smooth finish. I used Rust-Oleum’s Briarsmoke stain – it’s my new favorite color (I used it on my sitting room shelves!) and it’s a medium brown with gray tones to it.
Let that dry before adding your poly or wax finish. I did a satin polyurethane over it and I love the low sheen on cabinetry.

For our countertop we went to Ikea to pick up a really affordable concrete look countertop. This is a prefab product…it comes in two lengths and the finish is really good! It actually does look like concrete. And if you aren’t the kinda person to try their hand at DIY concrete counters (here’s our tutorial if you ARE the kinda person) then this is a good option.
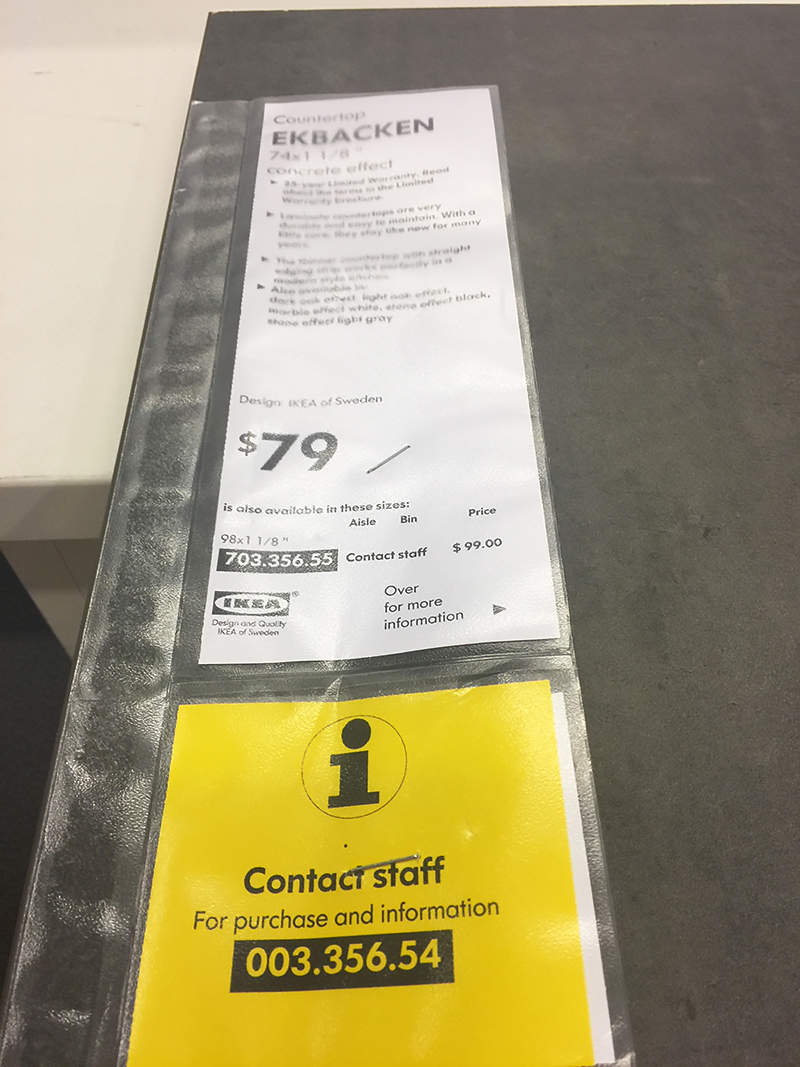
We measured the length and the depth (it was deeper than we needed) and cut it with our circular saw.
Walls are sometimes uneven so the front of ours was bigger than our back length.
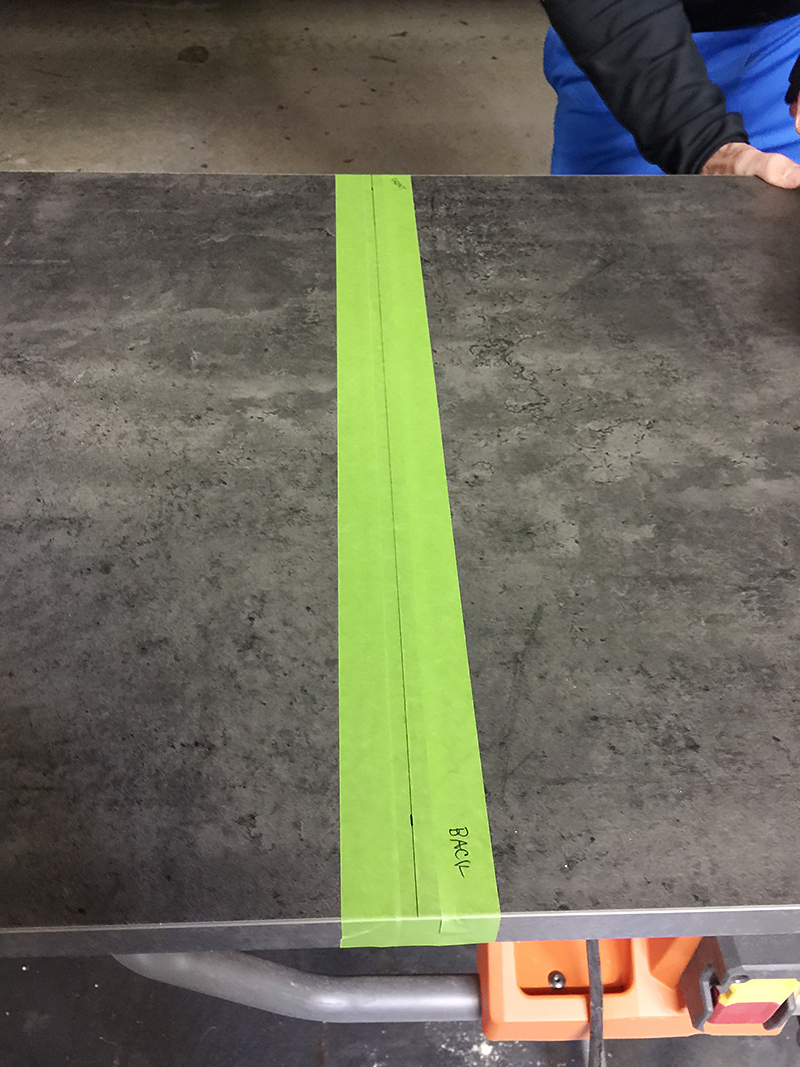
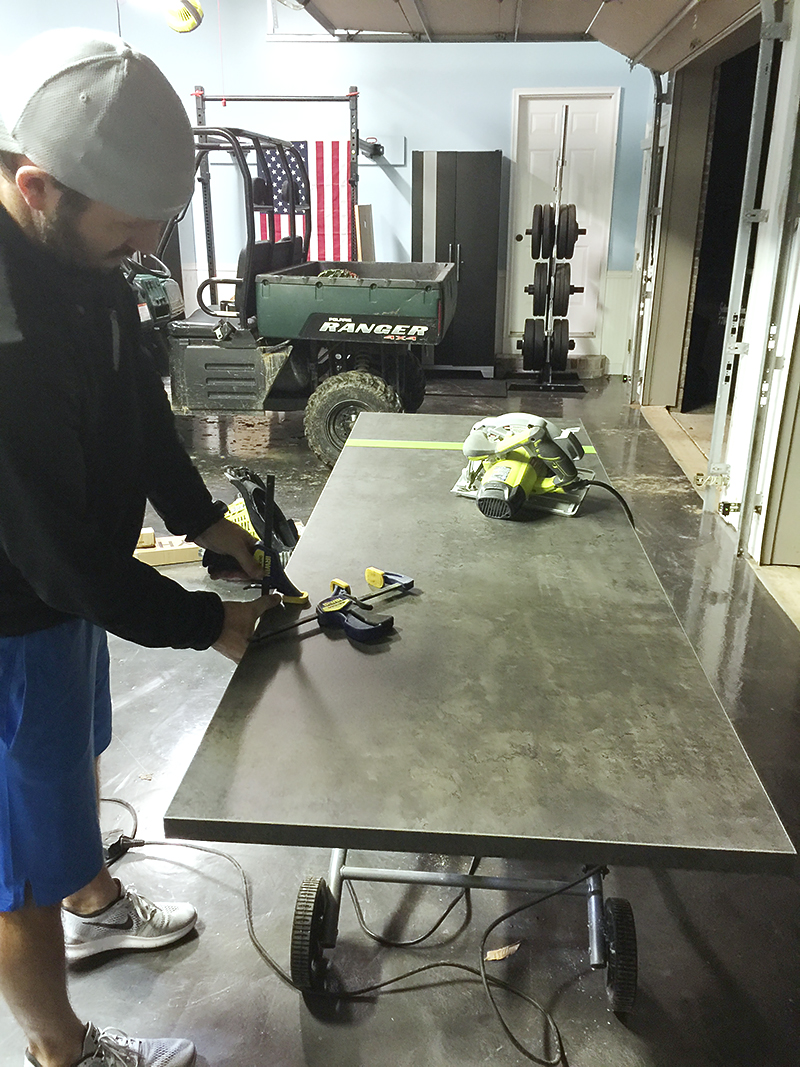
This whole makeover we did in 24 hours so this was a little midnight laminate cutting job 🙂 My apologies to our neighbors.
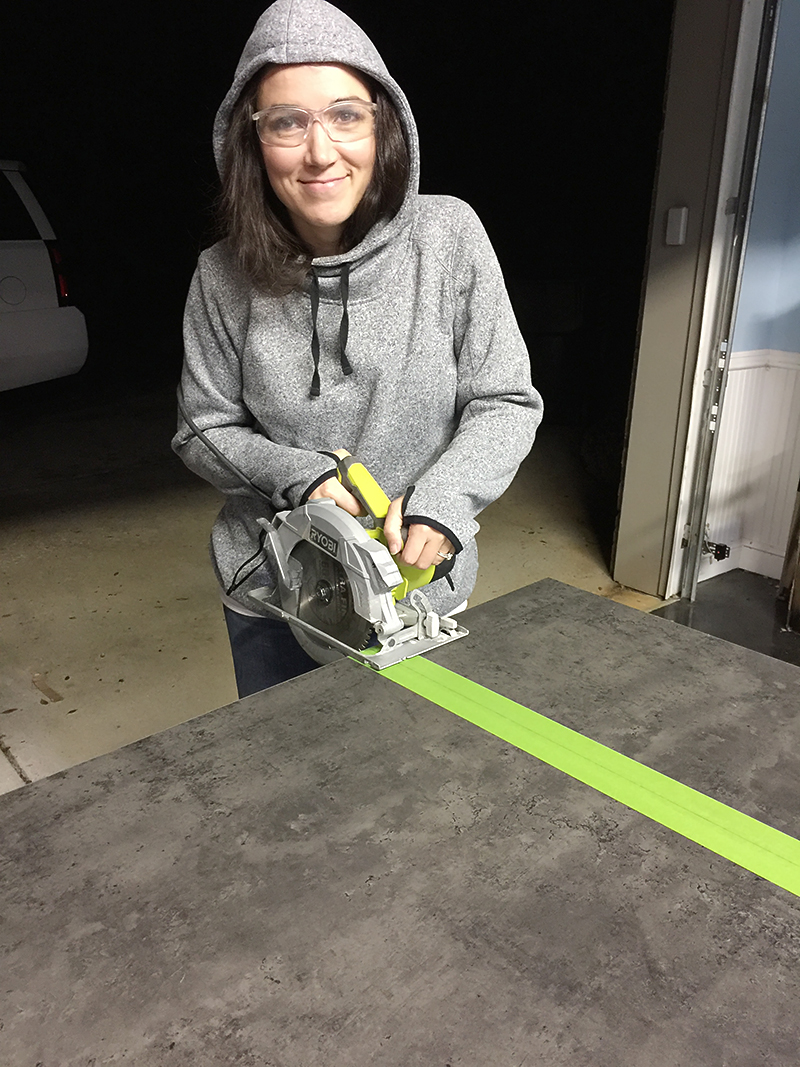
This was my first time cutting laminate….and it went better than I thought. I just used a regular fine blade and went slow and steady.

We installed it with silicone caulk….and no other screws. We don’t know how permanent this bathroom situation will be. Also…don’t judge my Monica closet 🙂
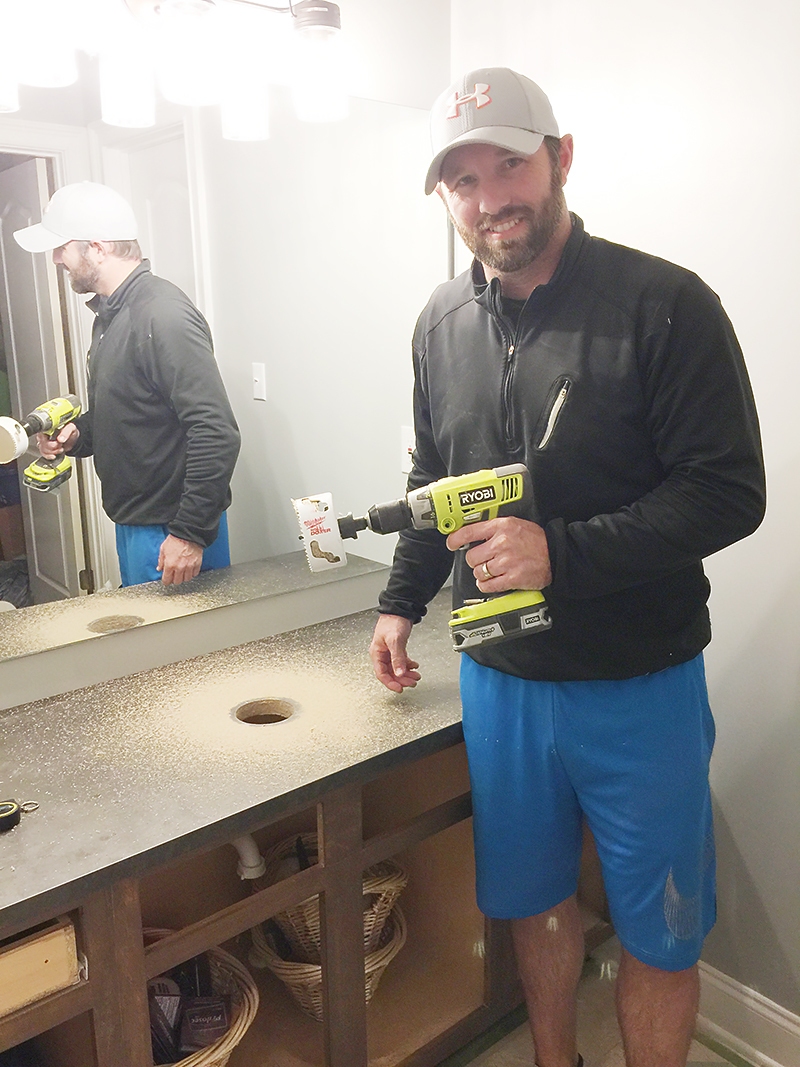
Jeremy used a large hole saw to cut out the space needed for the sink pipe and faucet hookup.
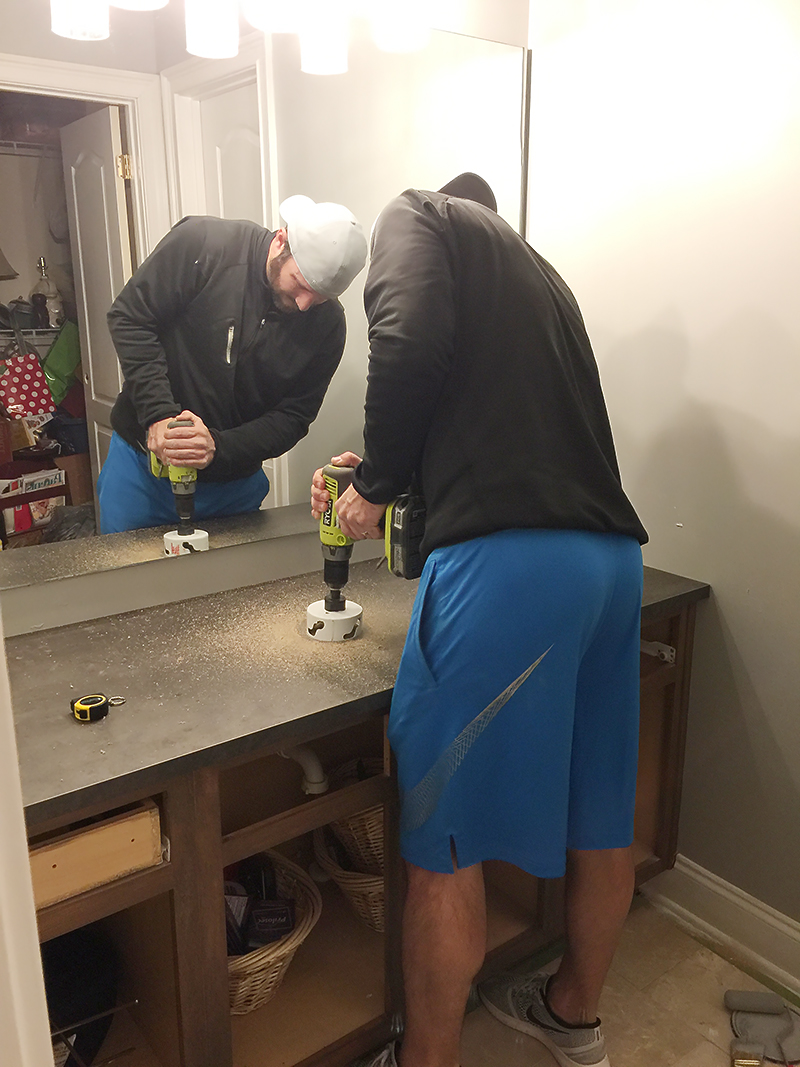

After that, we just assembled the cabinet back together and installed the sink and faucet to make it ready for use!
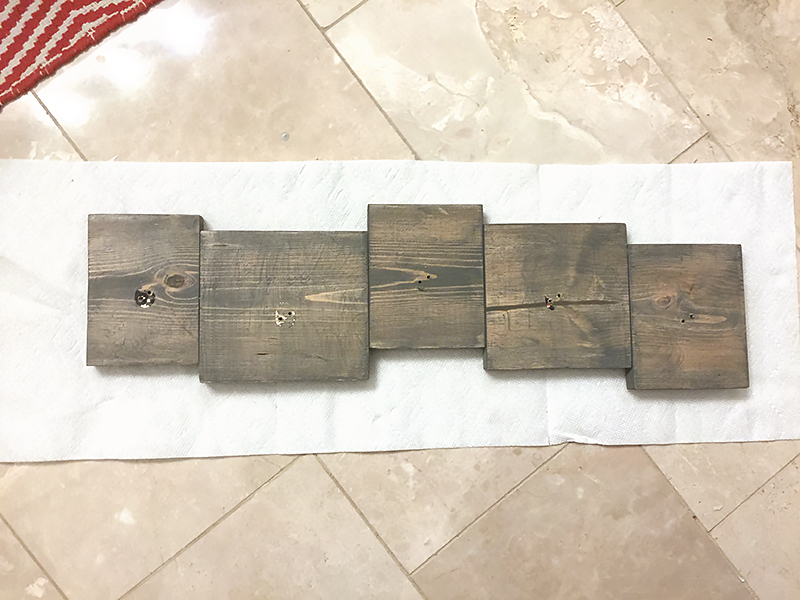
I also wanted to give you a shoutout to my little wall hook project. I built this out of scrap wood years ago and here is the old how-to post. I had to refinish it as well because it was not done in the same finish.
And the final look is such an improvement! Honestly I think this is a task that anyone can do and improve the value of their home. It’s so simple but with such a big impact!
My best tip is to make sure to sand in one direction….with the grain of the wood. After that it is a matter of just blending the stain well so that it looks really professionally done. If you need more step-by-step directions for staining and applying polyurethane, here are some in-depth tutorial videos where we share ALL the details.
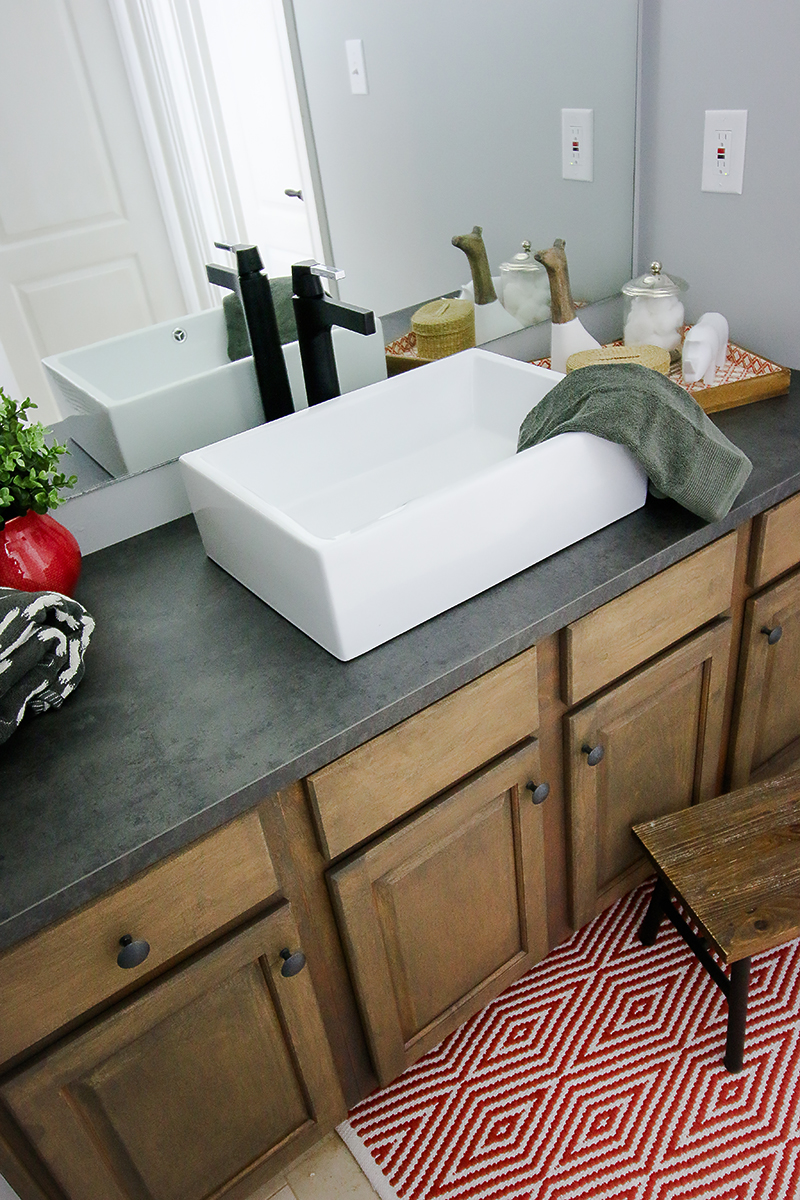
And there you have it! One refinished vanity! And how awesome does that stain look with that faux concrete? I love how industrial it looks but still so much more polished than the original version. And for a fraction of the cost of a replacement!
Hopefully this will be helpful in your own home – I know it would be kind to your DIY budget for 2017! Hey…more to spend on shoes, right?! 🙂